One Mod A Day: Introduction
Hi folks, hope you all had a good holiday season and New Year. During my time off I've been thinking about my hobby plans for 2023 and how I want to incorporate blogging into it. In the days ahead I'd like to continue with my Fallout 4 story and also do some new Skyrim writing, but in the short run I'll be doing hobby blogging. After talking with a few of my readers, I've realized that the Mod Diary series started out as a somewhat advanced series and only got more esoteric as time went on. The Case Studies series was more beginner friendly, but by its nature it tackled big projects and involved a fair amount of workload on my end.
What I want to do is to find a middle road between the two - basically, as the title suggests, I want to look at just one mod in each issue, but to give it a more in-depth treatment that'll help make the article valuable to newer players. This'll mean that I'll skip and gloss over some of my integrations that don't have a lot of discussion value, but the ones that I do feature will get longer explanations and a deeper exploration of what each mod is doing and how to make sure it plays fair in a modded setup. Once the series gets rolling, I'll set up an index by topic (rather than by mod like in my earlier index attempt) so readers can find specific information in back issues.
I do expect there are going to be some case studies in addition to this series, though I don't have any specific mods lined up yet. Most likely, the first one I'll tackle will be for the Patrician ENB retrofit; that study will focus on safe uninstallation on mods that have already been integrated and manually patched.
For today's mod, we'll start with an easy one: TRX_Trickster's Elven Huntress statue.
Now if you've been reading my blogs for a while you know I like statues. Monuments are already important to any game that wants to explore themes like the decay of a classical civilization or the clash of competing political-religious systems, and in the NSFW modding sphere this sort of public art helps to frame the differences in social mores between the real world and the fantasy world. TRX's Elven Huntress is relevant here because it touches on a few different ideas - it presents a female character in heroic nudity (disrobed but bearing arms), giving her the same treatment that a male warrior might receive in classical Greek statuary. This helps reinforce the gender equality that exists within the warrior classes of Skyrim. The character is an Elf, a reminder that in past eras the racial divides that currently afflict Skyrim's society weren't nearly as pronounced. Finally, the hermaphrodism of the statue serves as an acknowledgement that in this particular builds, intersex characters are not particularly unusual and are not an ostracized or stigmatized population.
But I digress, our goal here is to get this mod installed and running. Let's take it step by step.
The Toolbox
First things first, you need a mod manager. For the purposes of this series, we're going to be using Mod Organizer 2. If you find that MO2 absolutely won't work for you, Vortex is an adequate alternative, but it does have a number of design quirks and deficiencies that cause me to strongly recommend MO2. There are a number of other mod managers out there, but I recommend you exercise extreme caution. Many of them either contain serious deficiencies (such as missing critical features) or don't have a virtualized file system (which means they will clutter up your actual data folder and can cause issues when file conflicts occur).
Once you have your mod organizer installed, take a moment to familiarize yourself with the basic interface.
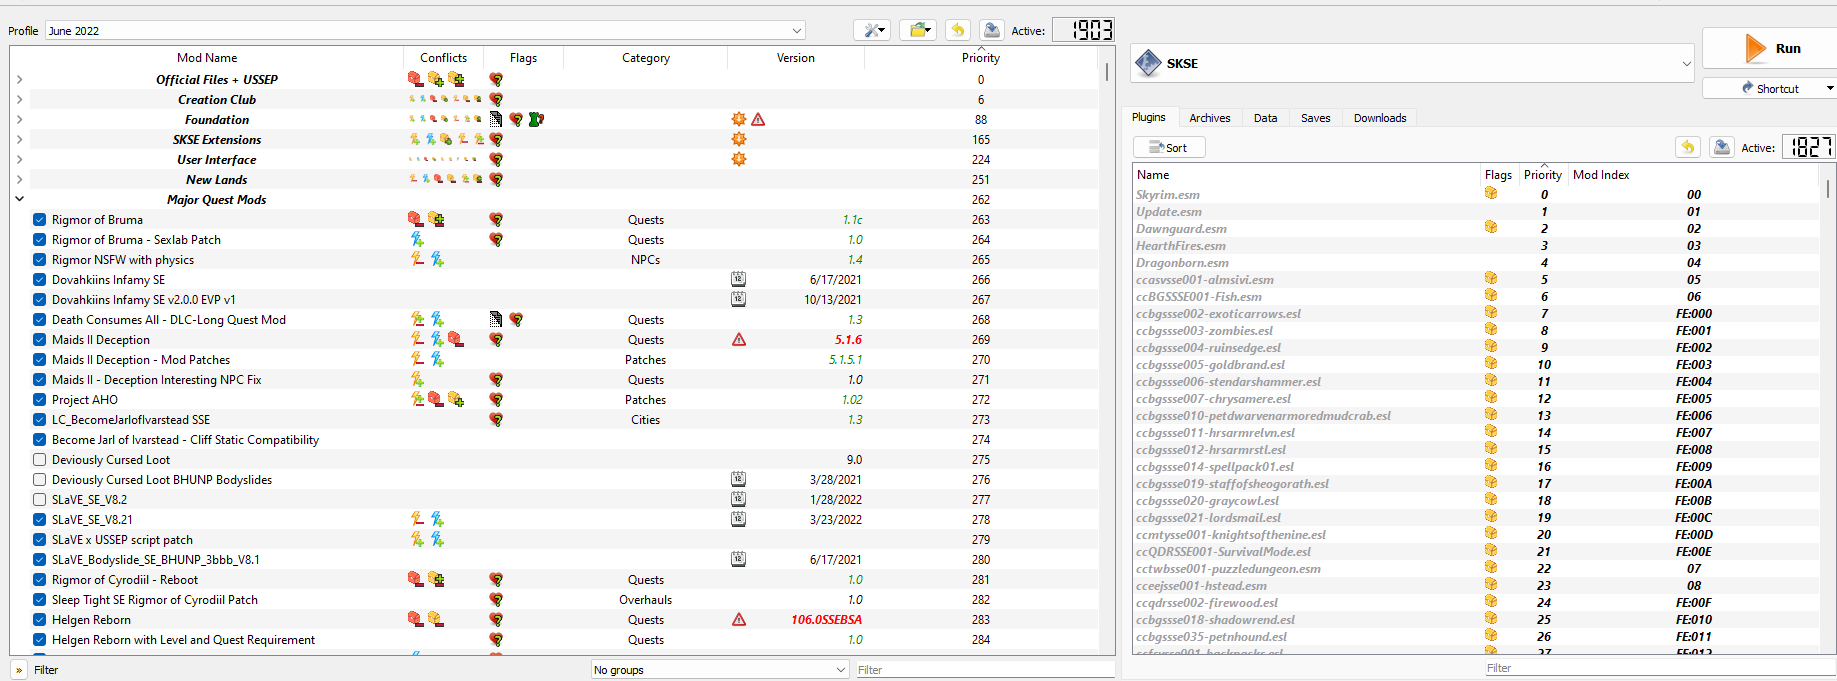
You can see here that there are two panes, each displaying different information.
The Left Pane is the list of mods you have installed. From left to right, it shows...
- The name of the mod
-
Whether the mod has asset conflicts and, if it does, what kind of conflicts it has
- An asset conflict is what two different mods try to provide the same external file, such as a 3D model, a texture, or a script.
- Any flags that the mod manager's automatic scanning sets
- What category the mod is in. Many authors set this in the metadata, or you can set it yourself
- The mod's version number - this is either set in the metadata or it will report the data you installed the mod
- The mod's priority - this will determine which mod "wins" in the event of an asset conflict.
The Right Pane is the list of your plugin files. These are the databases that contain the 'guts' of your mods. Note that in this case you have not just a priority index, but you also have a mod index column. Priority is the order that MO2 will load the files in. Mod Index is the 2-5 byte prefix it will apply to that mod's database entries. For example, Skyrim.esm is 00, while Update.ESM is 01. If you open up Update.ESM you will find unique ID numbers for each database form that all start with 01 (for example, you might see 01105AE2). These unique ID numbers, called Form IDs are important to the game and we'll be working with them many times in the future.
The right pane also has a couple of subscreens.

- Plugins is the default view that you can see in the main screen shot
- Archives shows you which compressed archives (.bsa files) the game will load. This can be helpful for reference but you won't be using it much on a day to day basis.
- Data is very important to tracing specific assets. It shows a folder view of the virtual file system, which you can use to trace individual files and see what mod they are coming from. This can be super helpful if, for example, you have a crash log that points to a specific 3D model or texture but you aren't sure what mod it's a part of.
- Saves shows your saved games. You aren't going to be using this all that much.
- Downloads shows any mods you downloaded through the mod manager. This will be things on the Nexus, basically. It lets you install or reinstall mods without having to manually navigate to them in an external folder.
In addition to your mod manager, we're going to need two more tools for today's session. The first is SSEEdit (aka xEdit). This is a powerful database editor that can compile a virtual database stack for Skyrim and allows the user to understand the different conflict relationships and make edits or patches. The other tool we'll want is the Skyrim Creation Kit. This is the official editing tool and its very useful because it contains a graphical user interface. While xEdit is a more powerful editing tool, there are certain things that the Creation Kit can do that it can't. Therefore, you need both tools to effectively edit your game.
Step One: Installation and Texture Cleanup
Now that we have a feel for our tools, let's download the mod. Since this mod is hosted on Loverslab, it isn't going to use the in-manager download area, so we'll install it by clicking the "install a new mod" button and then navigating to it in the downloads folder.
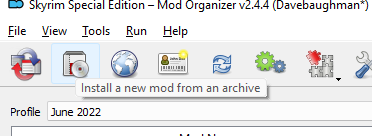

MO2 will bring up an installation screen, which in this case is pretty simple: it just asks us what to install the mod as. If the mod had additional installation data included, such as FOMOD files, MO2 would detect and use them.

We'll change the name to match the download screen and then click "OK".

With that done, the mod will appear in our installation list at the very highest priority number.

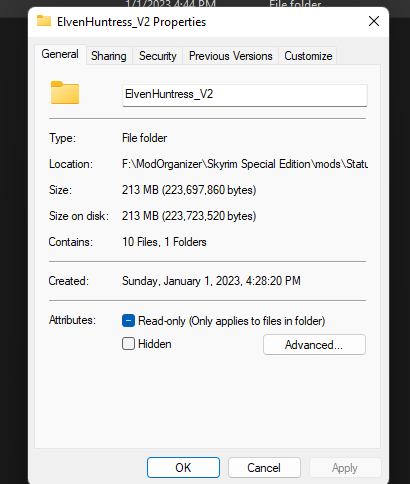
Before we even activate the mod, we need to check on something right away. The author of this mod has a history of uploading uncompressed textures that take up a lot of space. As you can see below, that seems to be true here as well.
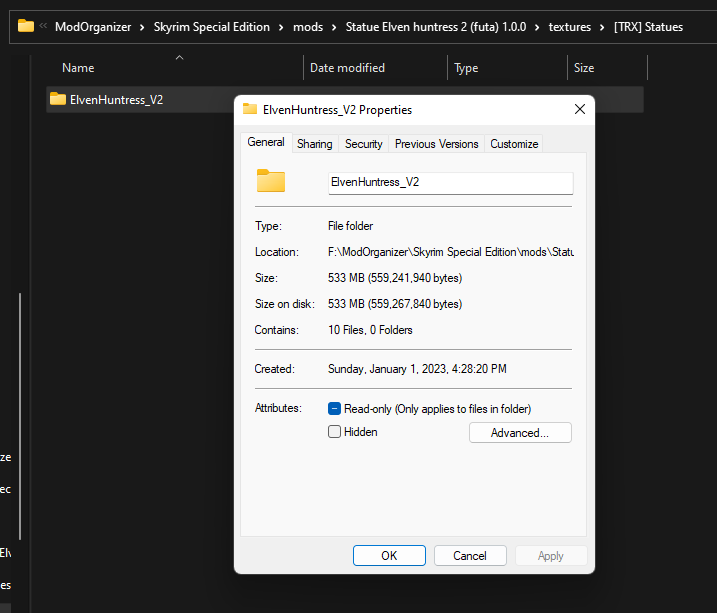
There are several different tools for compressing textures, but we're going to use Compressonator. I've had good results using this tool on TRX's work in the past, and I anticipate it'll also work well here. We'll load up all this mod's textures and then use the 'process selected files' to resave them with BC7 compression.
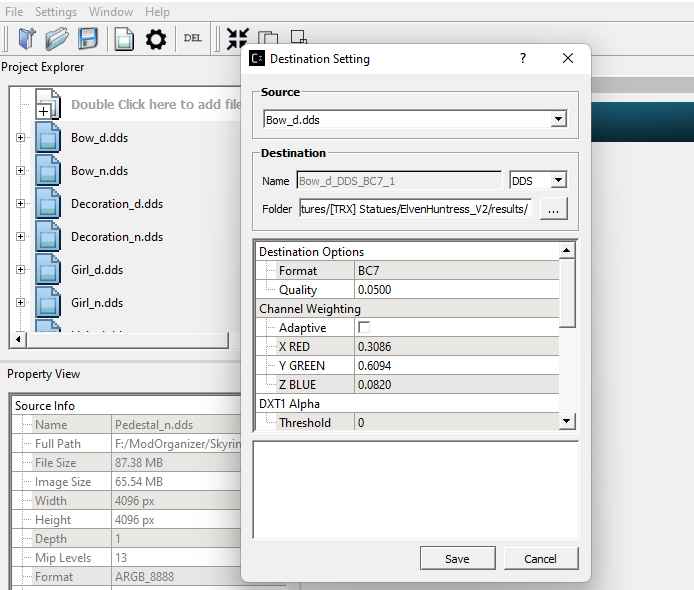
With that done, you can see that we've significantly reduced the size of the textures folder.
Step 2: Initial Assessment
The next thing we want to do is look at this mod and see if there are any immediate issues that we need to deal with. We'll start by clicking the mod's check box in MO2.

We can see here that the game did not put up any conflict flags. This is convenient, and it means that every file that came with this mod is unique. Next, we'll move to the right side of the screen and find the mod's plugin file. We need to drag it 'up' until it is above any conflict resolution patches we already have in place.


Now the plugin is in the right spot for us to look at it in xEdit. We can already see one potential issue: the plugin is getting assigned a 2-byte load order index (EF). This means that instead of using one of the thousands of 5-byte addresses, the mod is using one of only 255 'full size' addresses. If this mod is small enough to use a compact address, we need to change it over so it isn't taking up an excessive amount of space.
Now let's load up xEdit and take a closer look at this mod. We'll start with the file header, which we can do by just clicking on the plugin in xEdit.
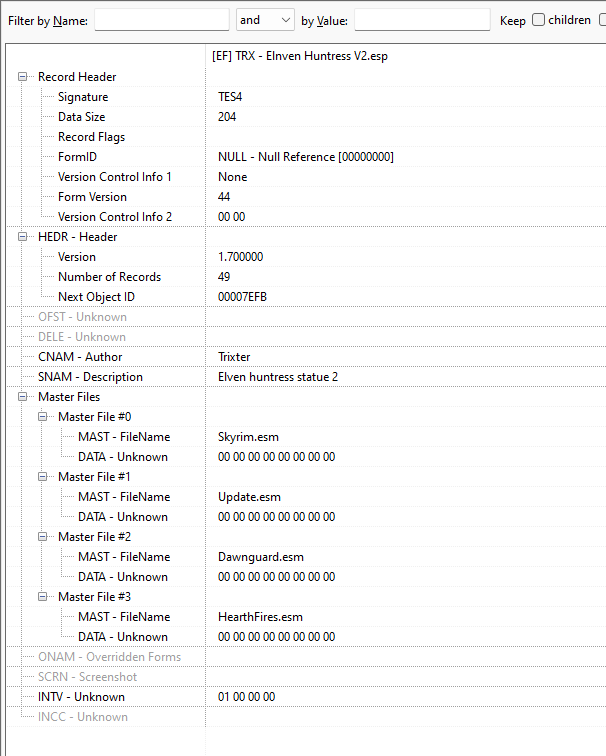
We can see that this mod has only 49 records, far below the 2048 record limit for receiving a 5-byte address. So that's one thing we need to take care of. Now, let's click the "+" icon by the plugin and see what it contains.

We've got a container, a static (the statue), and edits to the worldspace. There's also edits to the navmesh, which may or may not be an issue. We'll look at all these things in more detail, but first let's make sure the plugin is clean. I'm going to do this with the manual cleaning functions for illustrative purposes, but you can also get away with using the Quick Auto Clean function - see section 7.3 of this link.
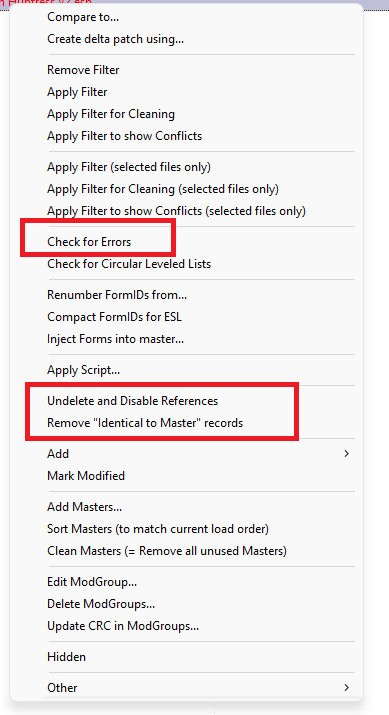
Once the filter applied, we want to run the three operations illustrated above. You can find them all in the right-click menu. For this mod, none of these checks turned up any problems, so we can move forward.

Next, let's filter the mod for conflicts and see what shows up. Once more, we can see that this mod maintains a light touch.

Form ID 0000003C is one of the most conflicted forms in any build, because almost anything that touches the exterior world also has to reference a copy of this form. However, when we look at it you can see that the actual conflict is pretty limited - it's basically forwarding vanilla data that's conflicting with other mods.
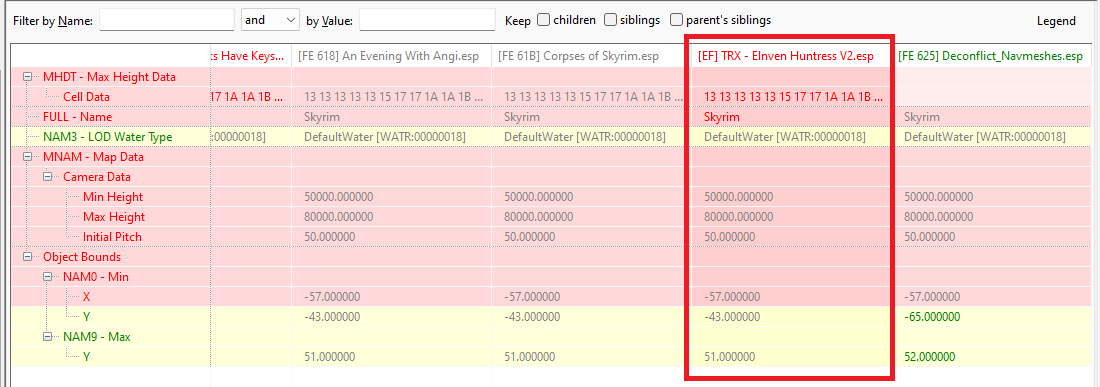
As long as this form isn't overriding changes made by other mods, then it doesn't require any special handling. In my case, some mod or another edited the object bounds and I already had a patch in place to preserve this information. You can see it on the right. So... so far, so good. This mod seems pretty clean.
Step 3: Deeper Investigation
Now let's look at this mod from a content point of view. It has three essential elements:
First, it adds a form for the statue and object references to put it in the world. It also edits the navigation mesh for that location so NPCs don't try to walk through the statue and get stuck.
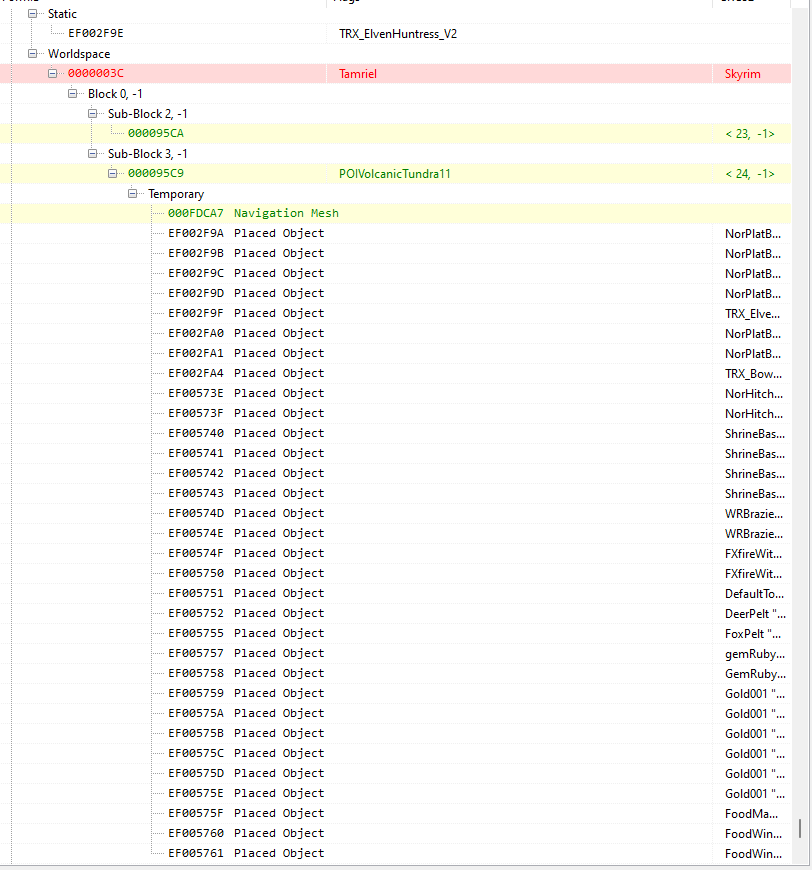
There's not too much we need to do here yet, but let's take a closer look at the yellow highlighted forms. The first two of them are top level cell data - this is information the game uses to define the properties of a space in the game, and because of an engine limitation, any mod that alters the contents of a cell has to contain a copy of the top level cell data. You can see below that these records are harmless; they only show up as conflicts at all because they contain water data which my water mods are conflicting with.

However, the top level cell data for 23, -1 is totally orphaned. As you can see, there's nothing changed in the actual cell. This is almost certainly just a dirty edit that the Creation Kit made without the knowledge or approval of the author. We are going to remove this form from the file along with the Sub-Block 2, -1 header.

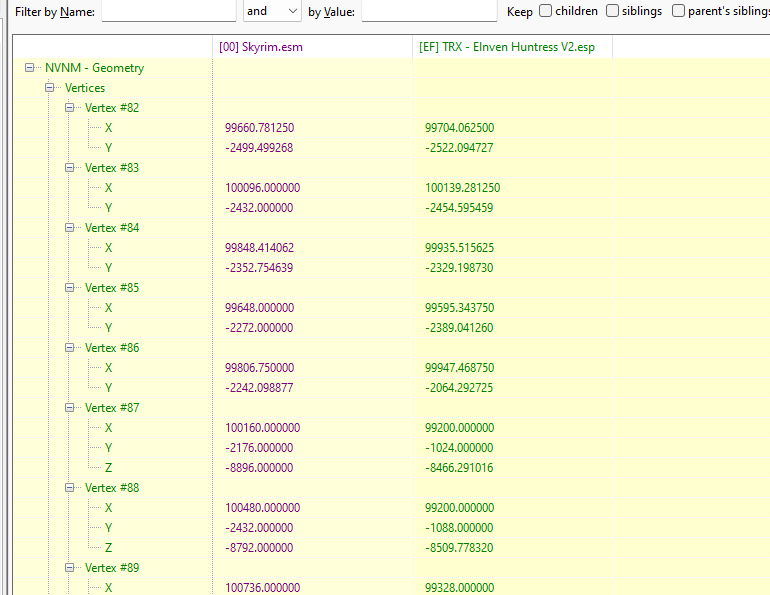
What about the navmesh? Below you can see that its only editing the vanilla navigational data. Unless we run into problems within the game, we can leave this alone.
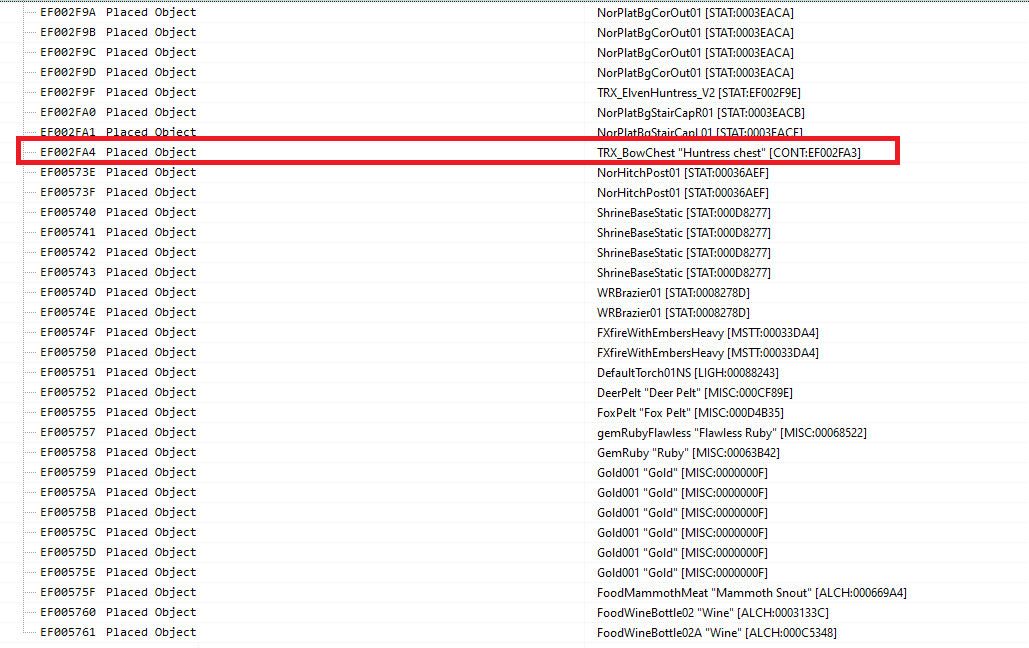
Of the other (white) entries, only one of them raises any concern to me: "TRX_BowChest" maps to a unique container for this mod, and it sounds suspiciously like a cheat chest.
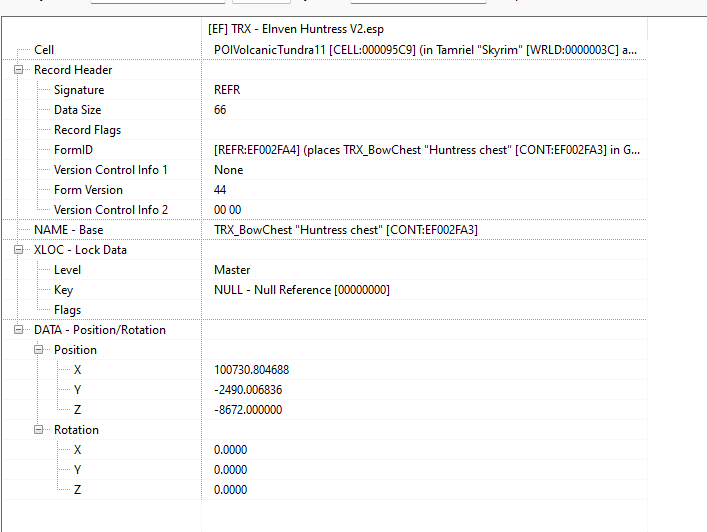
Let's see what this chest contains - its that "container" entry we observed earlier.
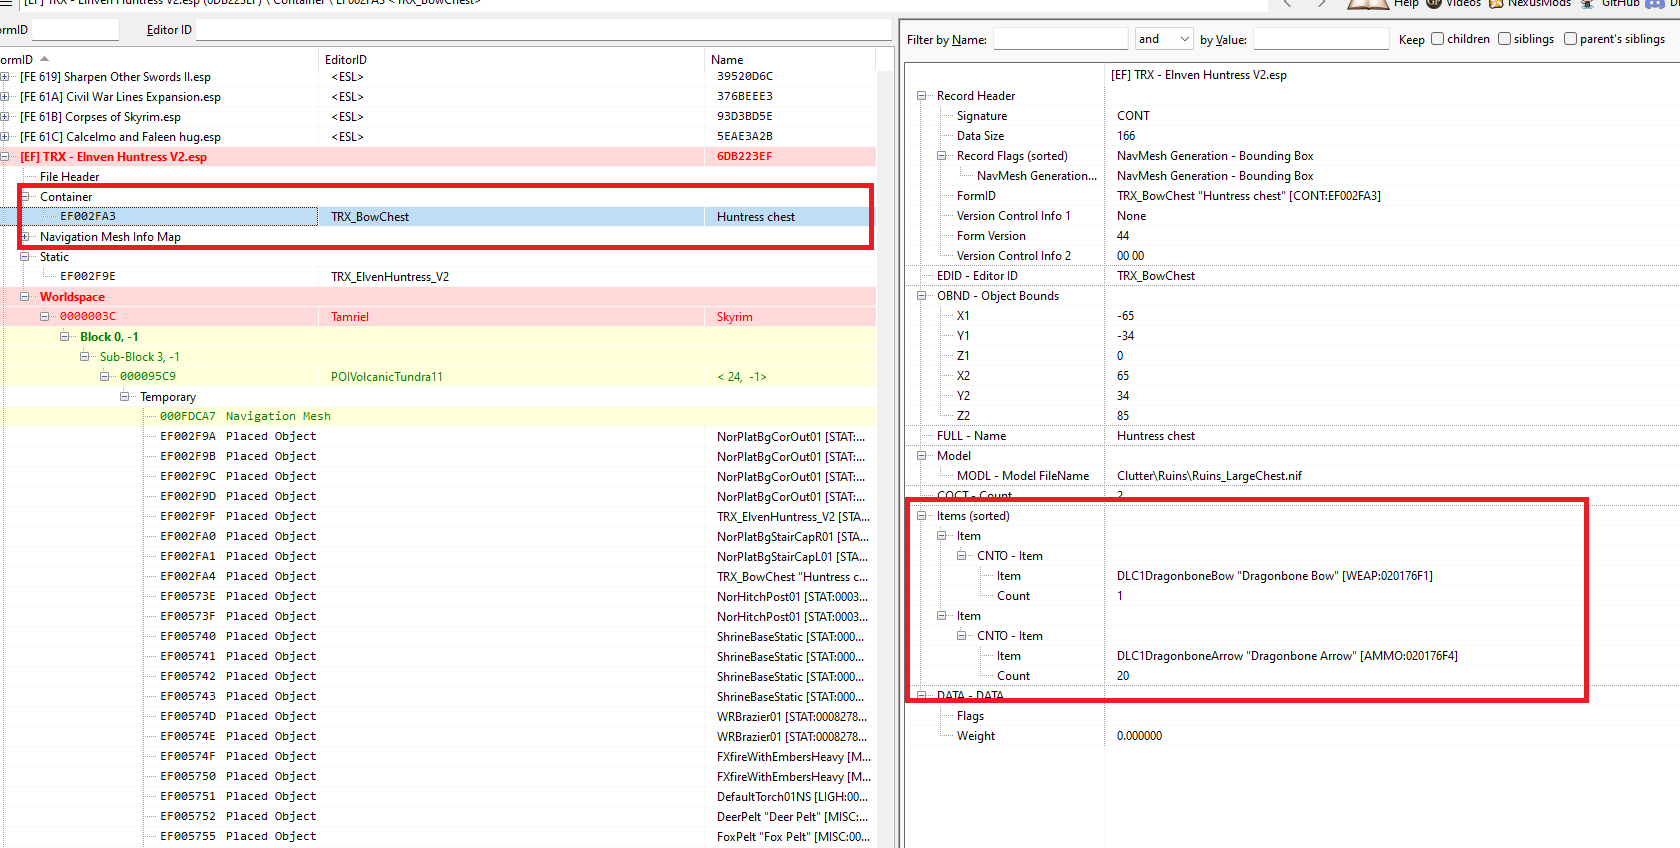
So there you go: this is really overpowered, especially since there are several quests that will send a character to this spot well before level 40+. Conceivably we could replace the contents with something more balanced or even just with generic, leveled treasure, but I'm just going to remove the chest. We'll do that by first removing the placed object, and then by removing the container.

At this point, we are almost done. We'll compact this file for ESL, which will change the form IDs to use only 3 bytes so we can give the mod a 5 byte address. Then we'll add an "ESL" flag to its file header, so the game loads it into the 5-byte addressing group.
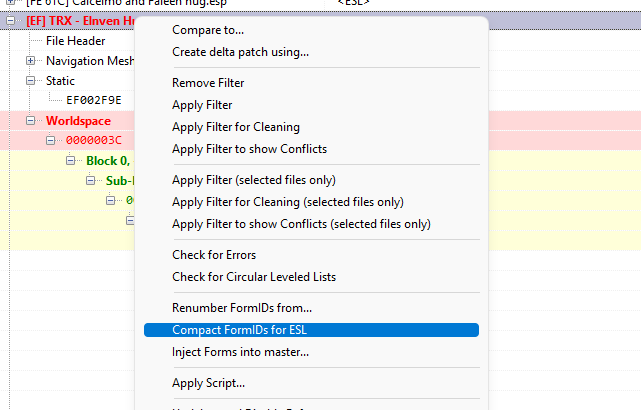
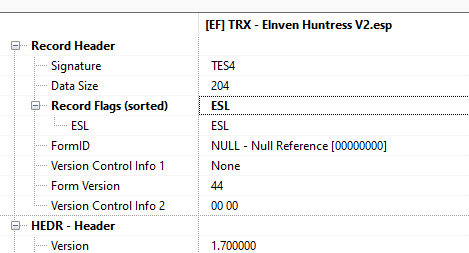
OK, I think we're done here. Let's save the file and go back to MO2. You can see below that the mod now has a 5-byte address (FE60F)

The last thing to do before we go into the game is to set the priority for the mod itself. I've already set up a few general categories to help out, and in this case we'll assign this mod to "landscapes and locations."
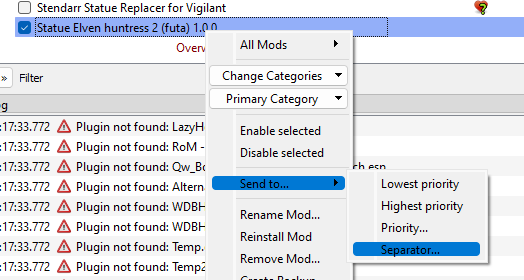
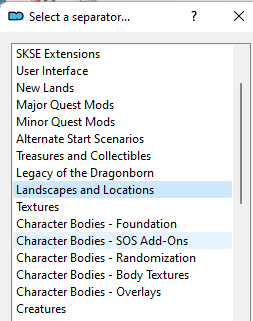
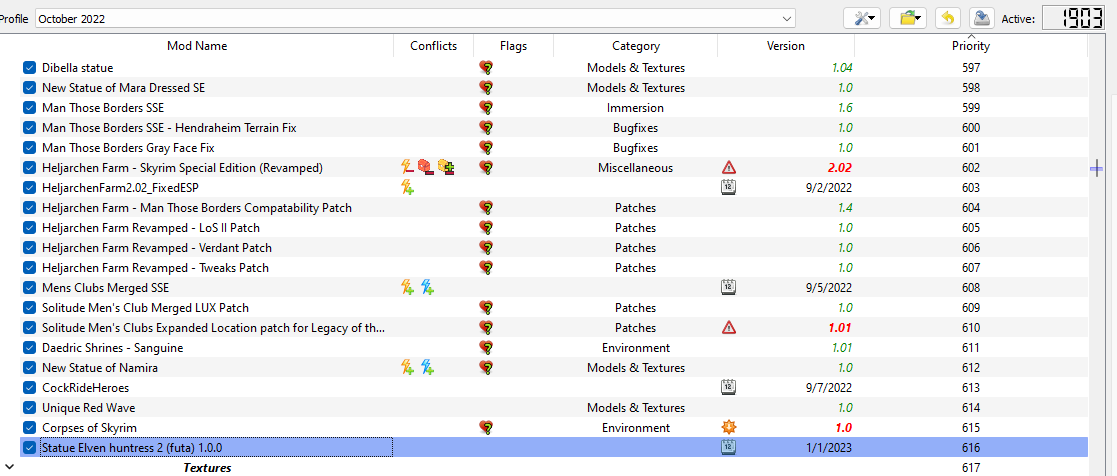
Now you can see below that the mod is clustered with similar mods. If we had asset conflicts, we might further fine-tune the placement to get it exactly the right spot, but since we don't have any of those this is just for organization purposes and we can leave it at the end of the section just like you see here.
Step 4: In-Game Examination
Now let's get into Skyrim and visit the location. We'll take this cute little kitty down to the statue (protected by turning off AI detection and giving her god mode). Once there, we'll make sure he statue looks right and also walk around the area to make sure nothing is screwed up in terms of collisions or landscaping.
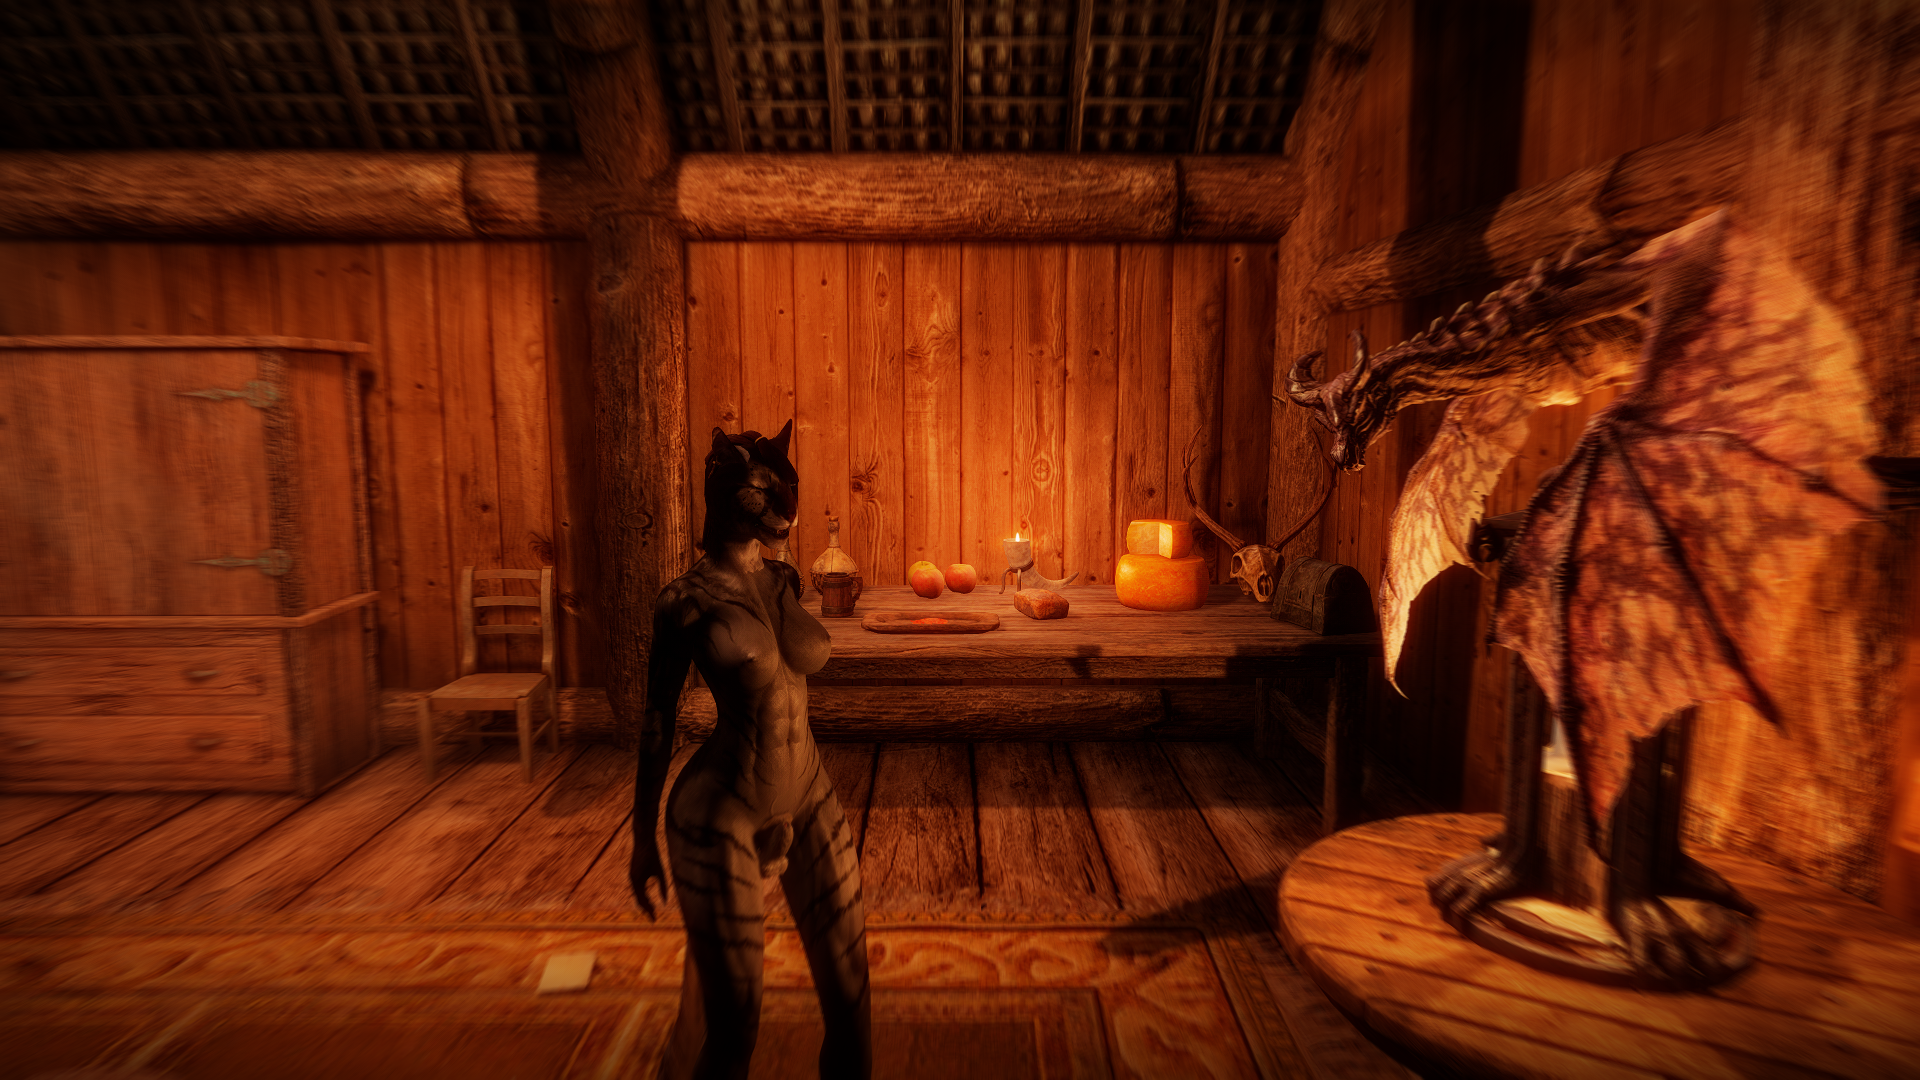
As you can see, the random Futanari chances that we set up a while ago seem to be working right, as are the weight based skin normal map distributions.
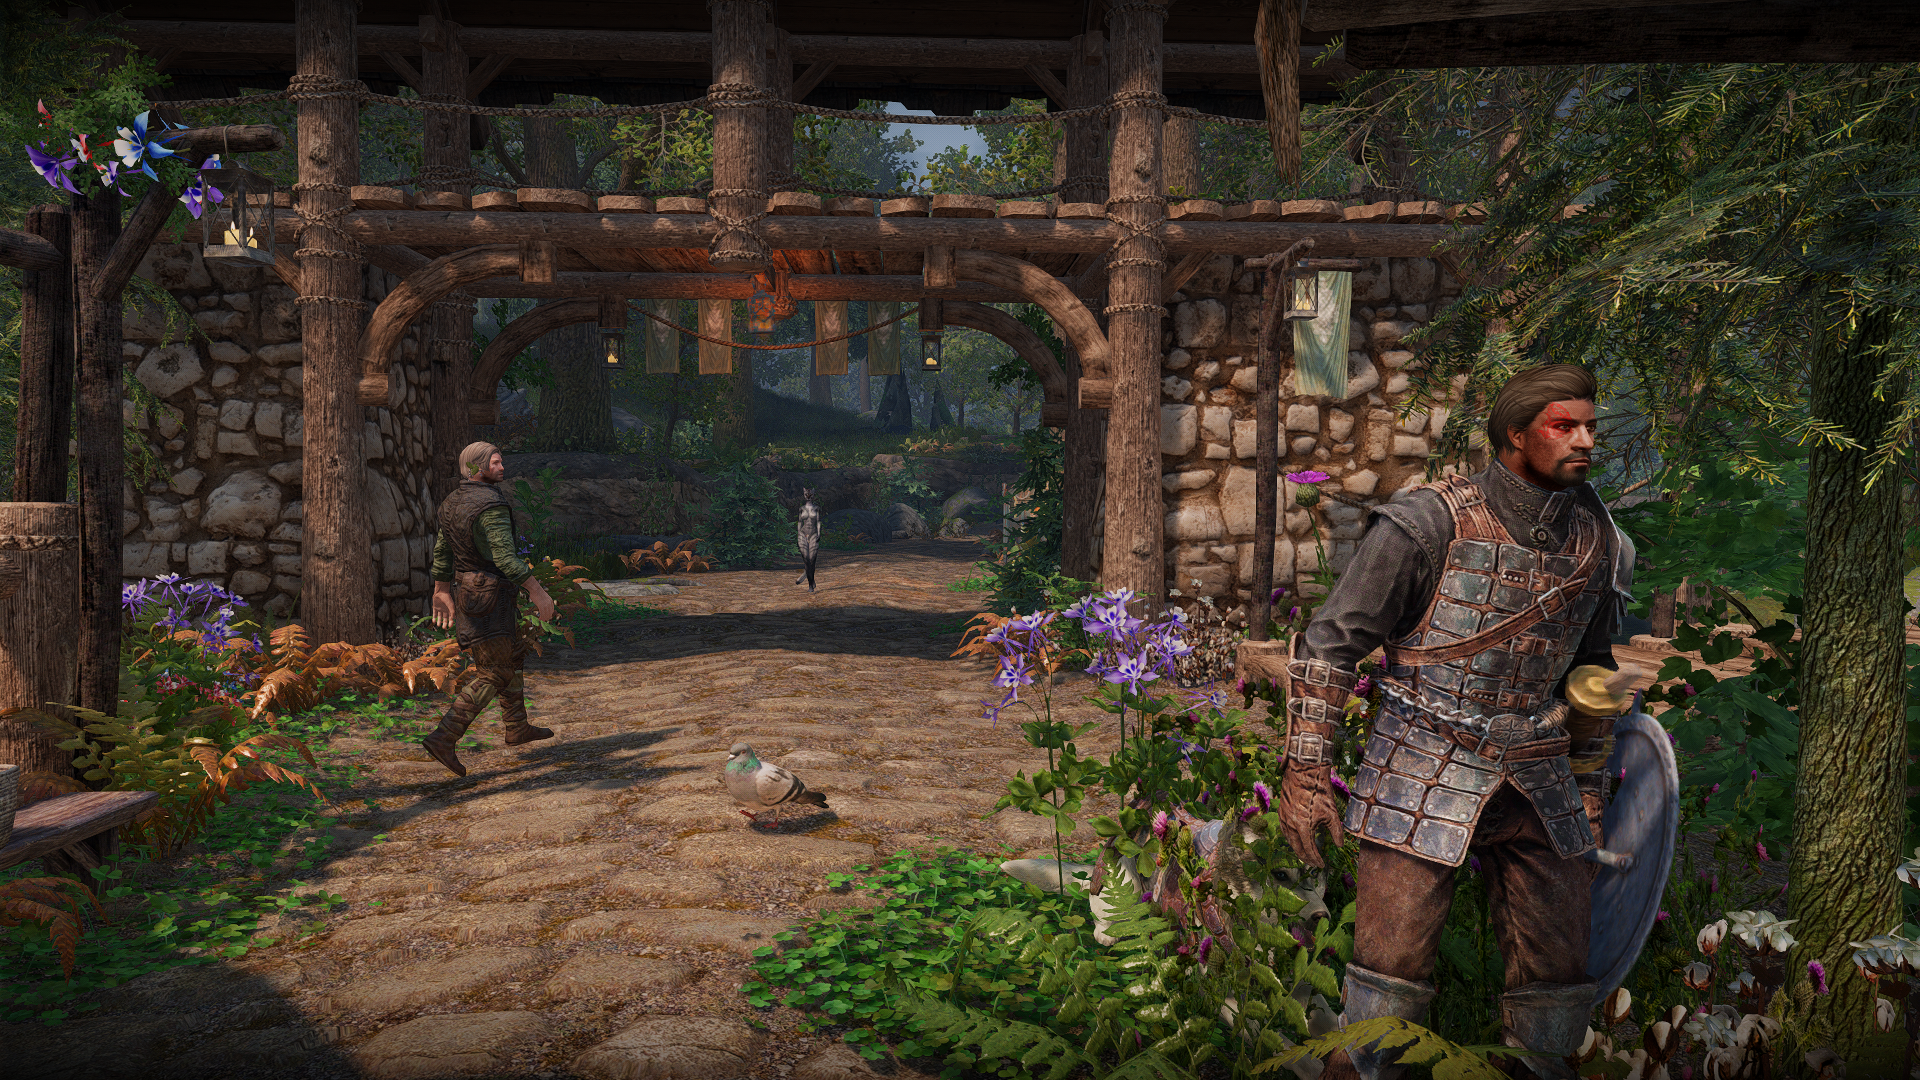
OK, we made it to Riverwood, so just short of half way there.
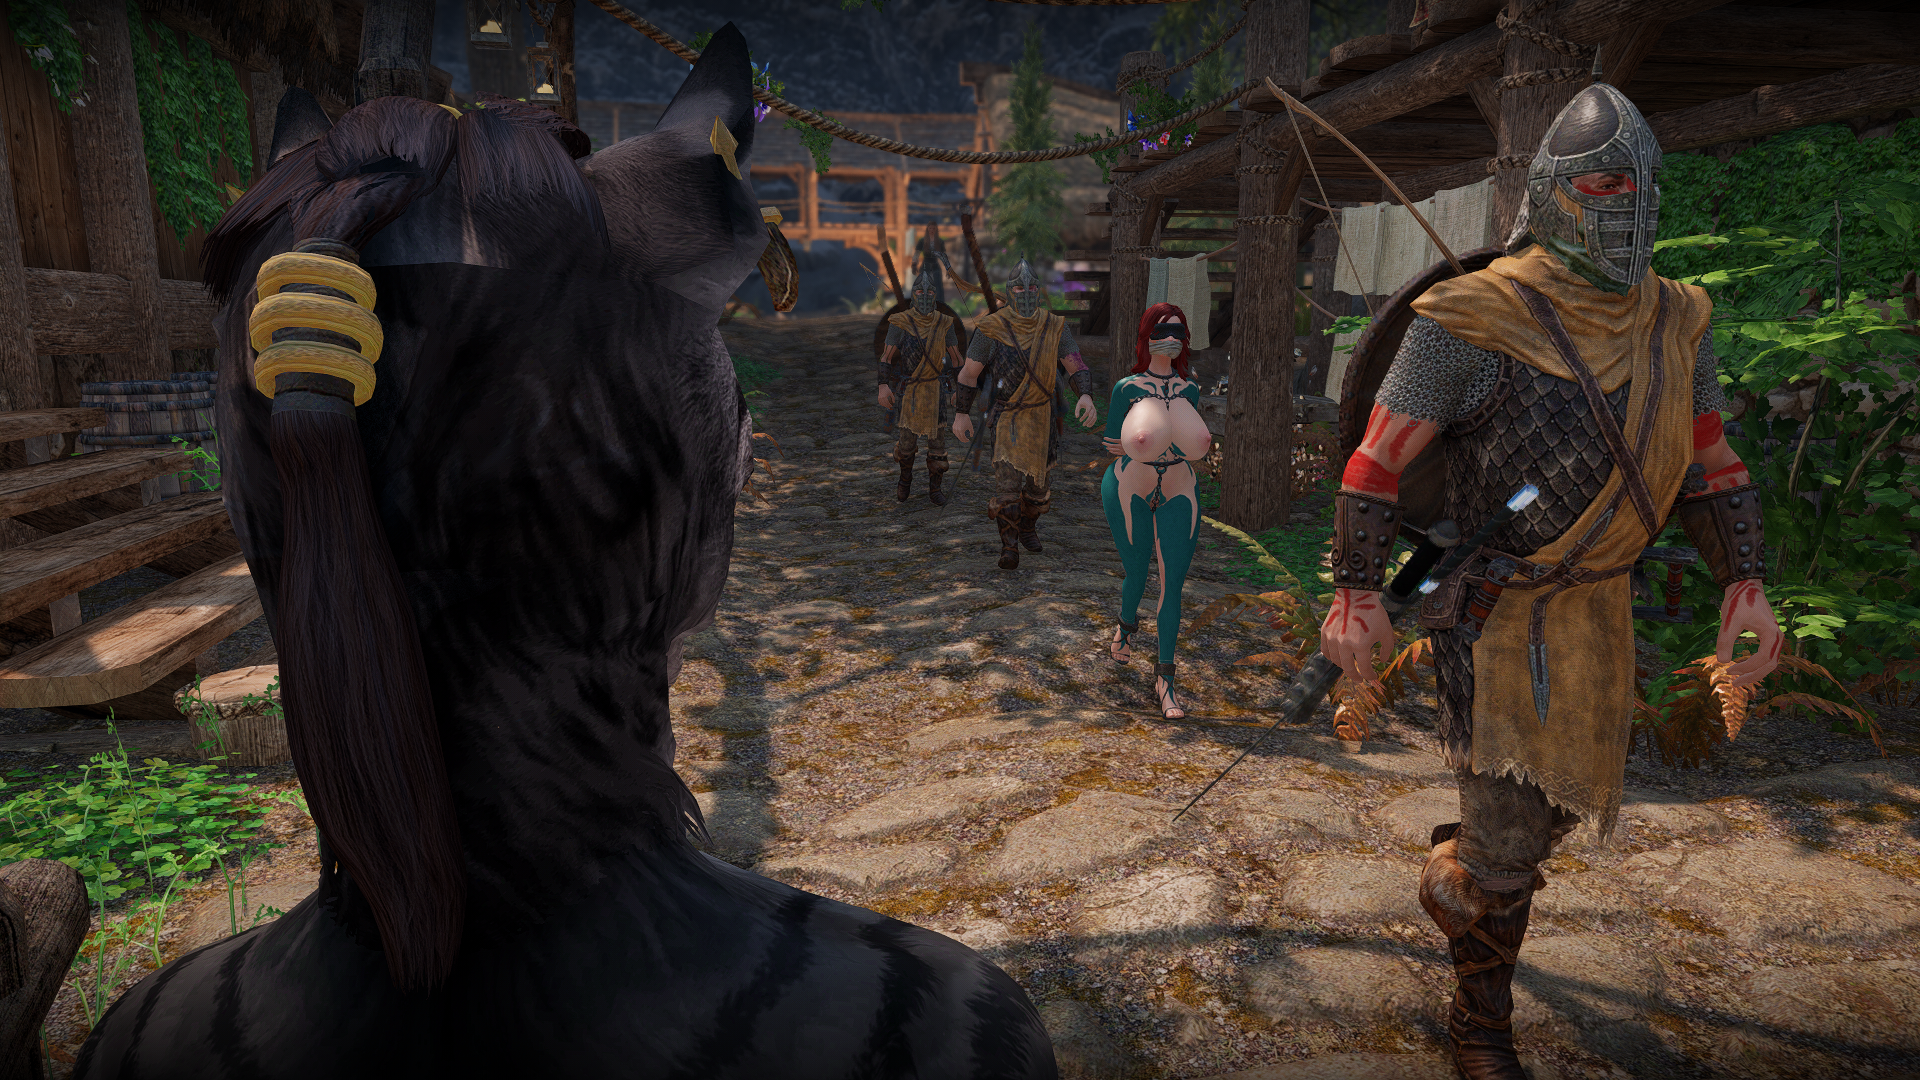
Yuriana helpfully confirming that distributed bodypaints is working right...
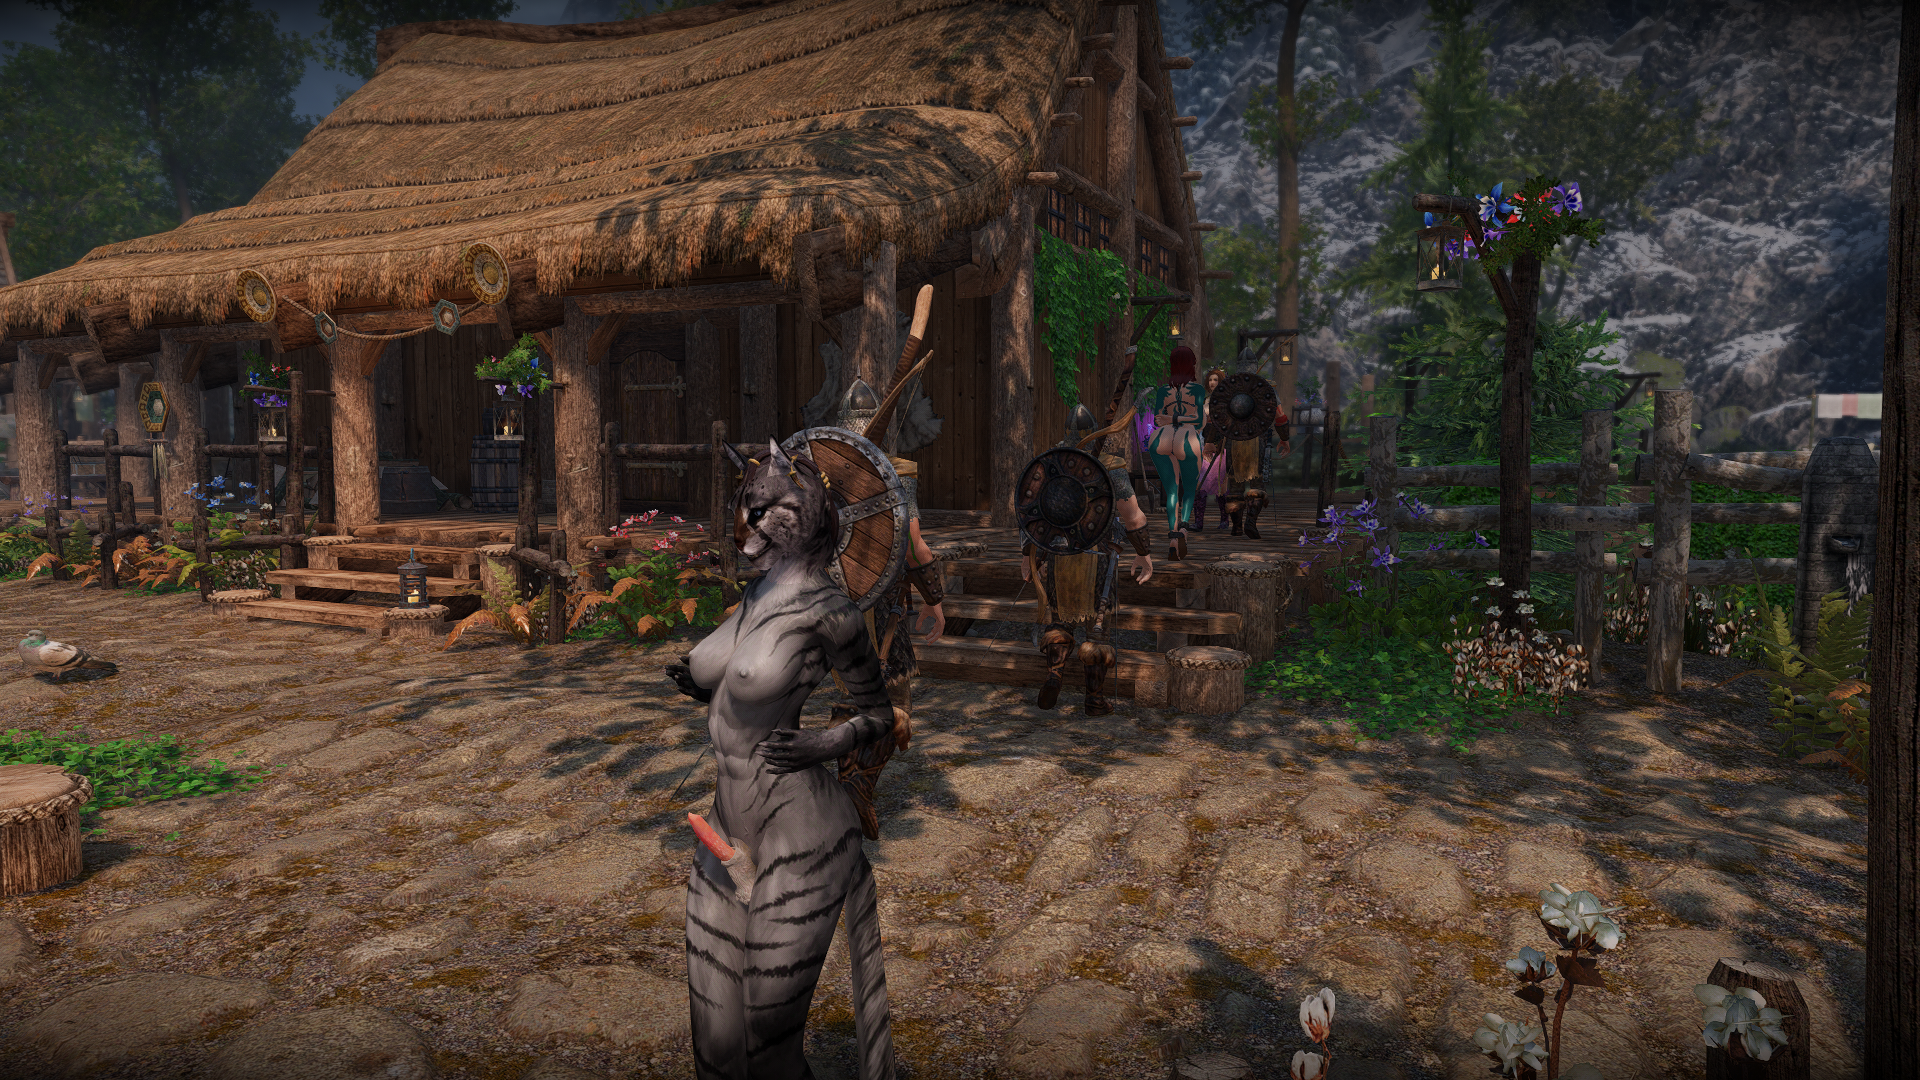
Evidently our test character found that interesting!
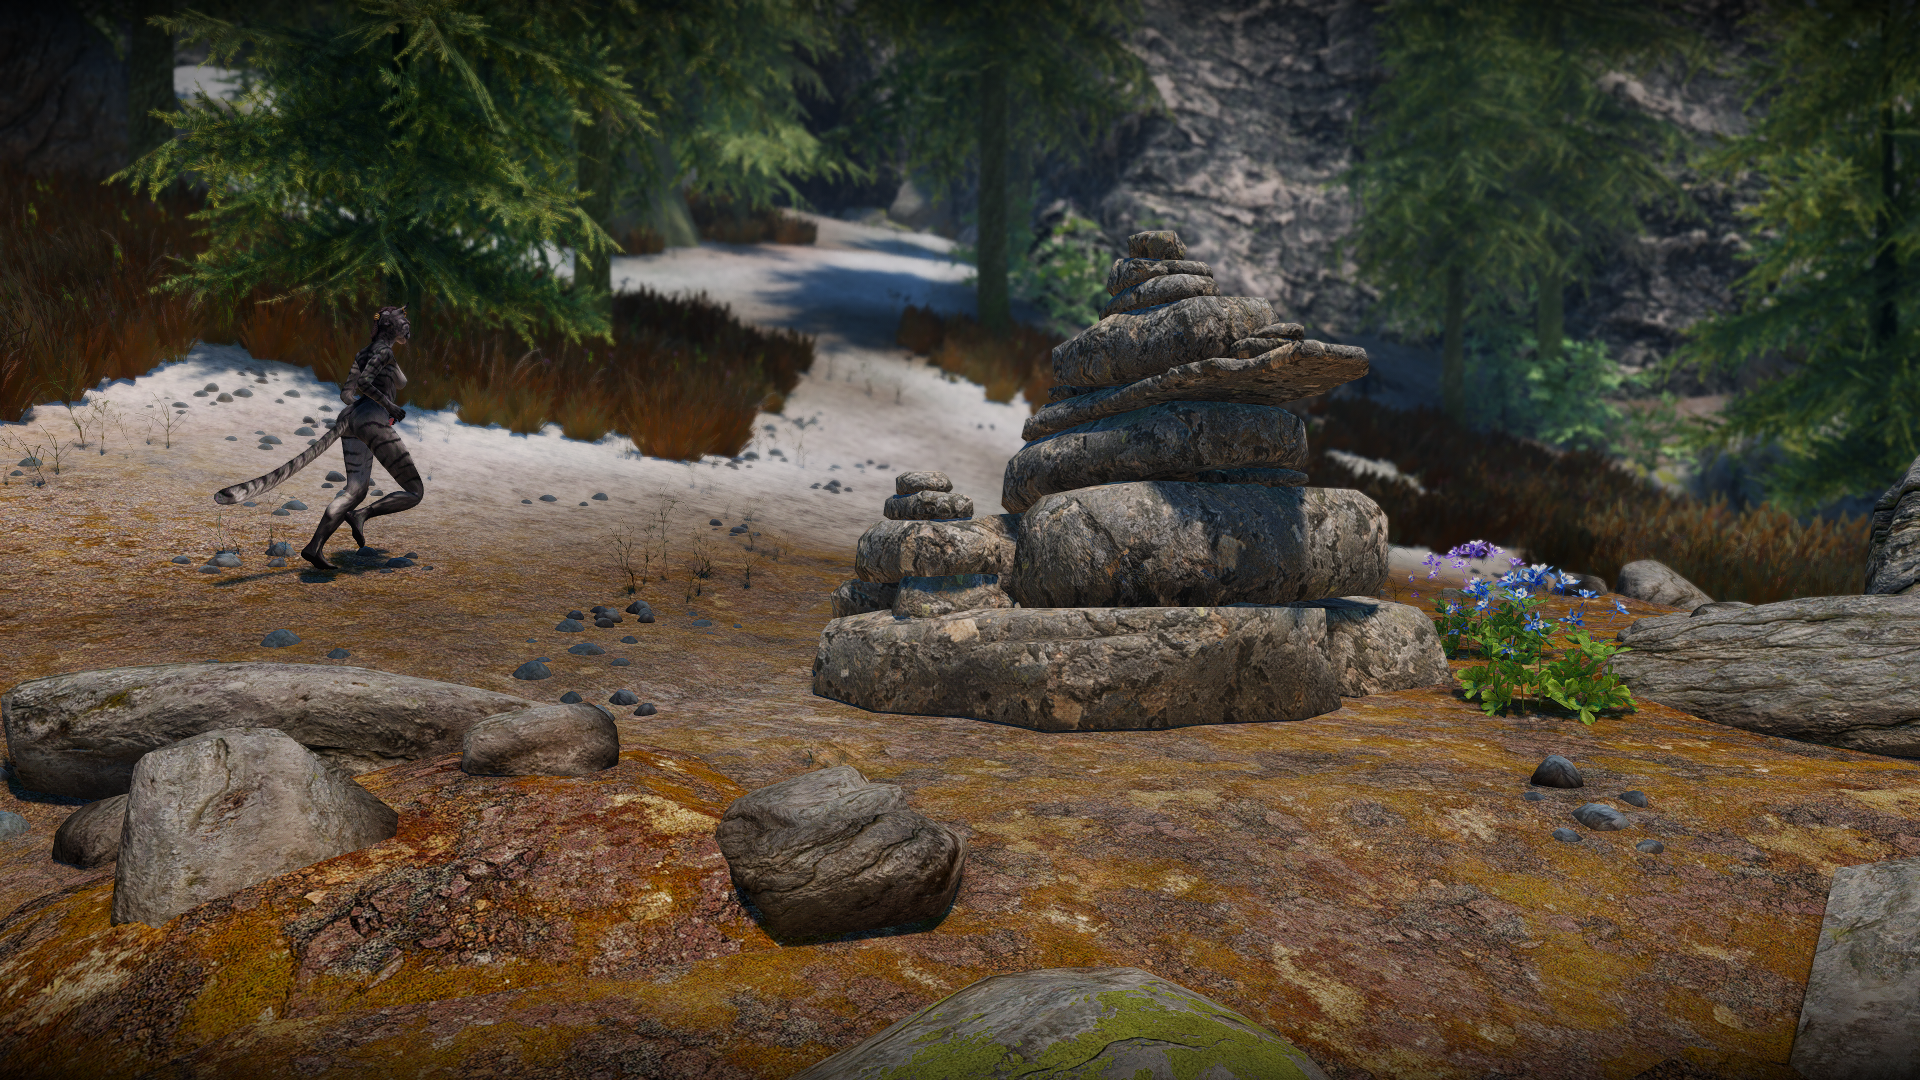
Almost to the shrine!
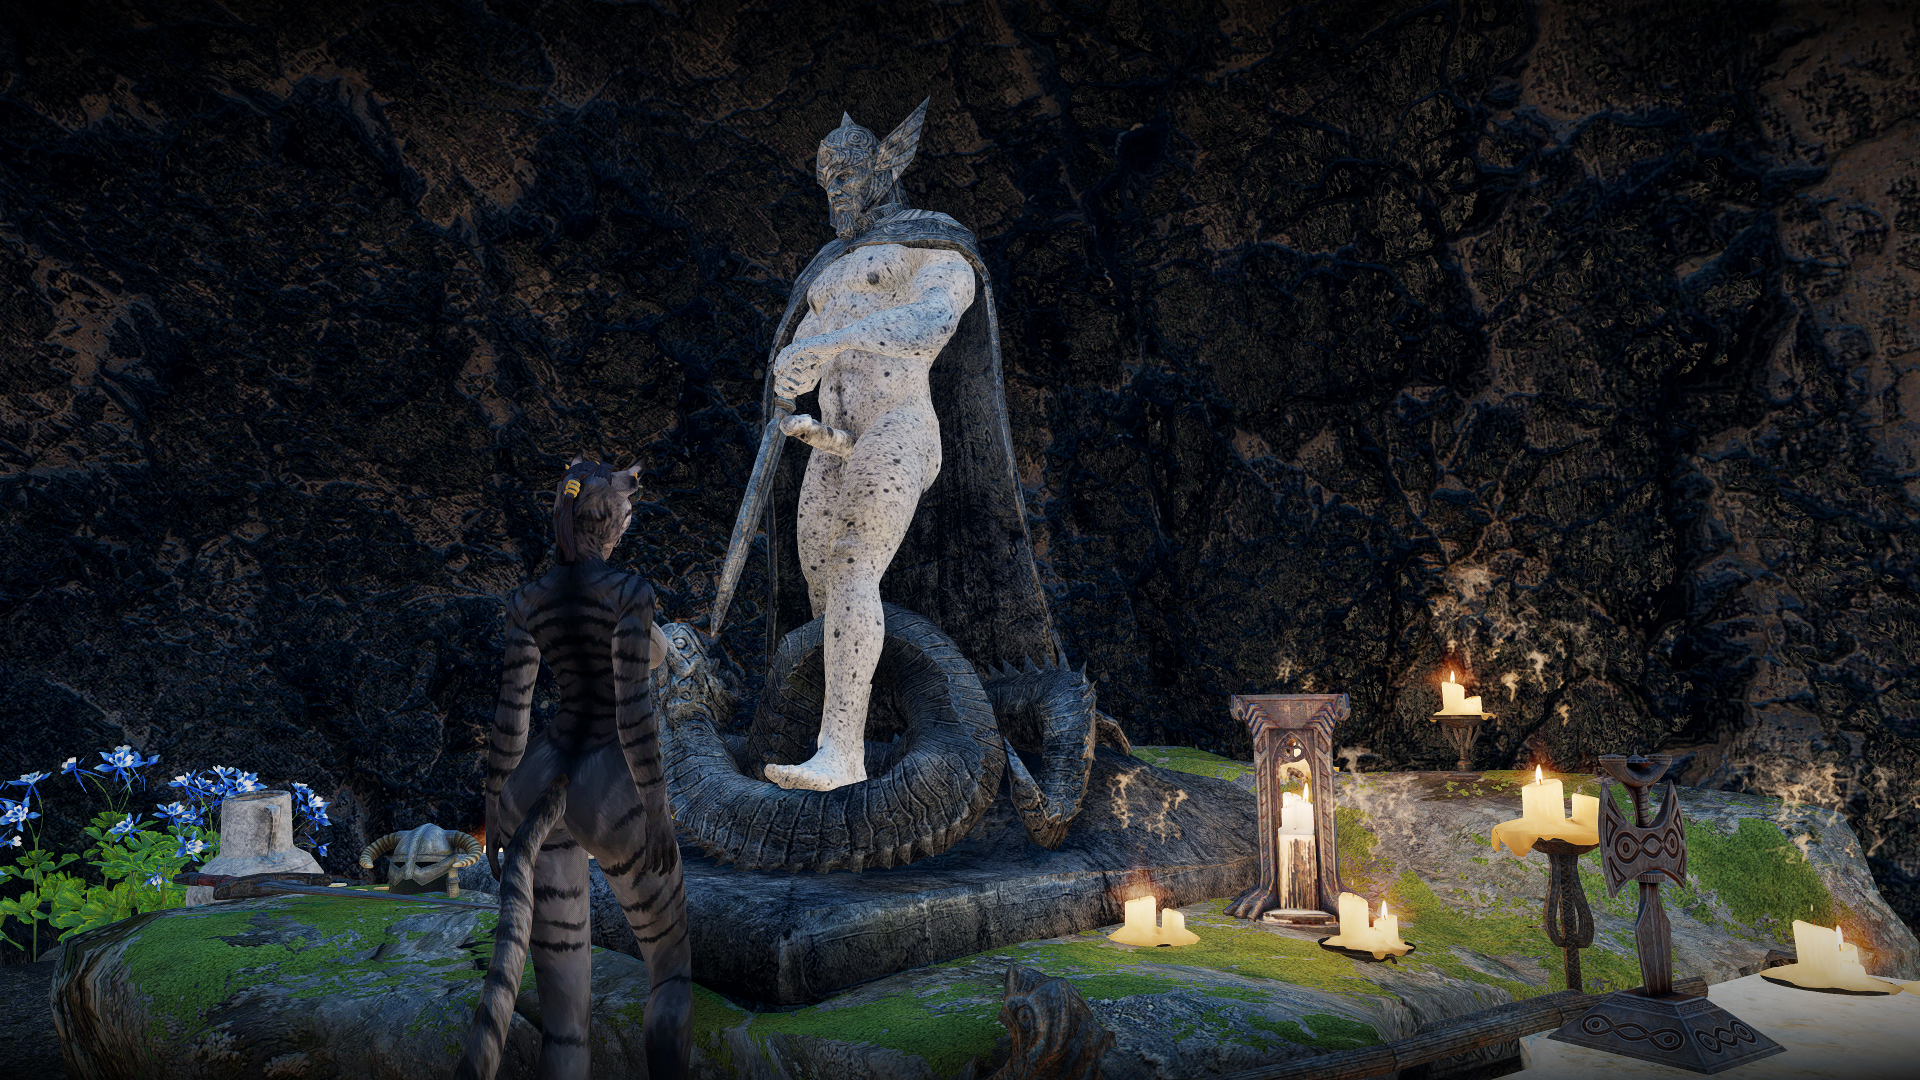
Hmm... it seems like I might have gone to the wrong shrine. Let's use a console command to warp to the right location.
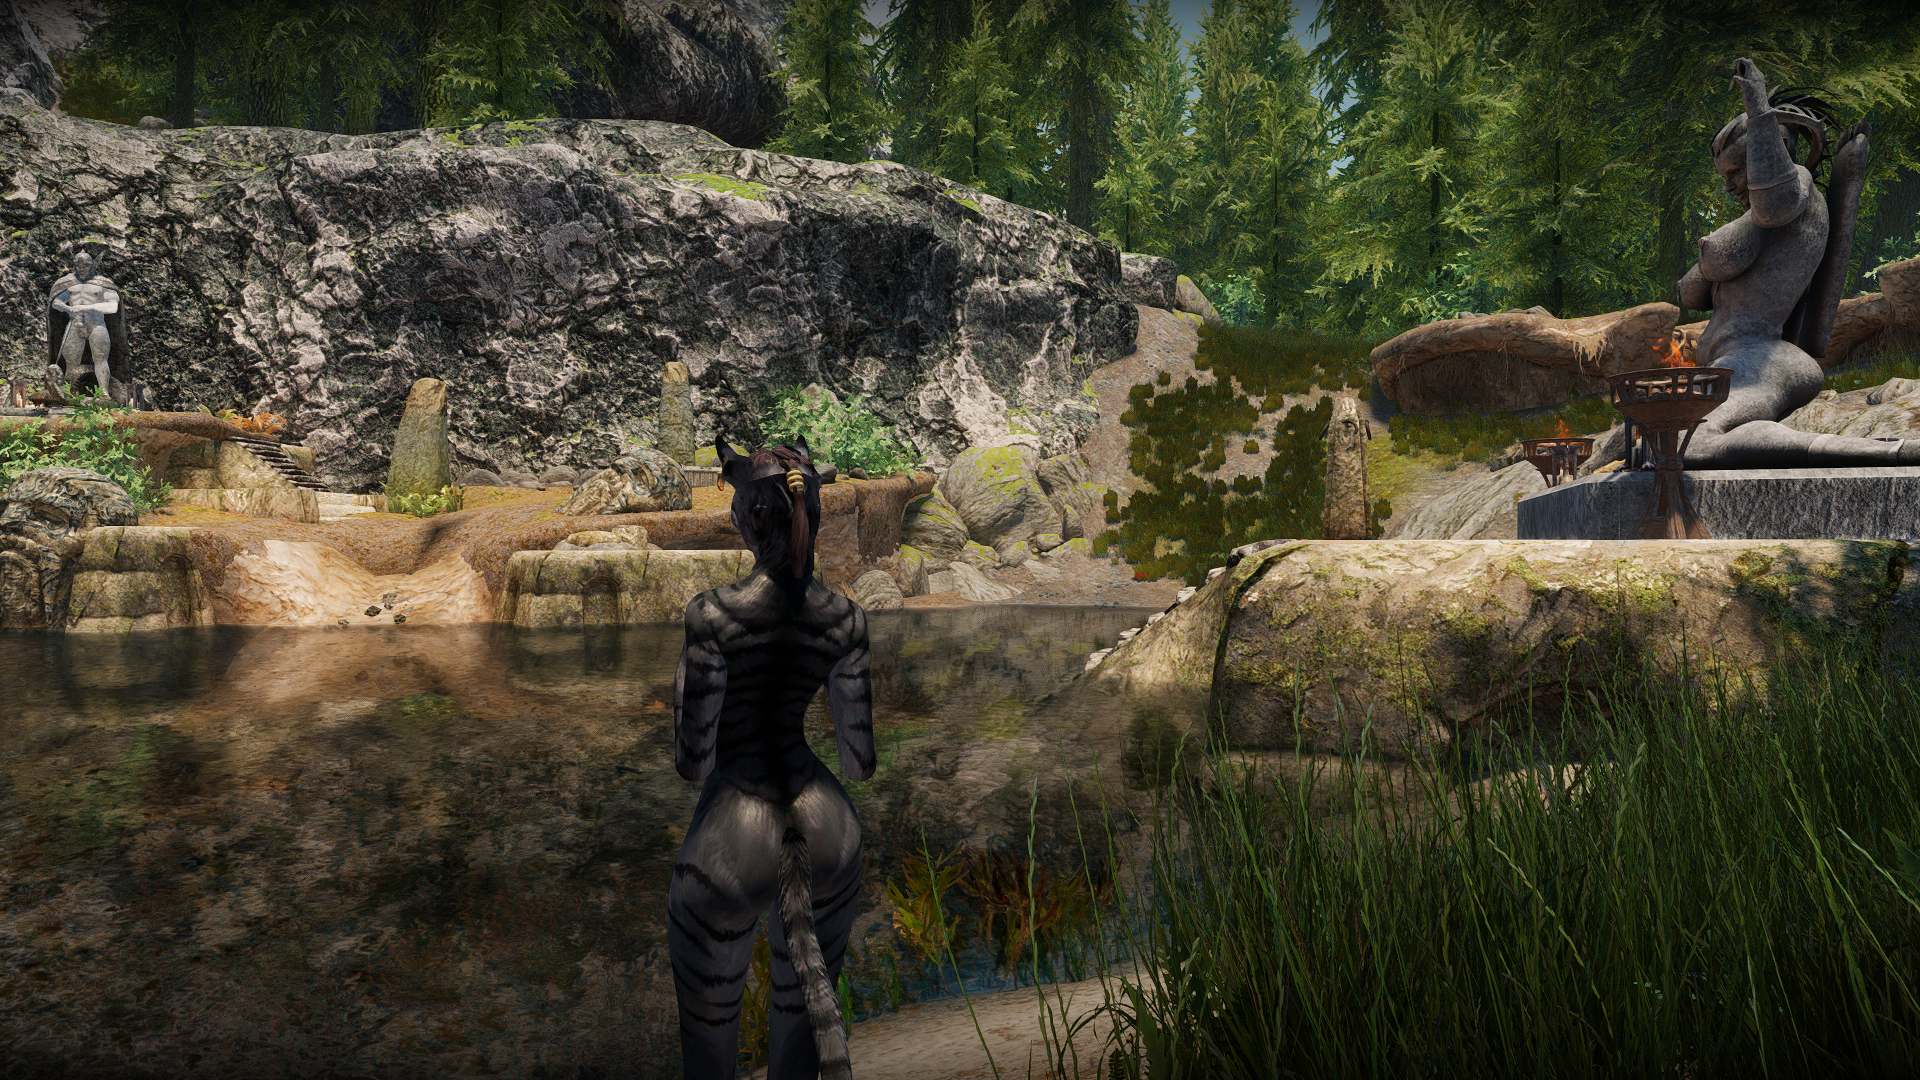
That looks better. I probably could have just used the console command right away, but I like to walk to locations (within reason) so I can take a look at the surrounding world and make sure everything is set up correctly.
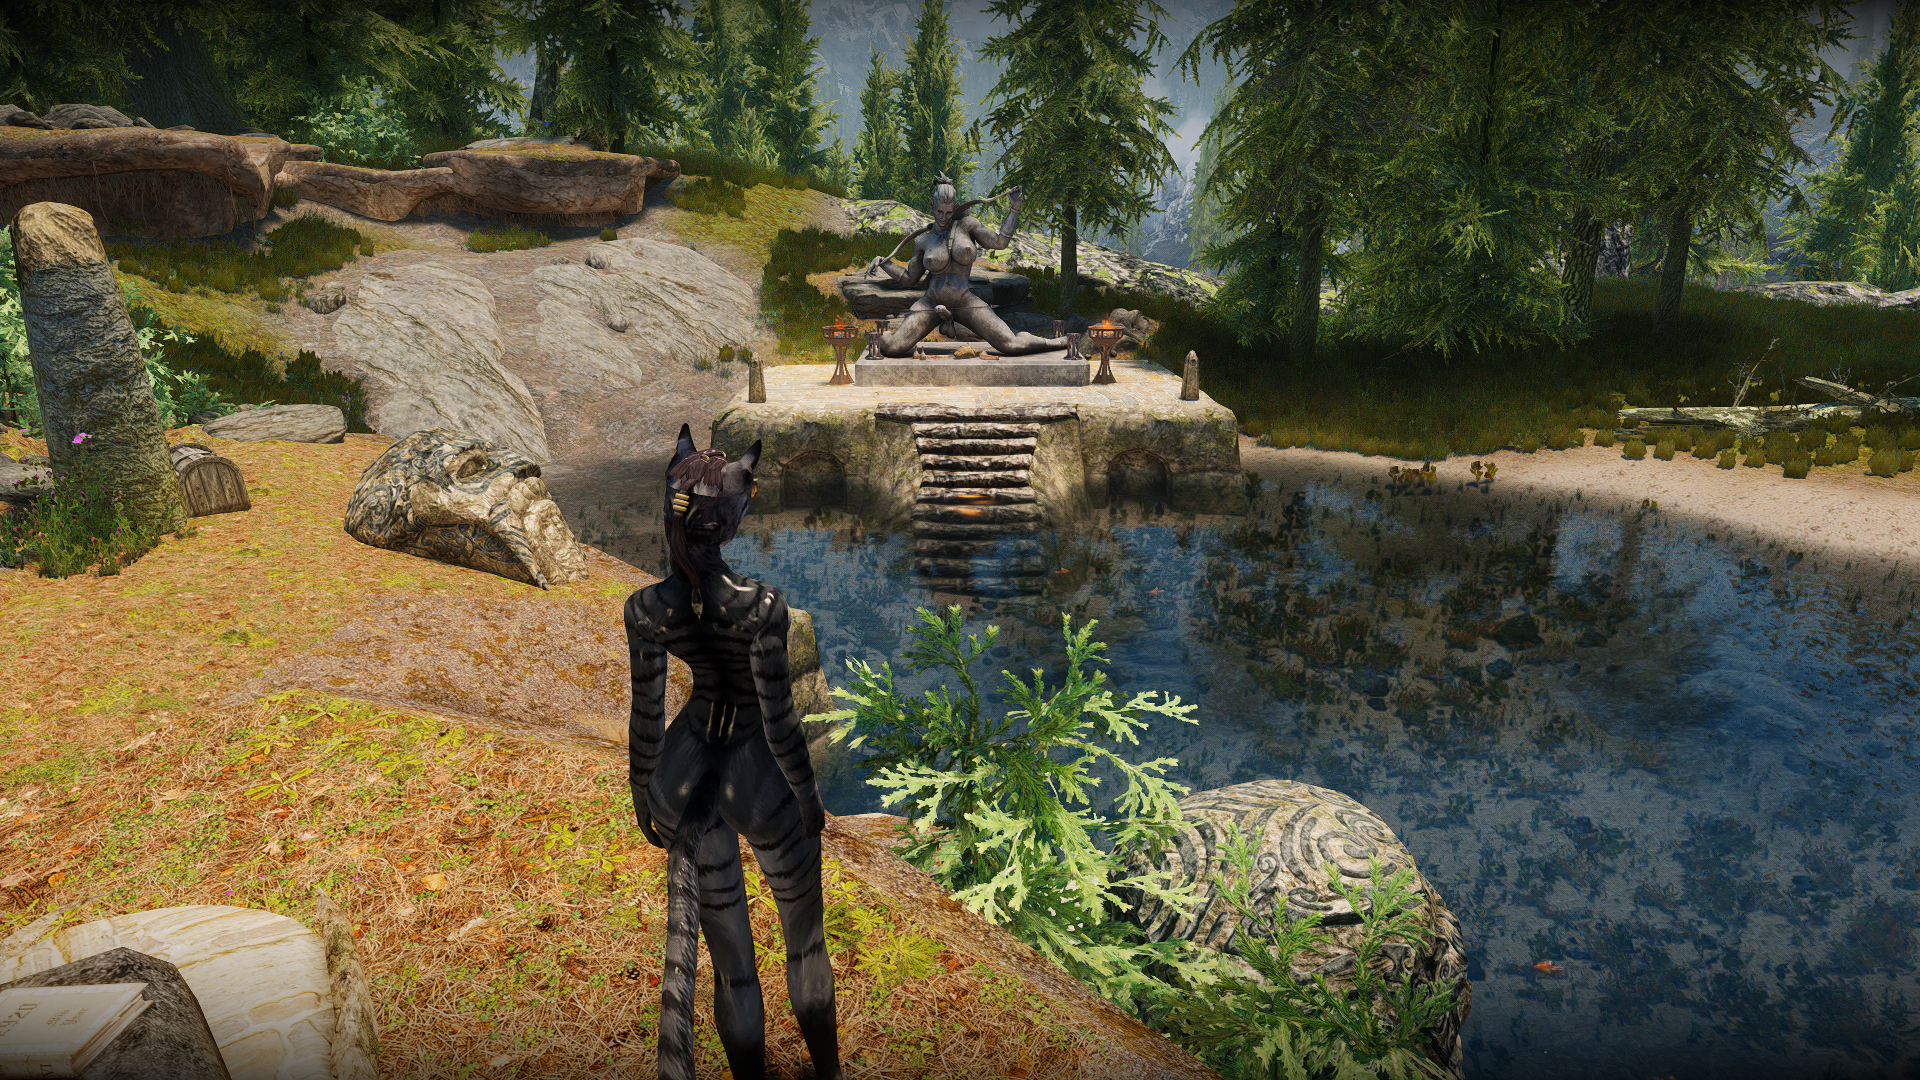
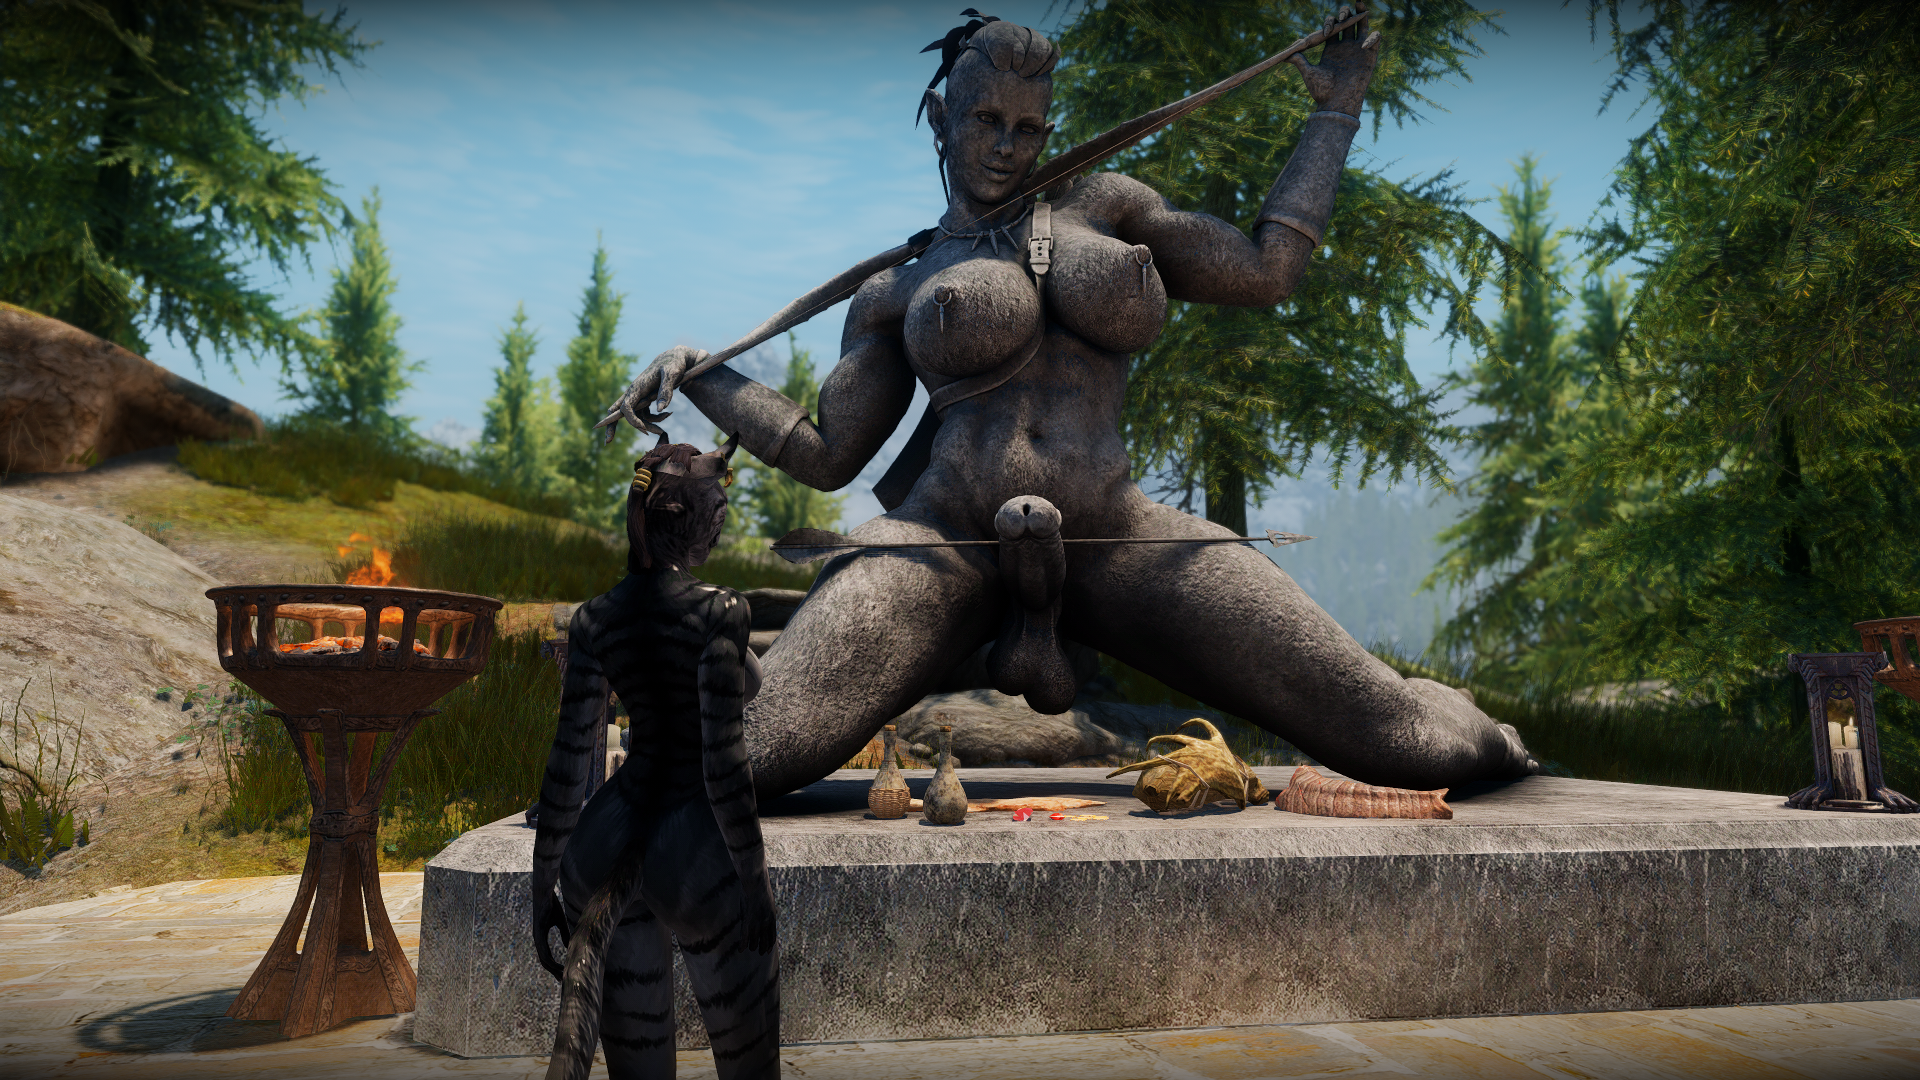
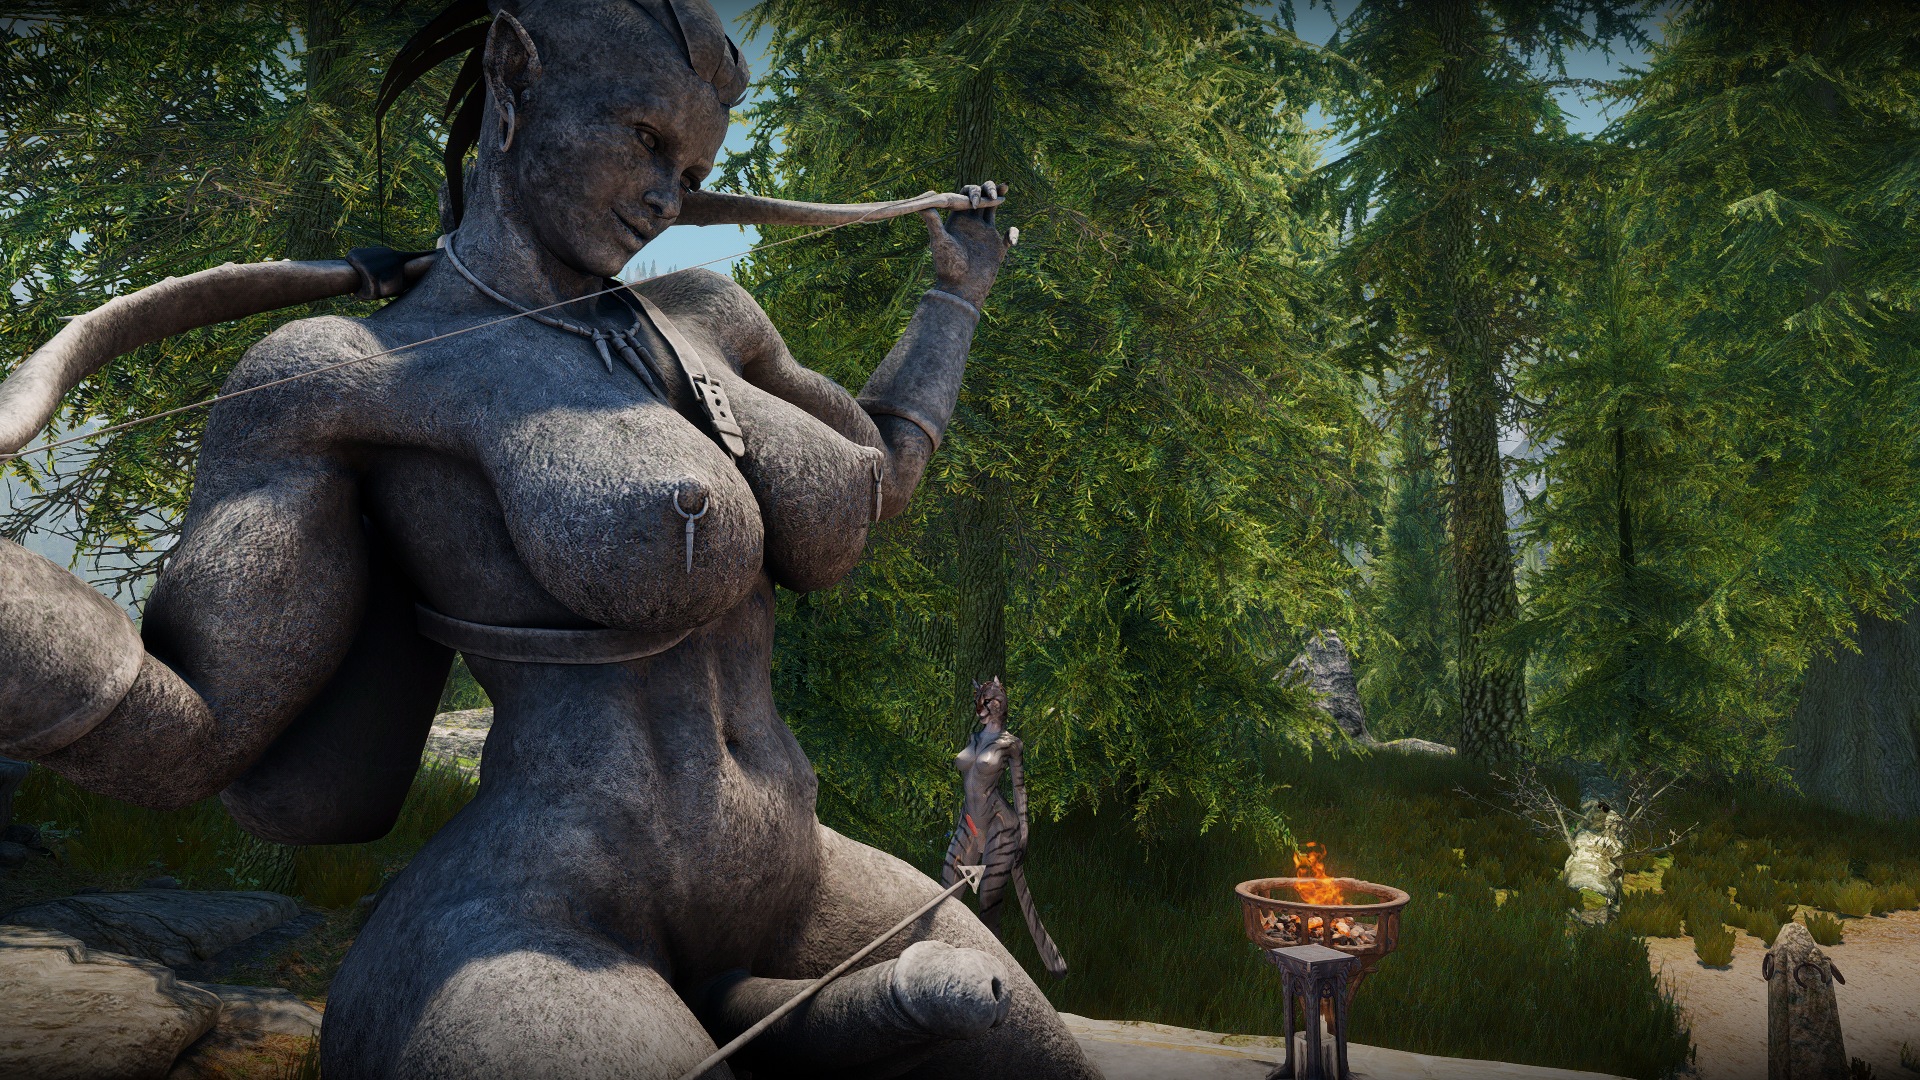
Closing Thoughts
With the end of the successful in-game inspection, we can officially say that this mod is successfully installed and integrated. As I mentioned up top, this was a pretty easy mod to get going, but it was a good platform for talking about the basic tools and walking through a step by step installation process. when I first found this mod, I thought I was going to have to move it to a different location, but it actually works out pretty good right where the mod author placed it. This is another good, high quality mod from TRX and it had very little in the way of issues. The main change it needed was removing the cheat chest, and that's kind of a personal preference thing. Some folks would probably be OK with the game giving out an endgame bow at the location.
I hope you all found that interesting! I have a somewhat more involved mod on my slate for the near future, where we can talk more about some of the more complex elements of integrating a mod.
Edited by gregaaz


4 Comments
Recommended Comments