
Entry posted by WhatTheElf in Bad Ends - Erika
5293 views
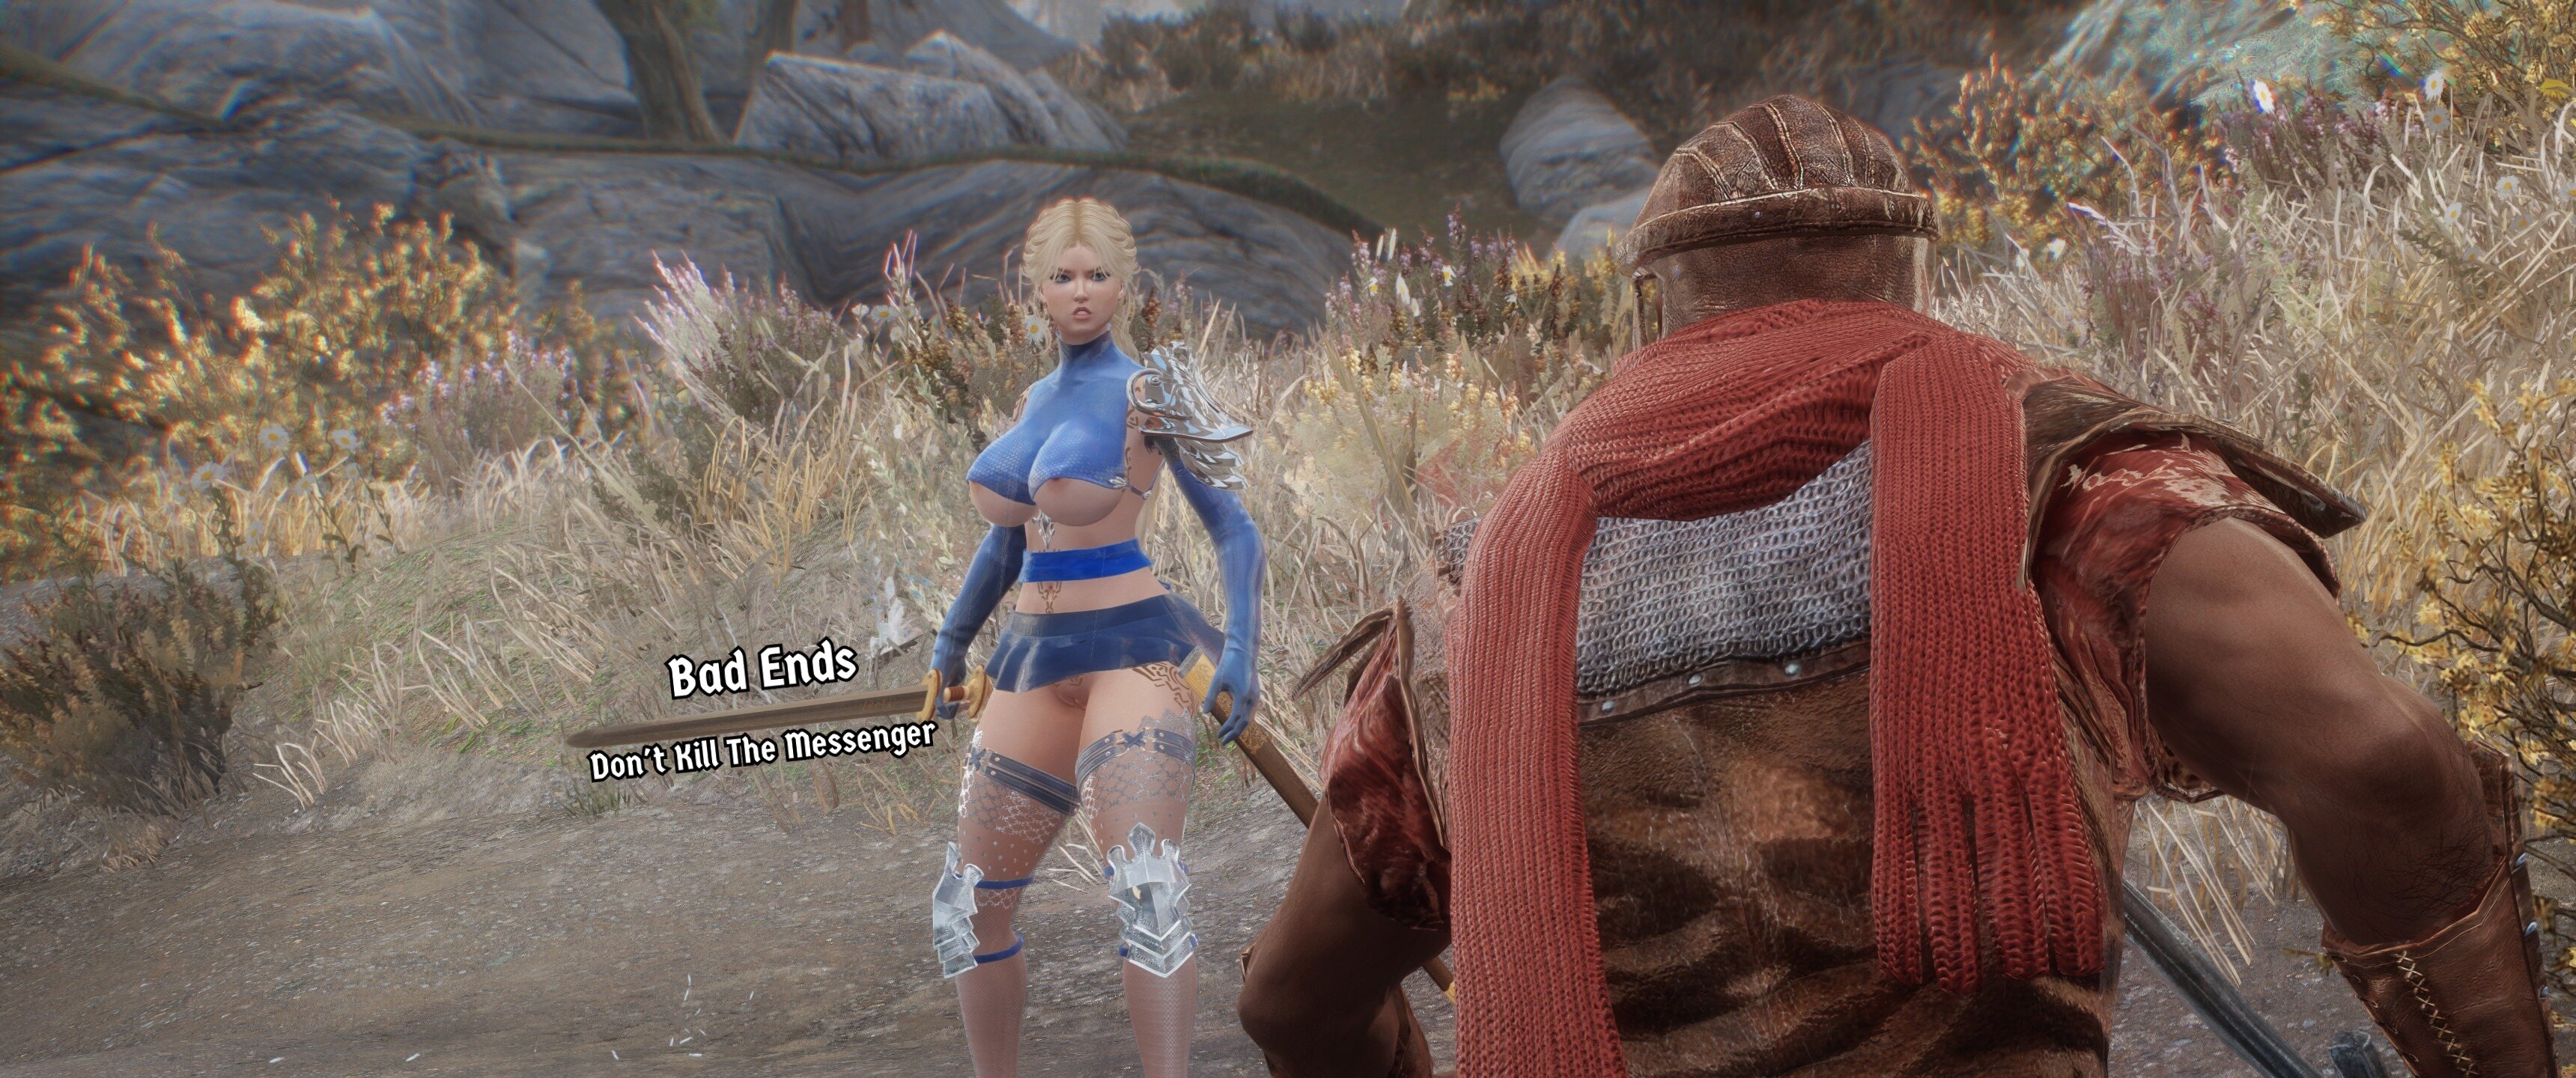
Bad Ends - Don't Kill the Messenger
Warning - Contains Draugr in Chapter 3
A bit of a longer episode this one, so i've split it into 3 chapters. Let me know if you prefer the longer form content or prefer shorter form content?
Chapter 1:
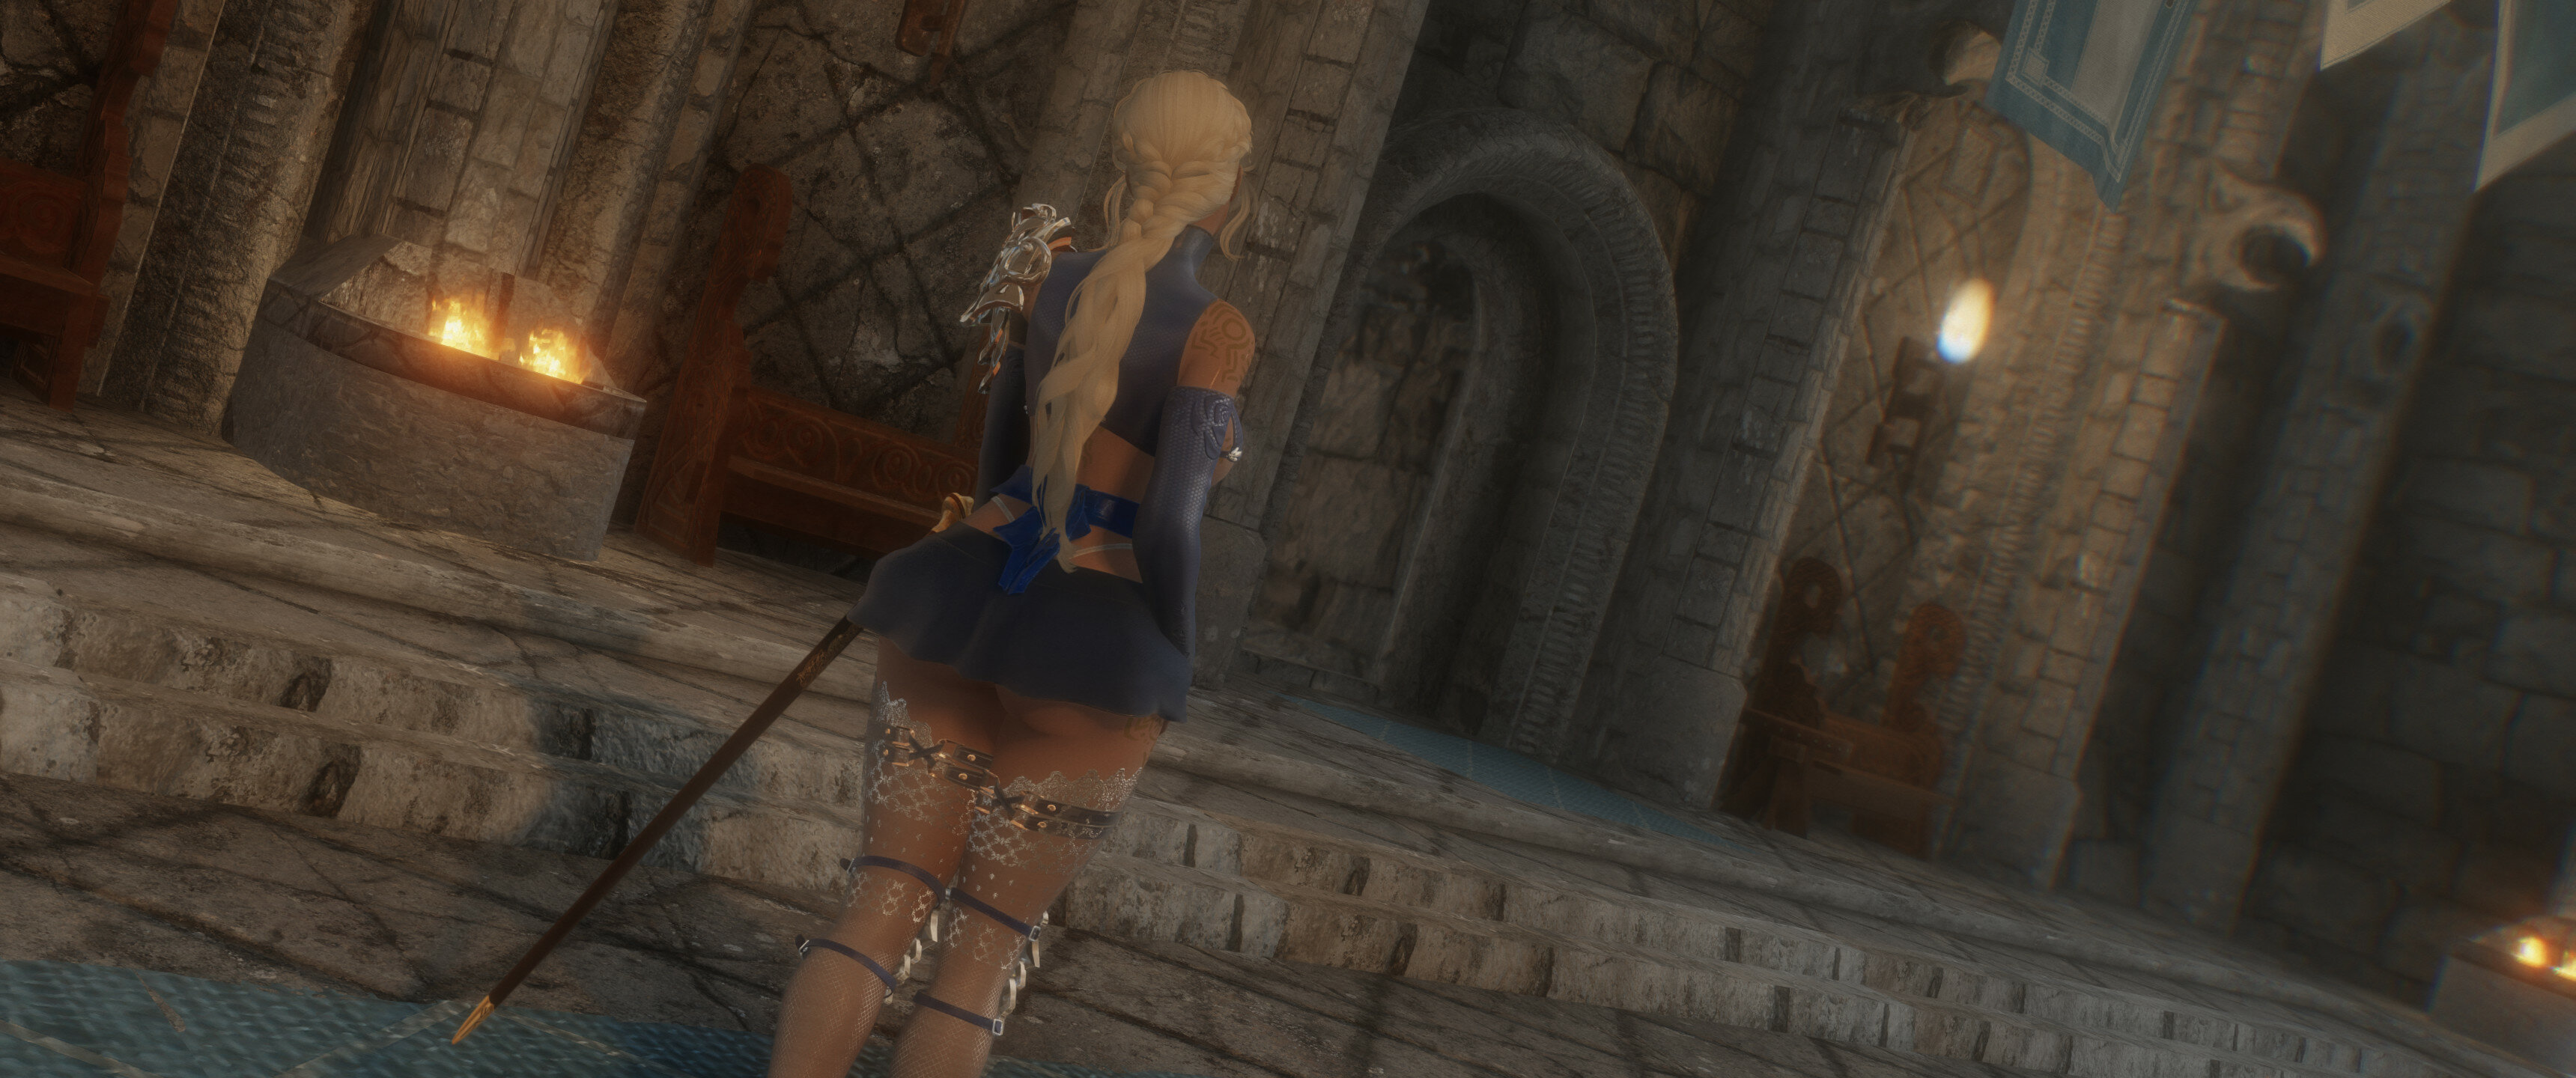
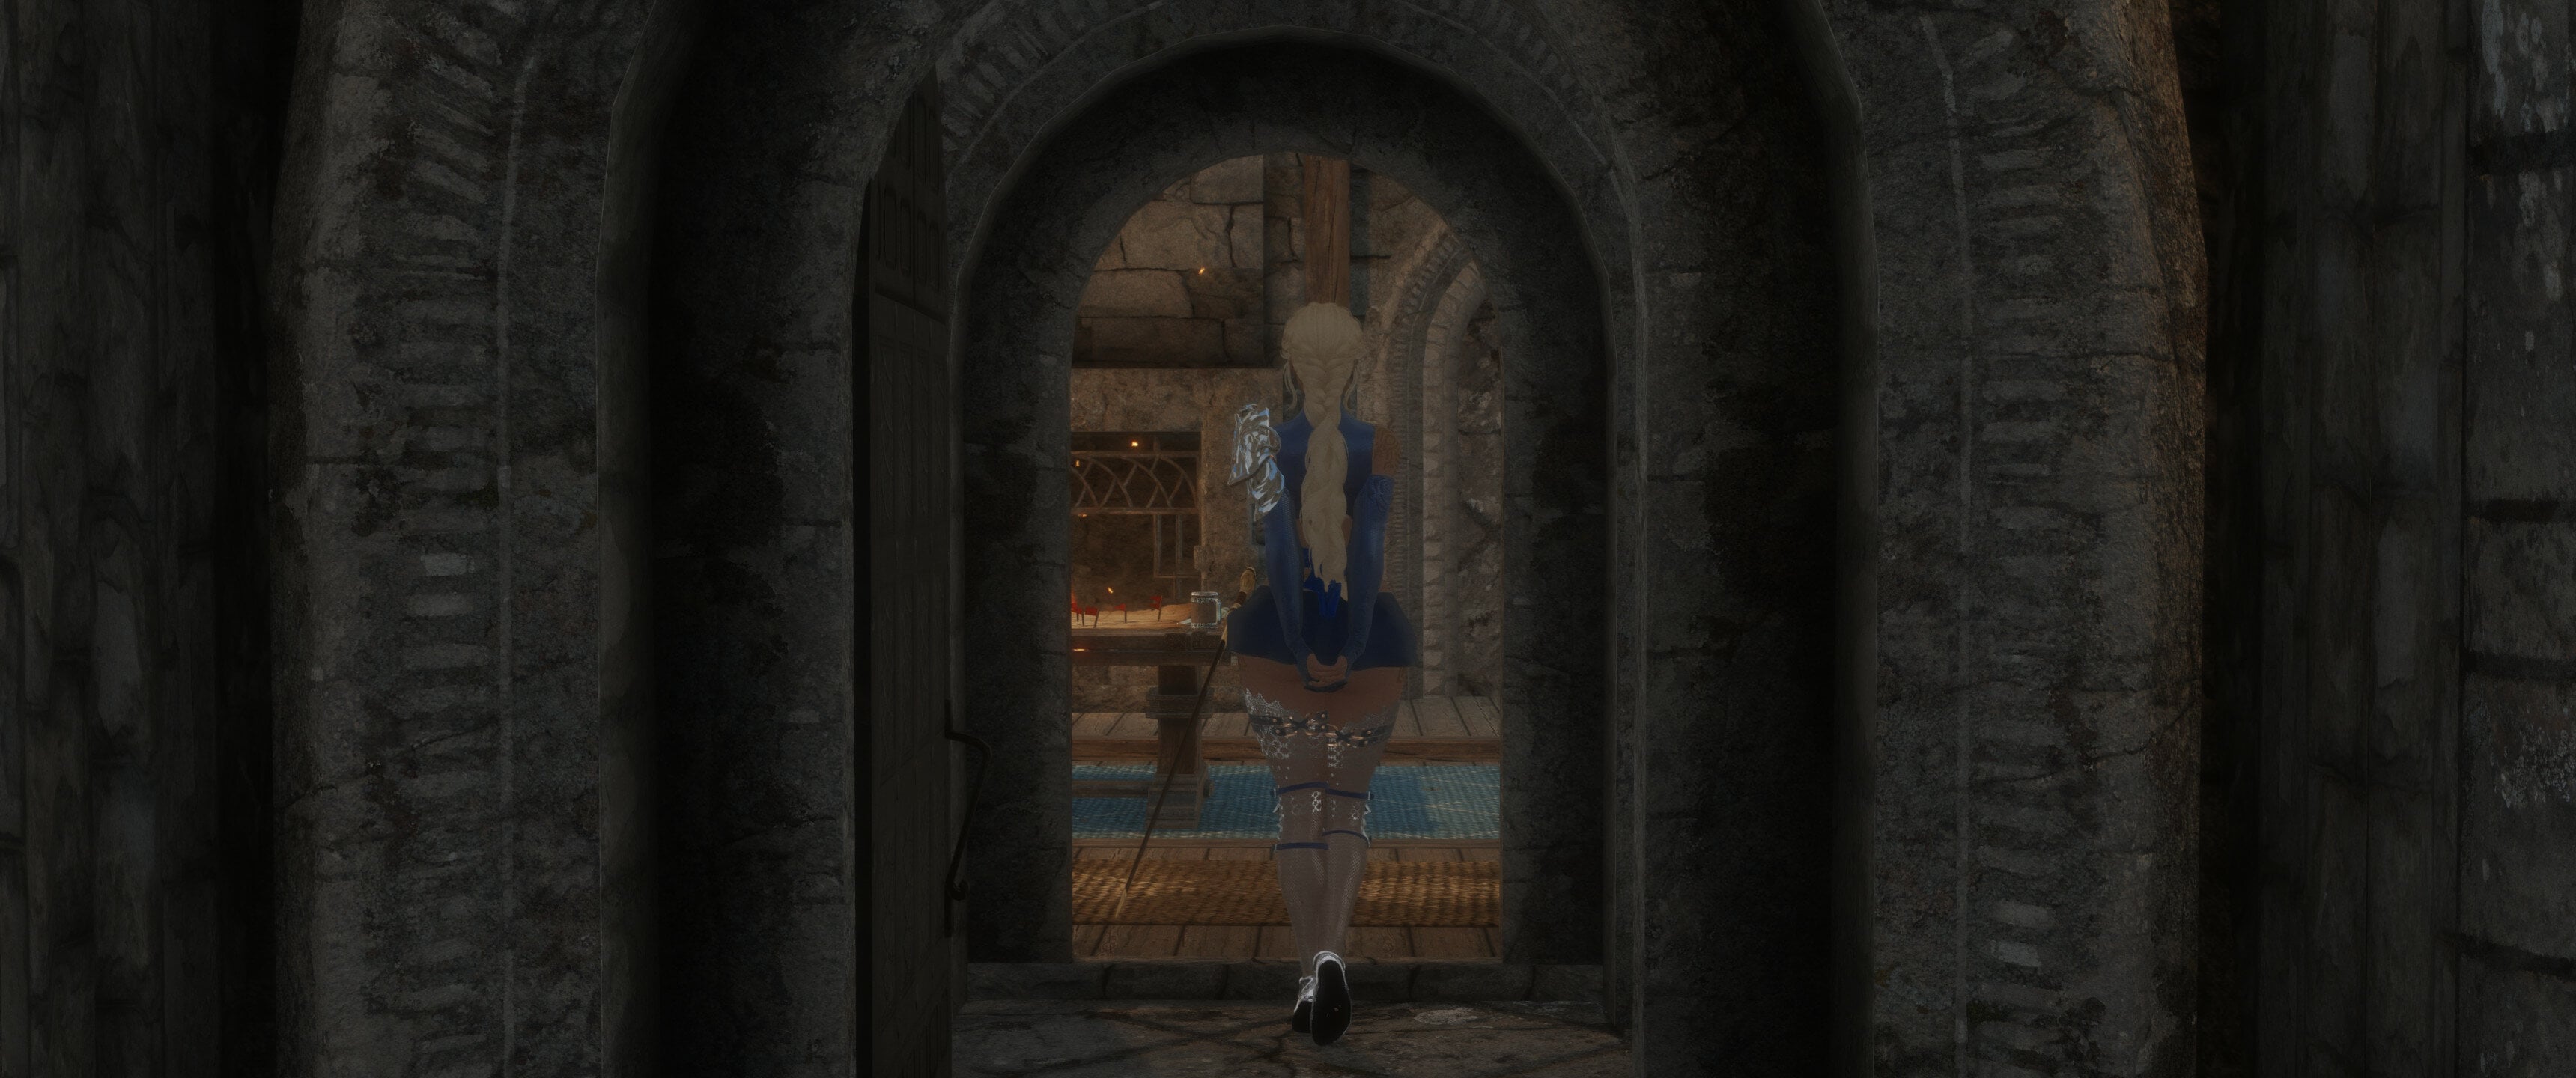
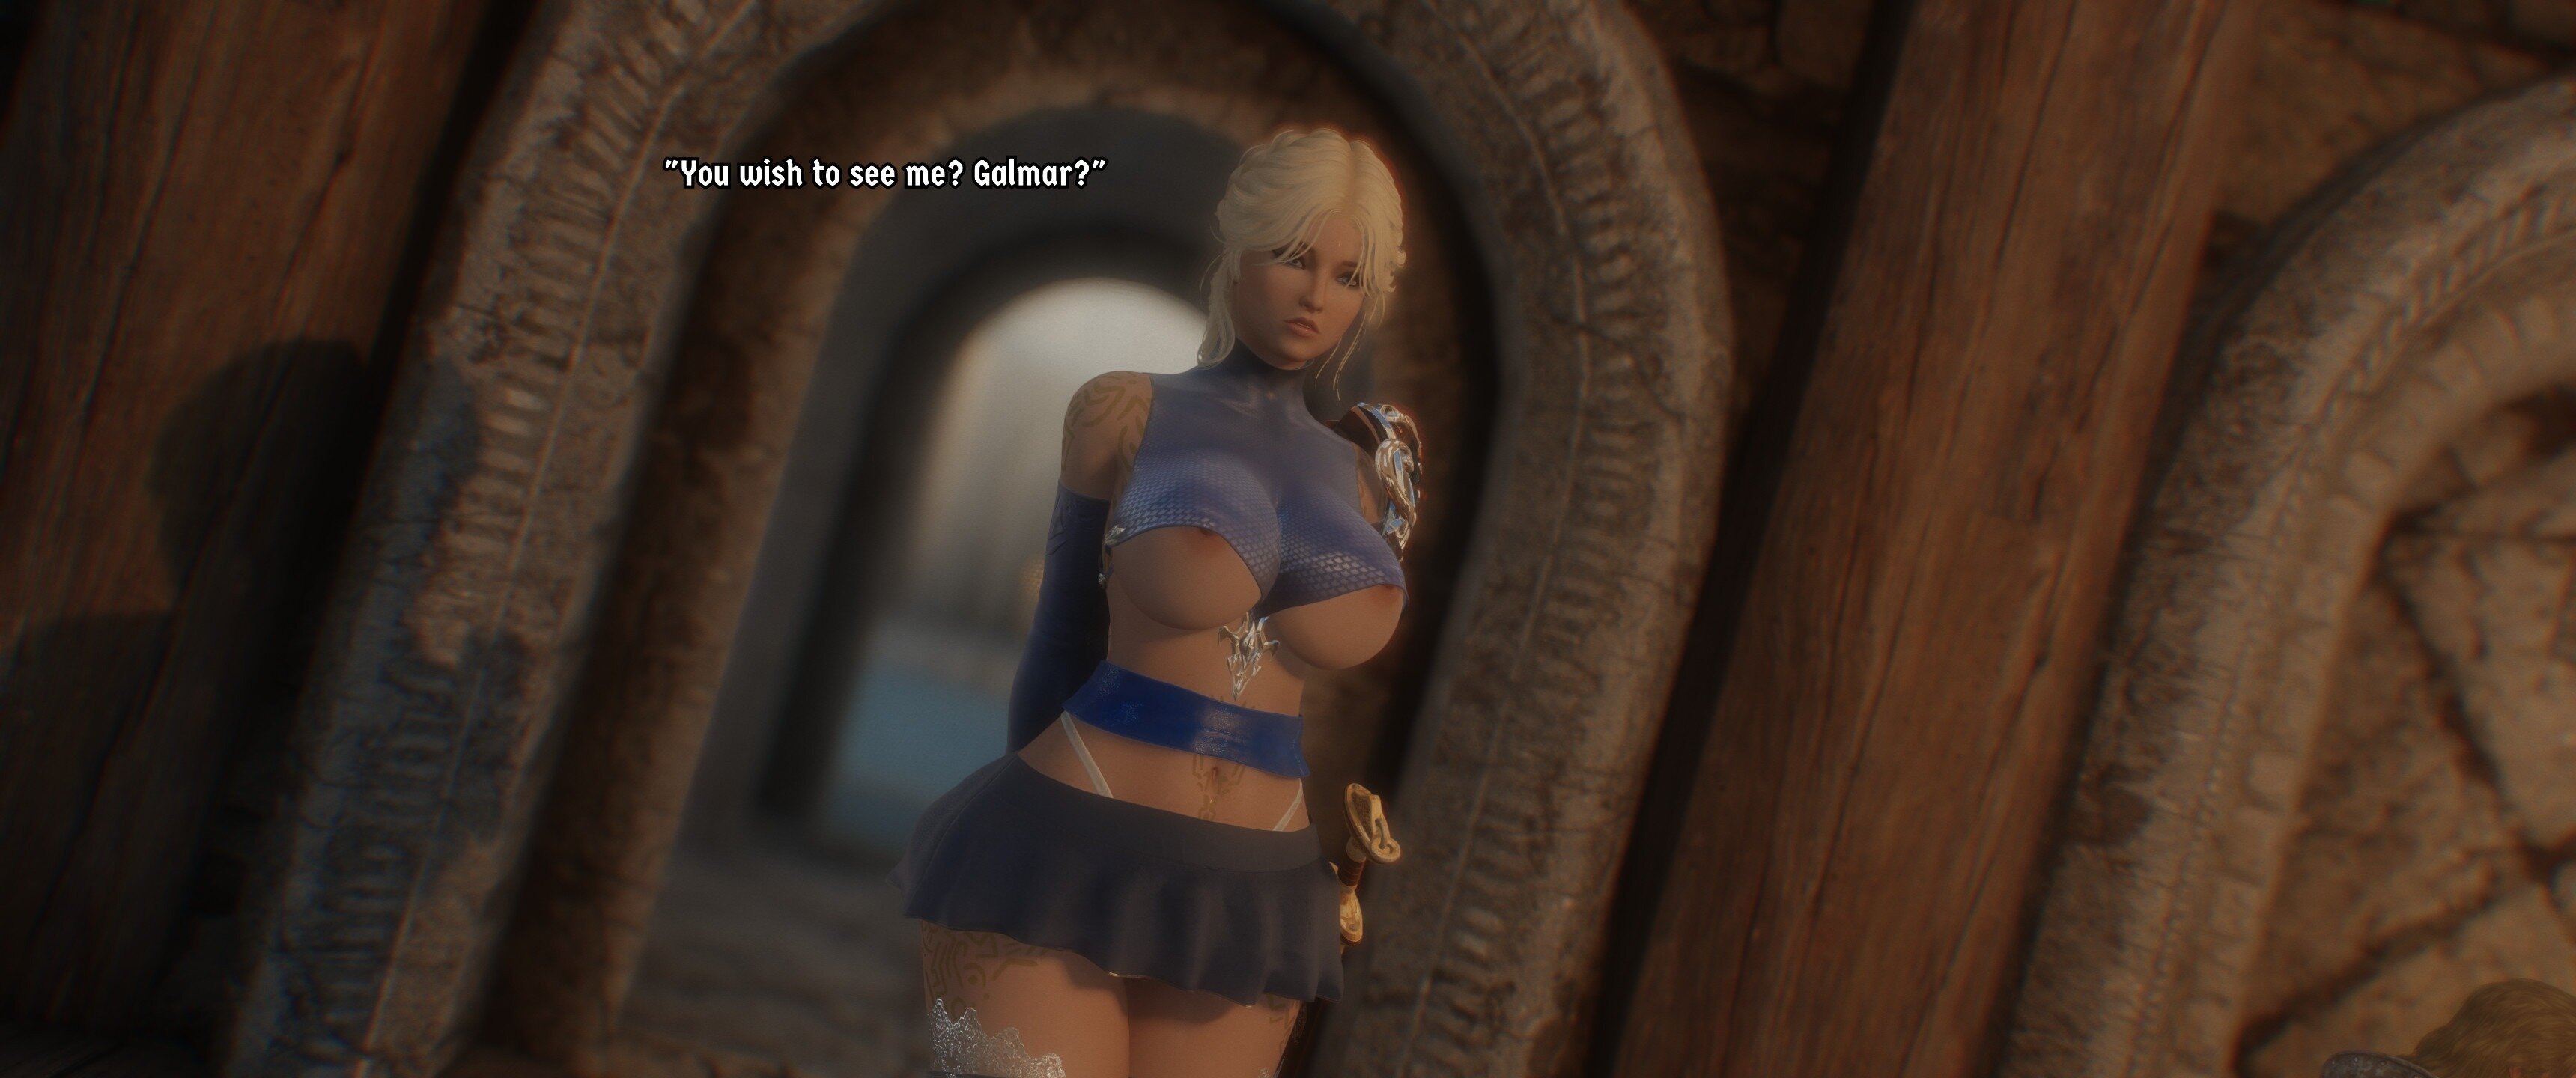
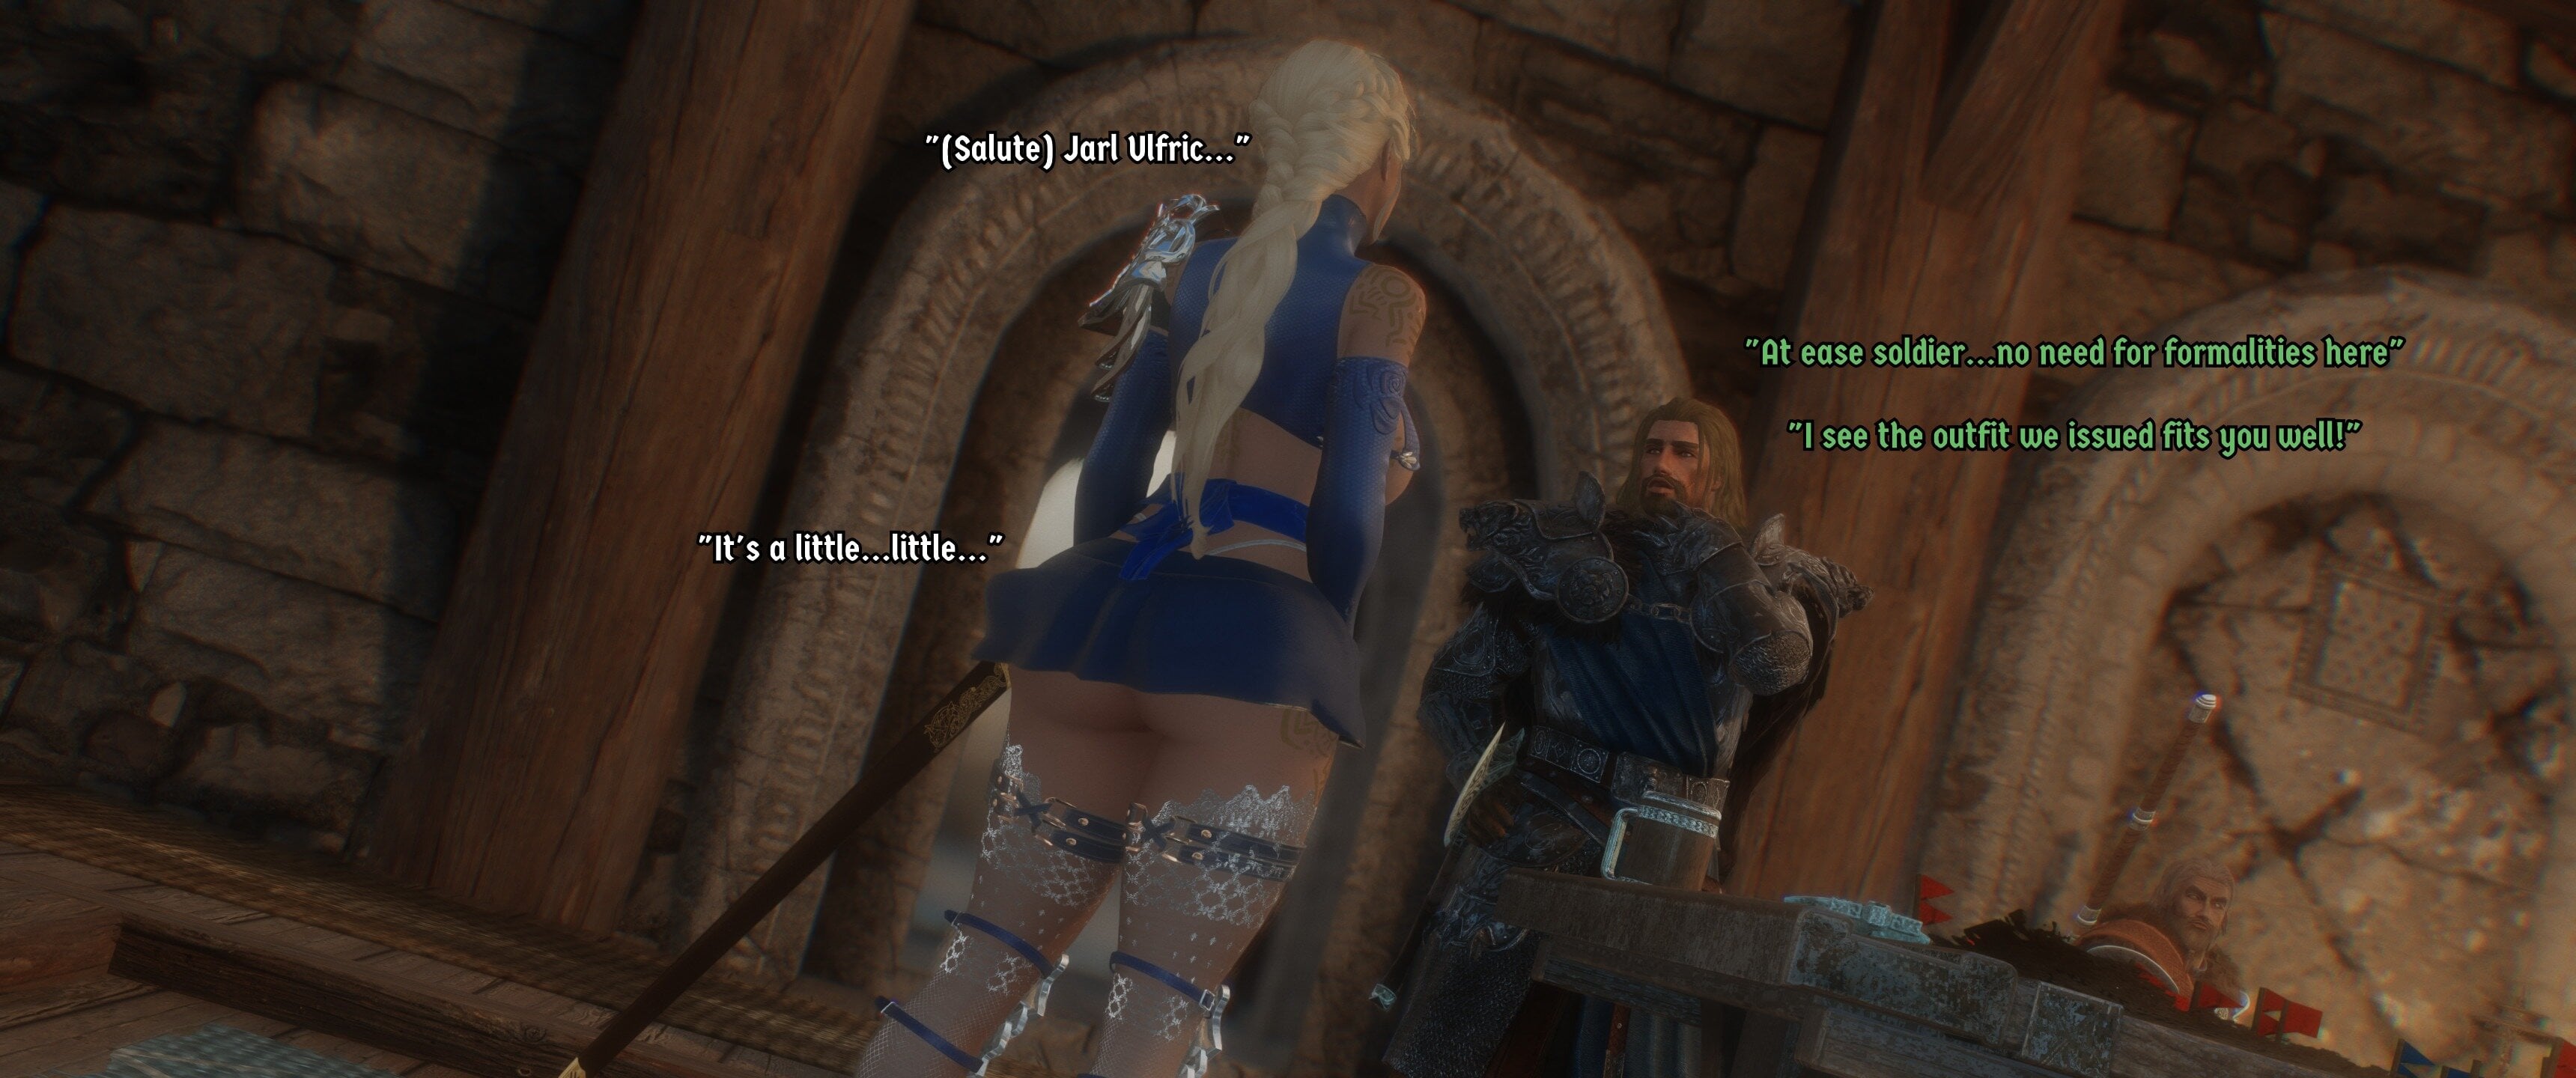
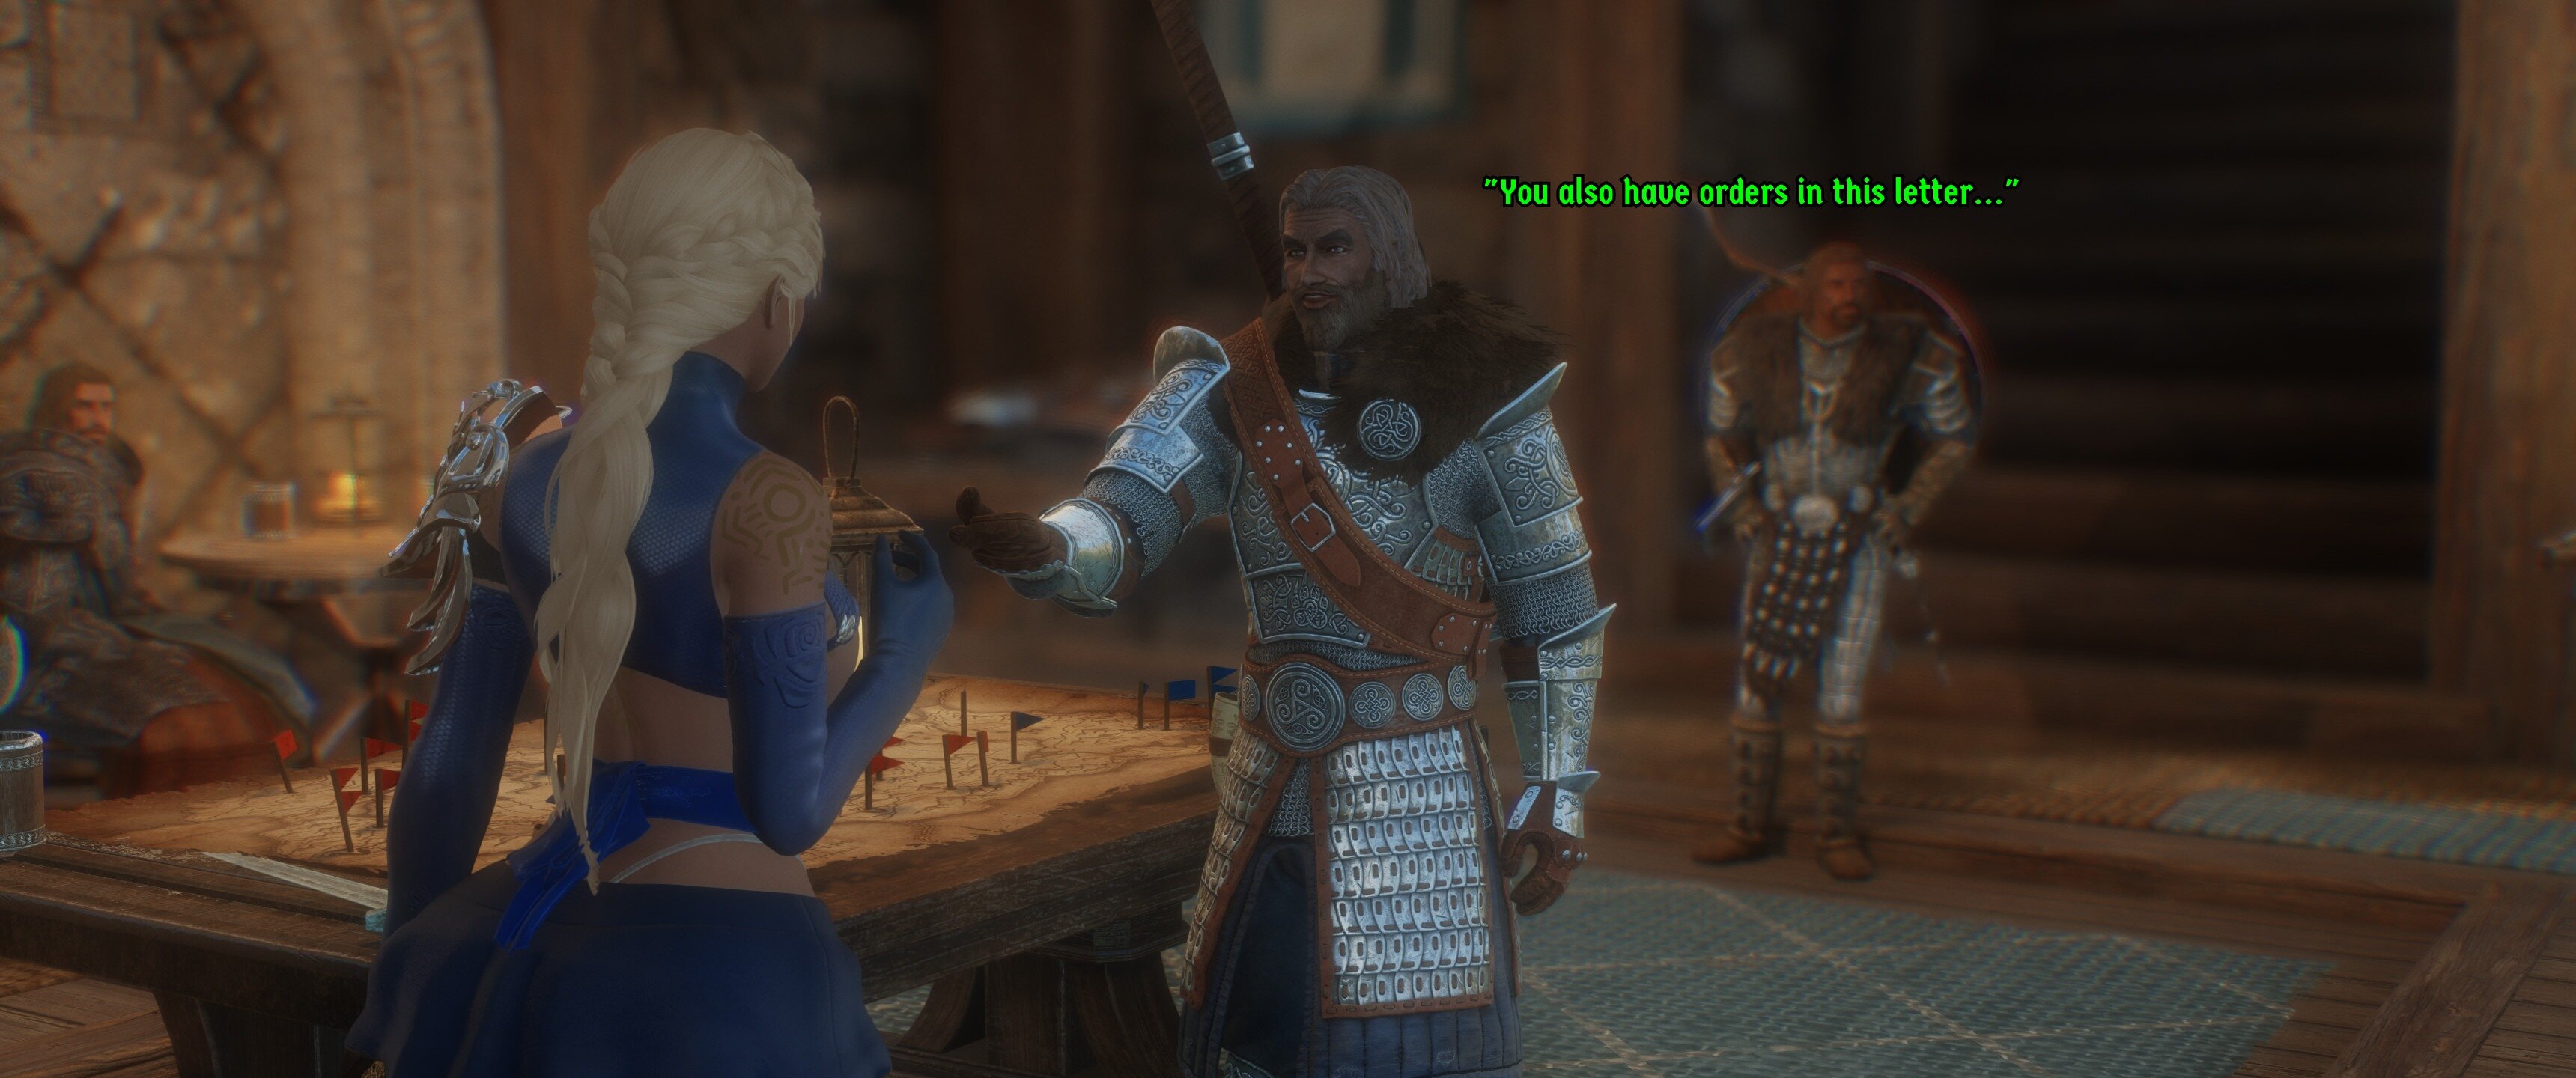
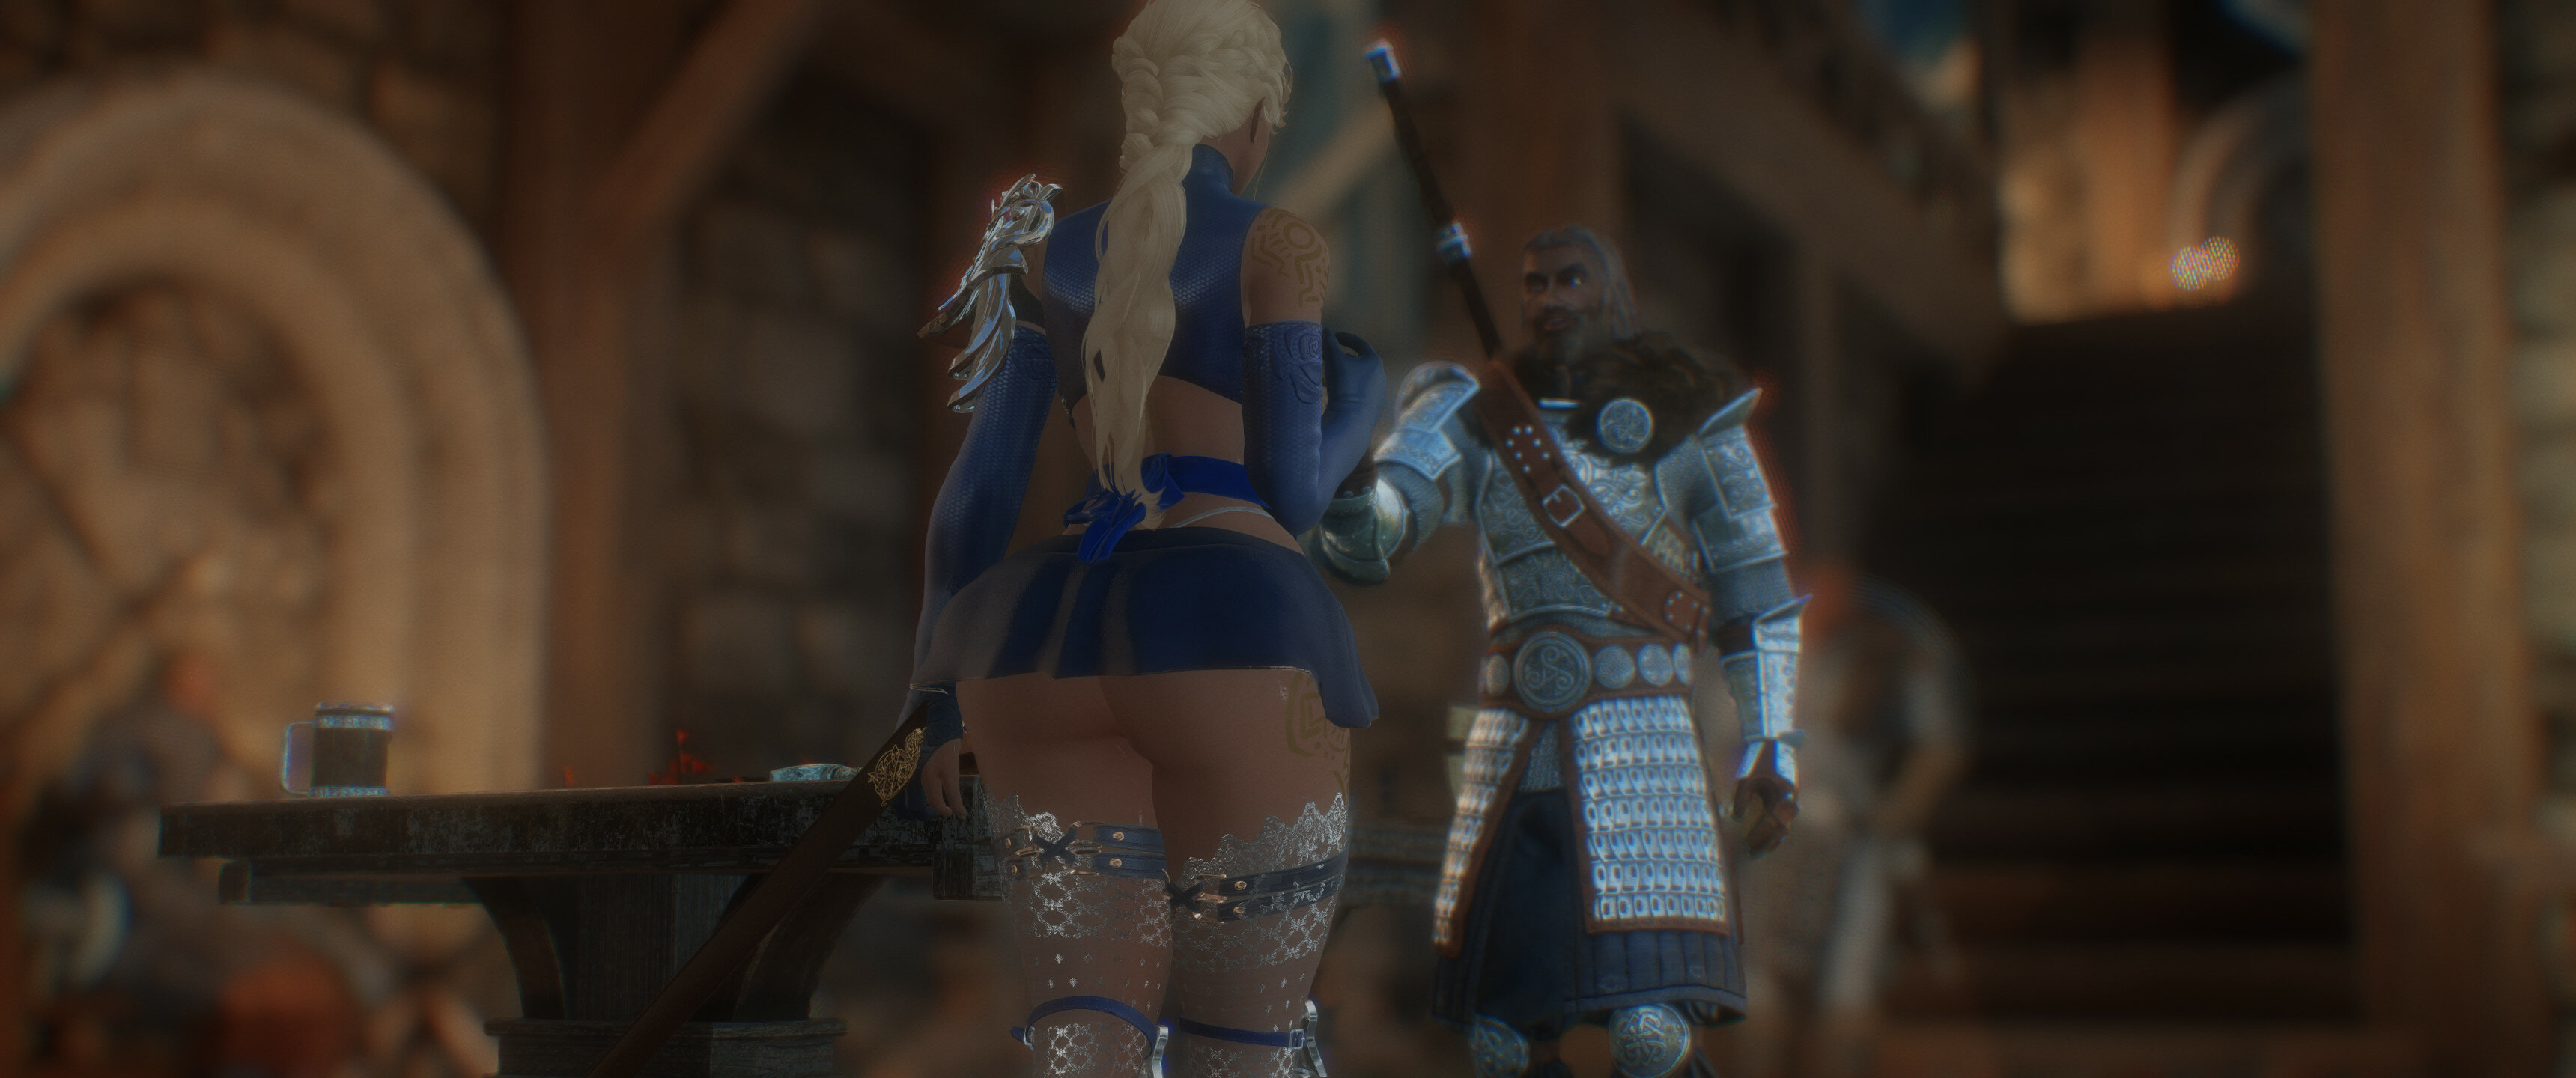
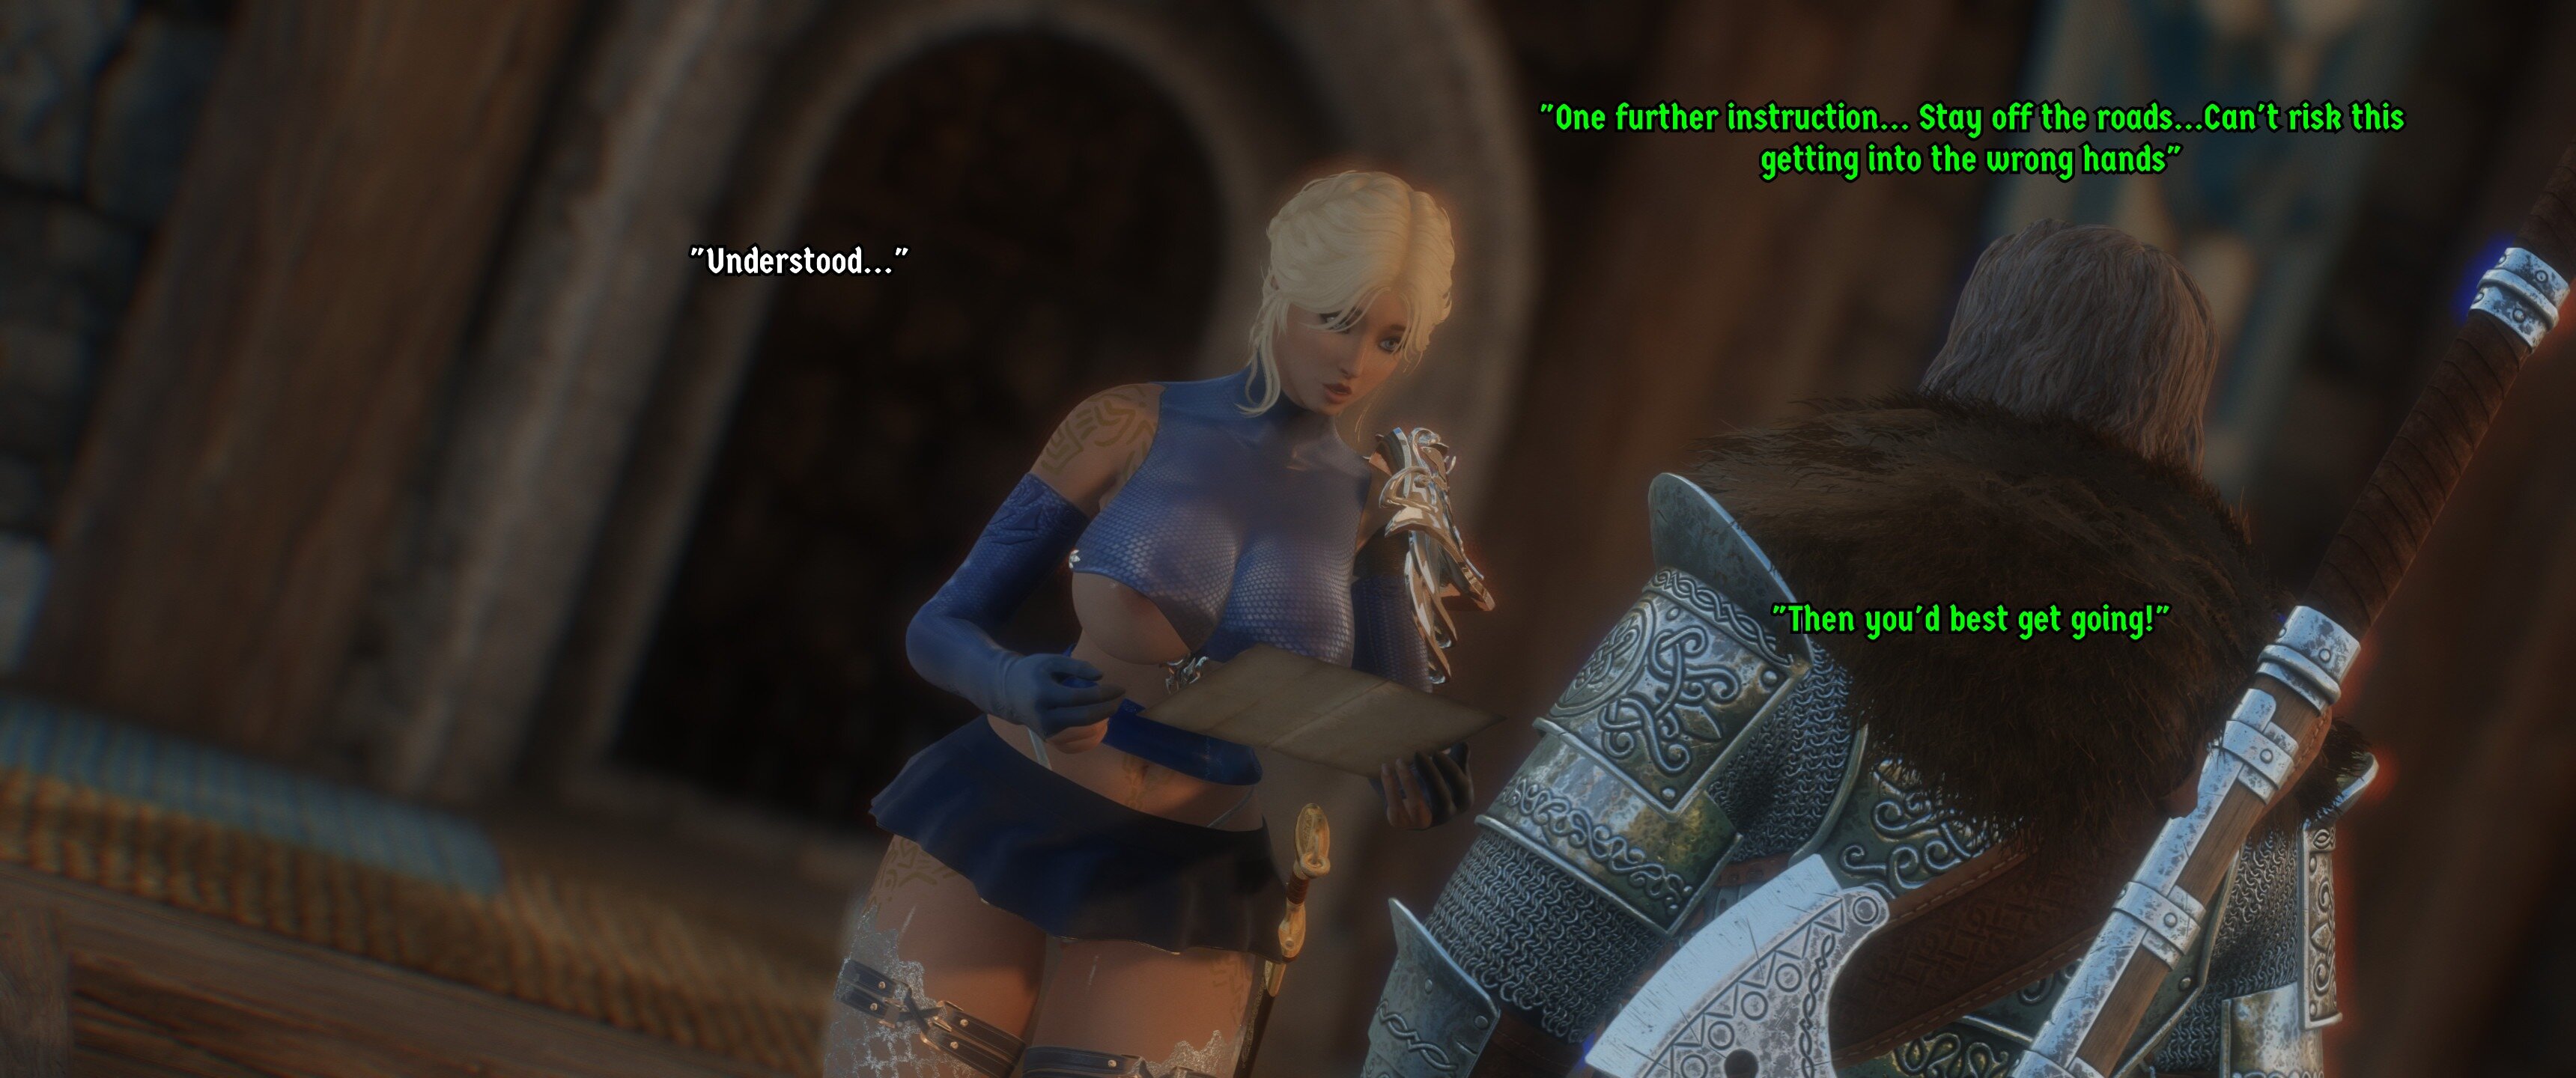
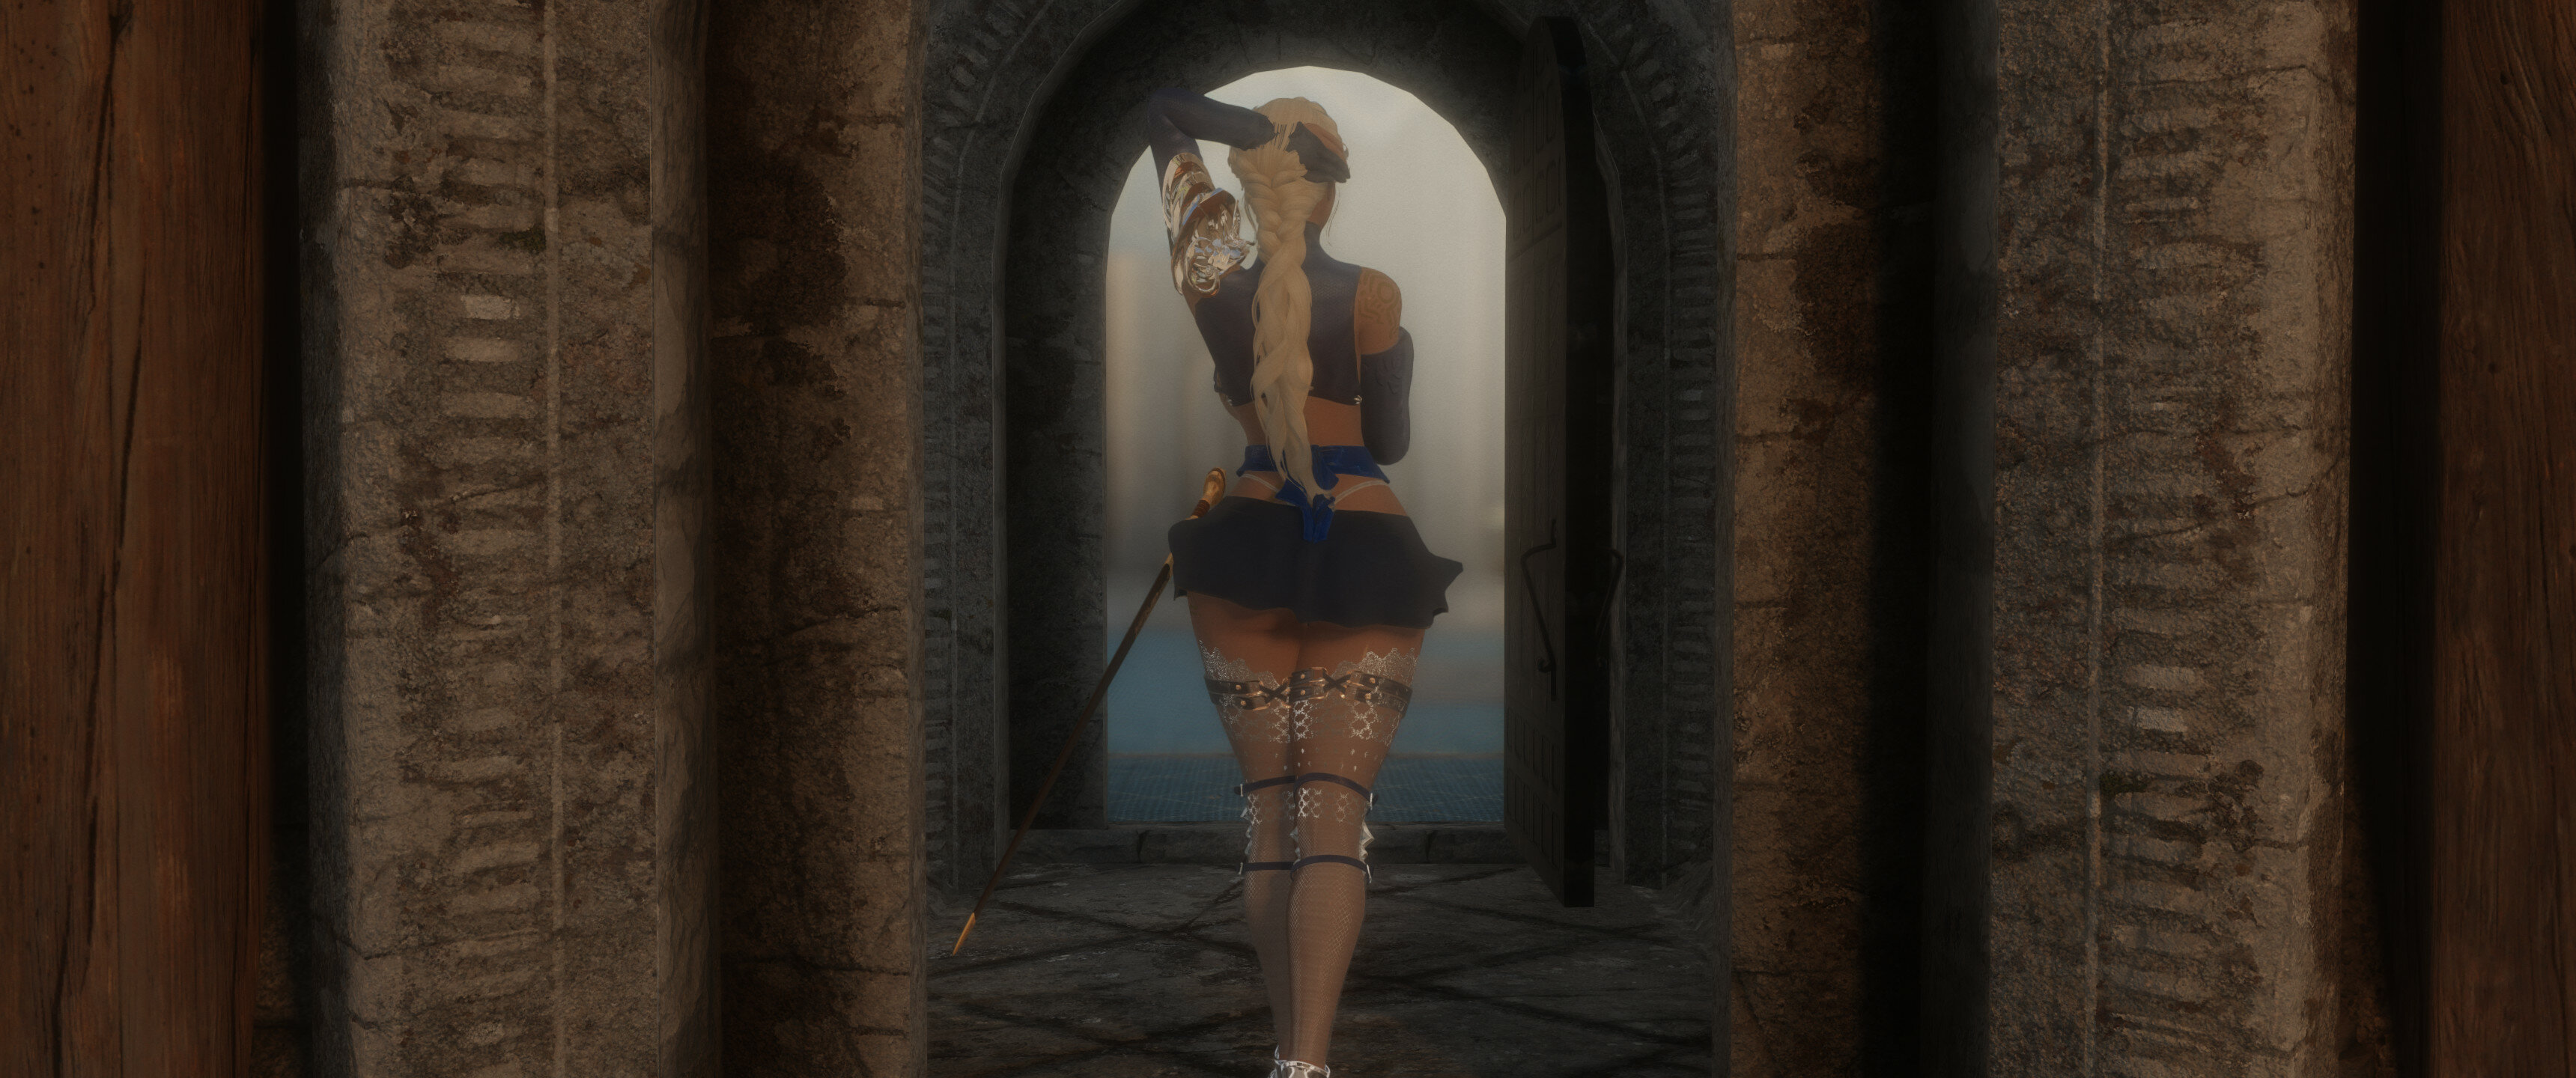
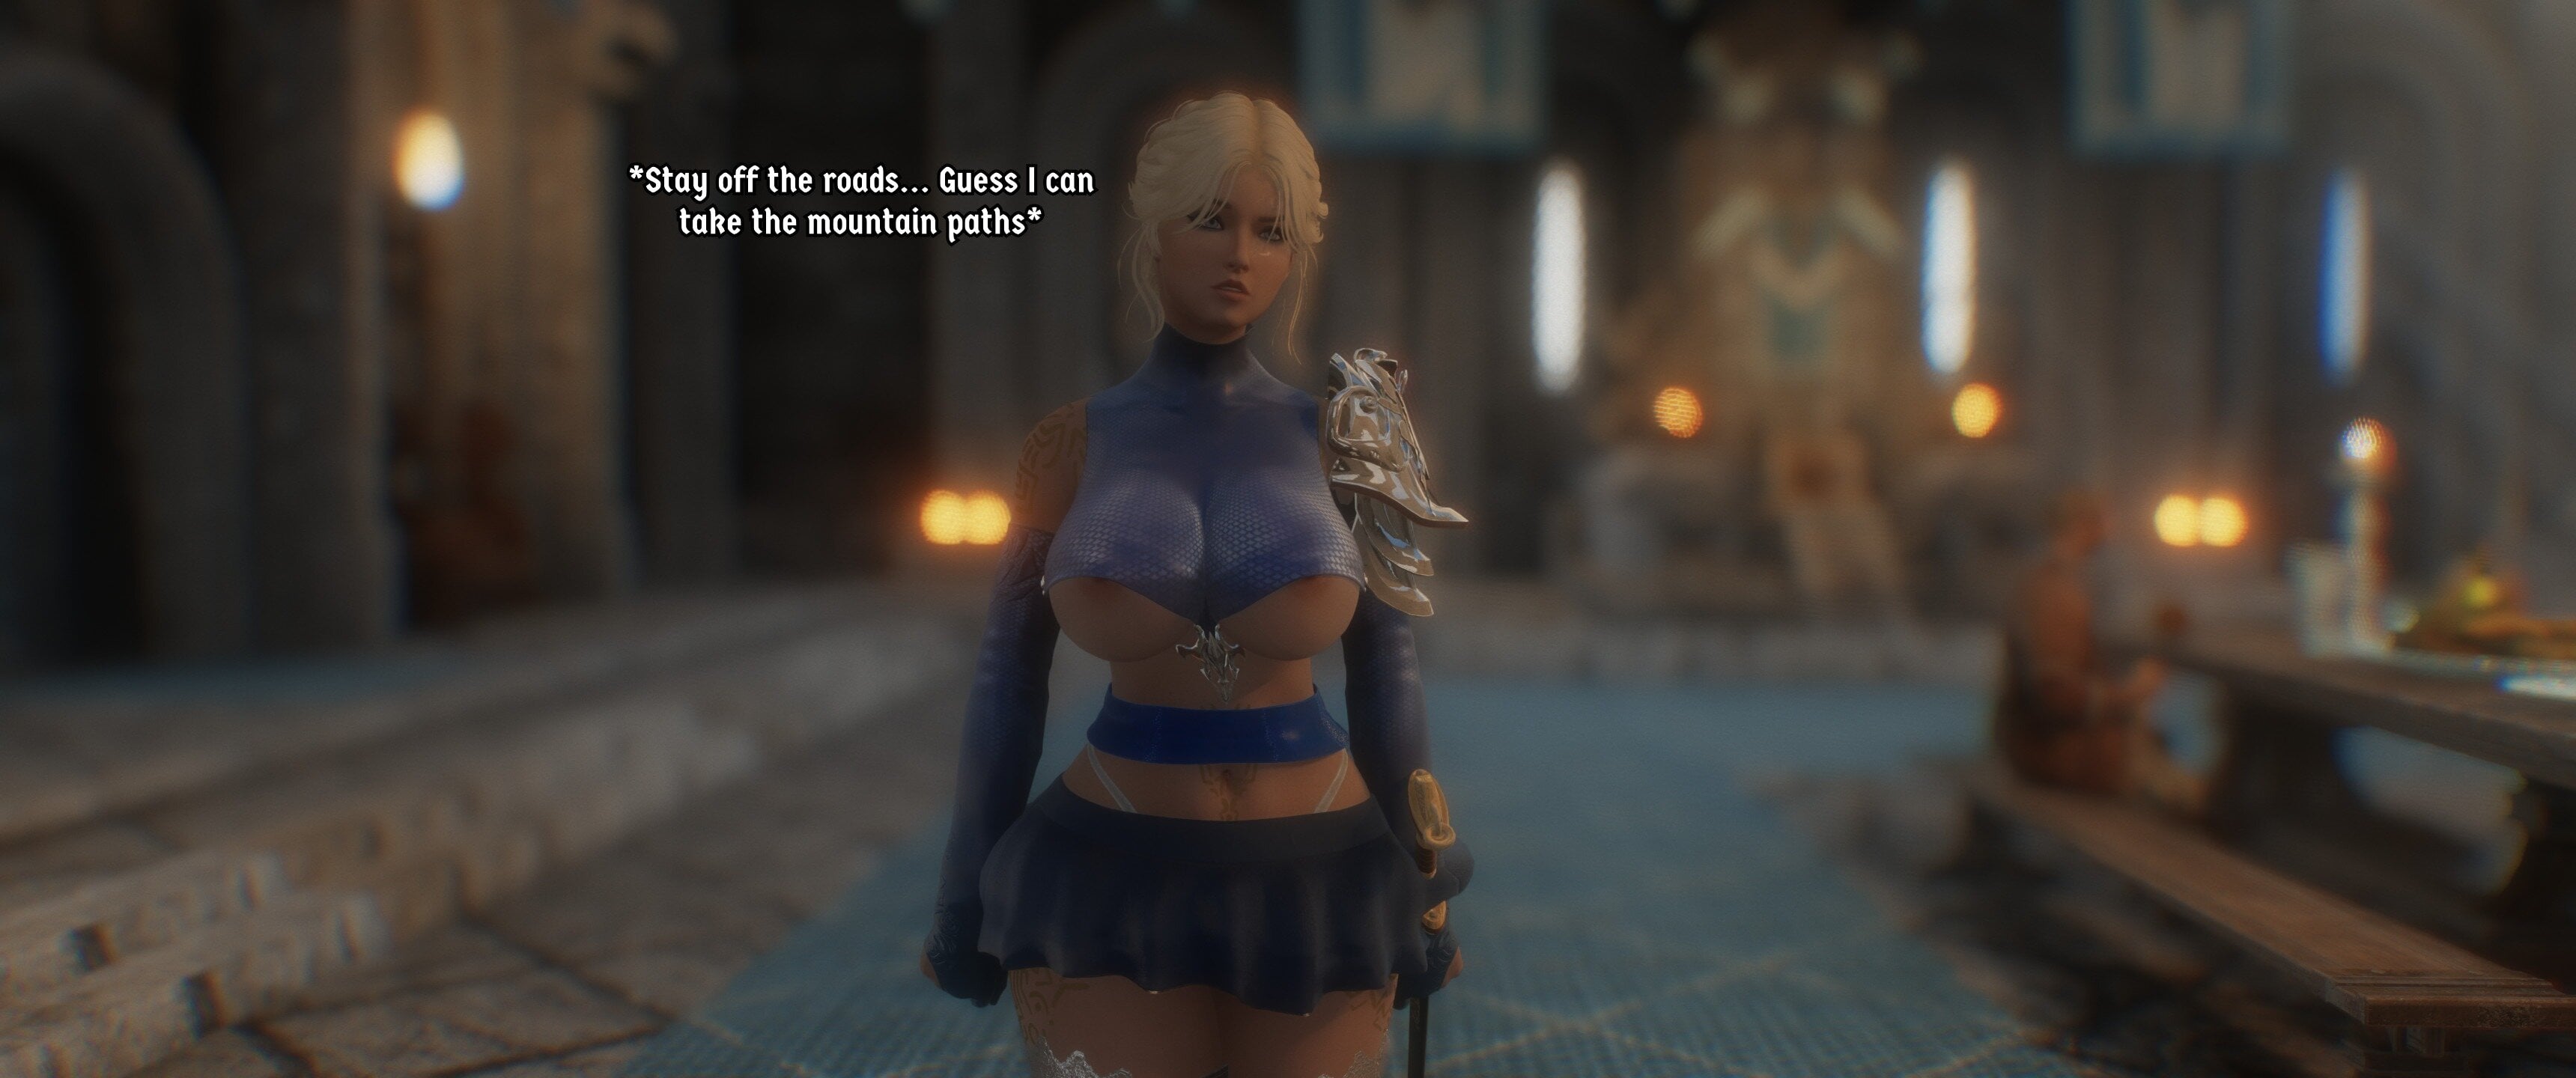
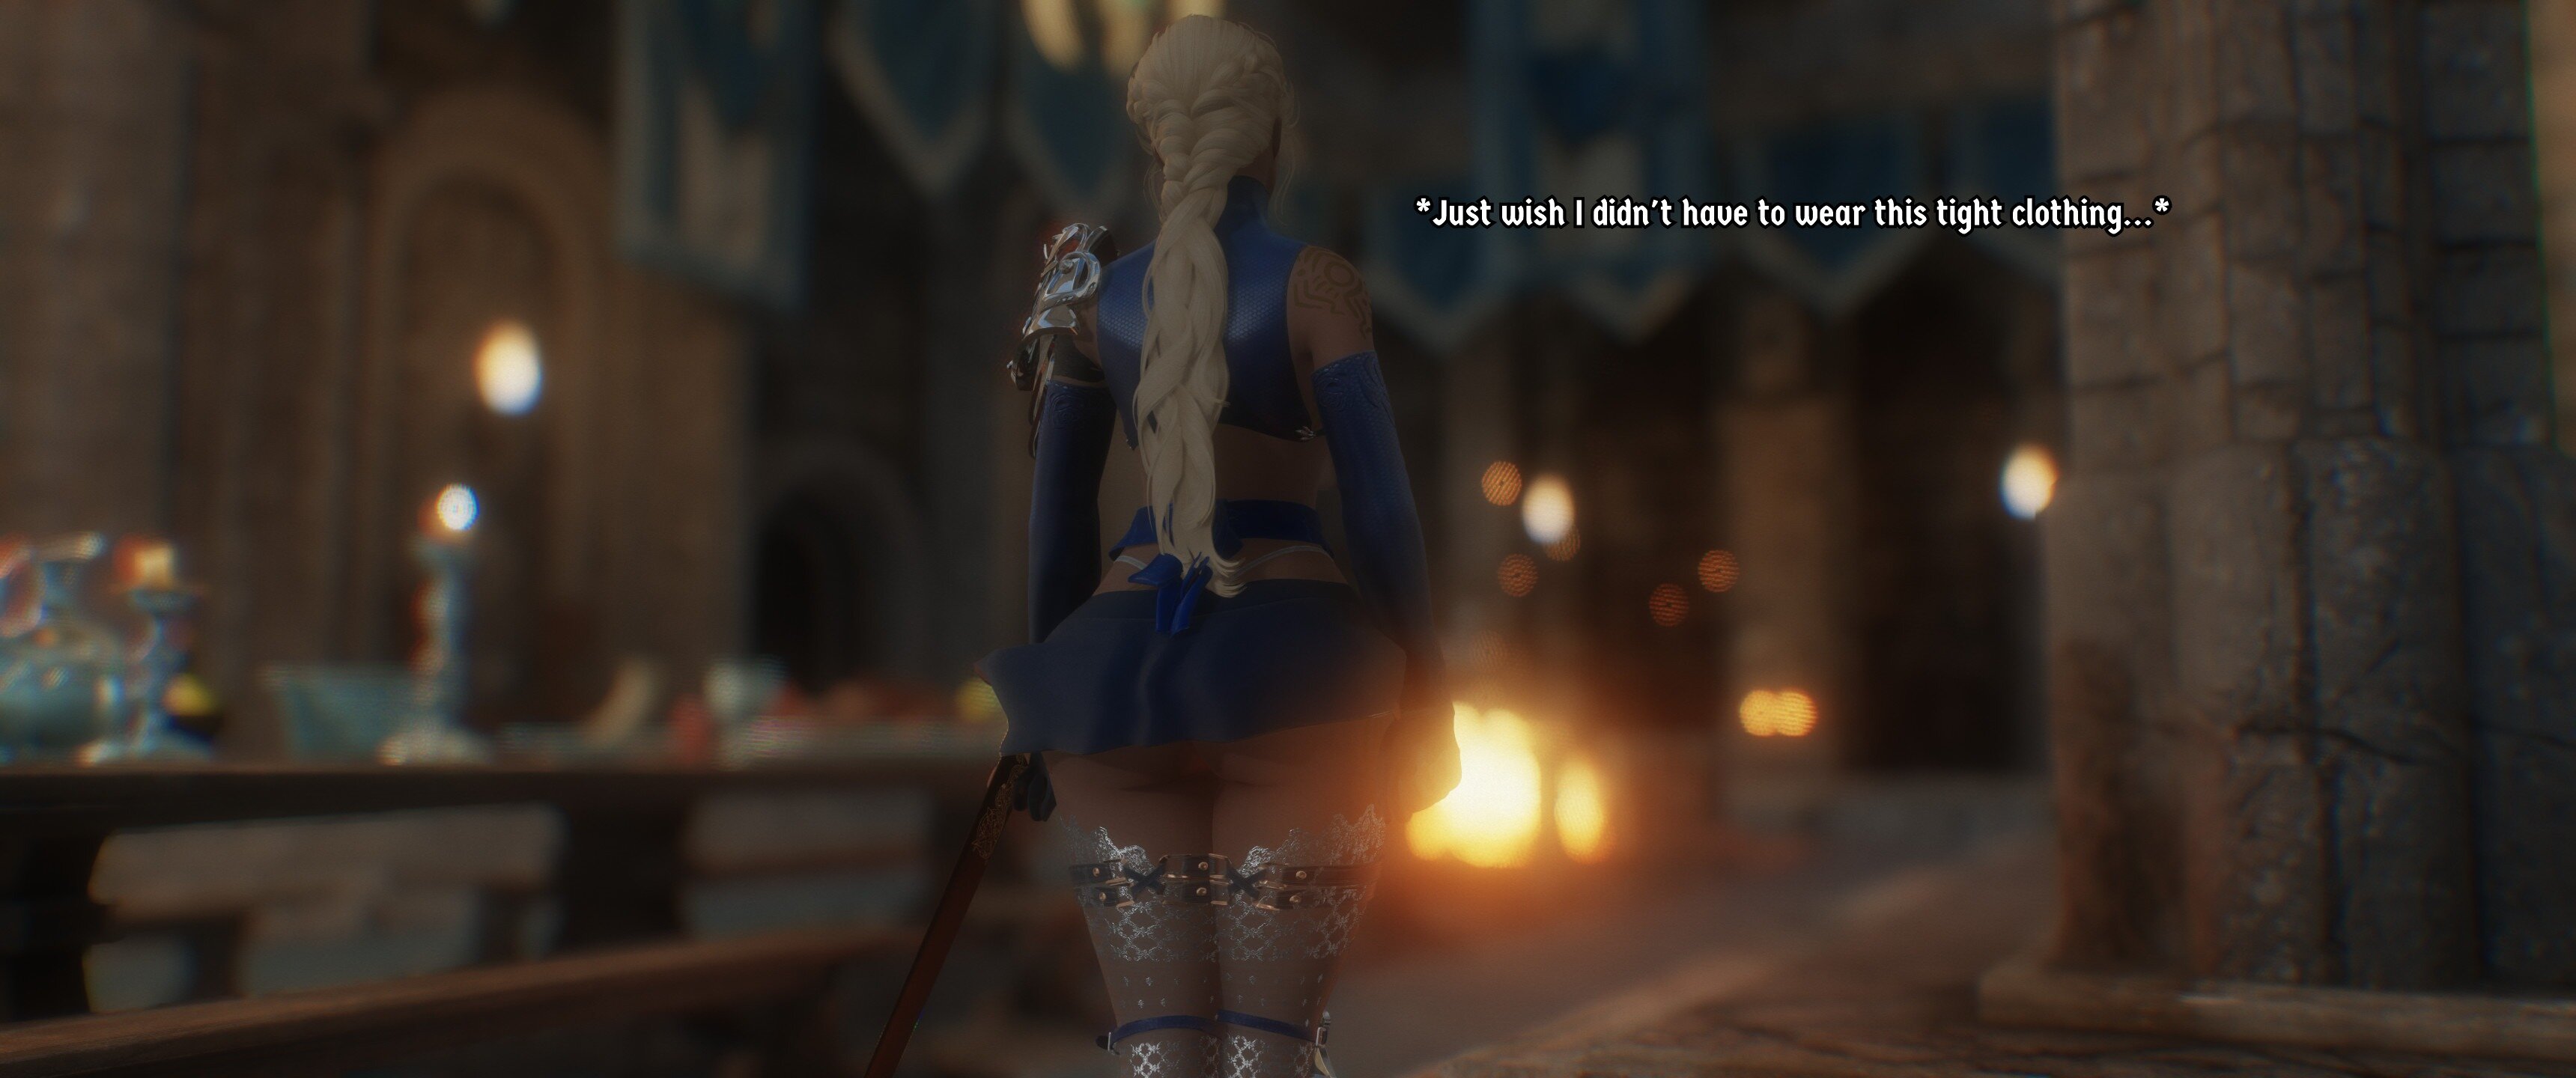
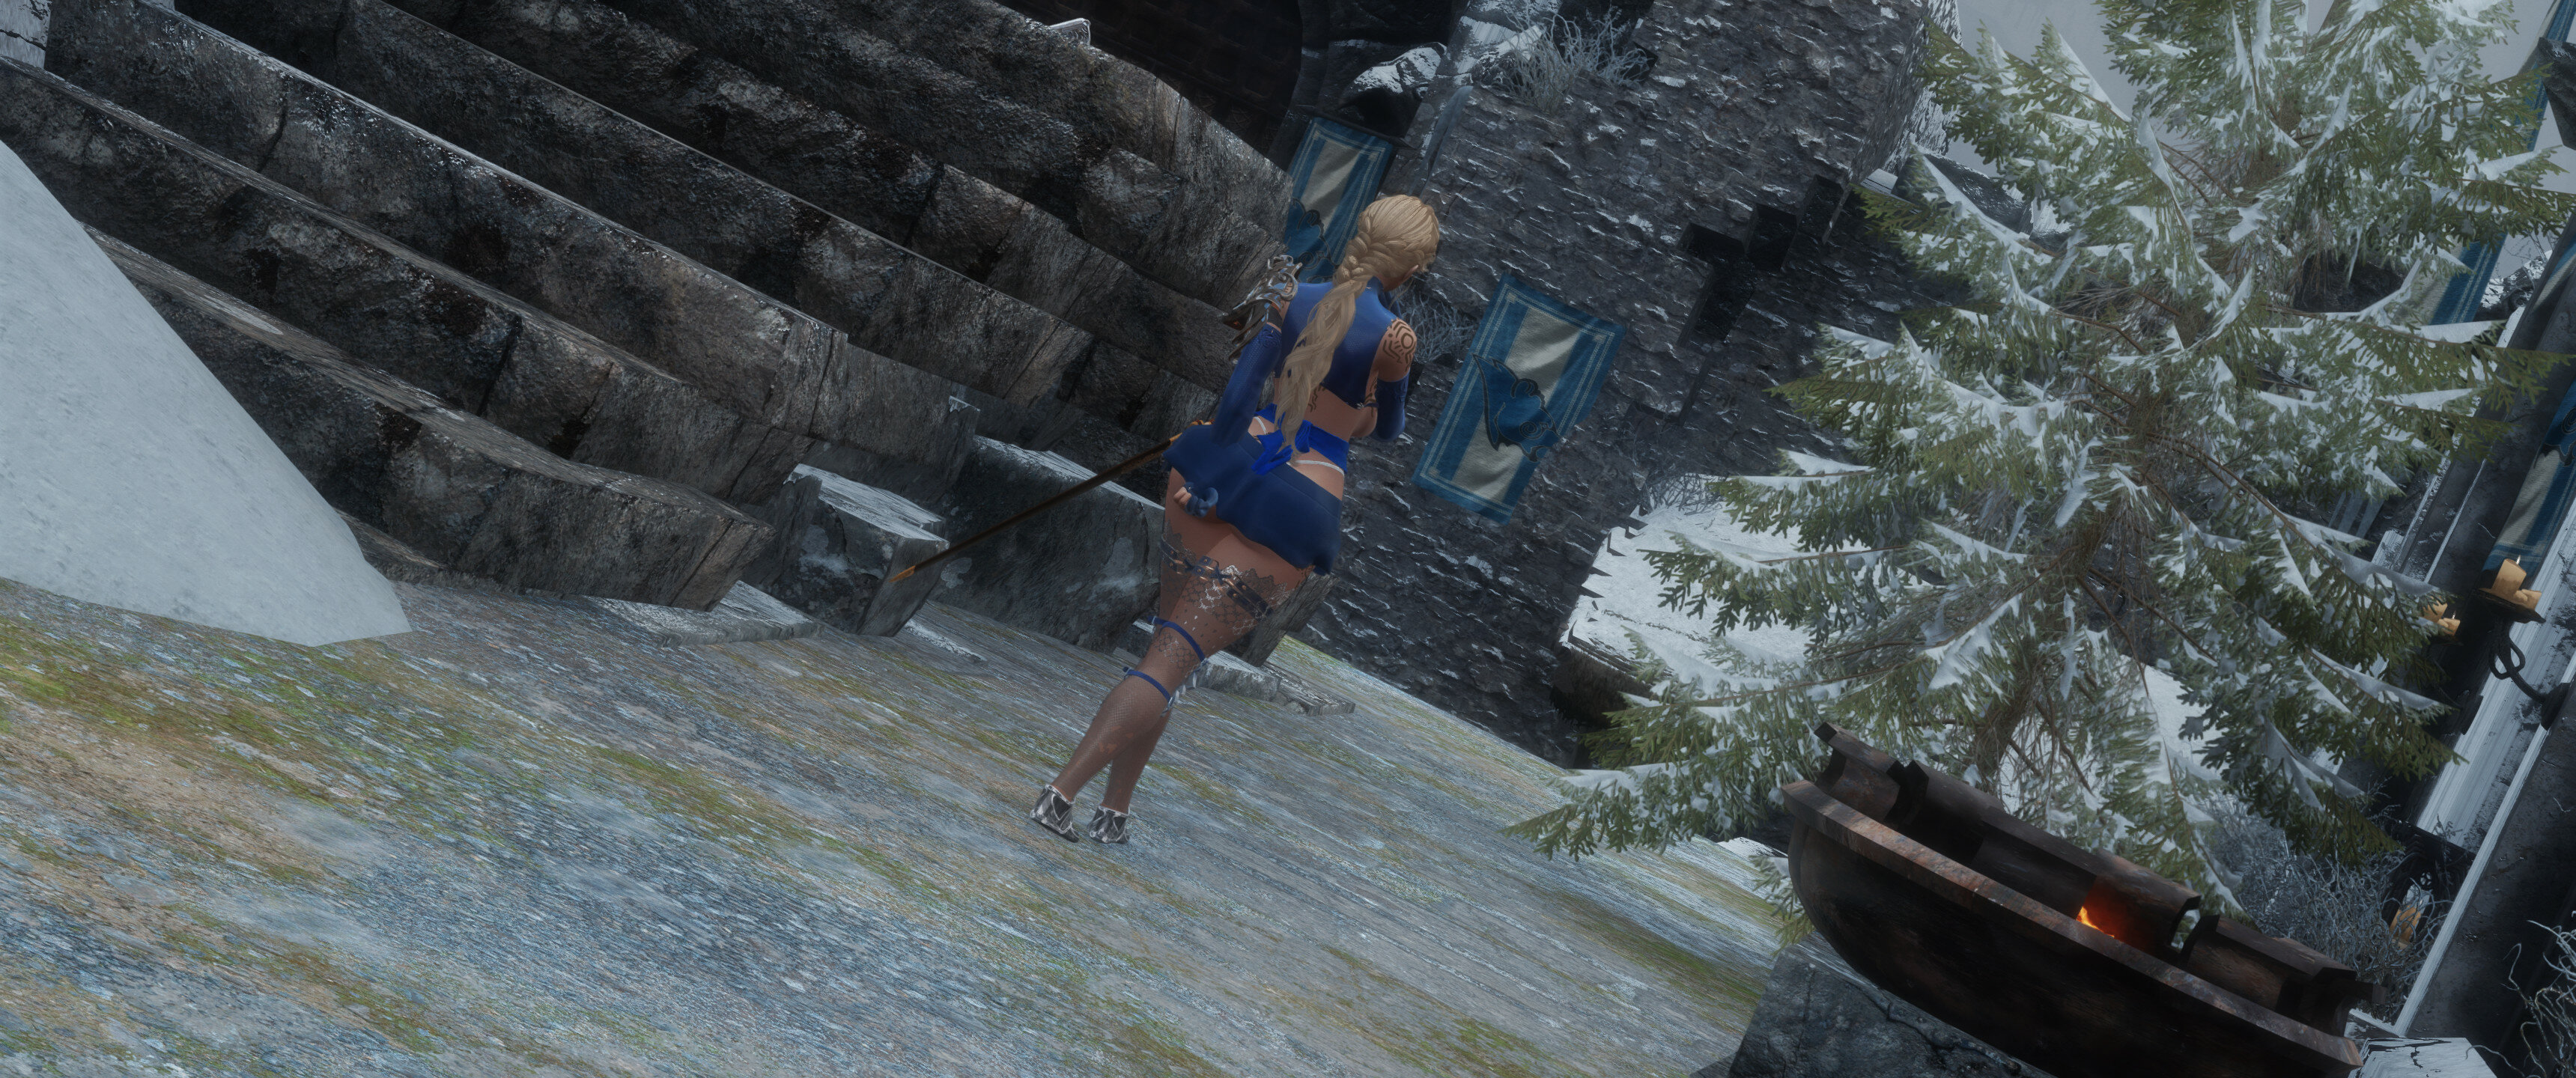
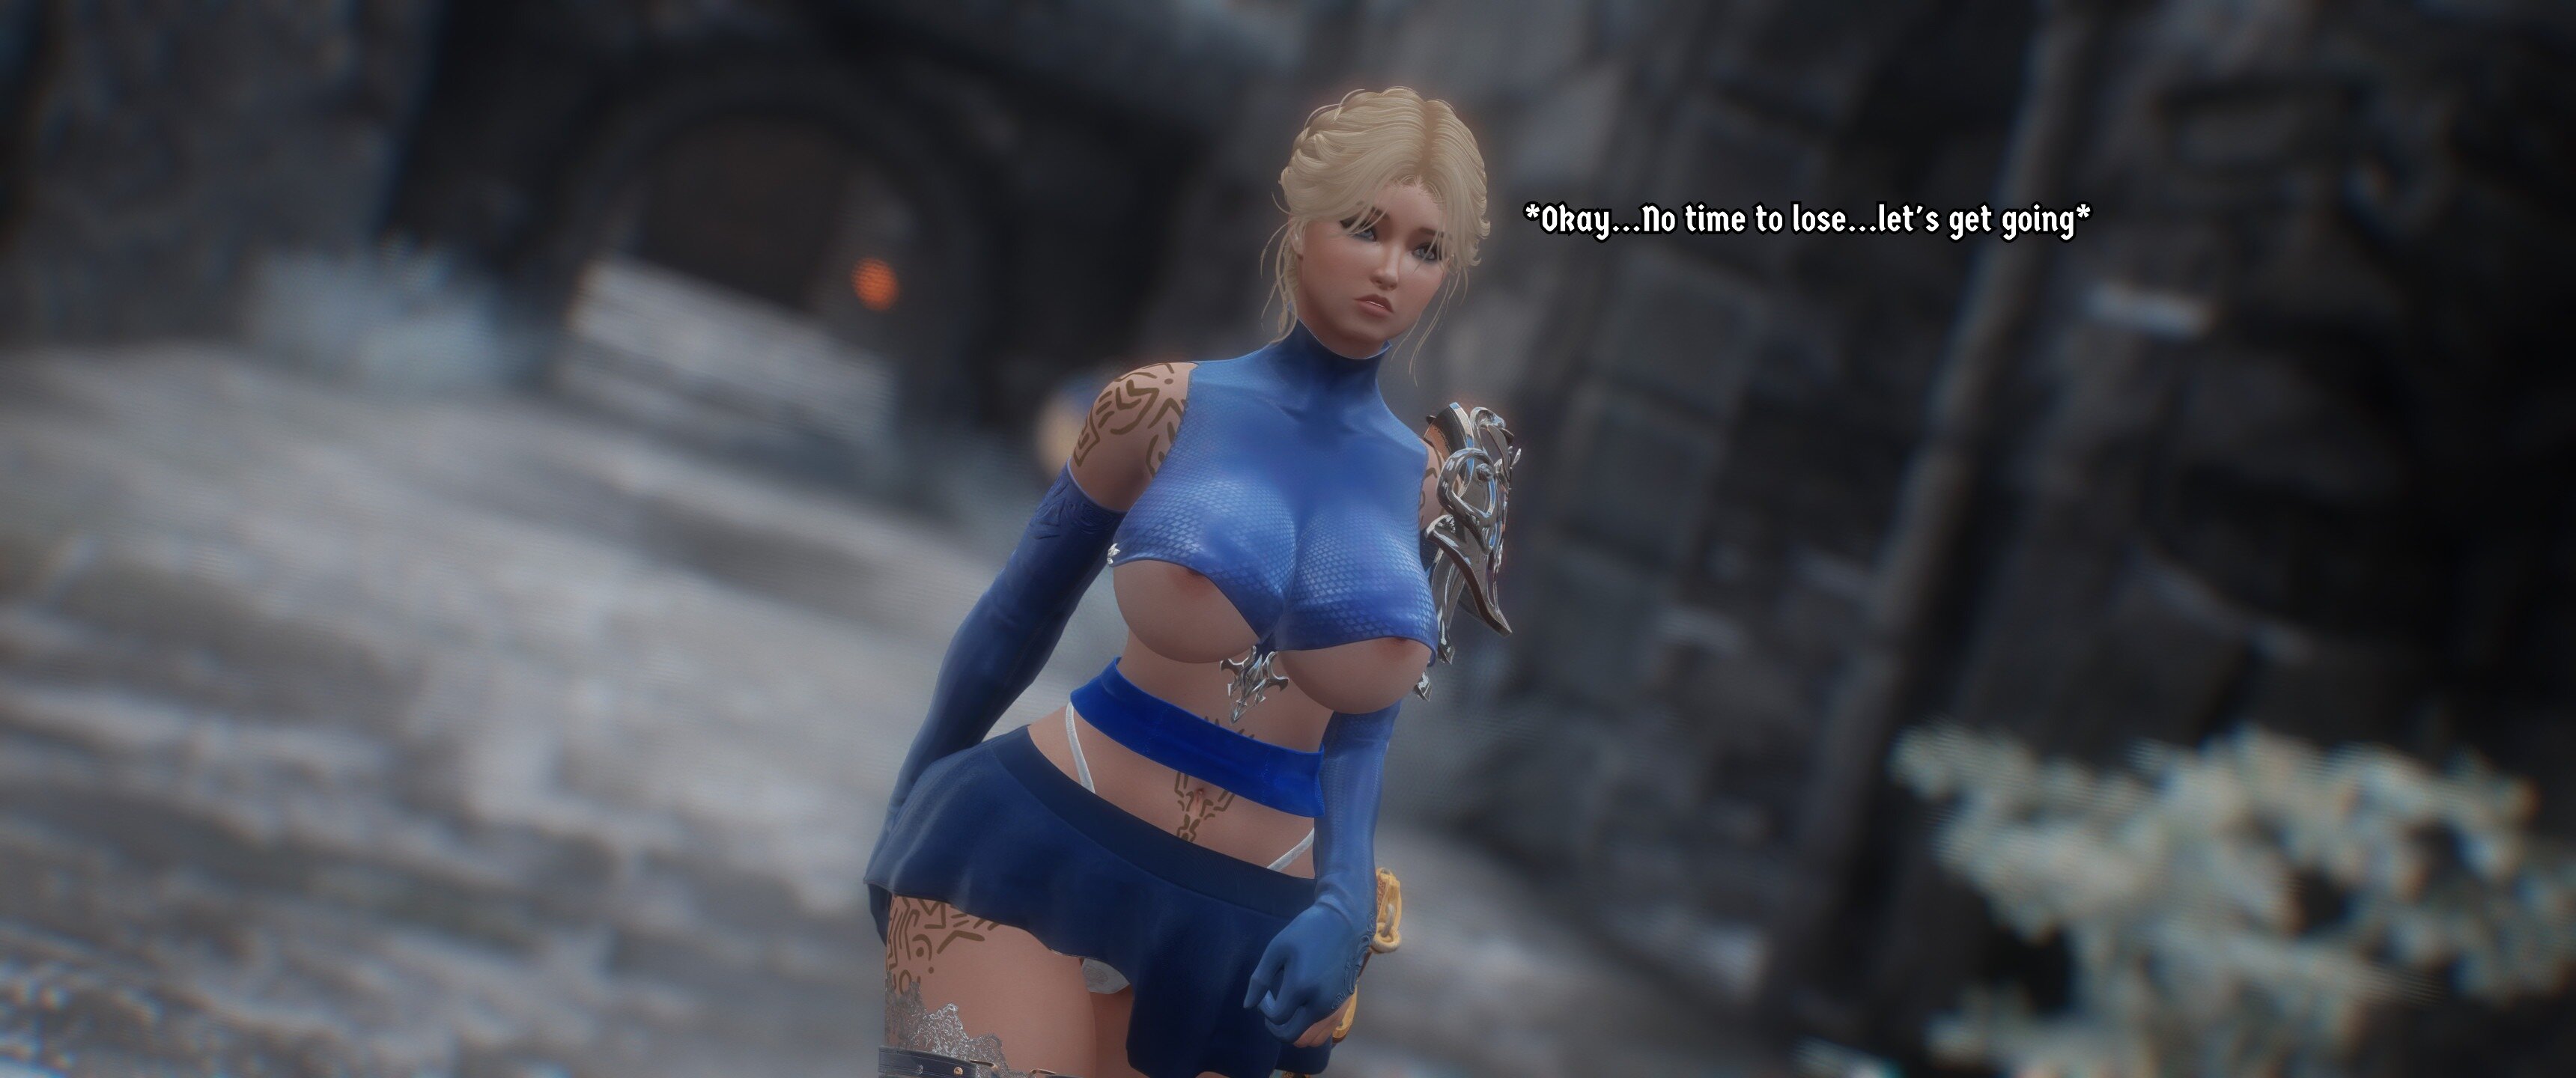
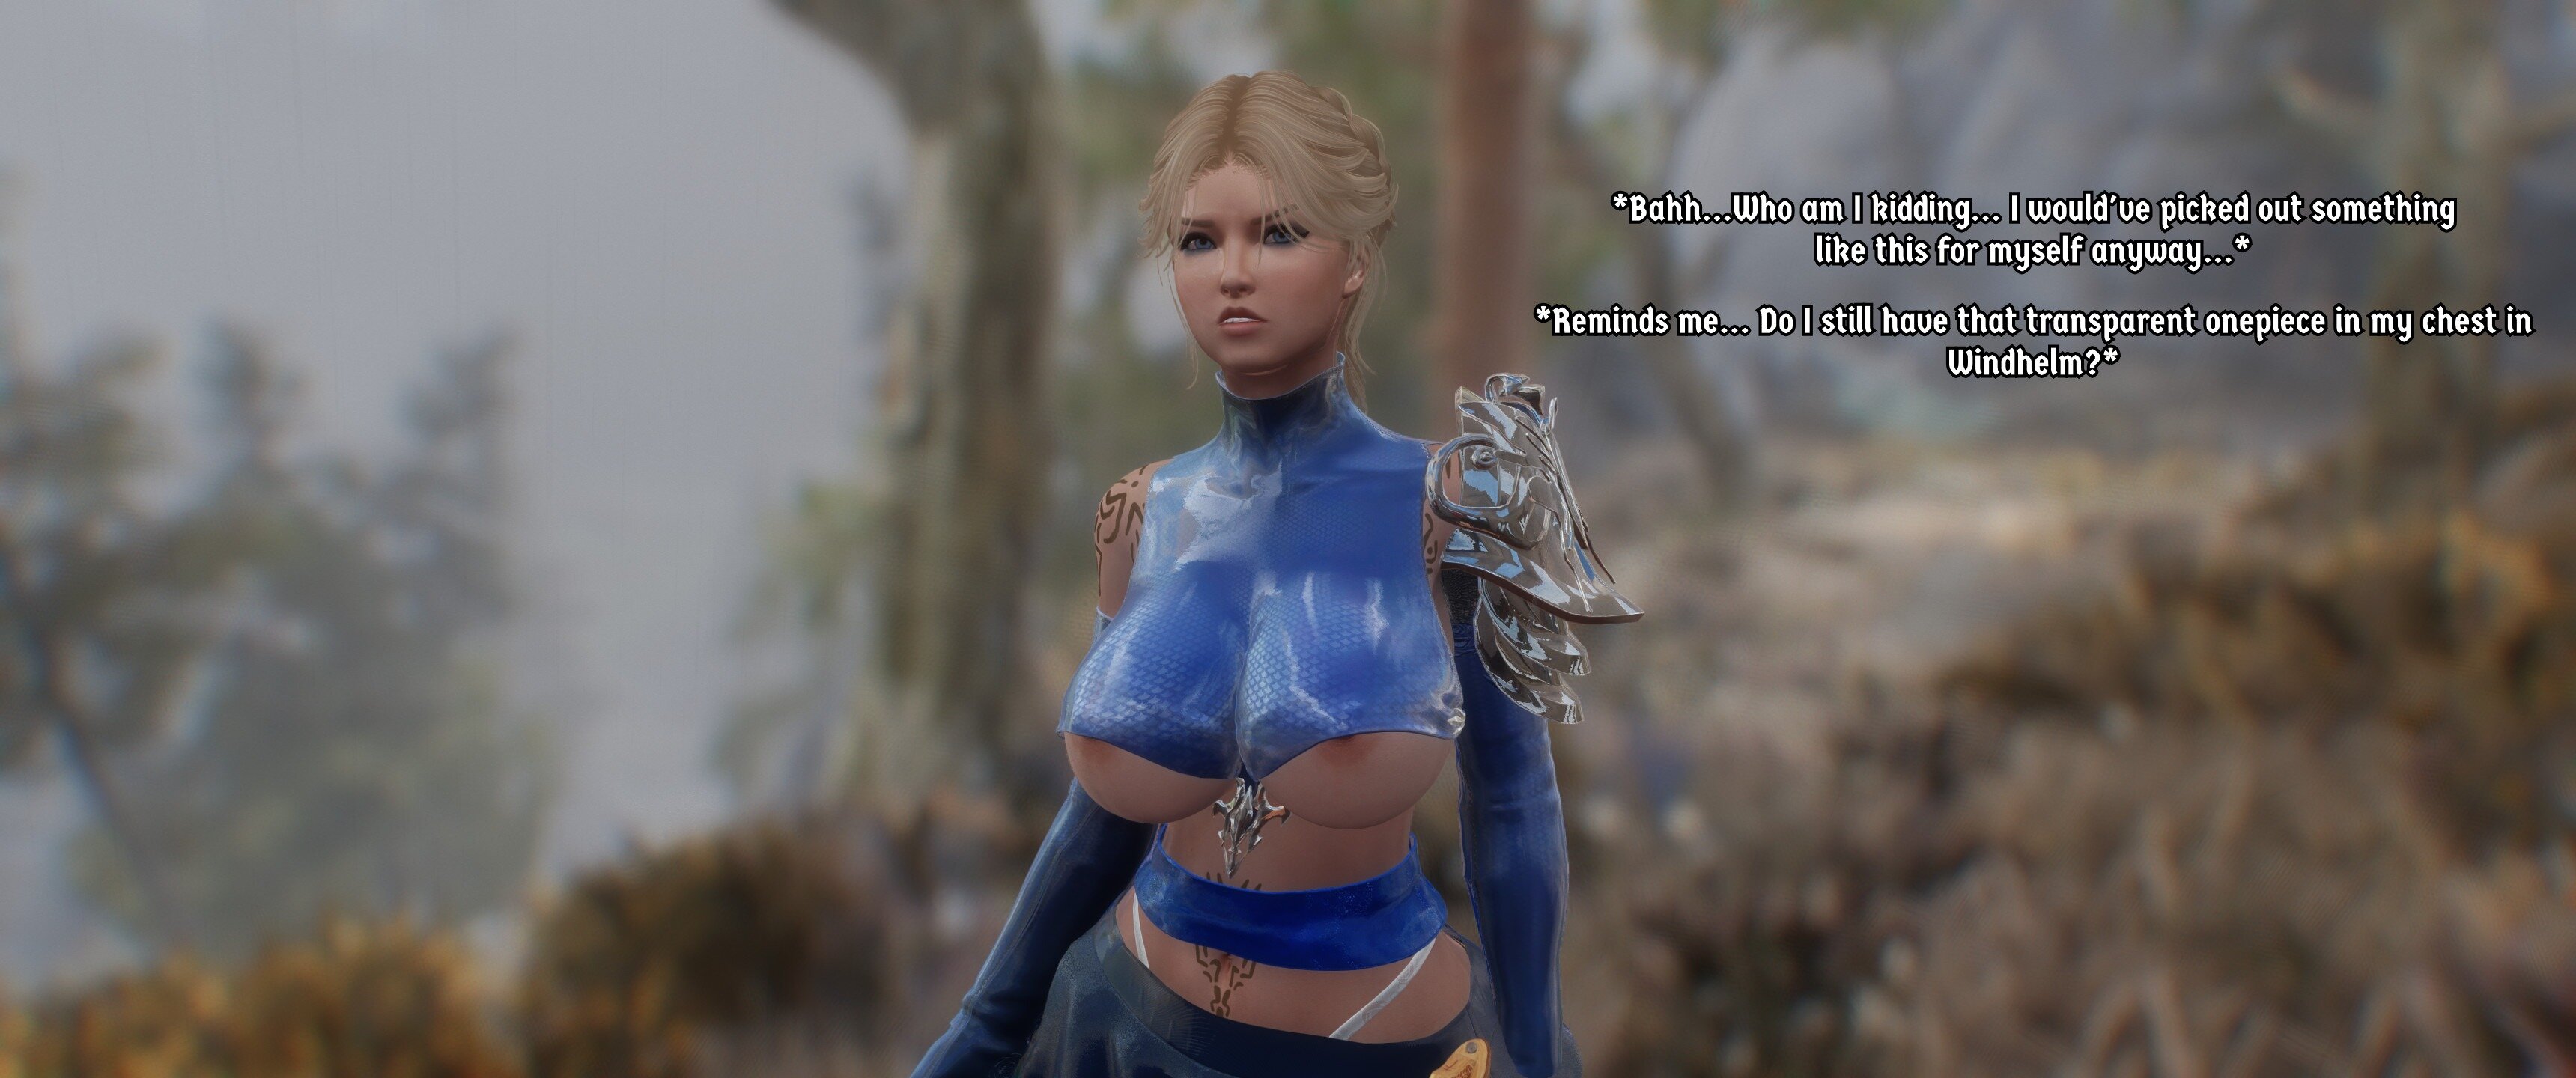
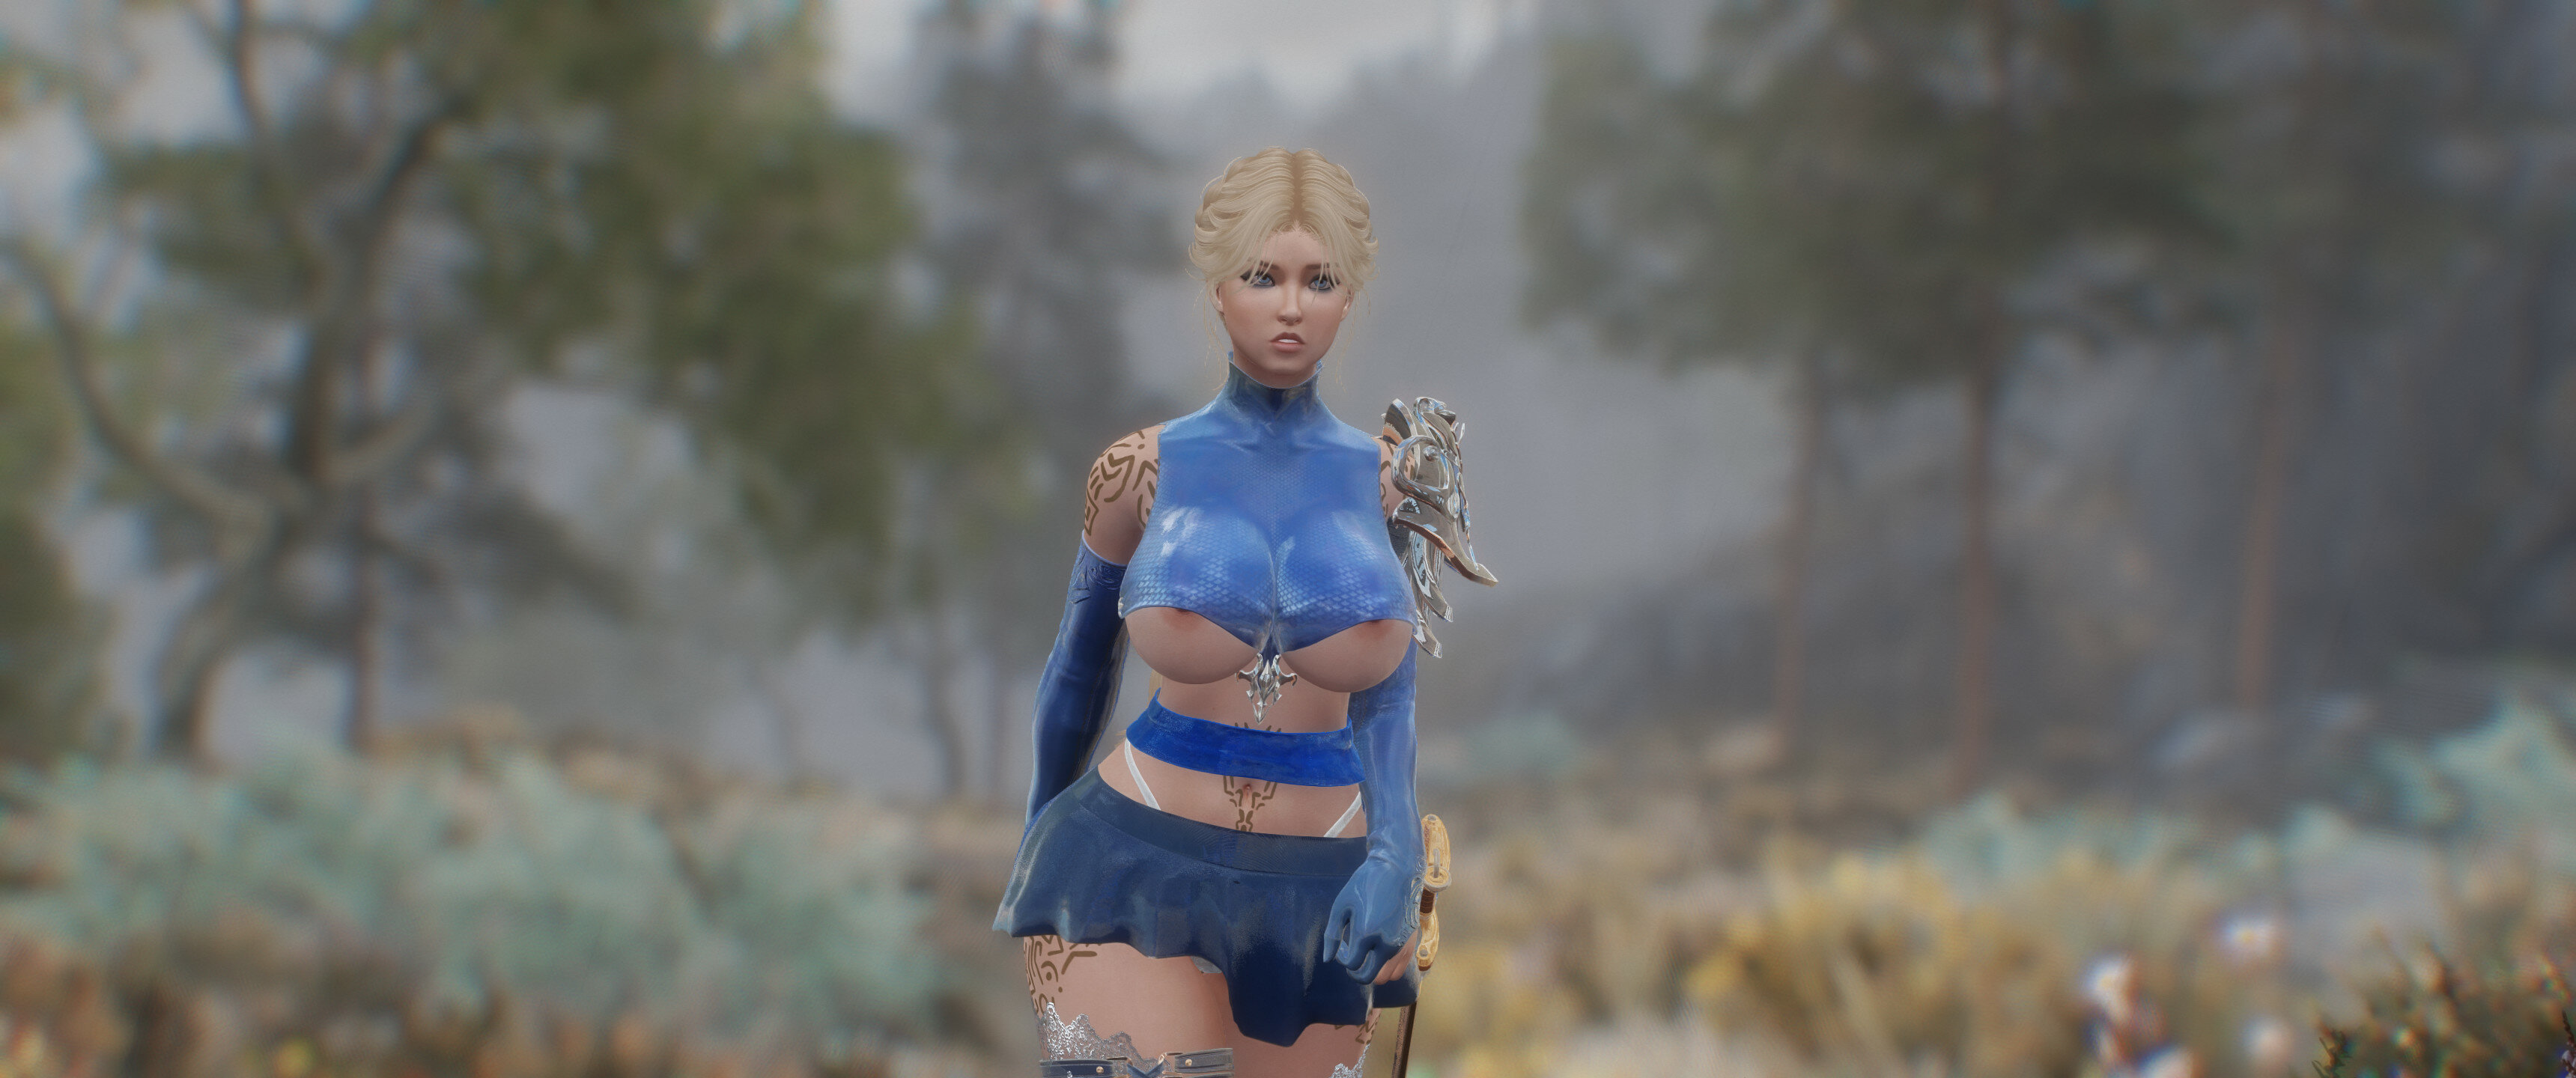
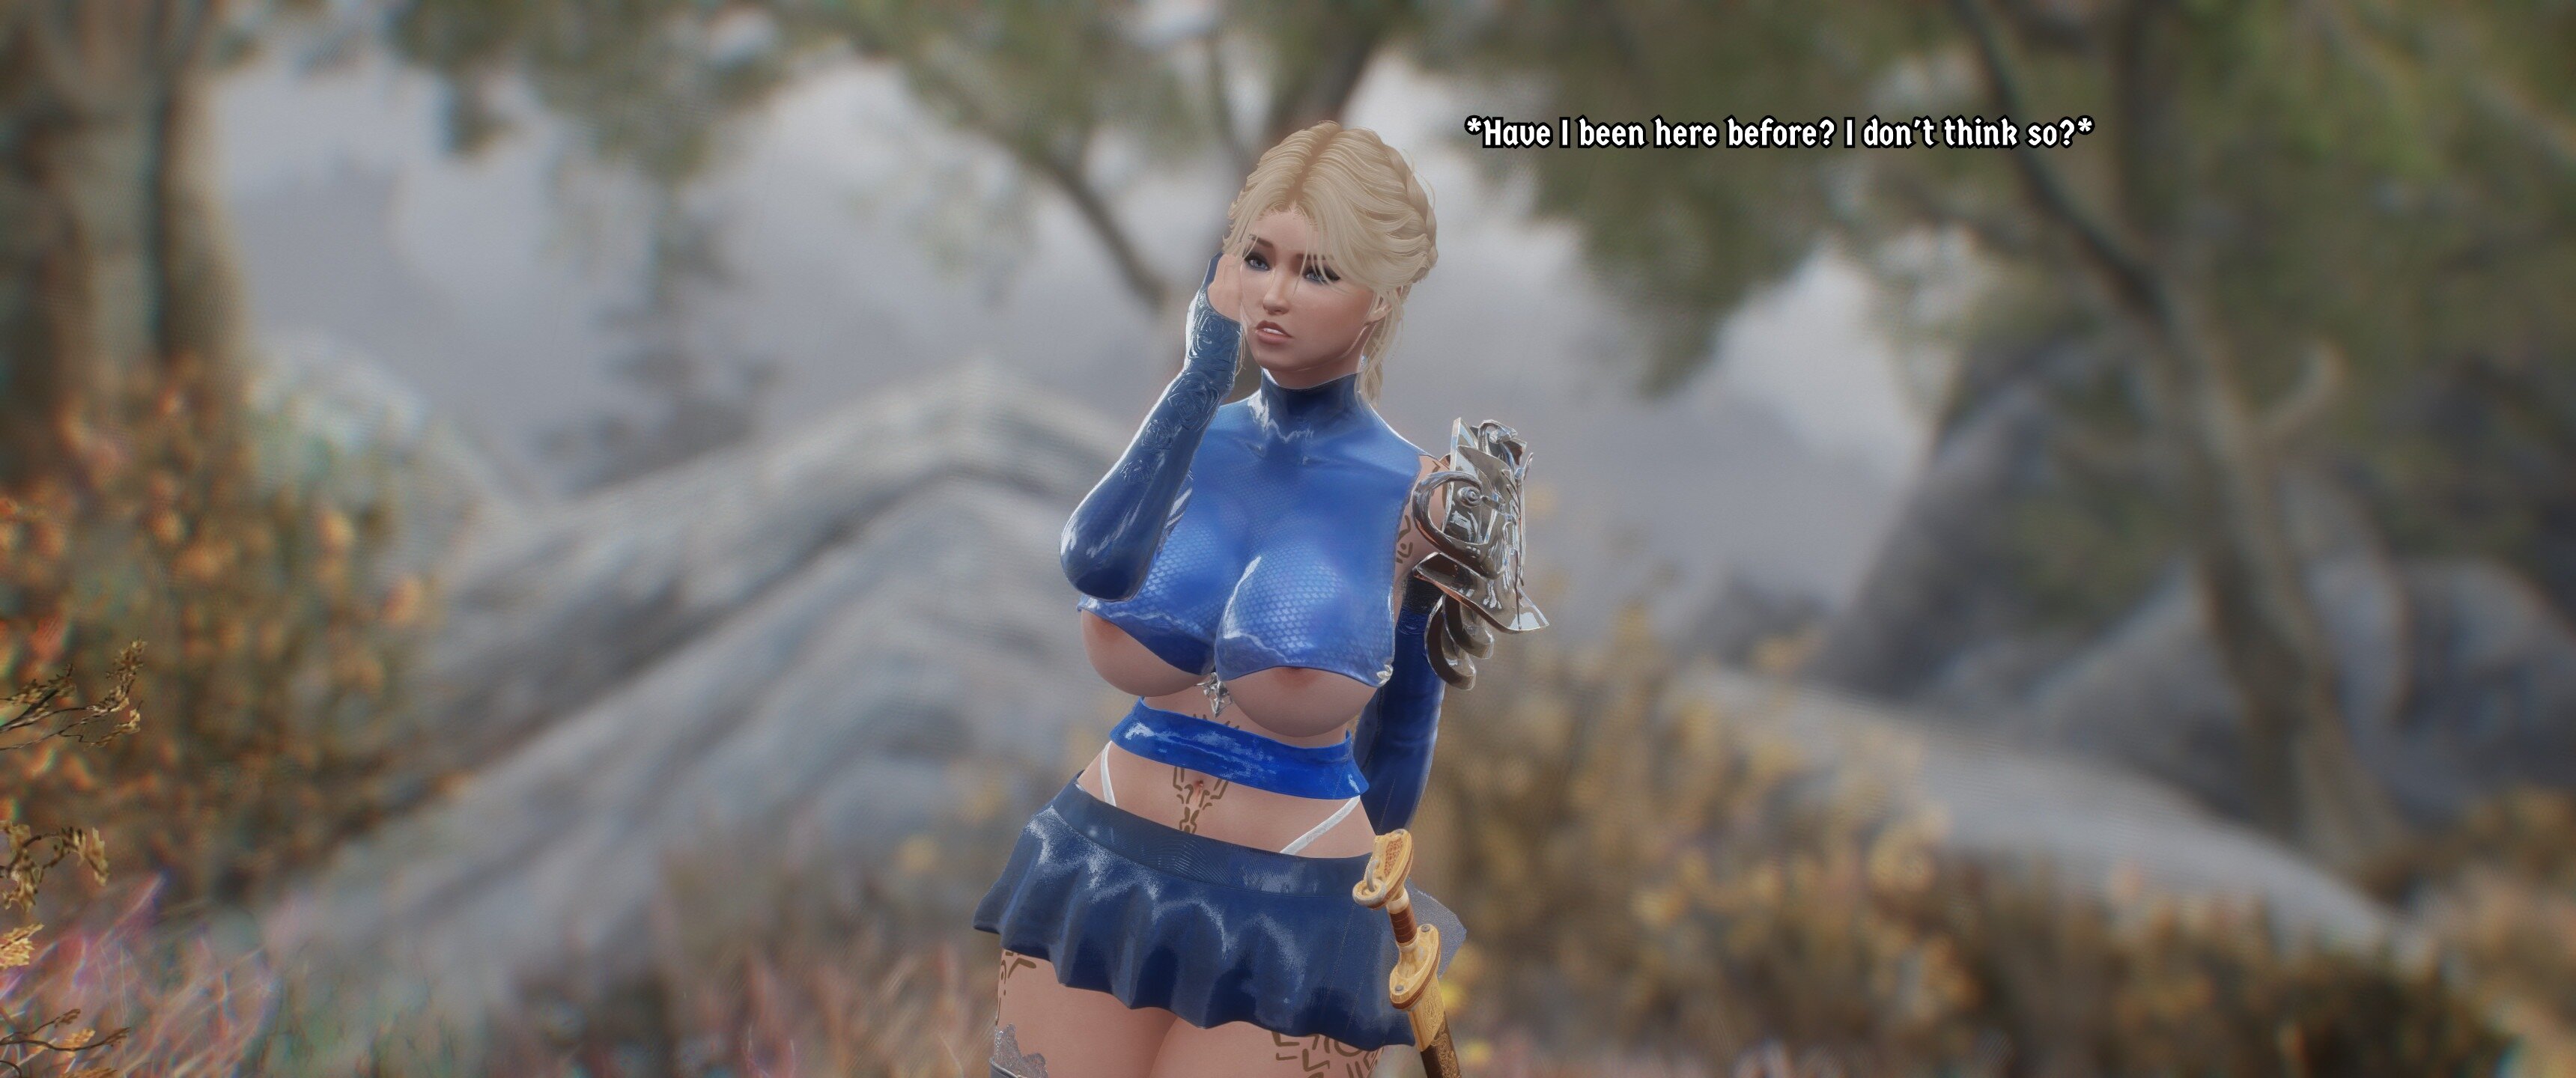
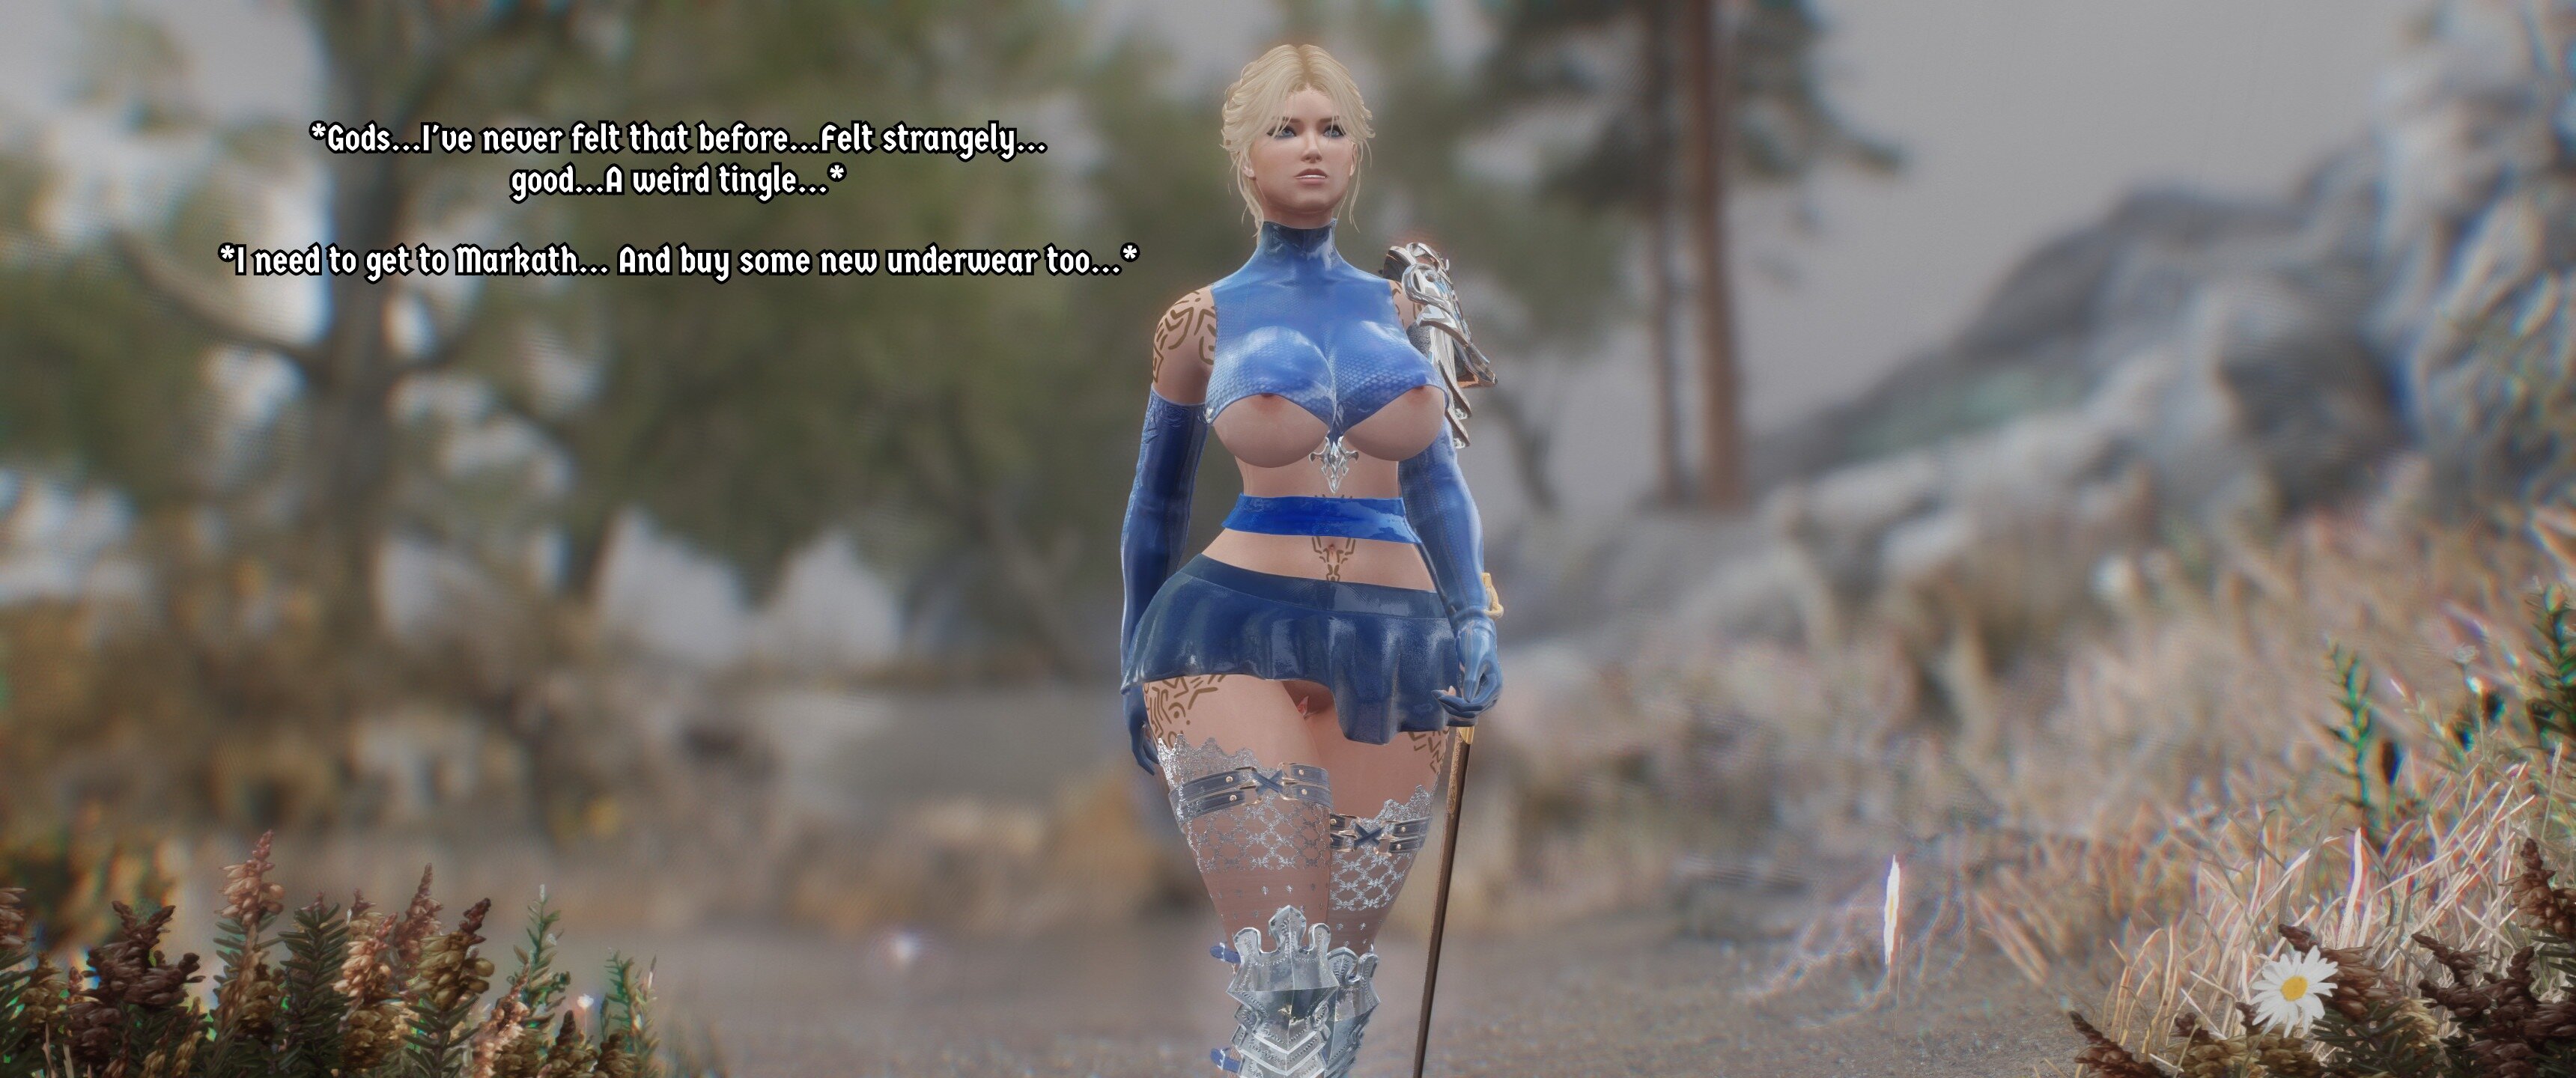
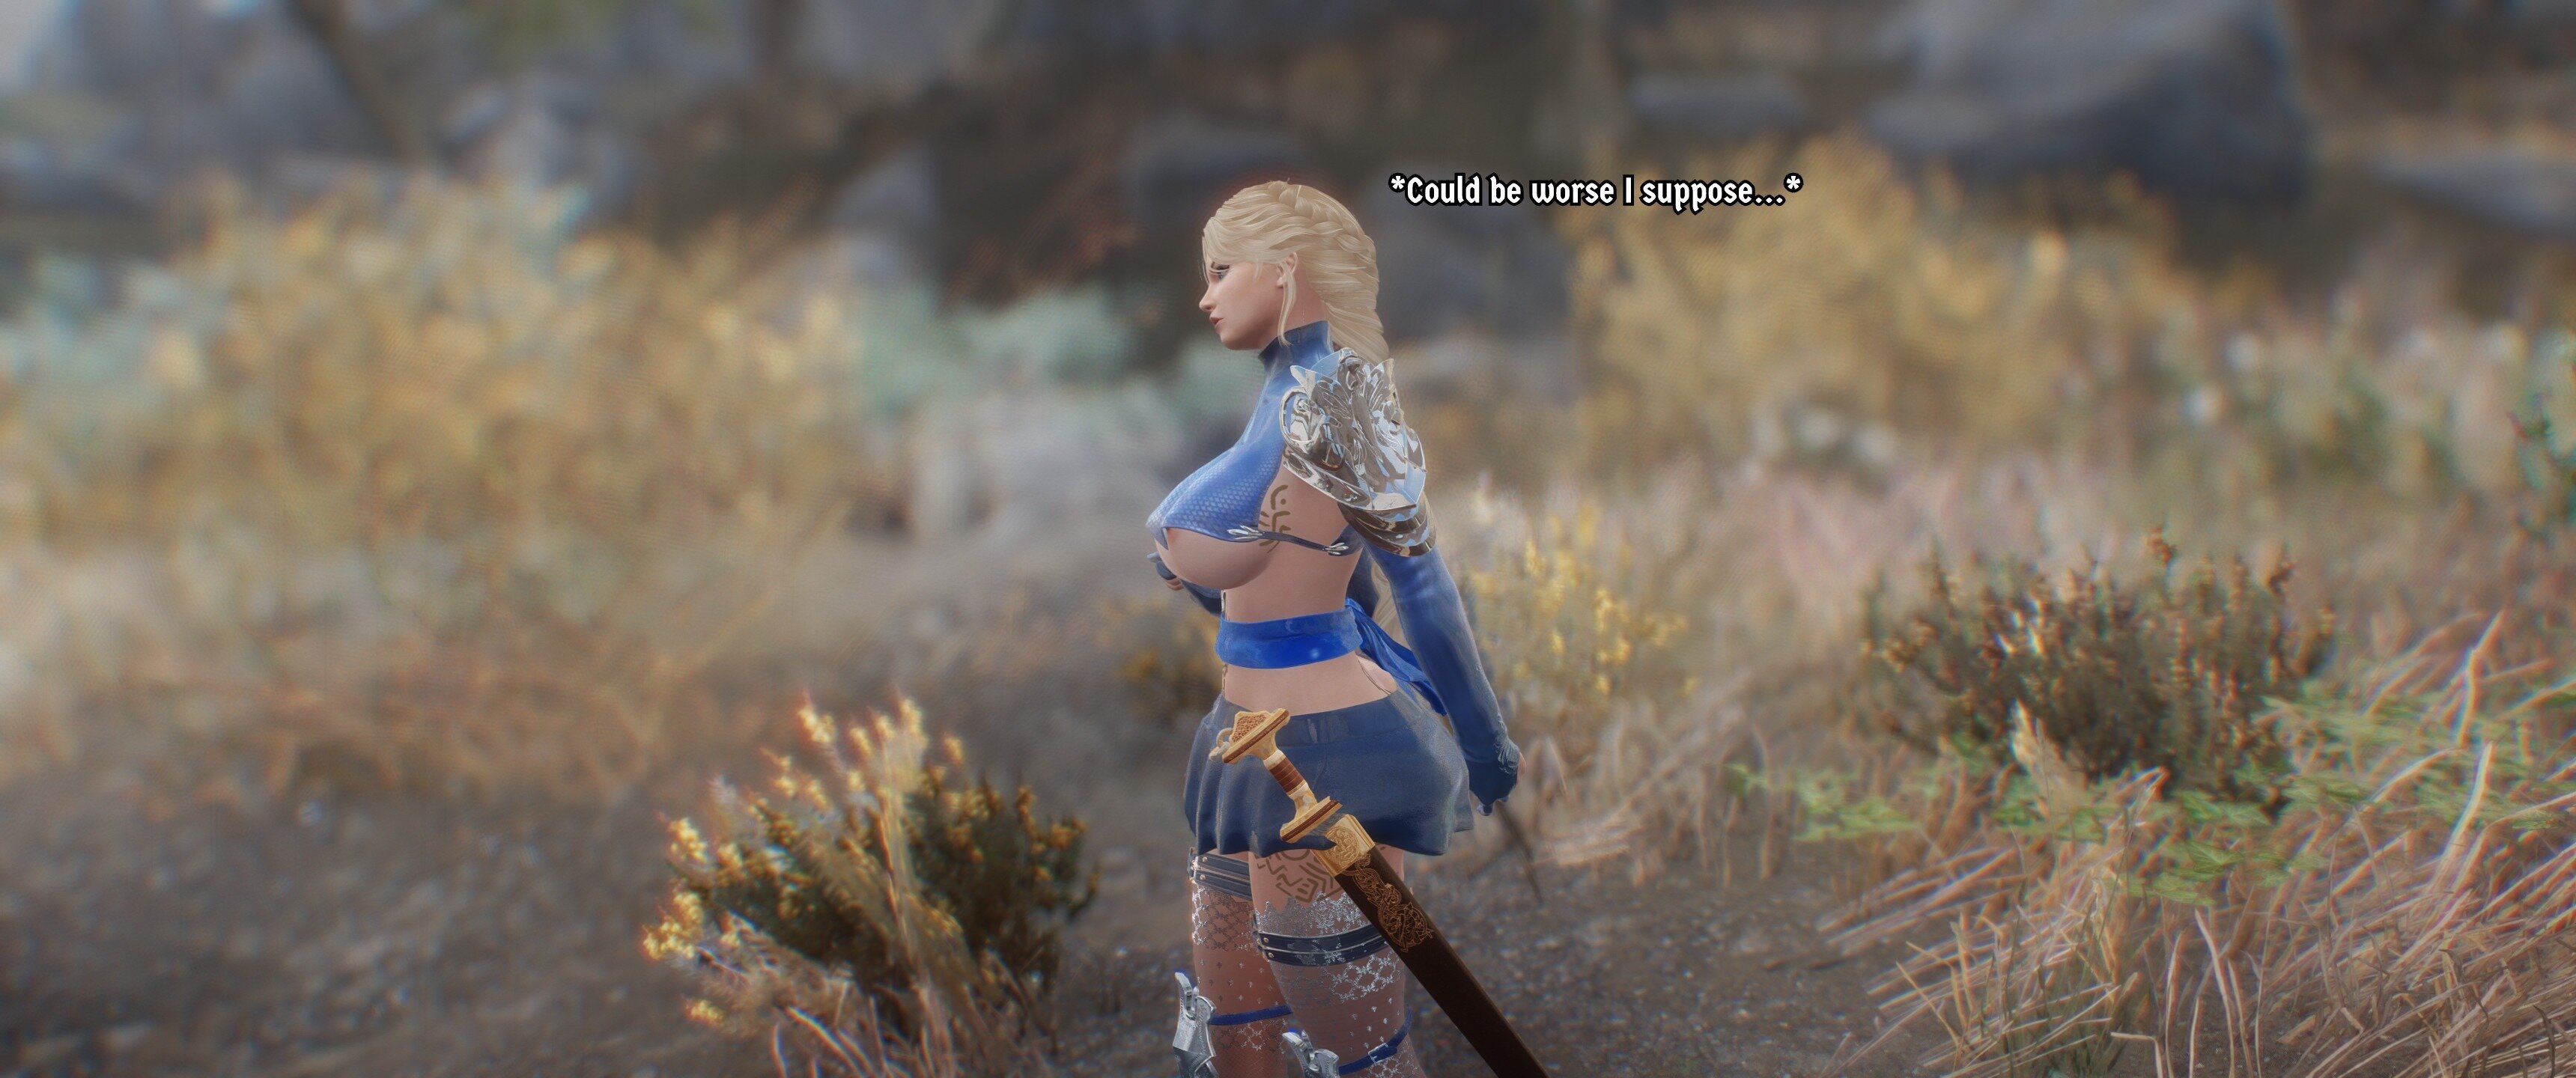
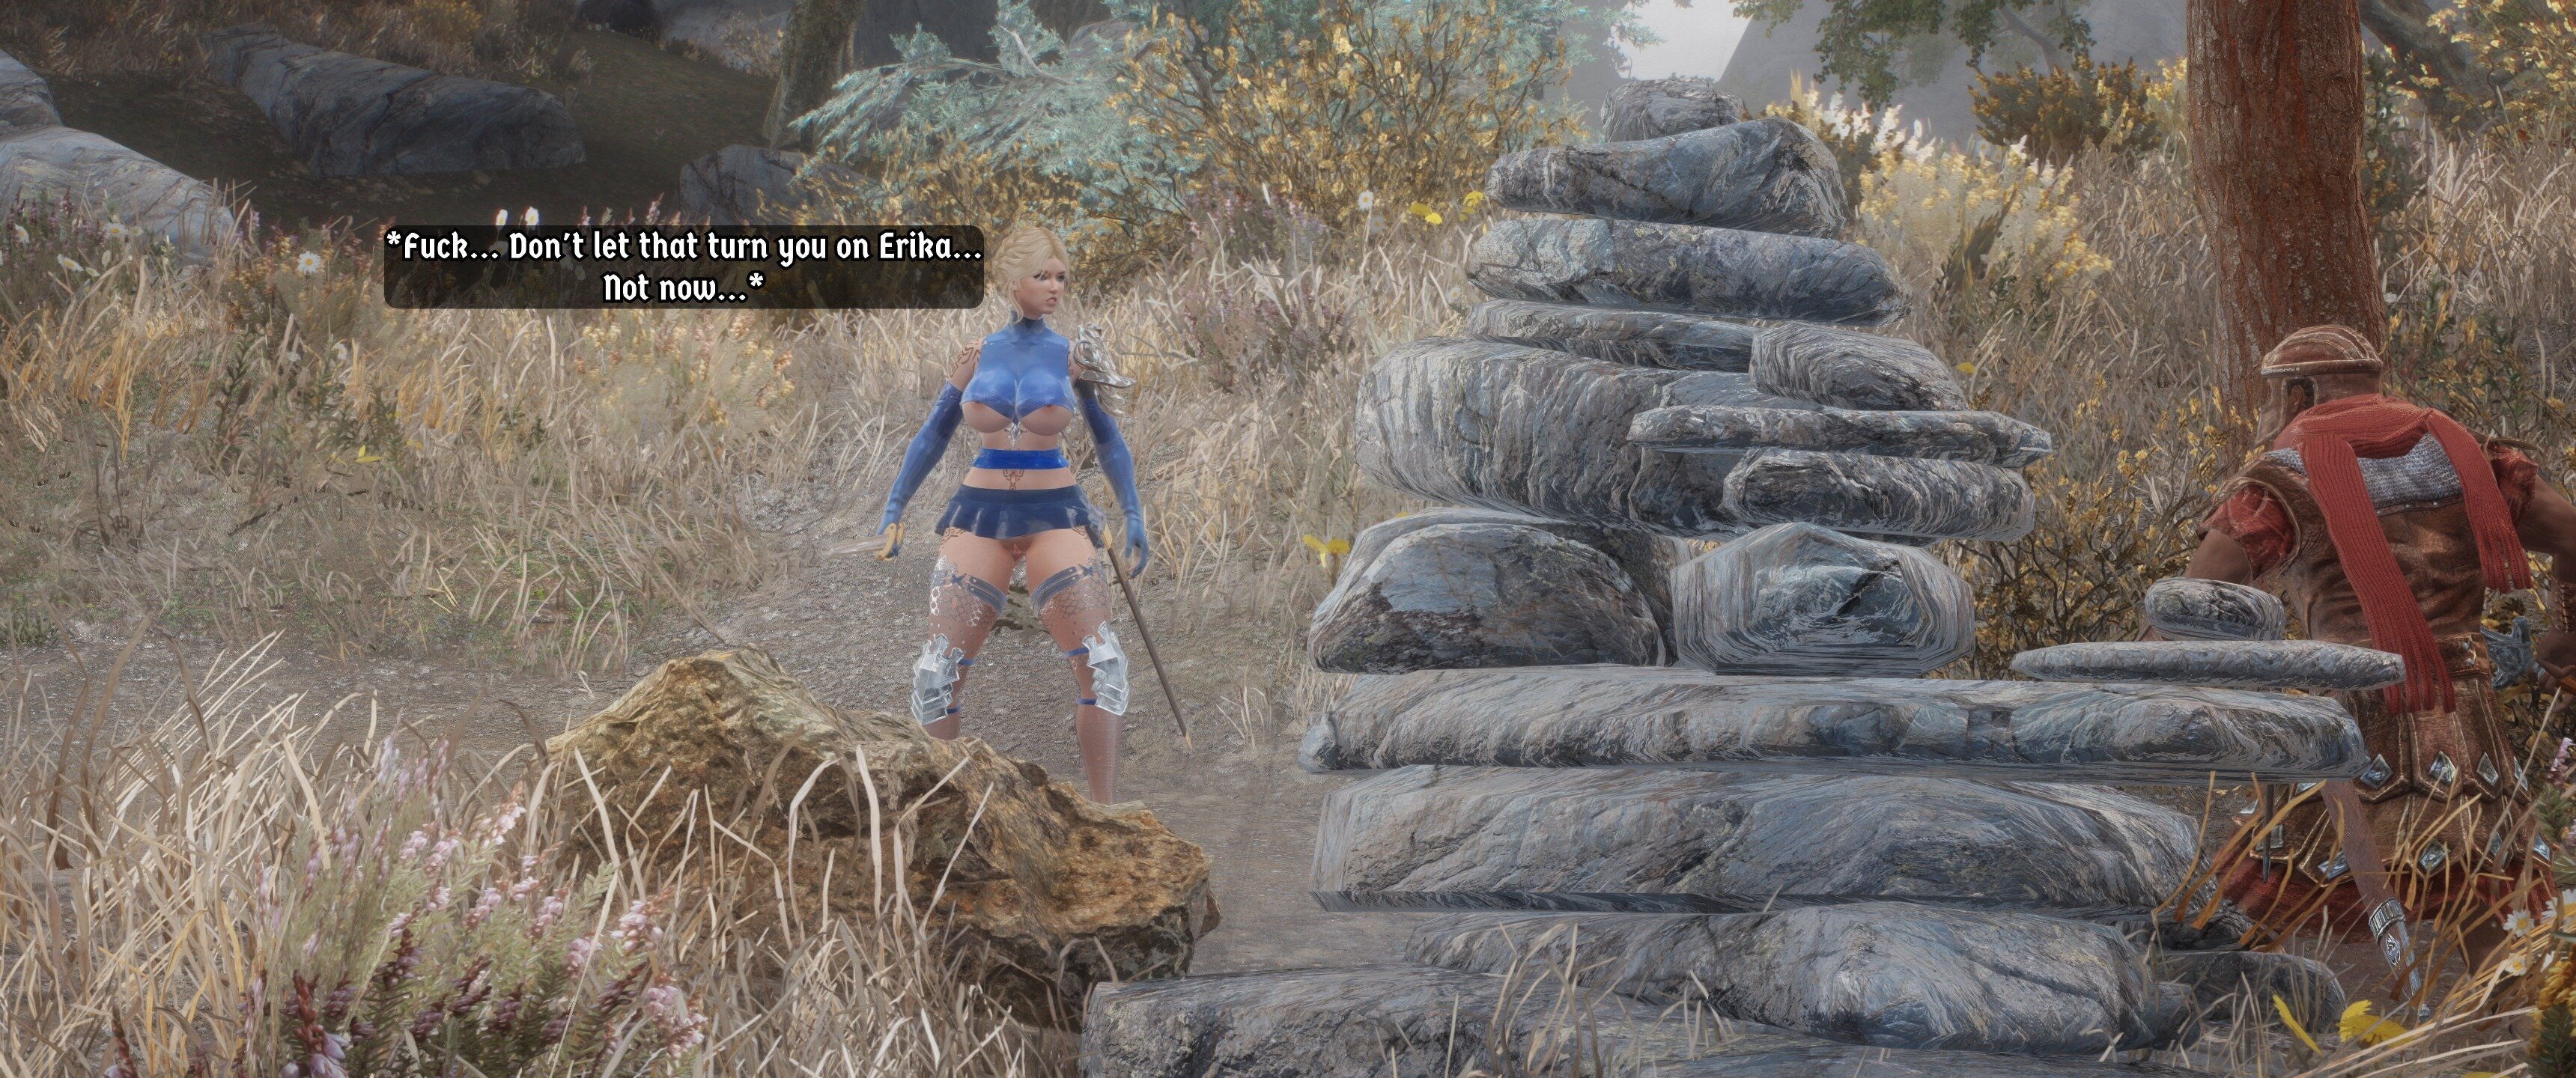
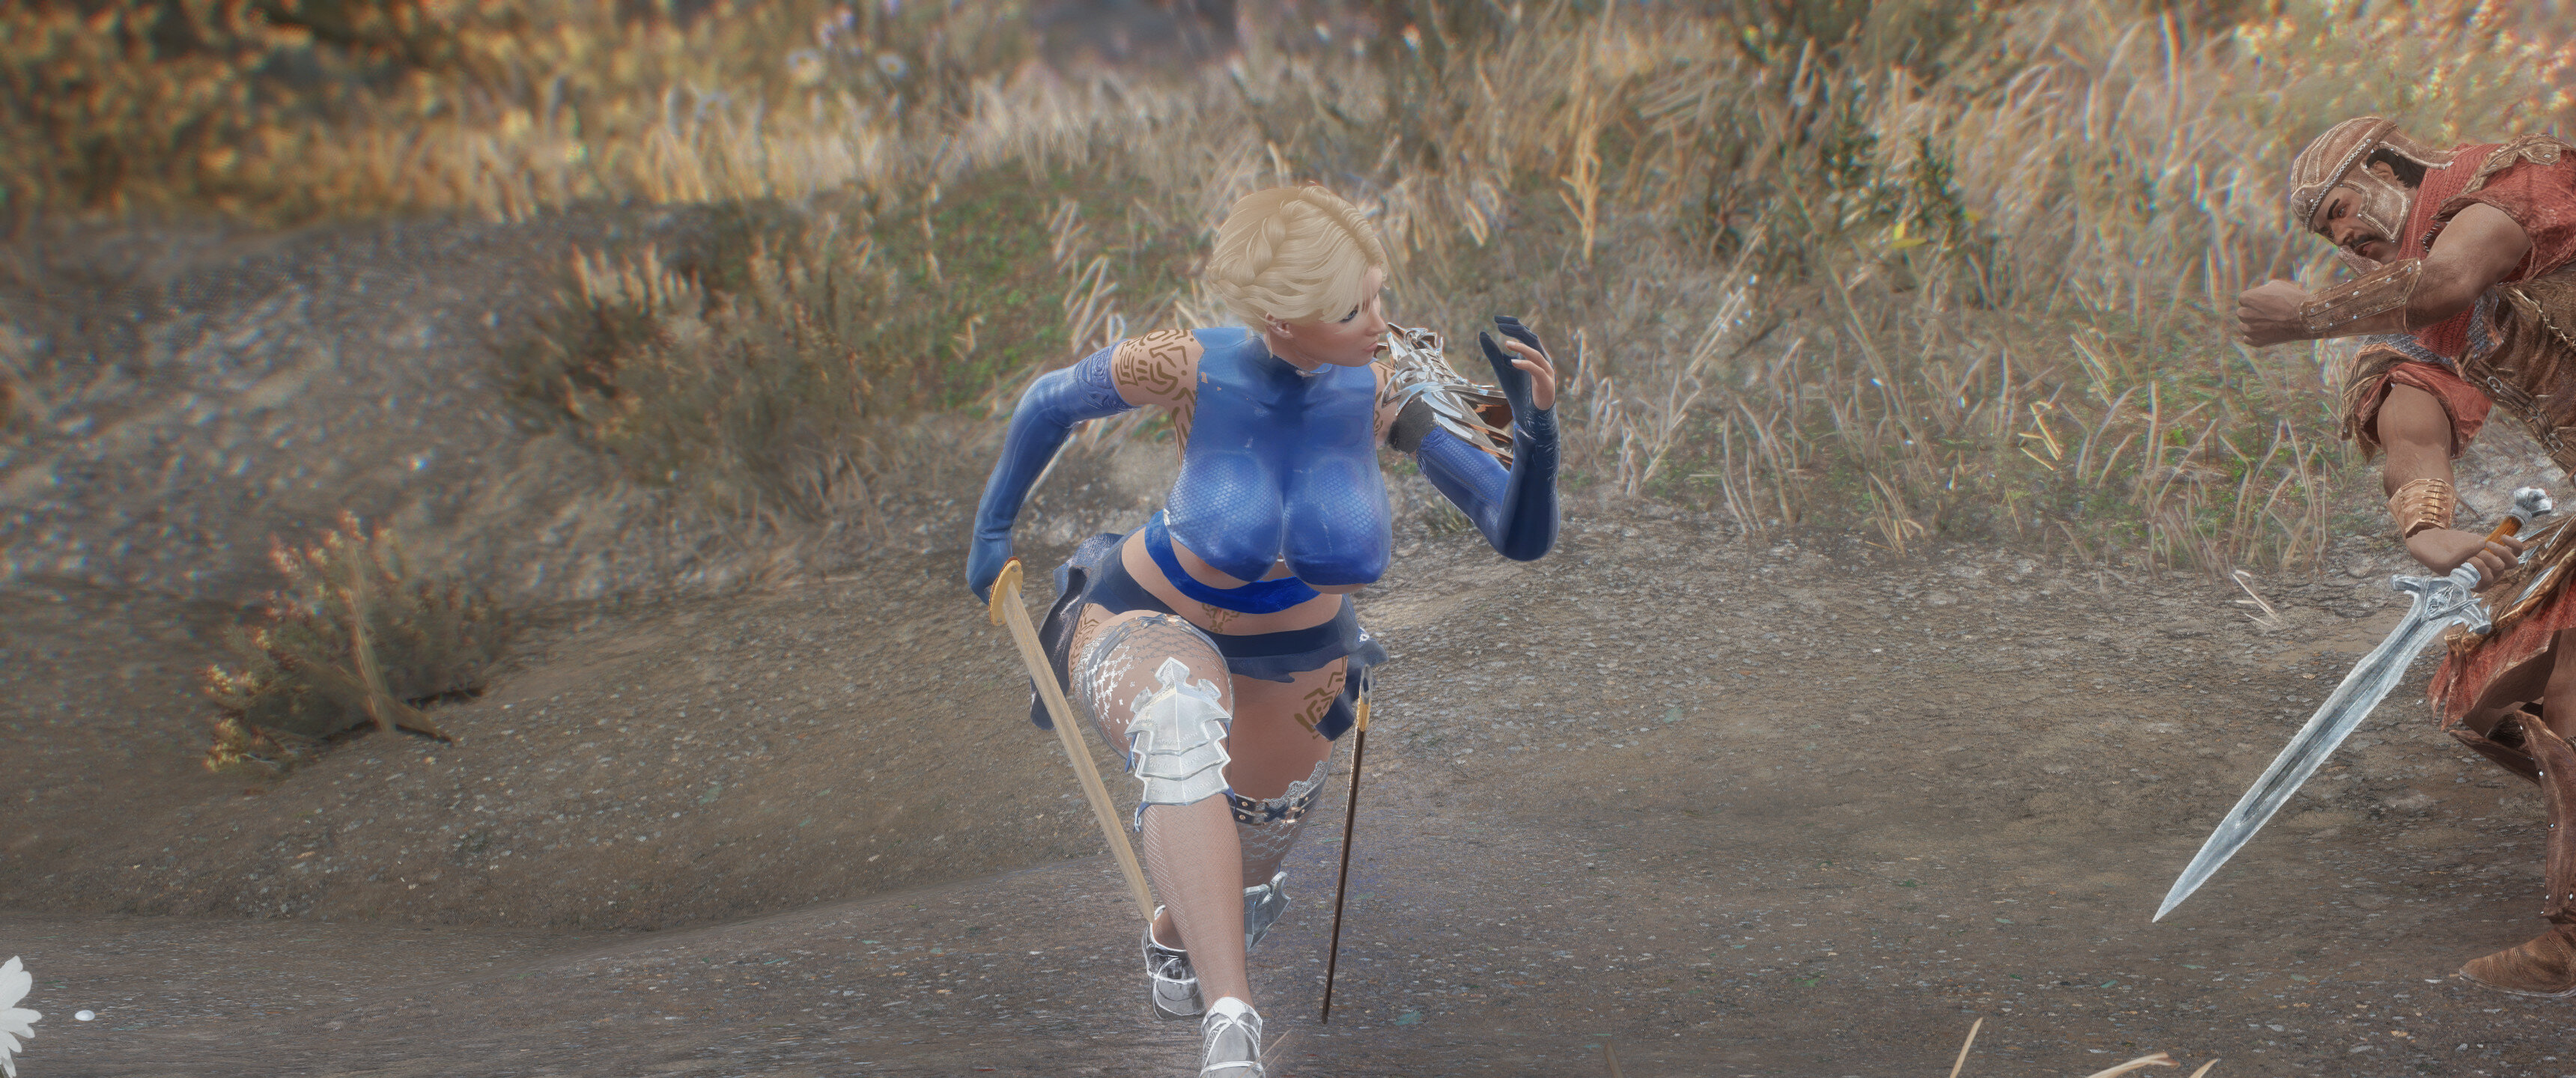
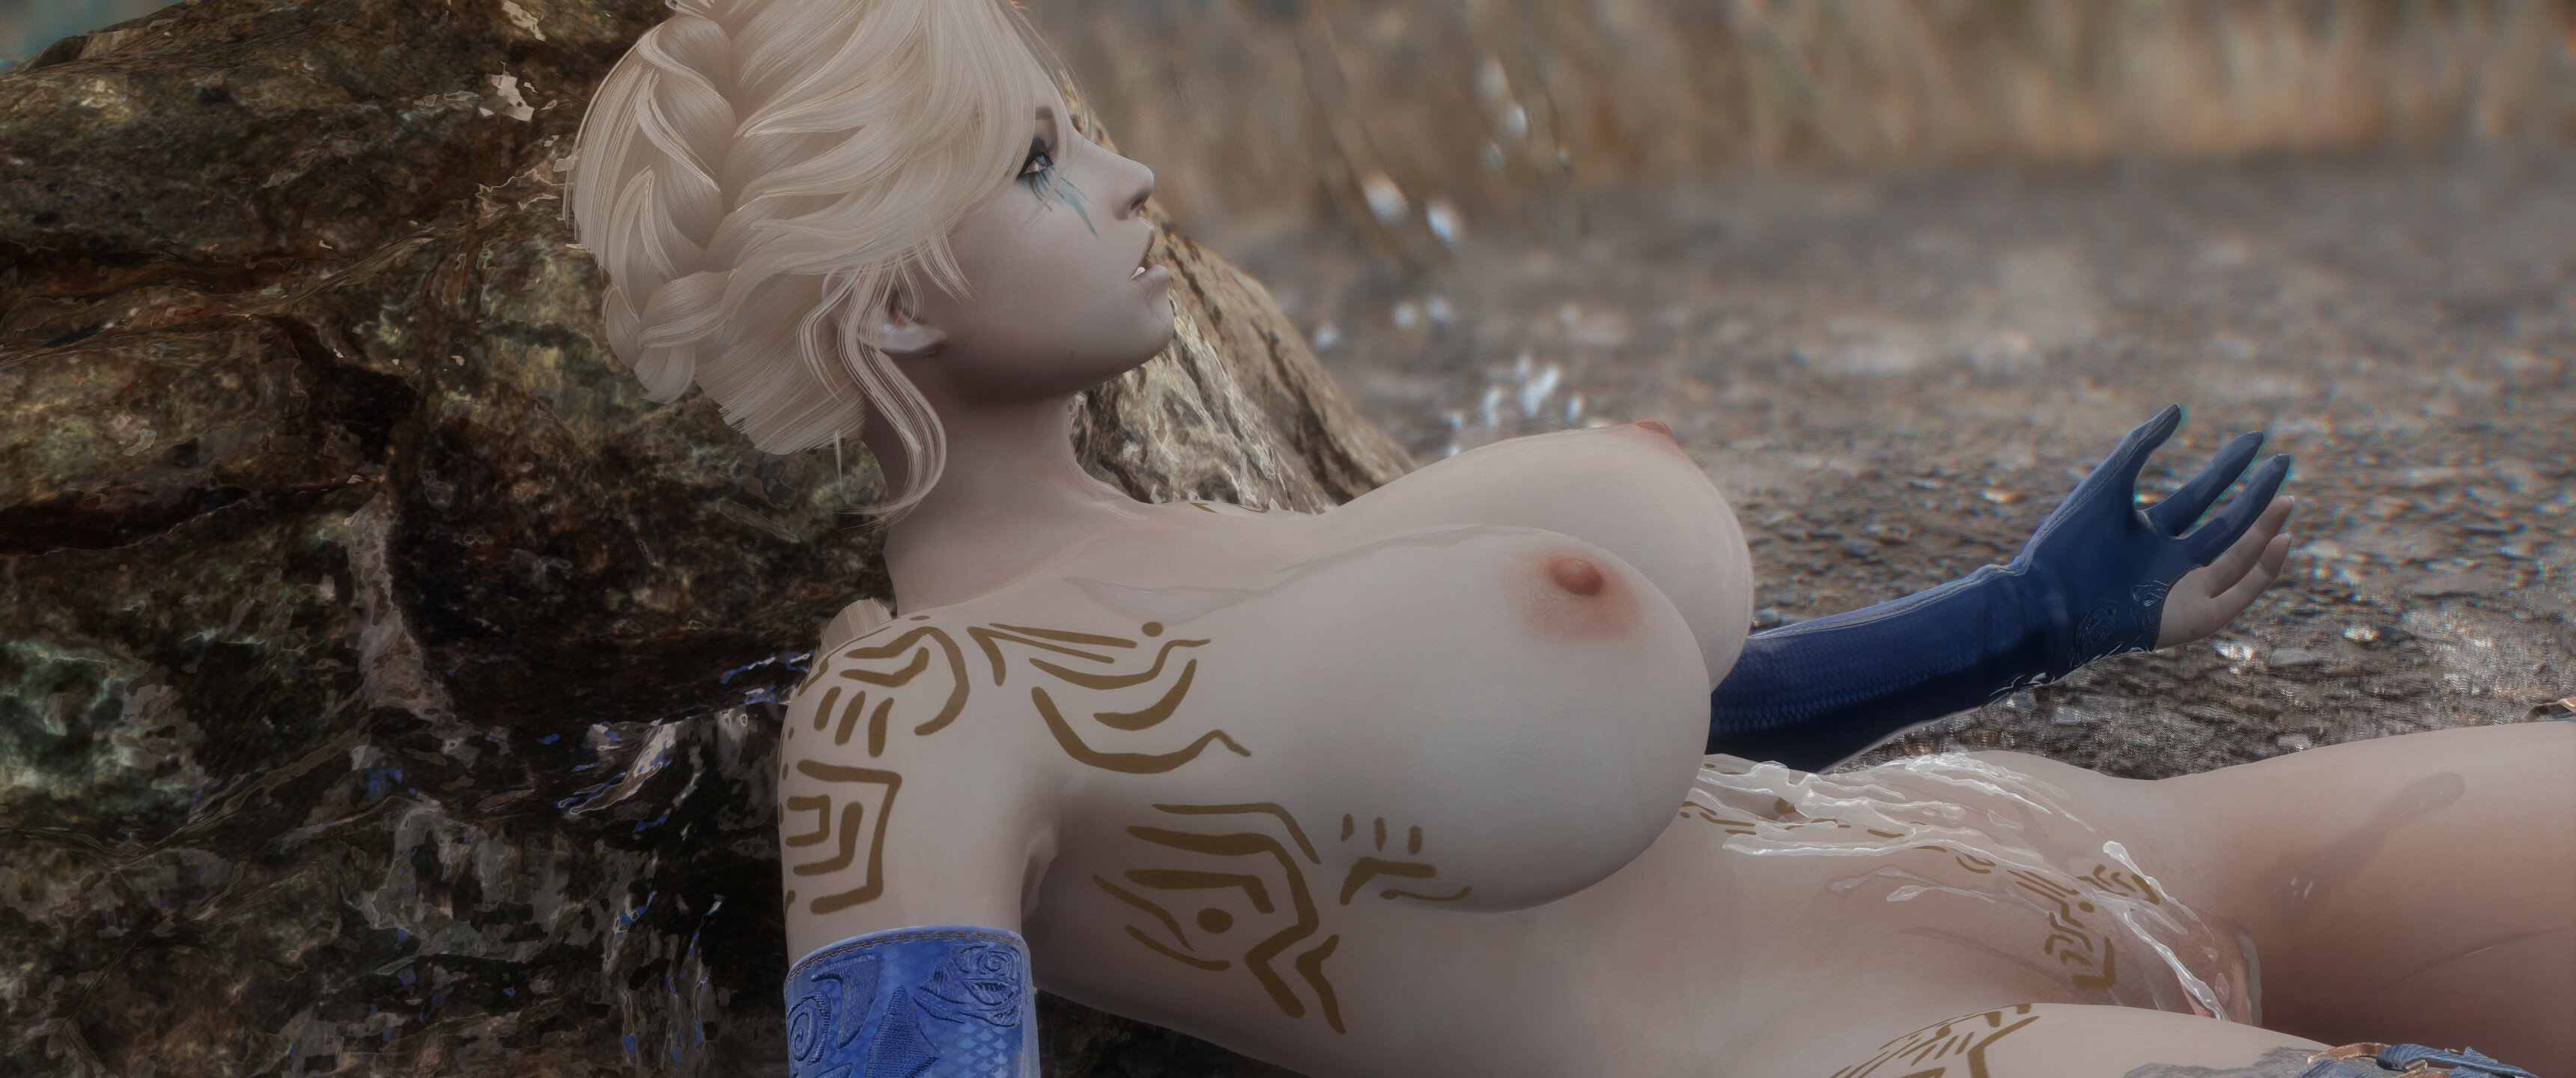
We join Erika in the Palace of the Kings in Windhelm, Having been issued a scandalously tight blue bodysuit and mini-skirt she is informed that she will be required to wear it for a special task she's been assigned to by Galmar Stone-Fist
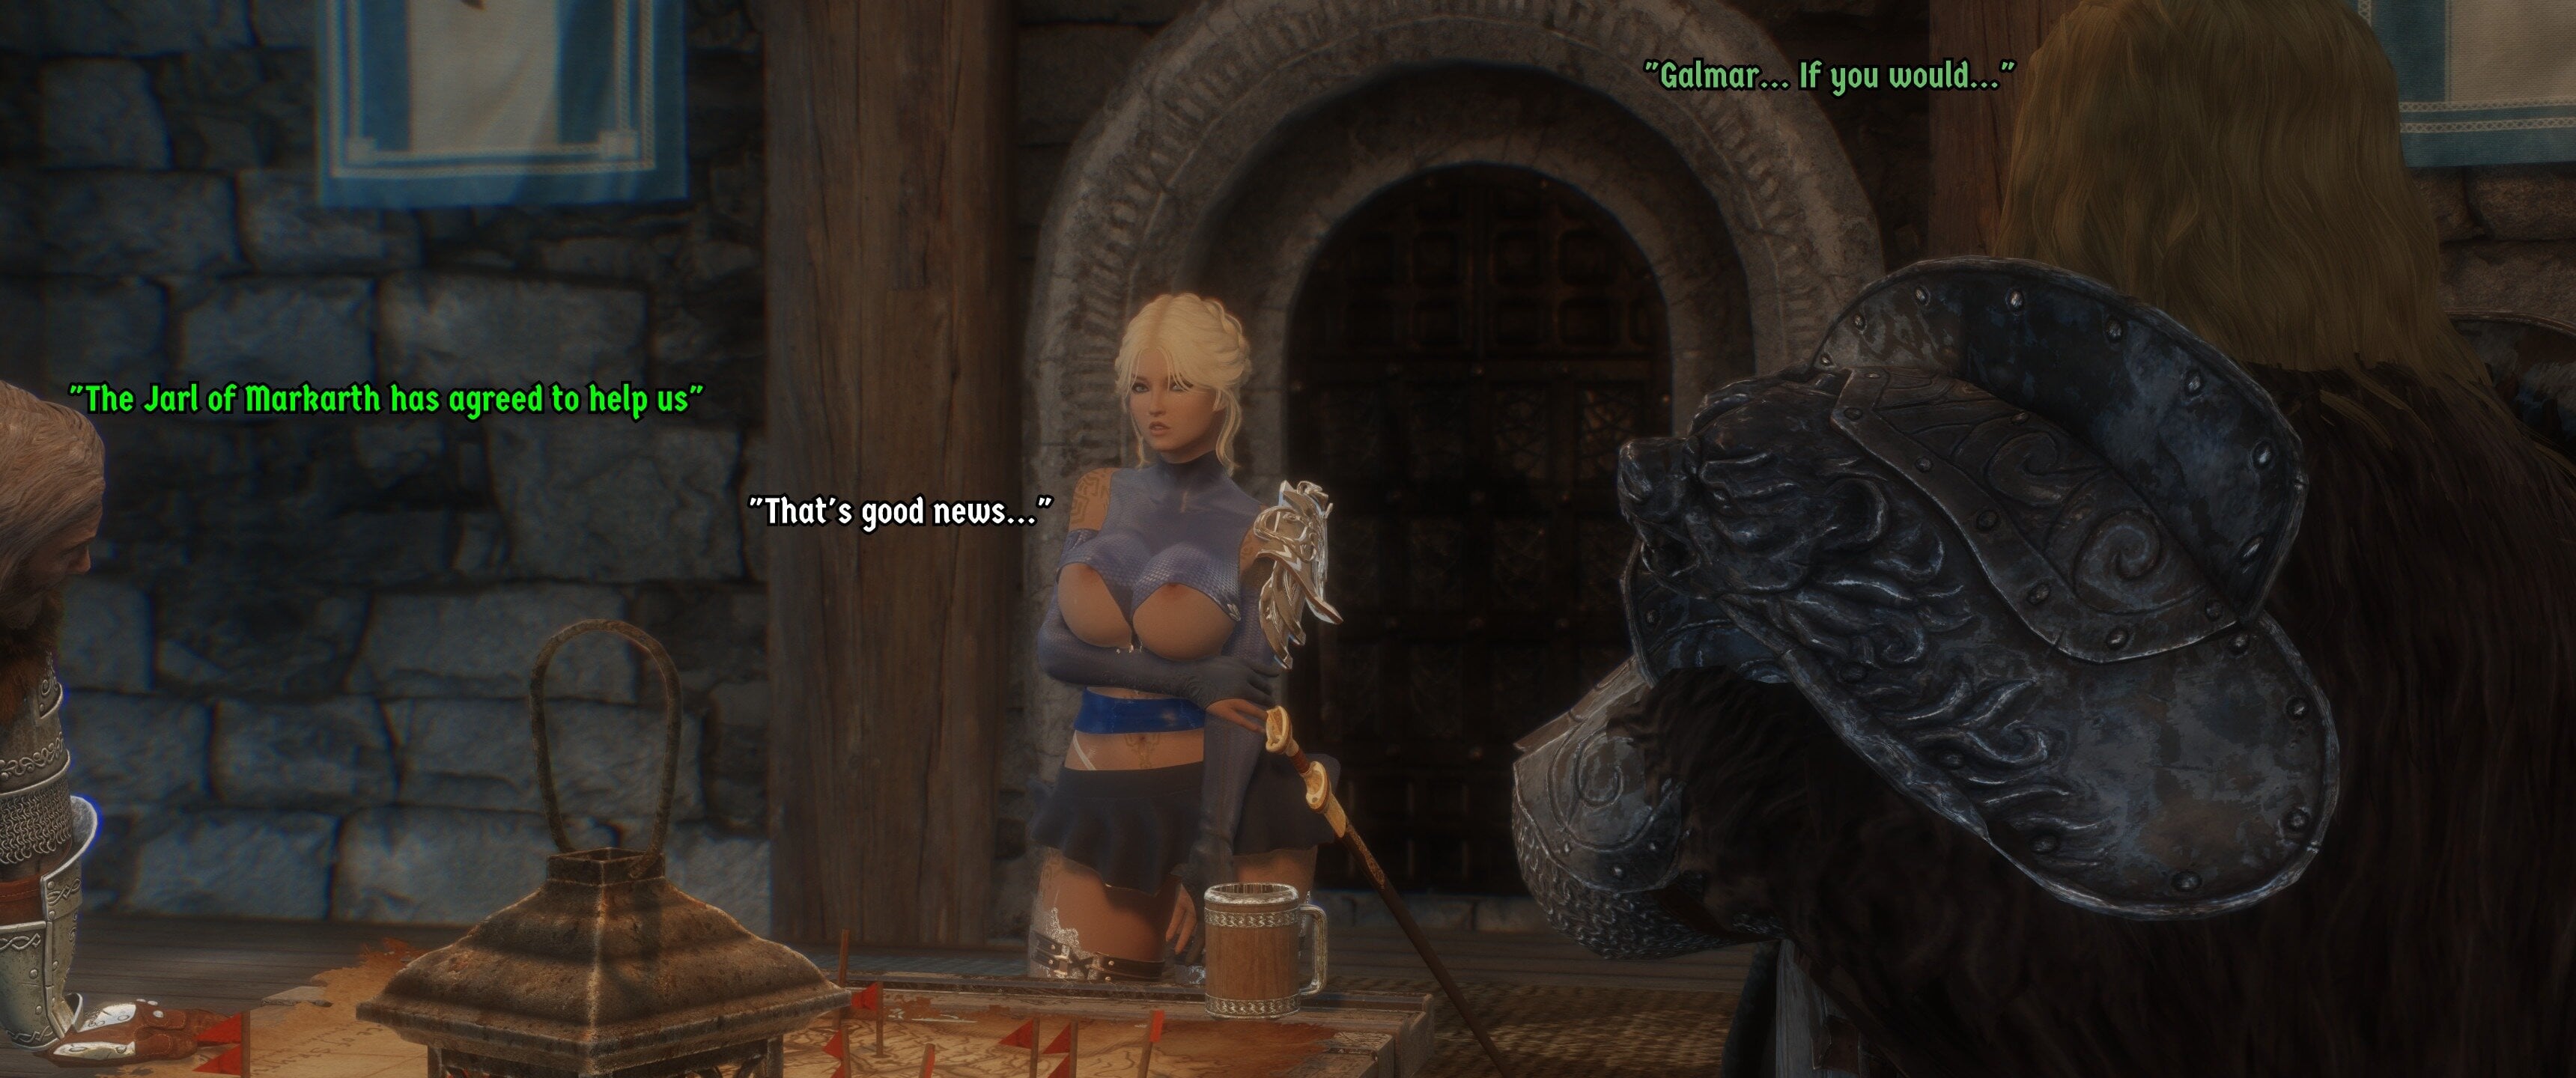
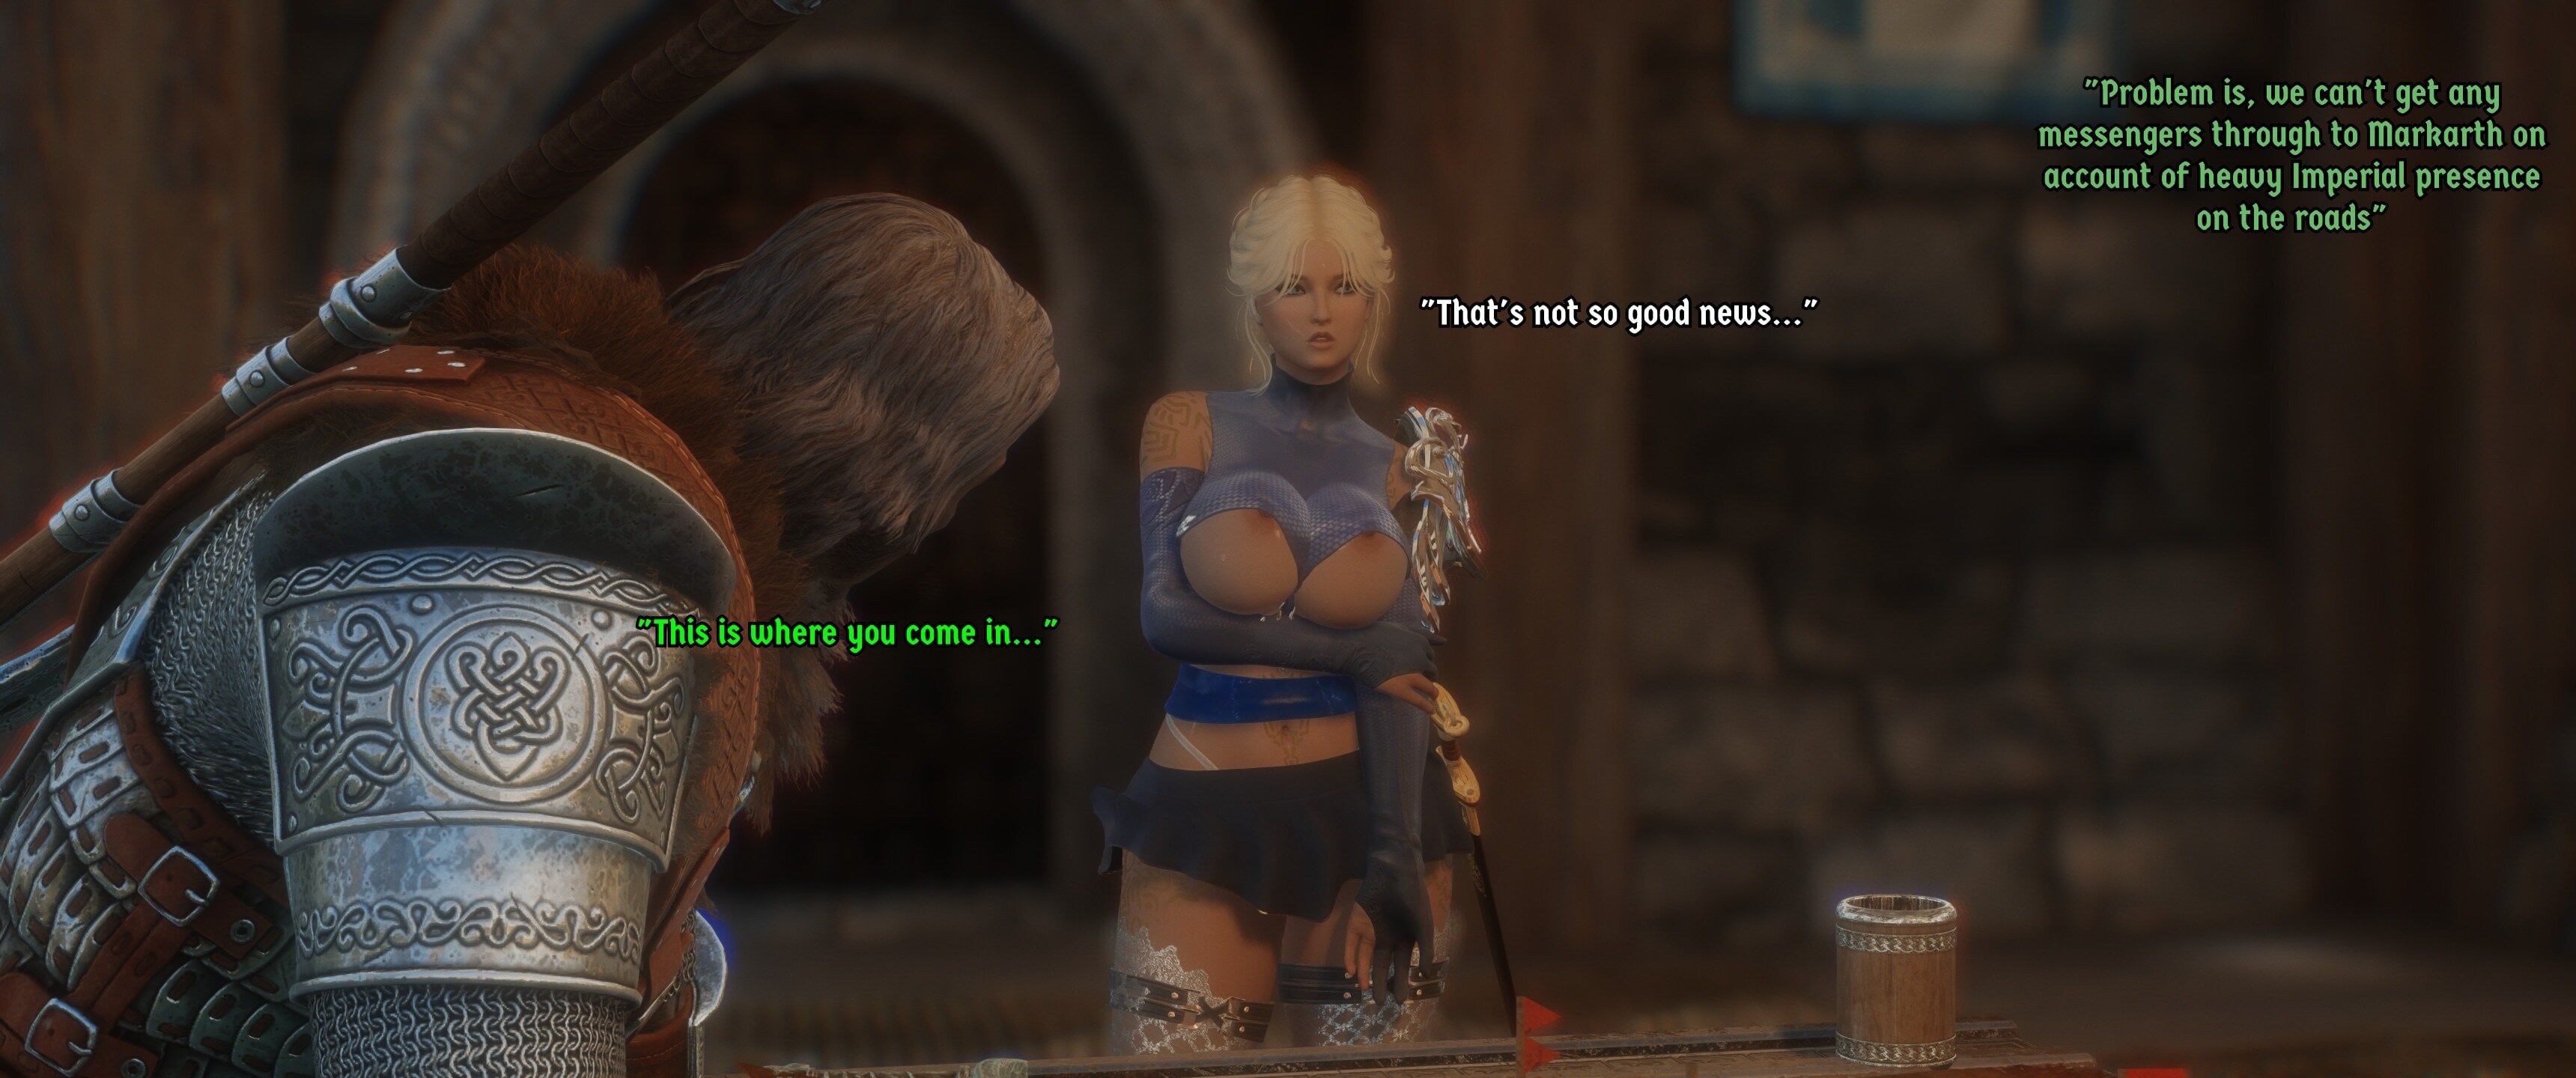
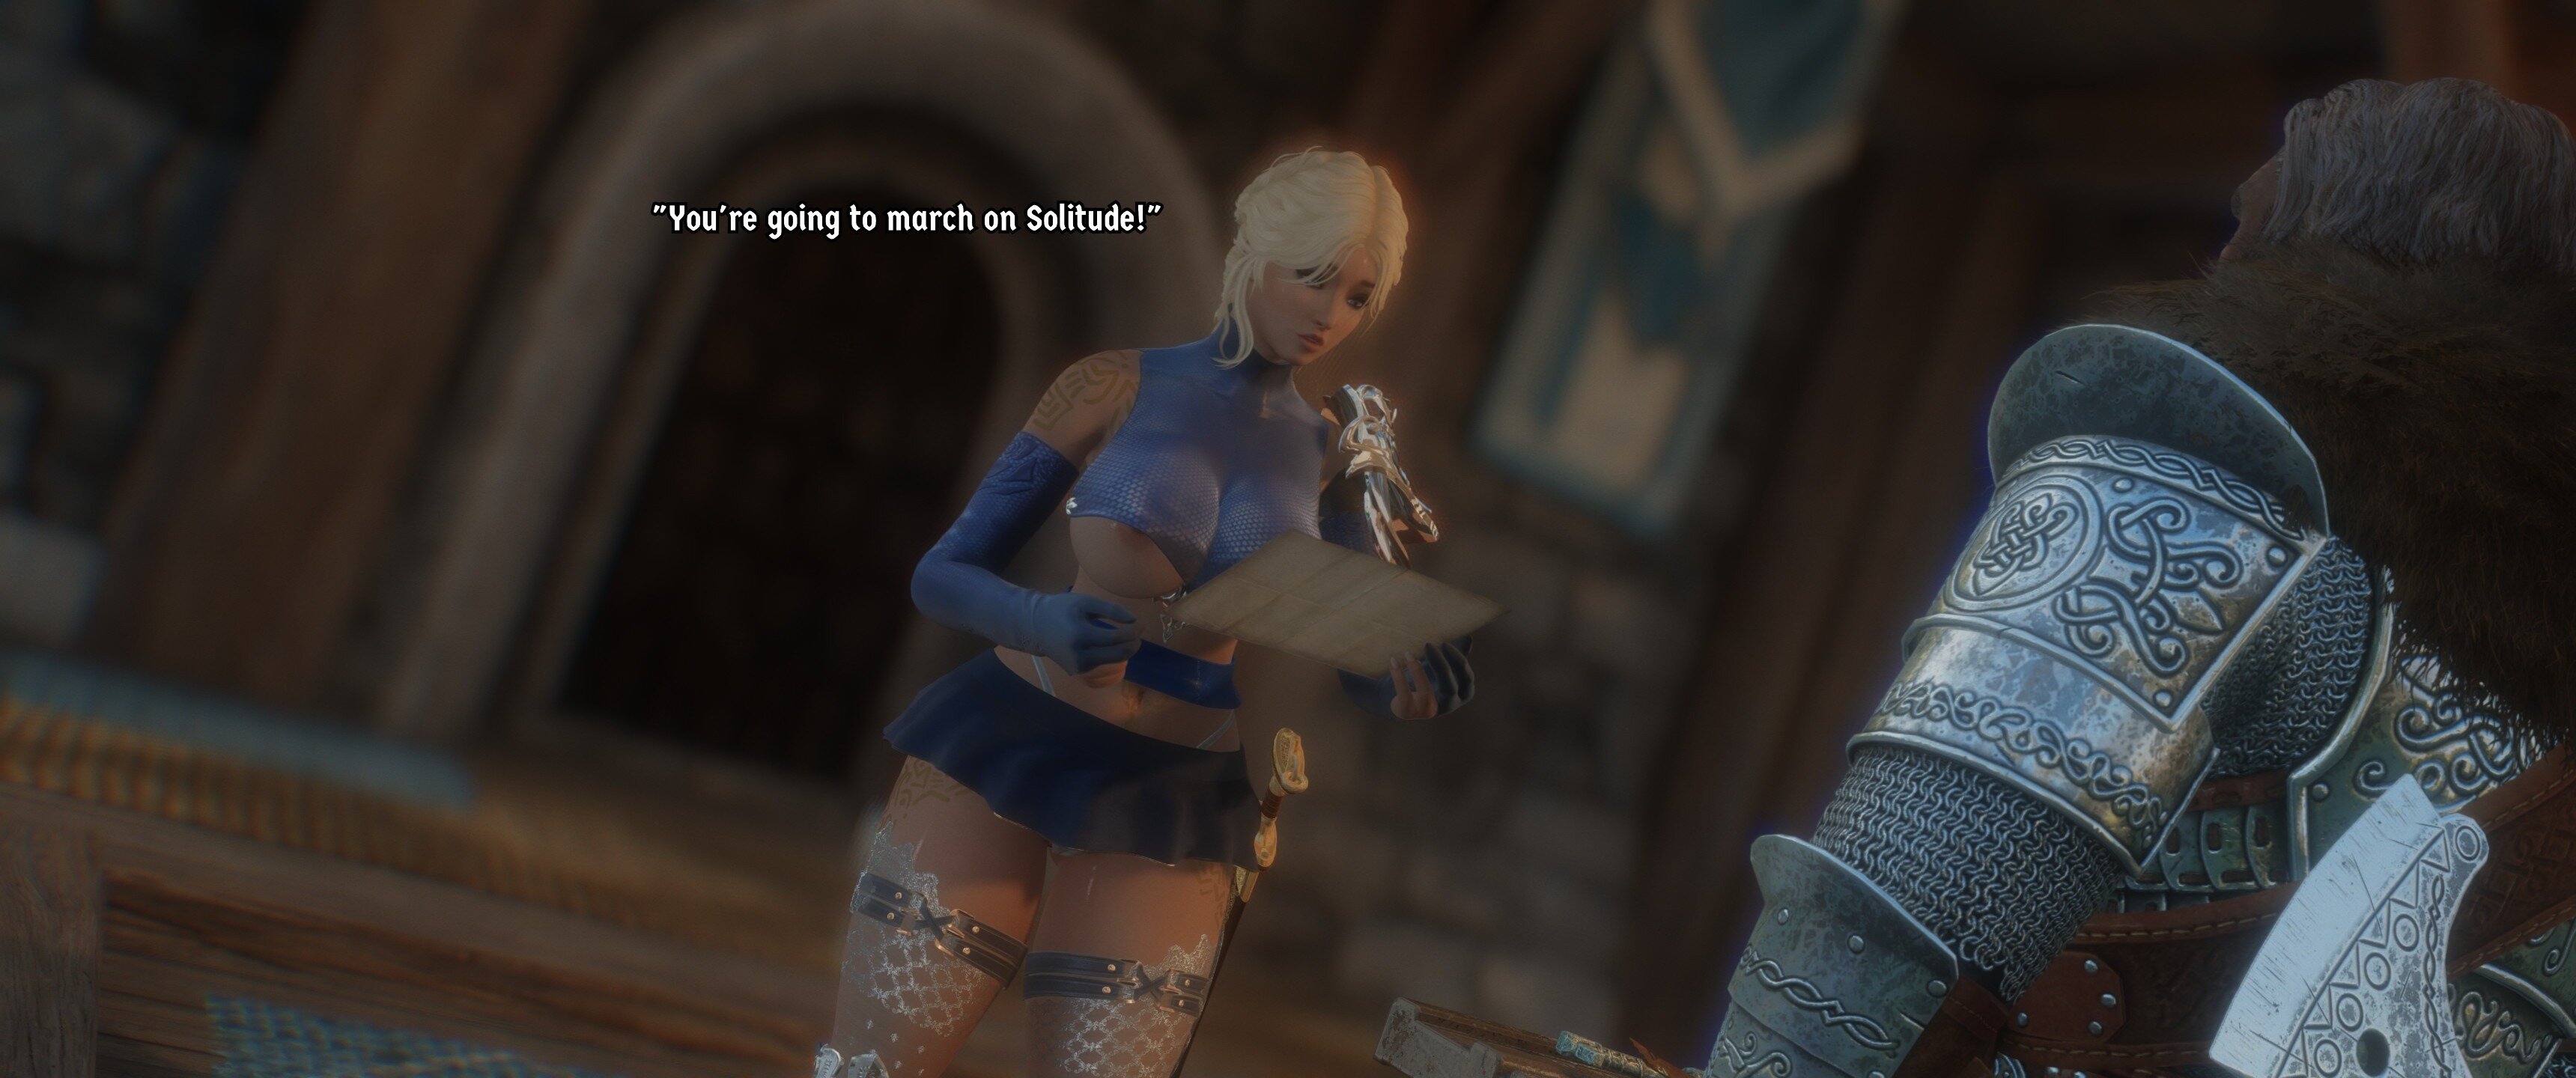
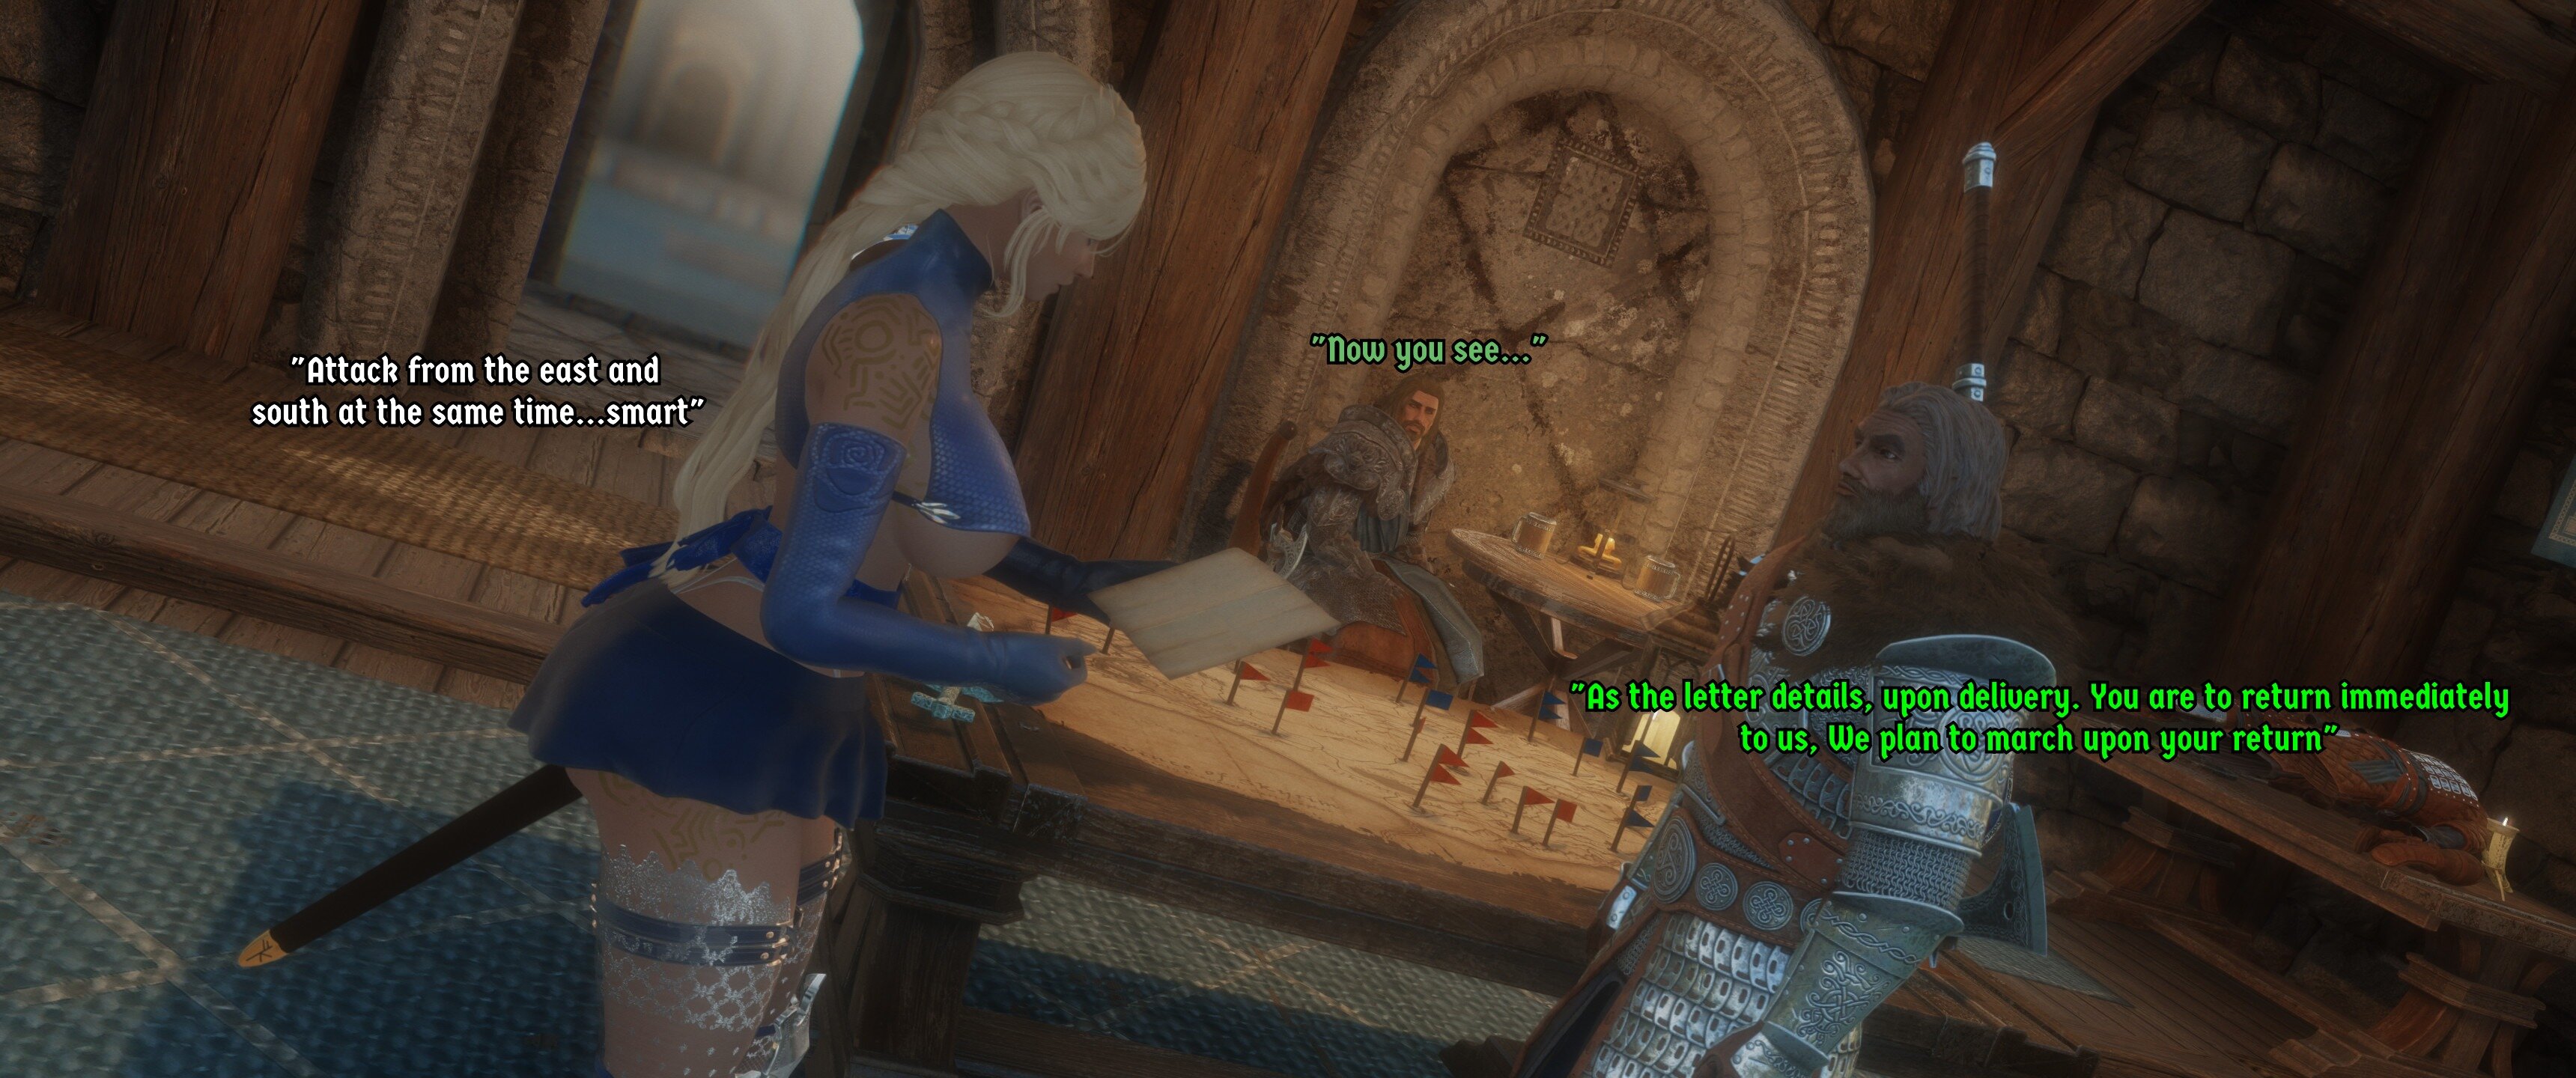
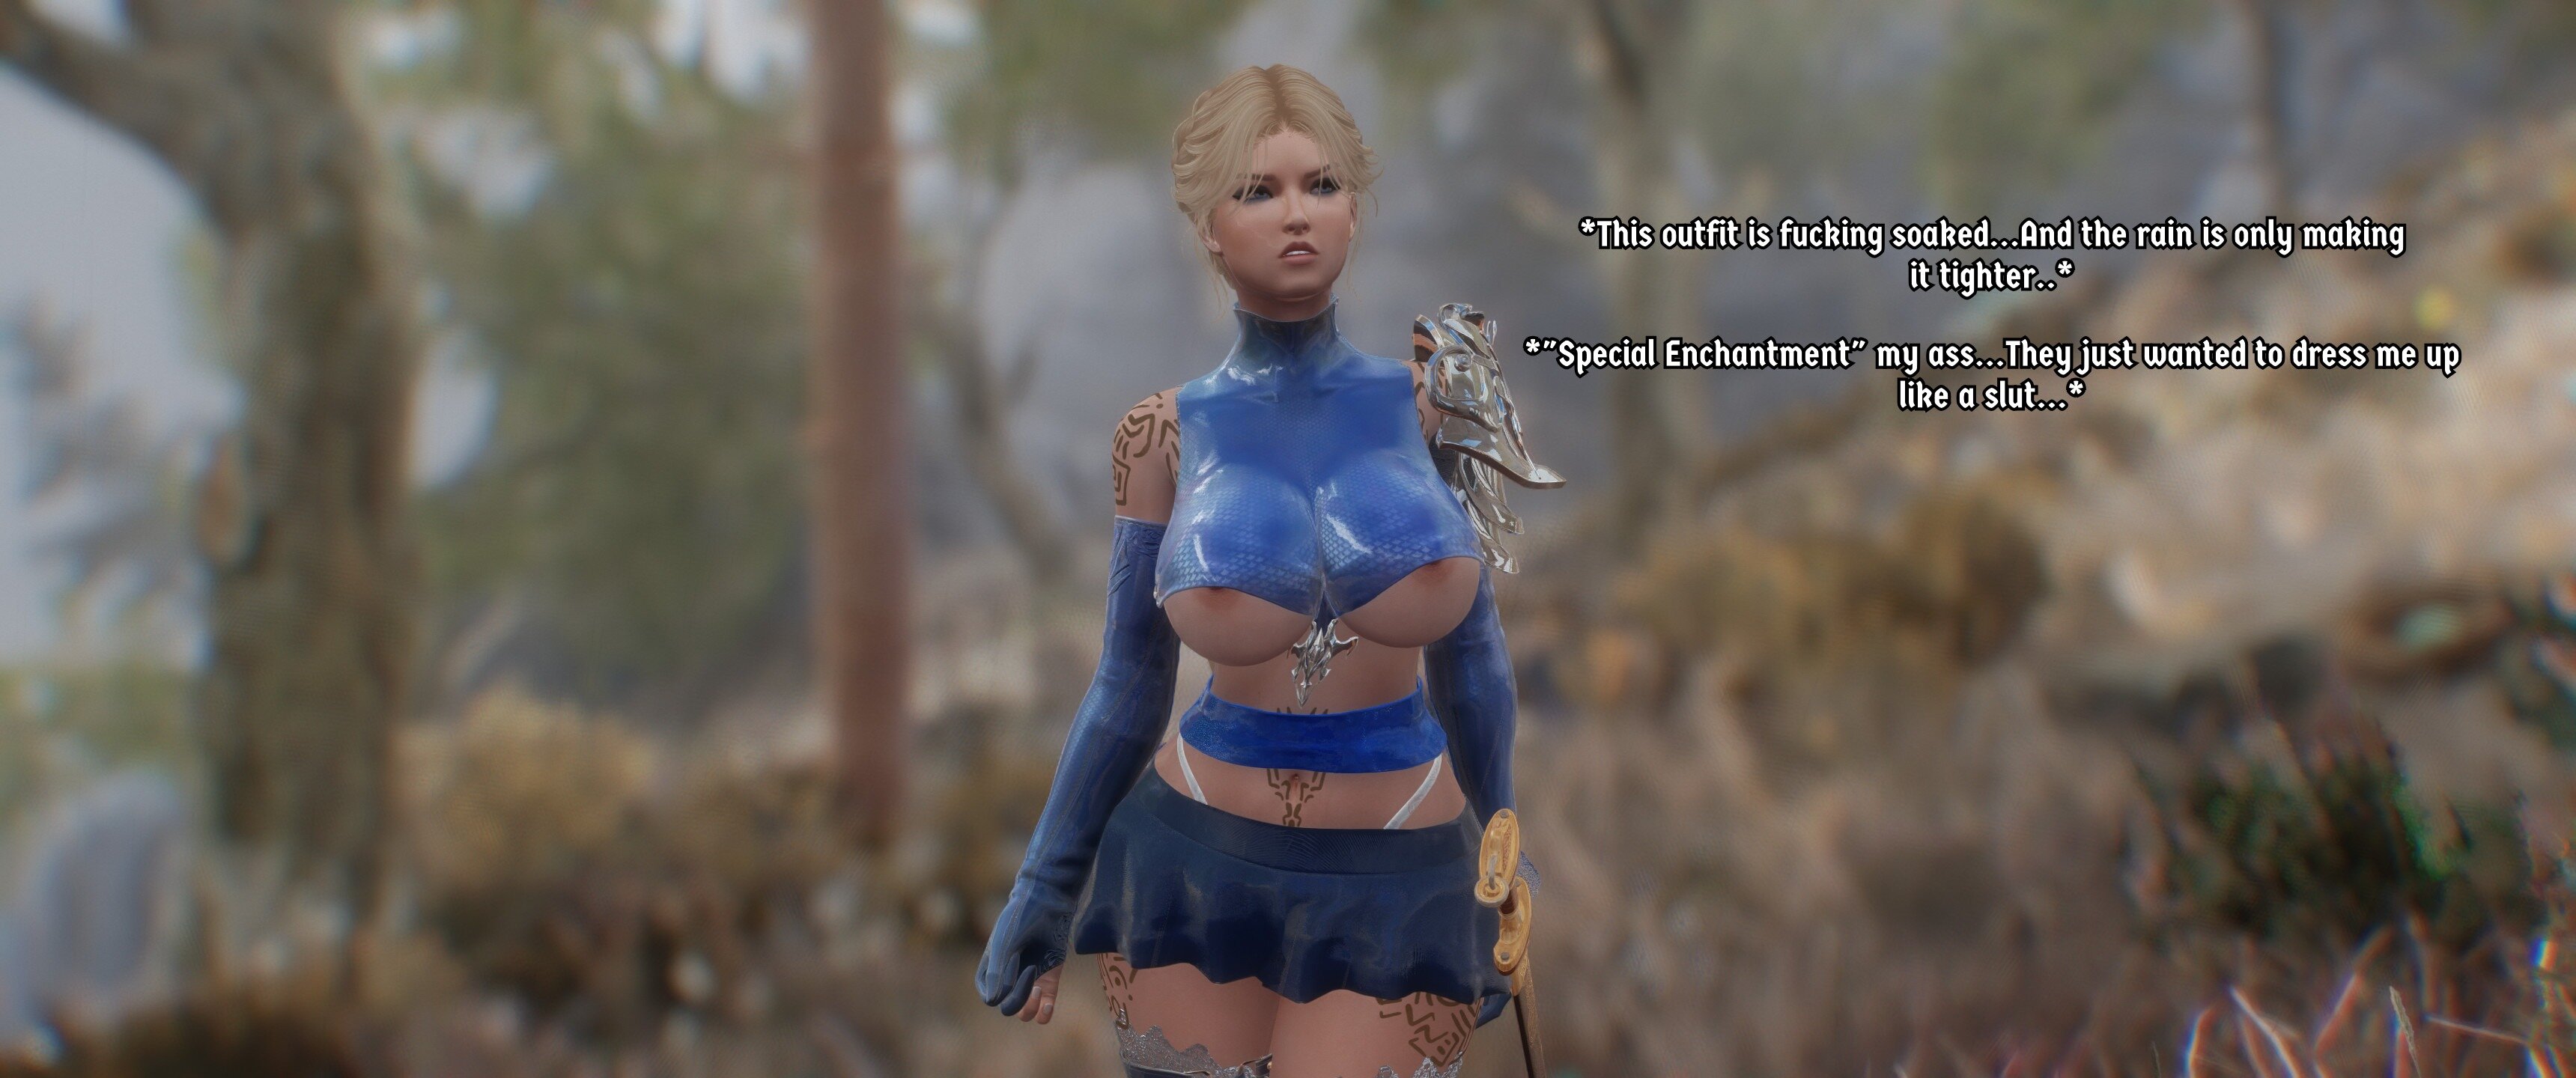
She is informed that Markarth has decided to switch sides to the Stormcloaks, She is to deliver important war orders to the Jarl of Markarth. She is told that the new outfit she's been issued is enchanted with a speed buff.
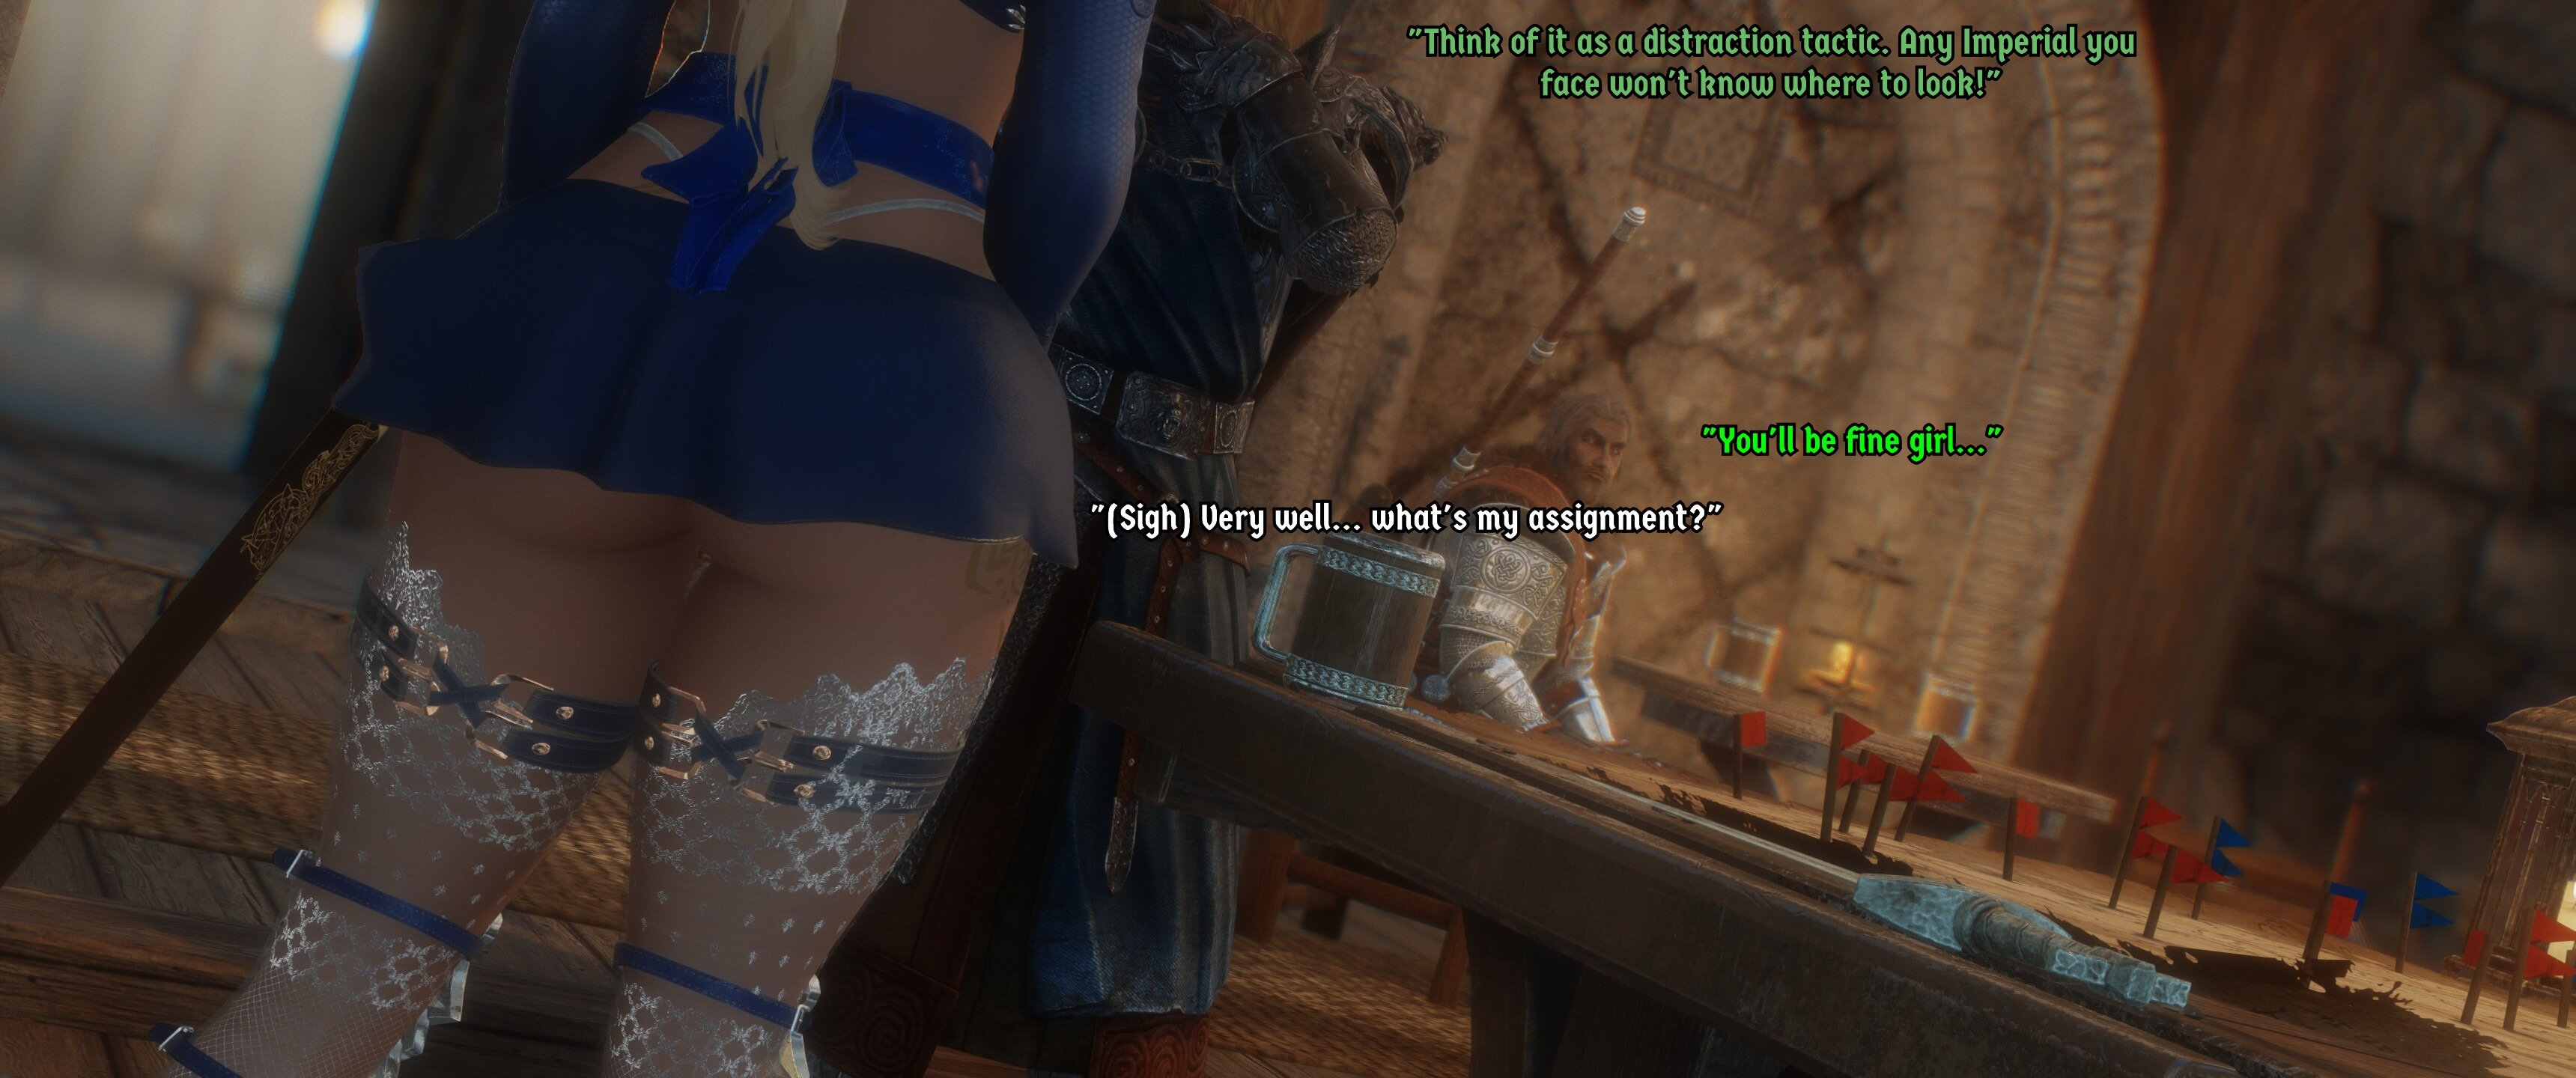
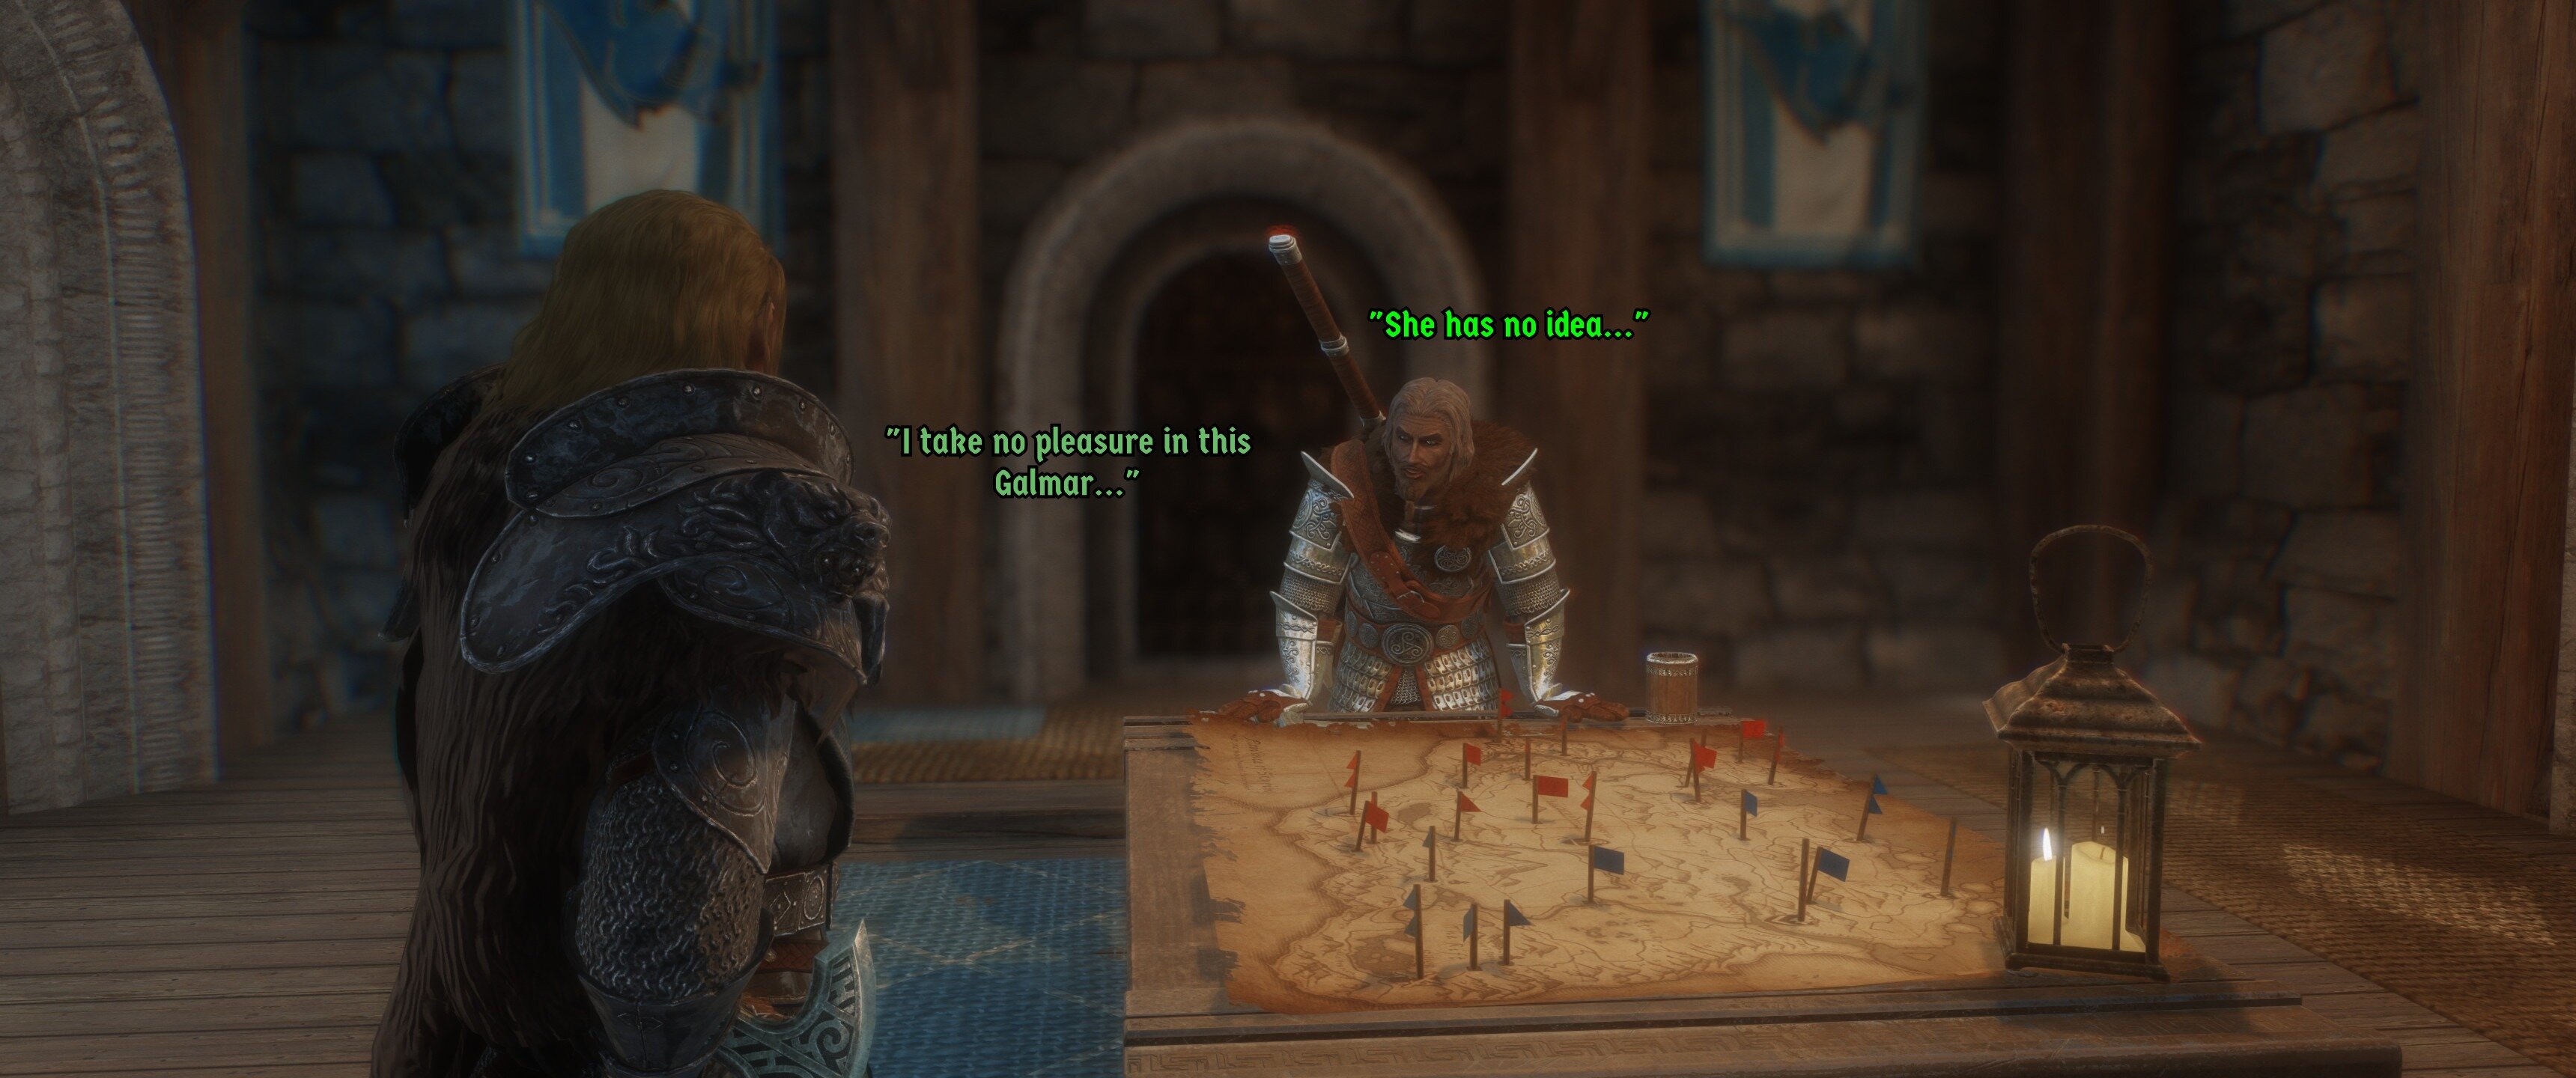
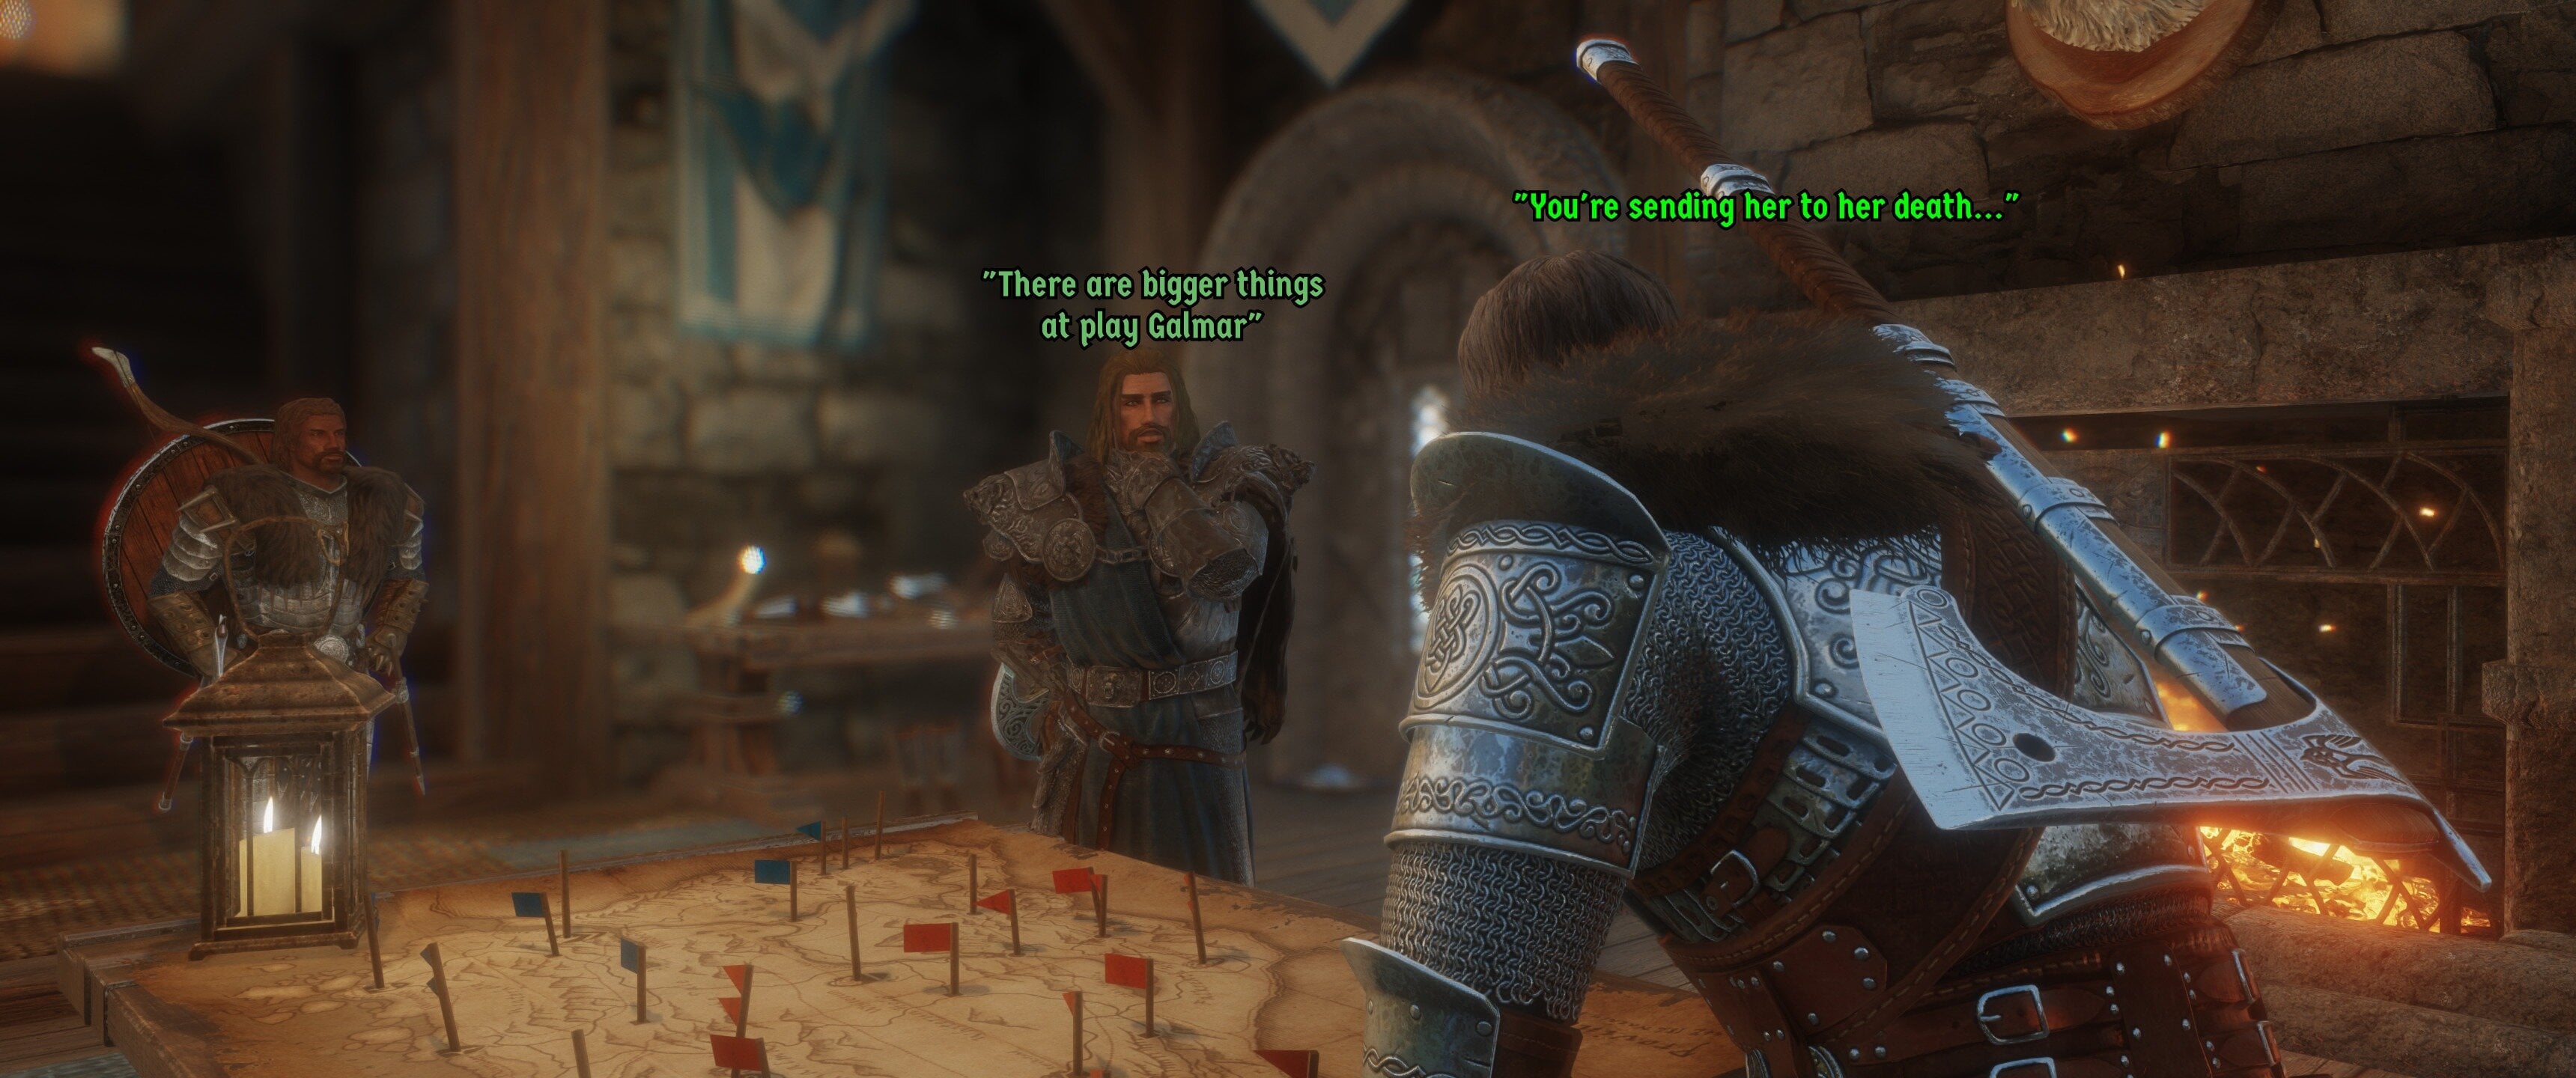
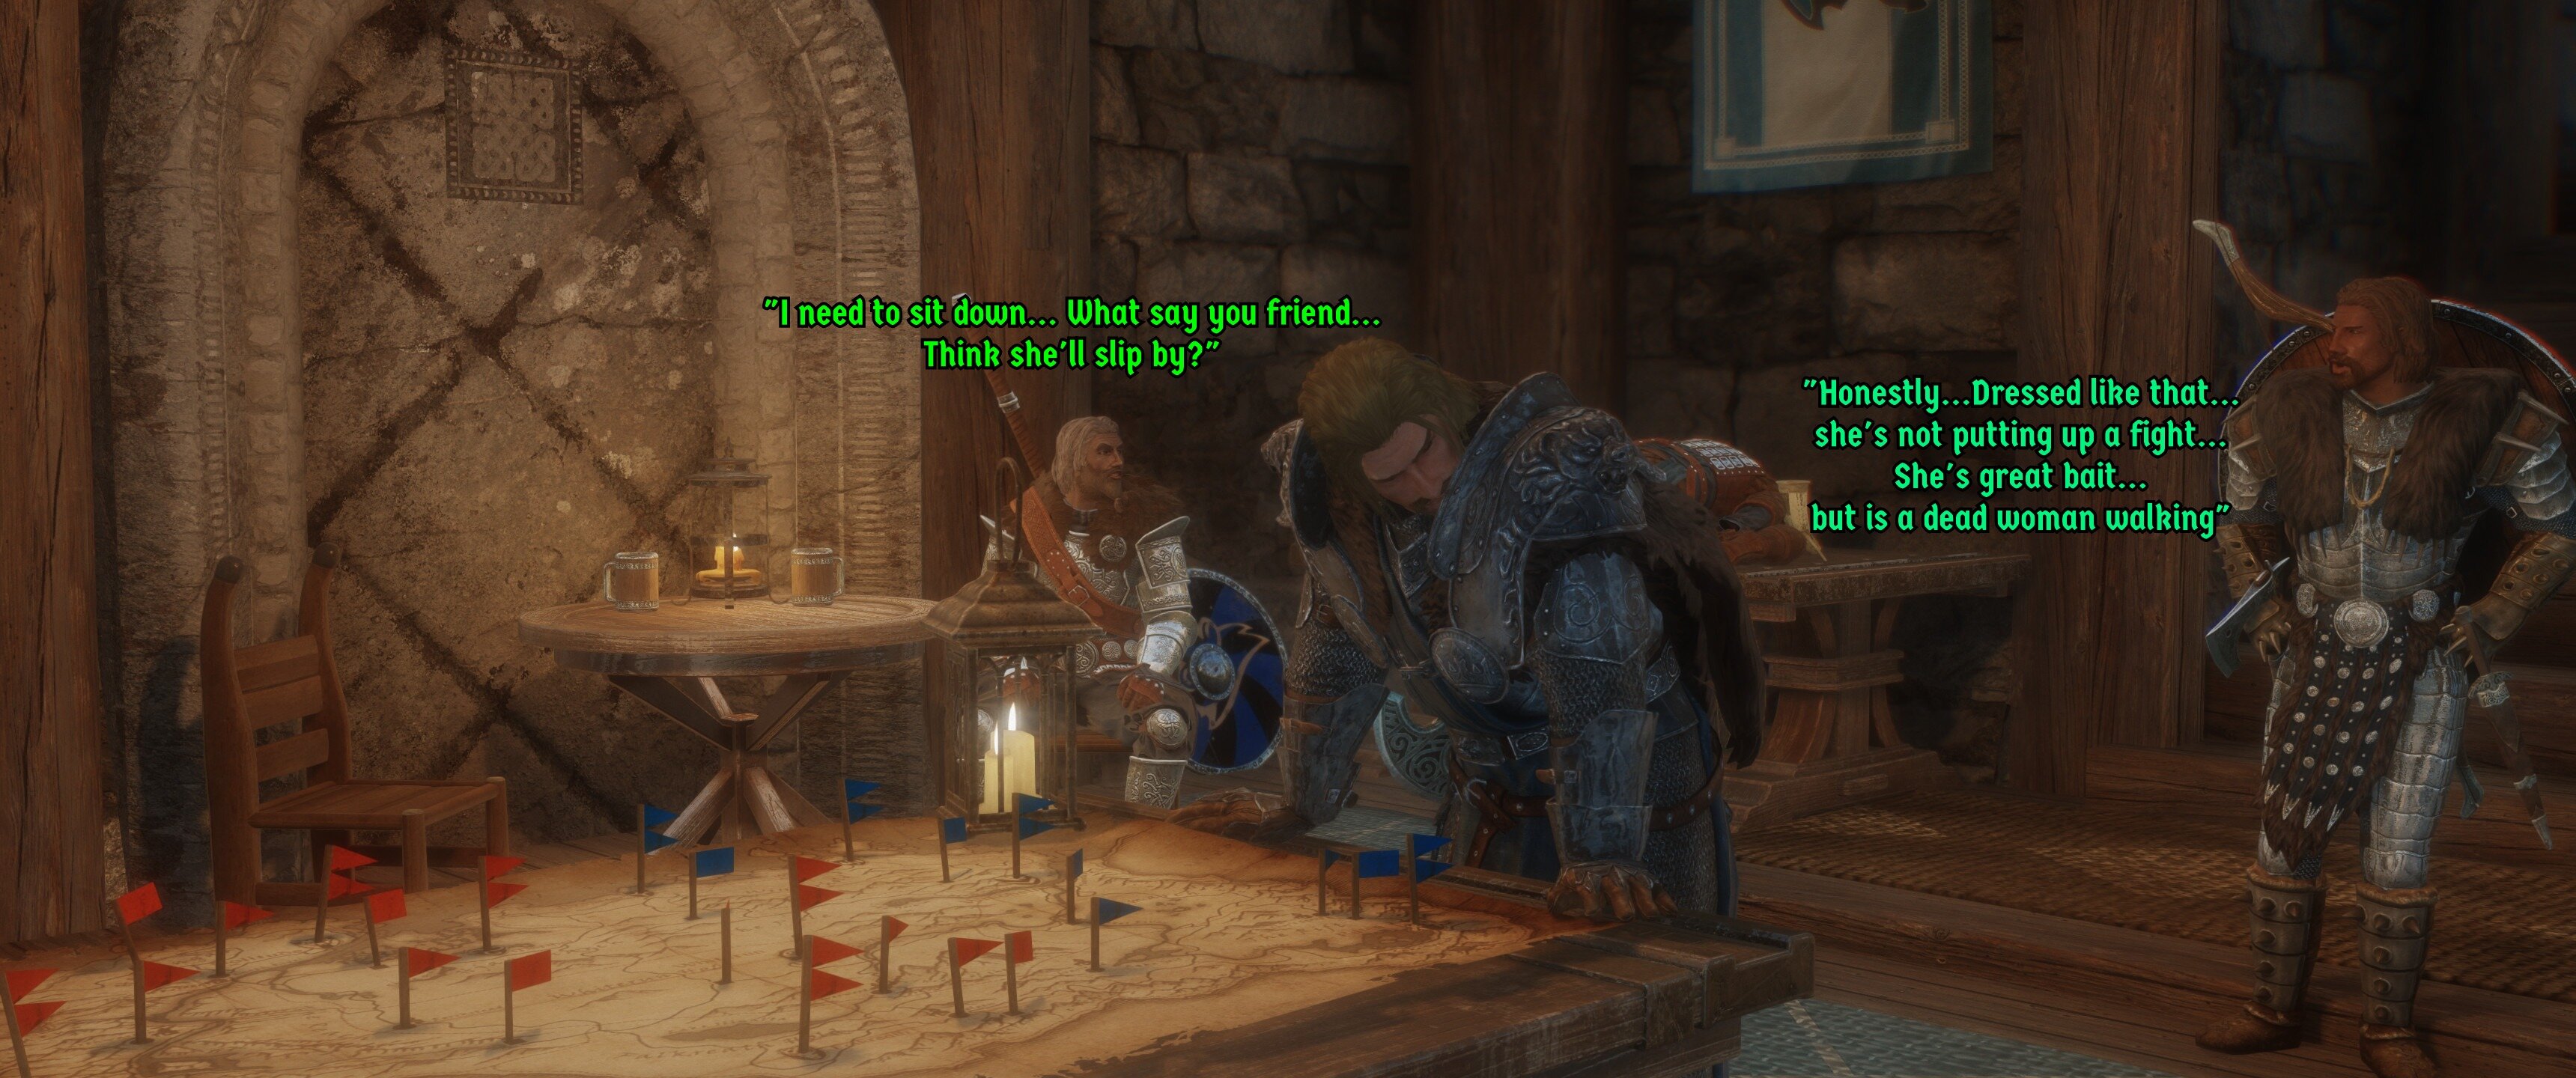
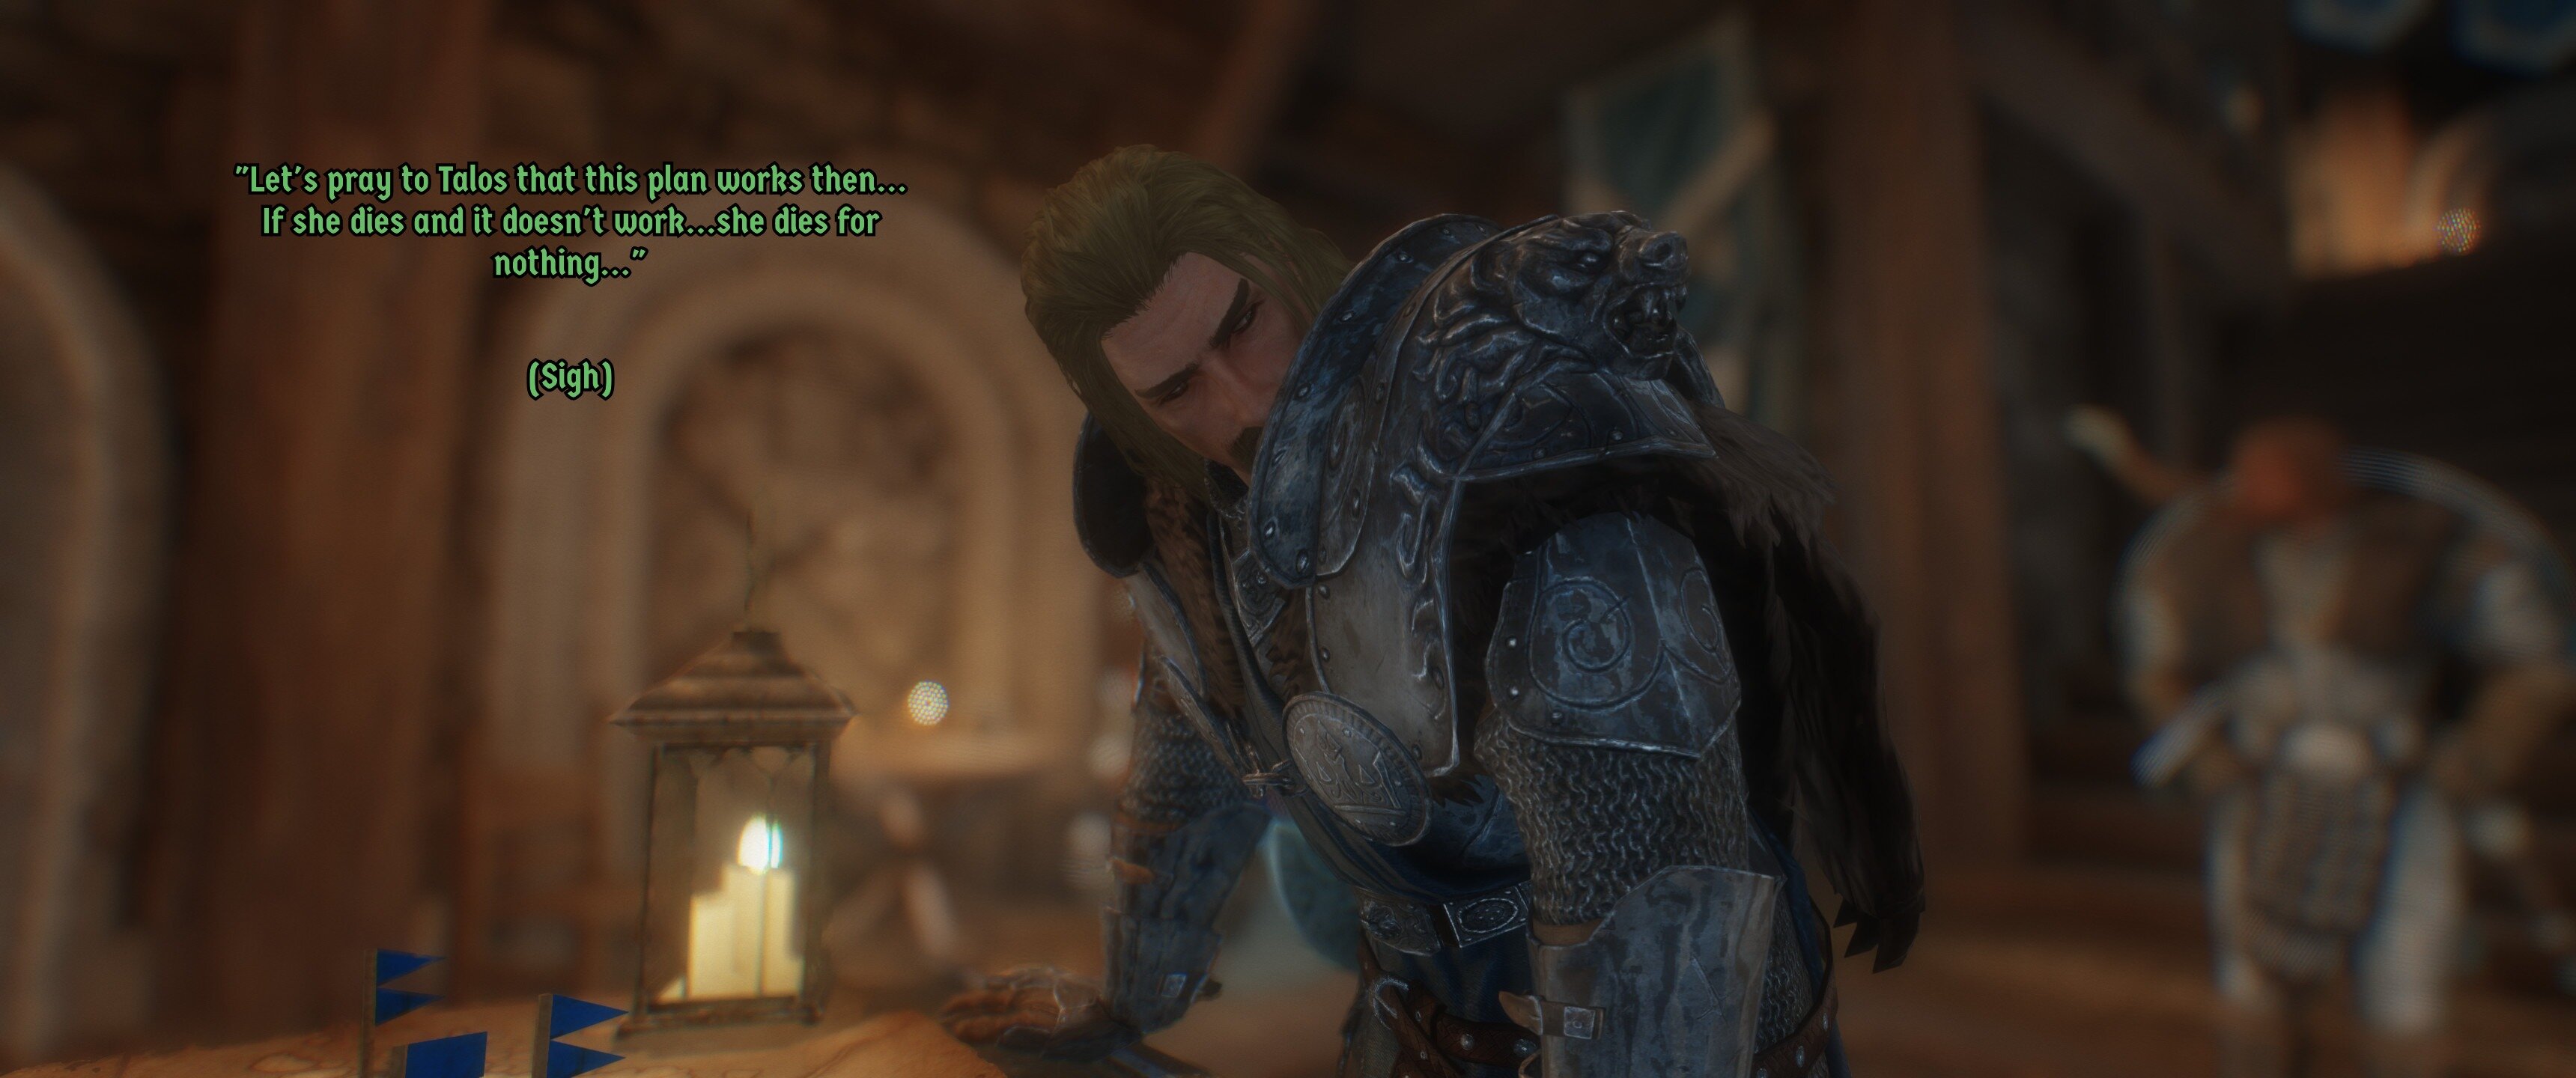
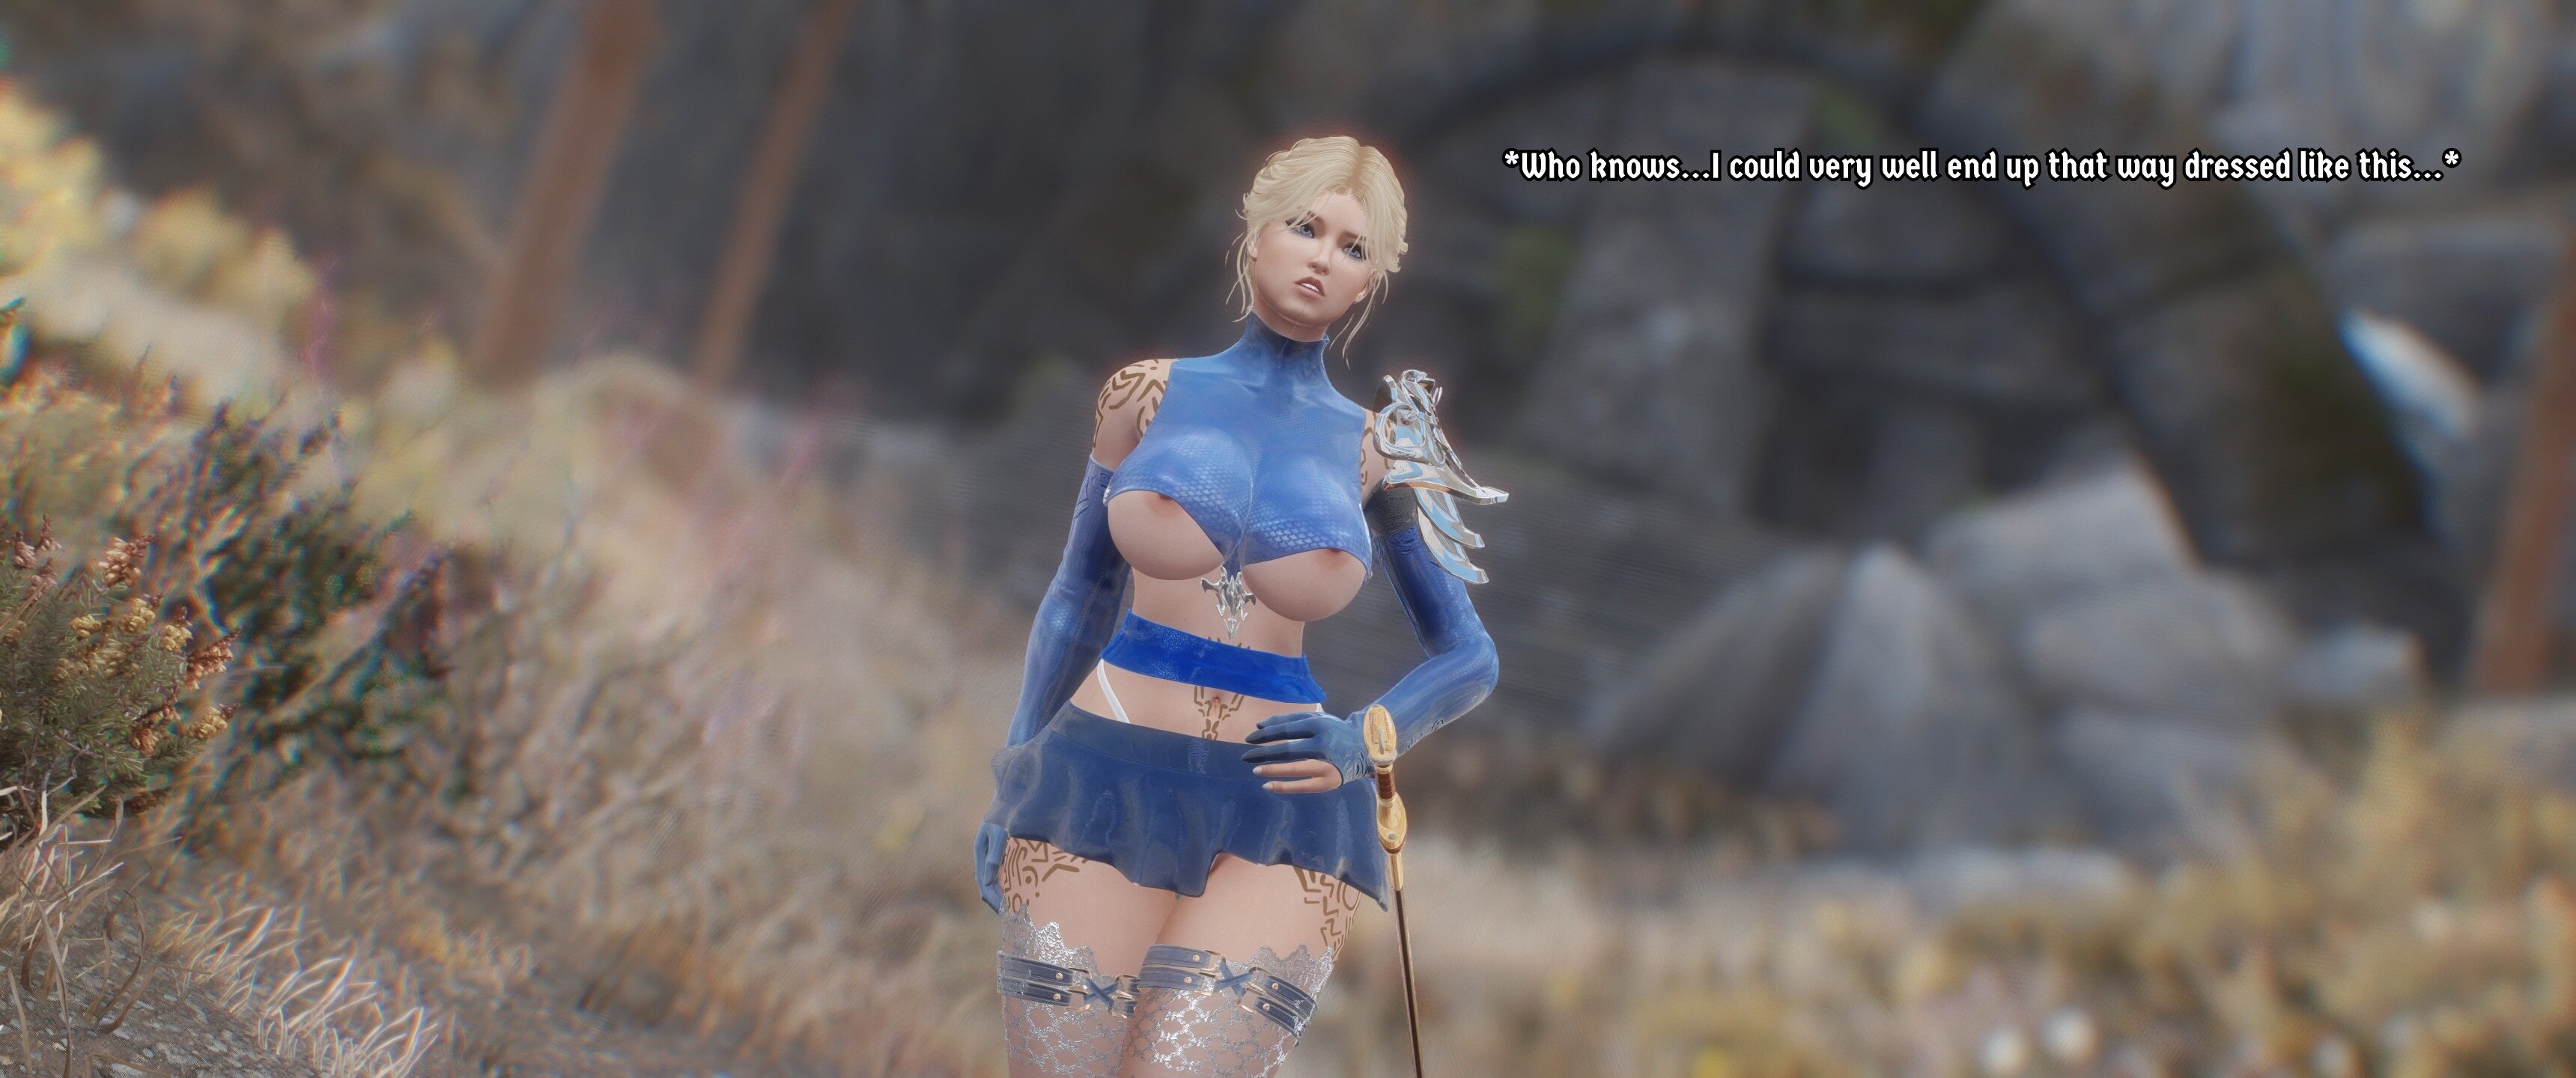
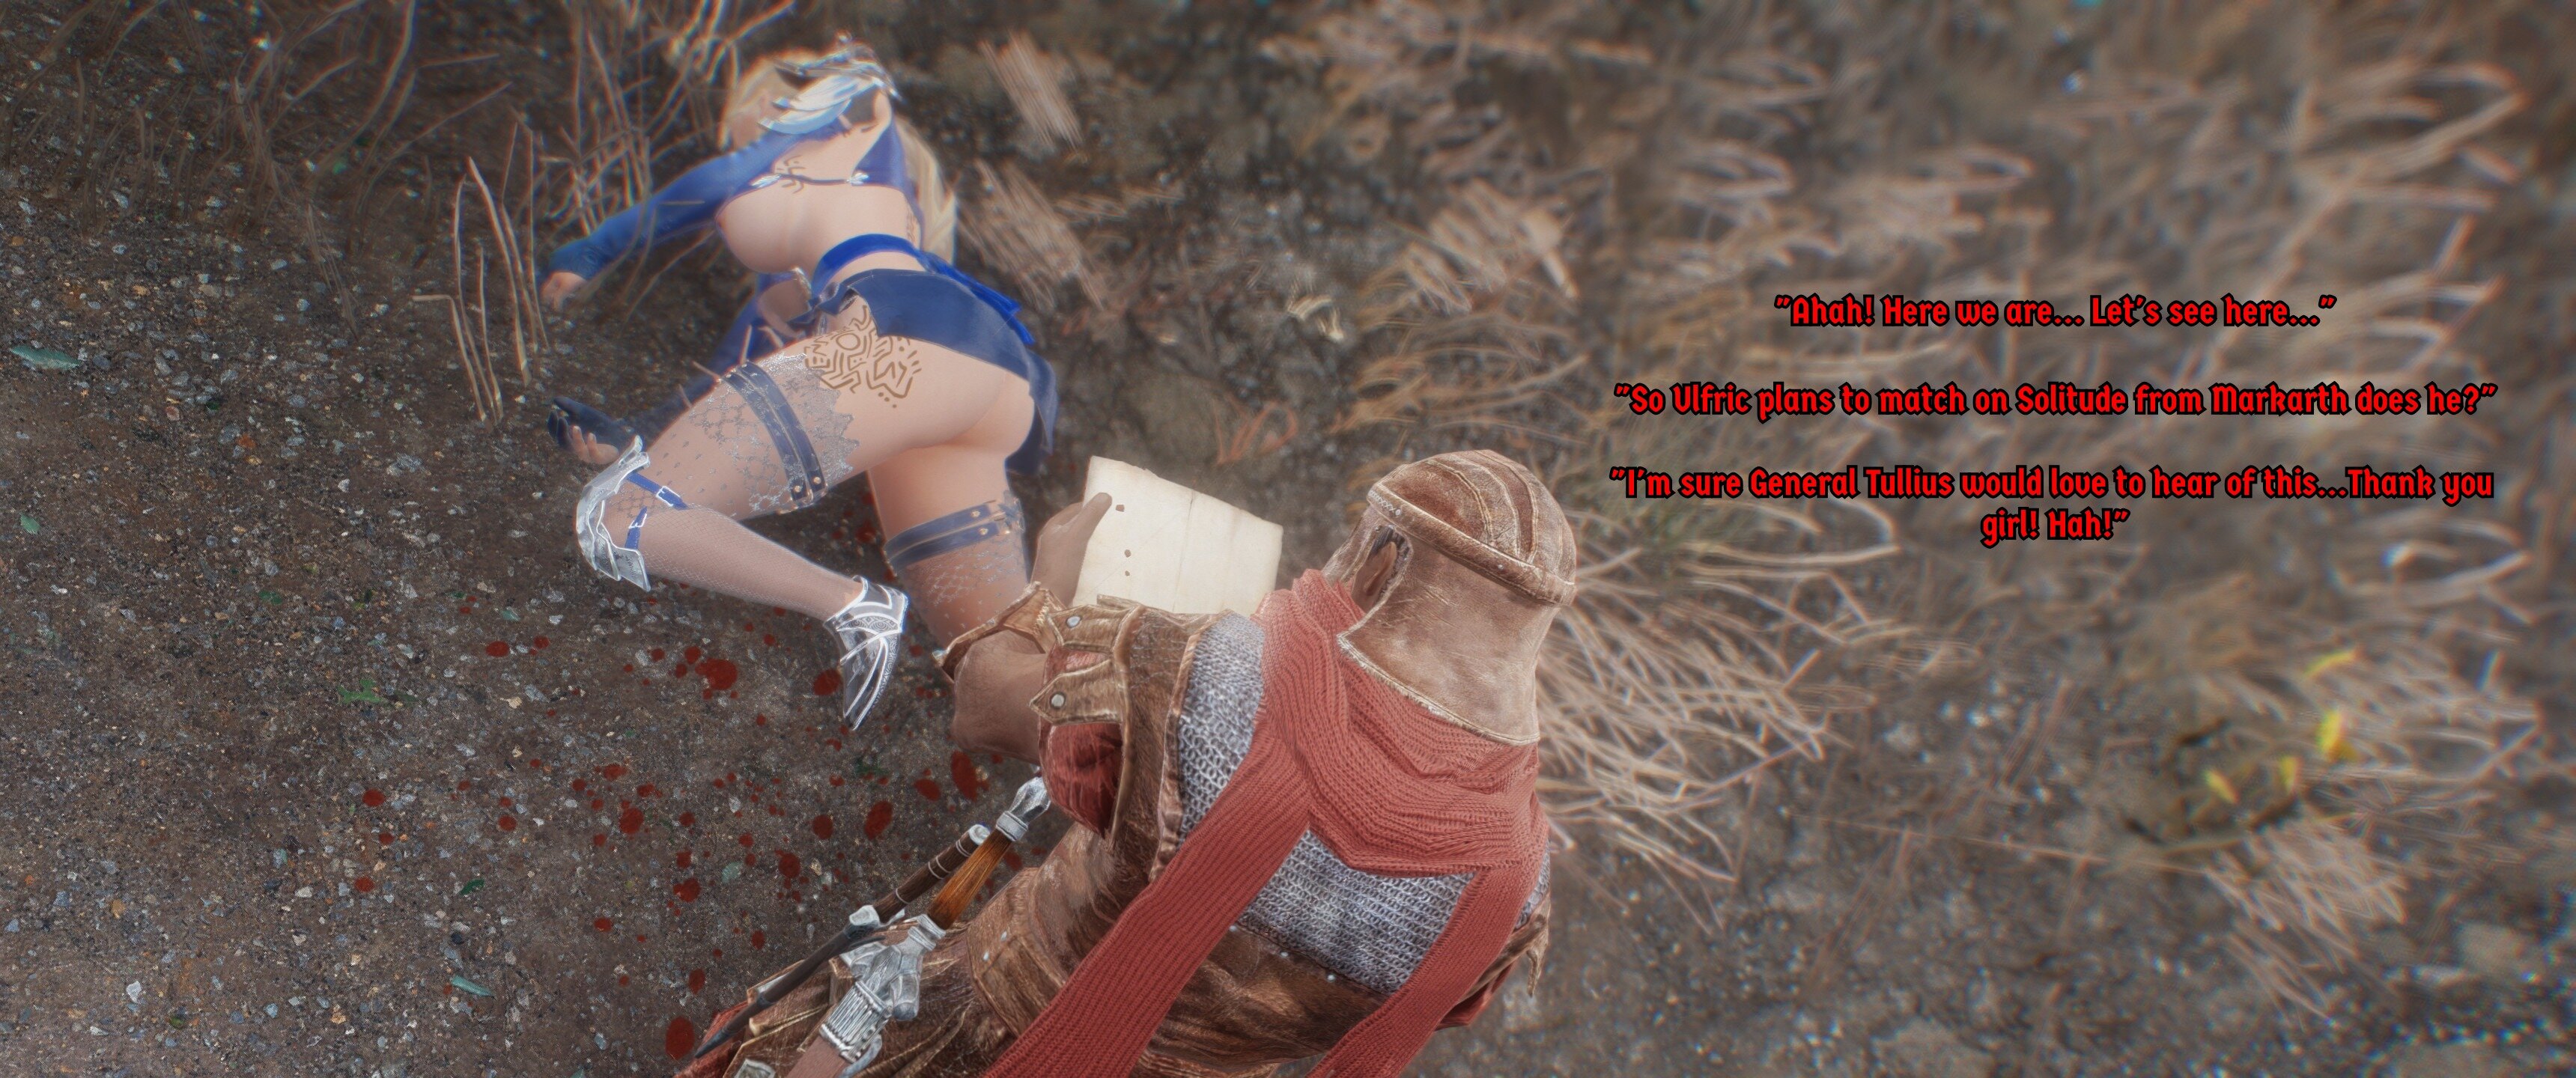
However, little does she realise she's being used as bait, Ulfric and Galmar have purposely given her fake instructions missing the secret symbol of authenticity and dressed her evocatively (Like a whore on display) to distract the Imperial scouts who are watching movements in and out of Windhelm so the real messenger can sneak out unnoticed.
Intro:


Ulfric's Plan:


Chapter 2:
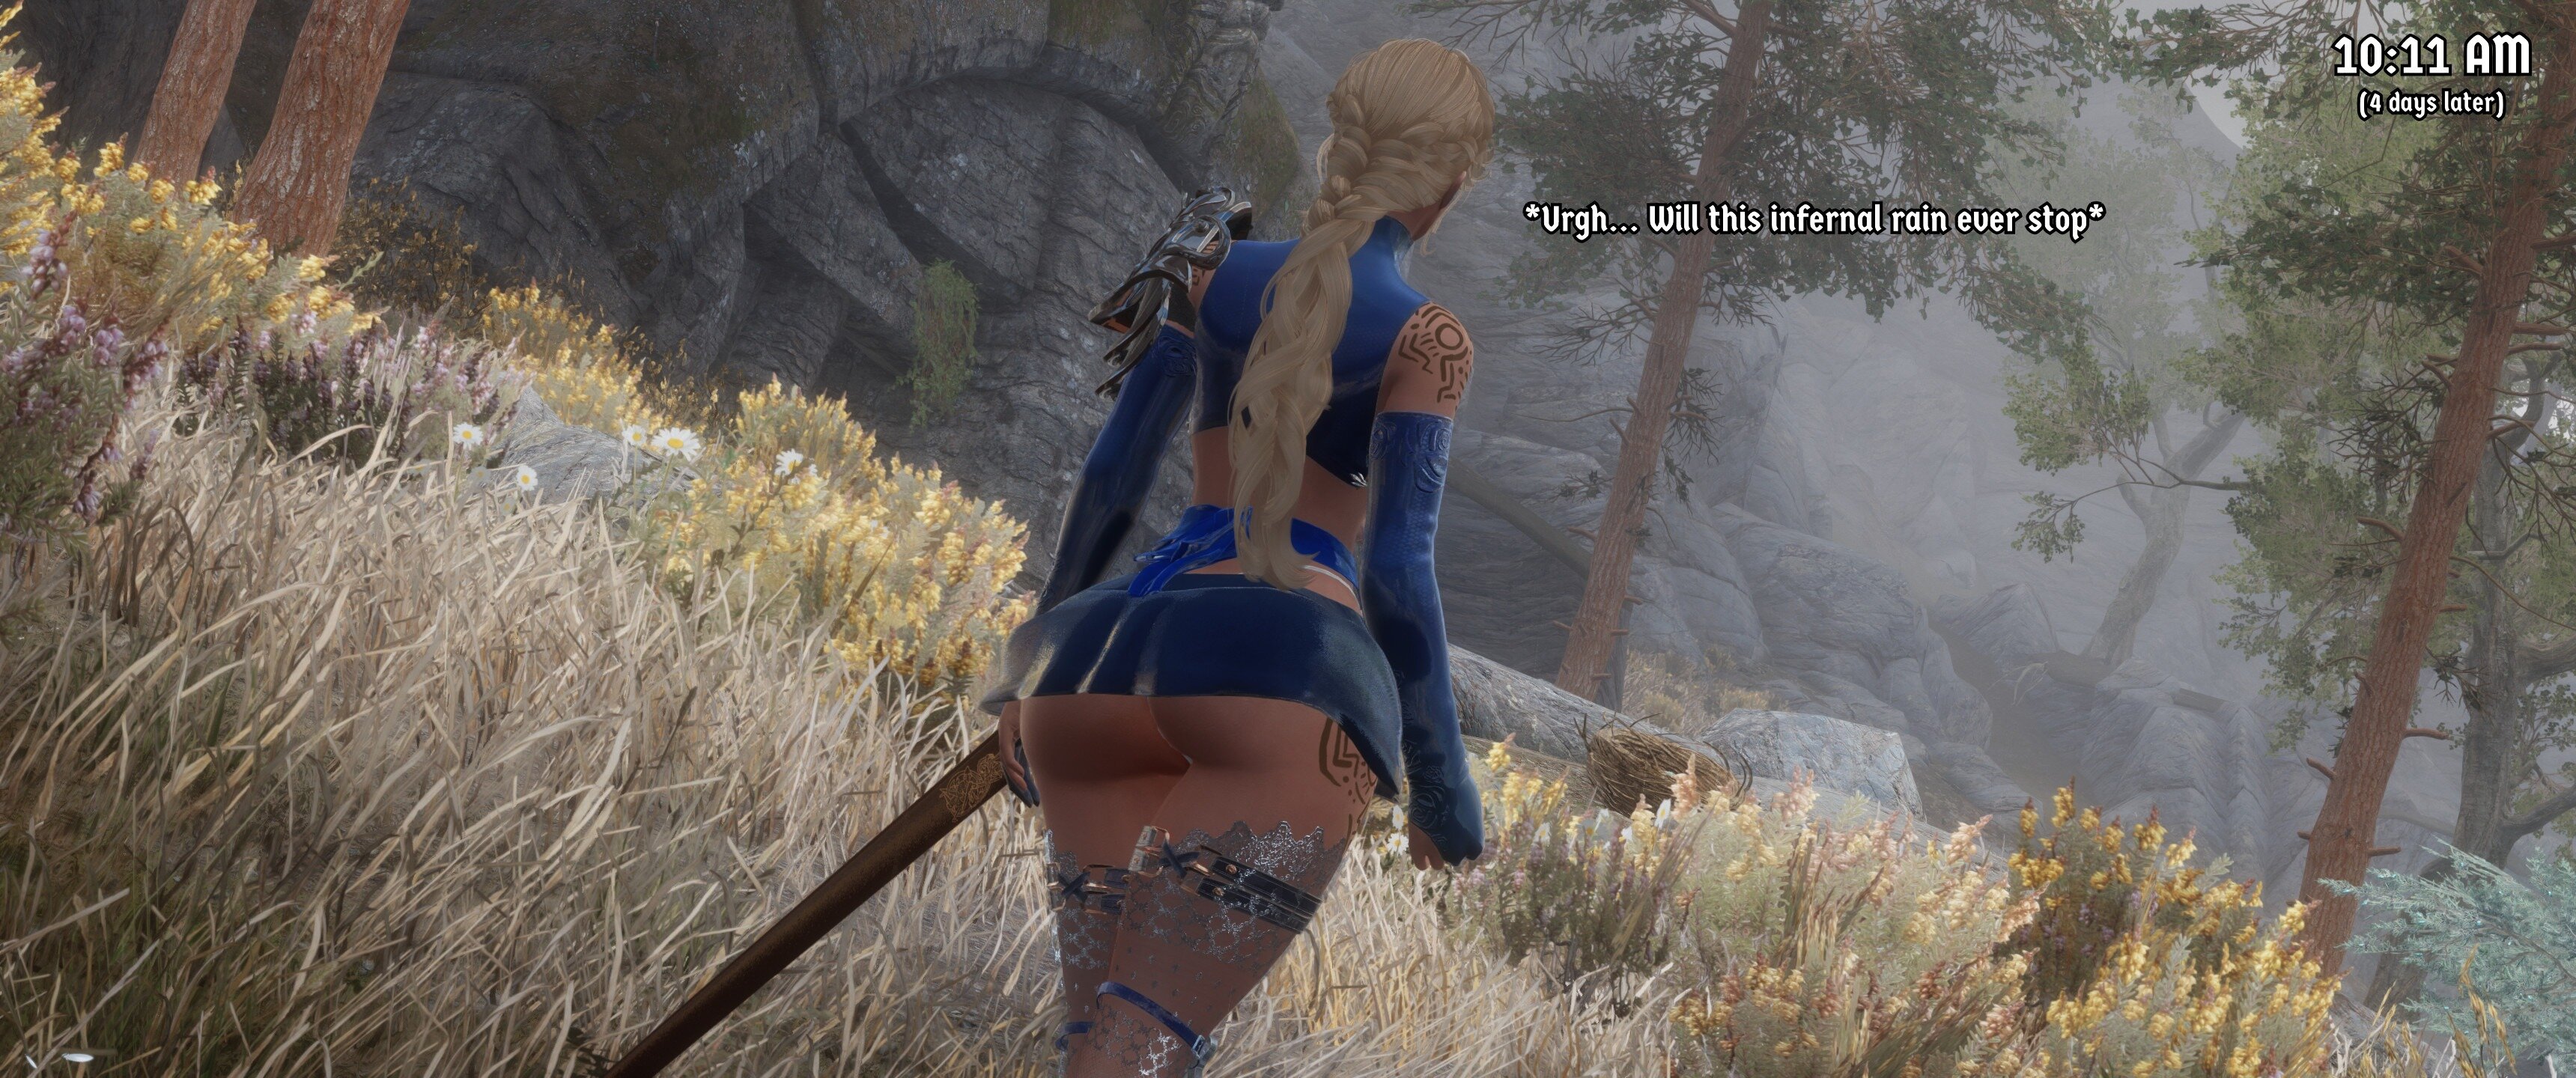
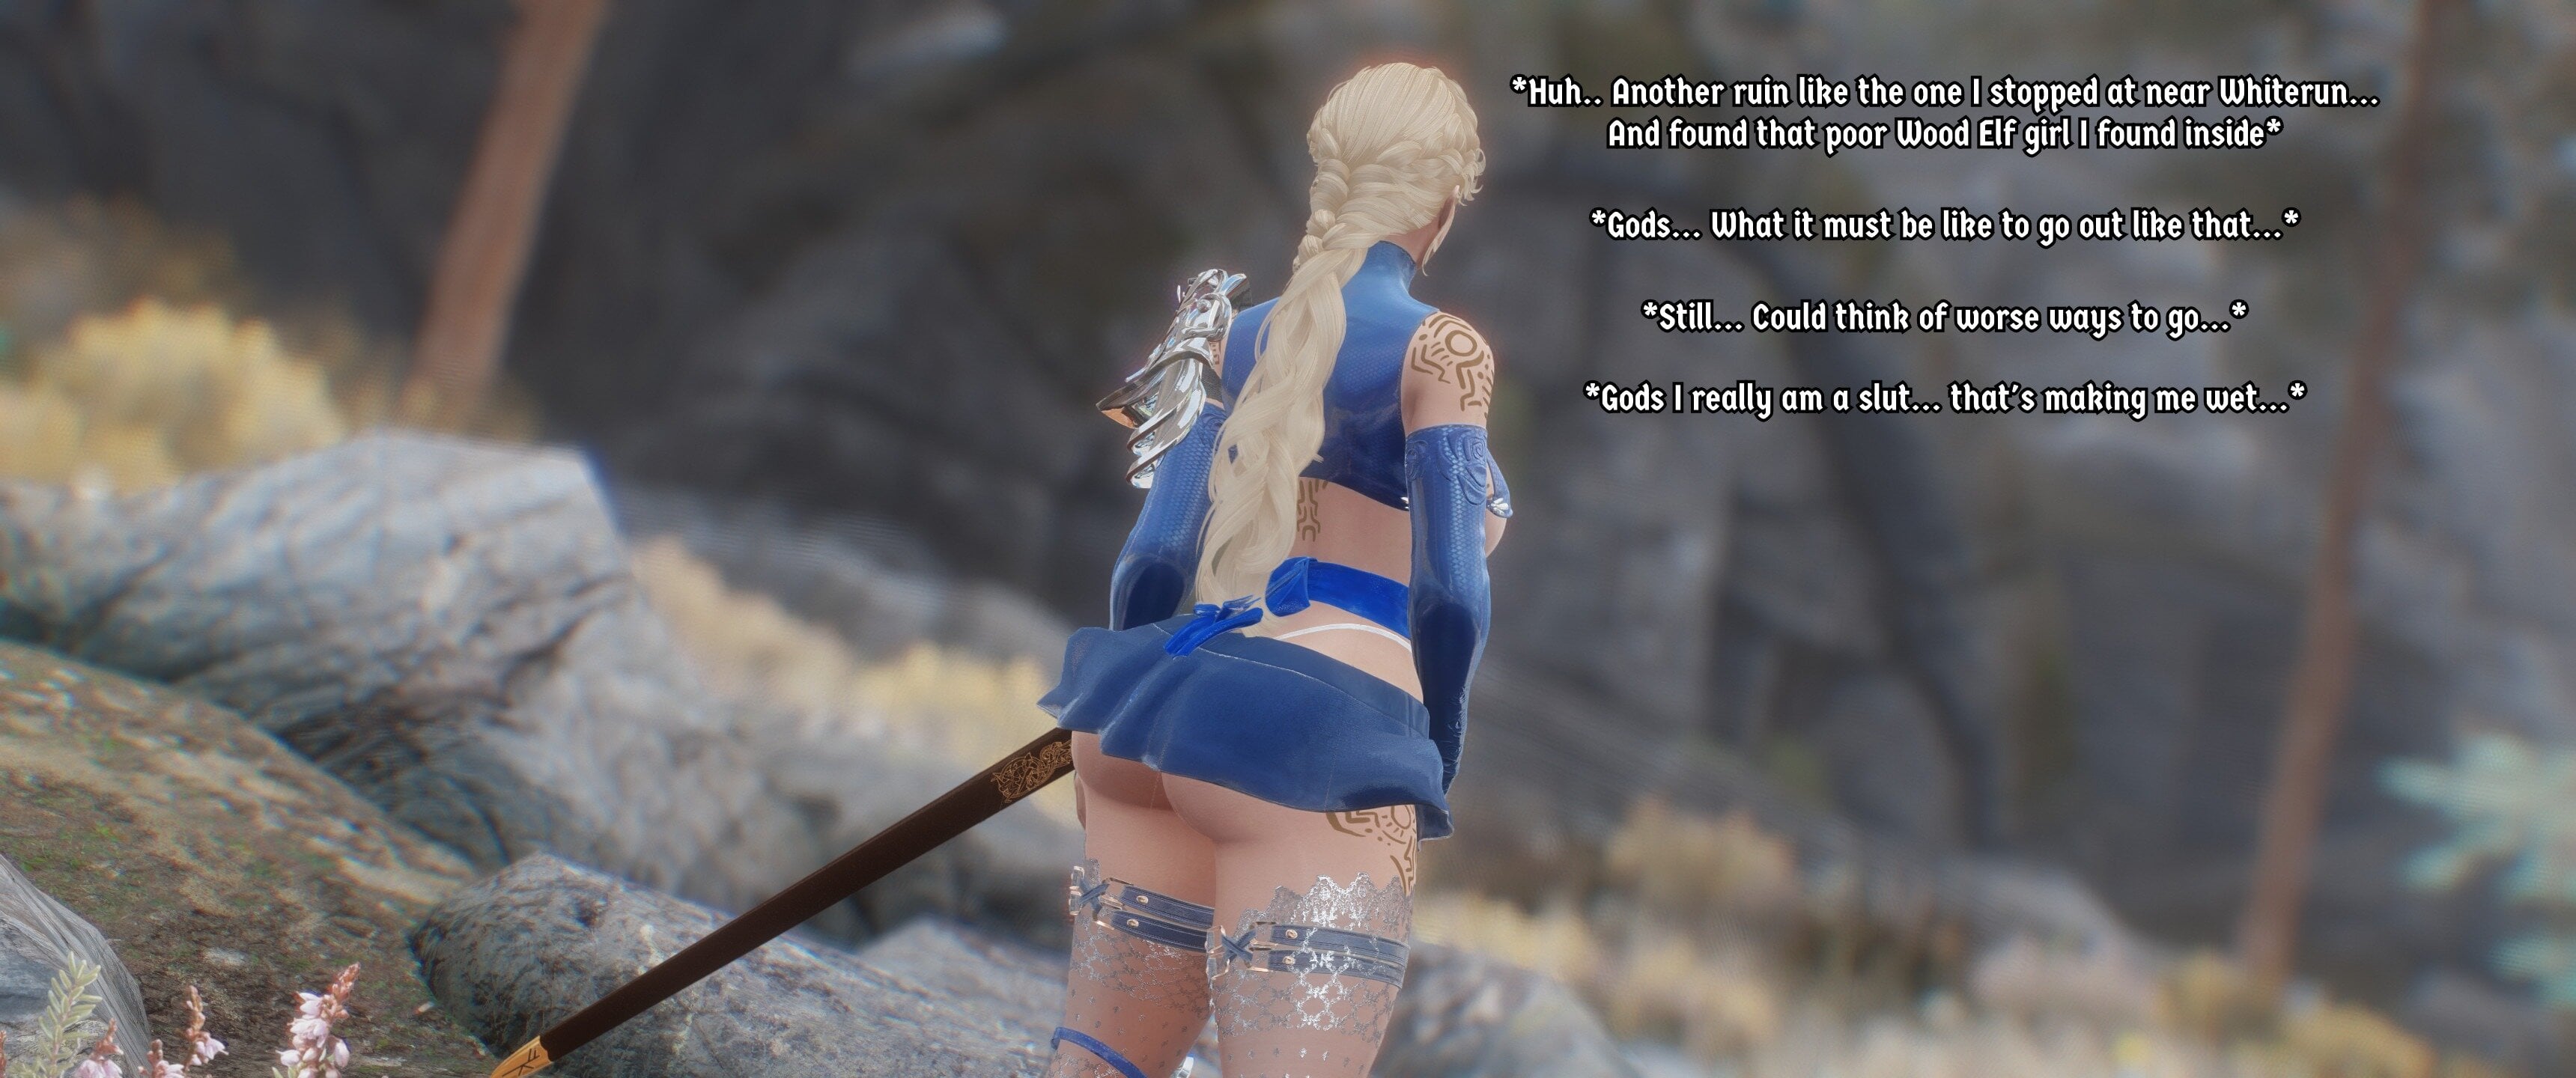
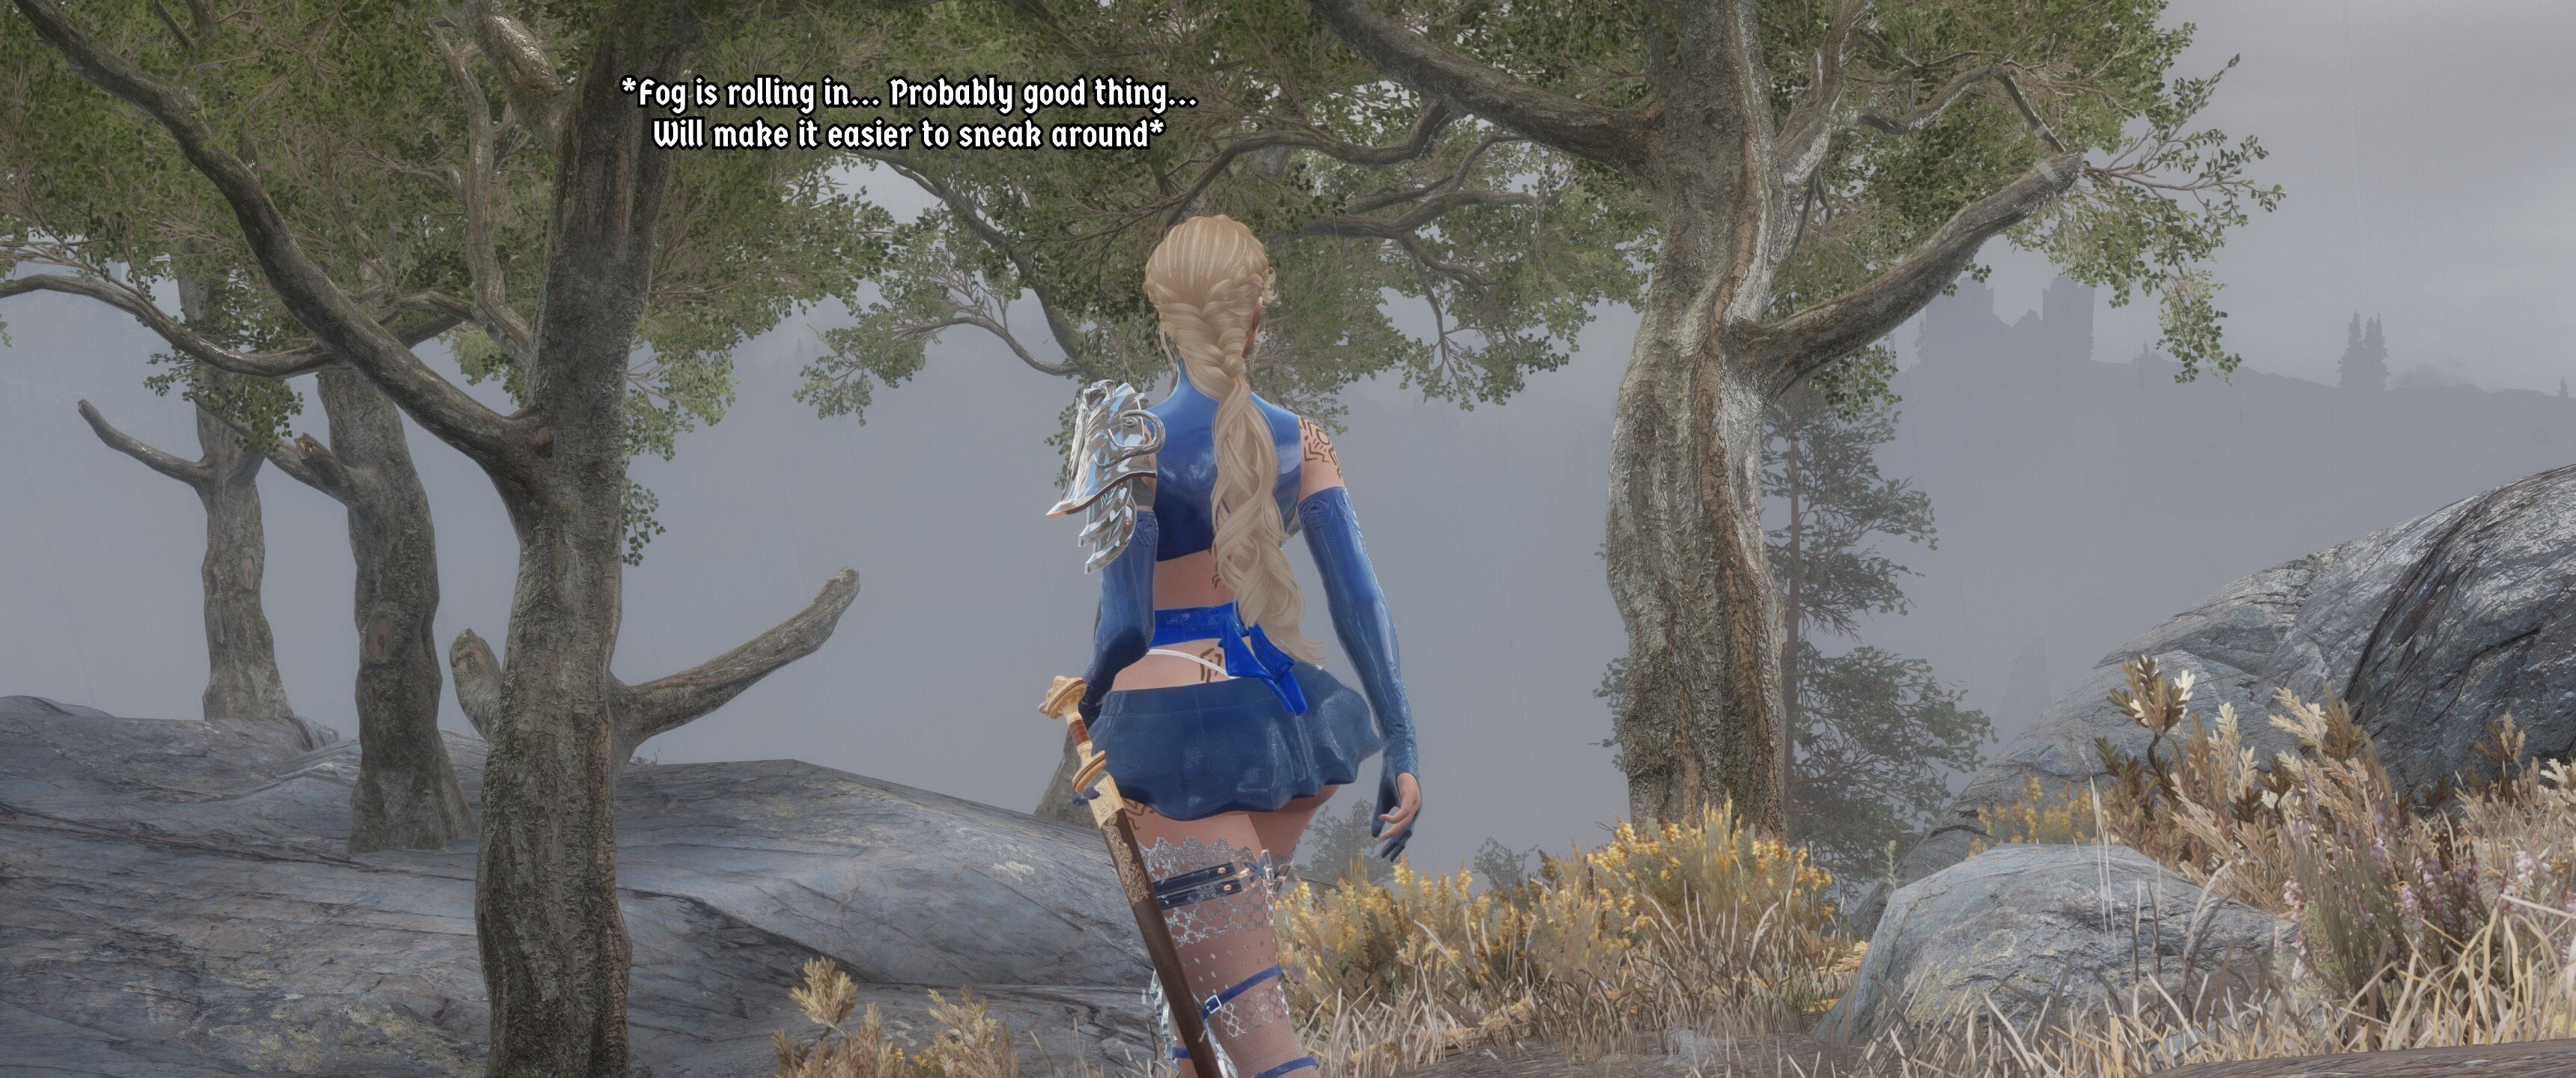
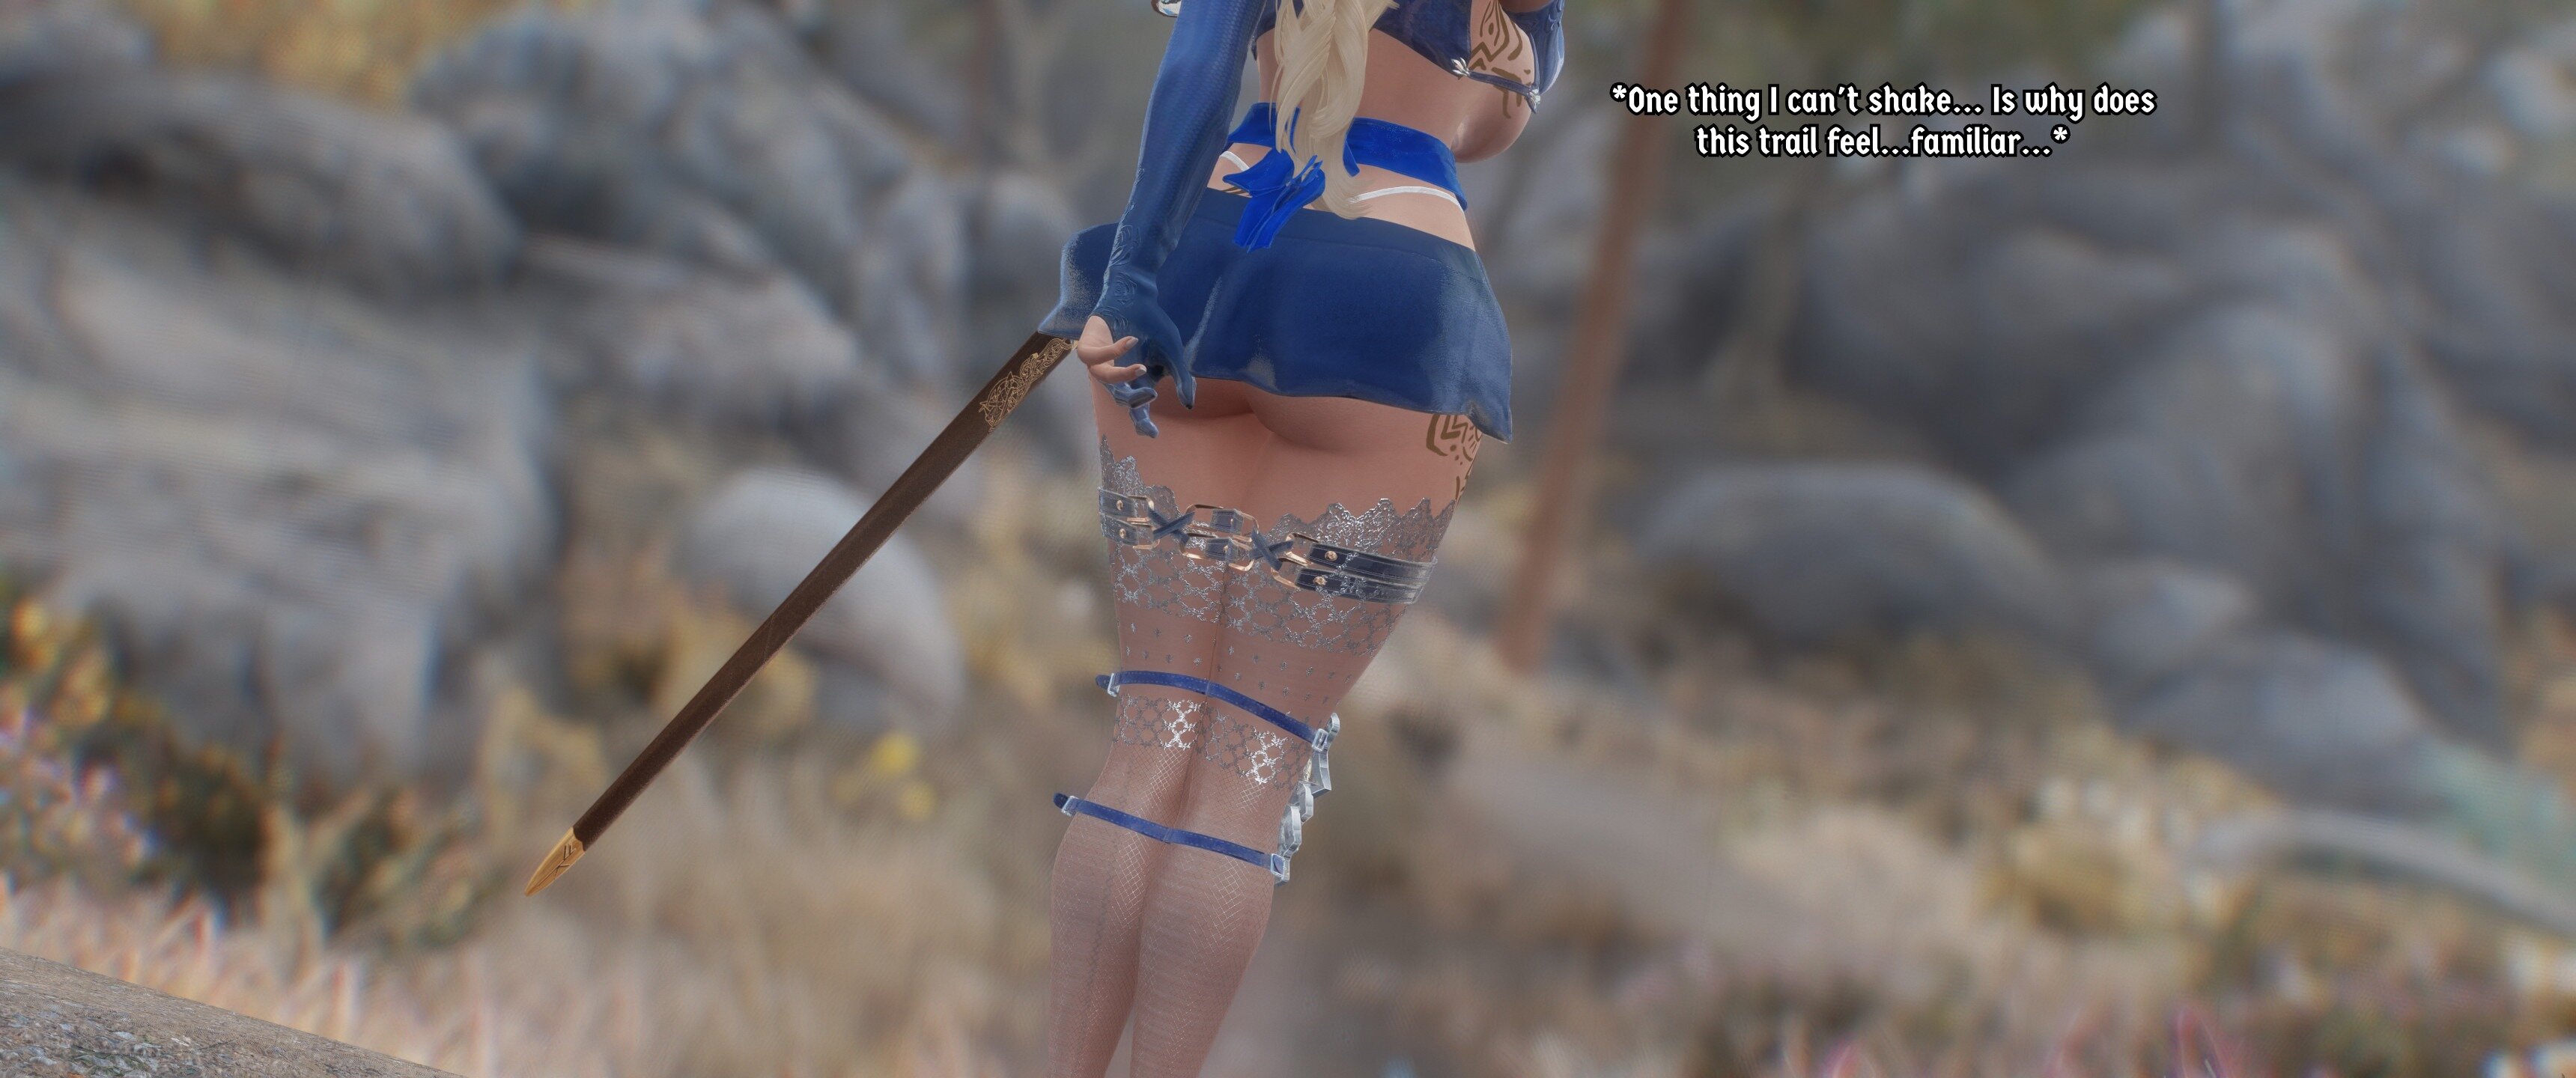
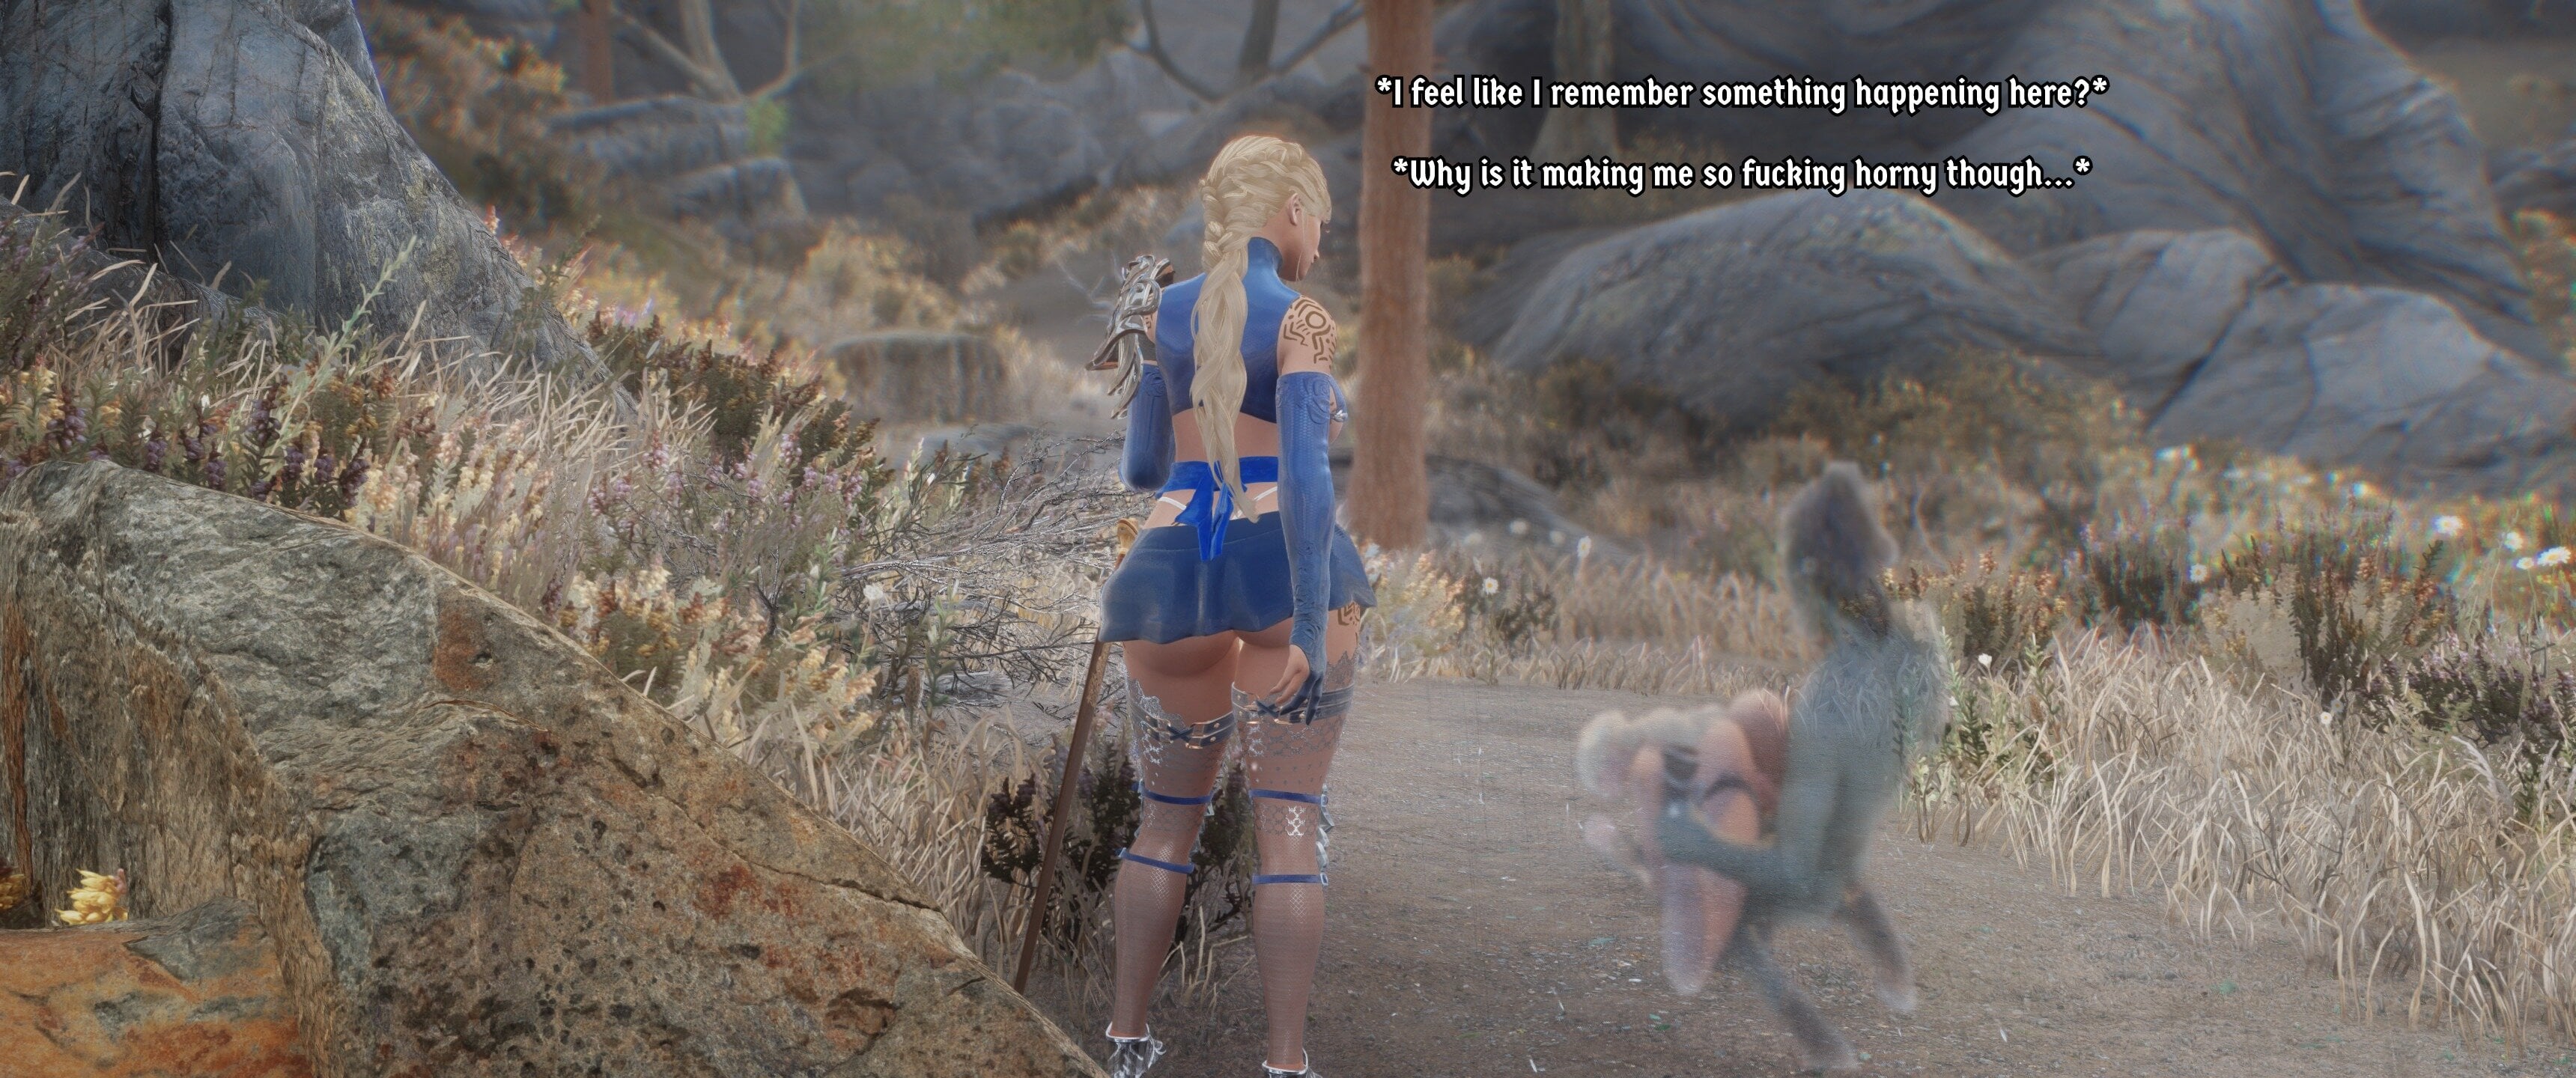
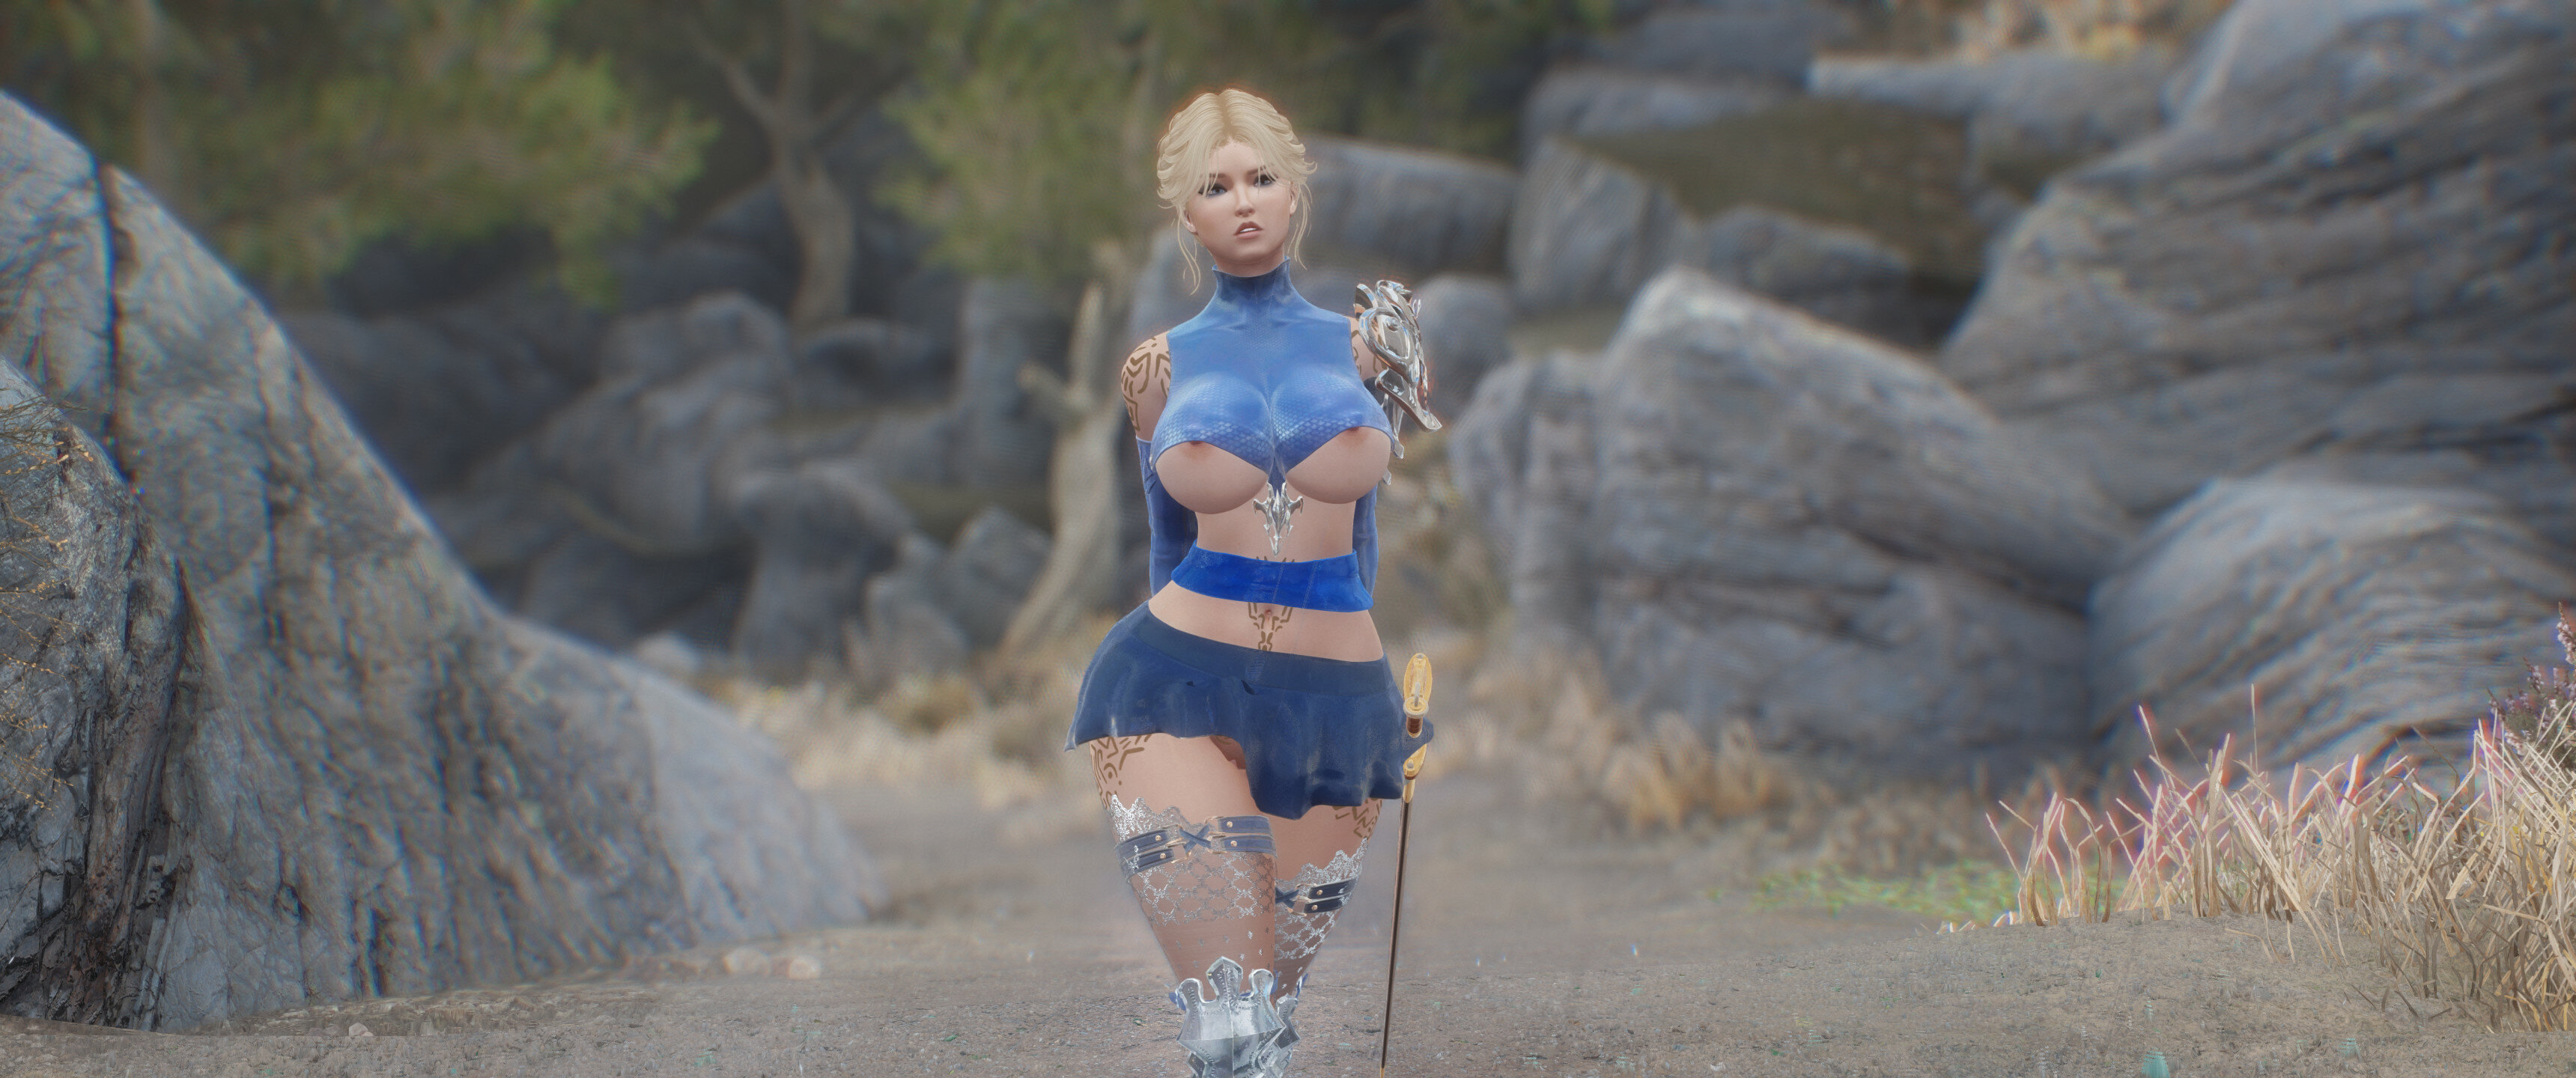
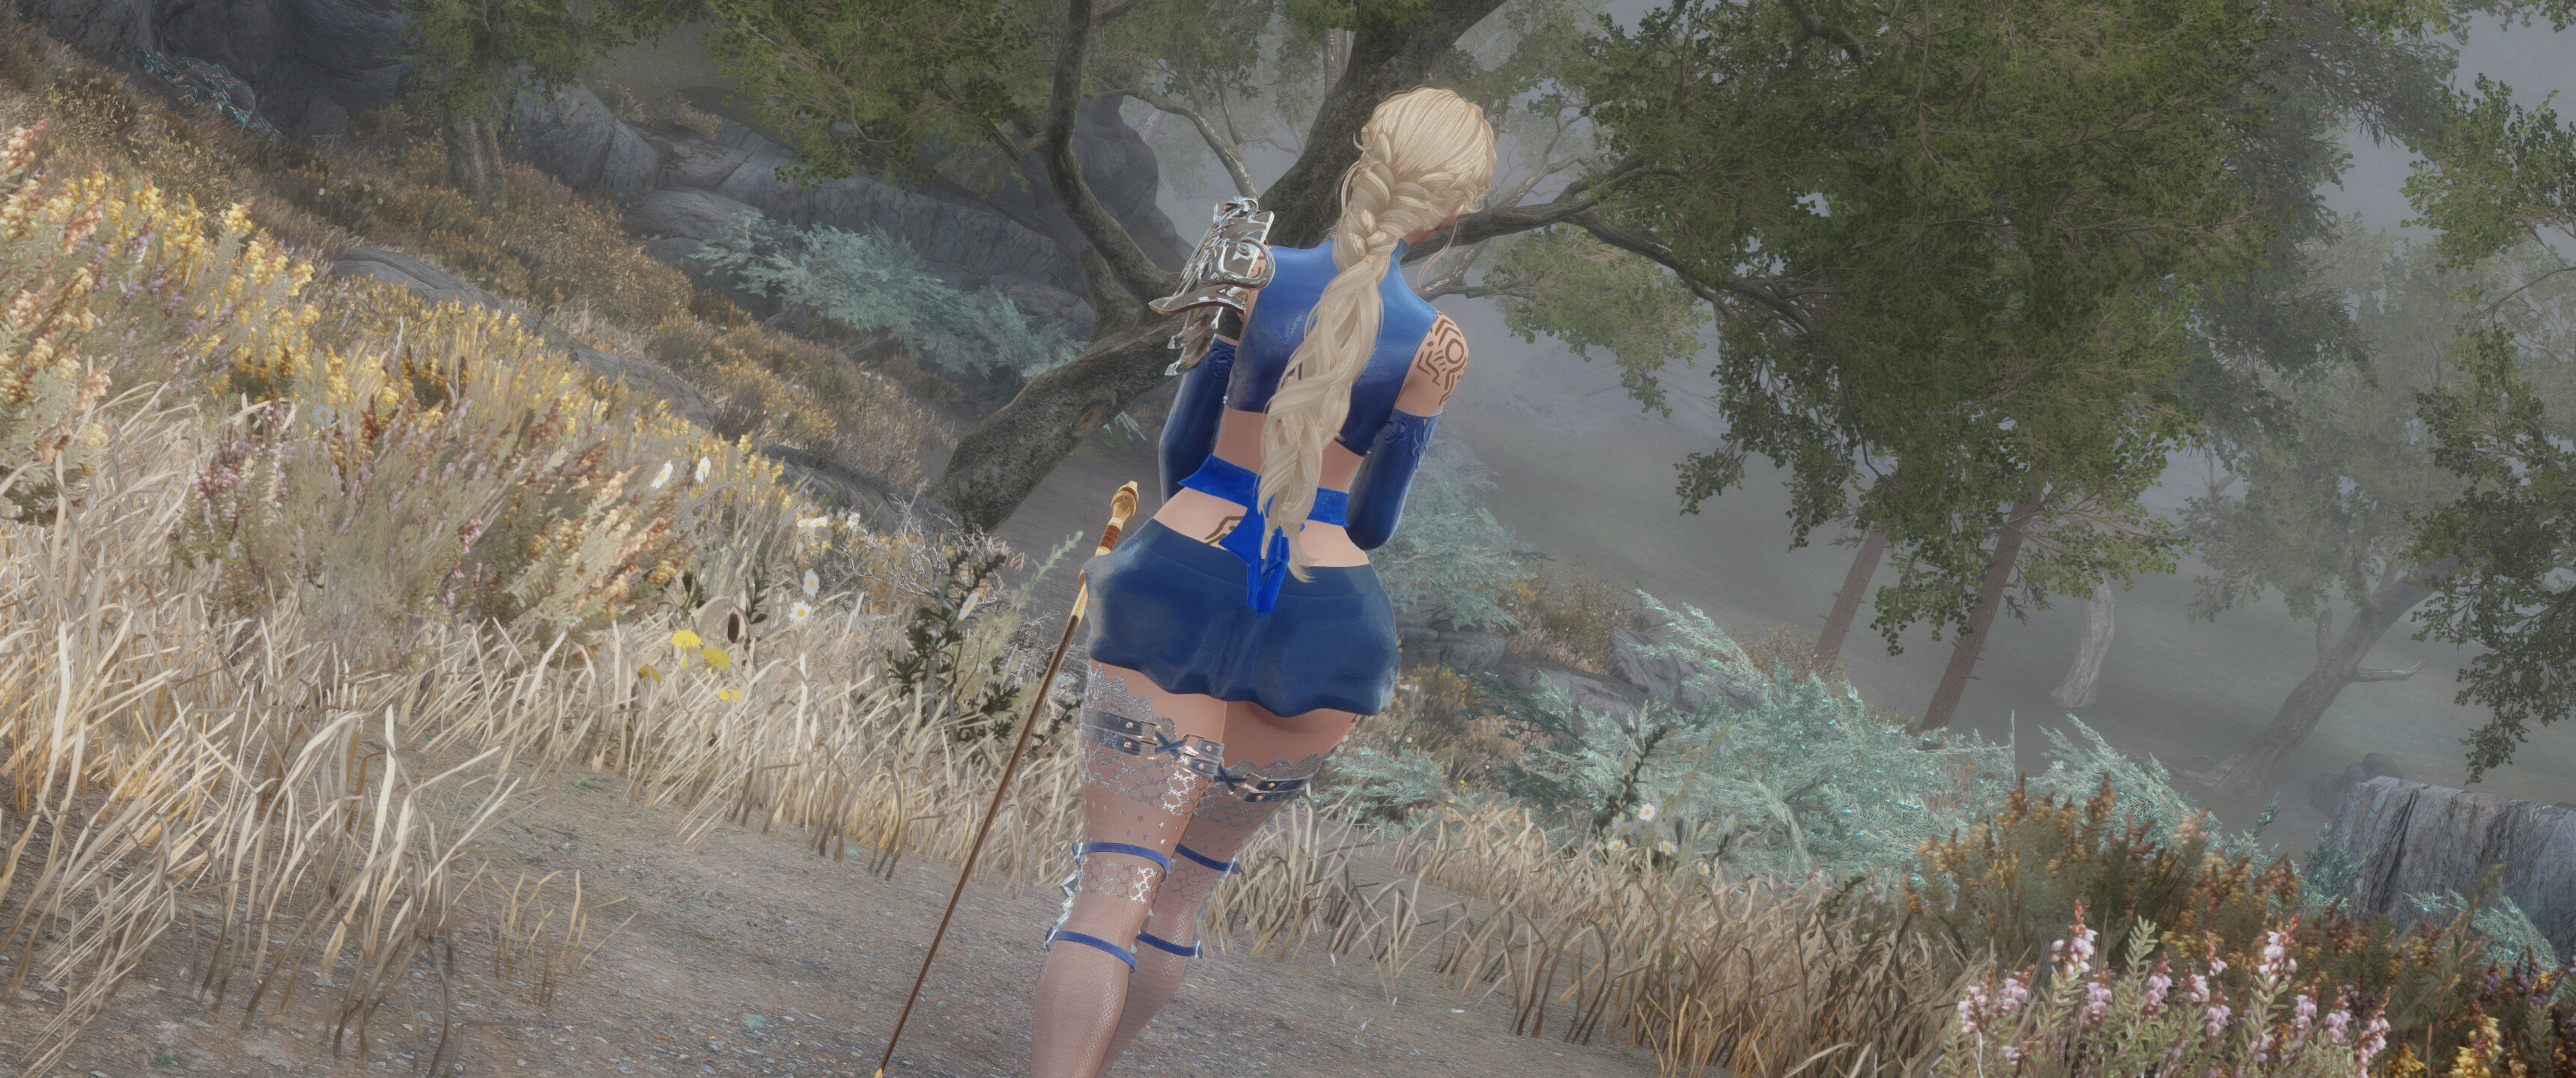
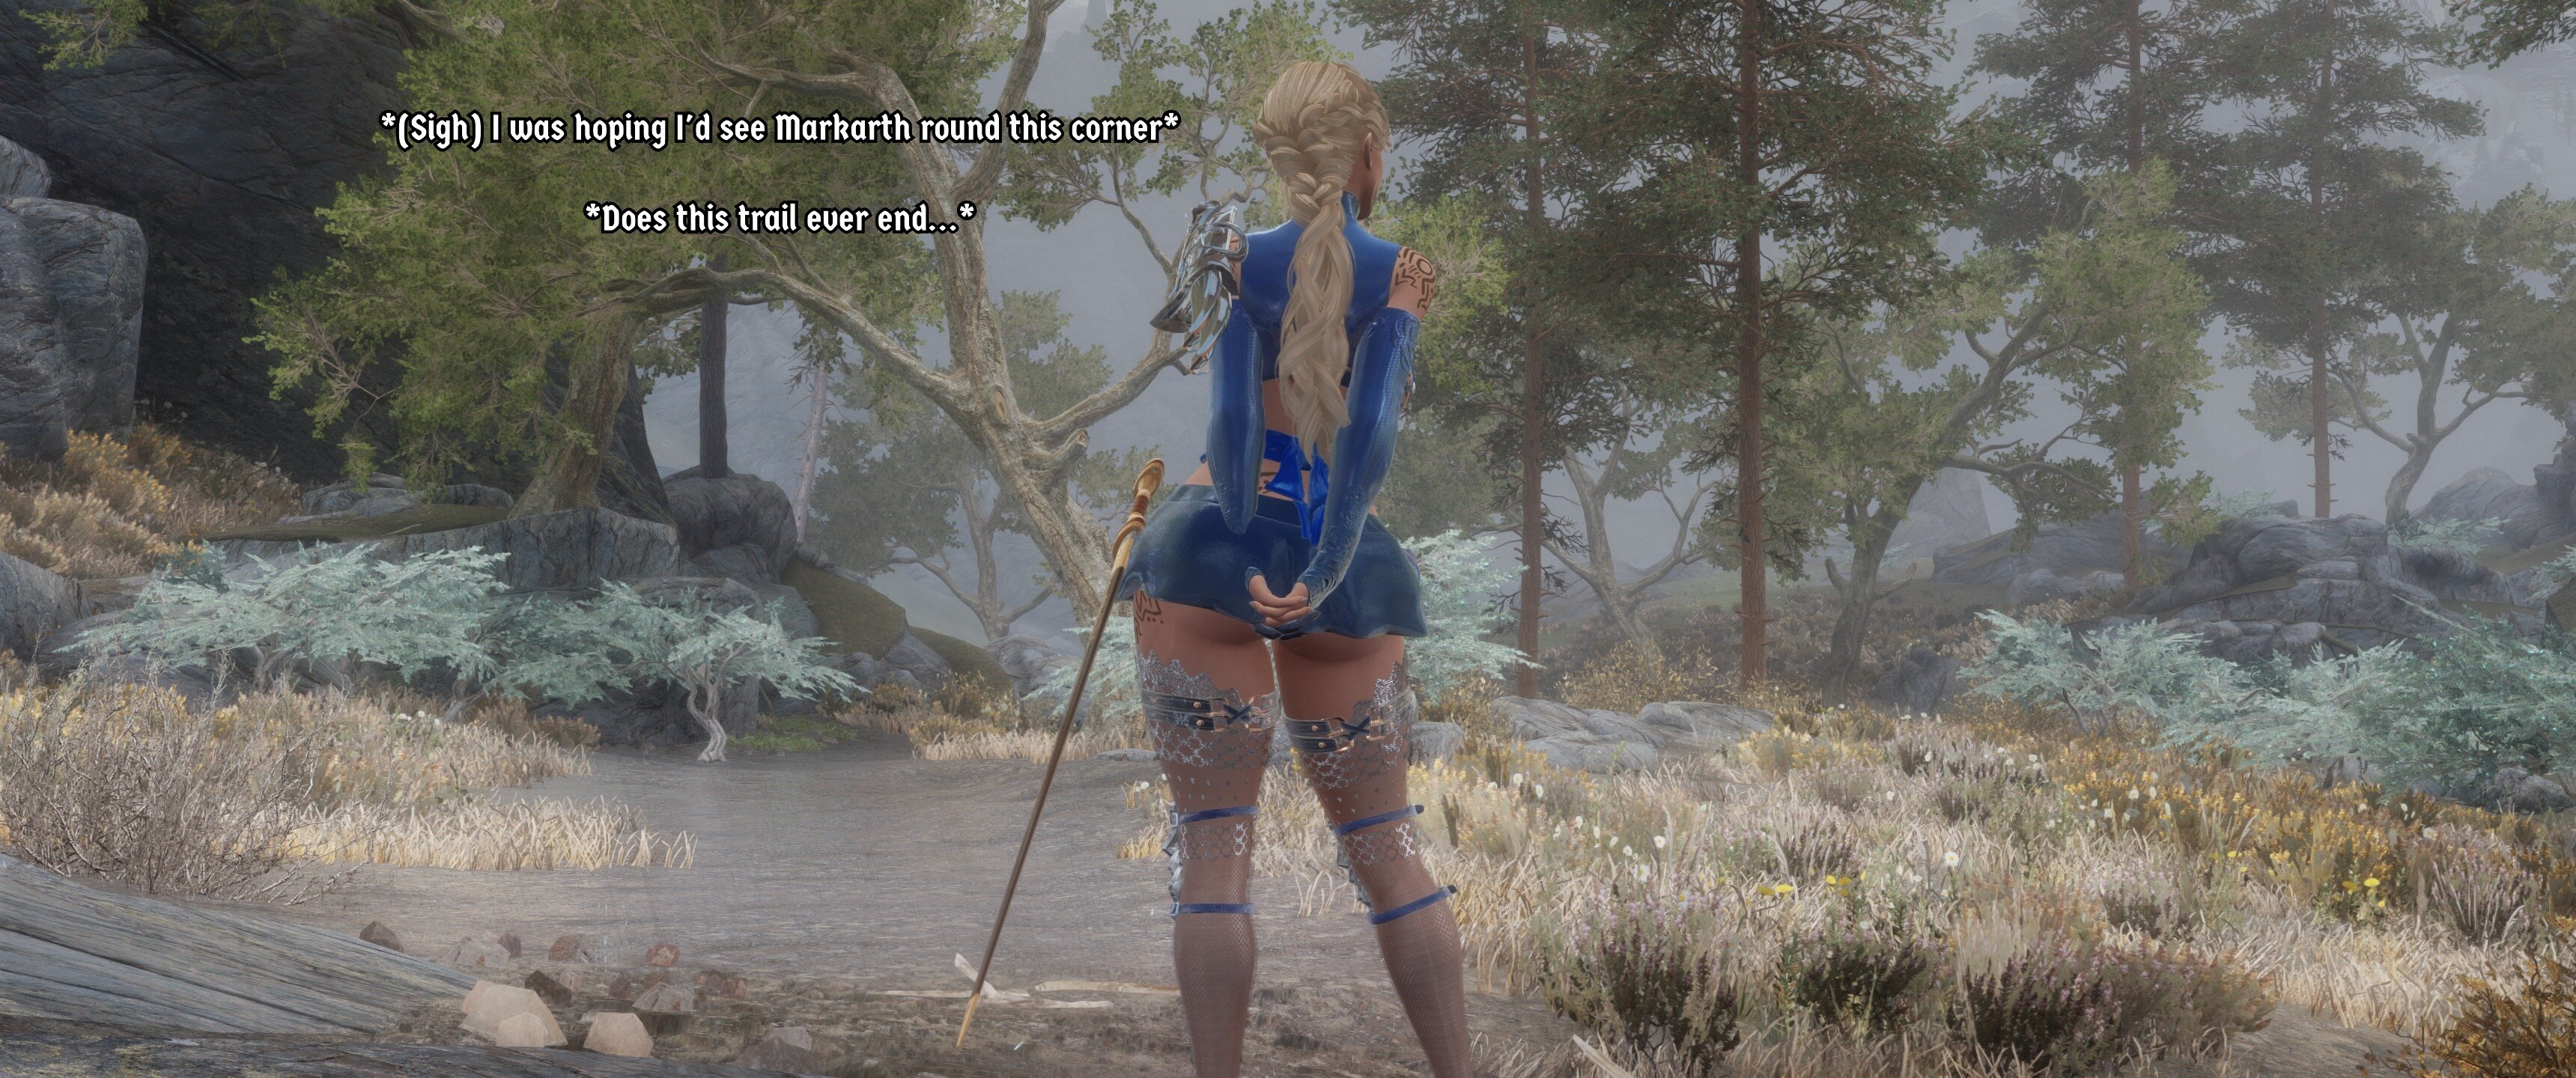
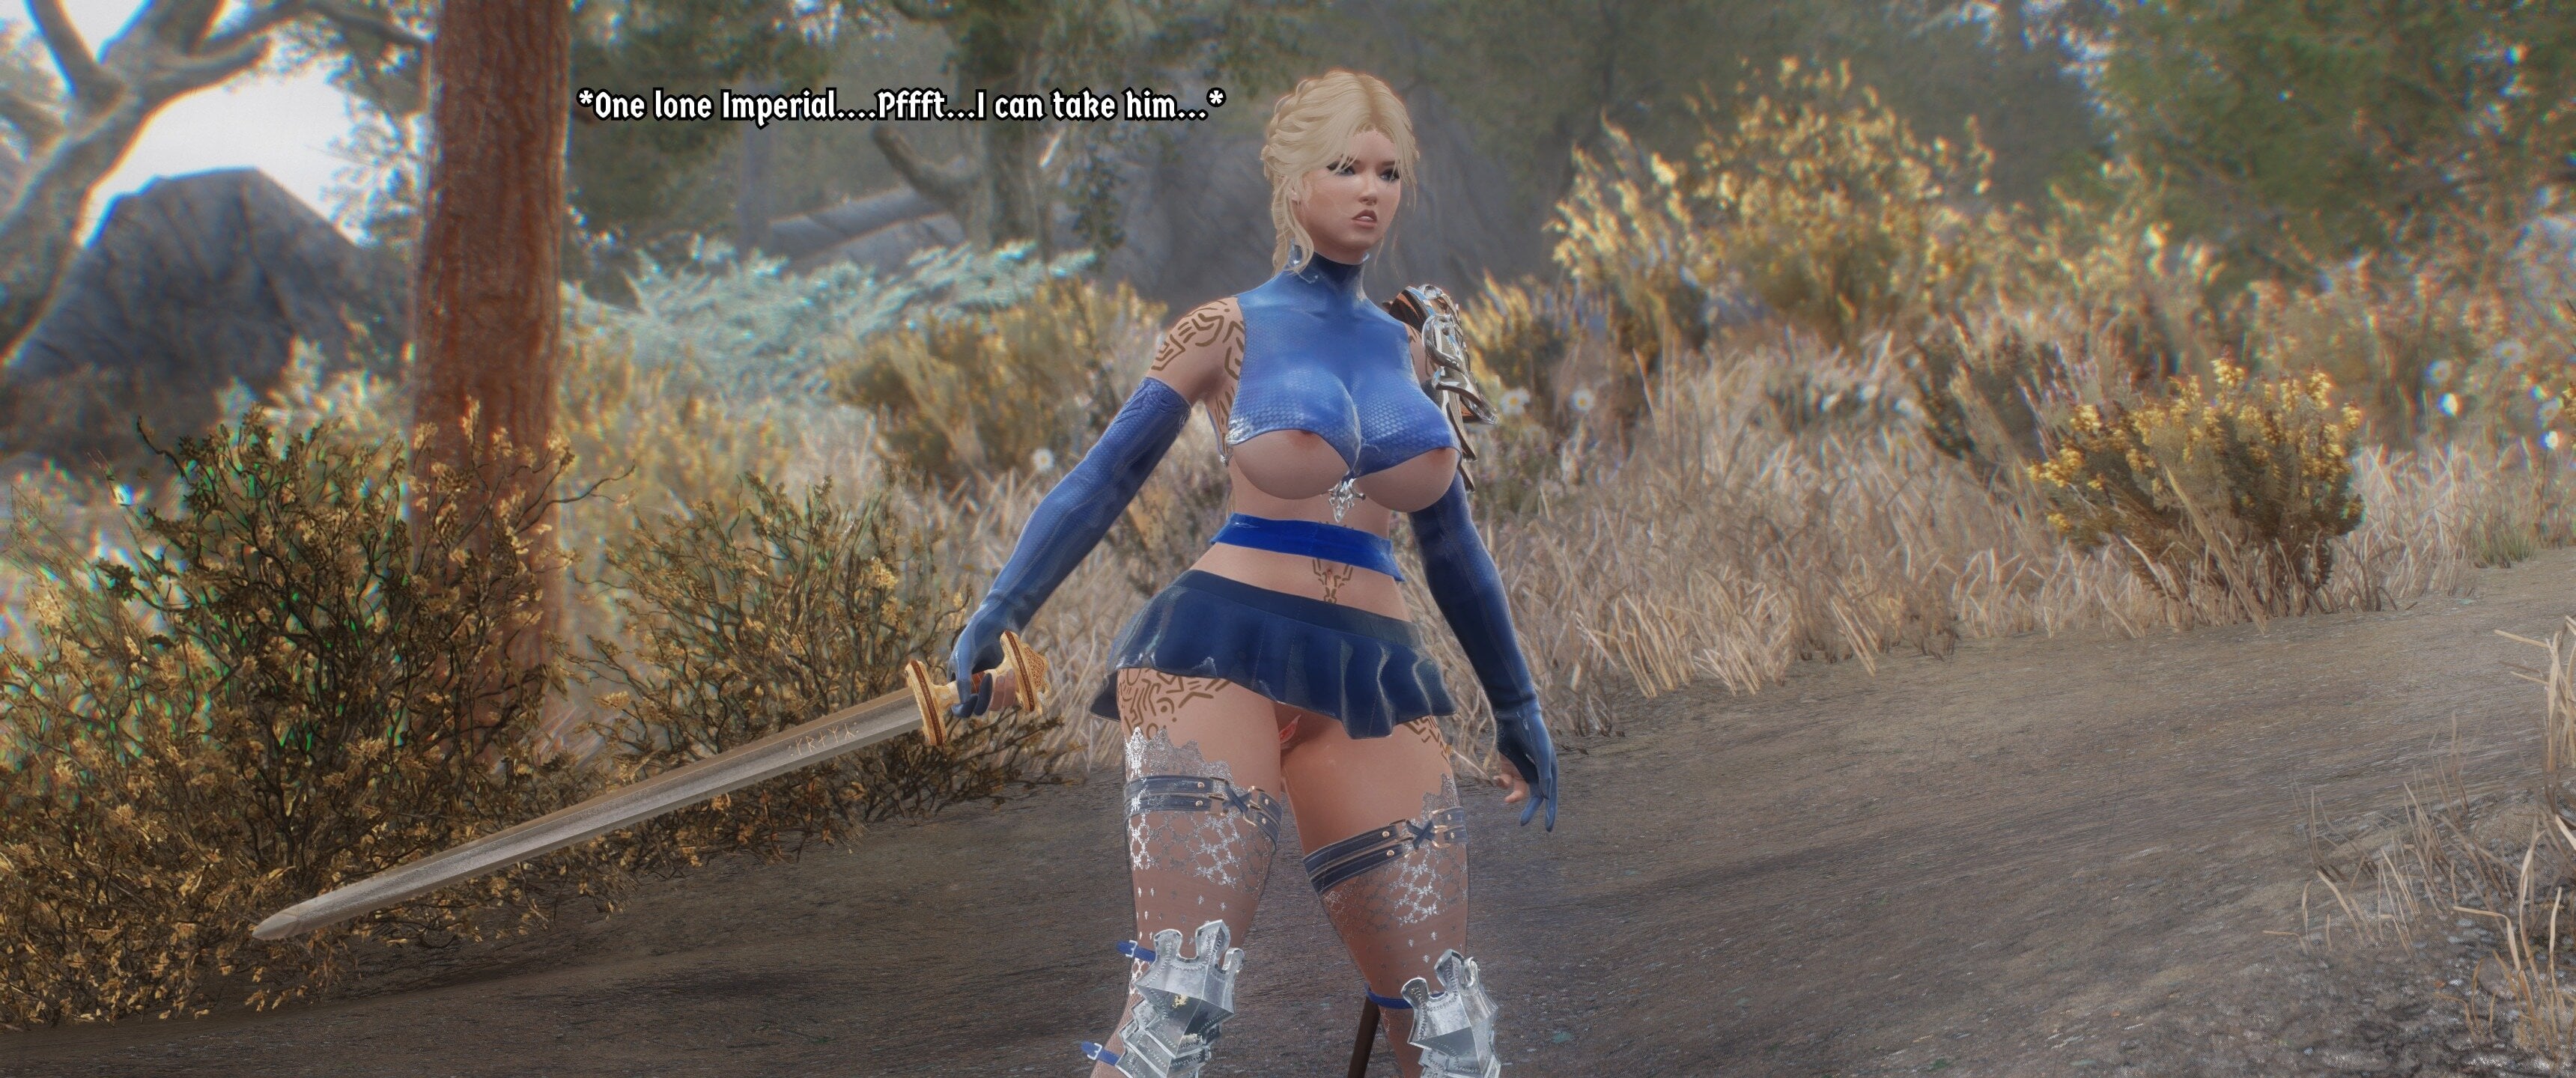
4 days into her journey the long way around Skyrim, Erika has finally reached Markarth Hold, up in the jagged mountains.
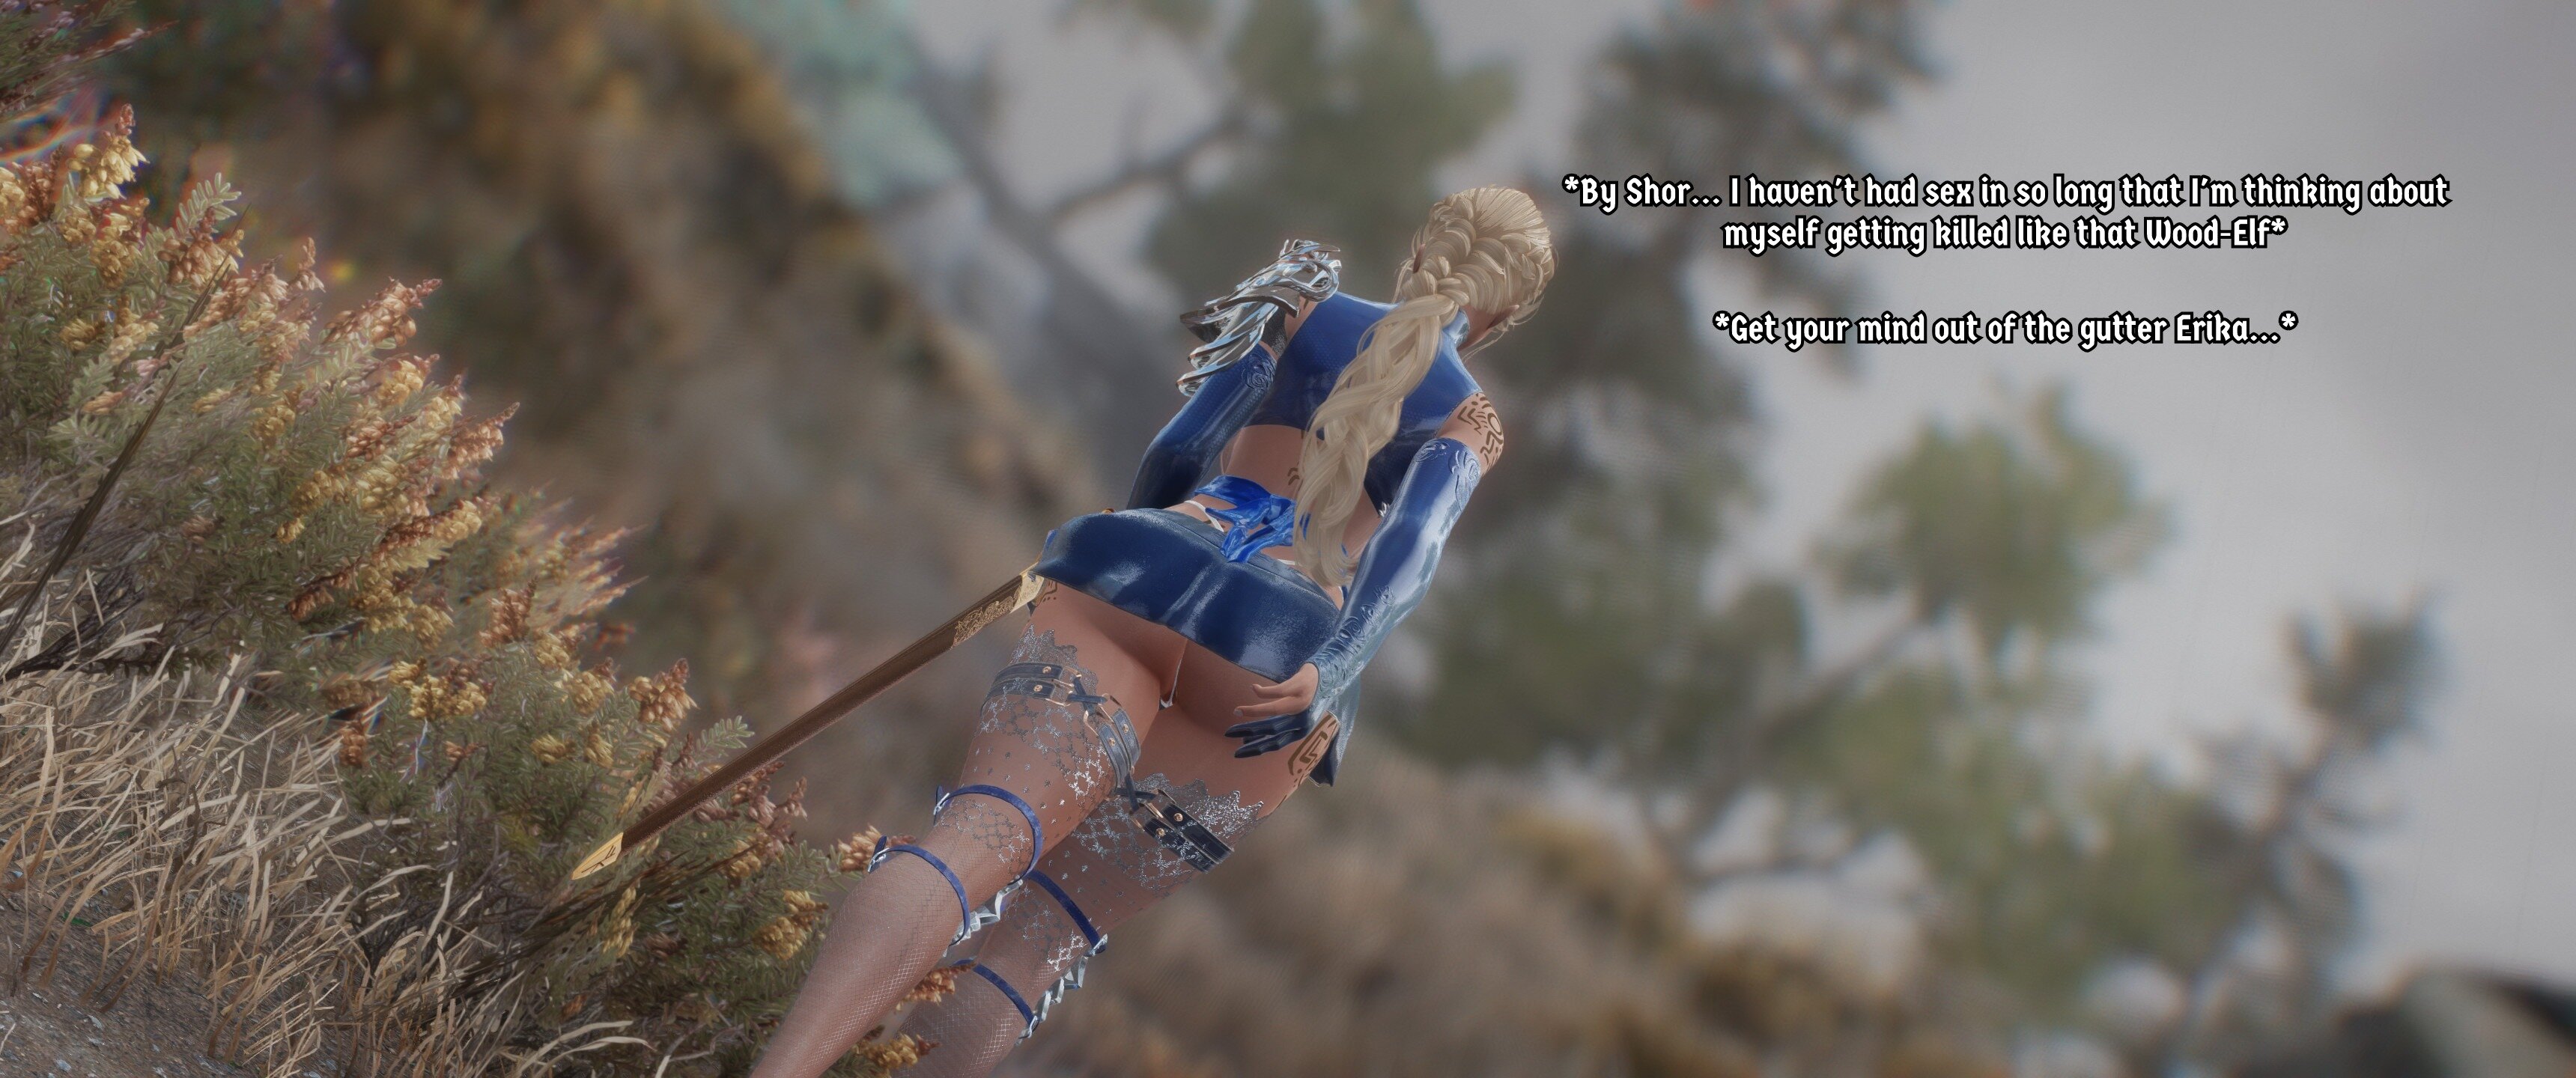
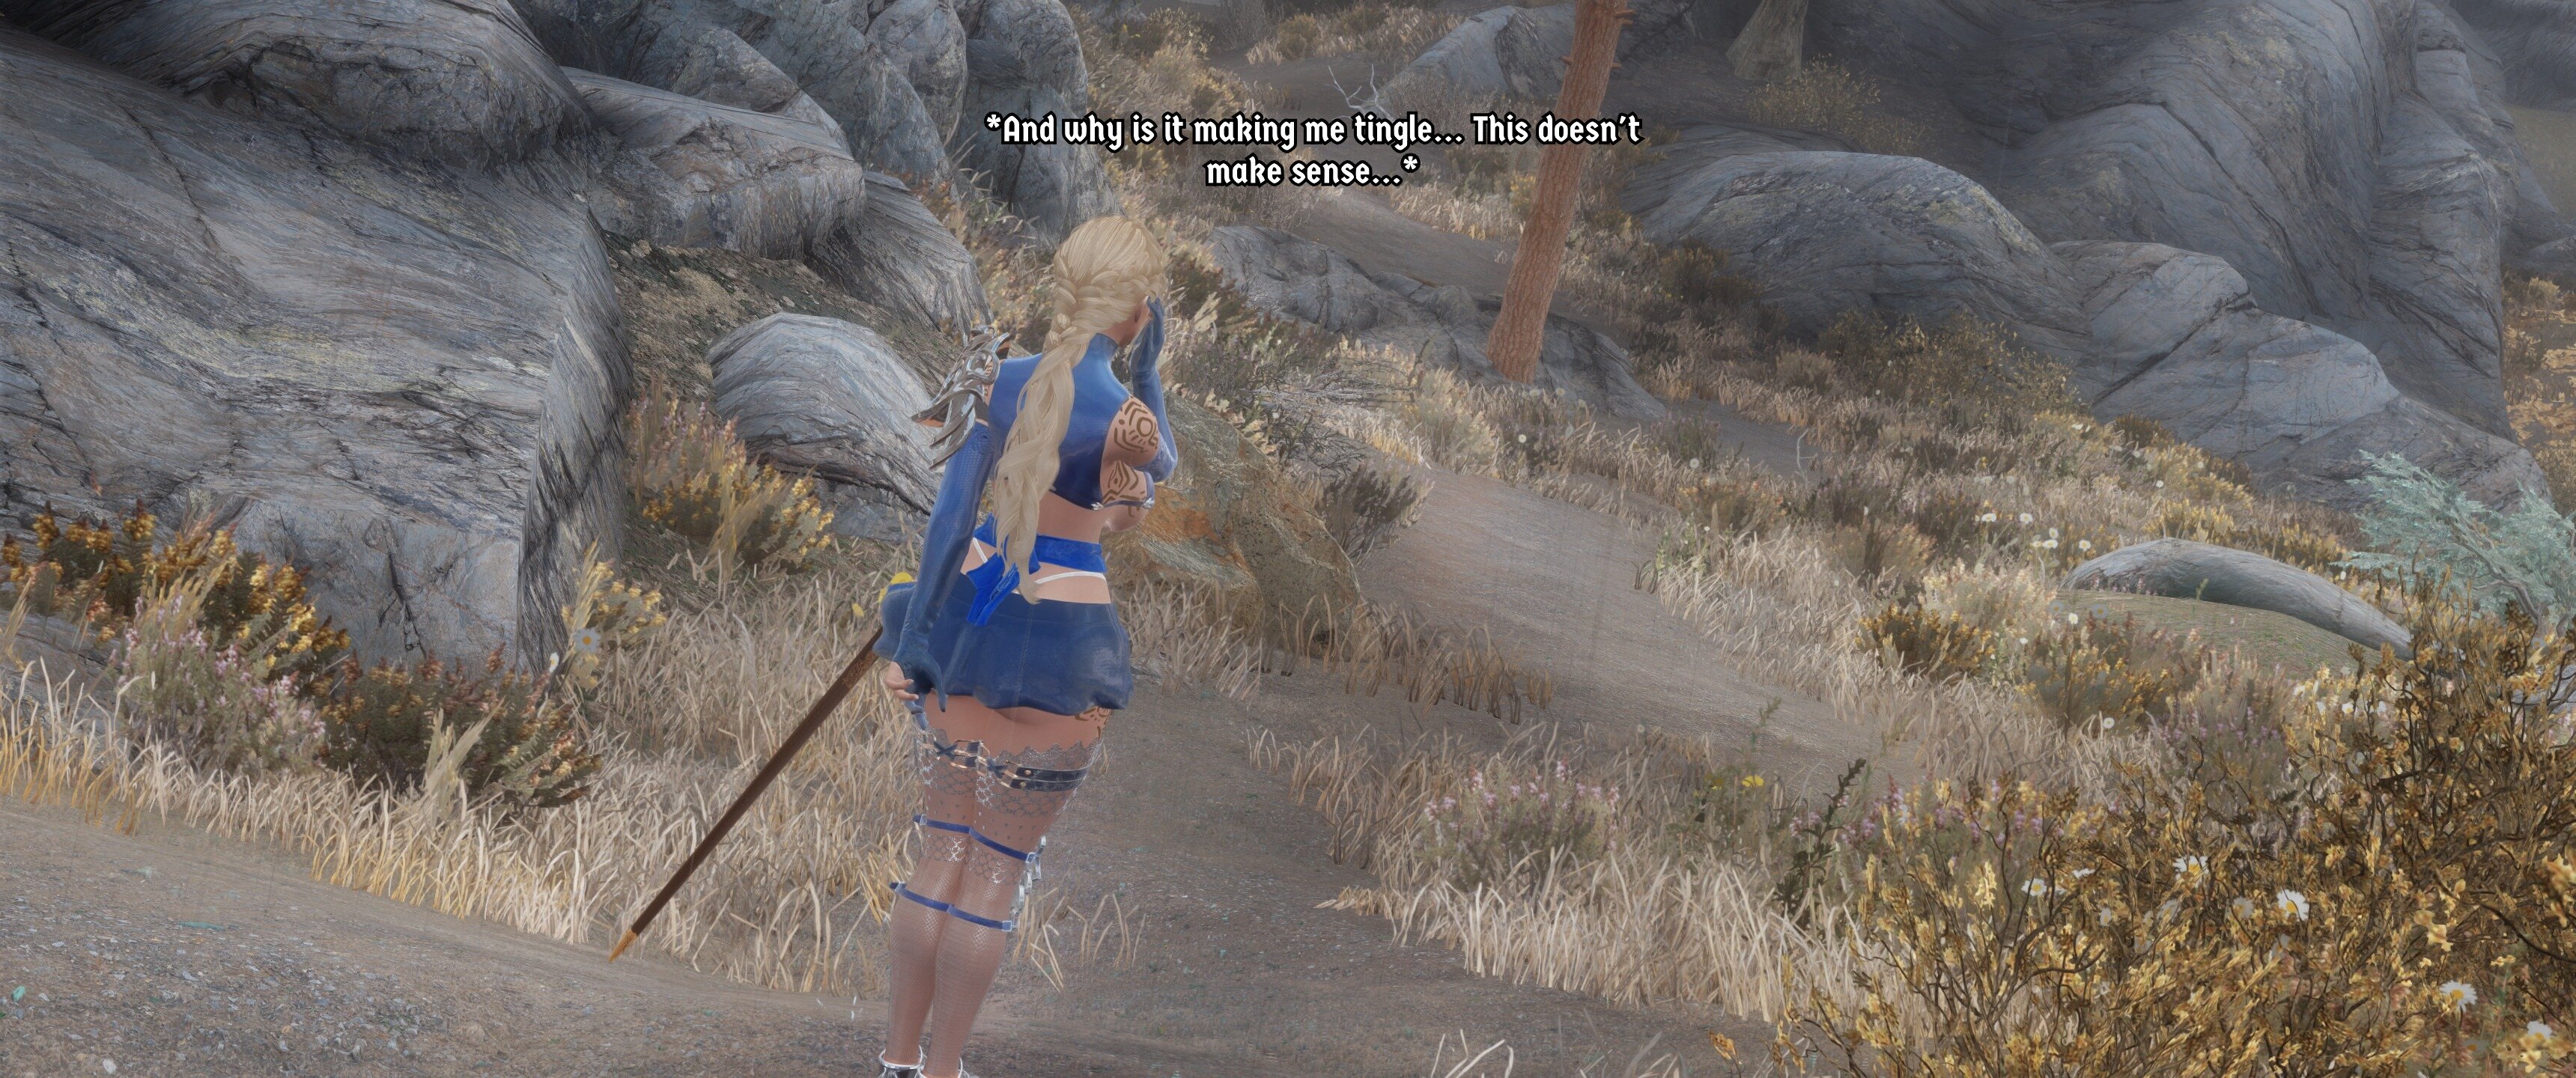
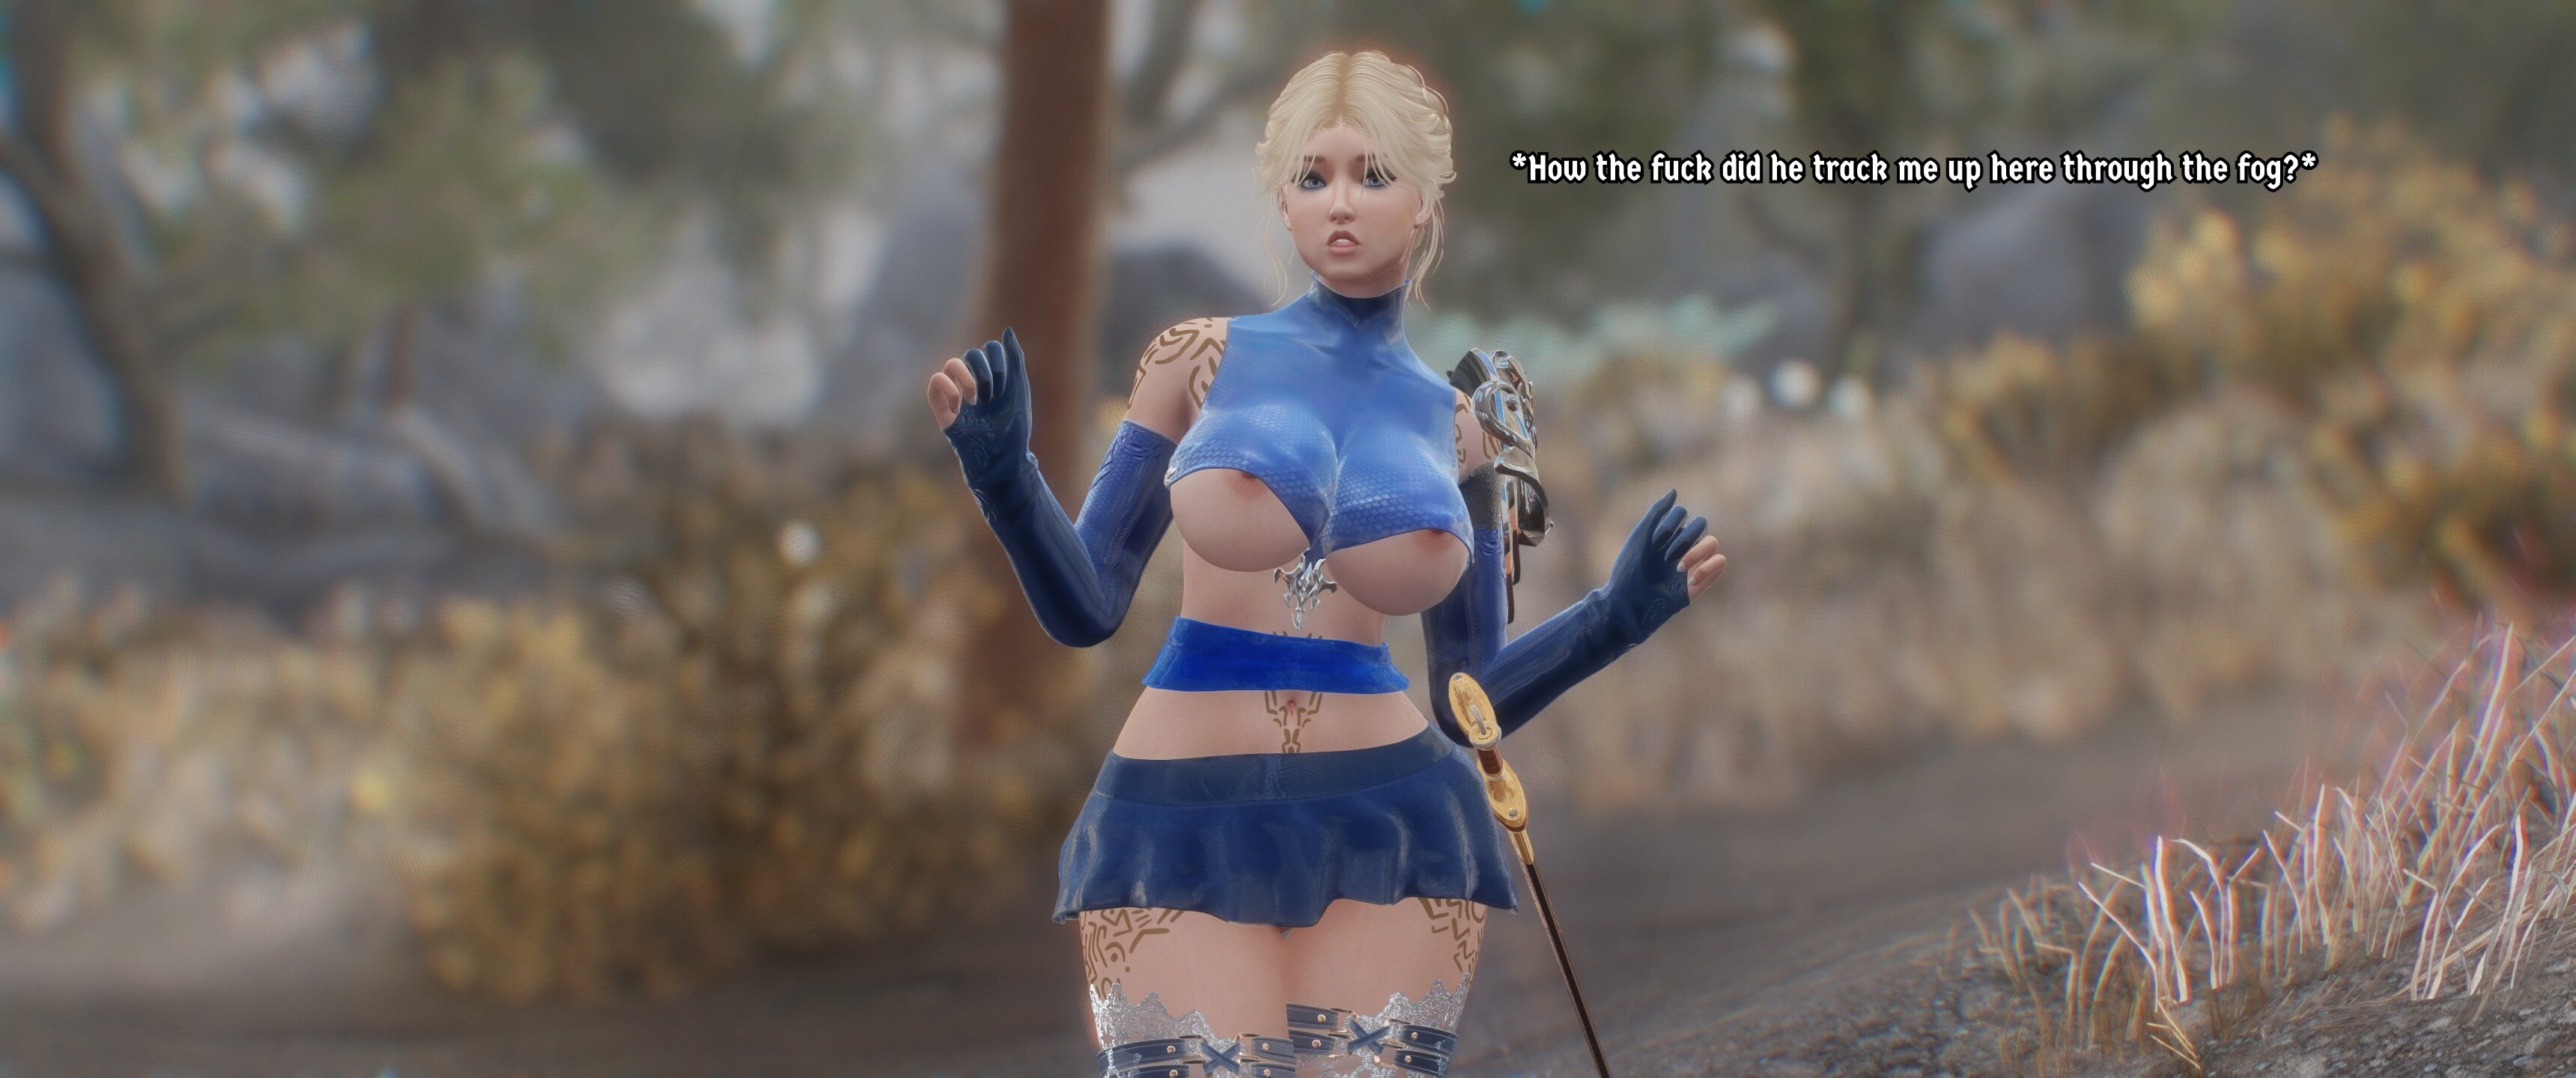
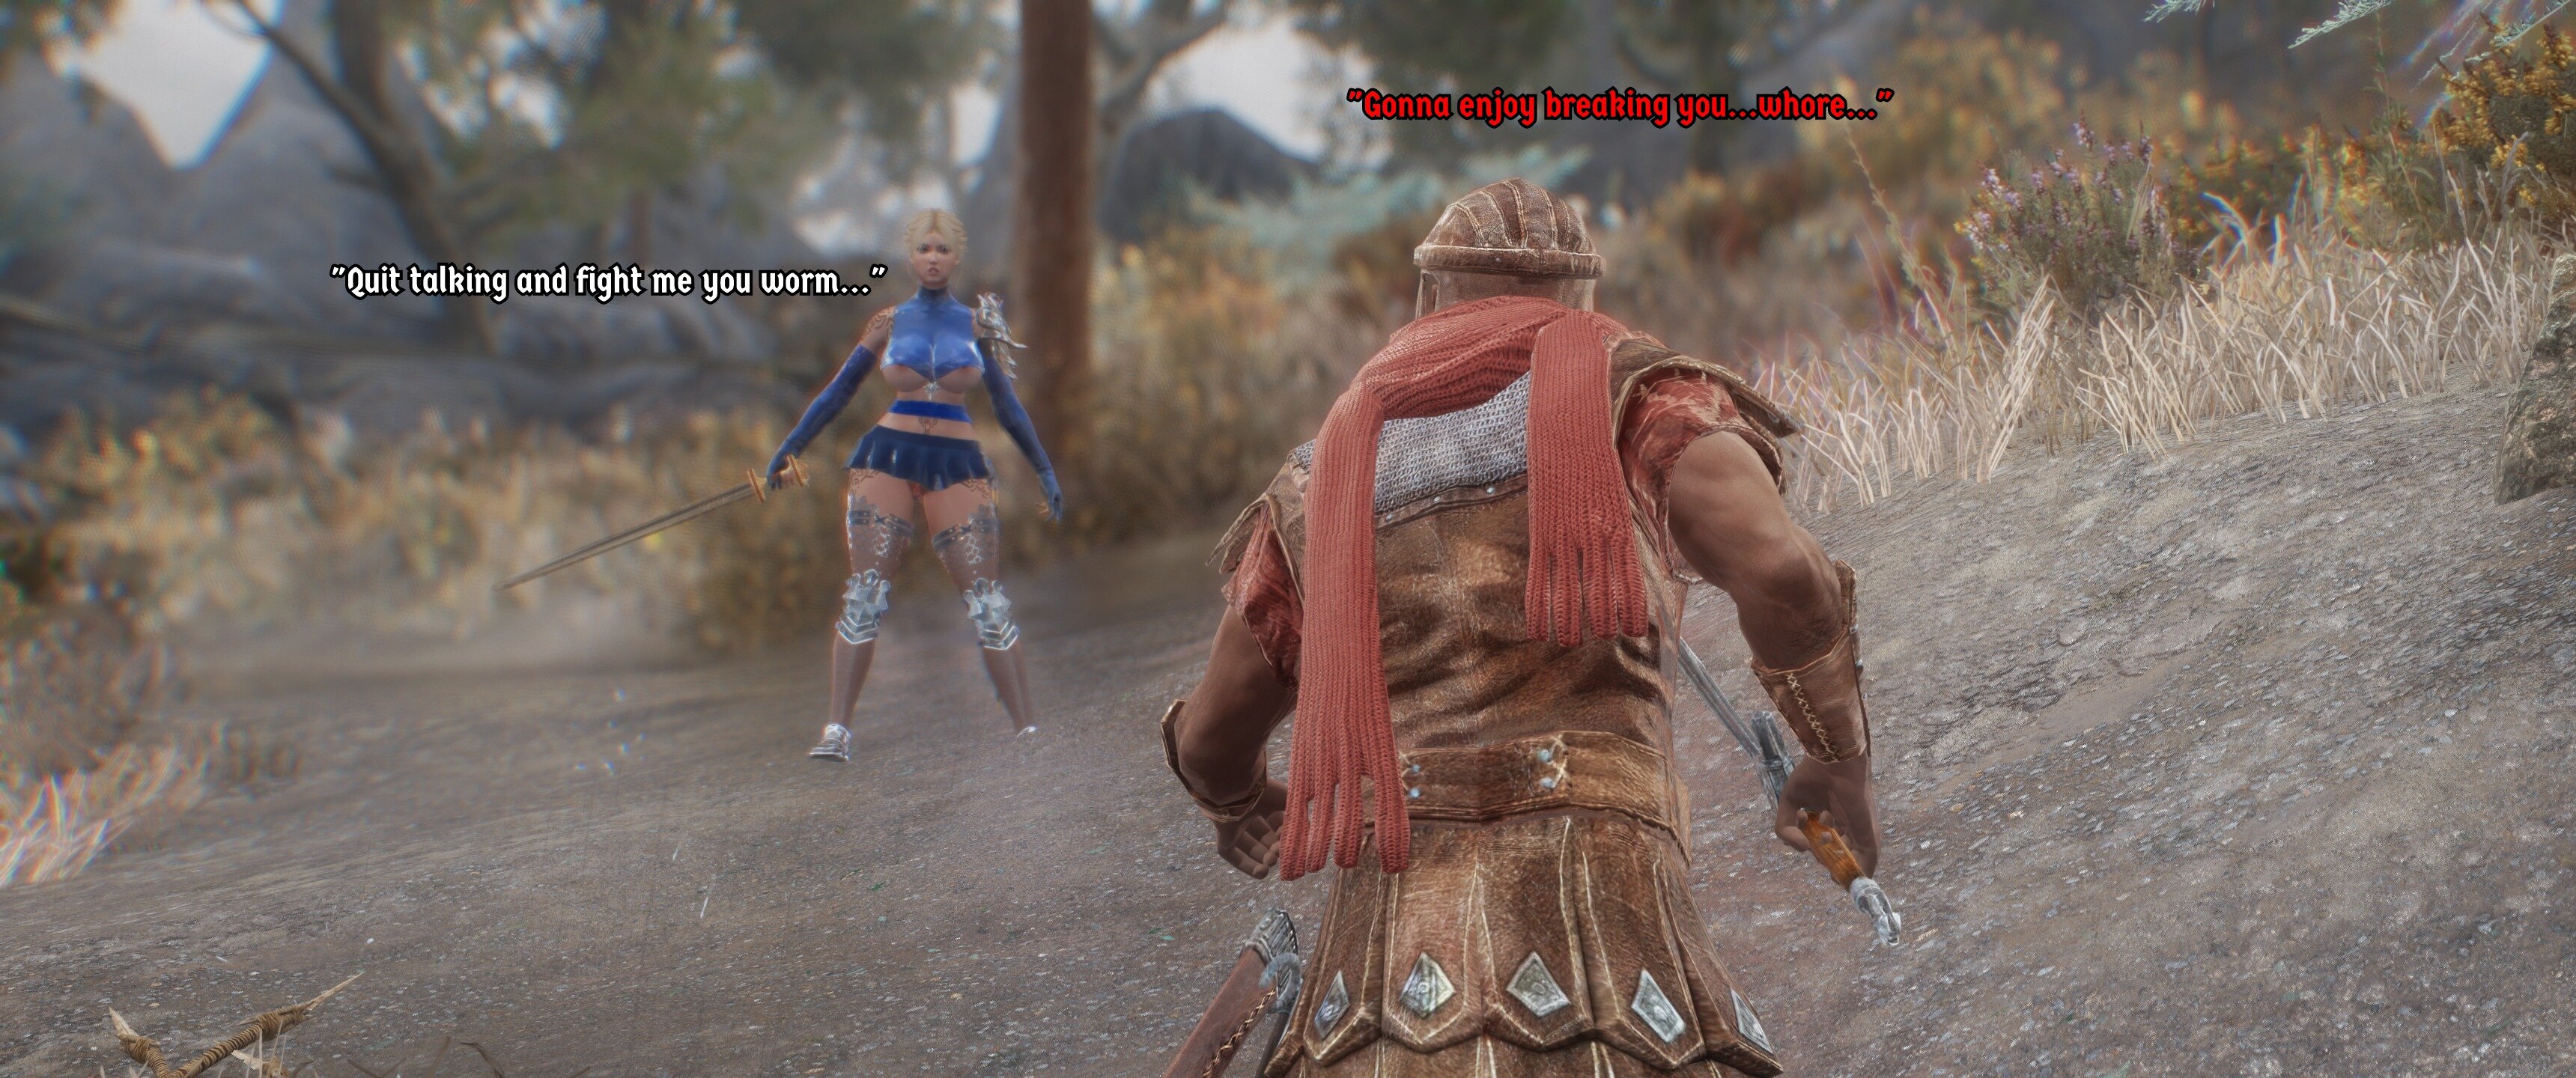
Soaked to the bone she continues her journey through the rain and fog until she hears a bush rustle.
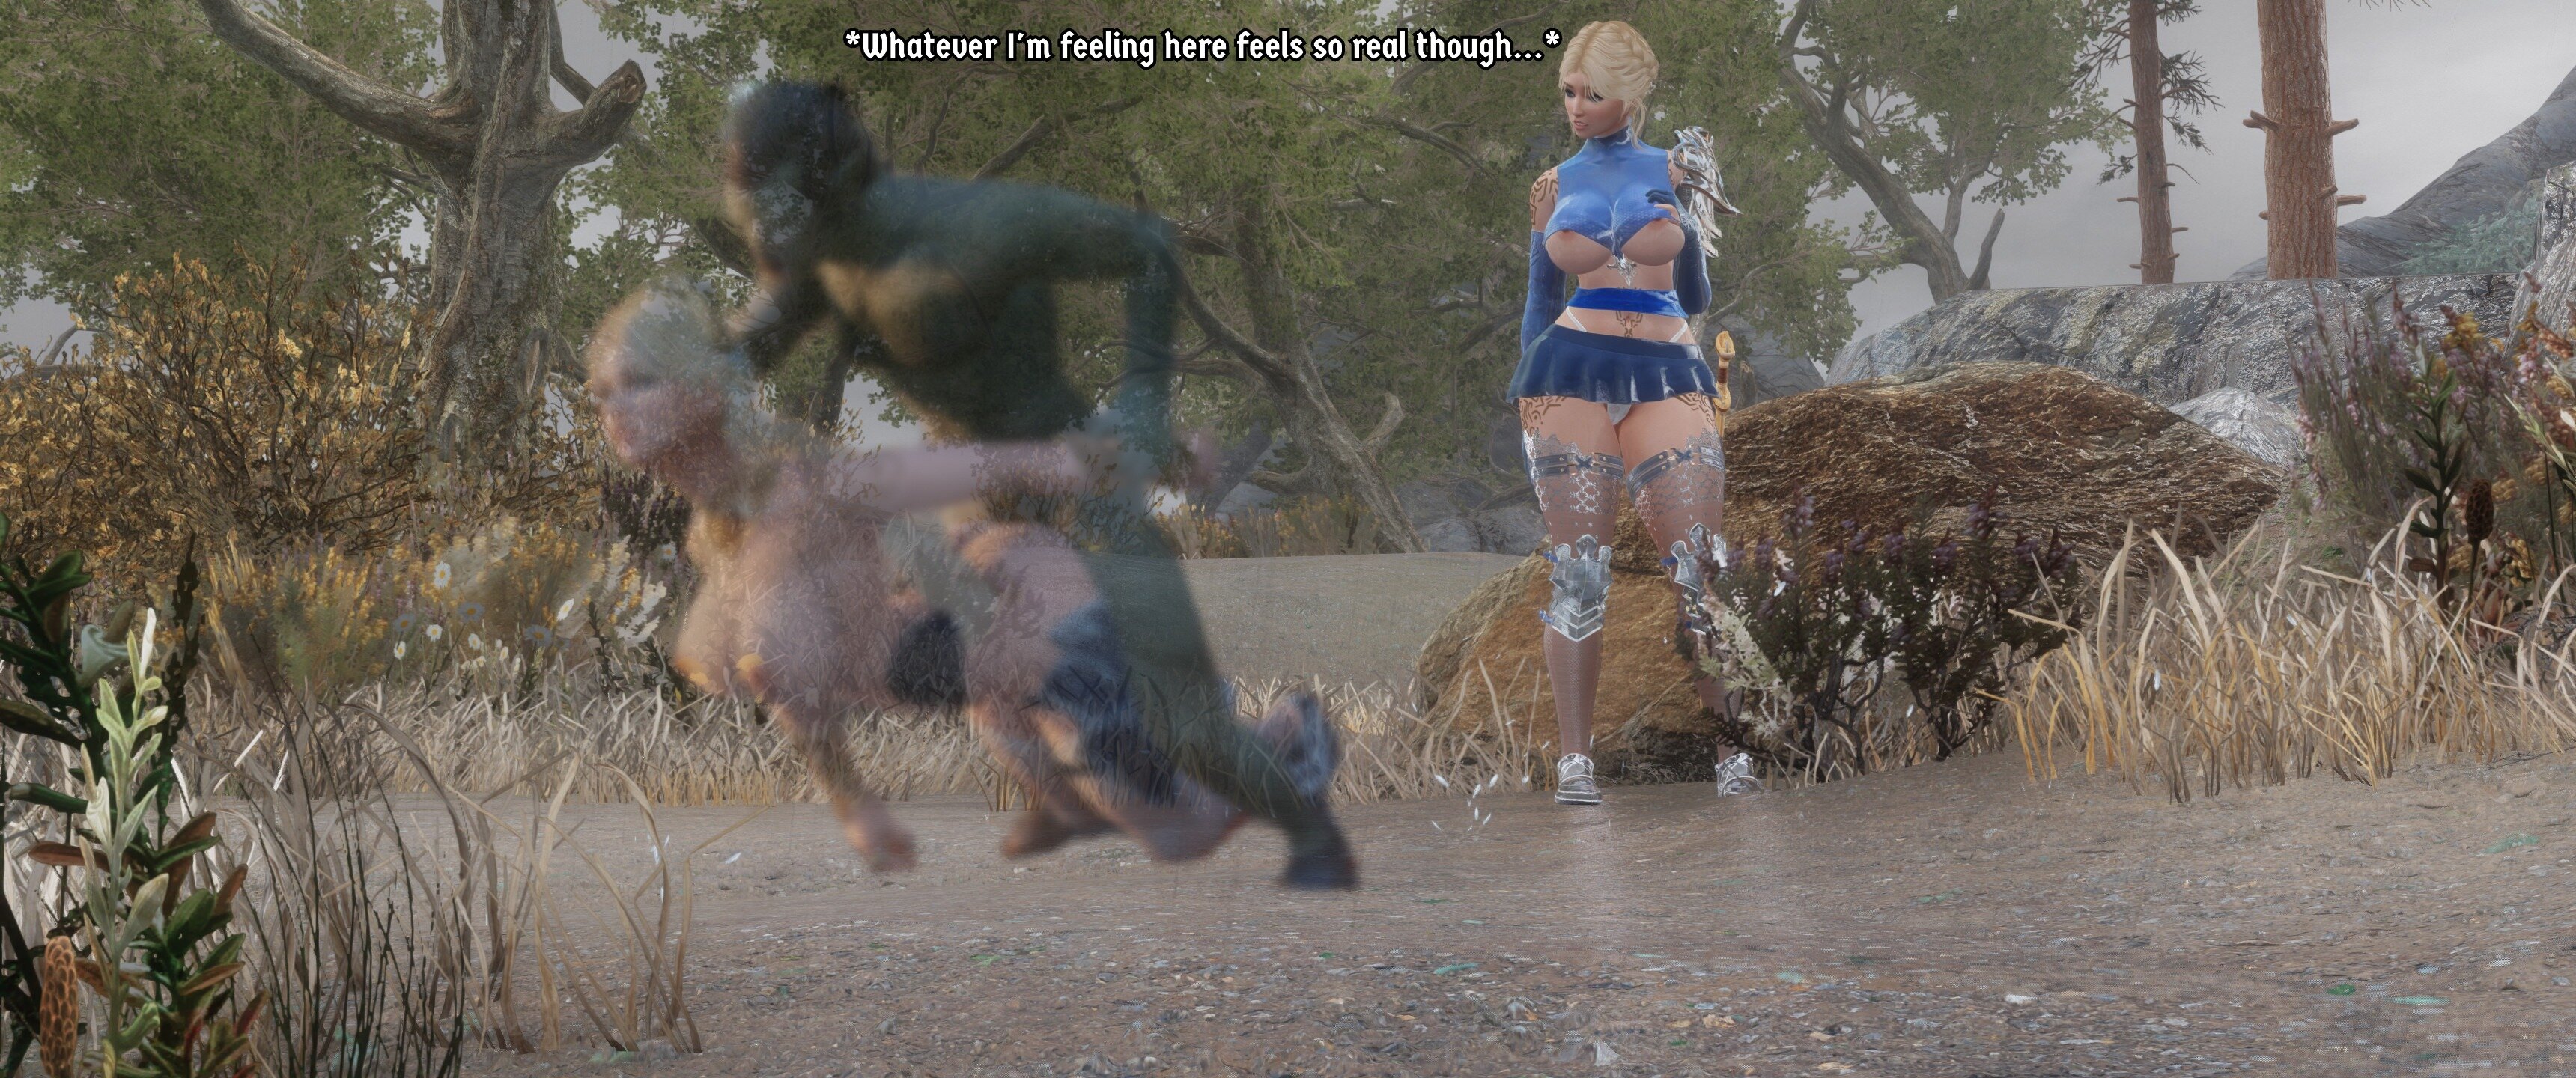
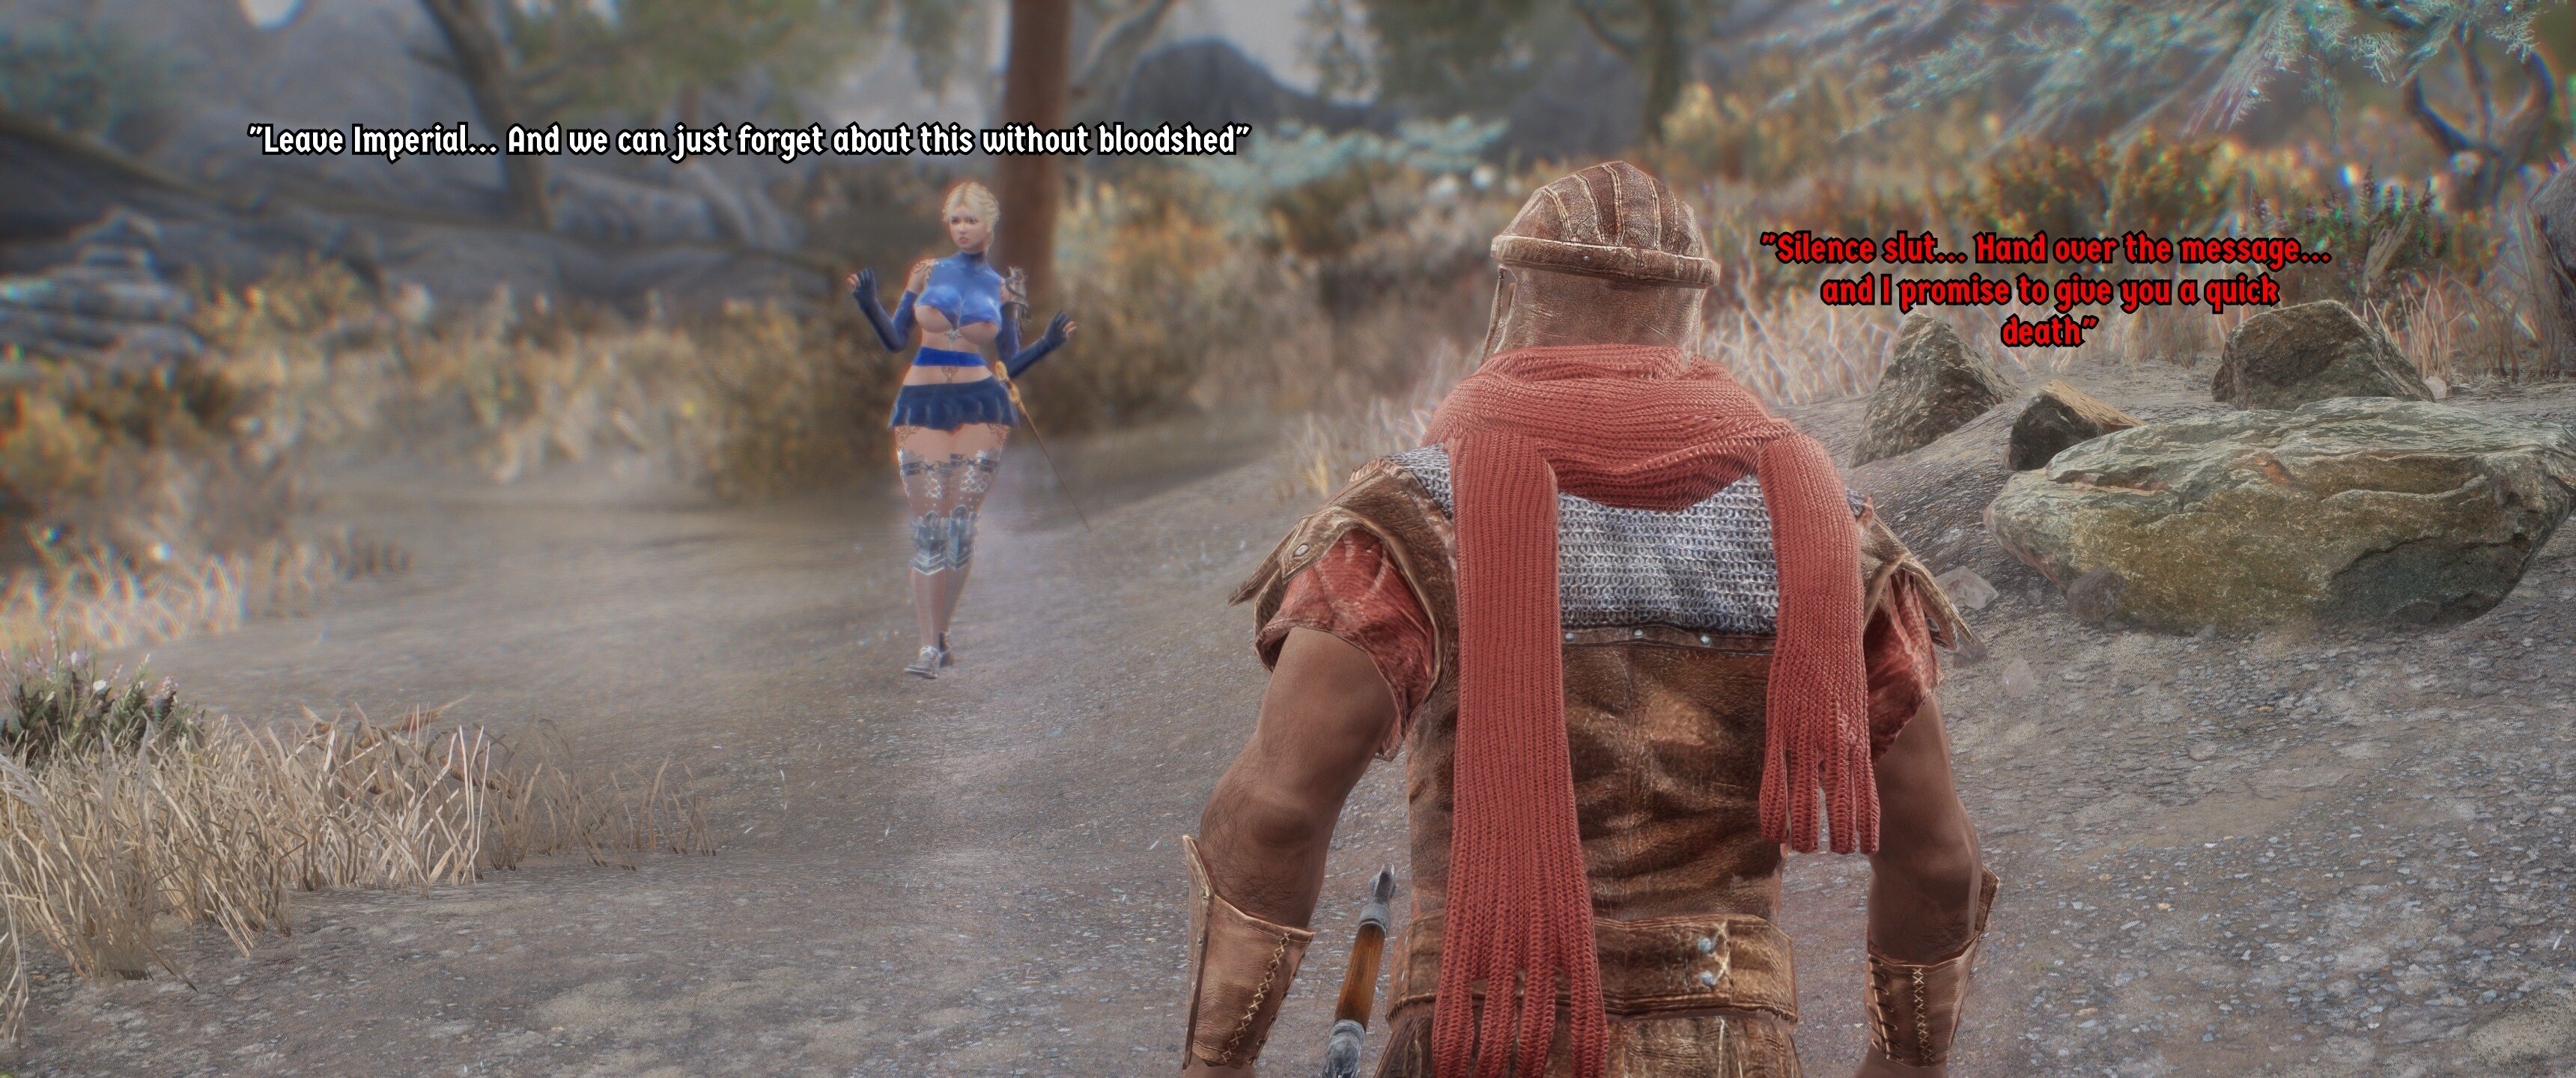
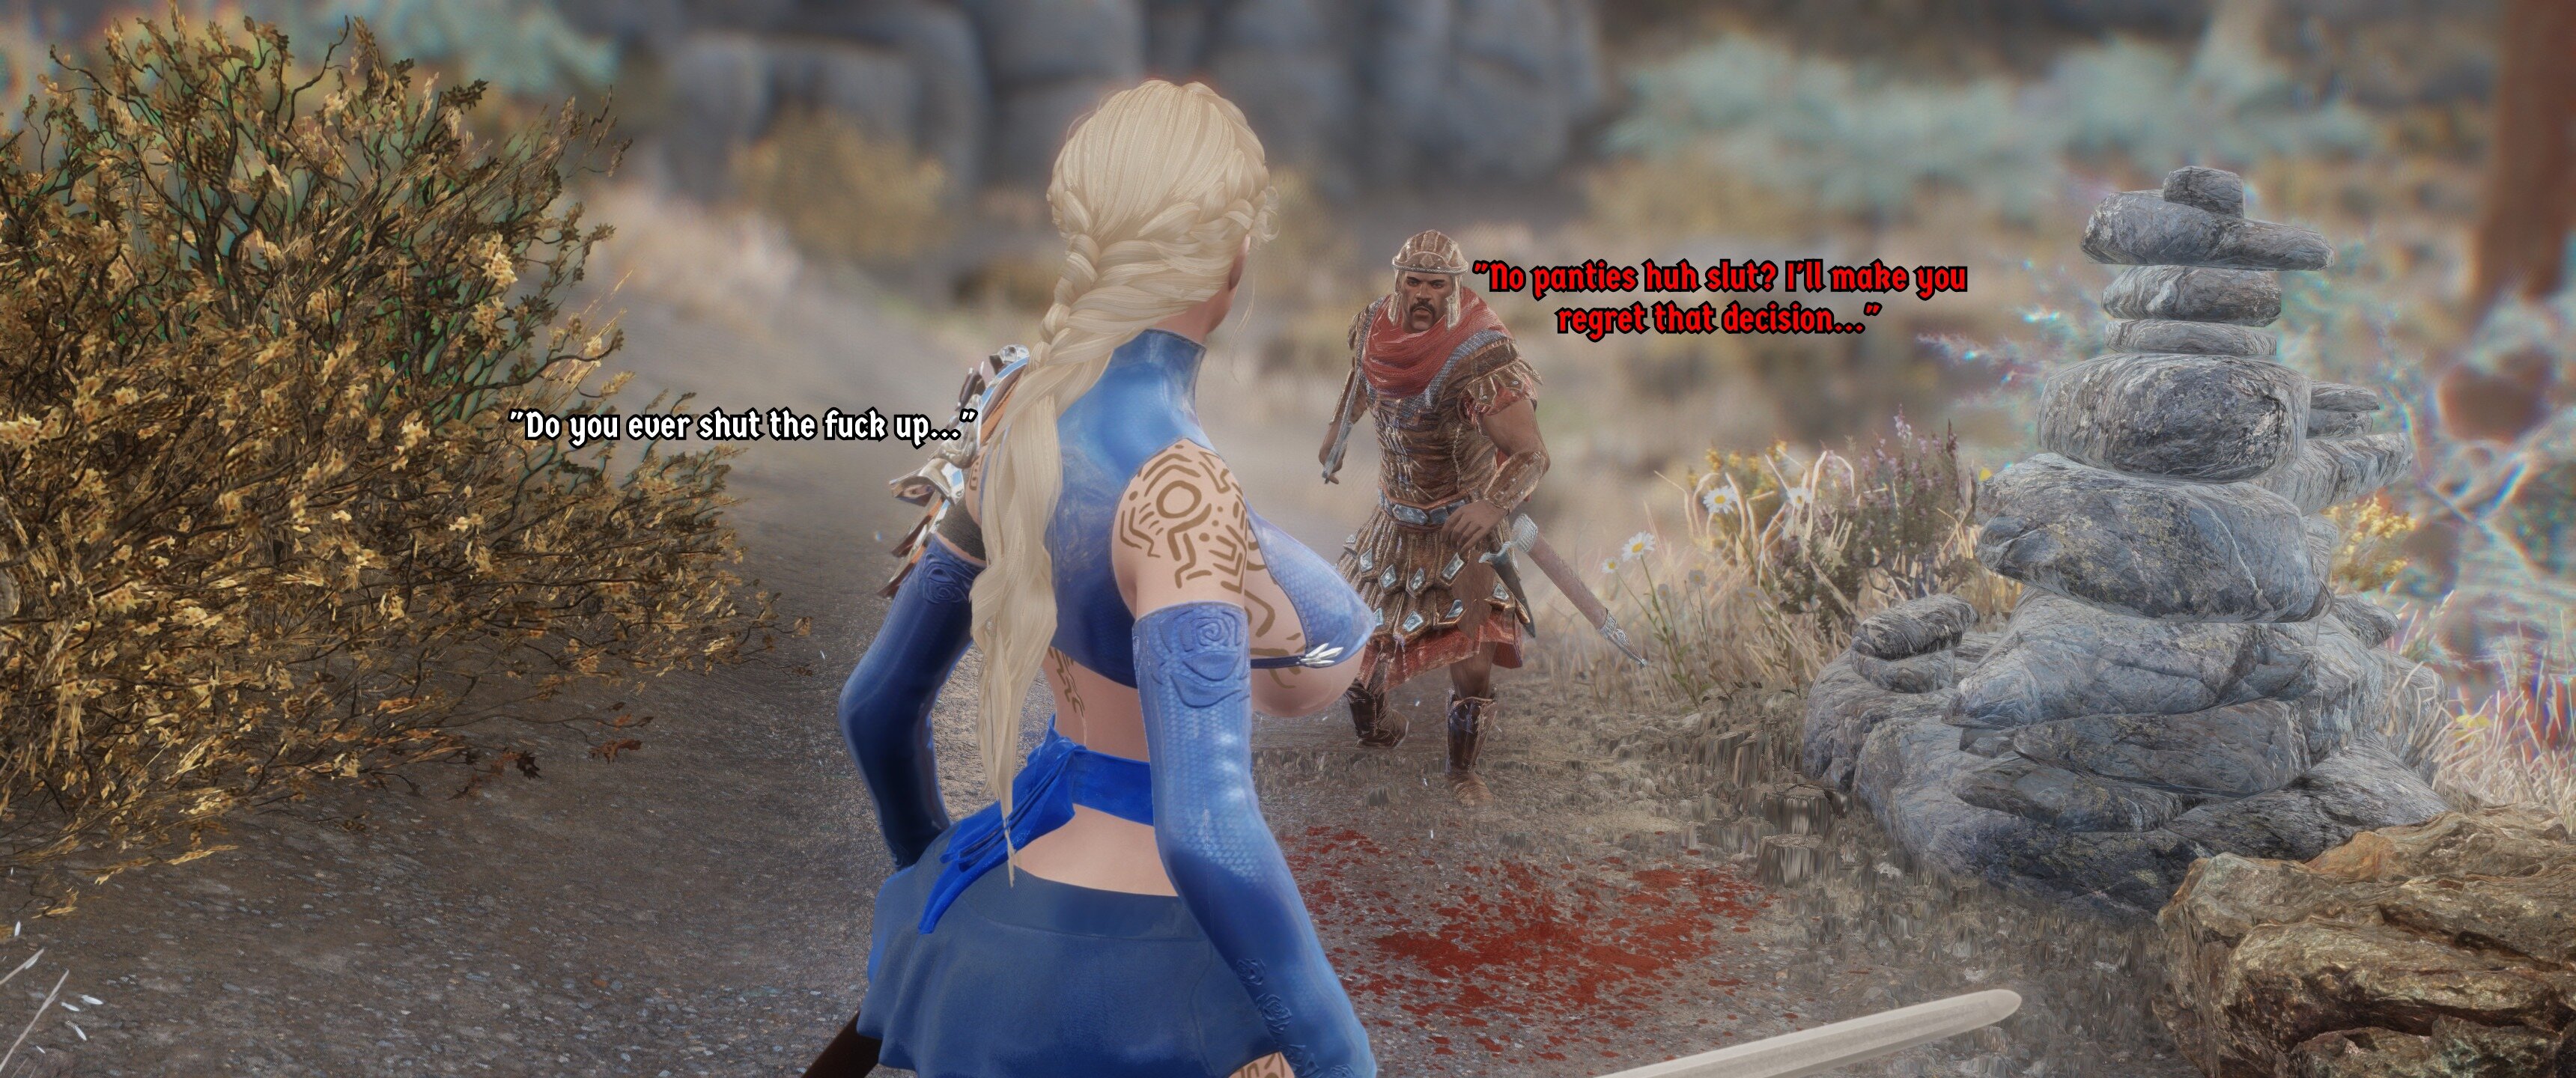
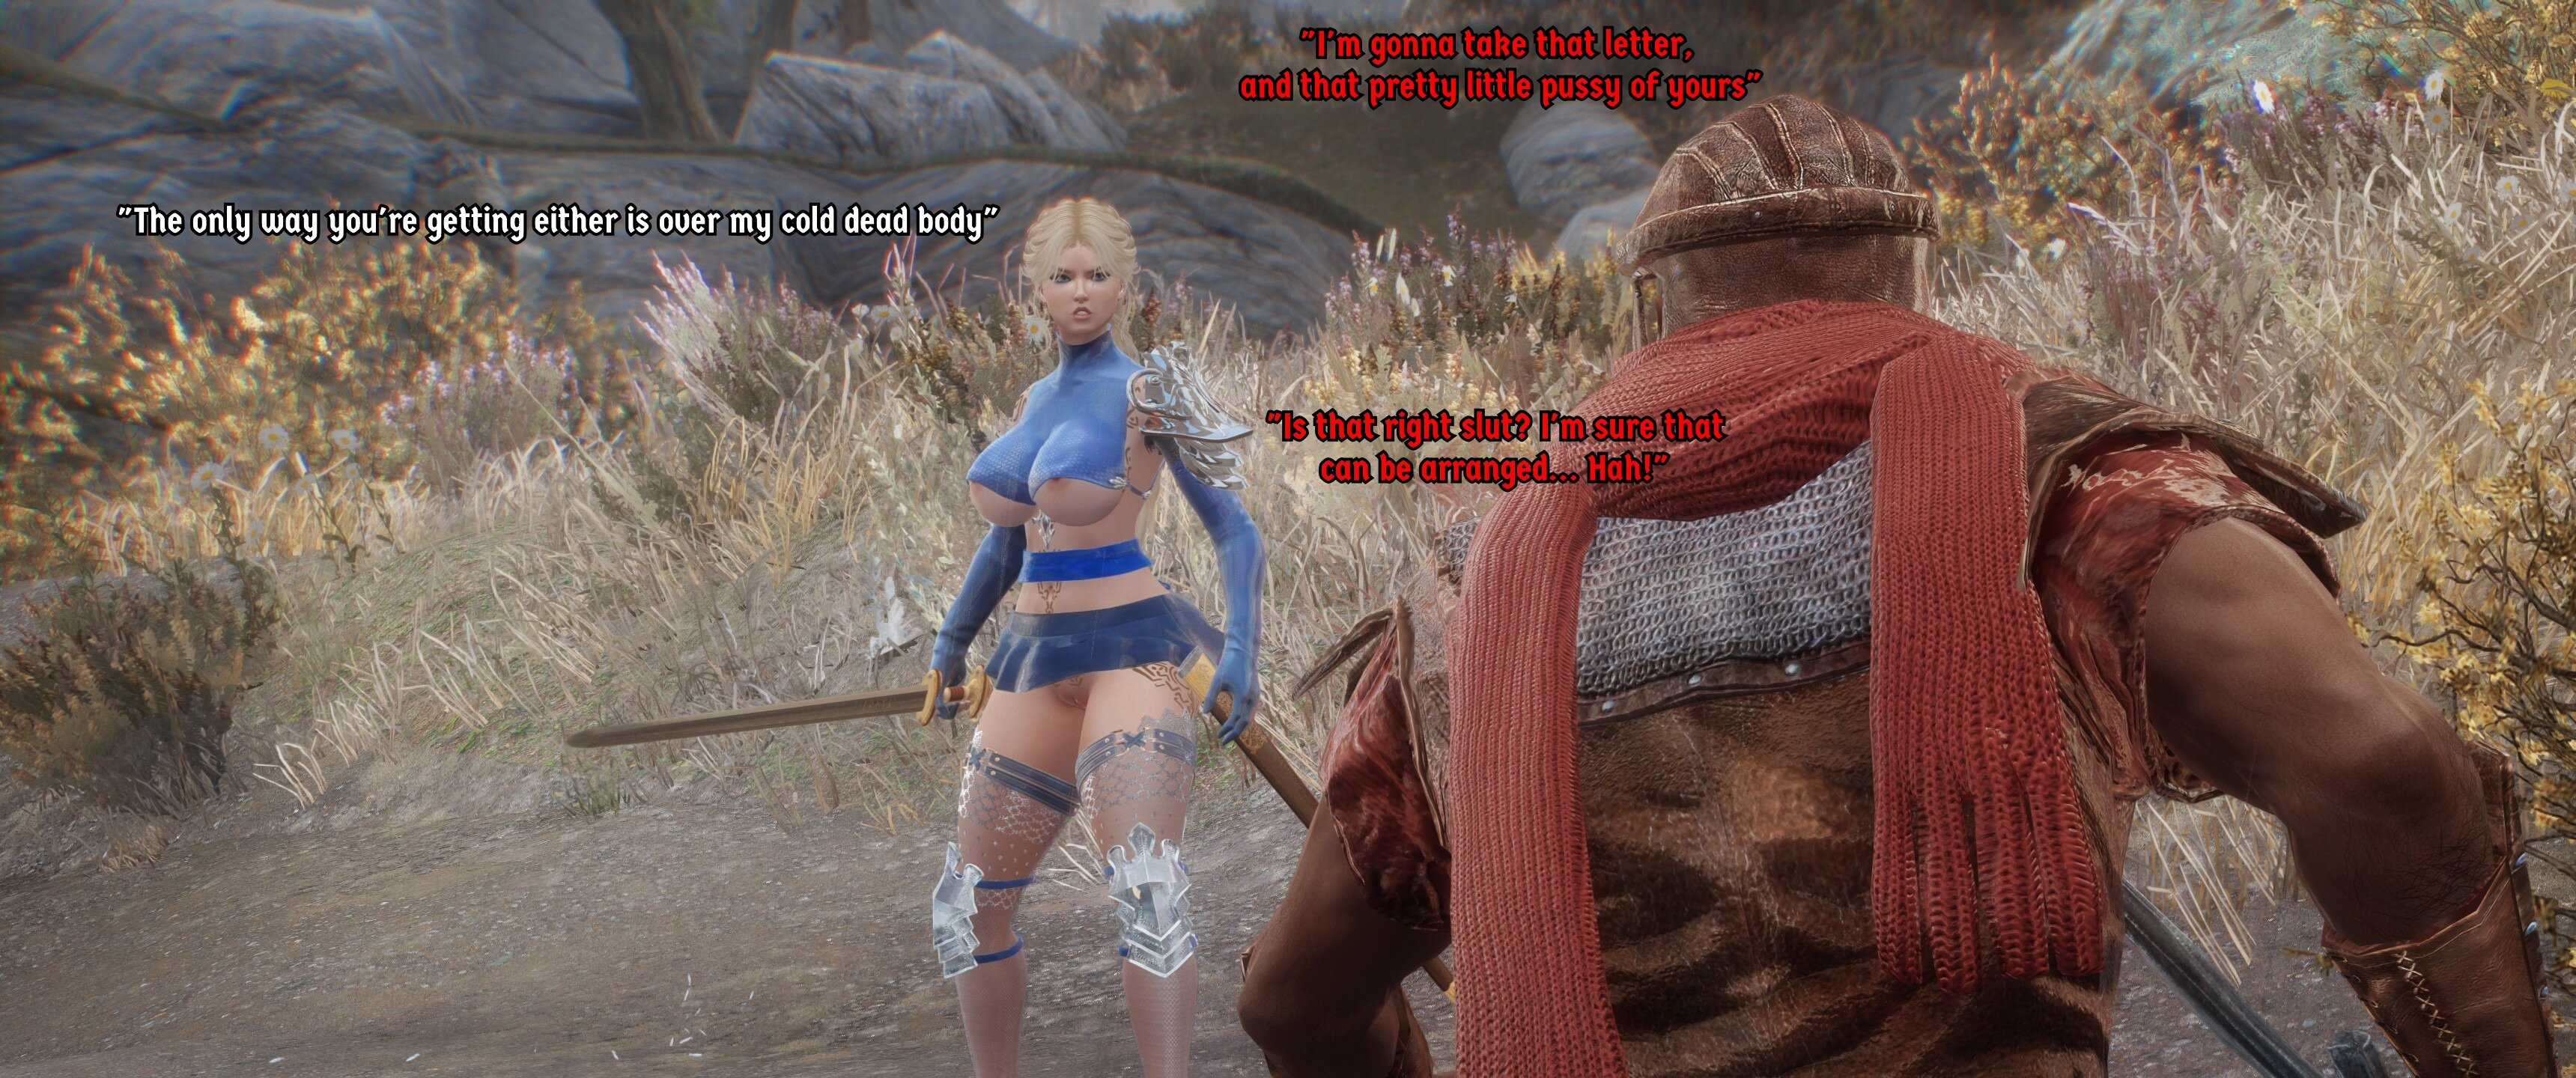
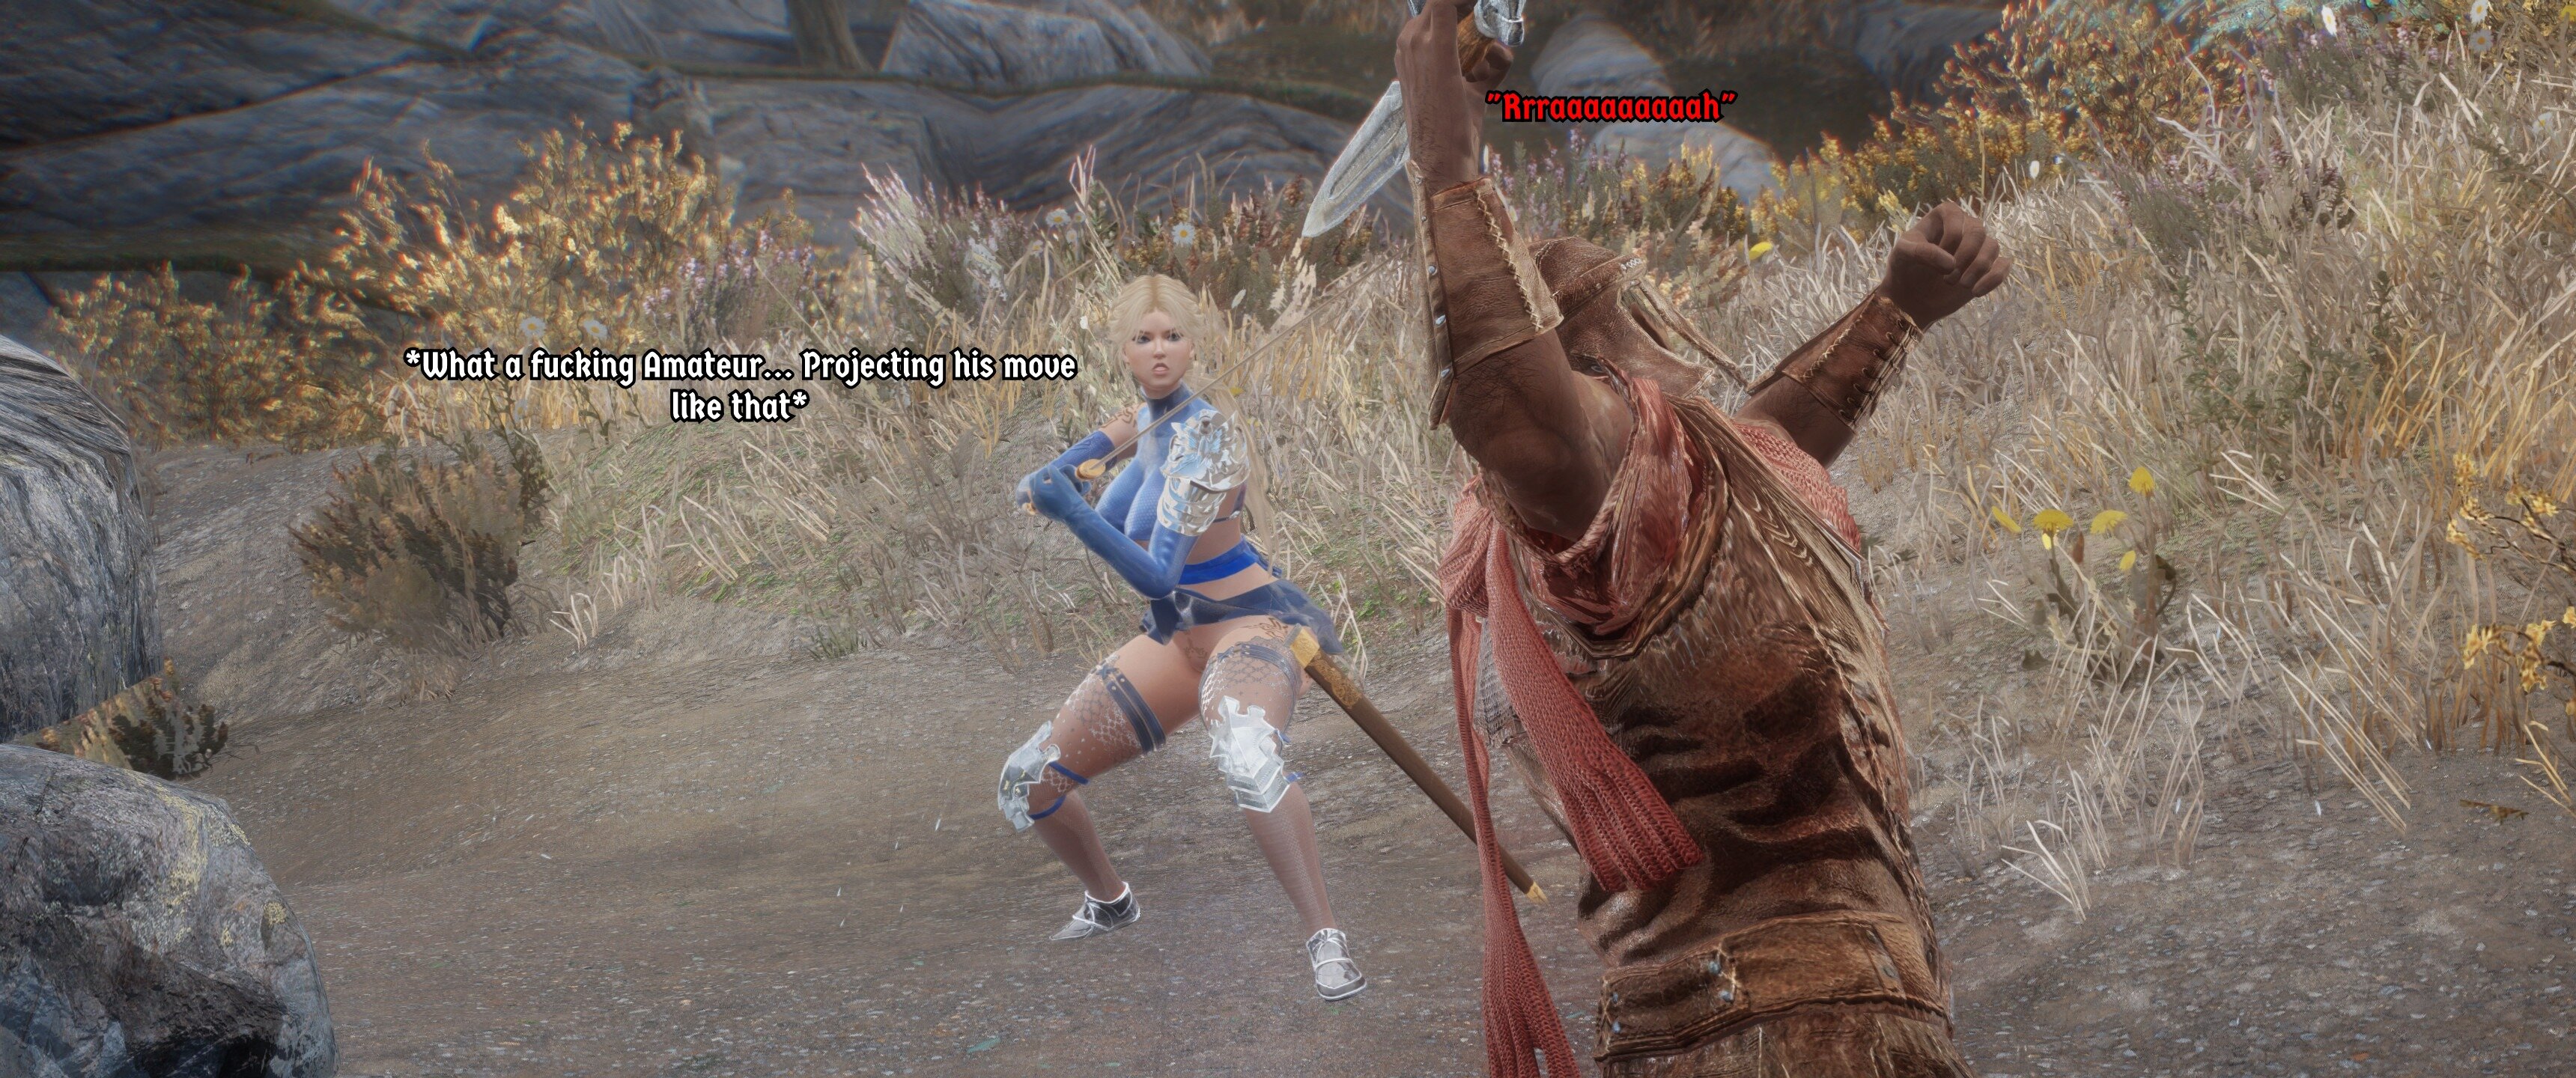
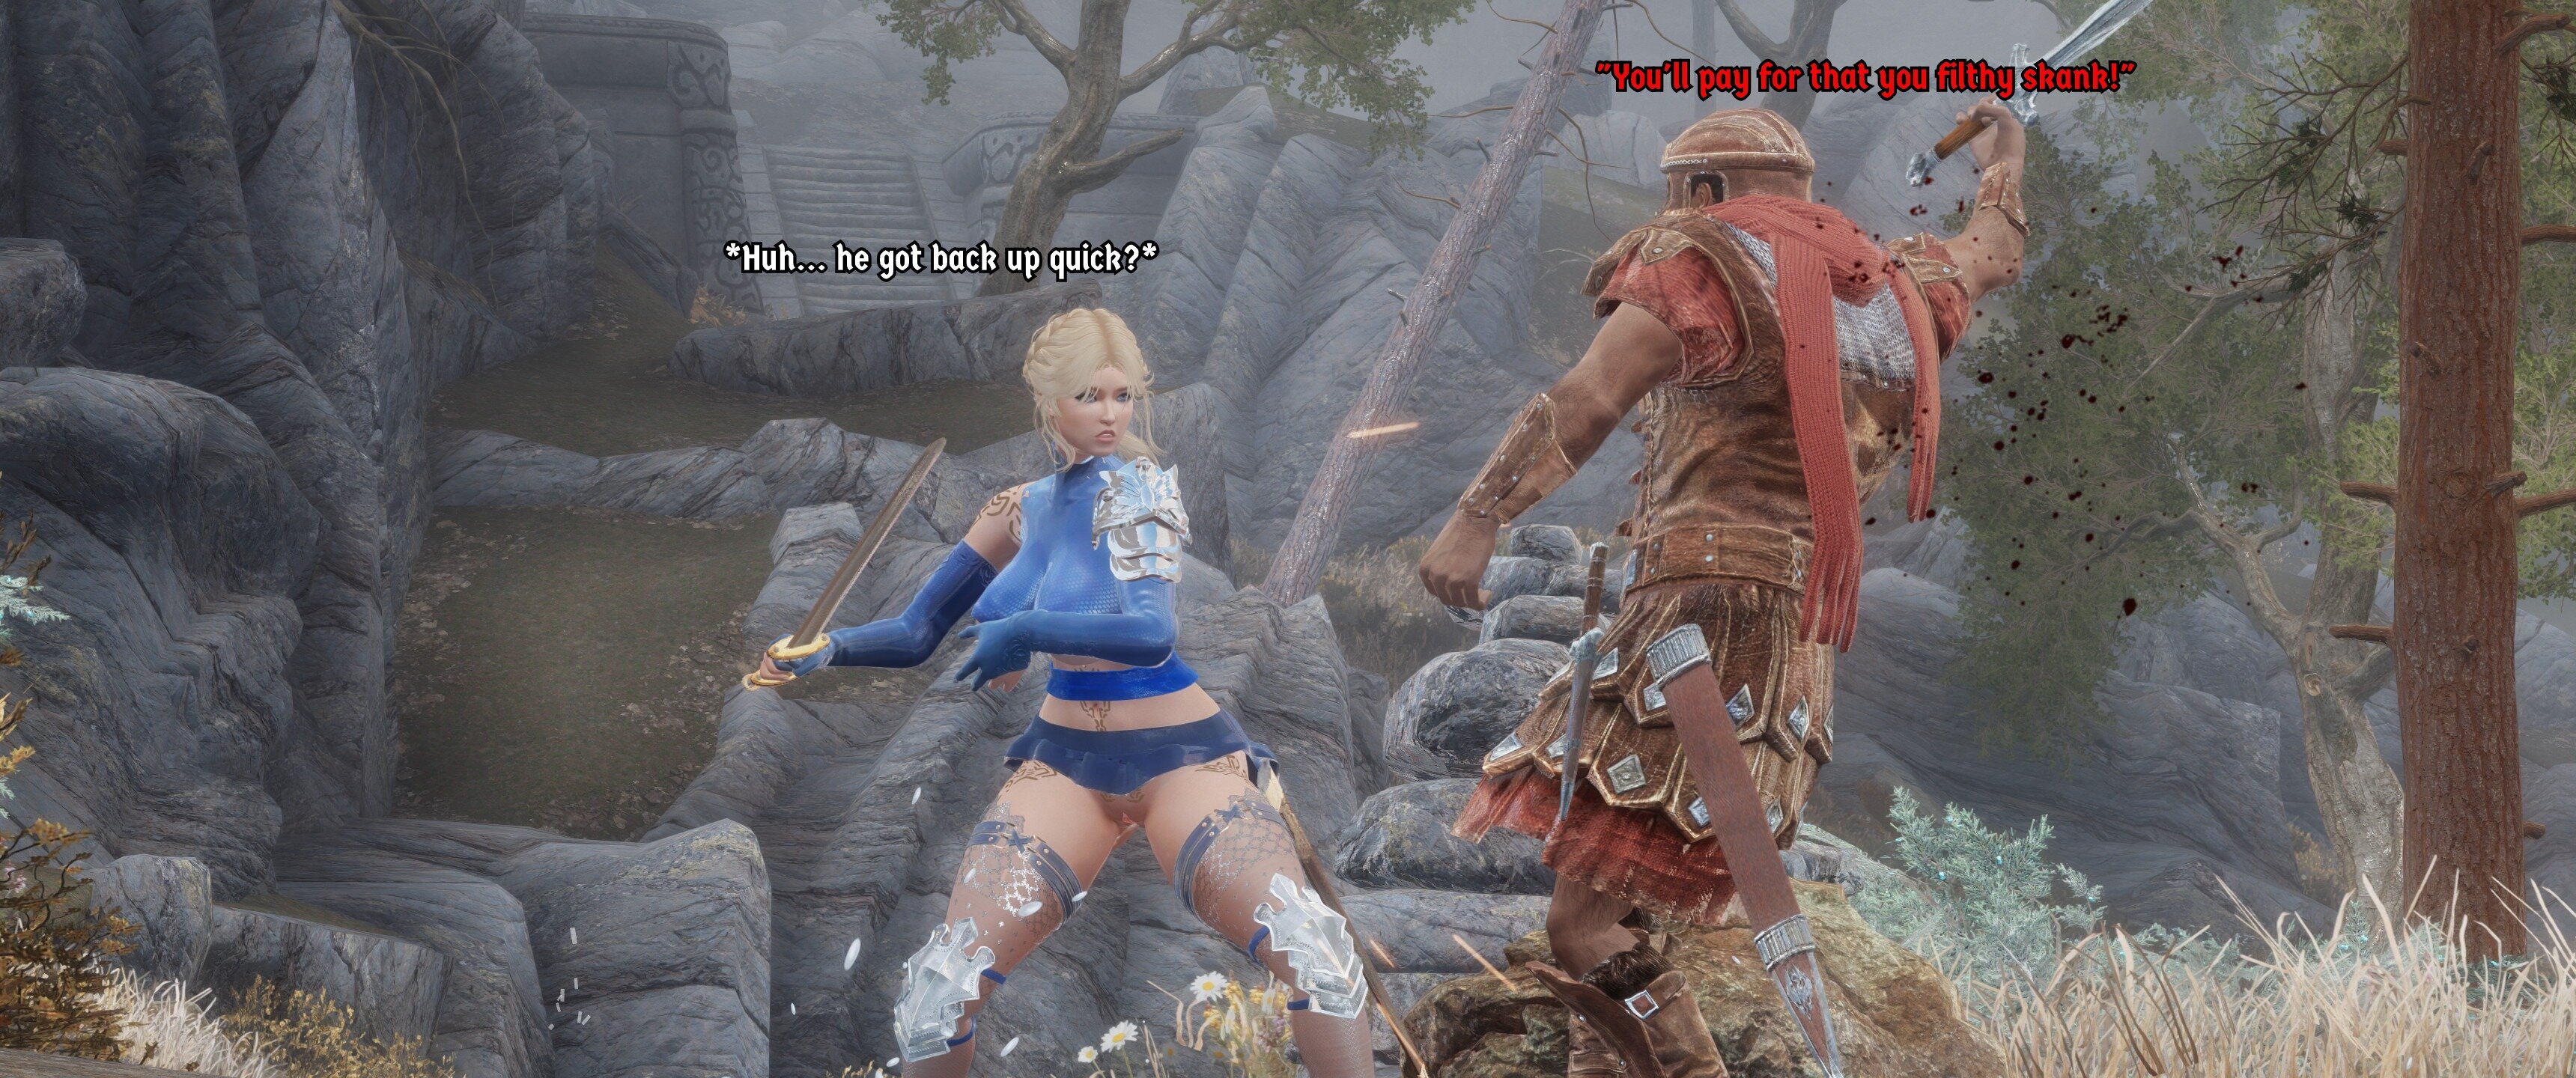
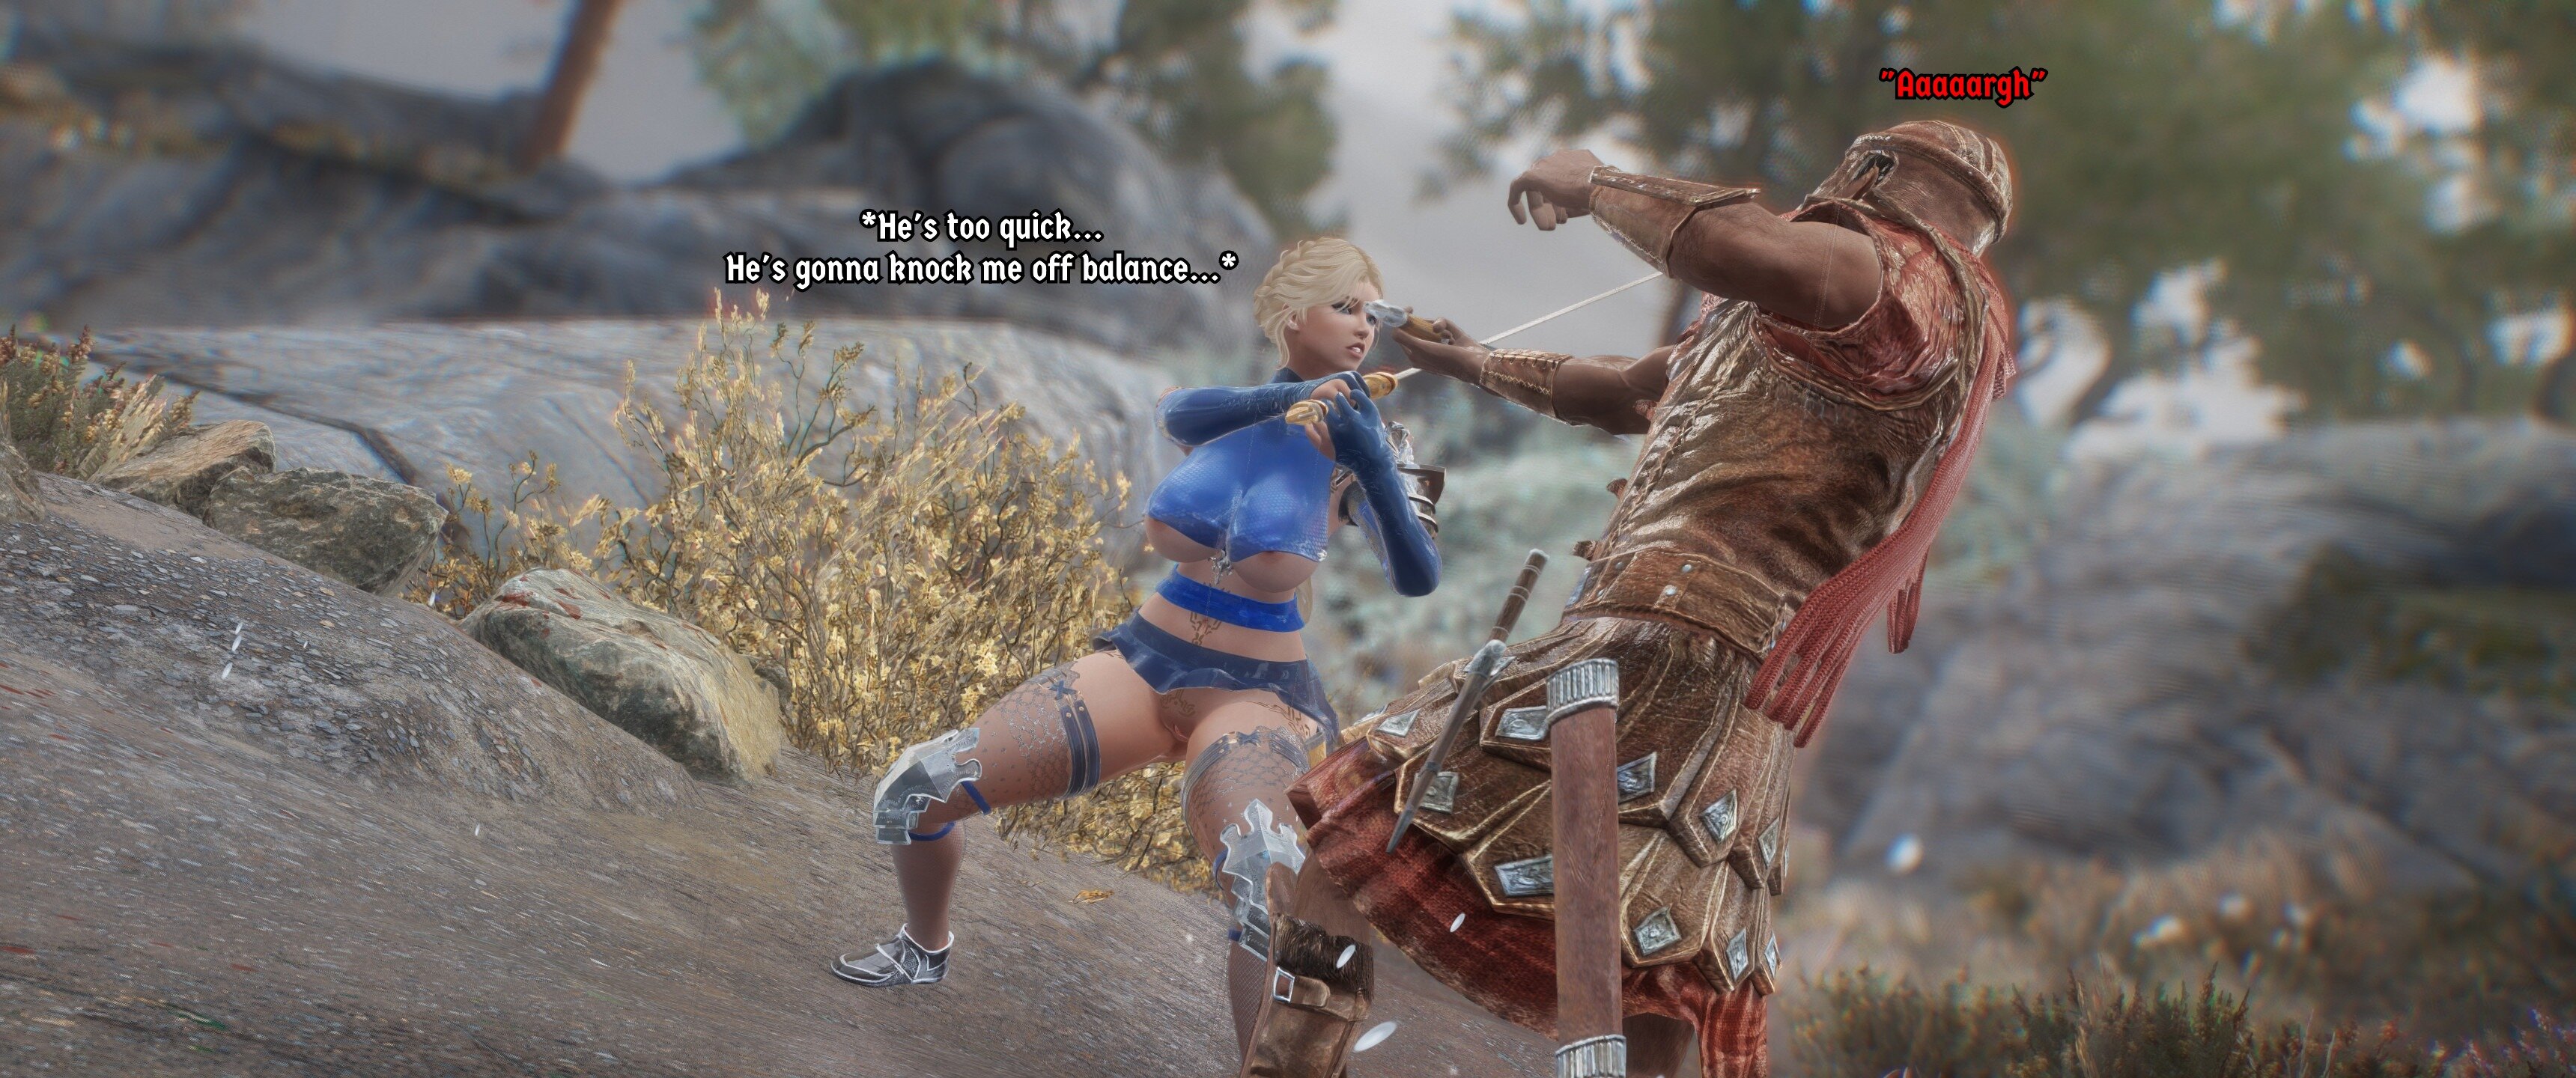
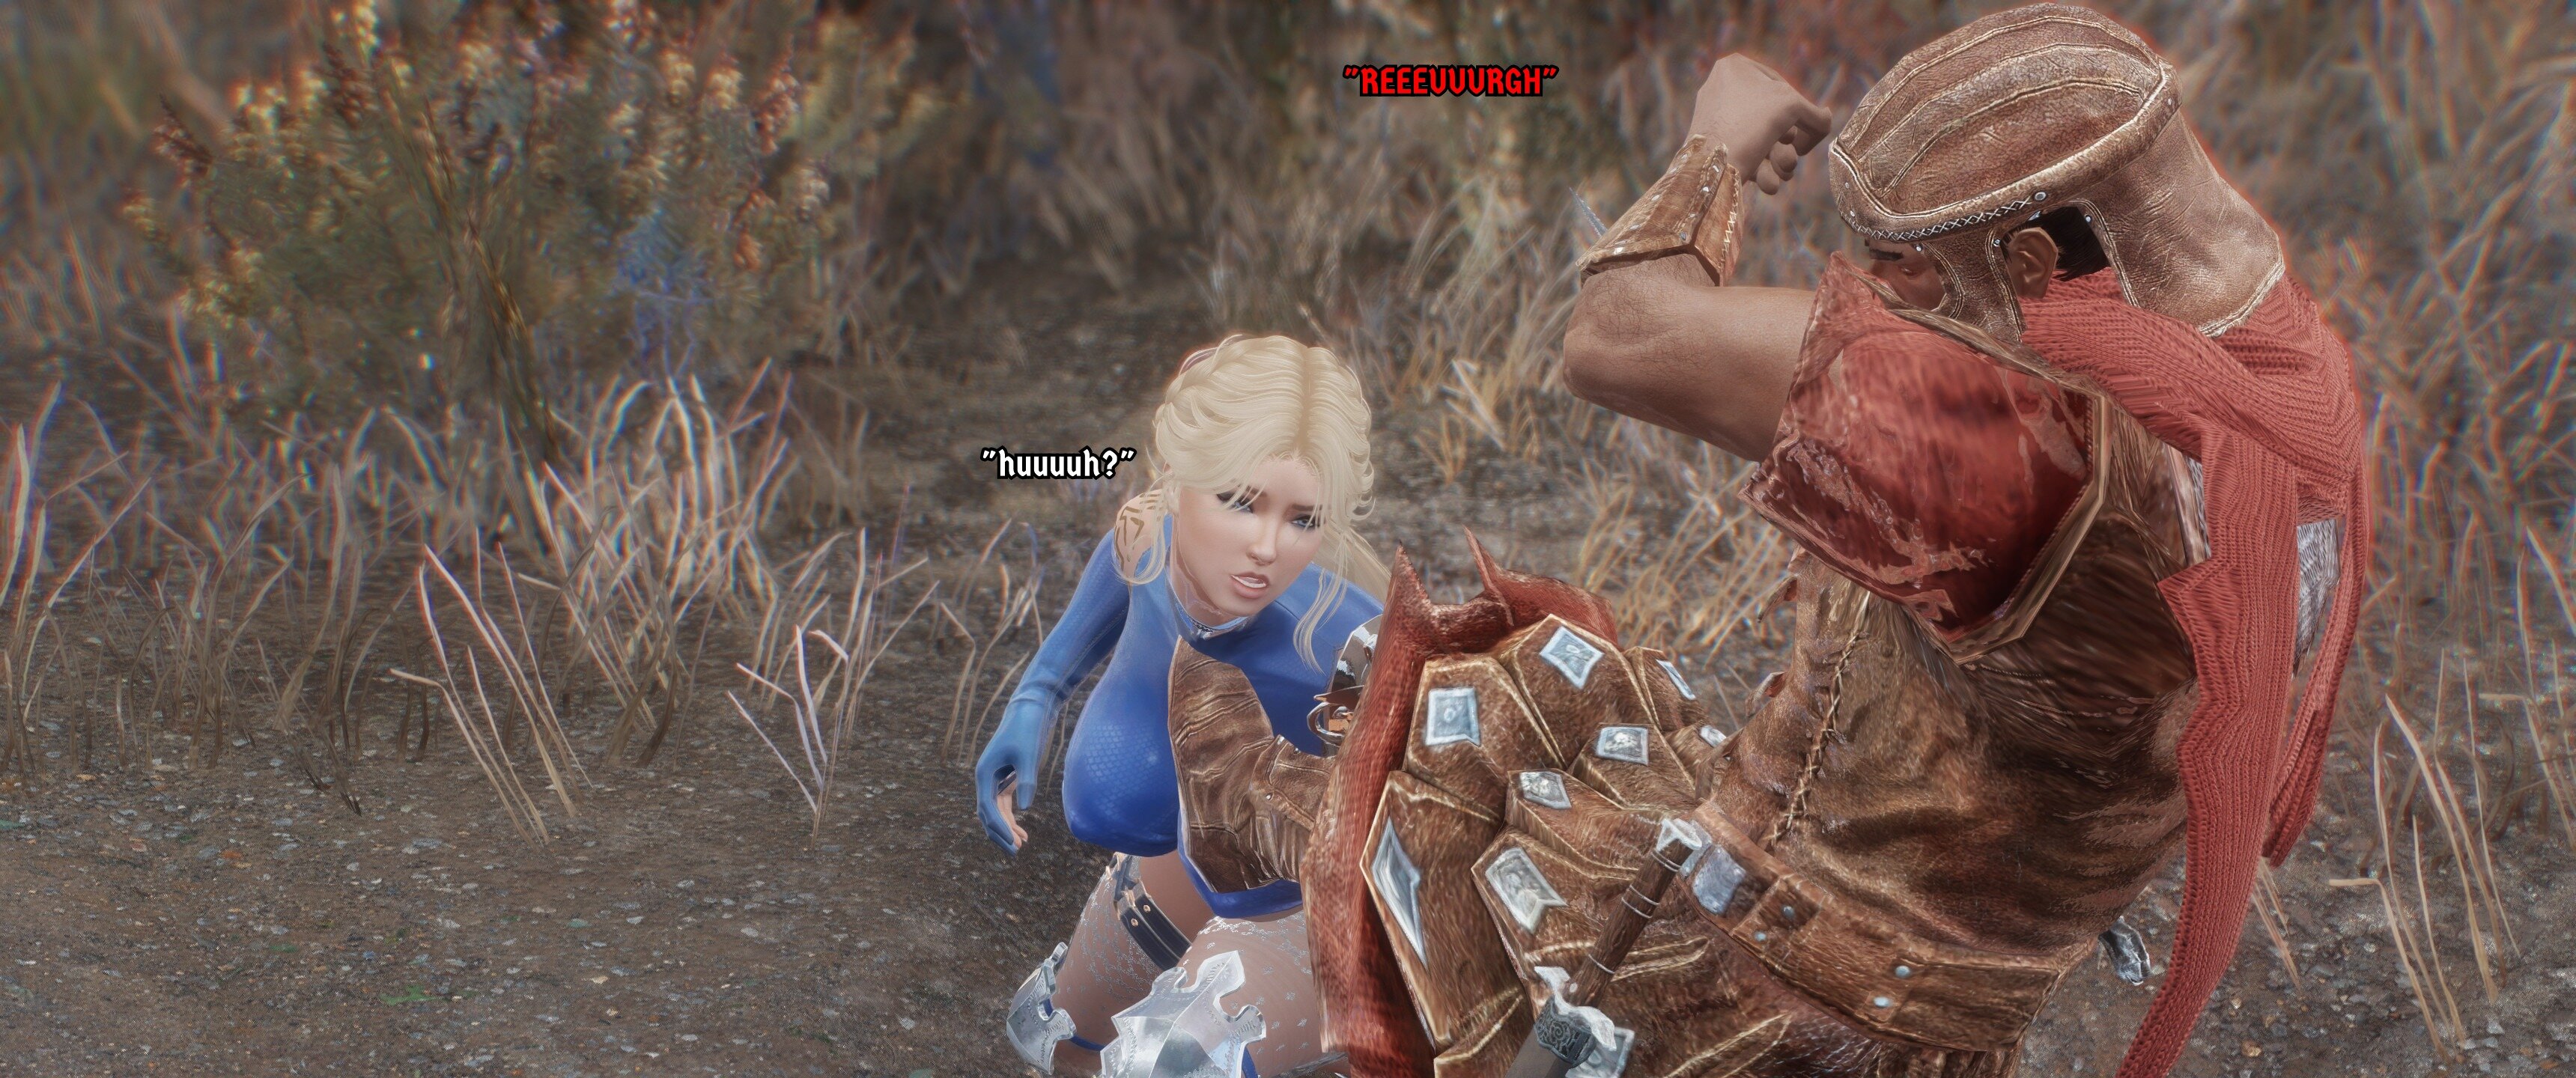
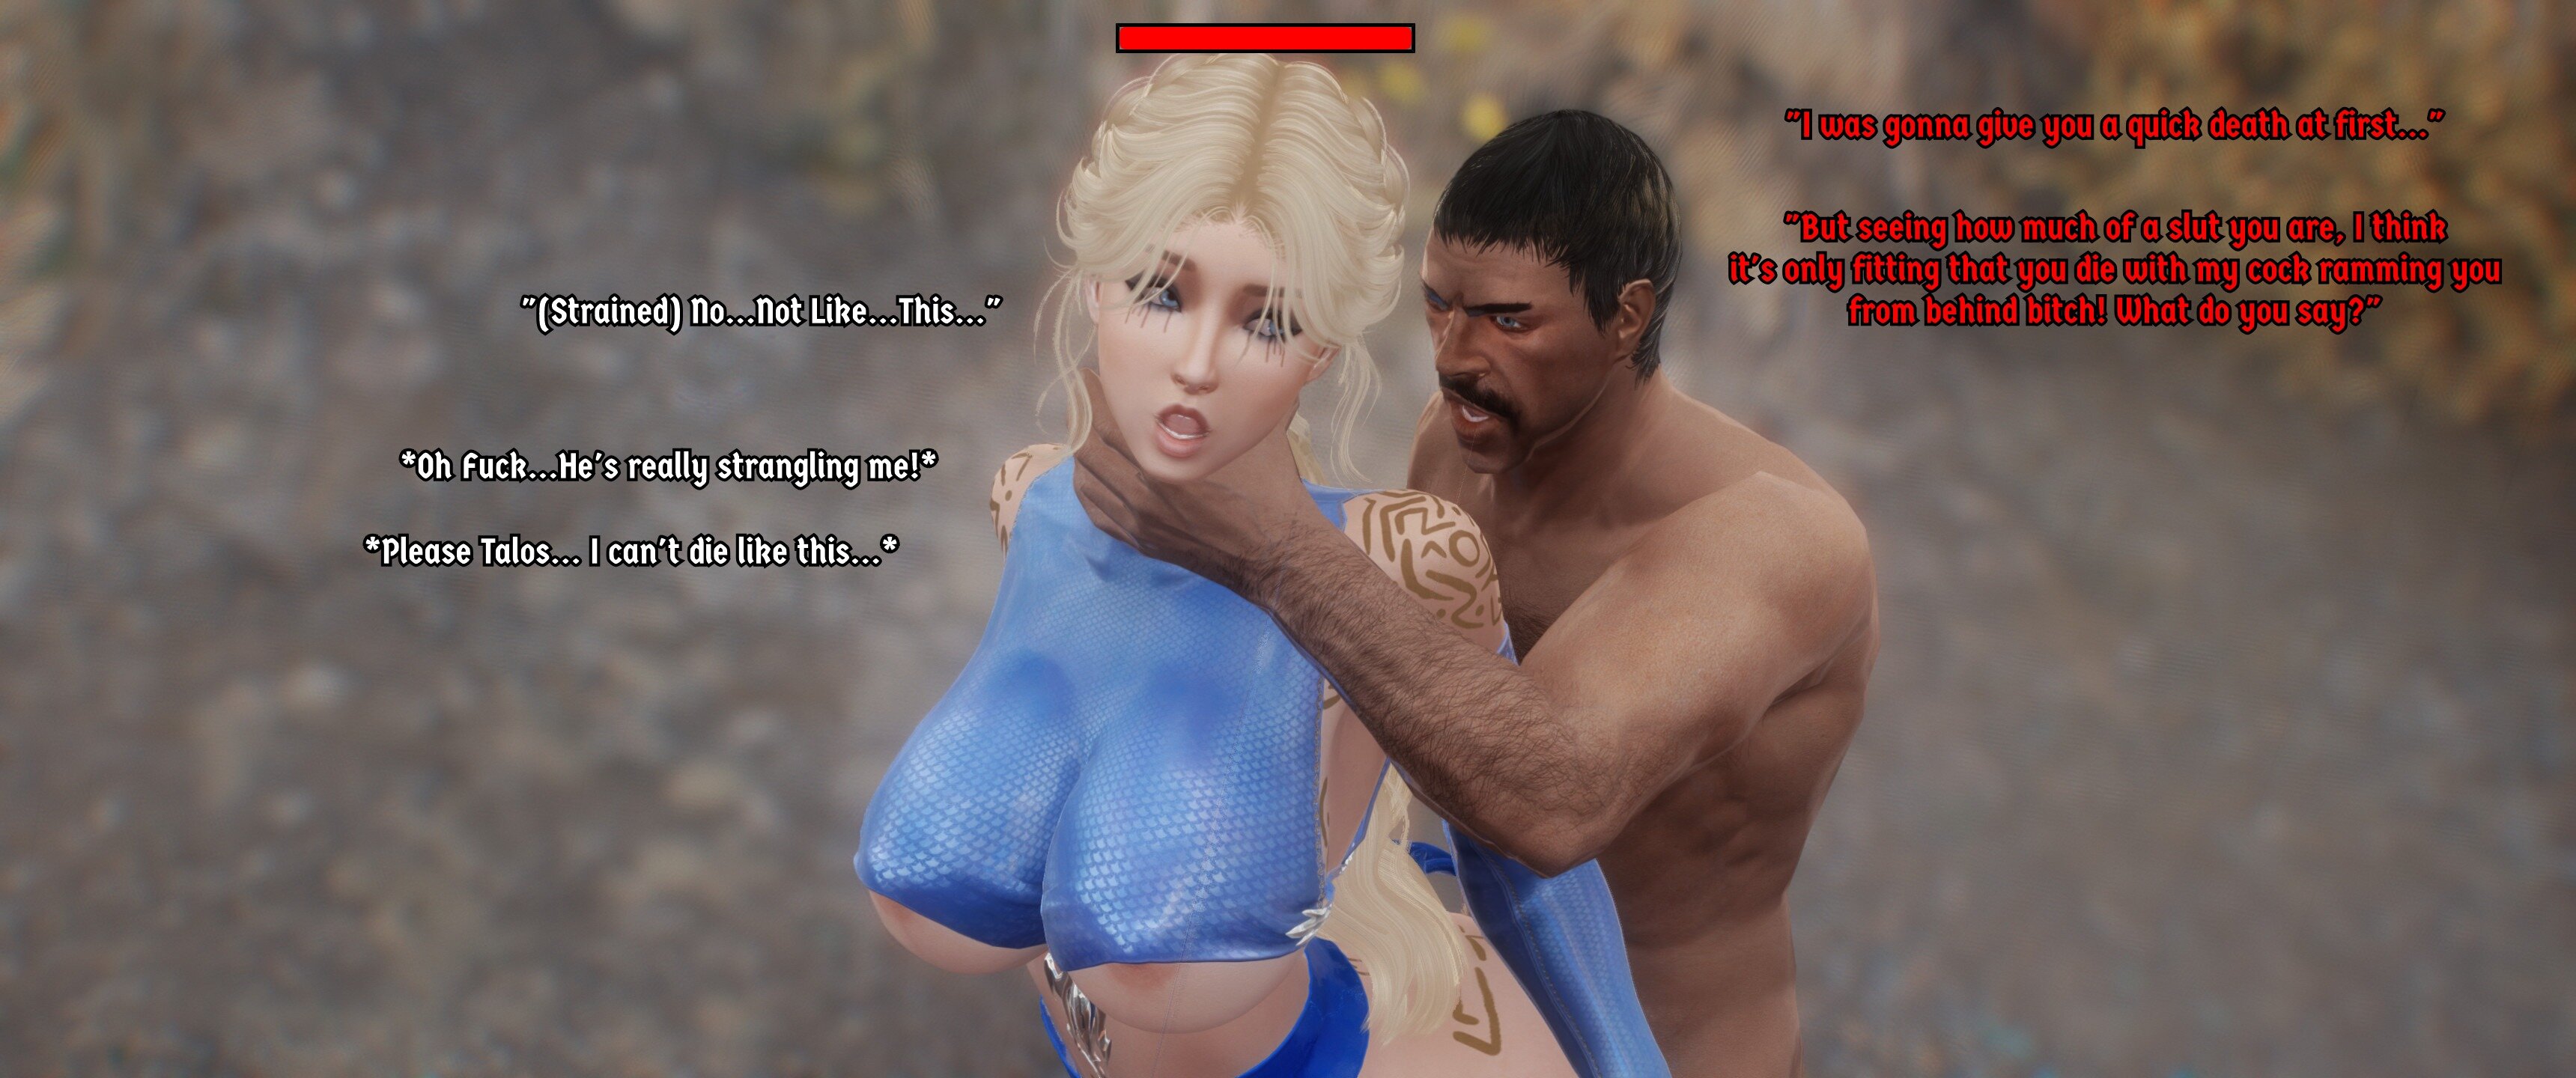
It's then an Imperial scout jumps out demands she hand over the letter...granting her a quick death if she agrees
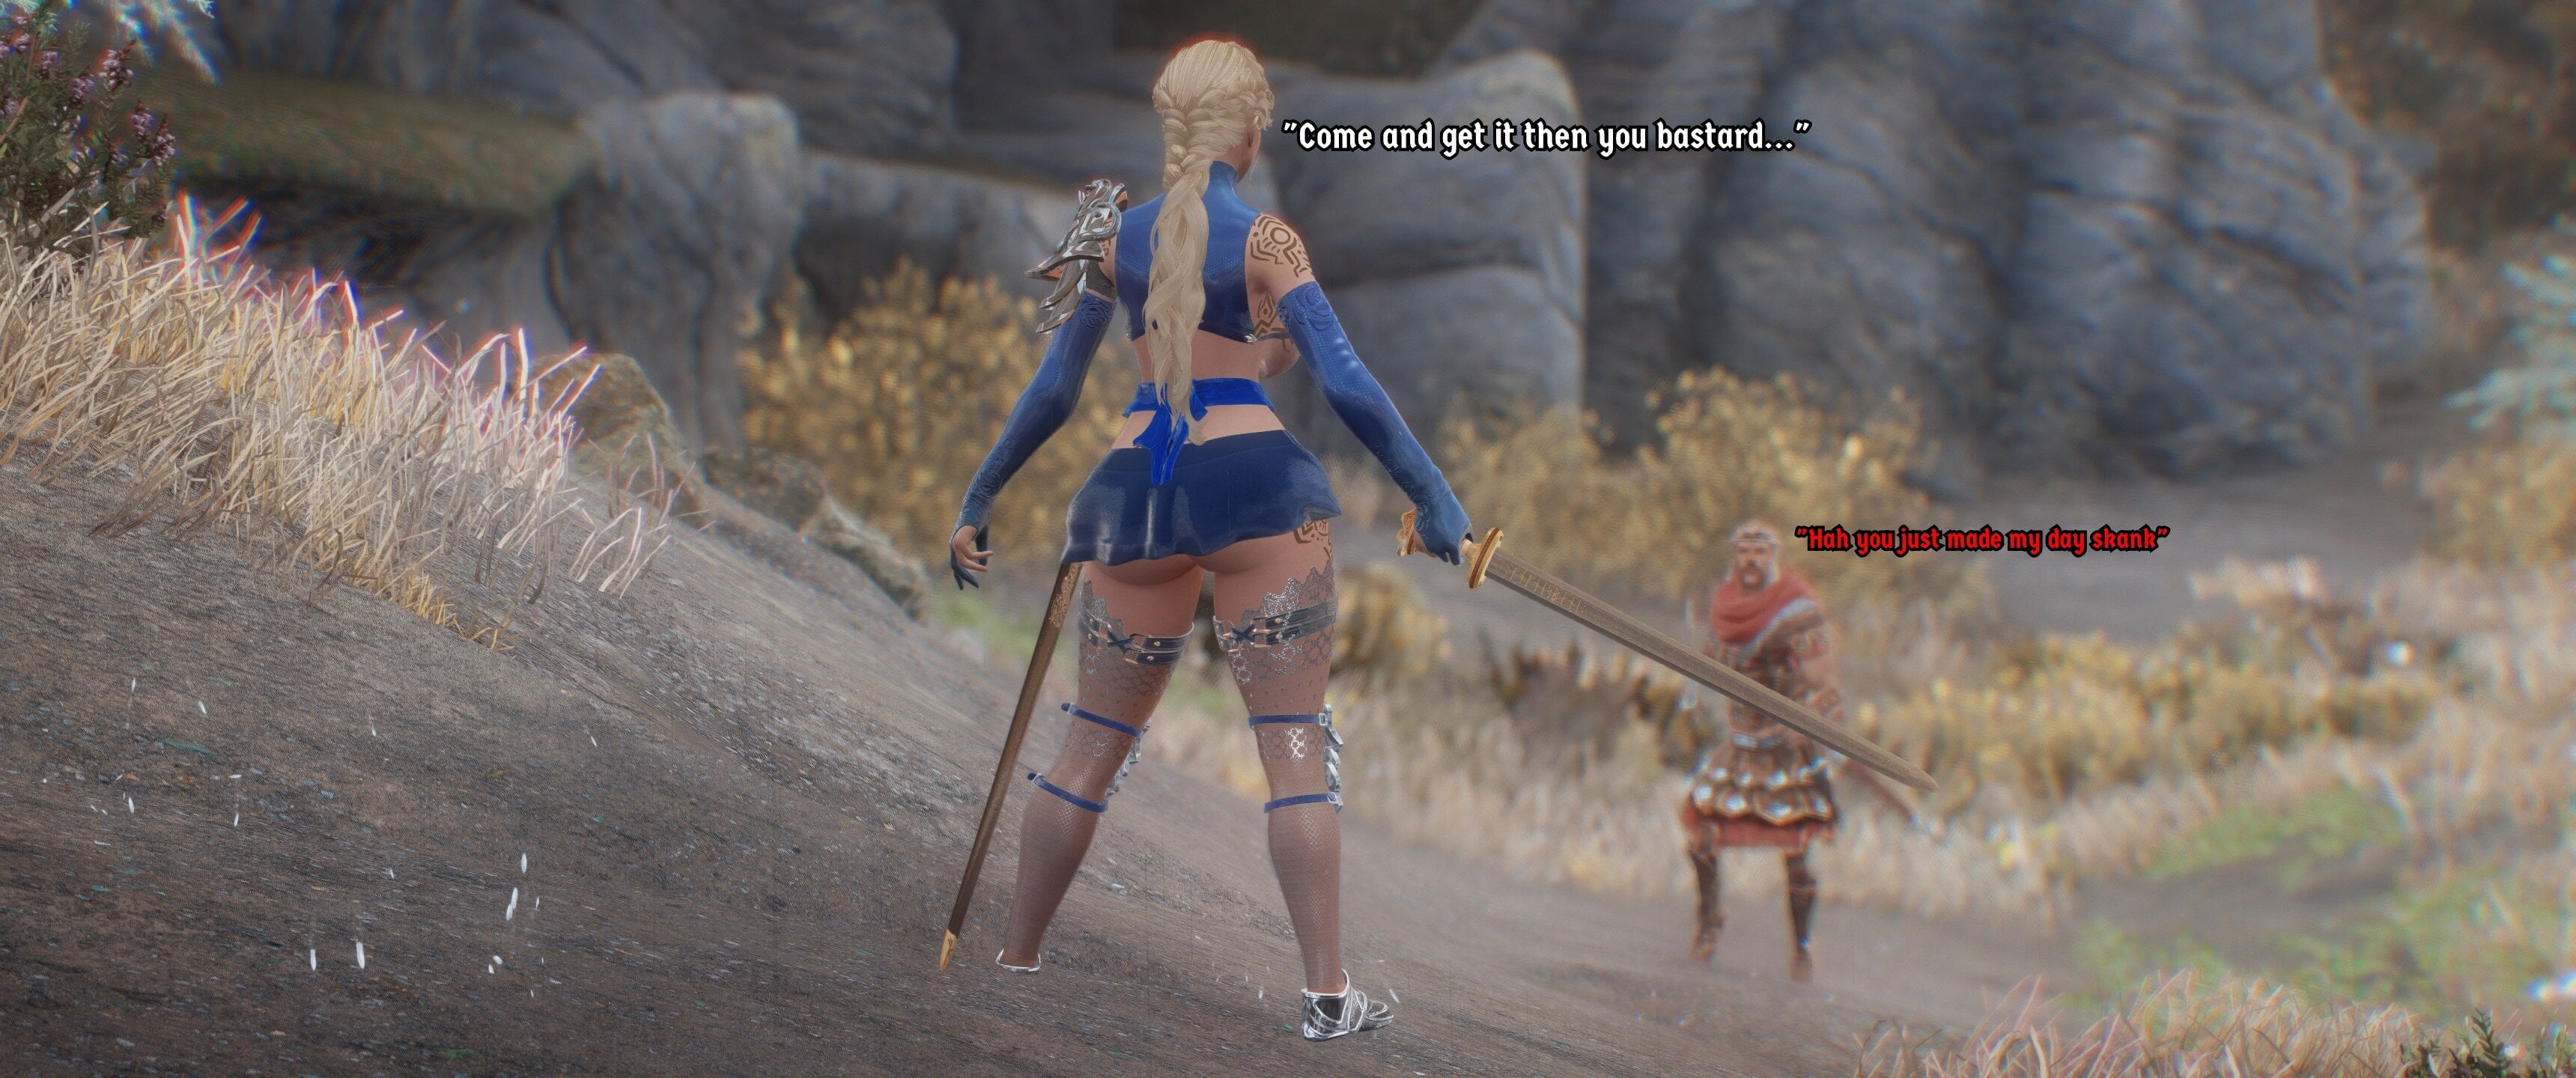
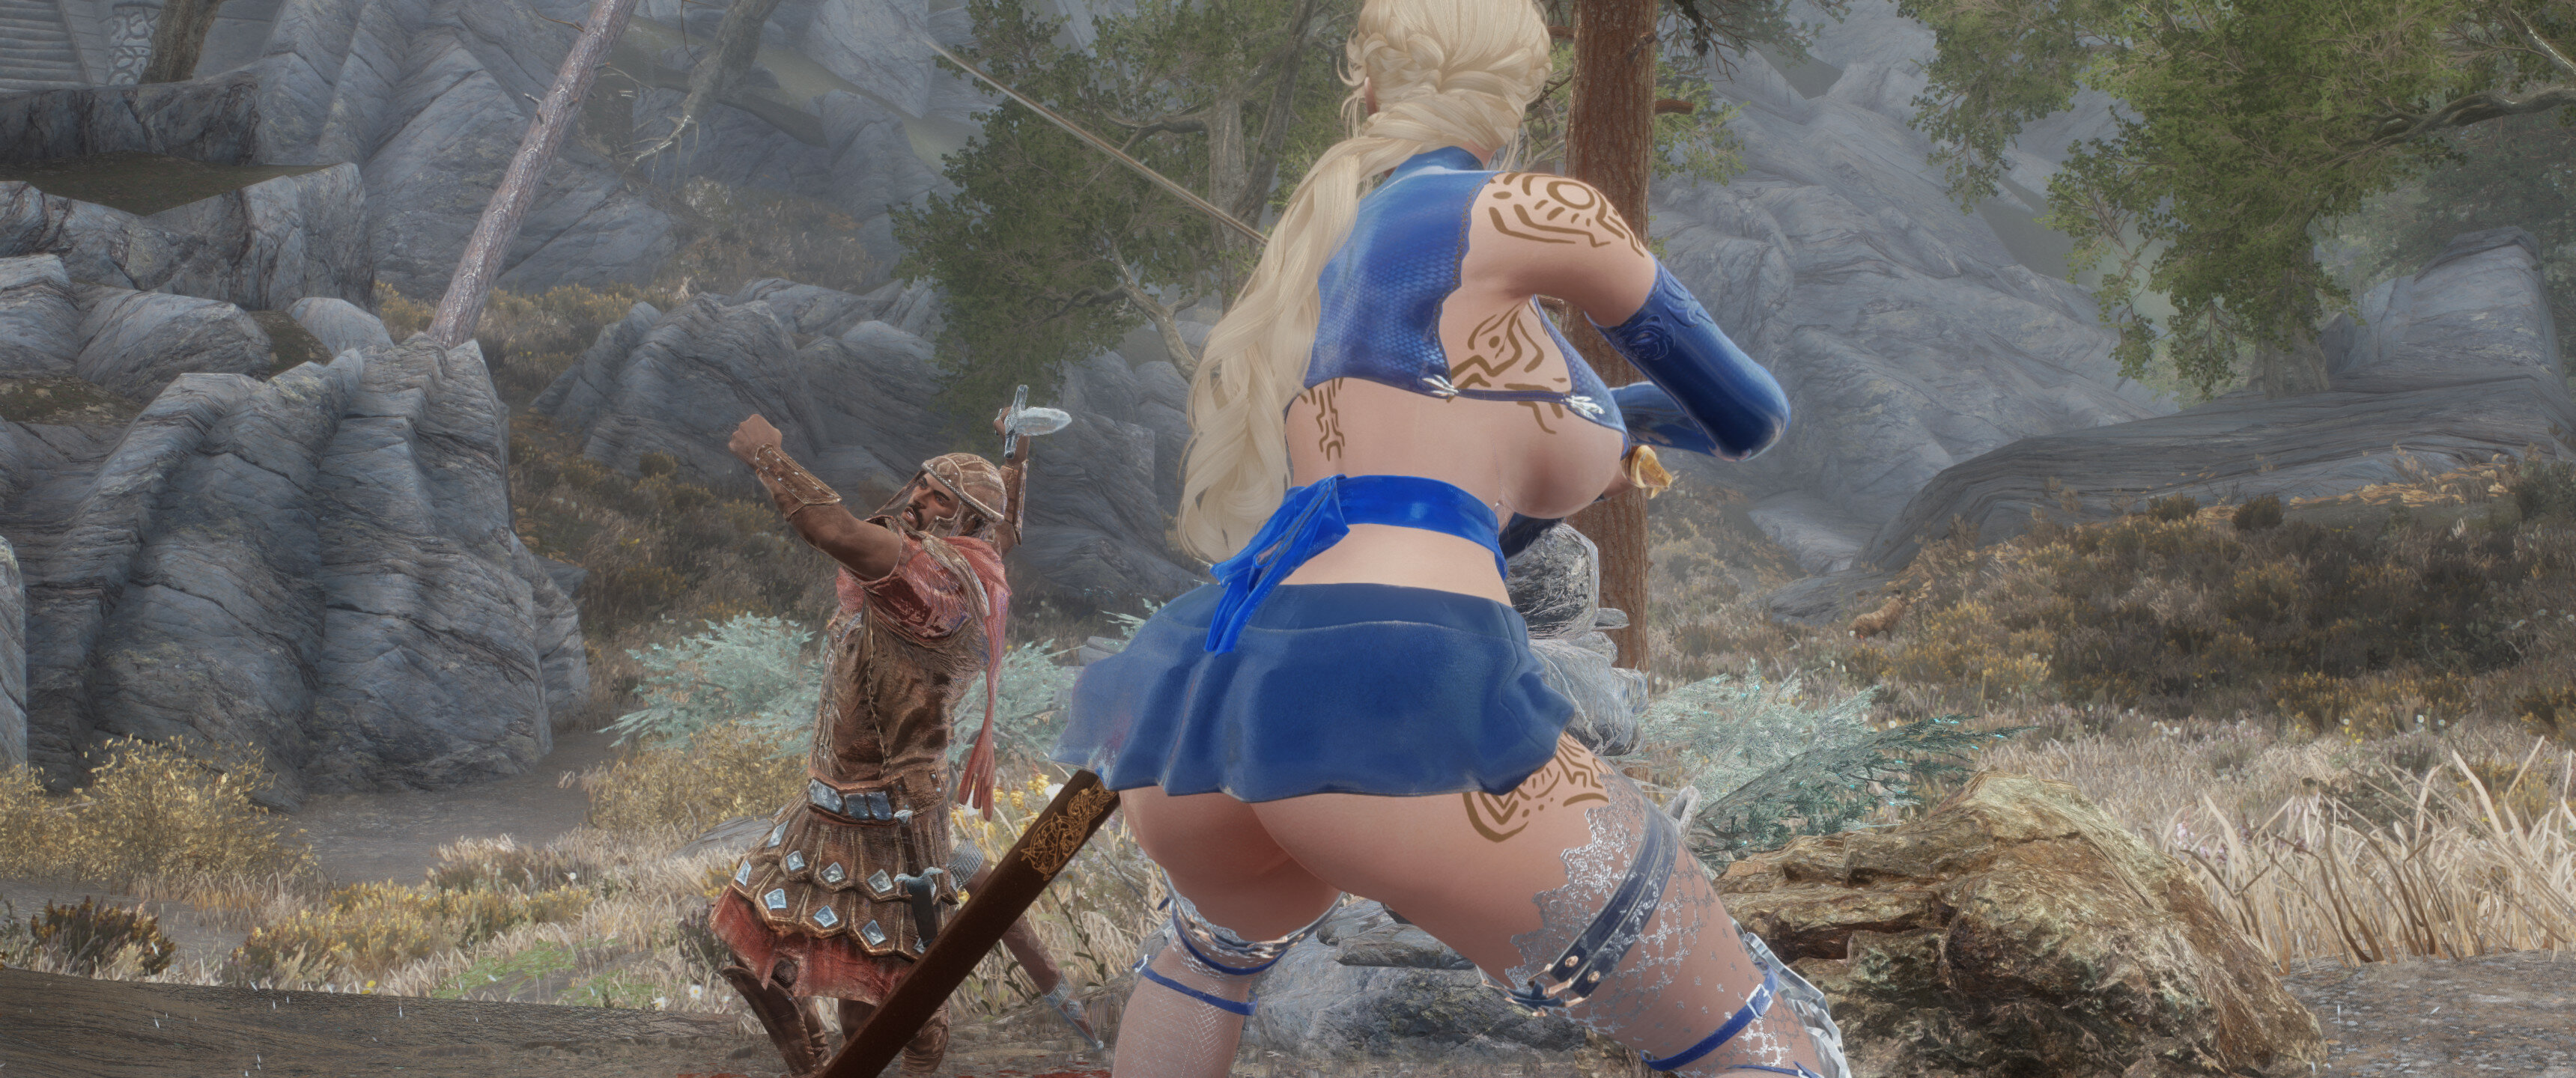
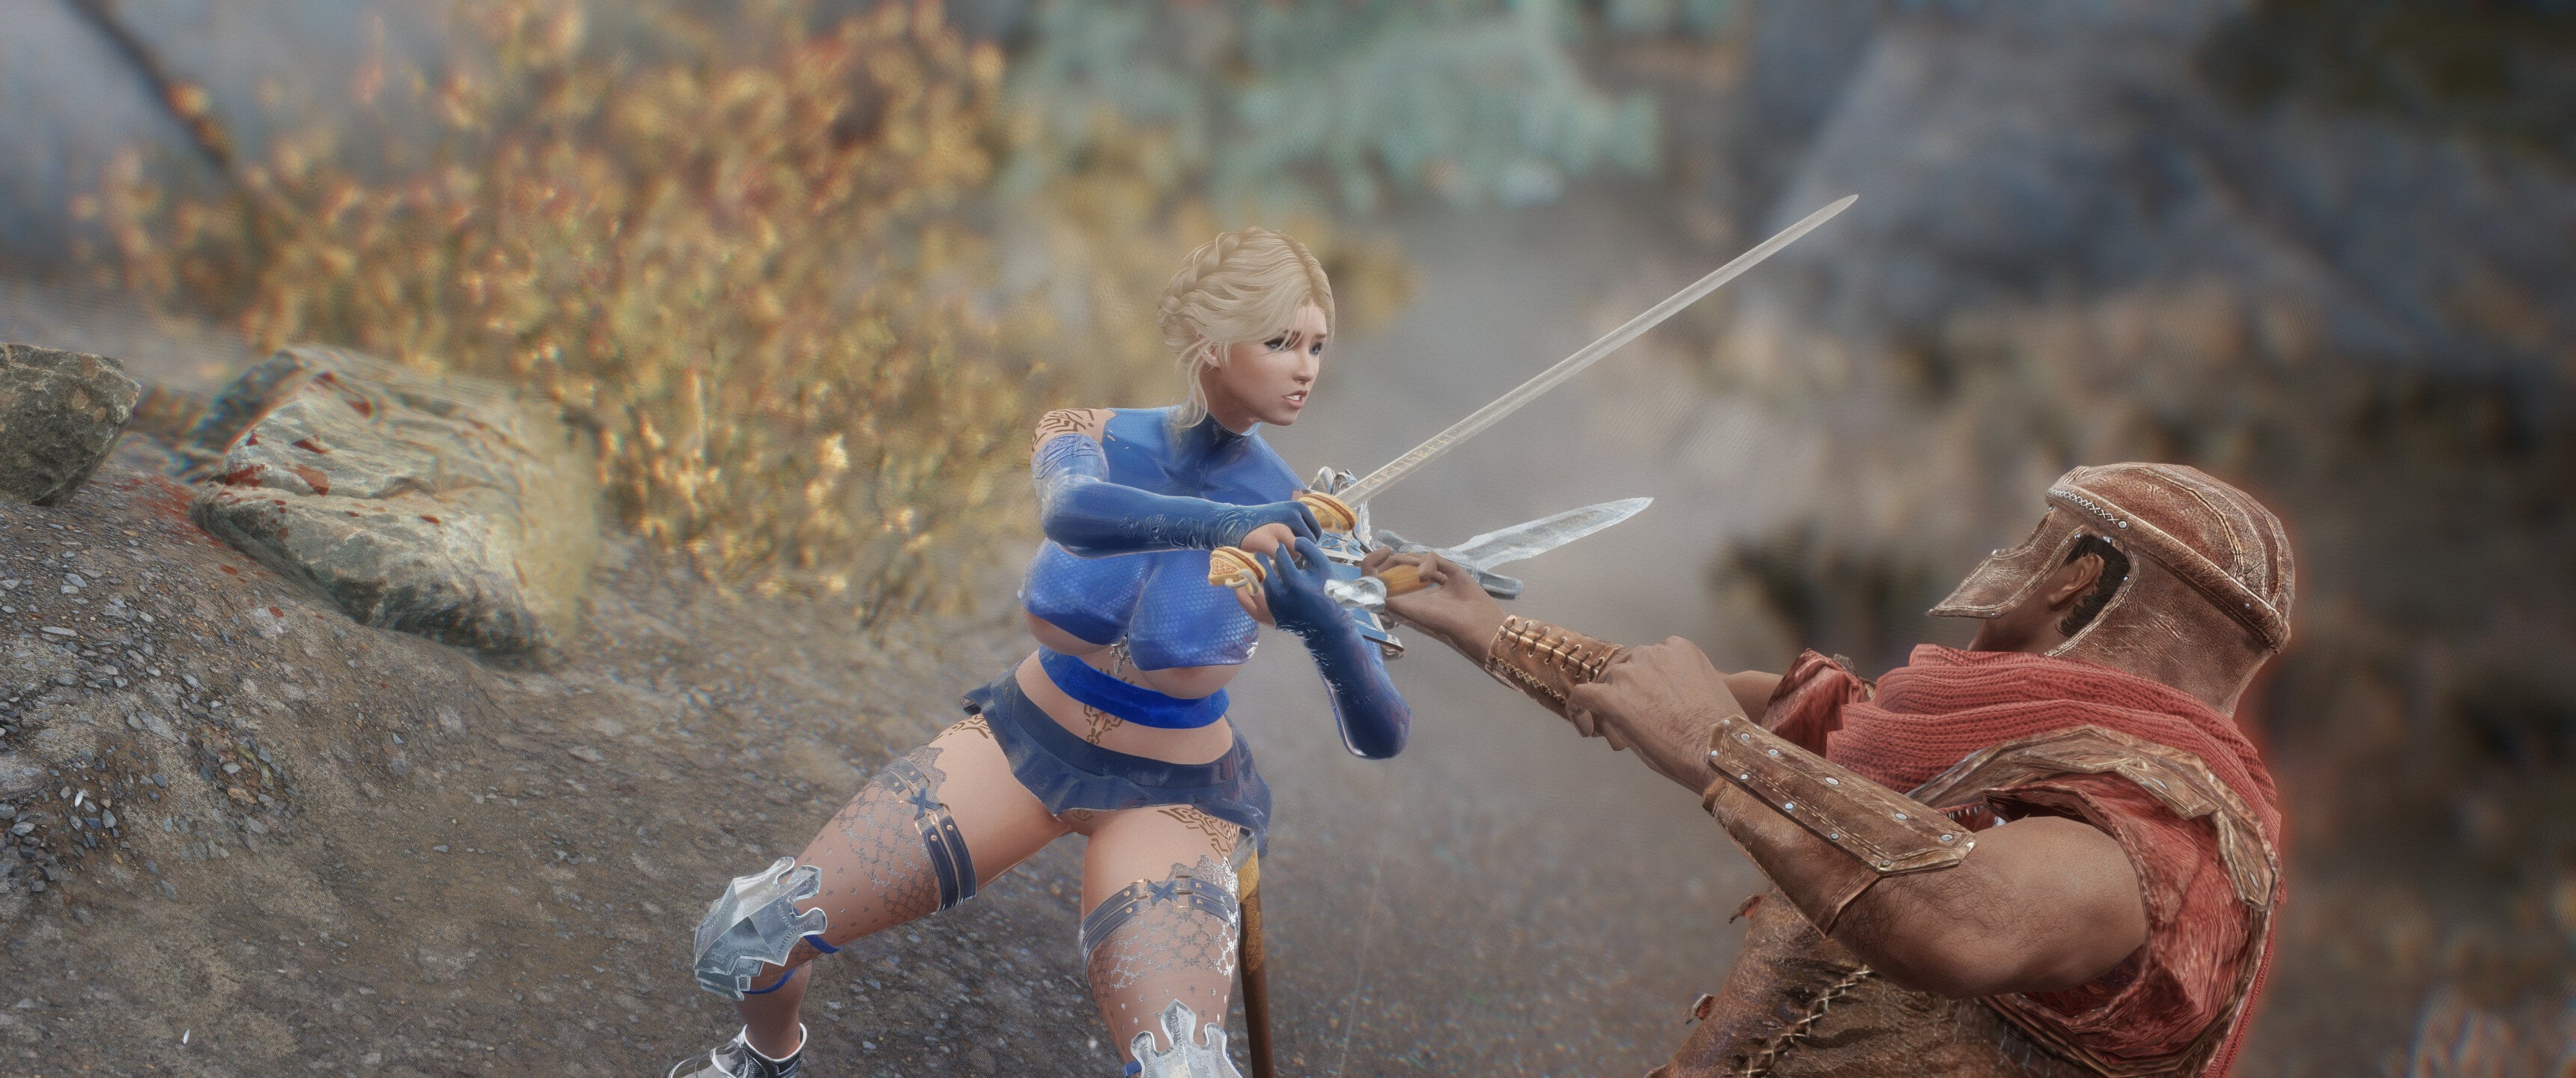
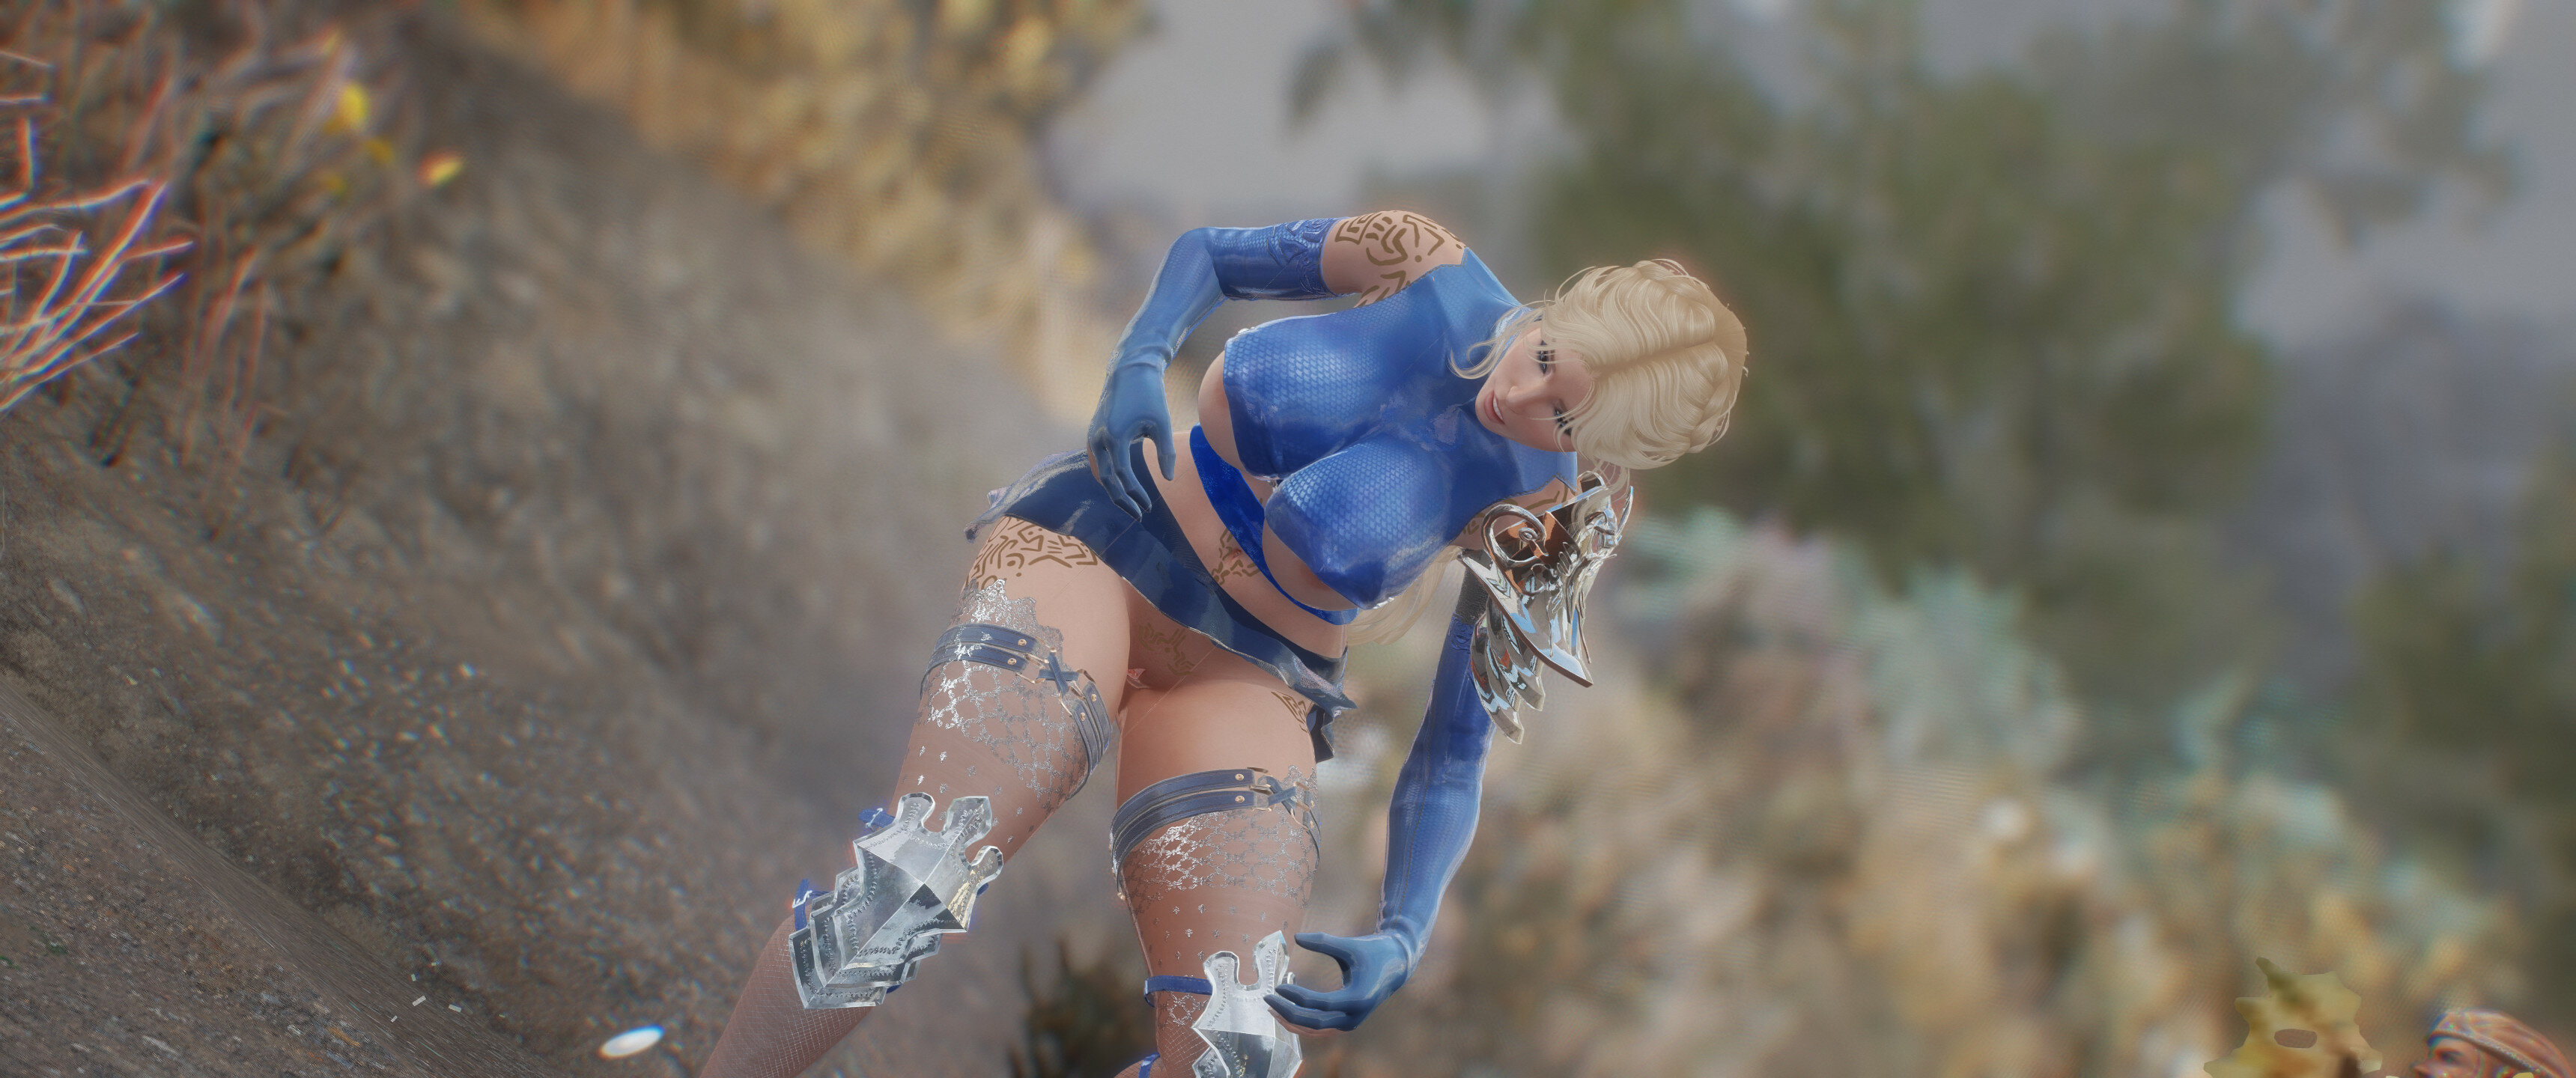
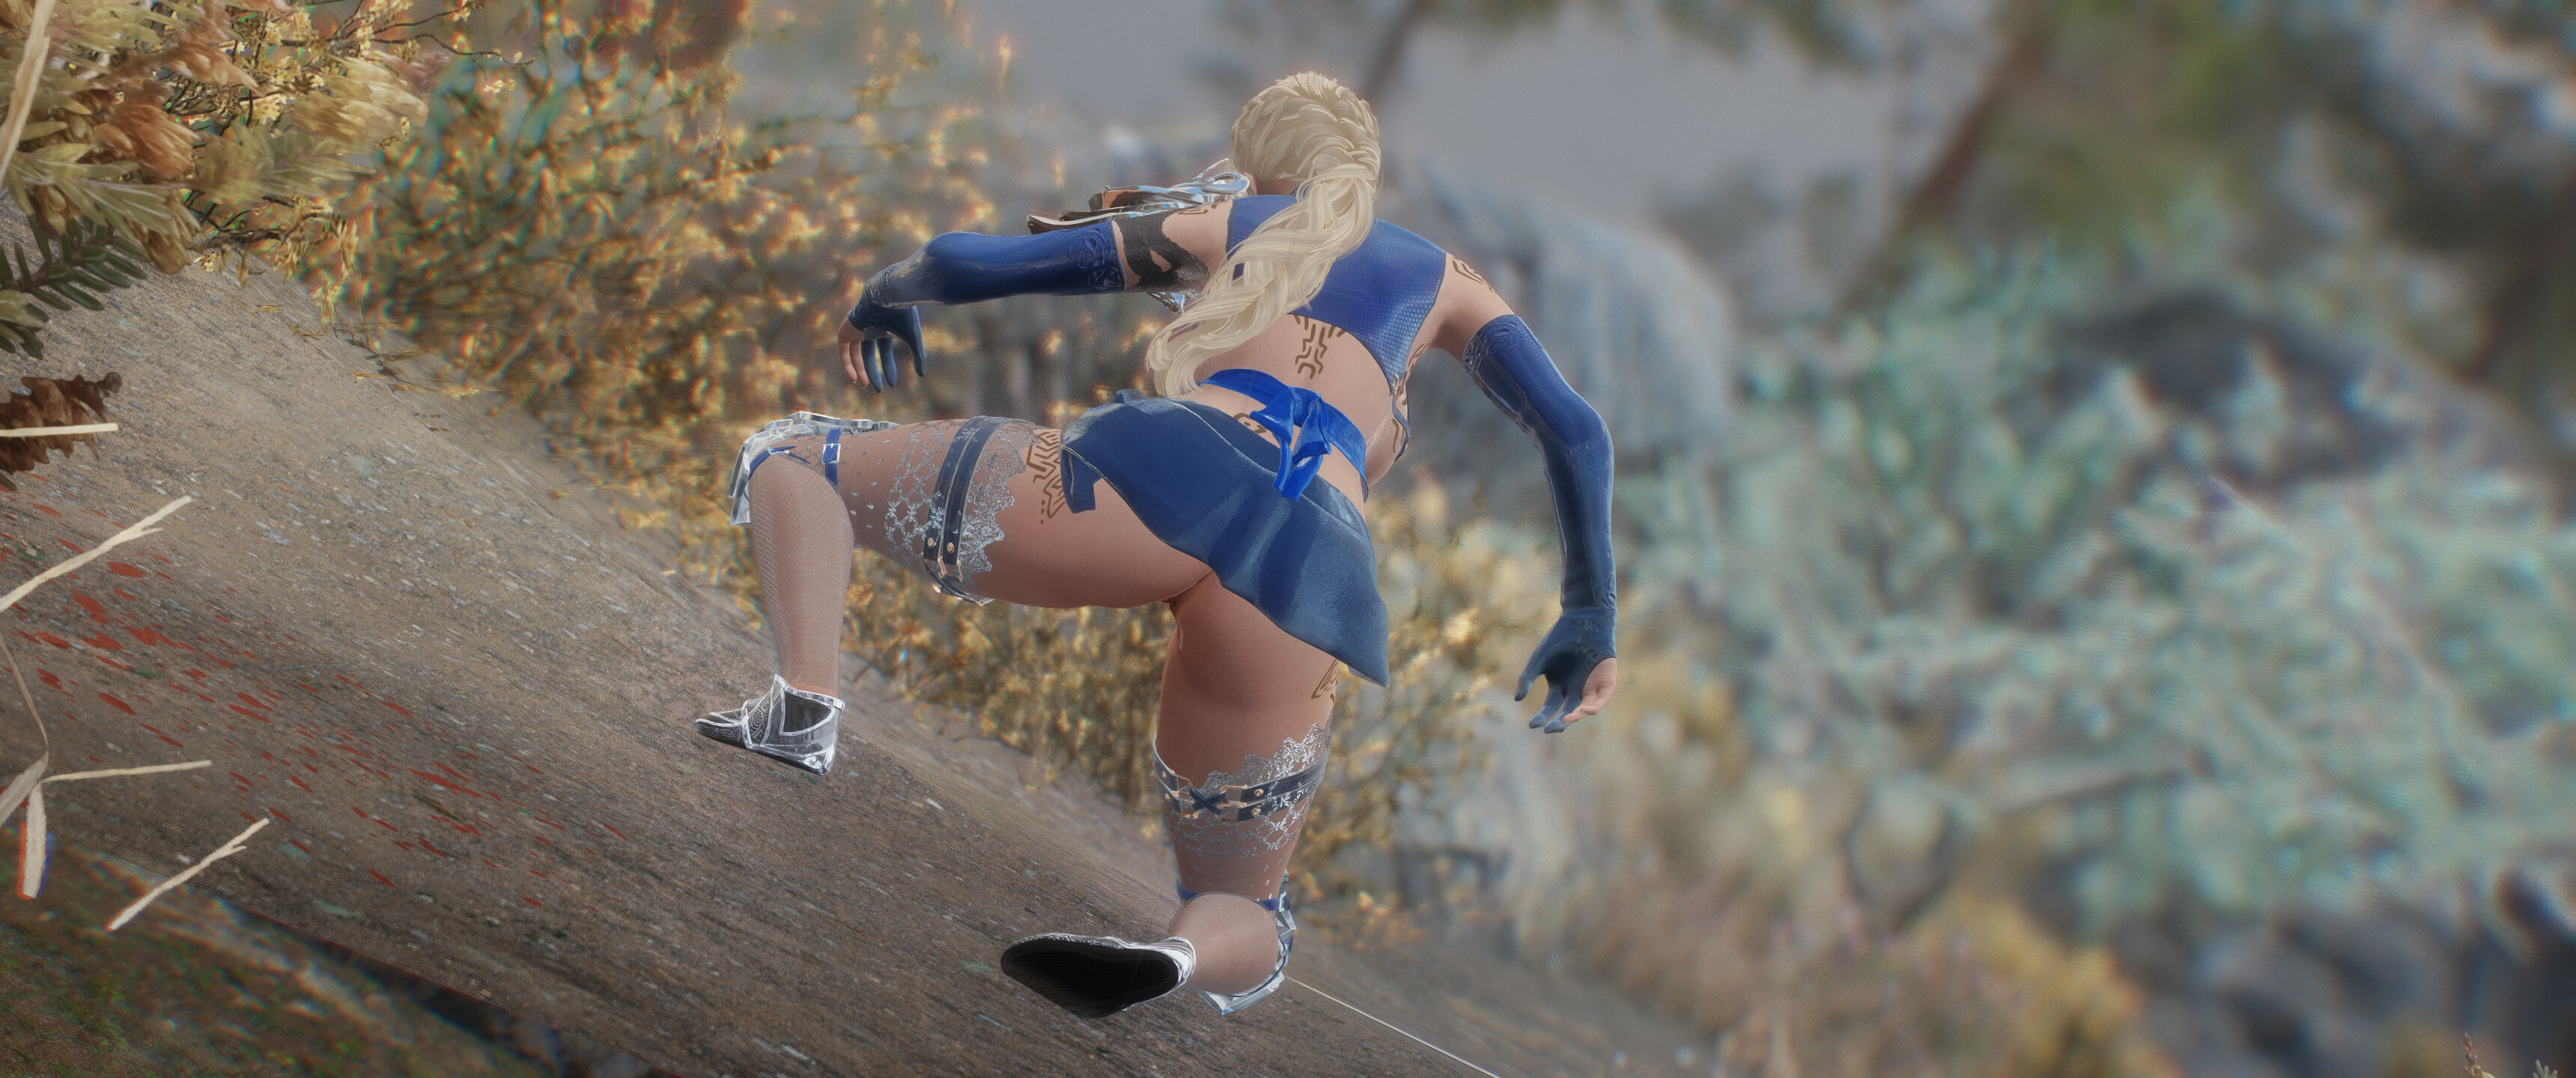
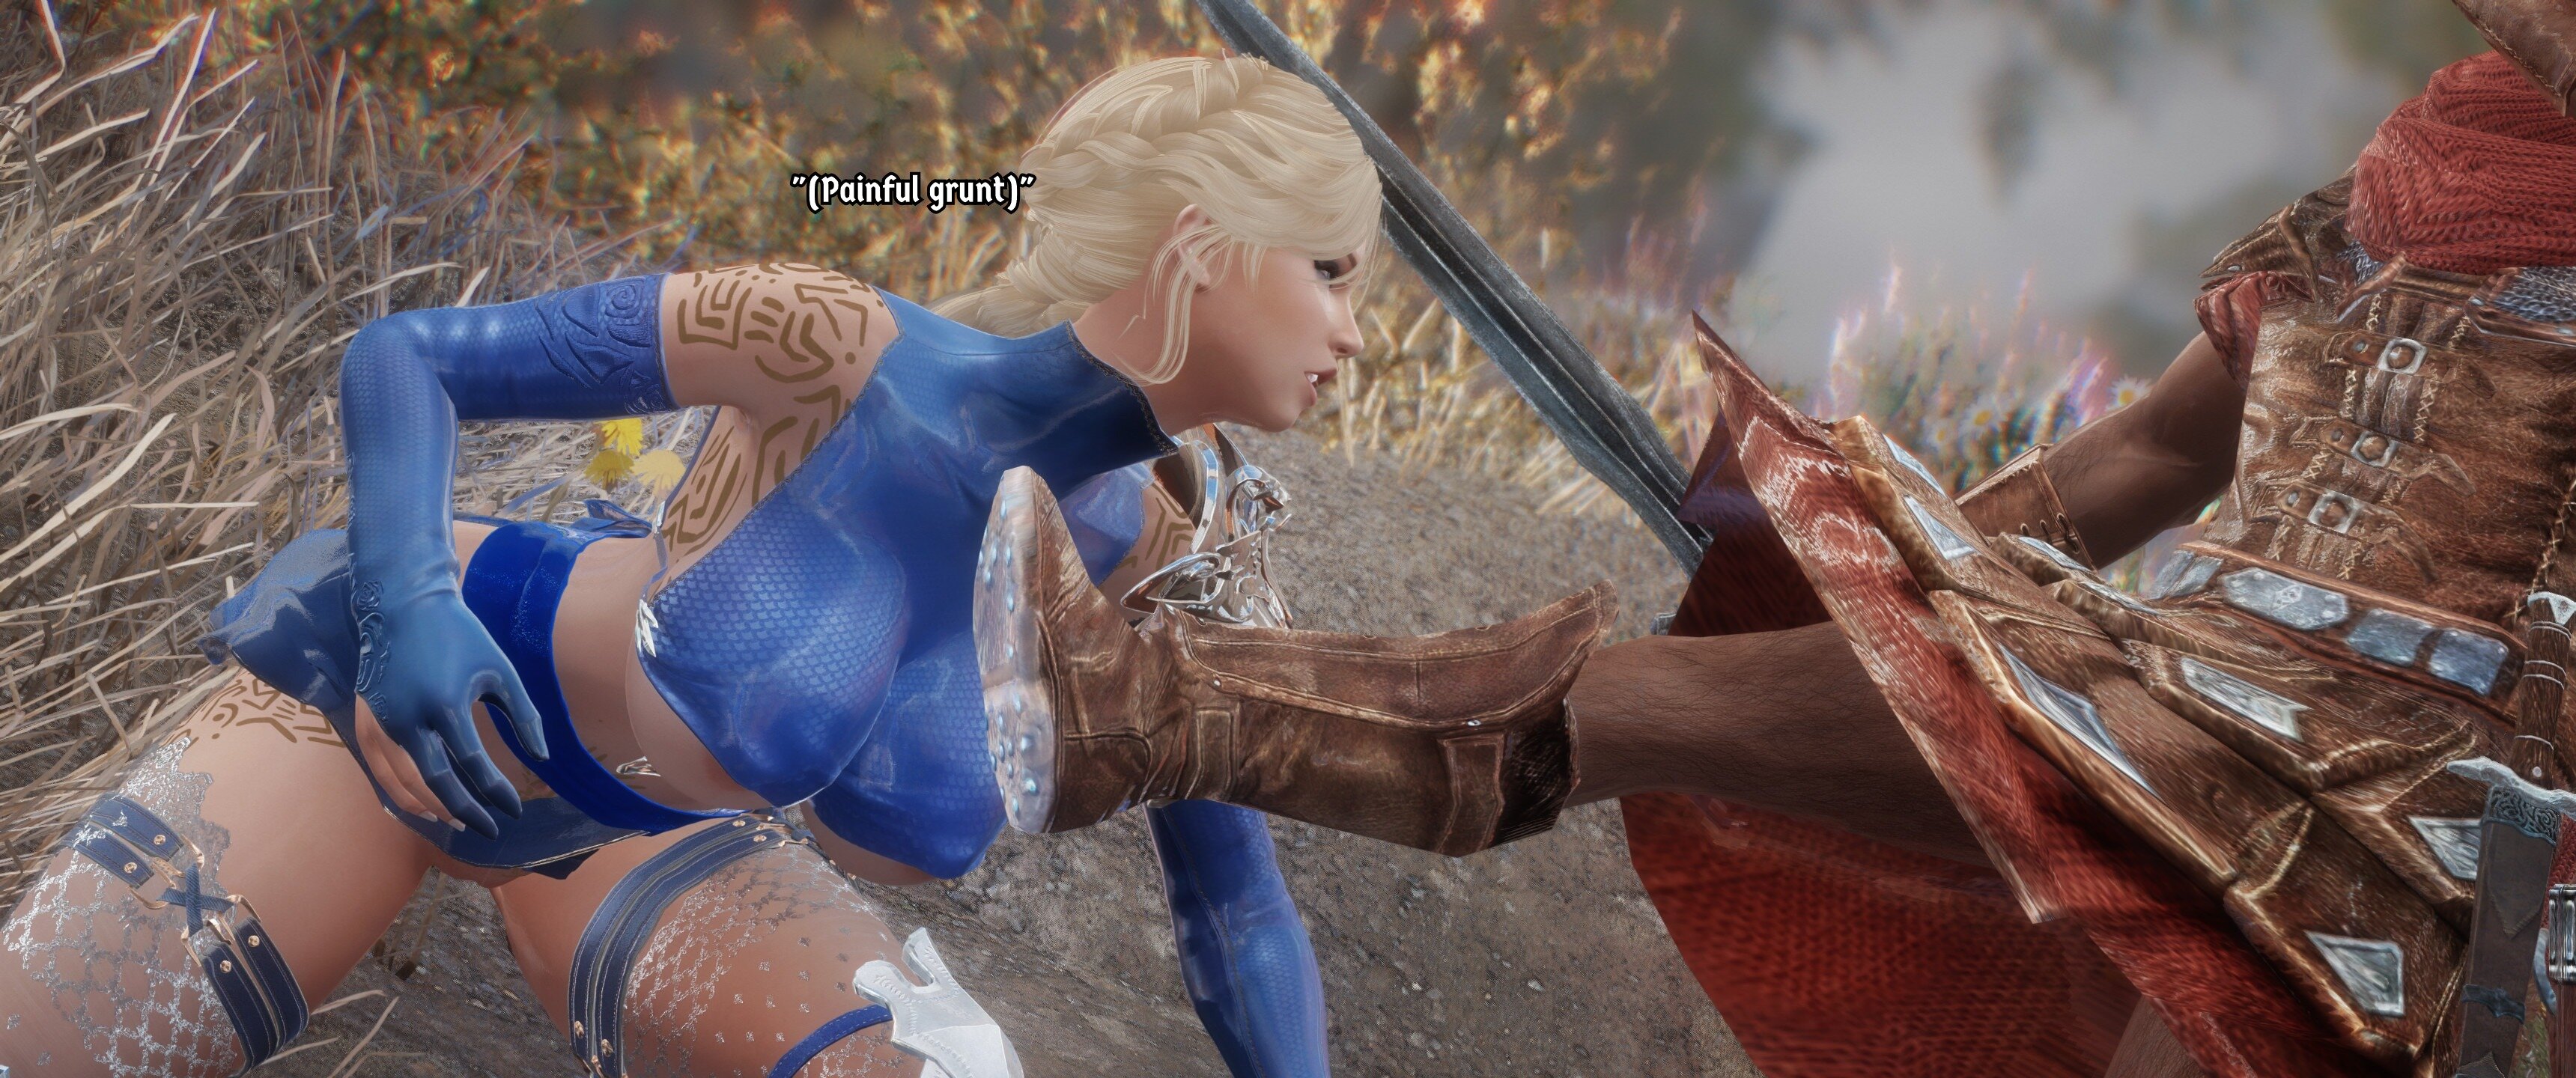
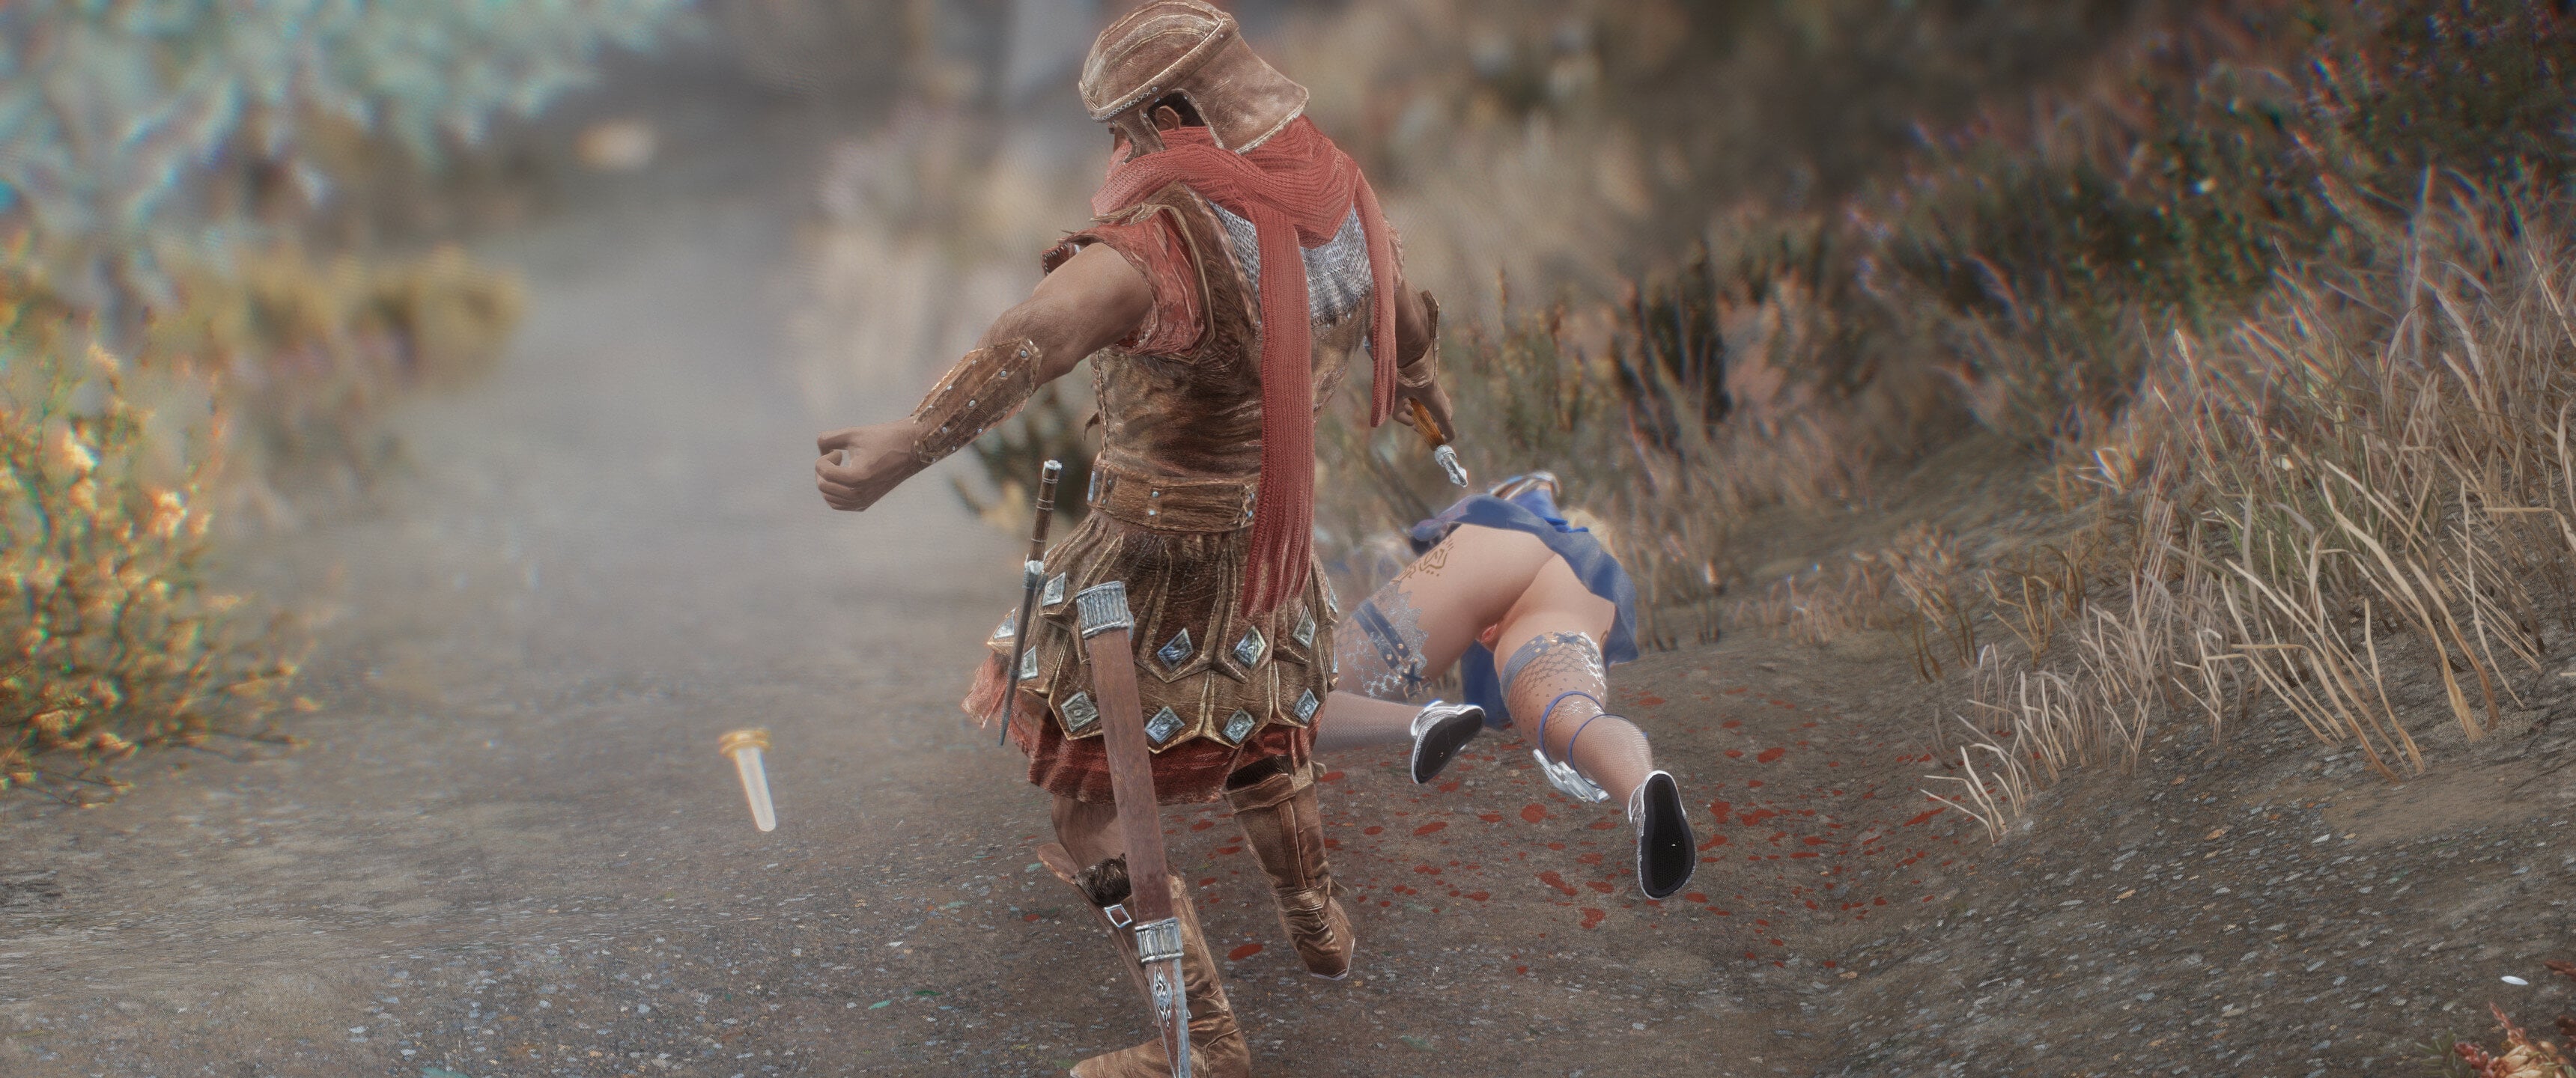
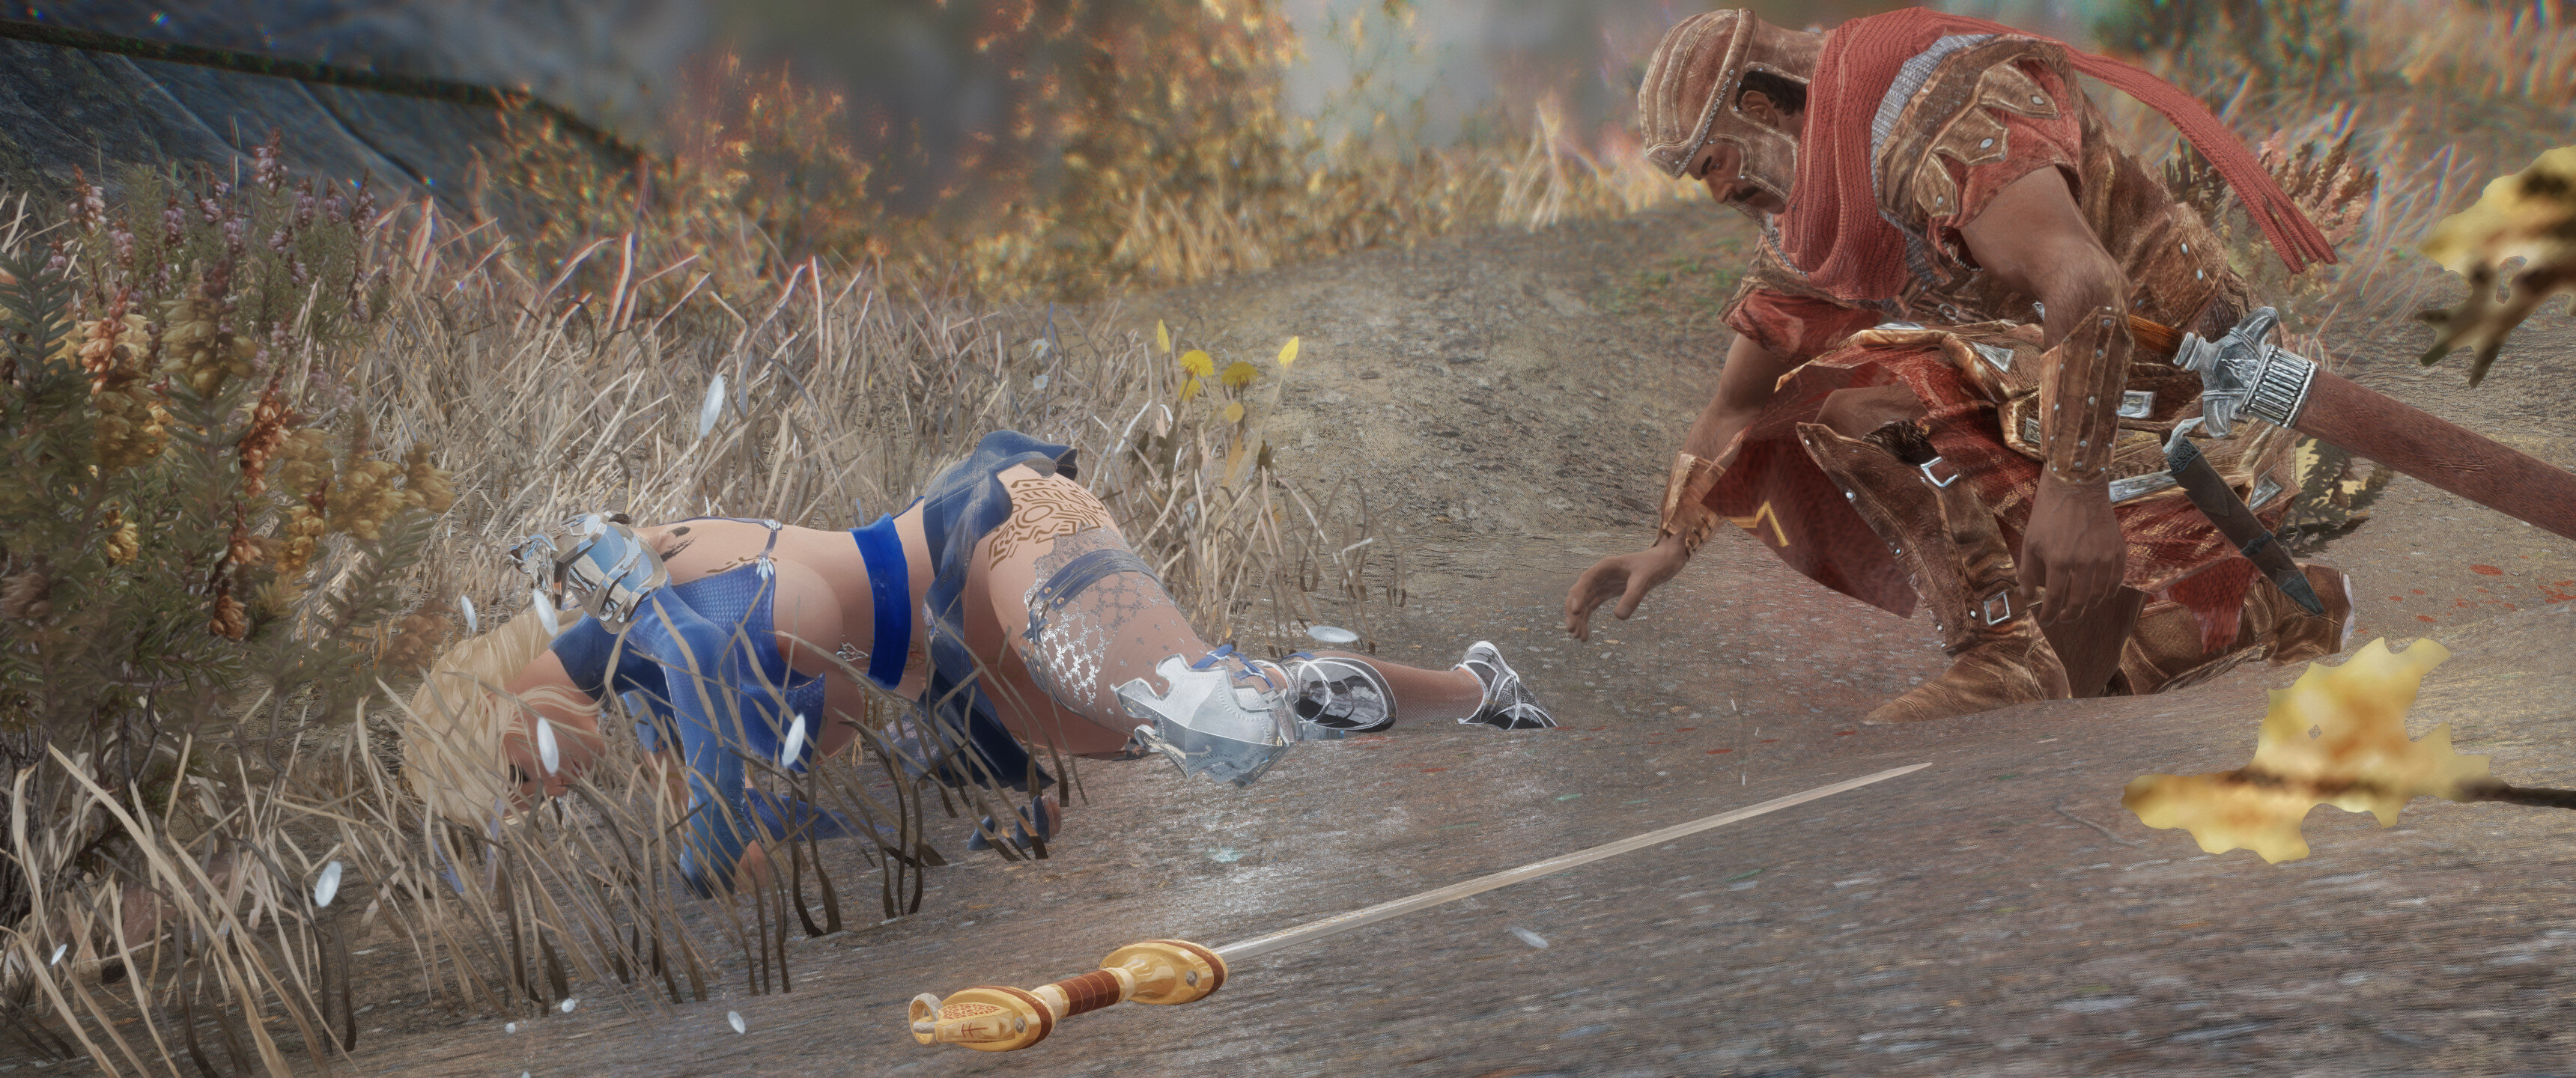
Without hesitation, she defiantly refuses the demand, drawing her sword and entering into a duel with her assailant.
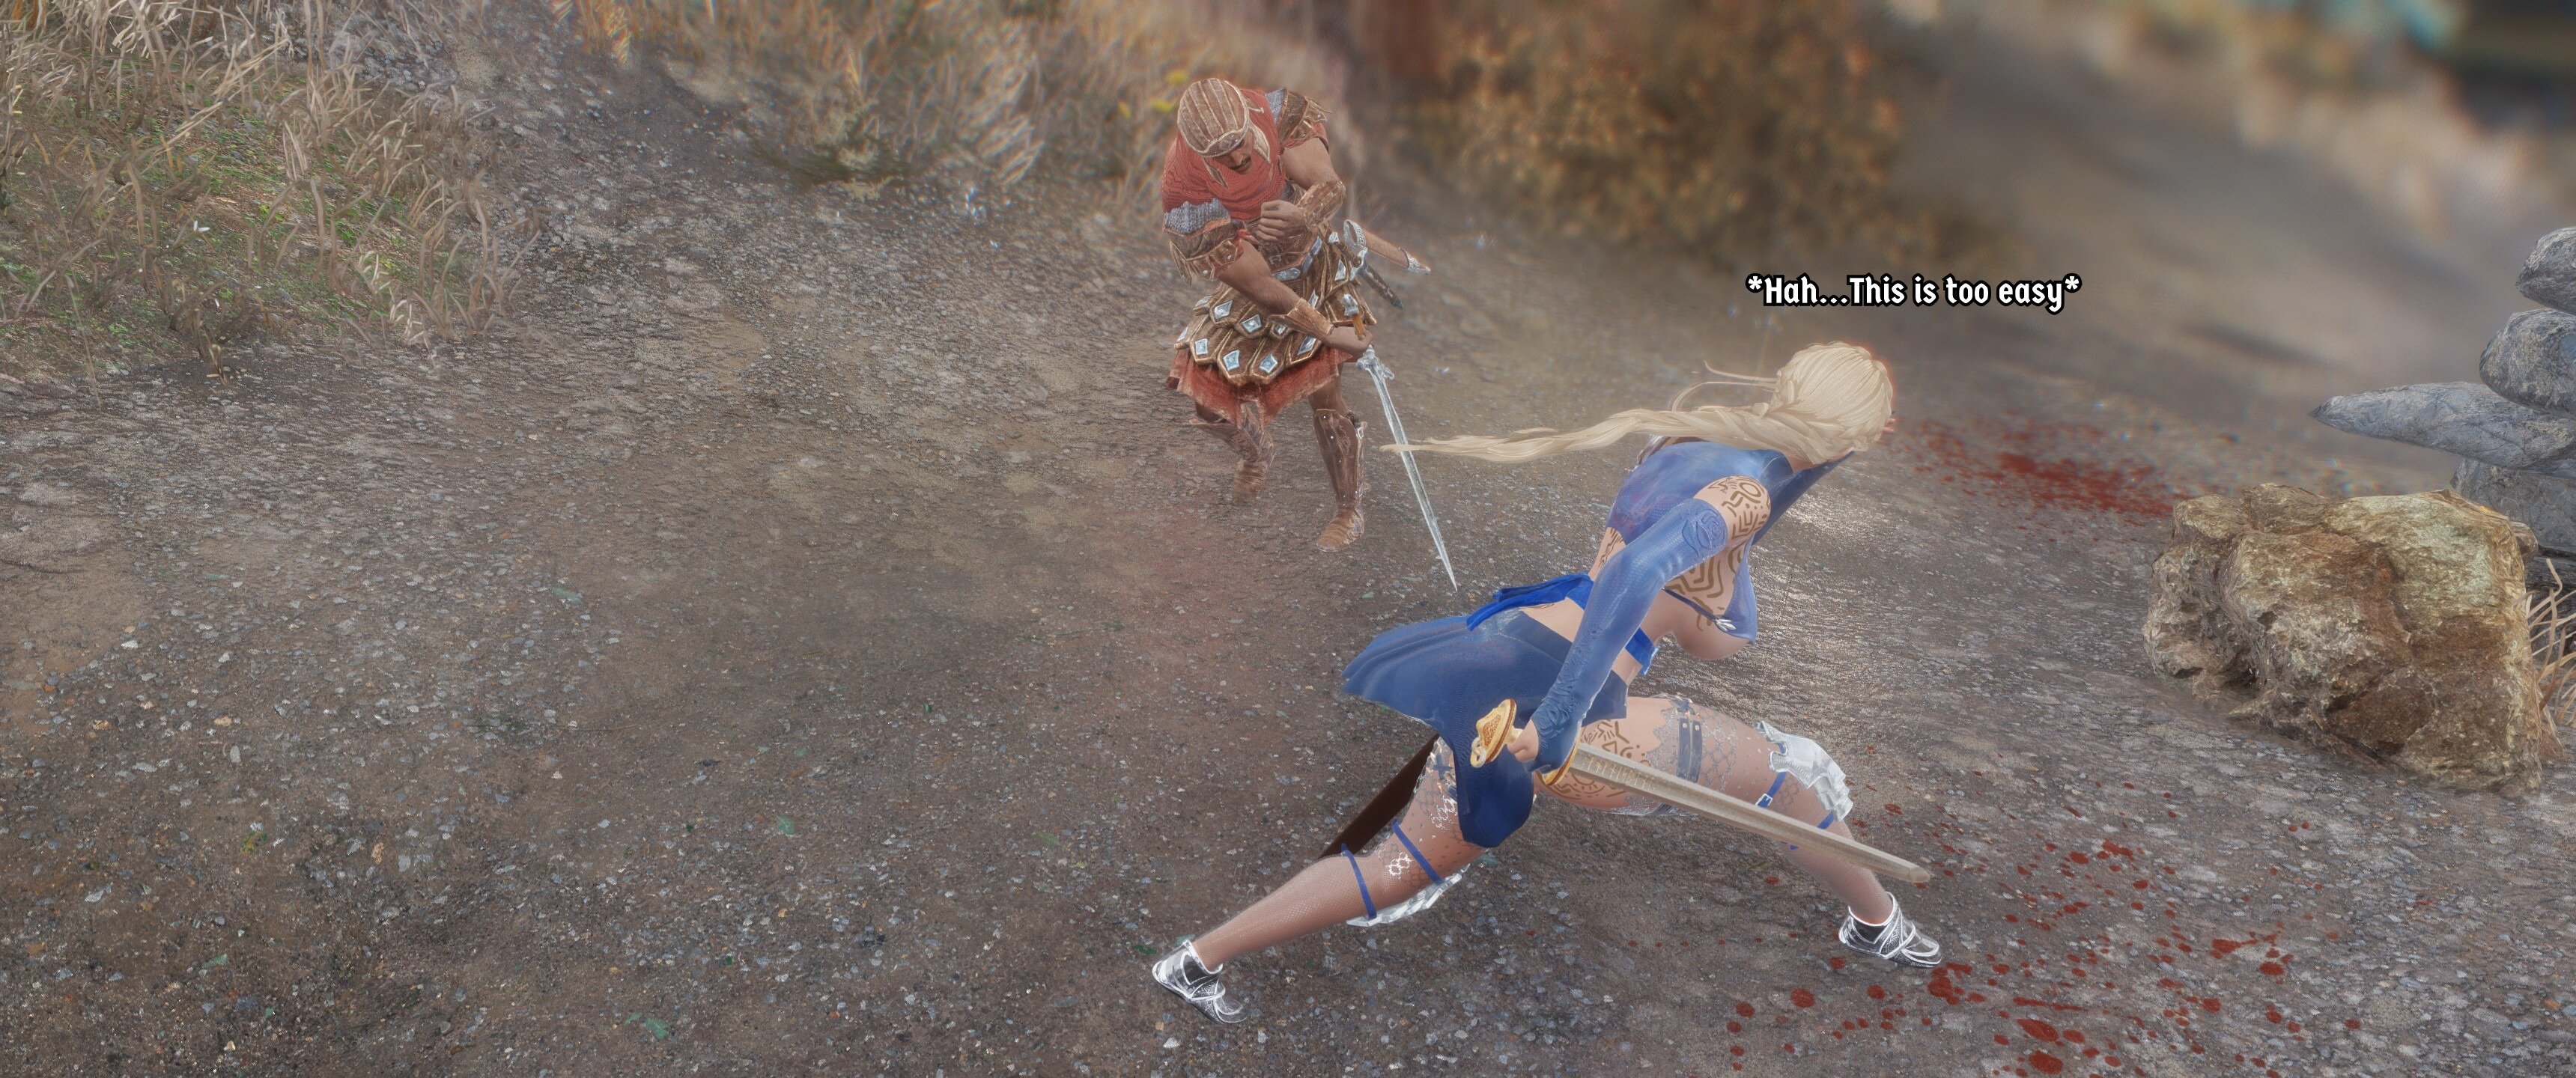
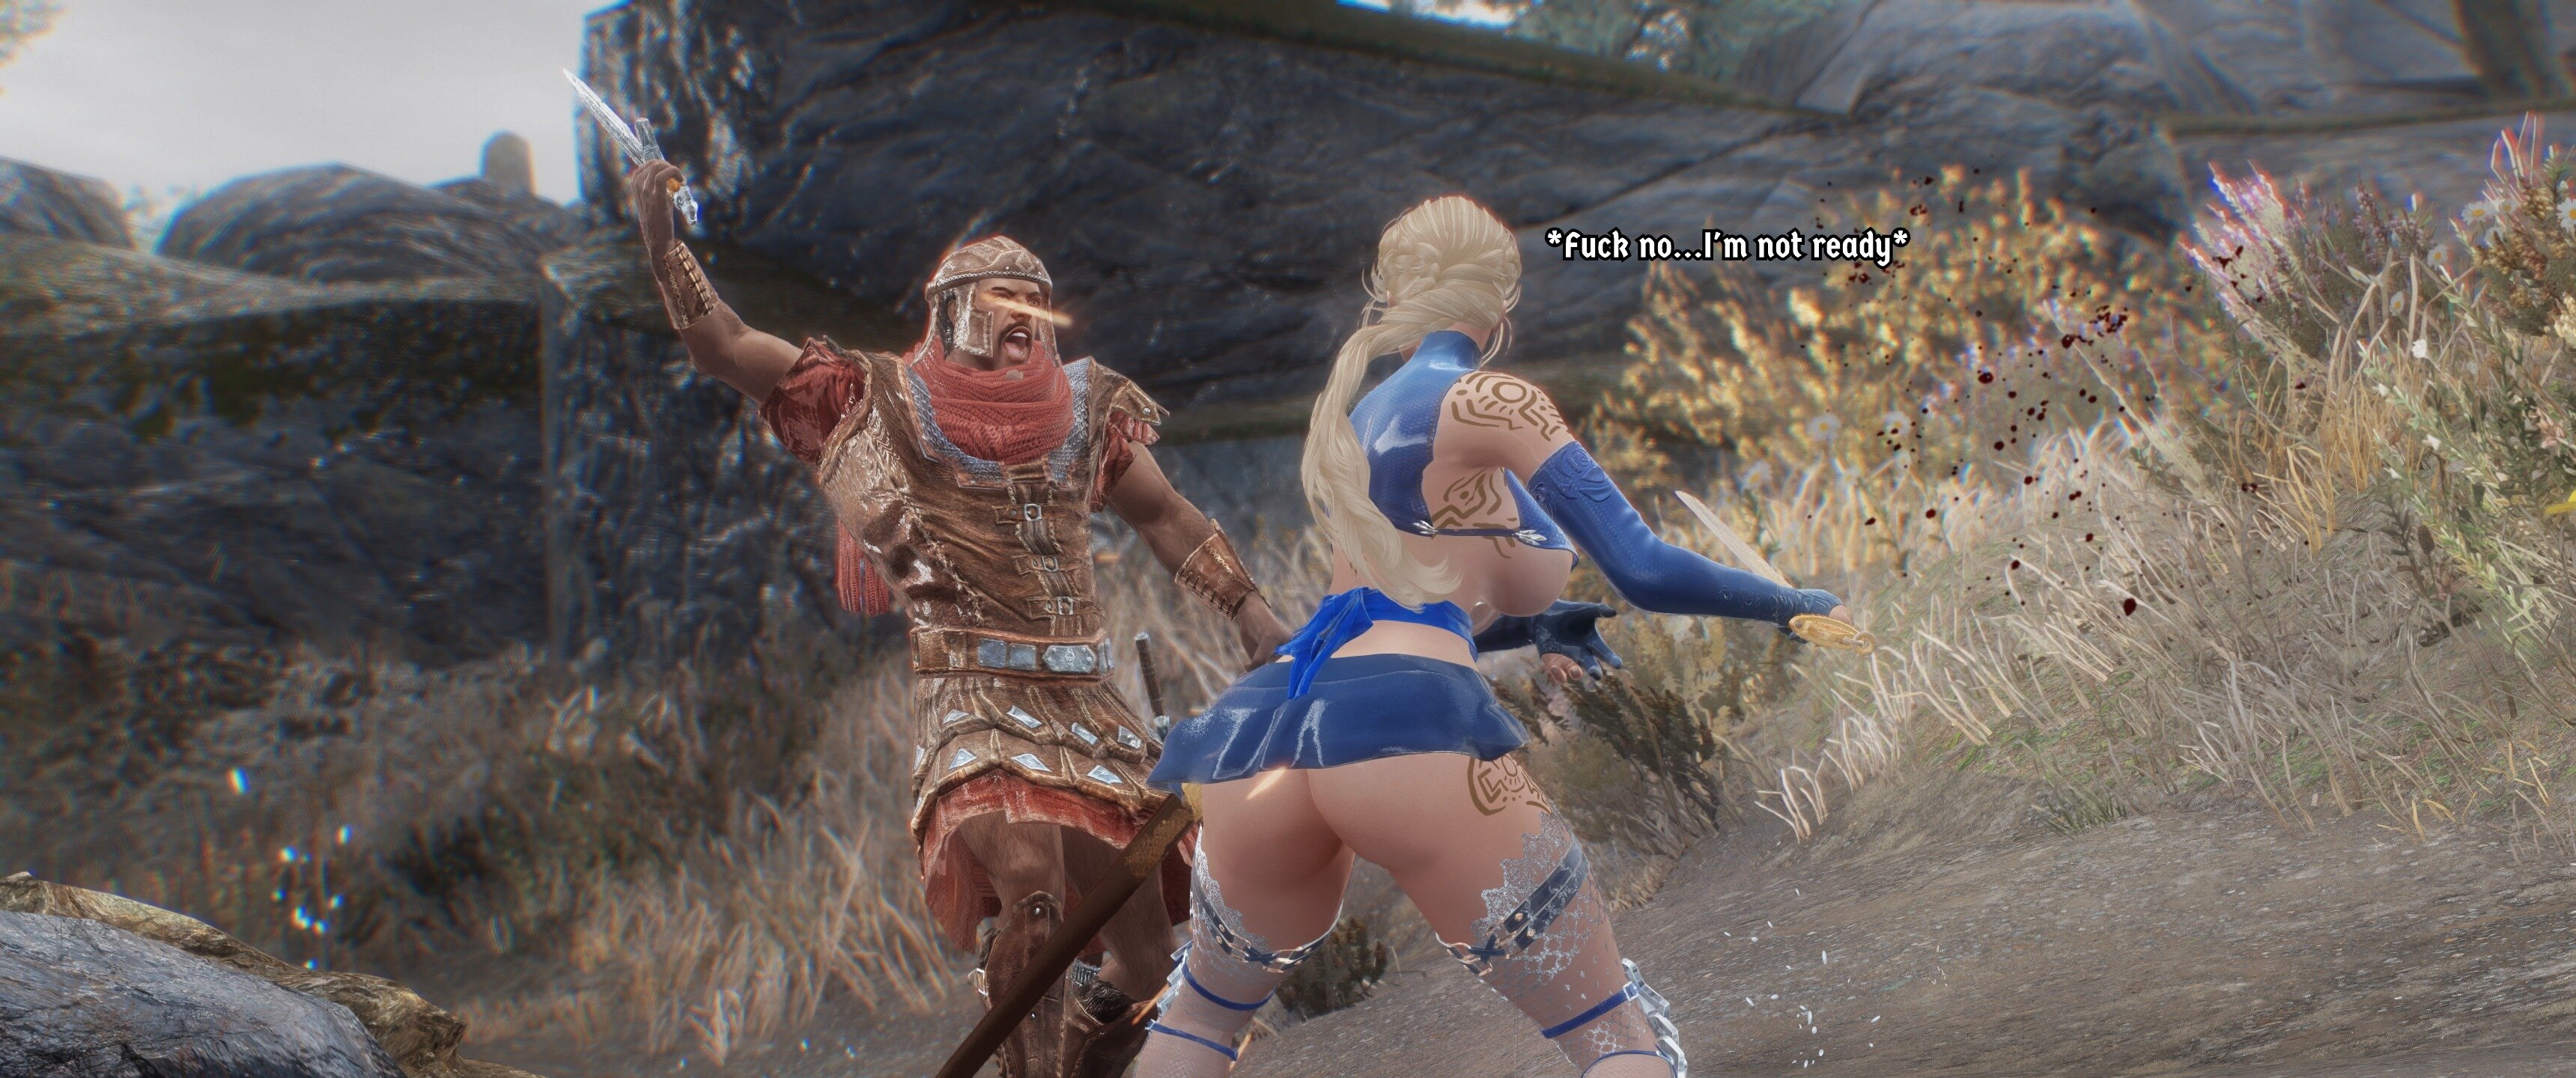
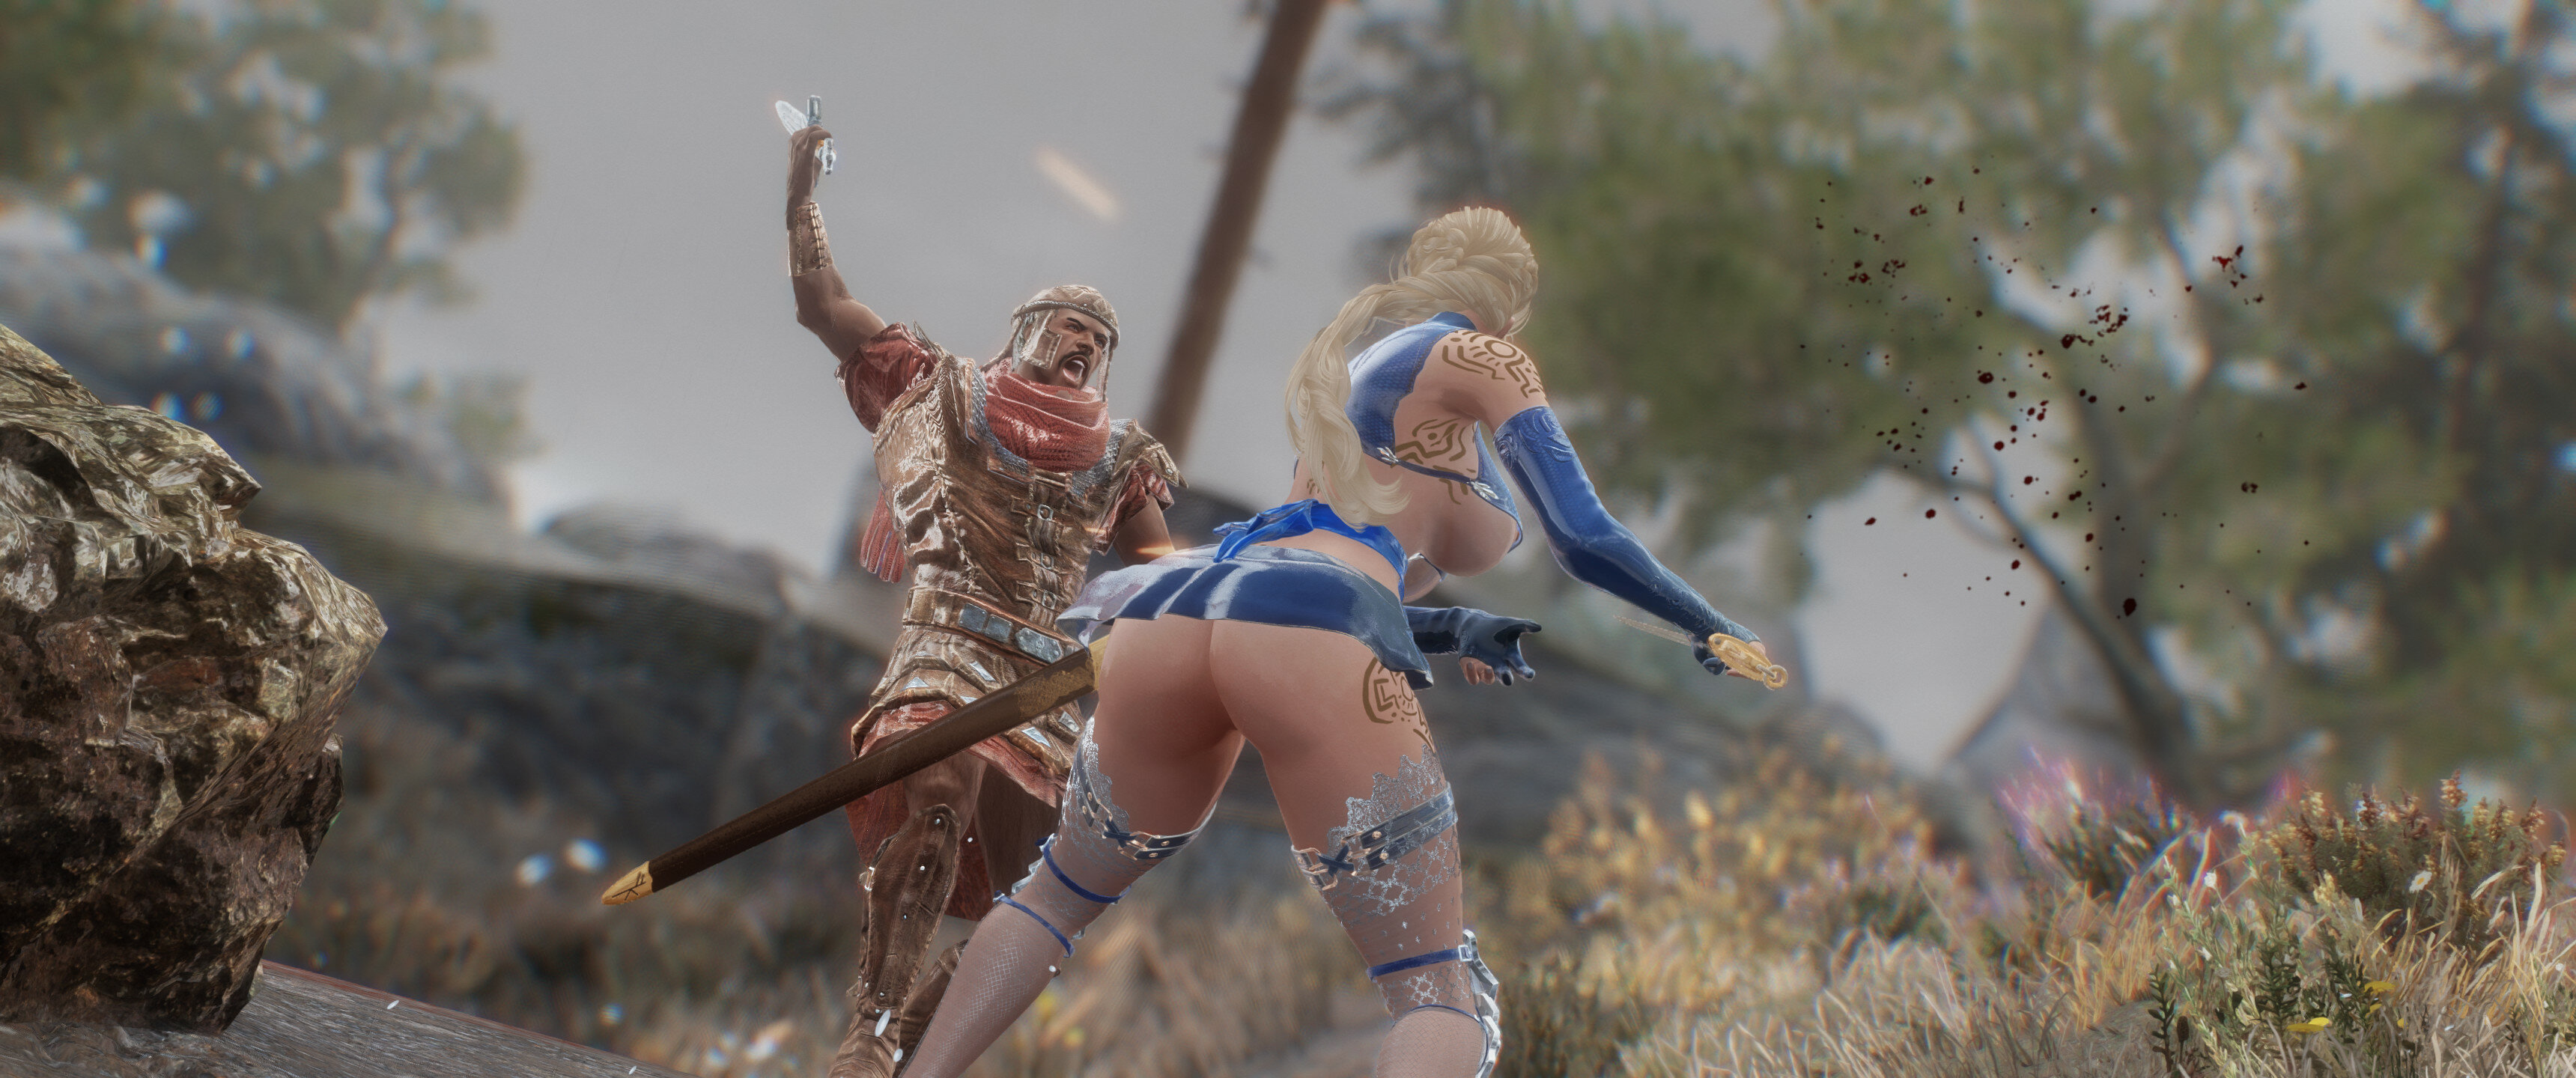
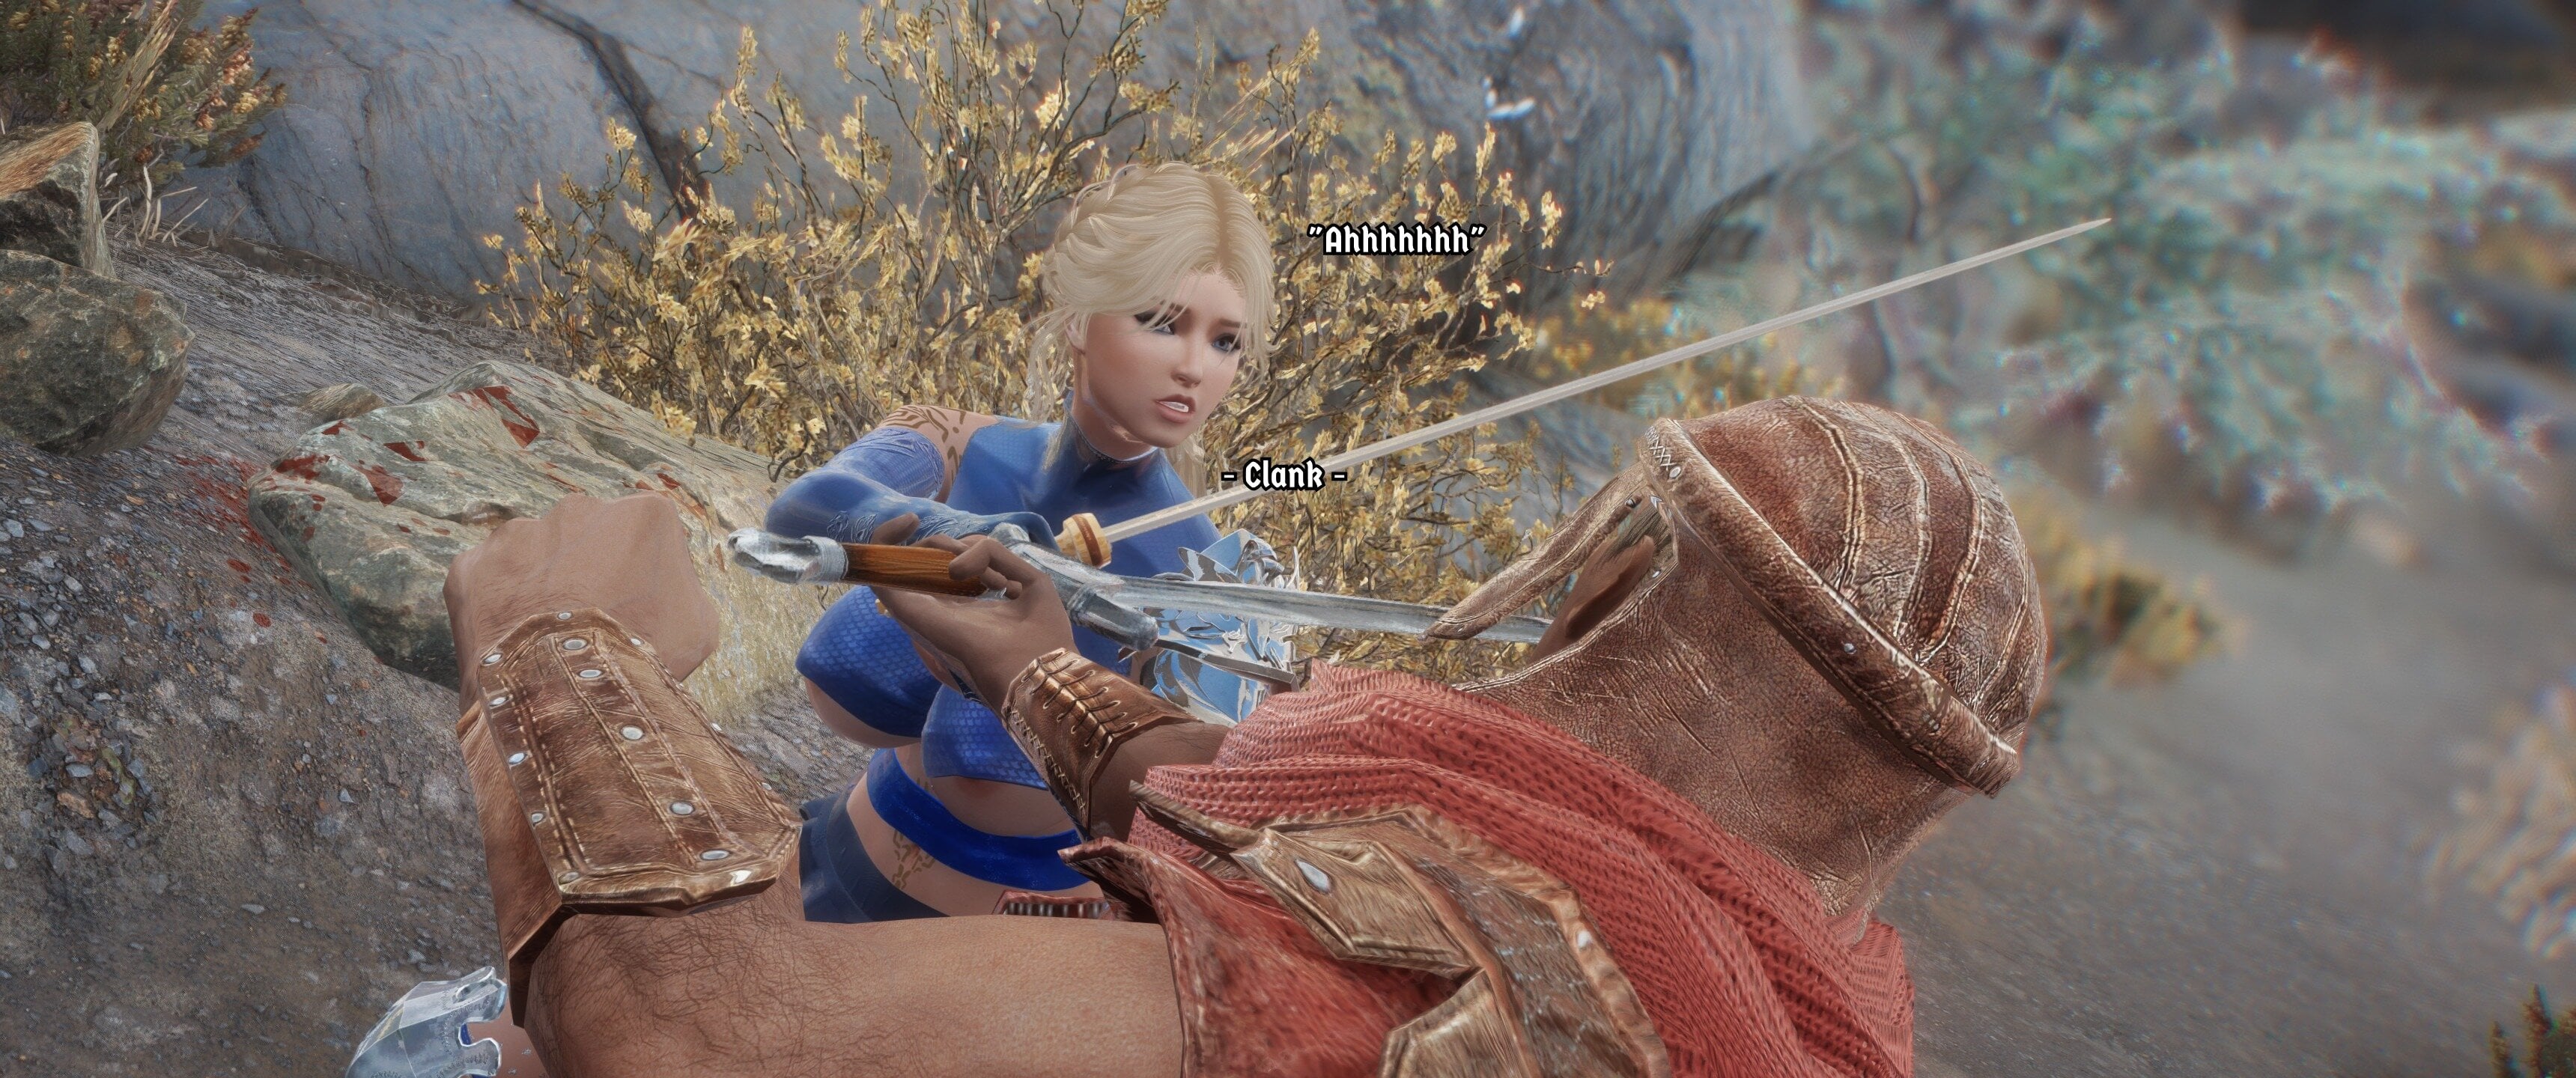
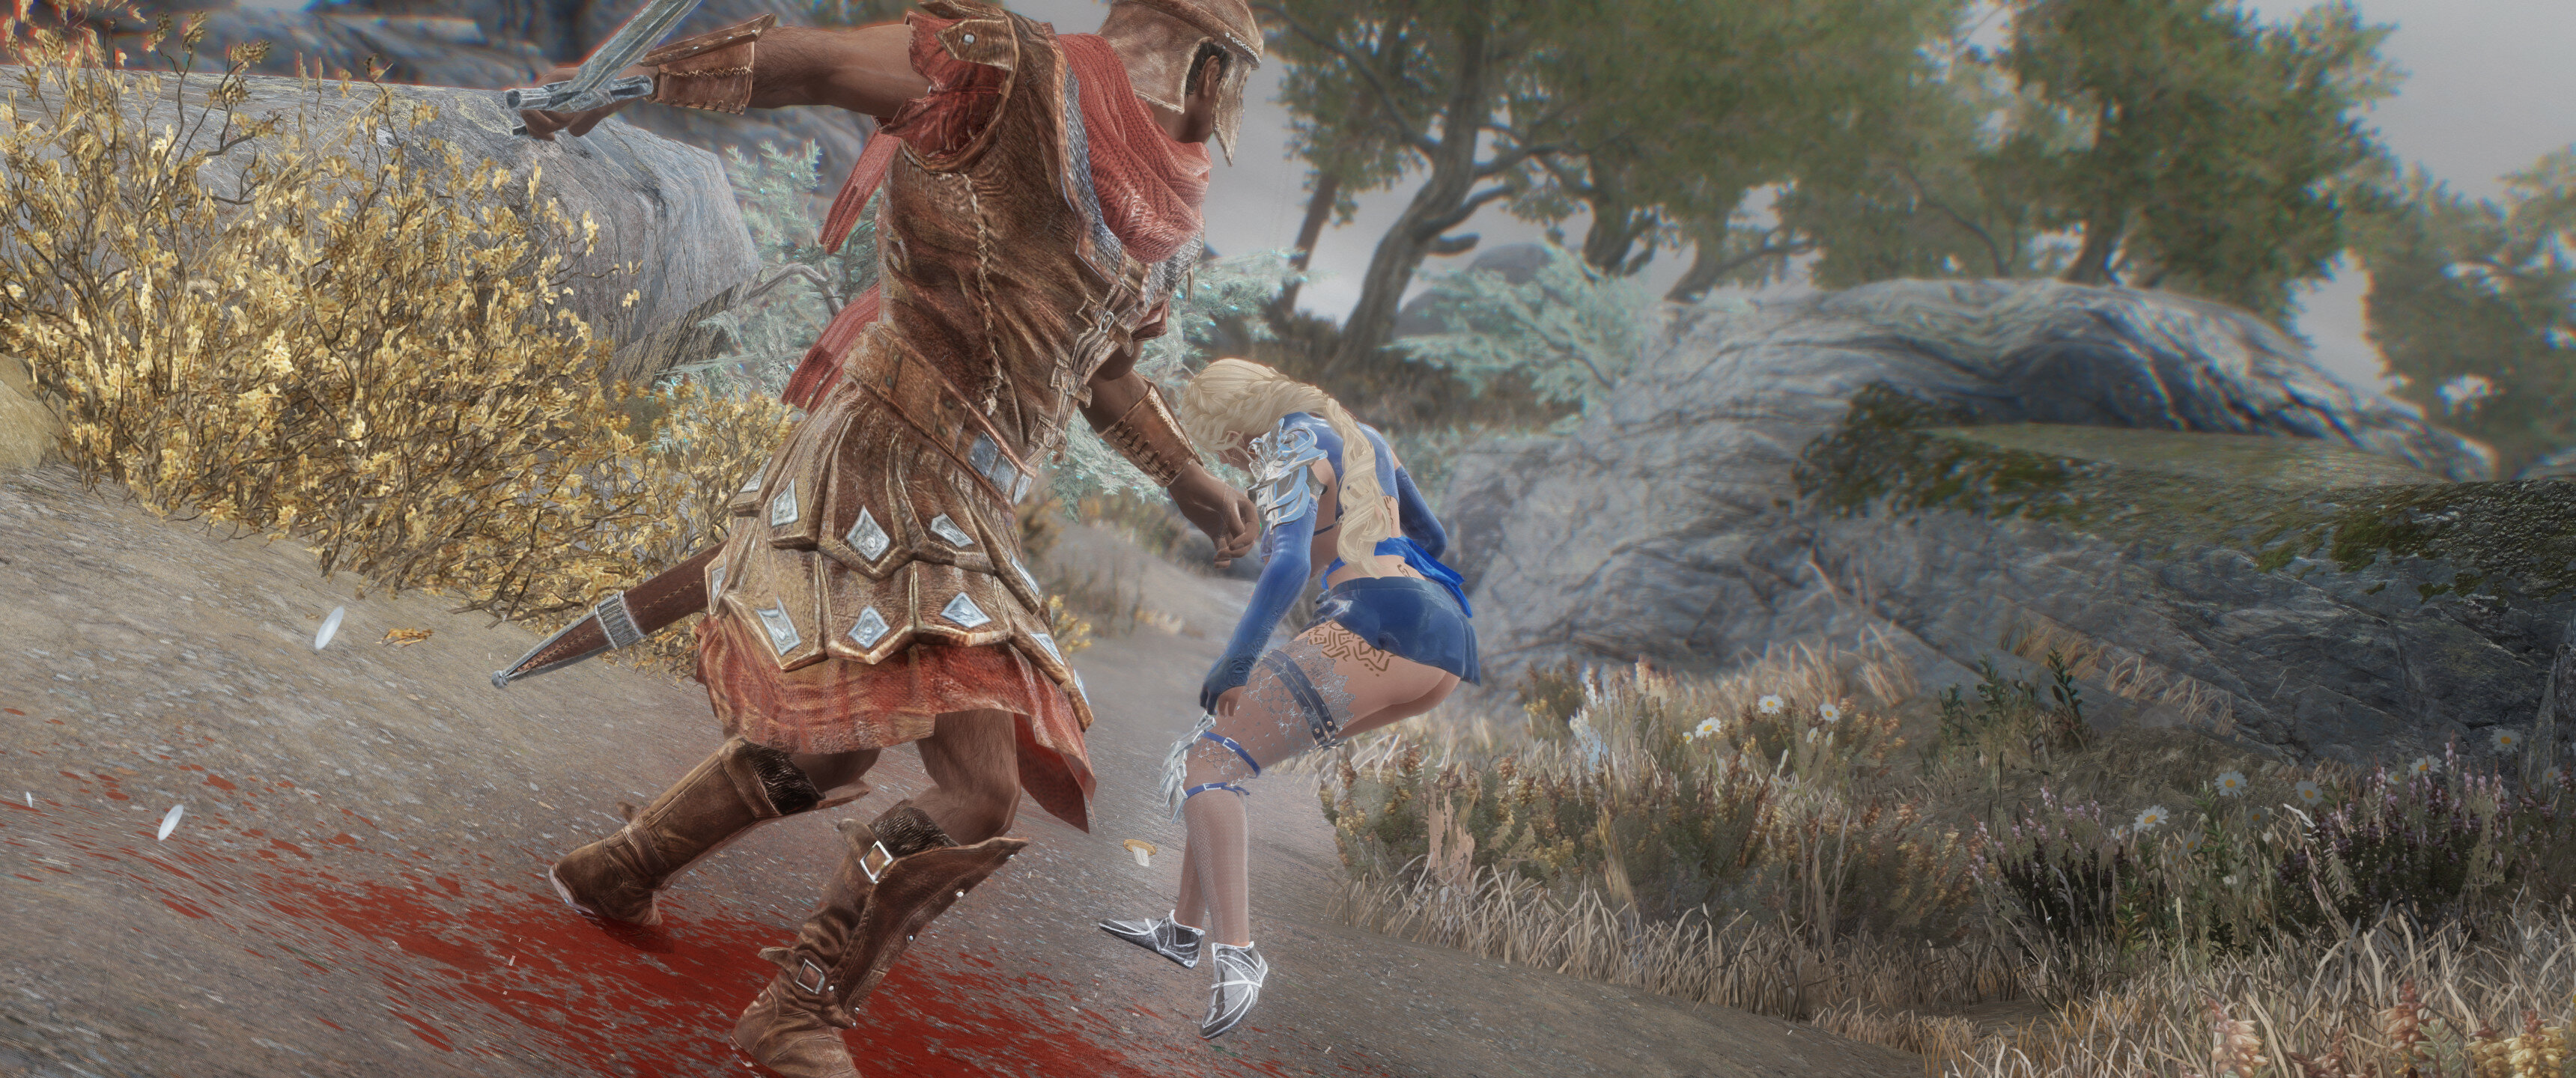
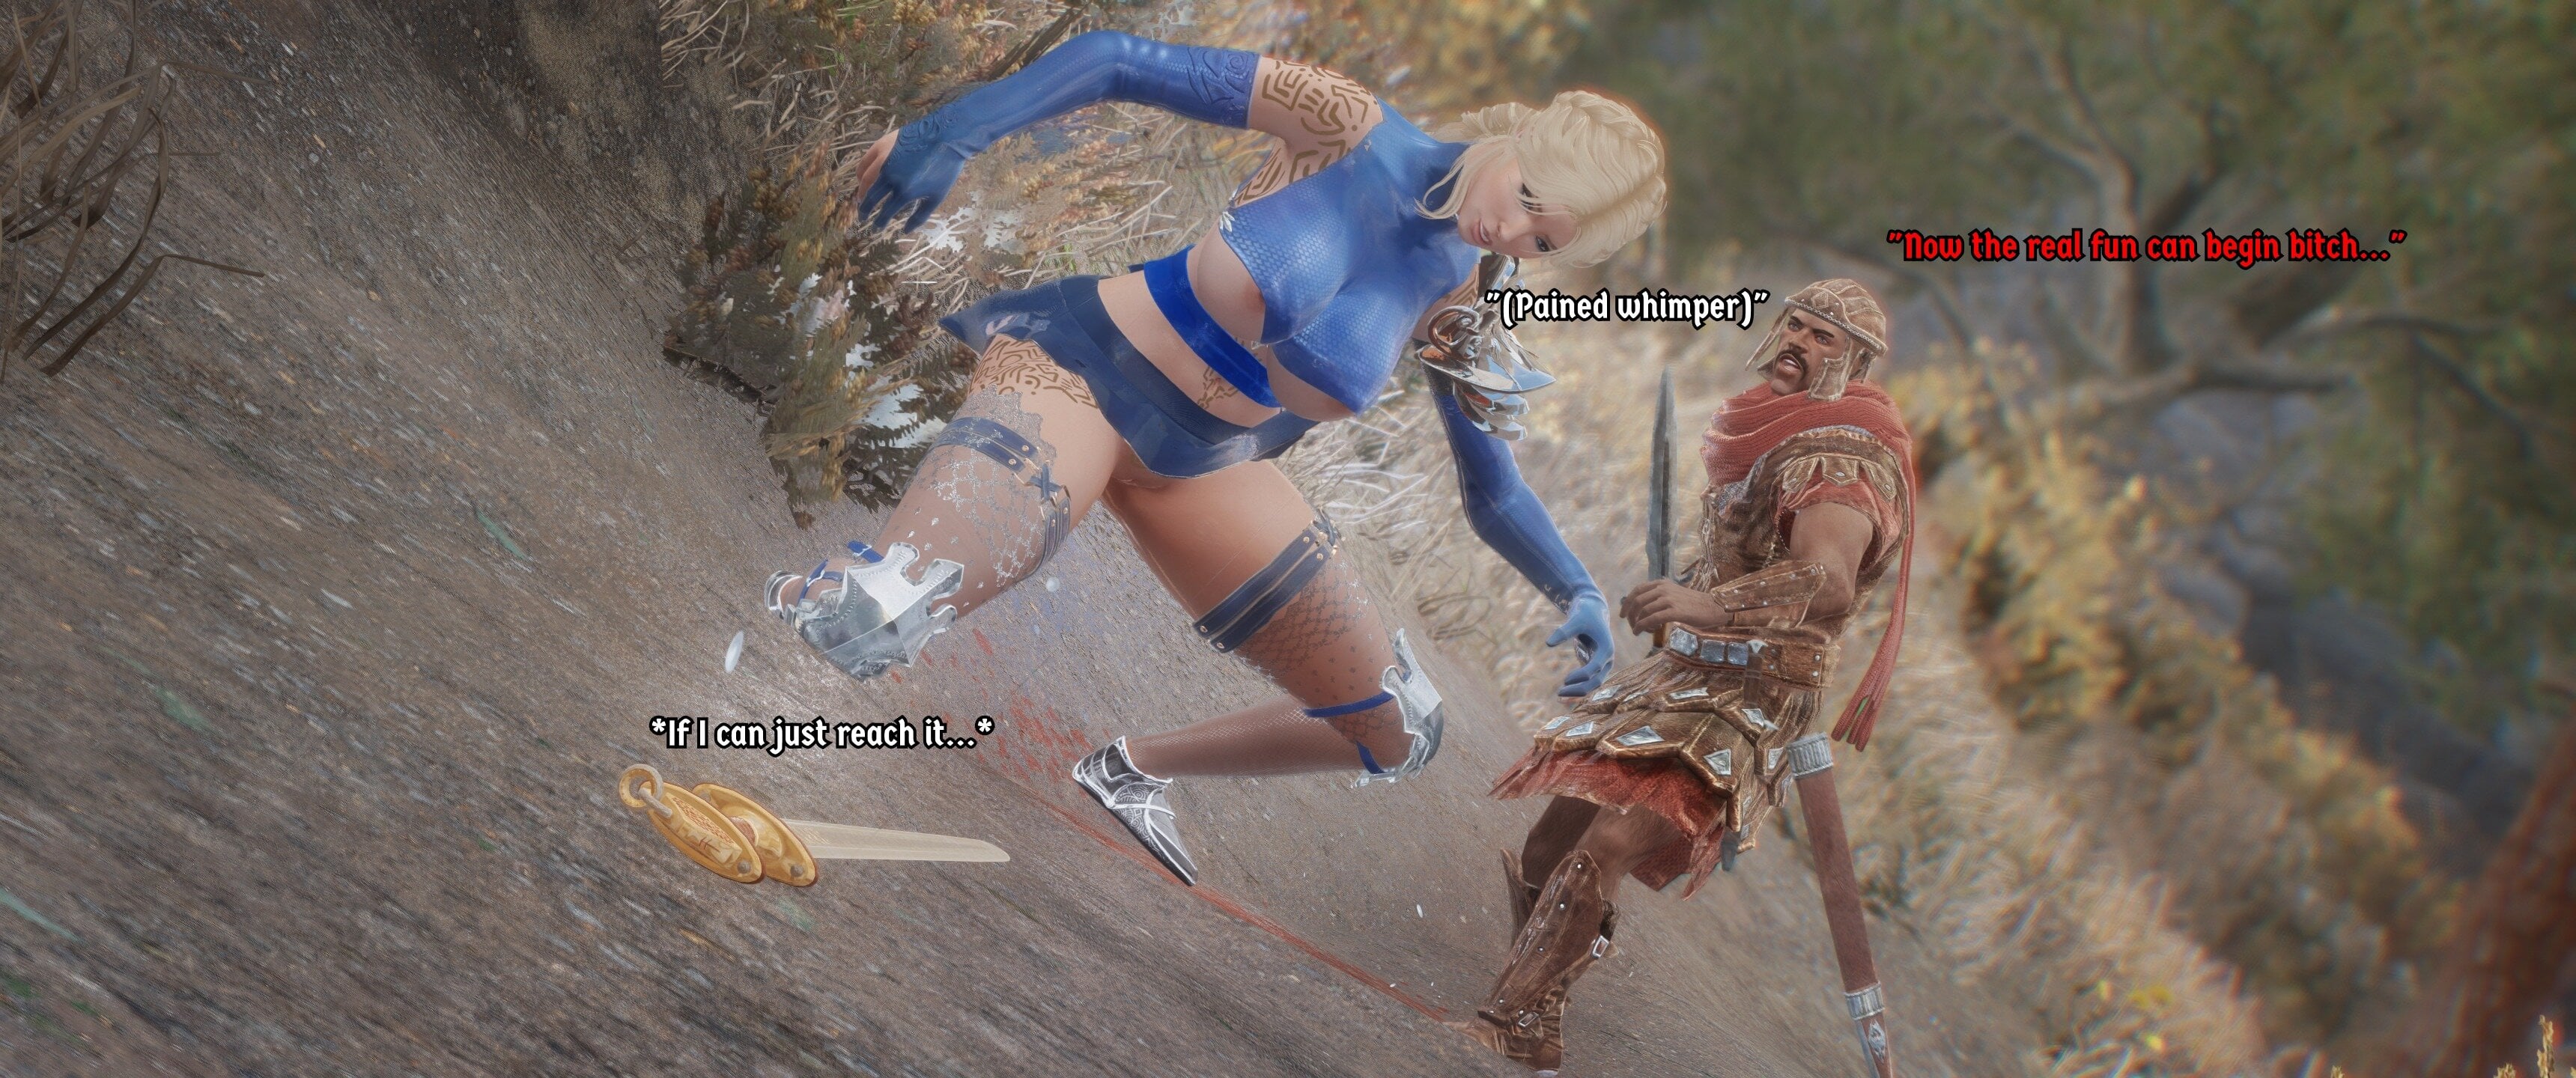
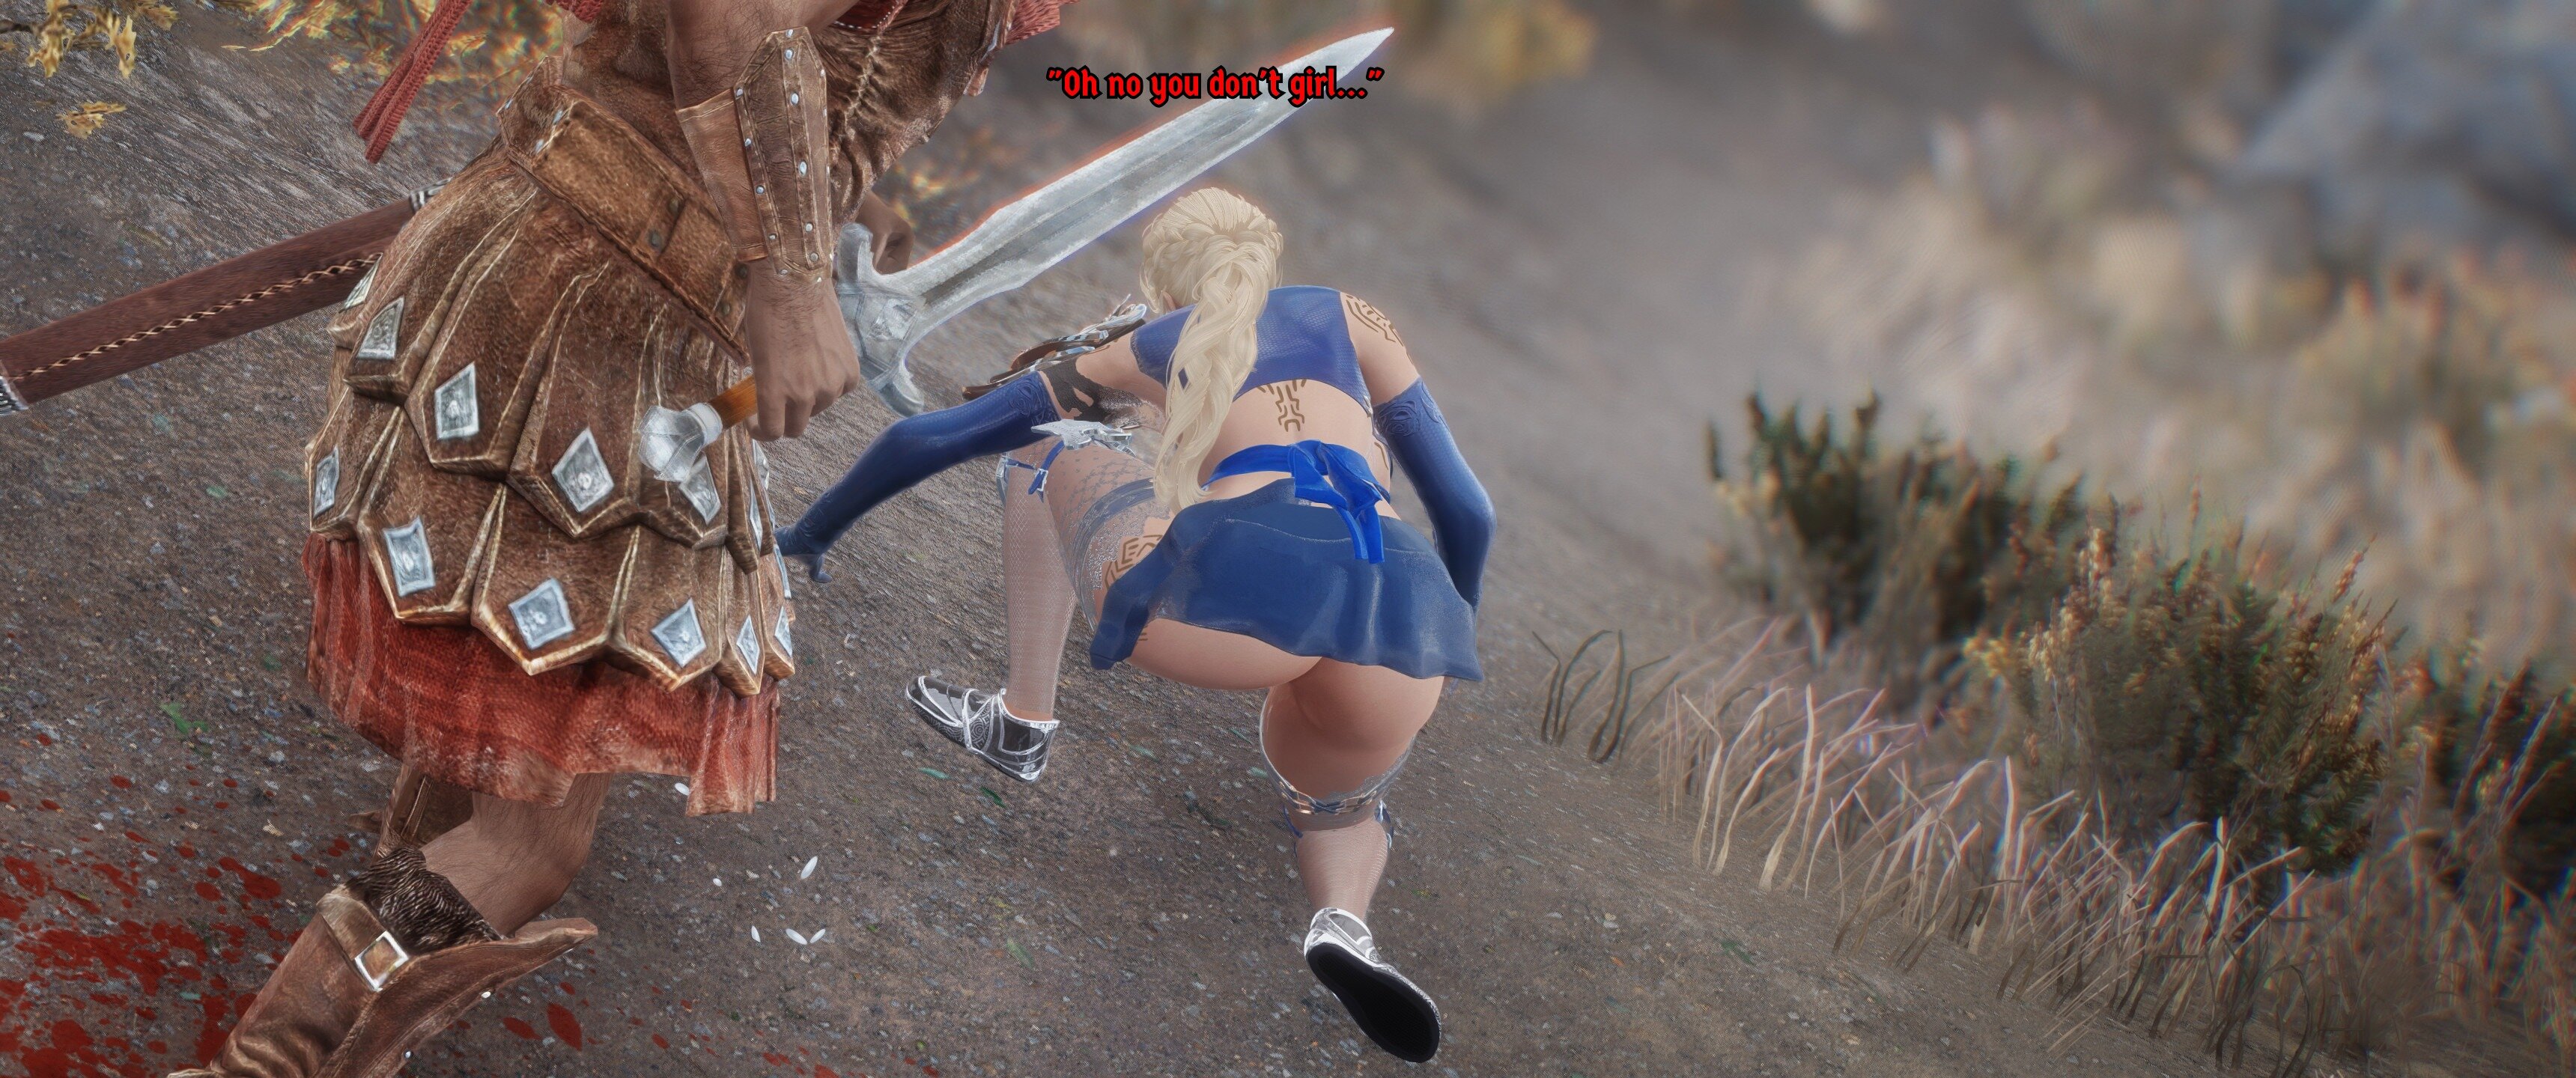
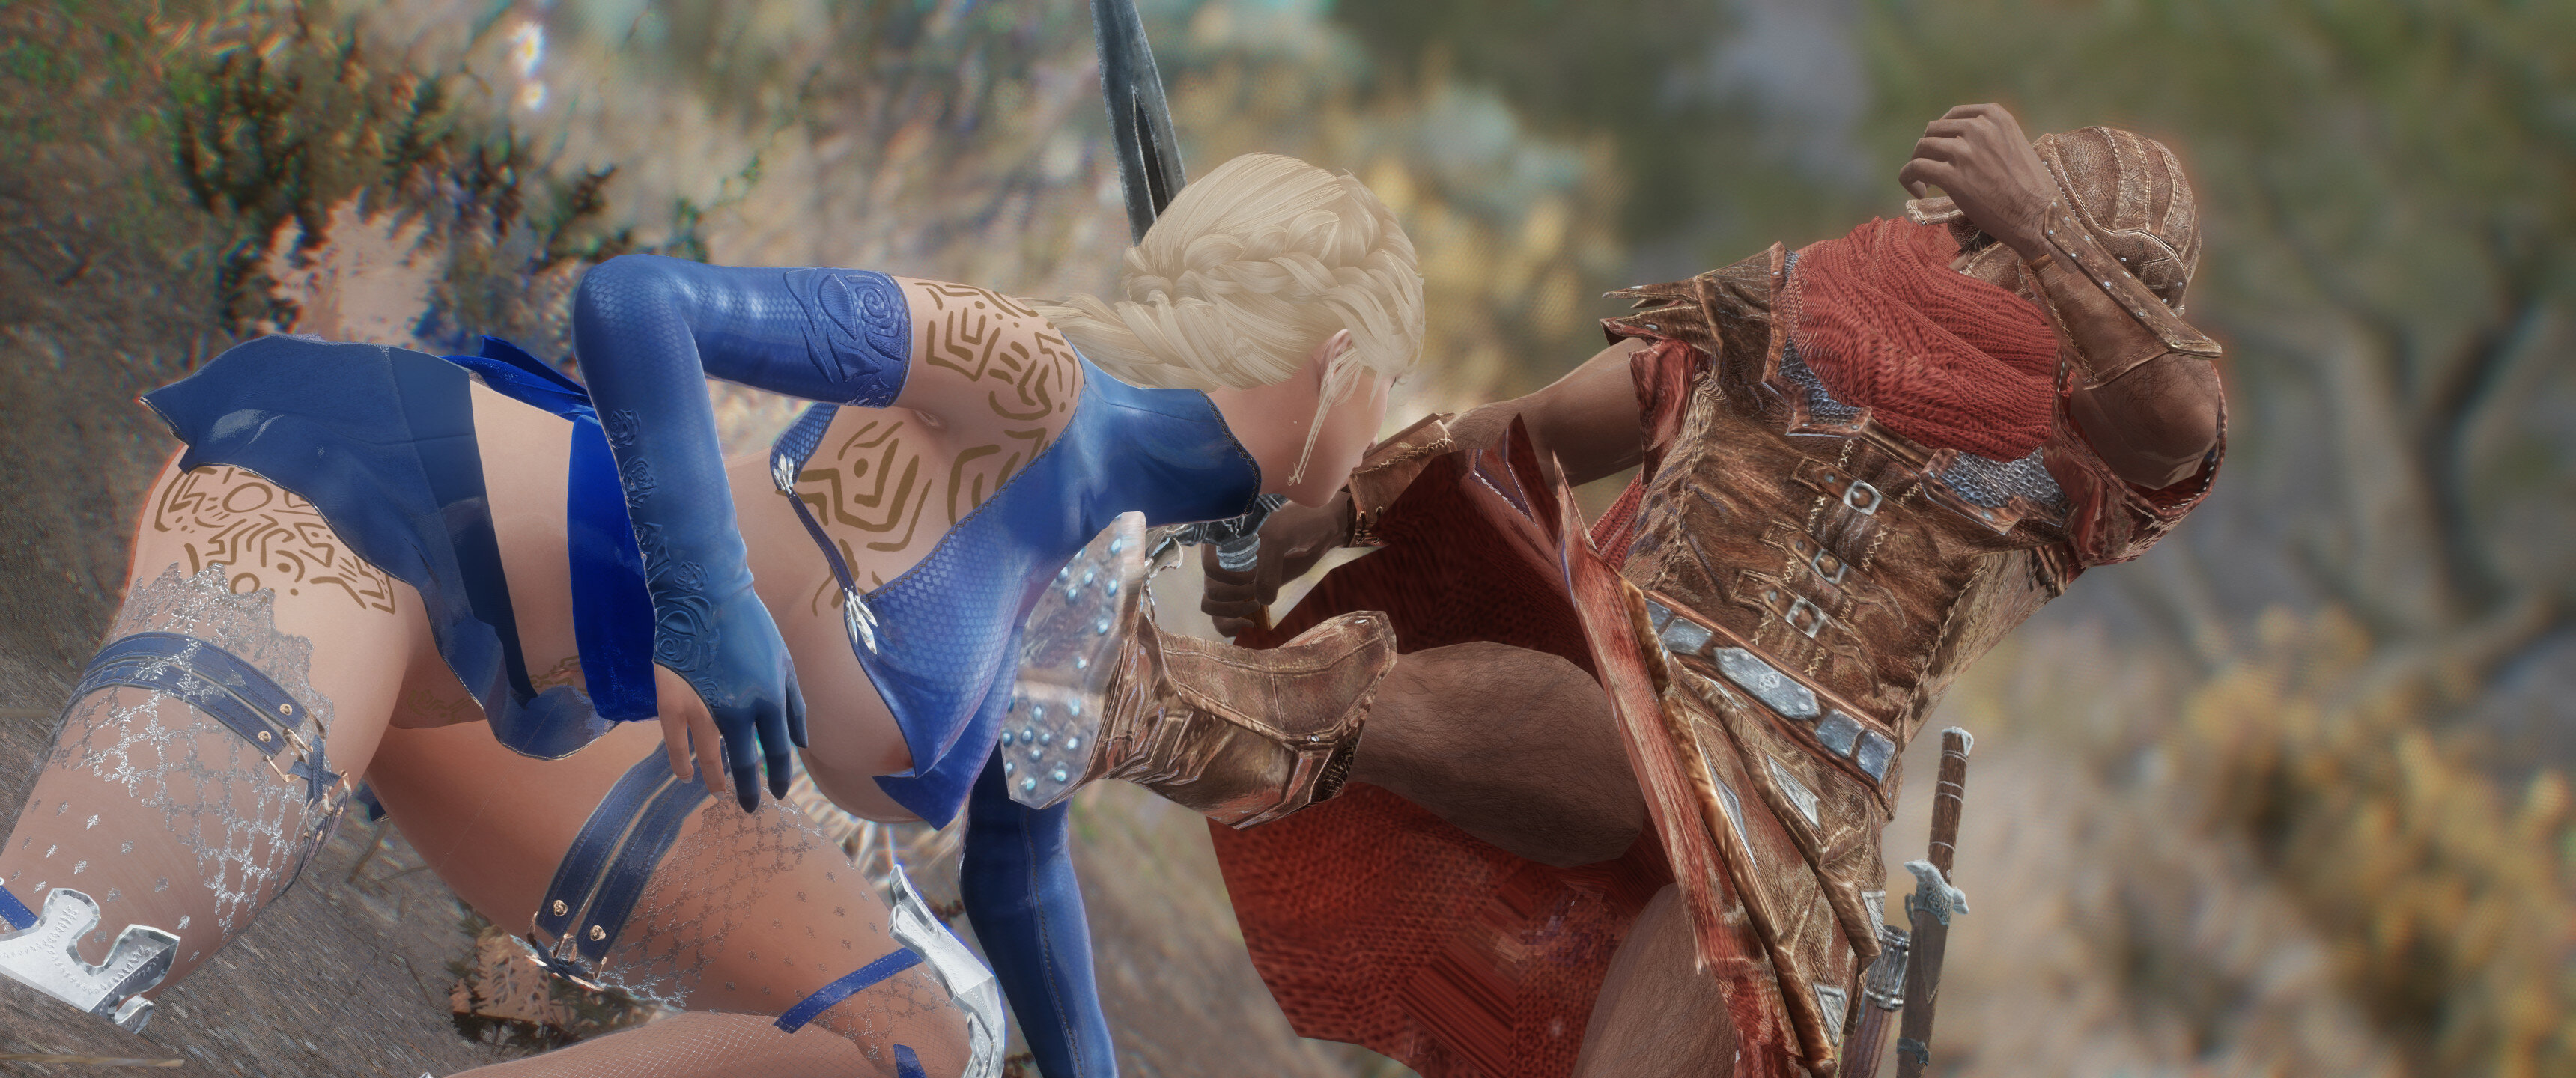
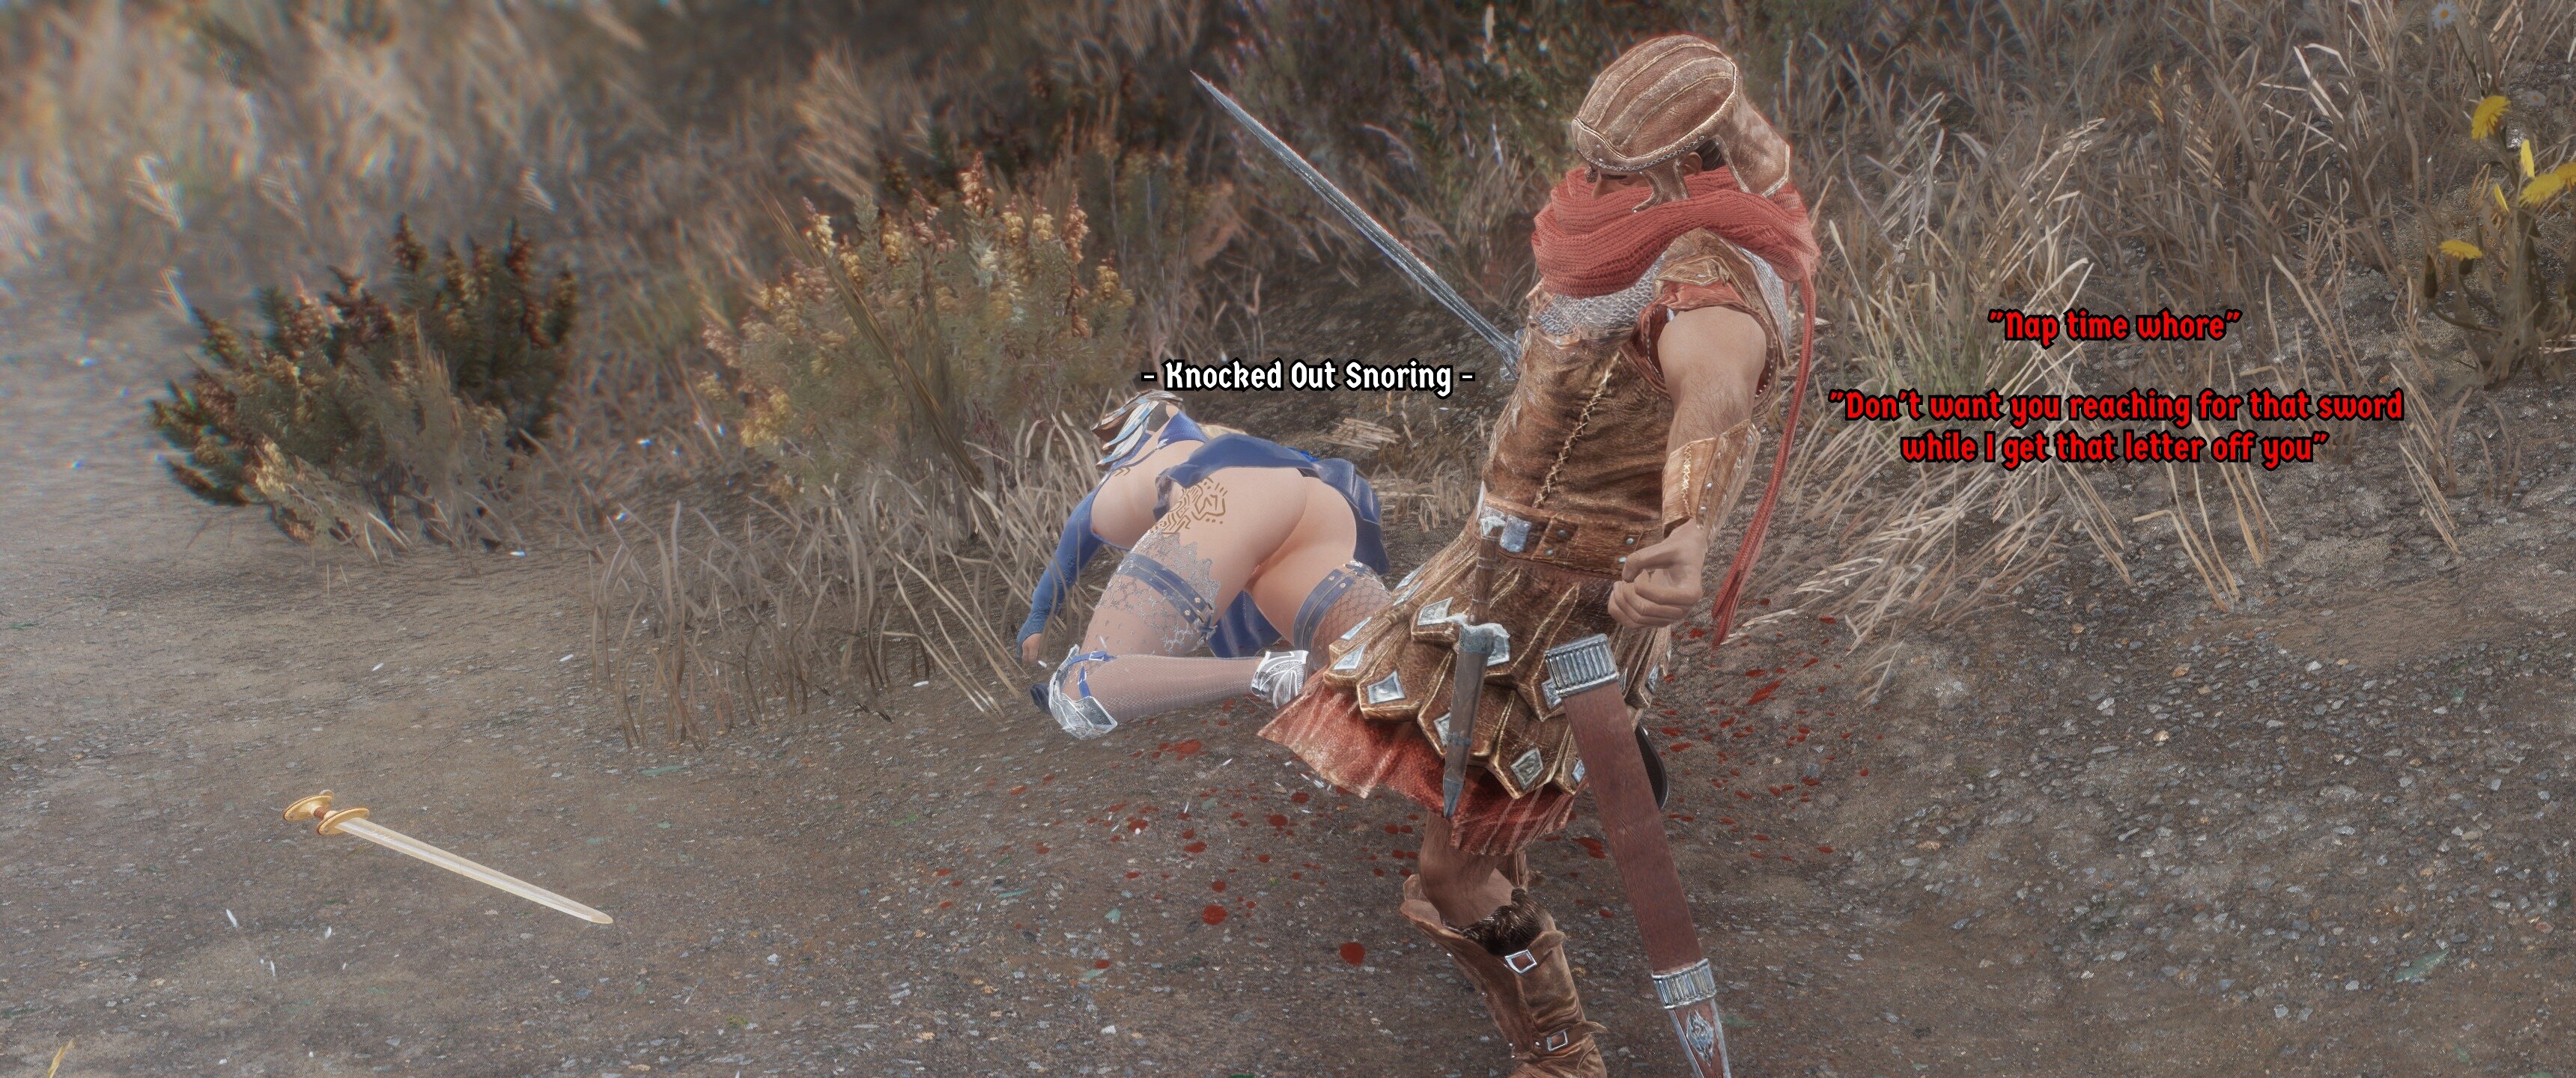
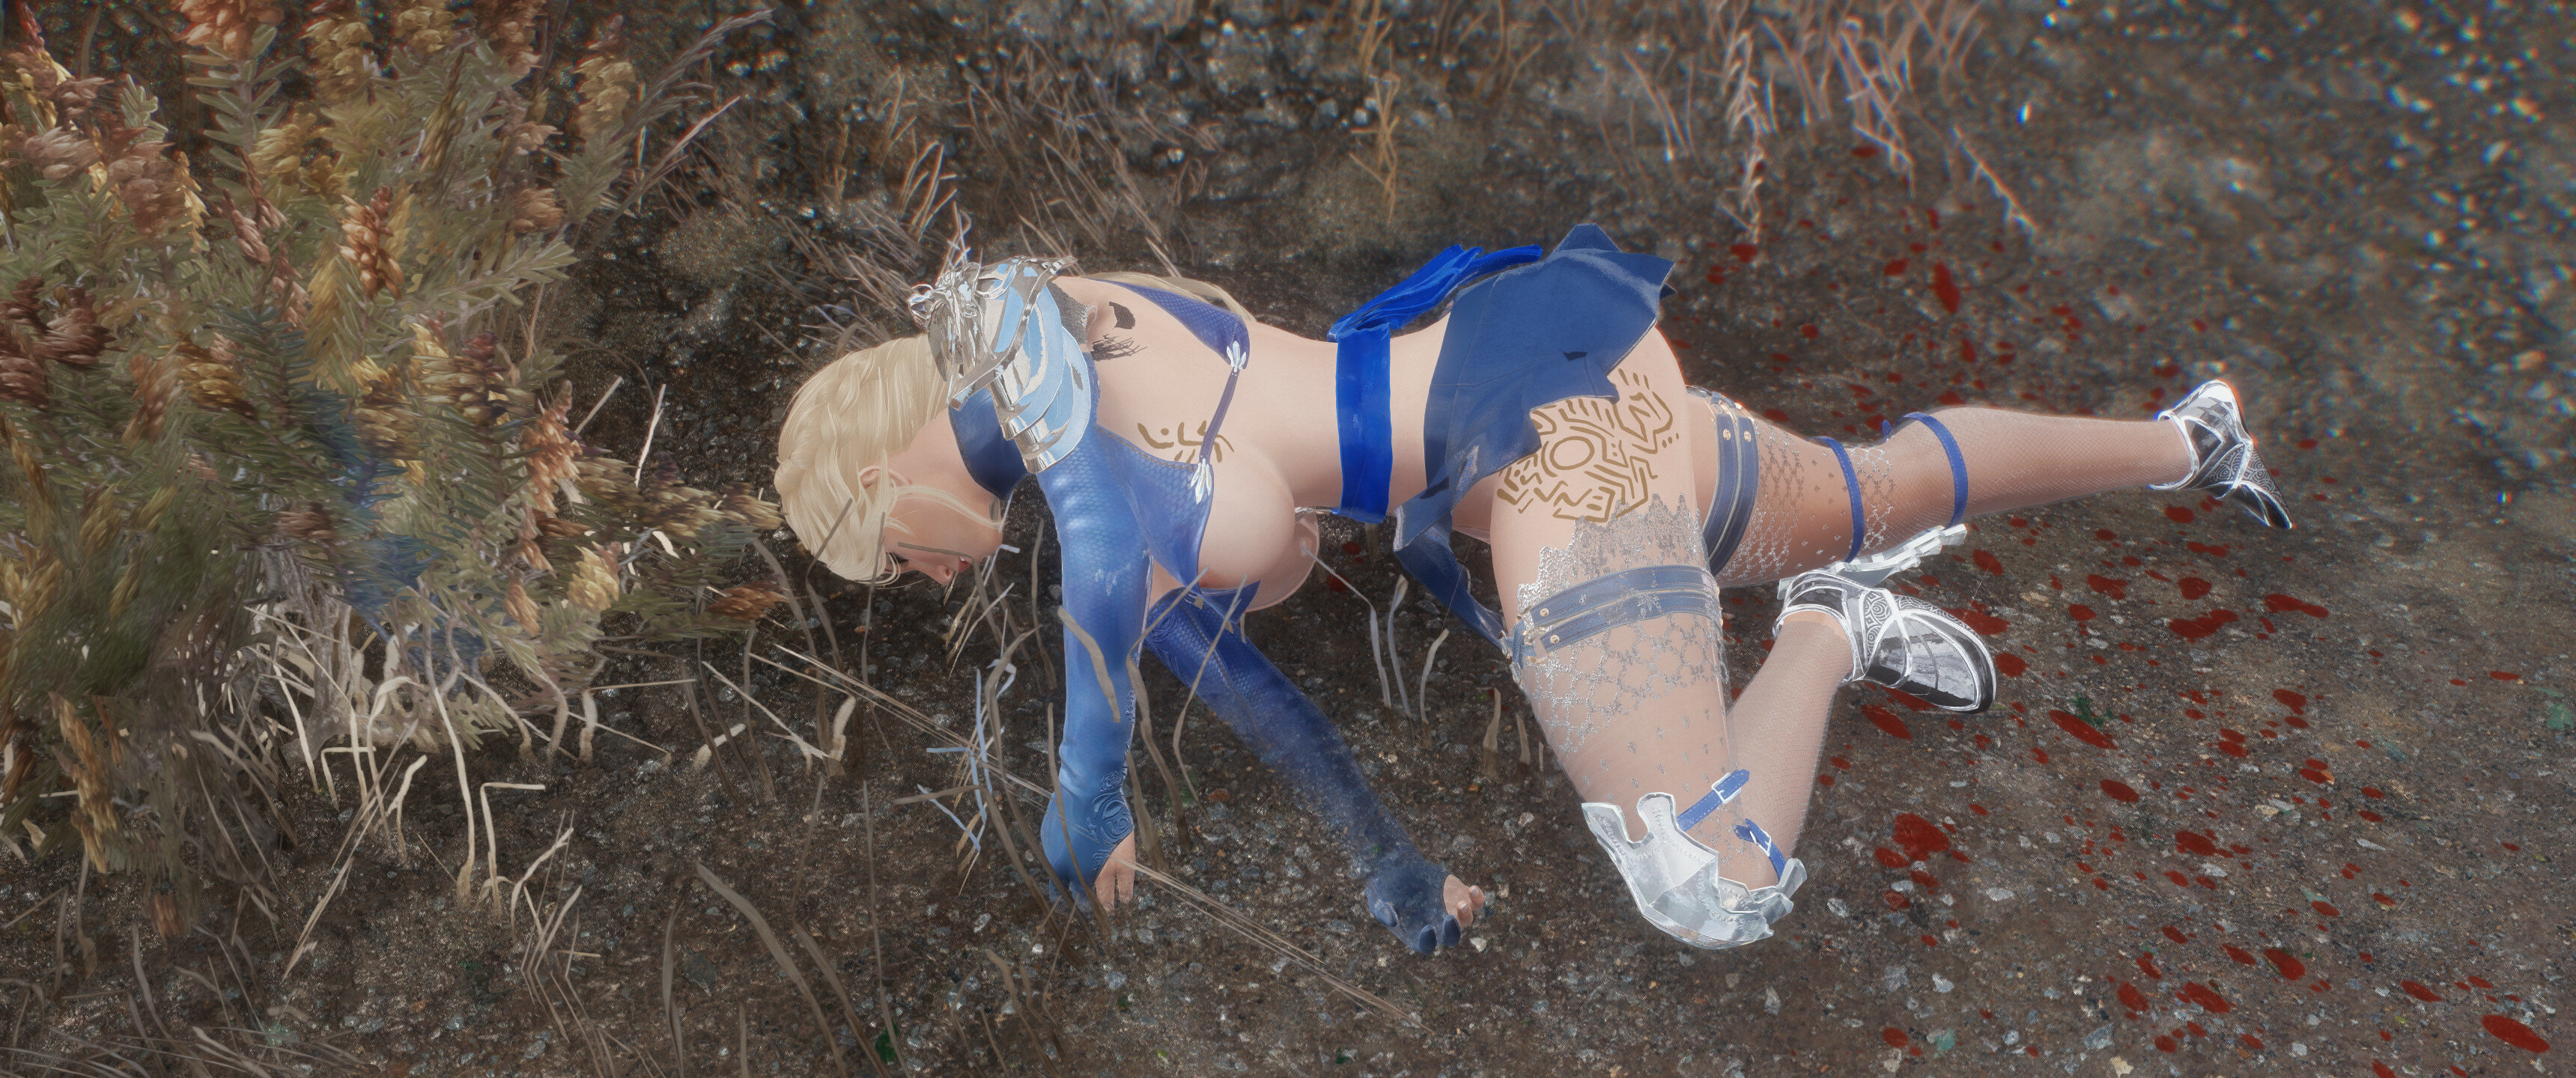
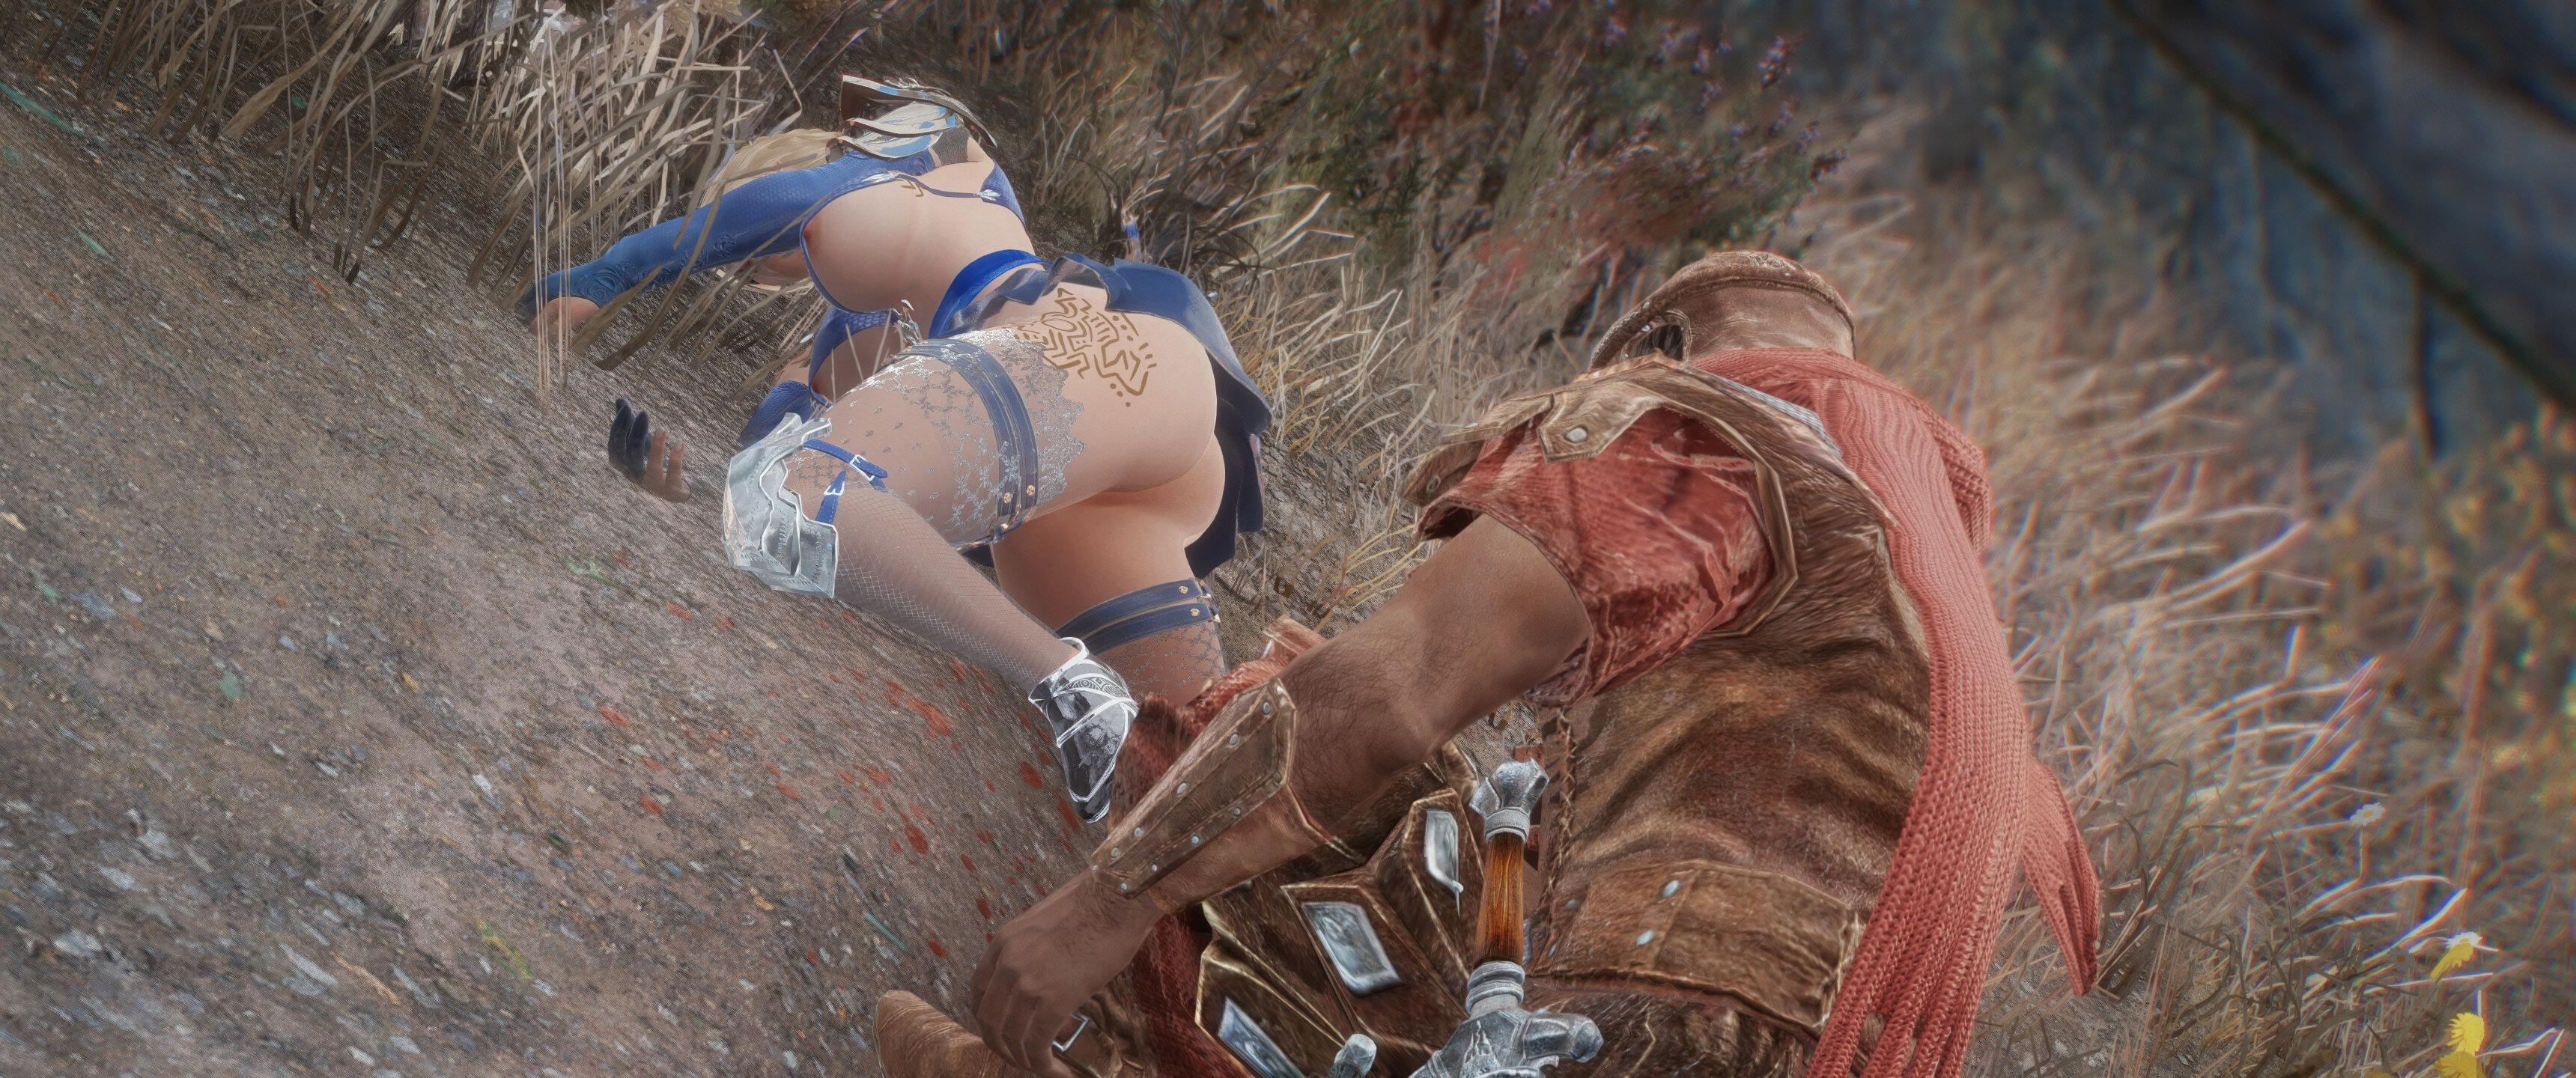
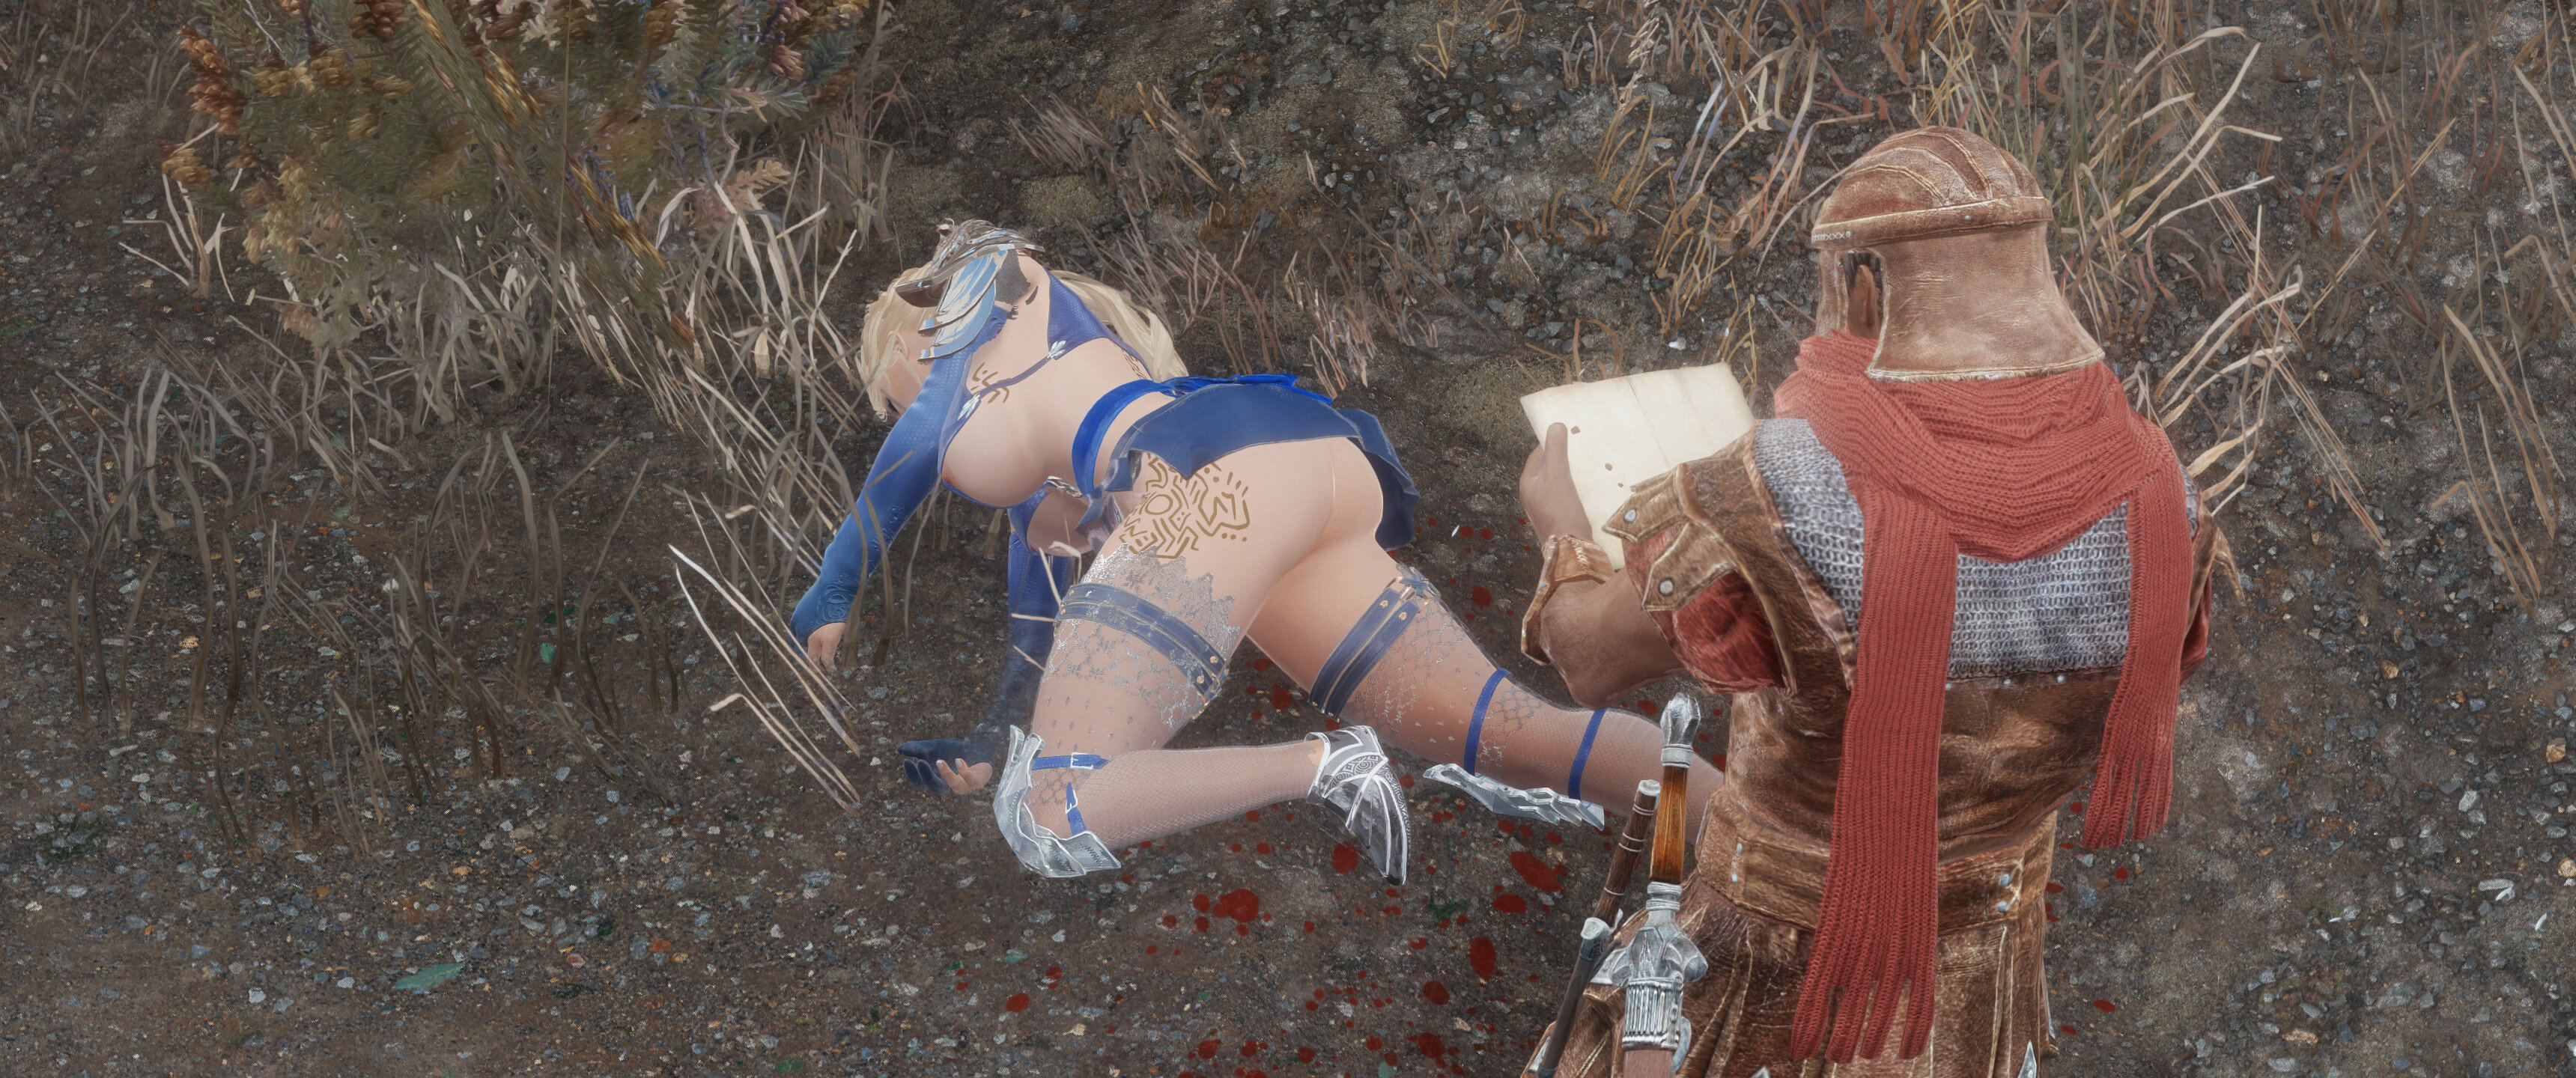
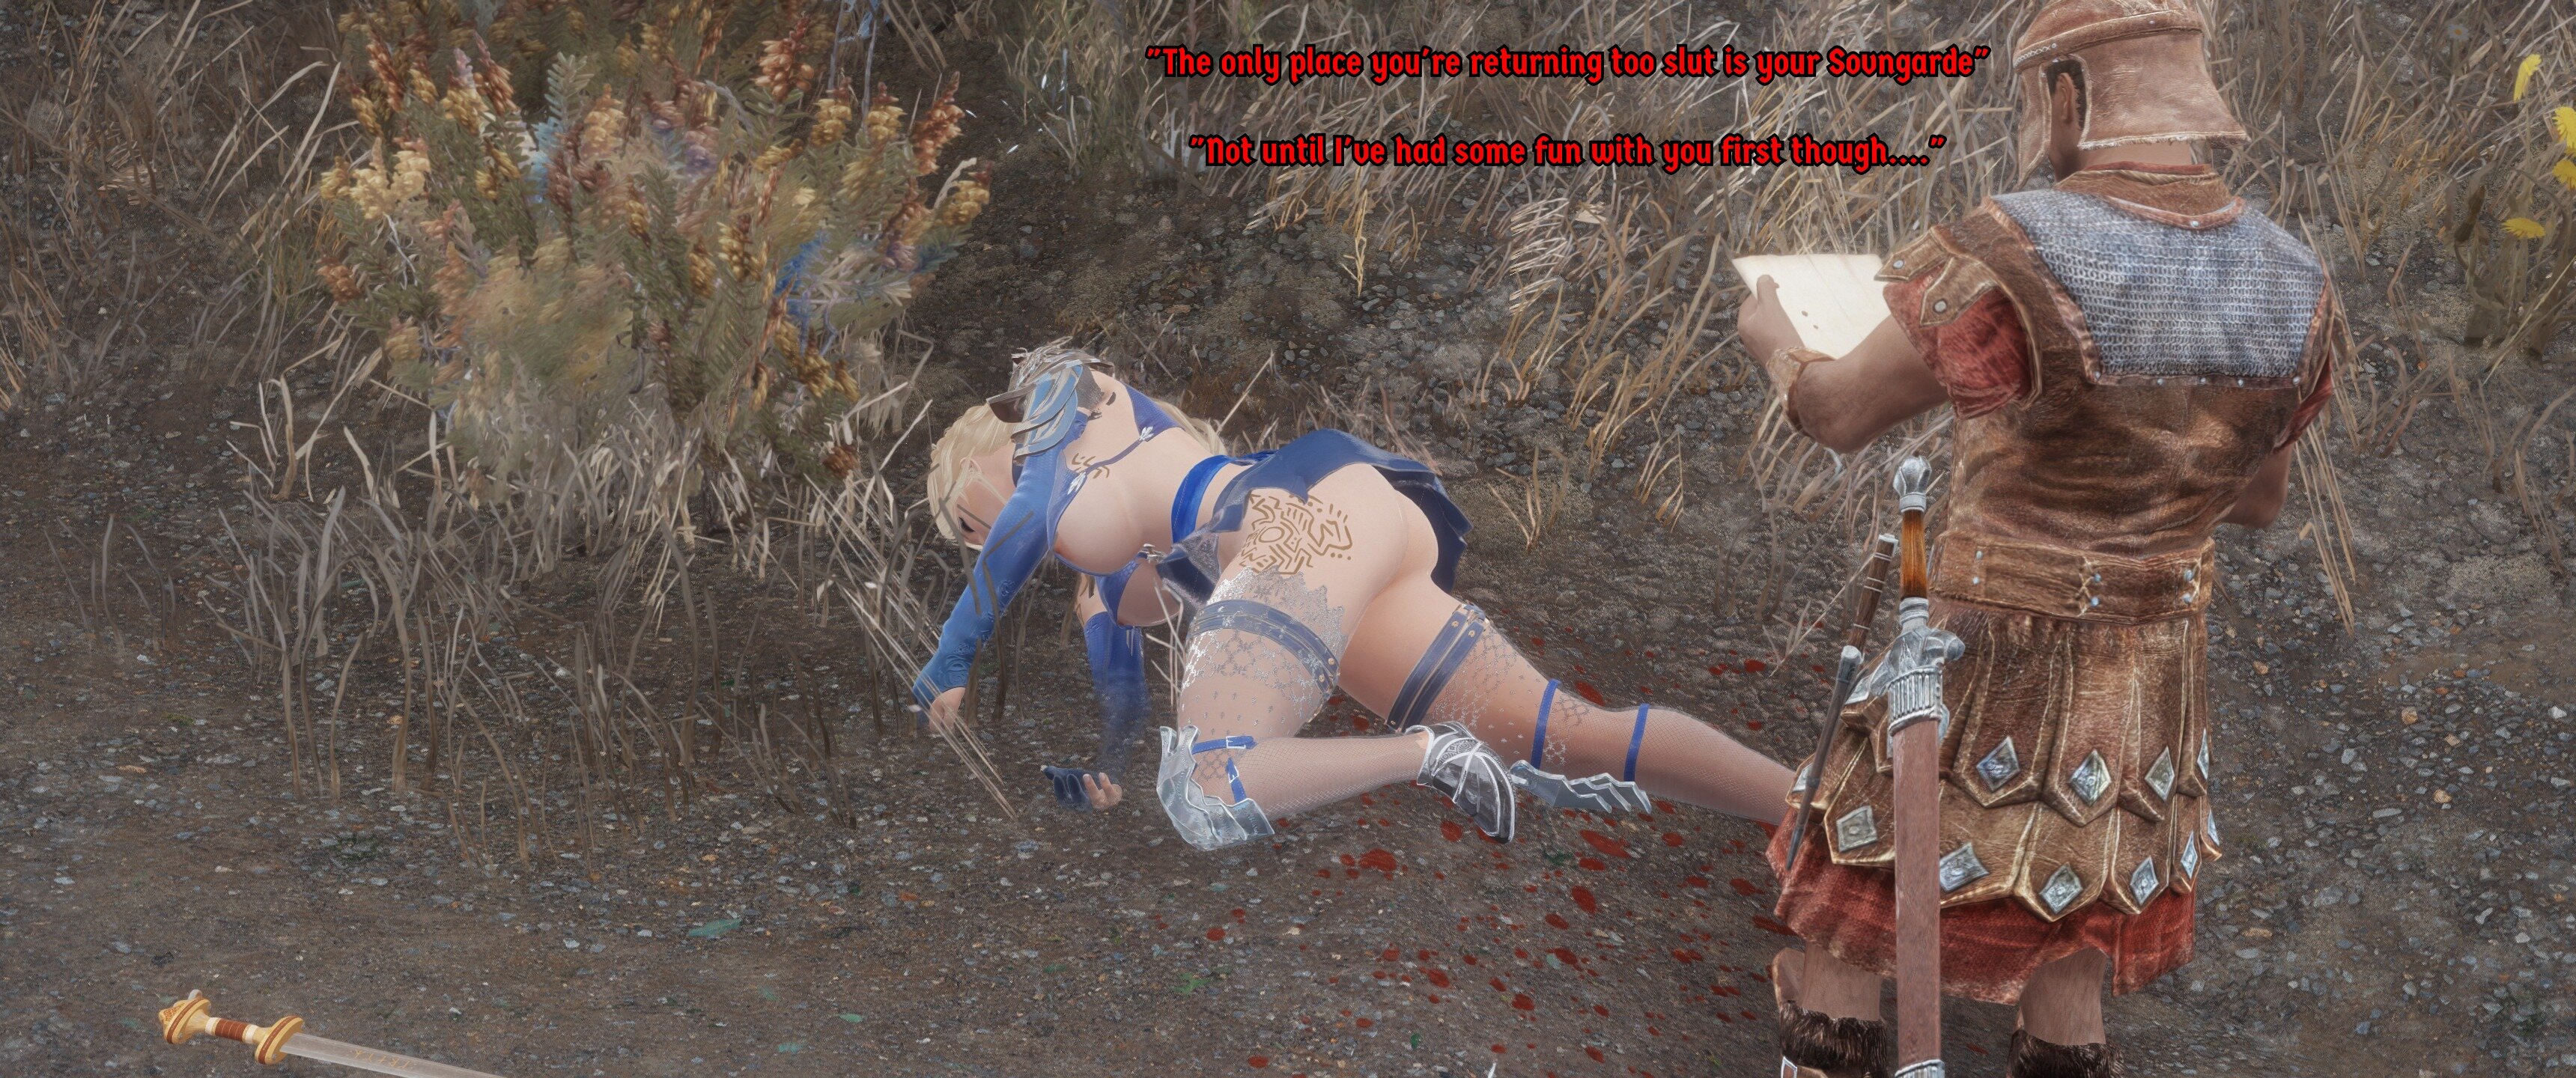
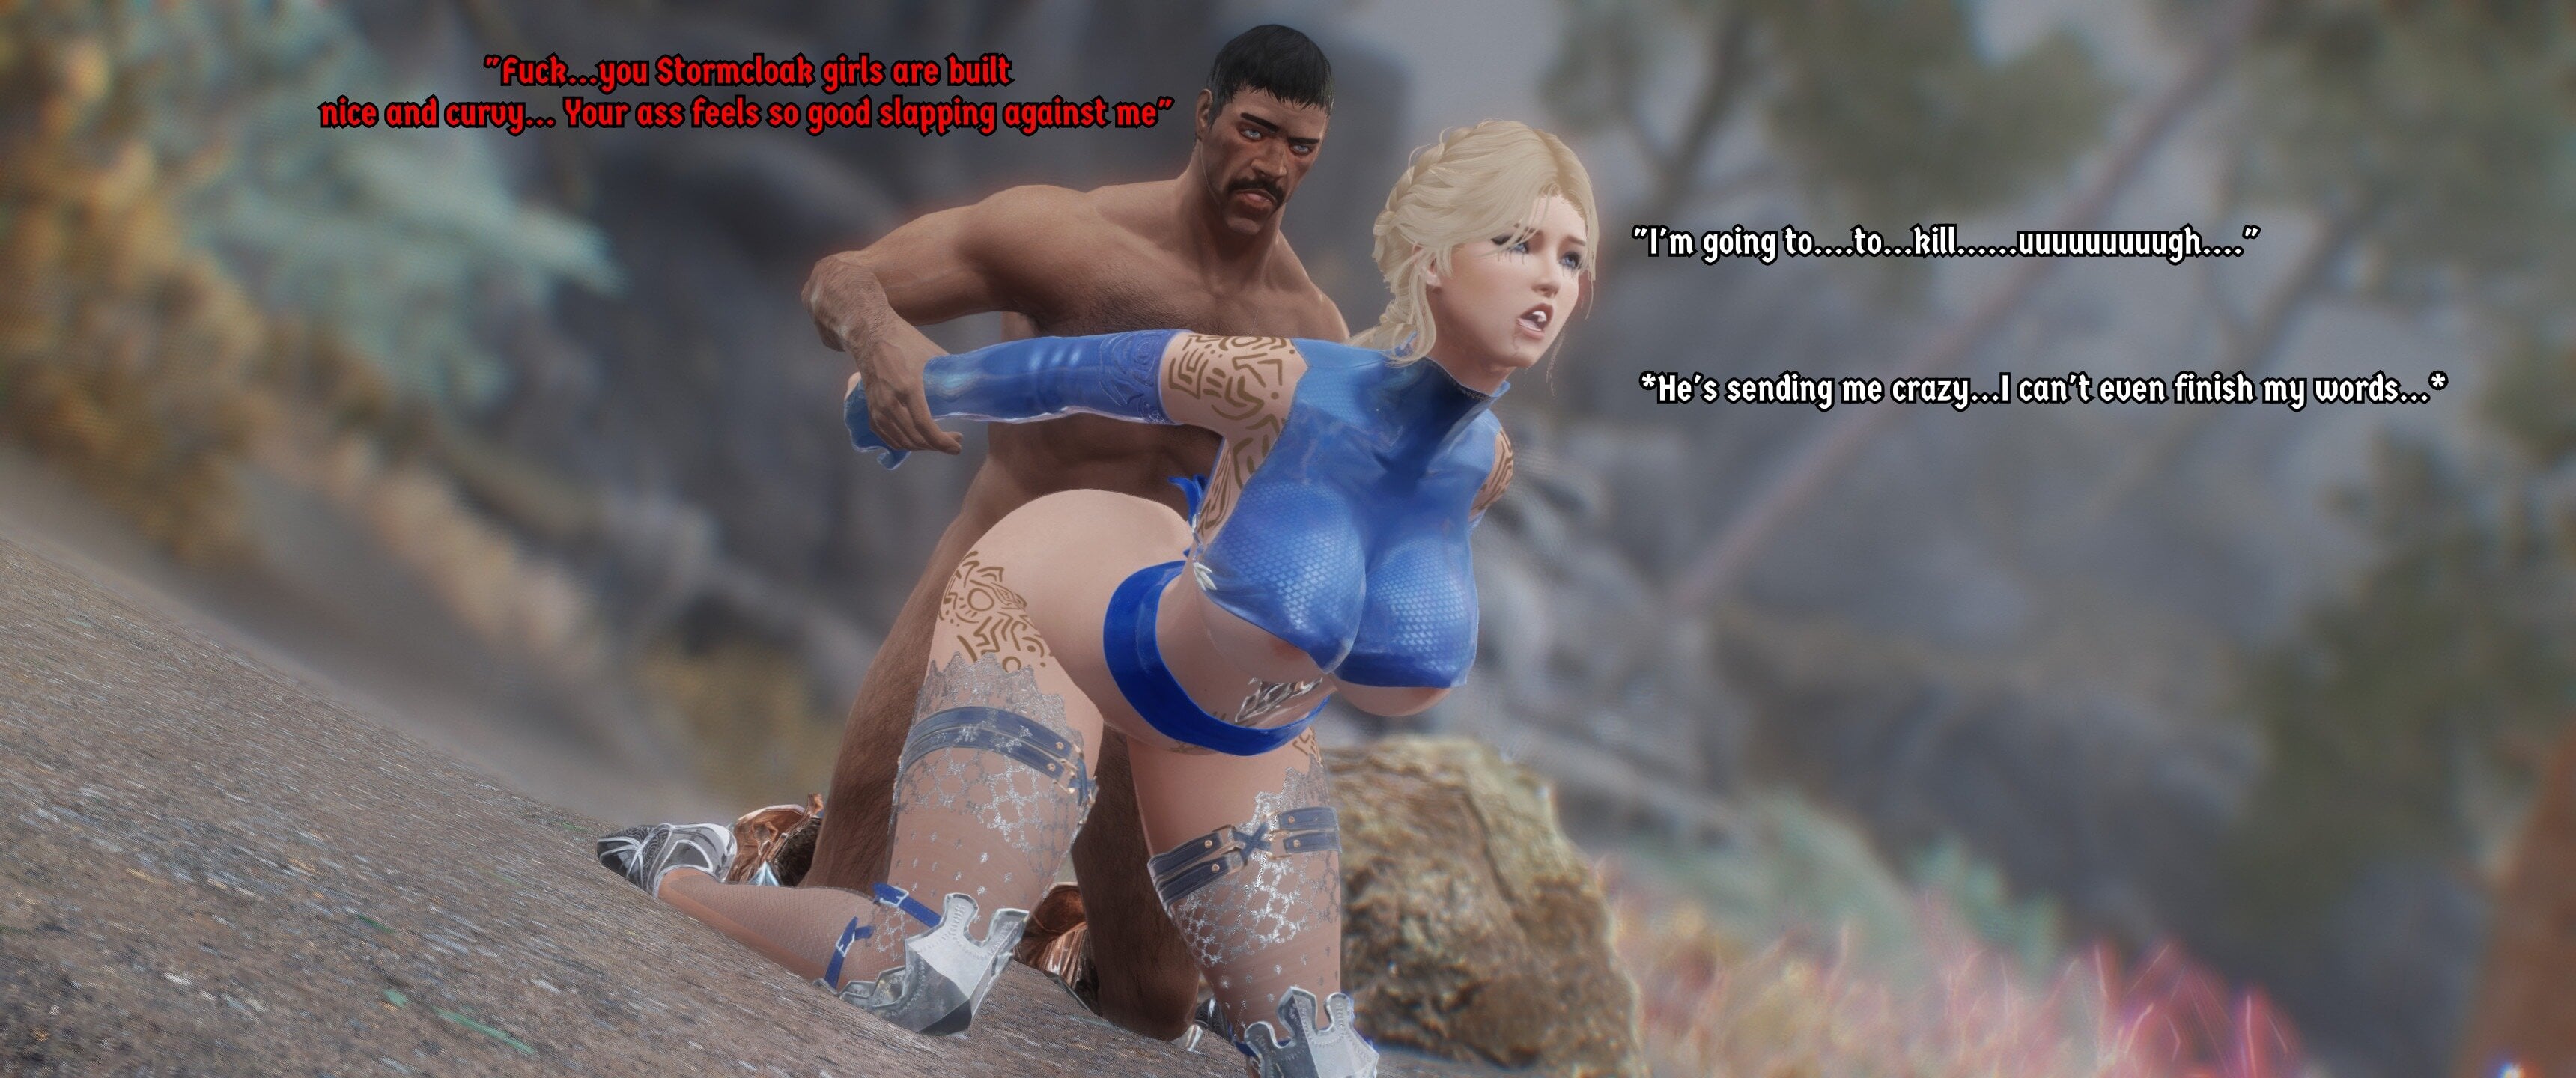
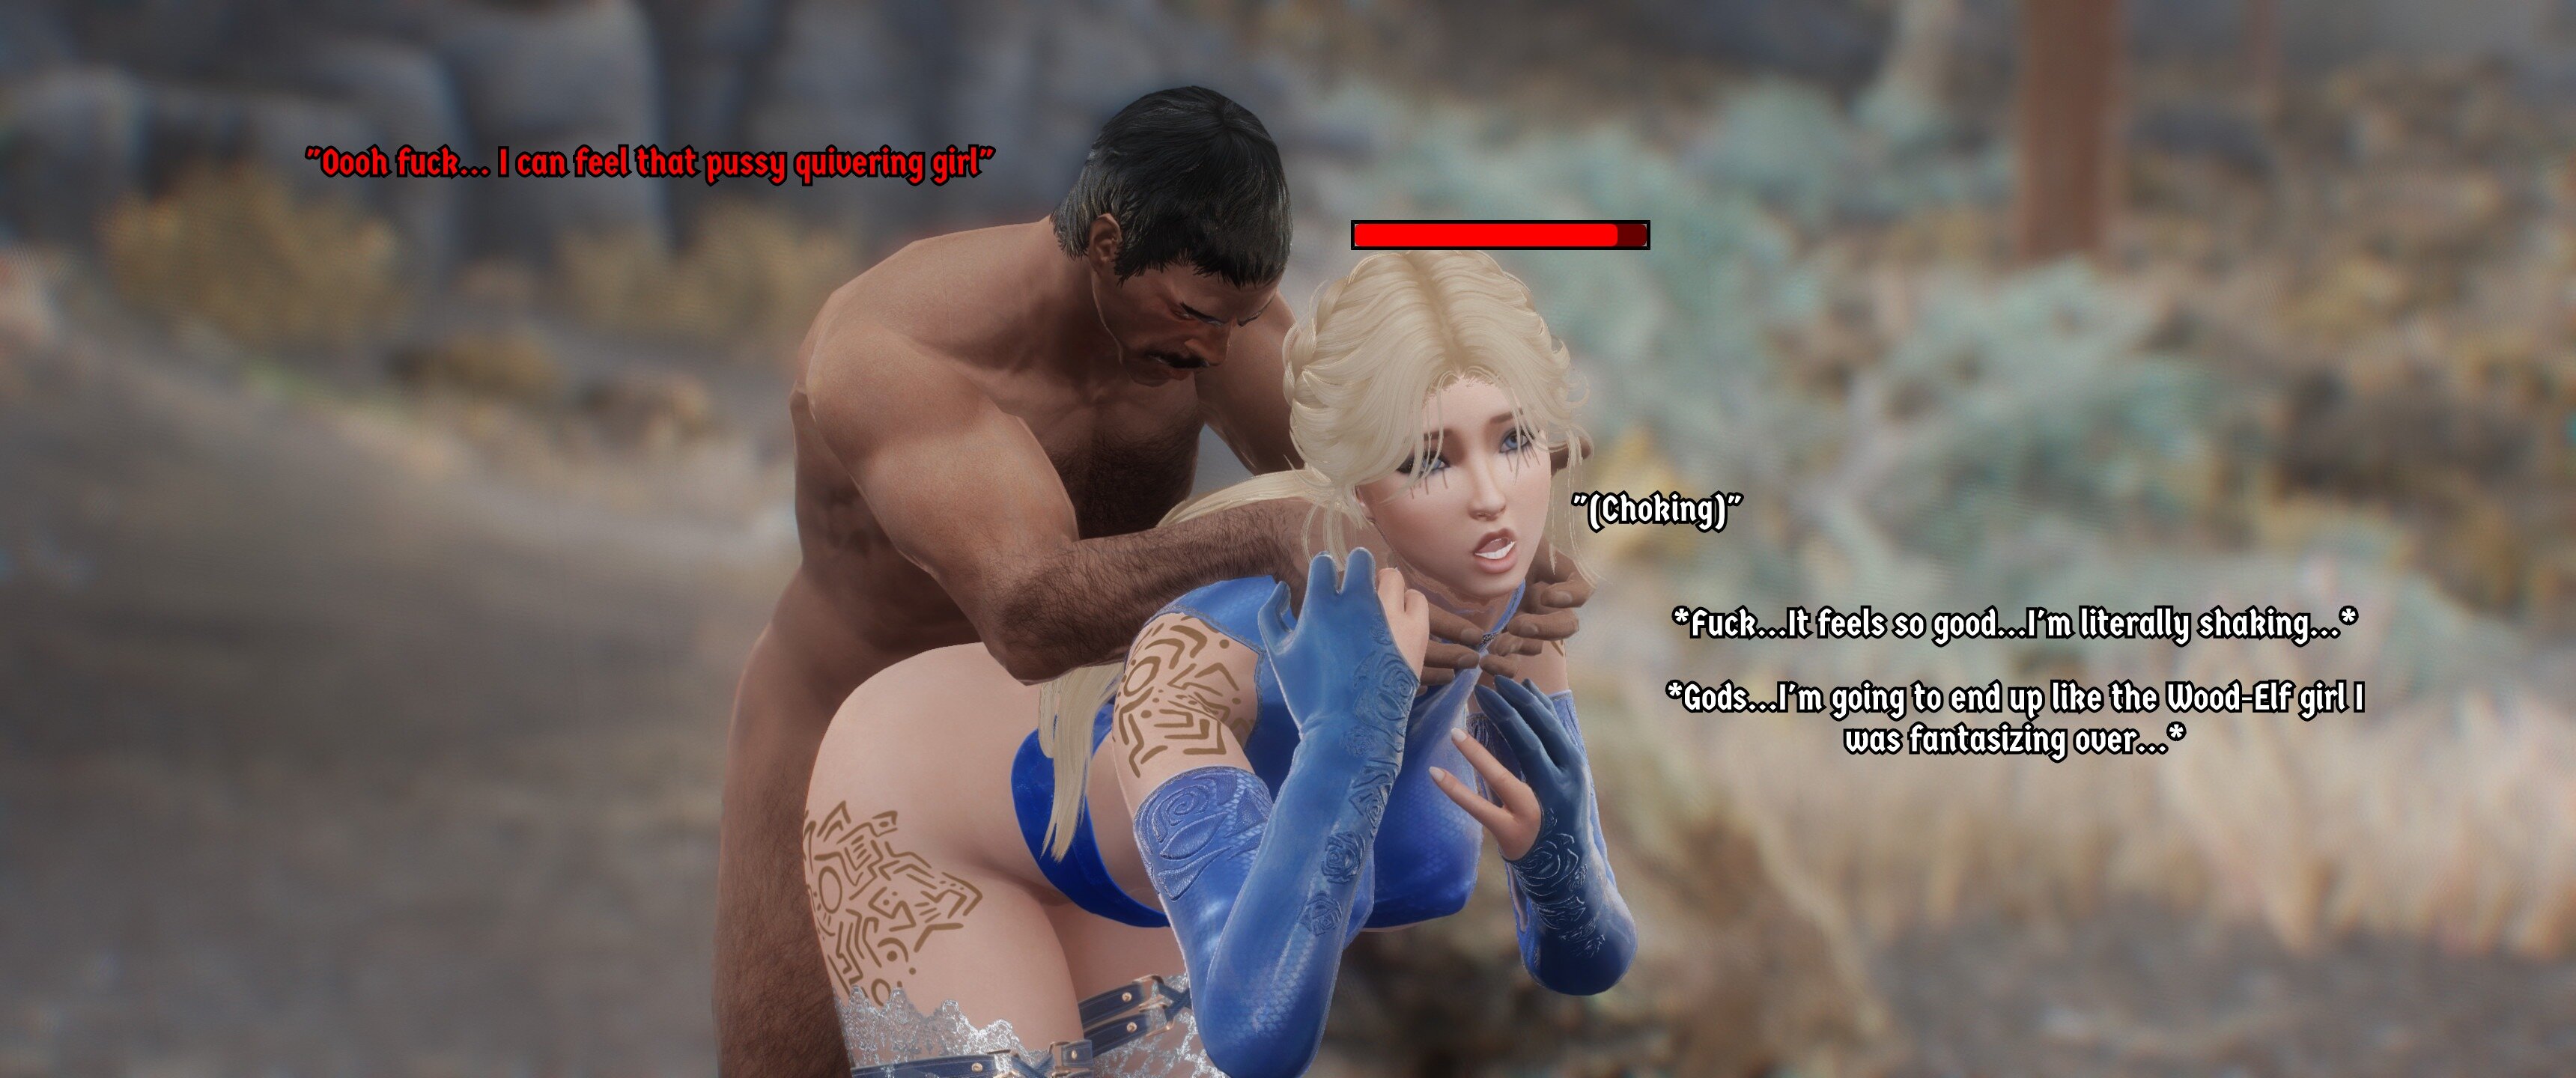
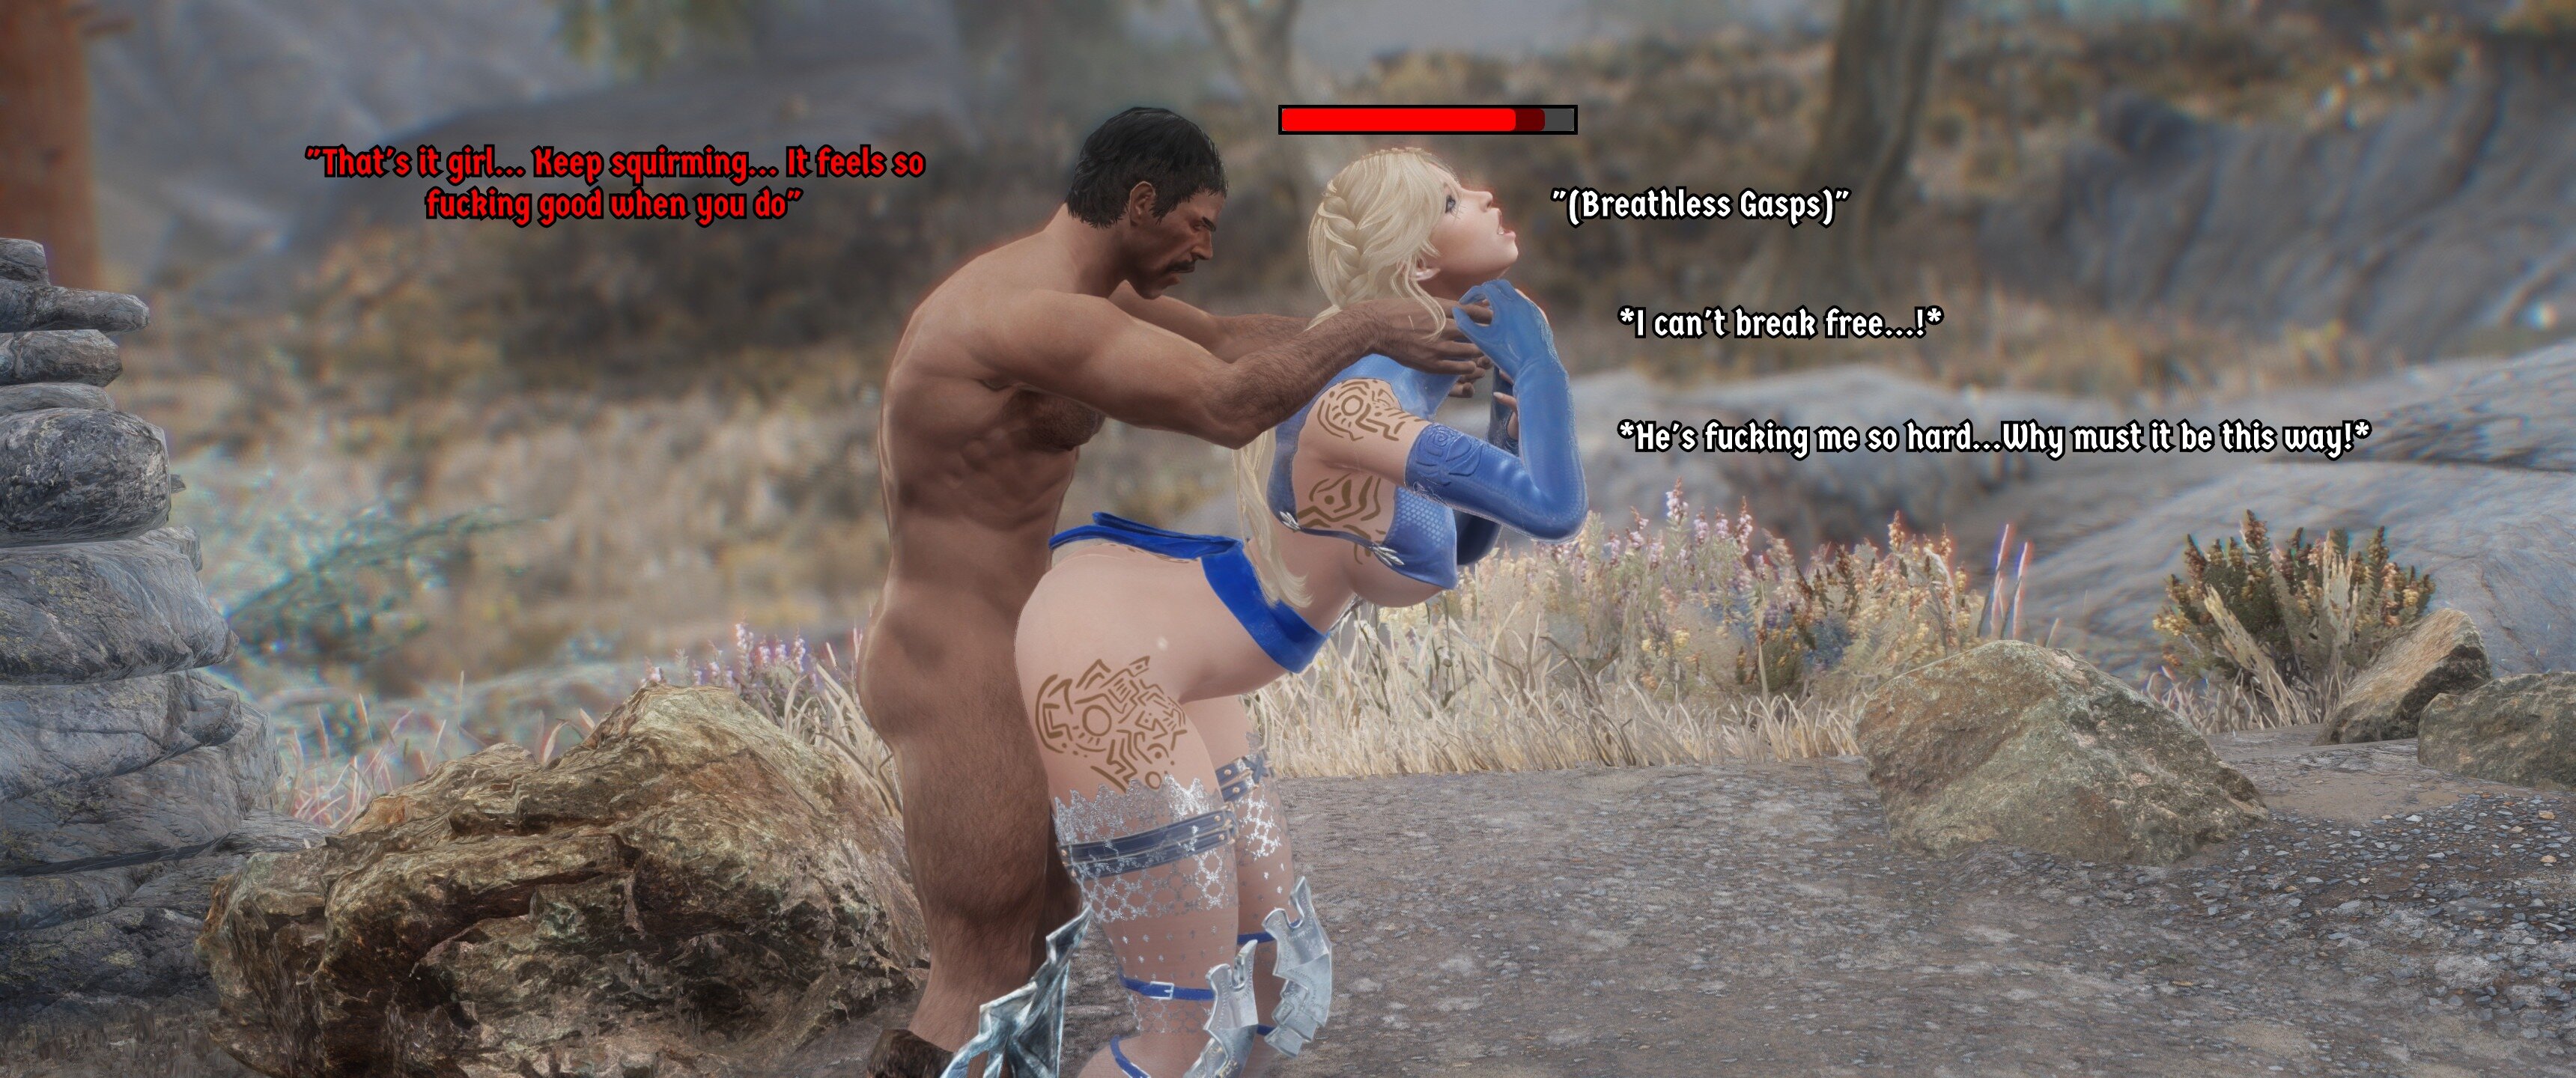
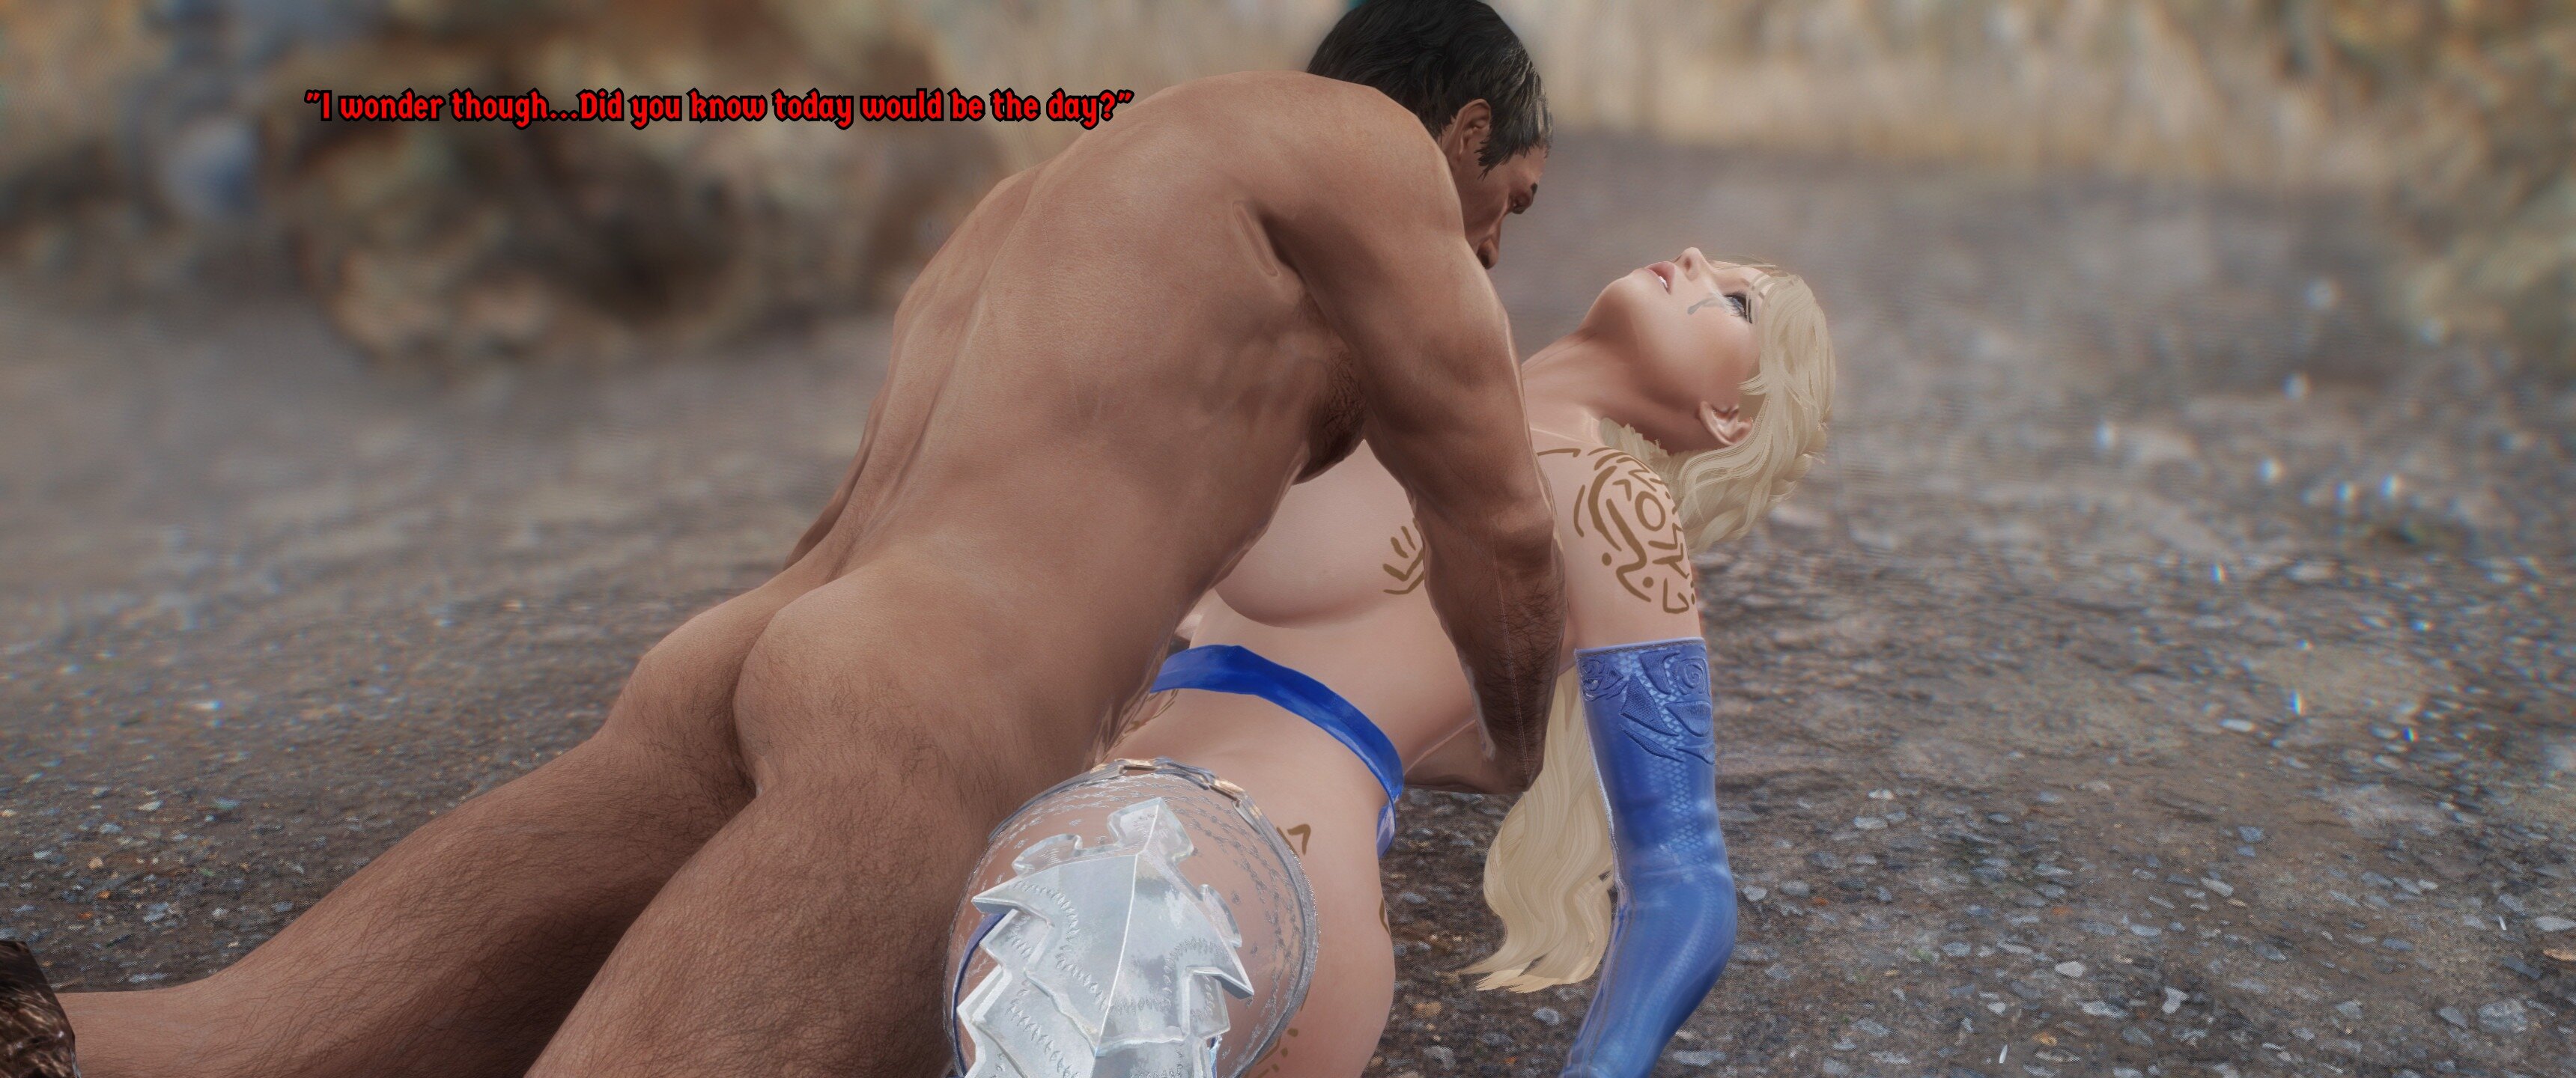
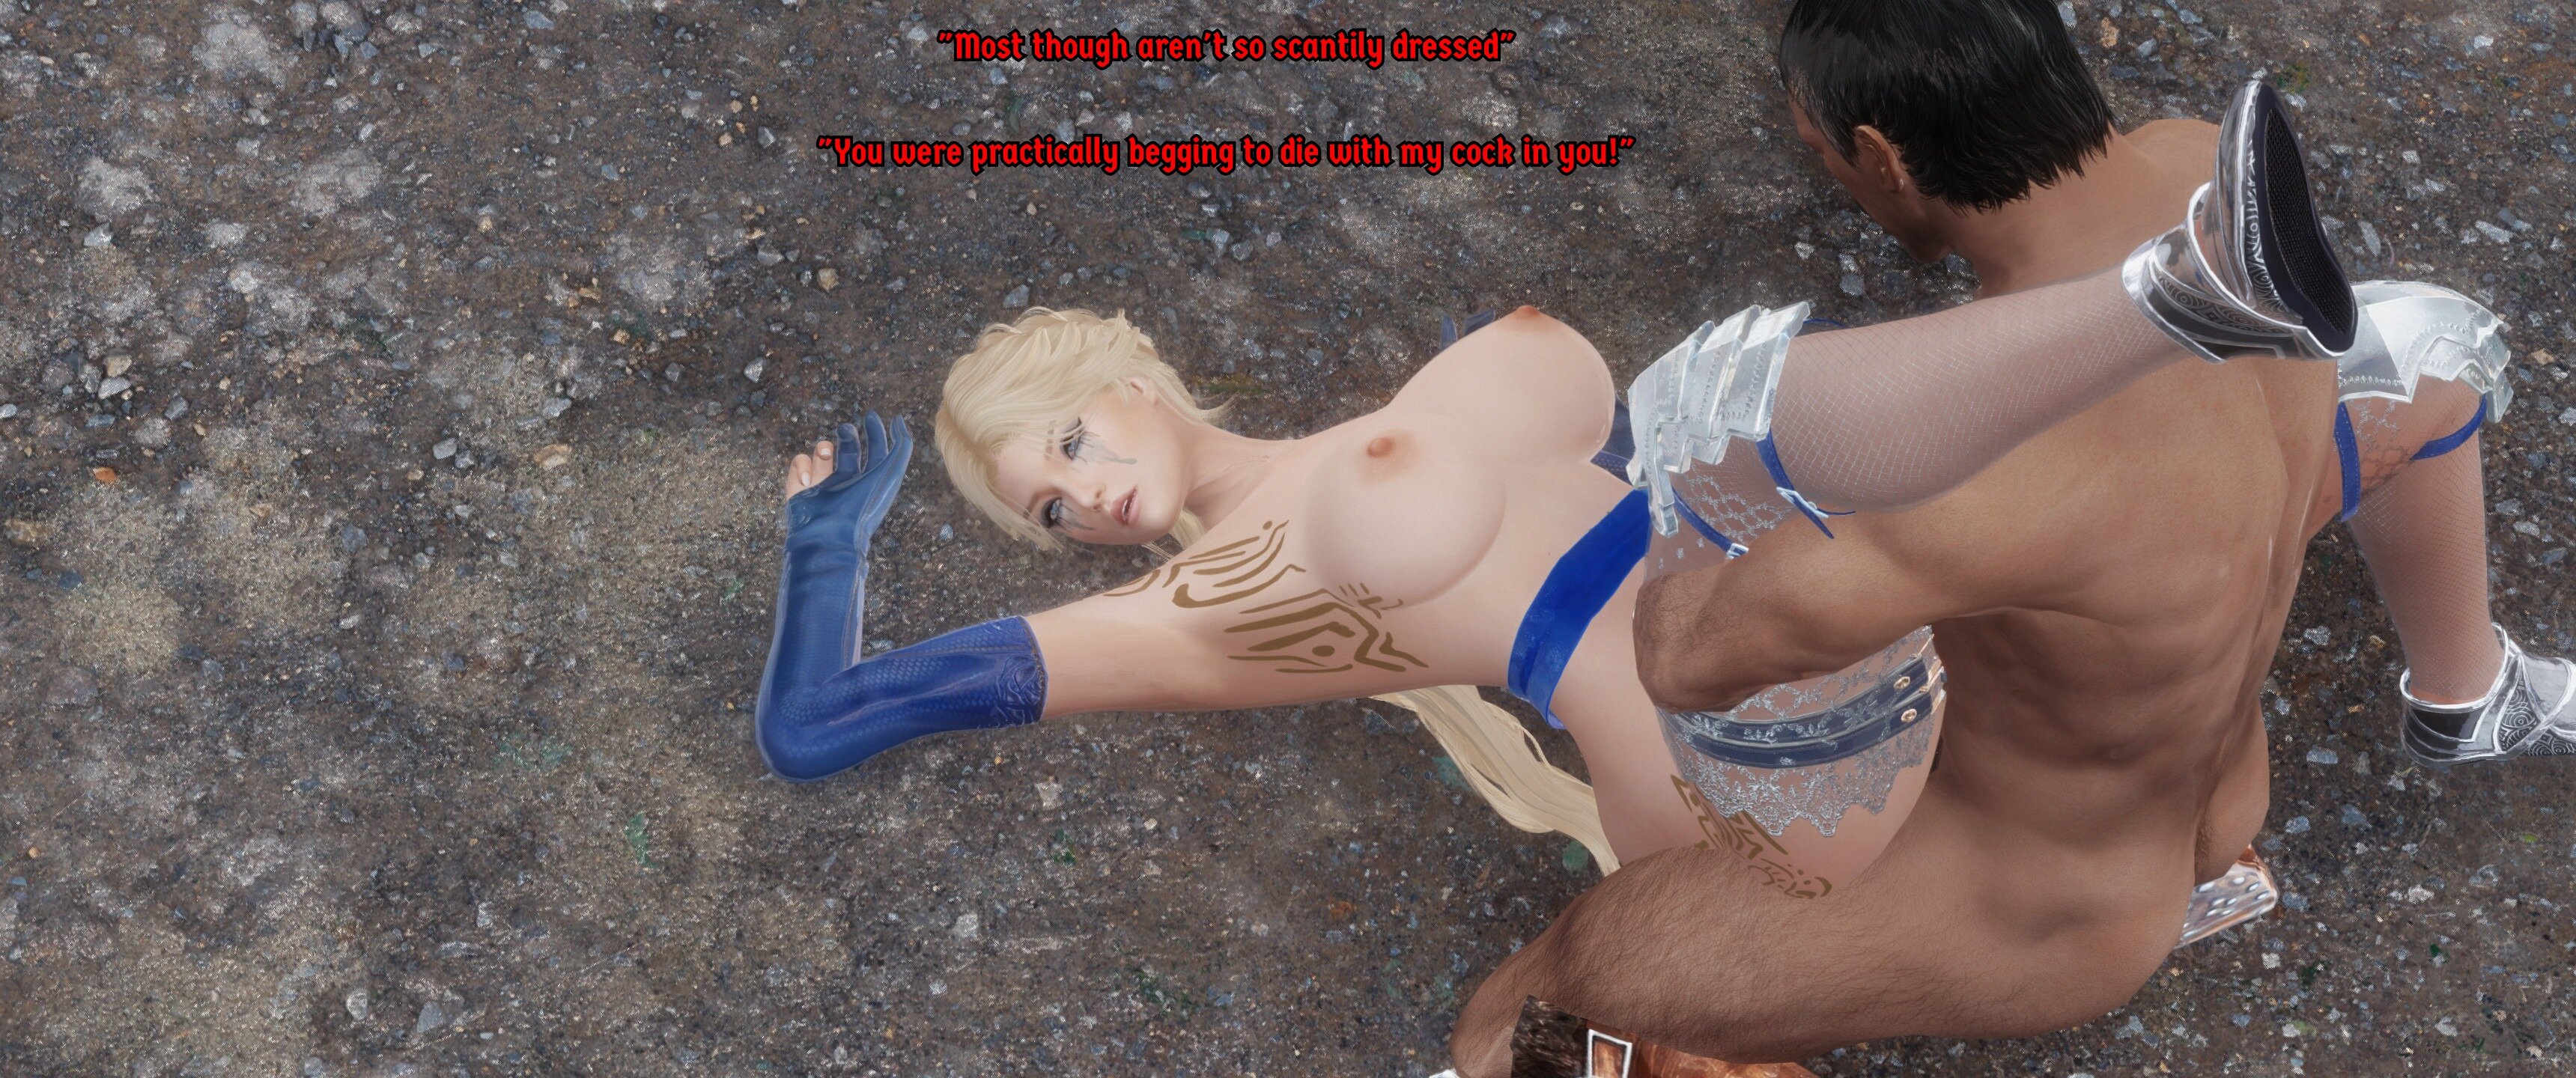
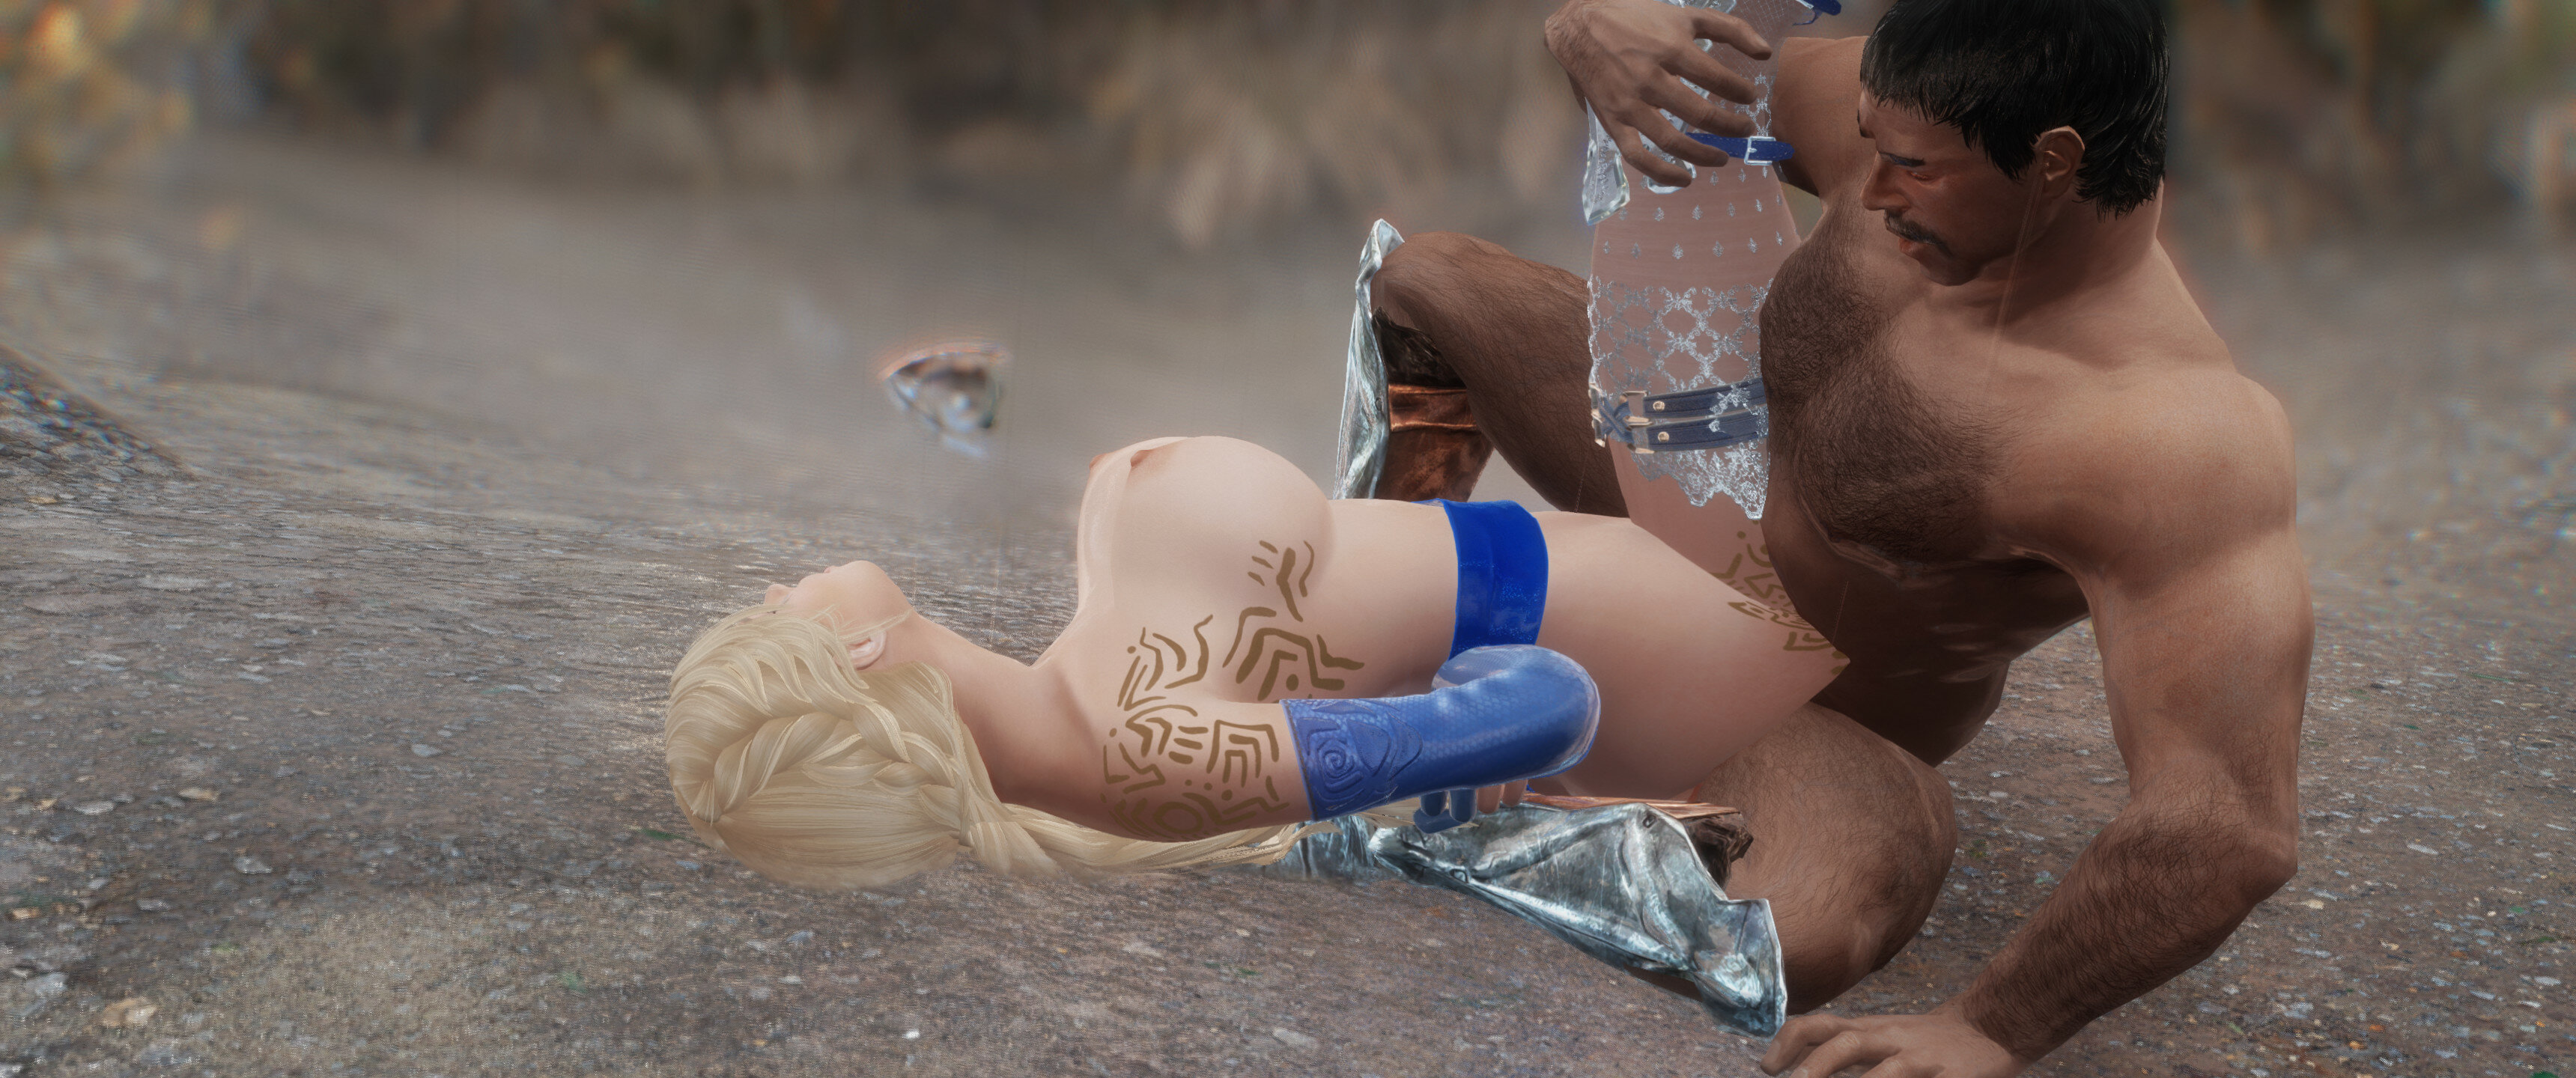
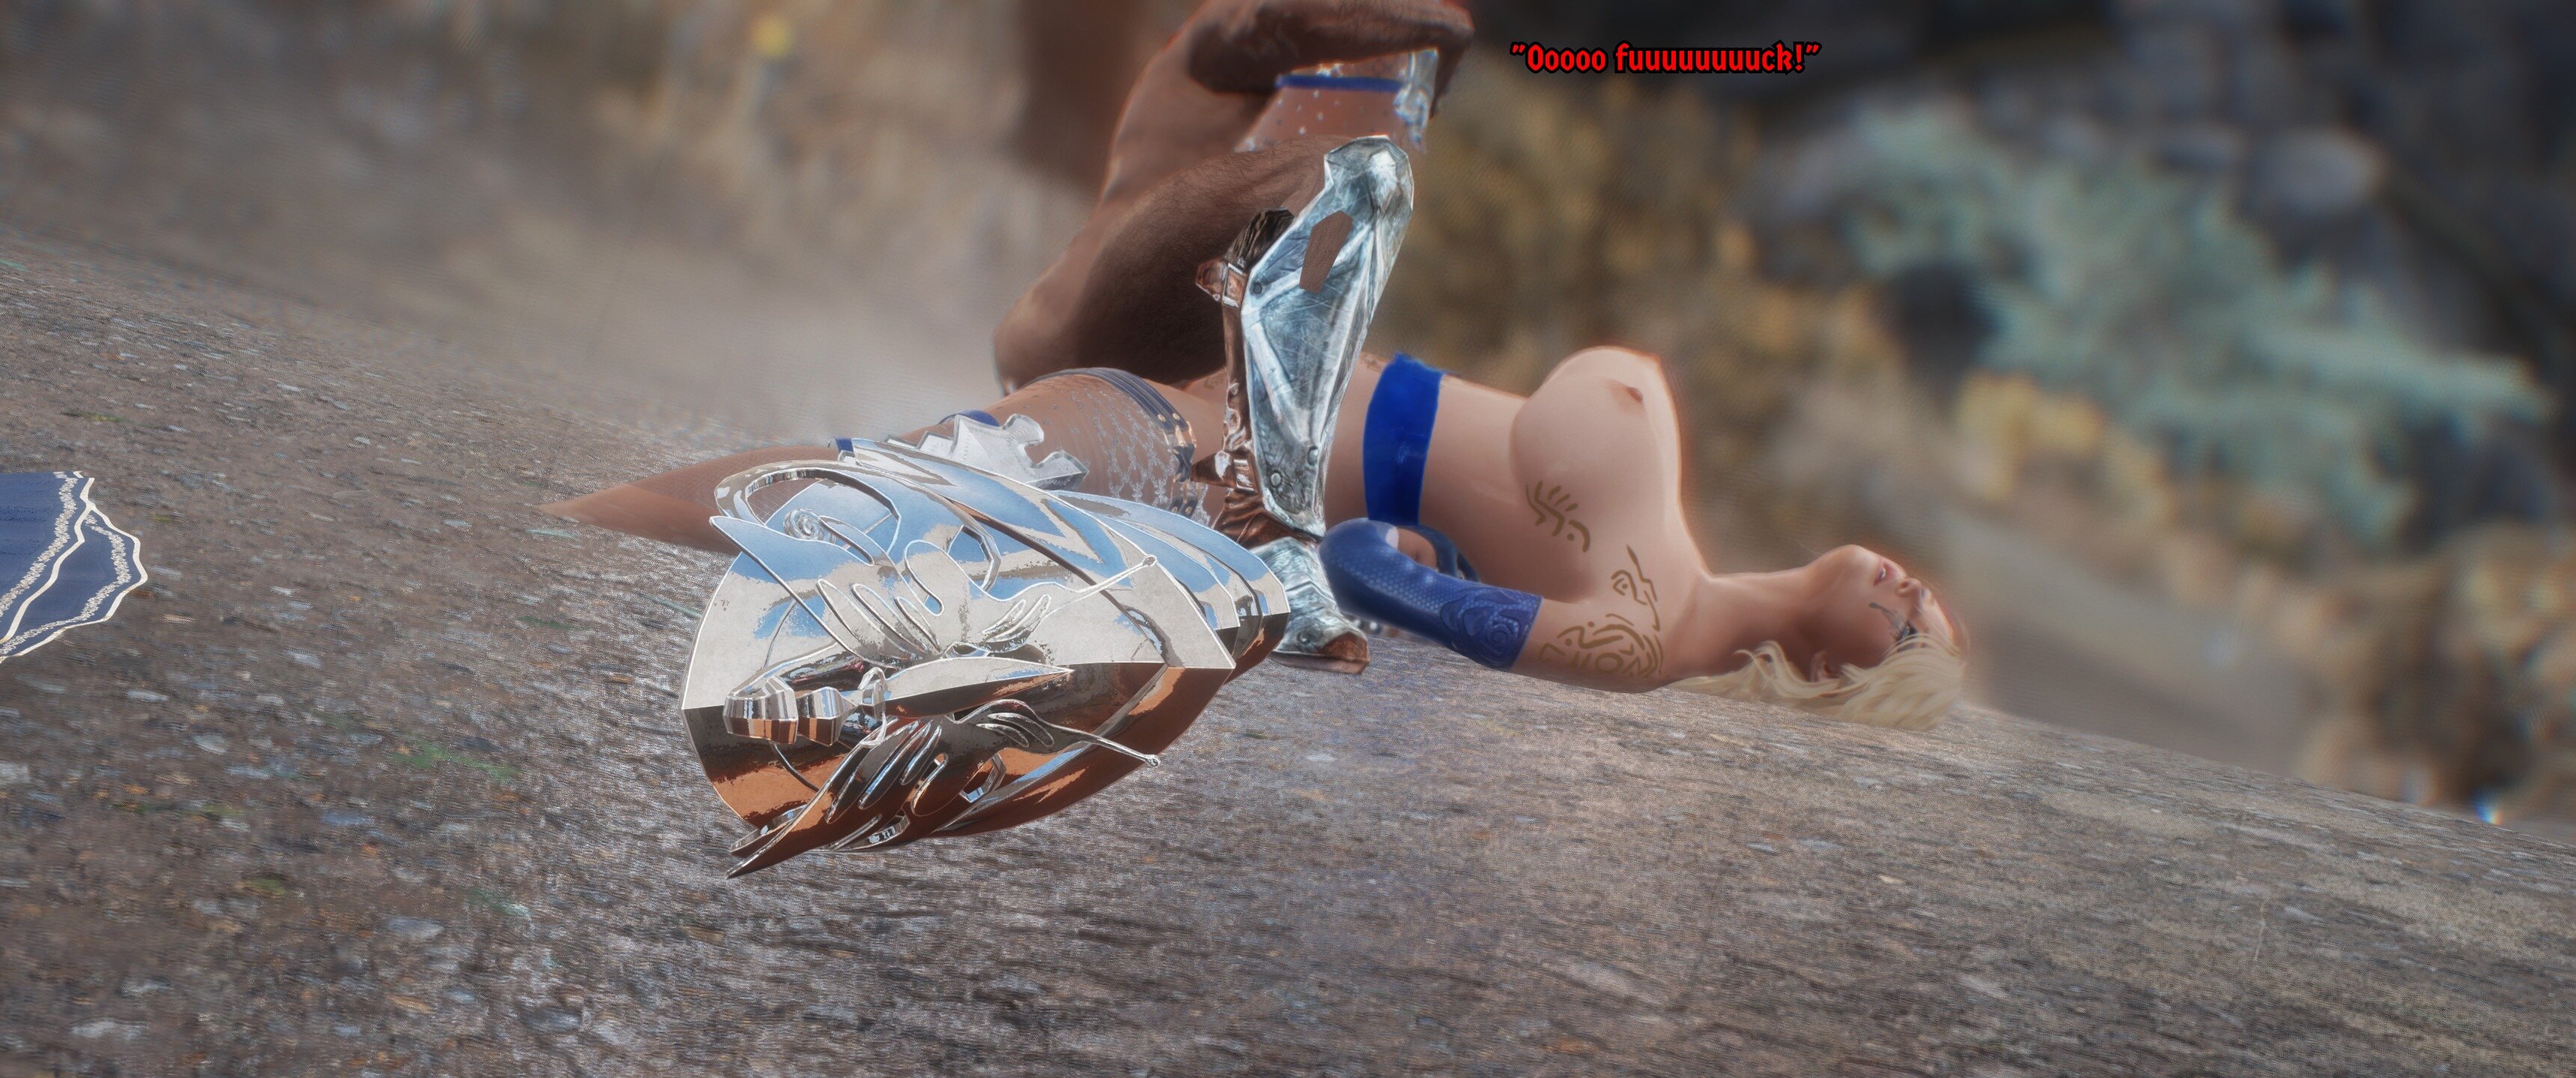
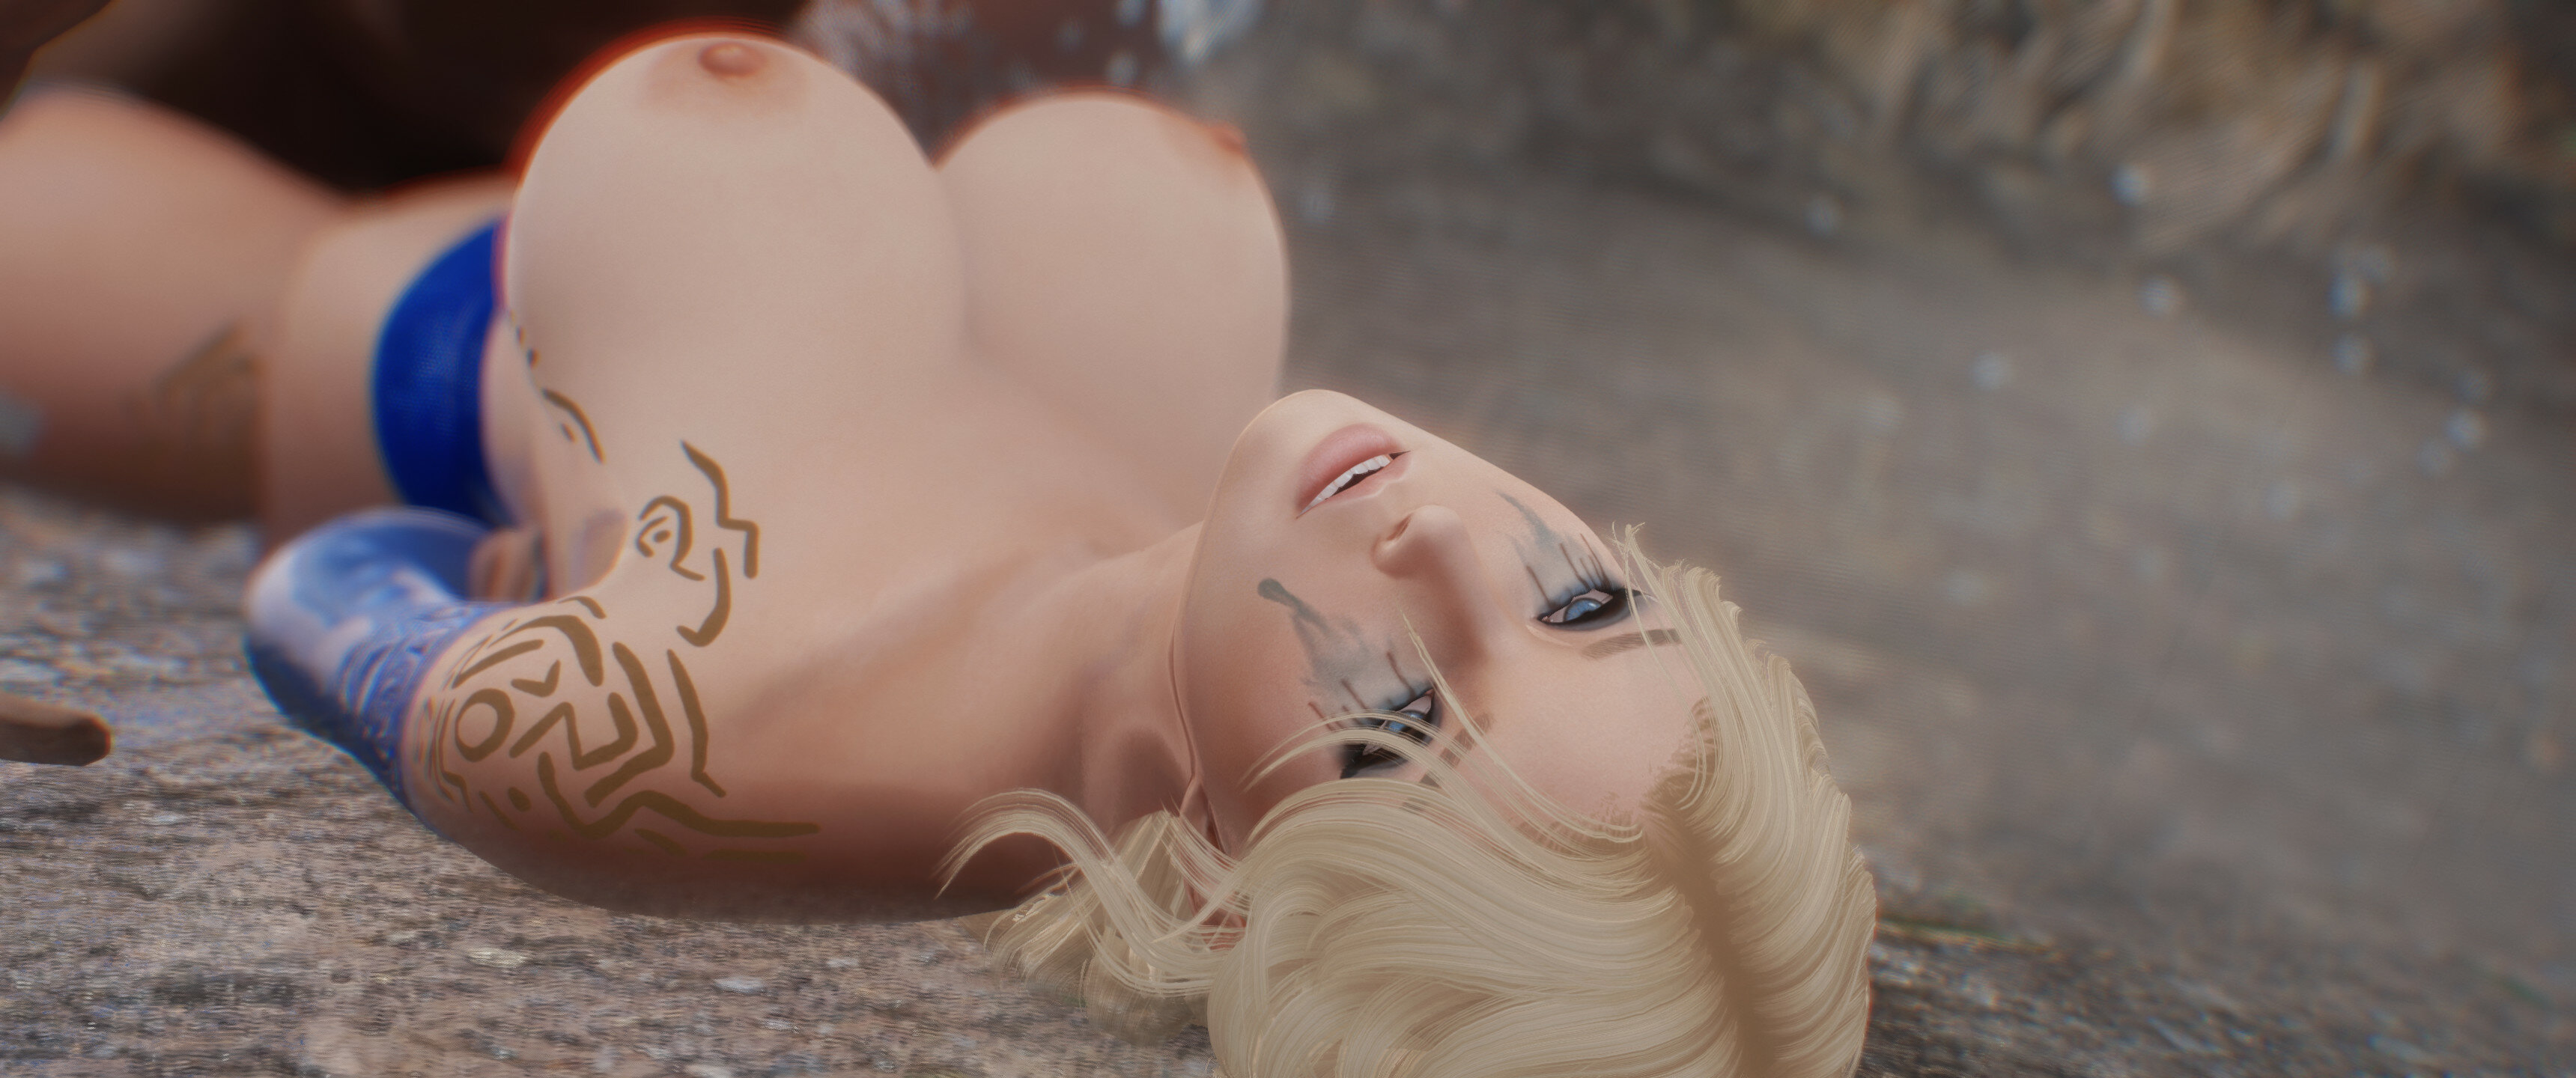
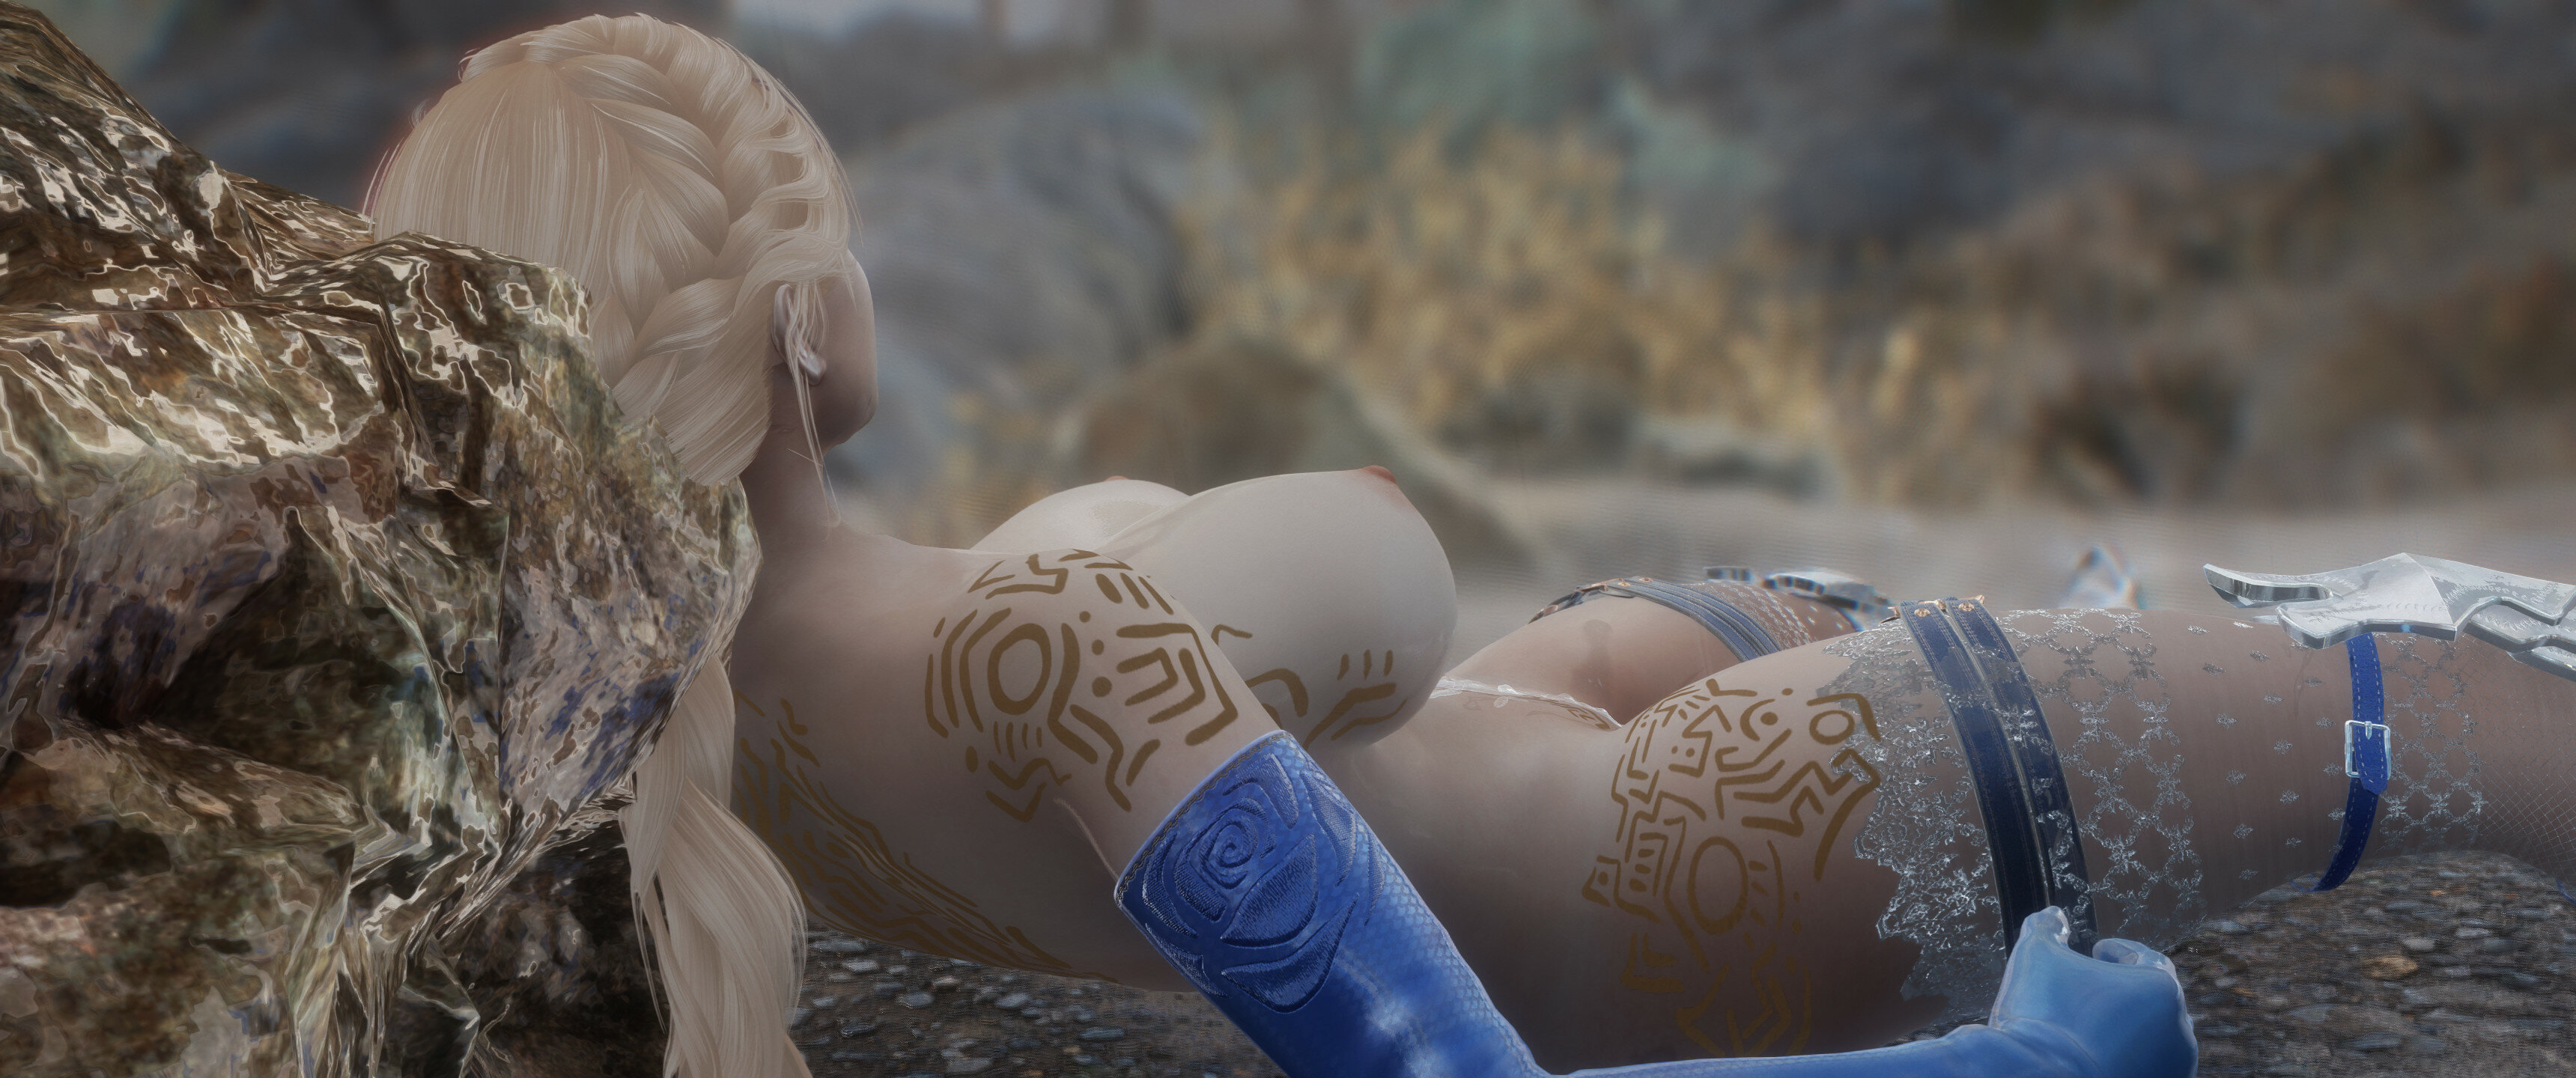
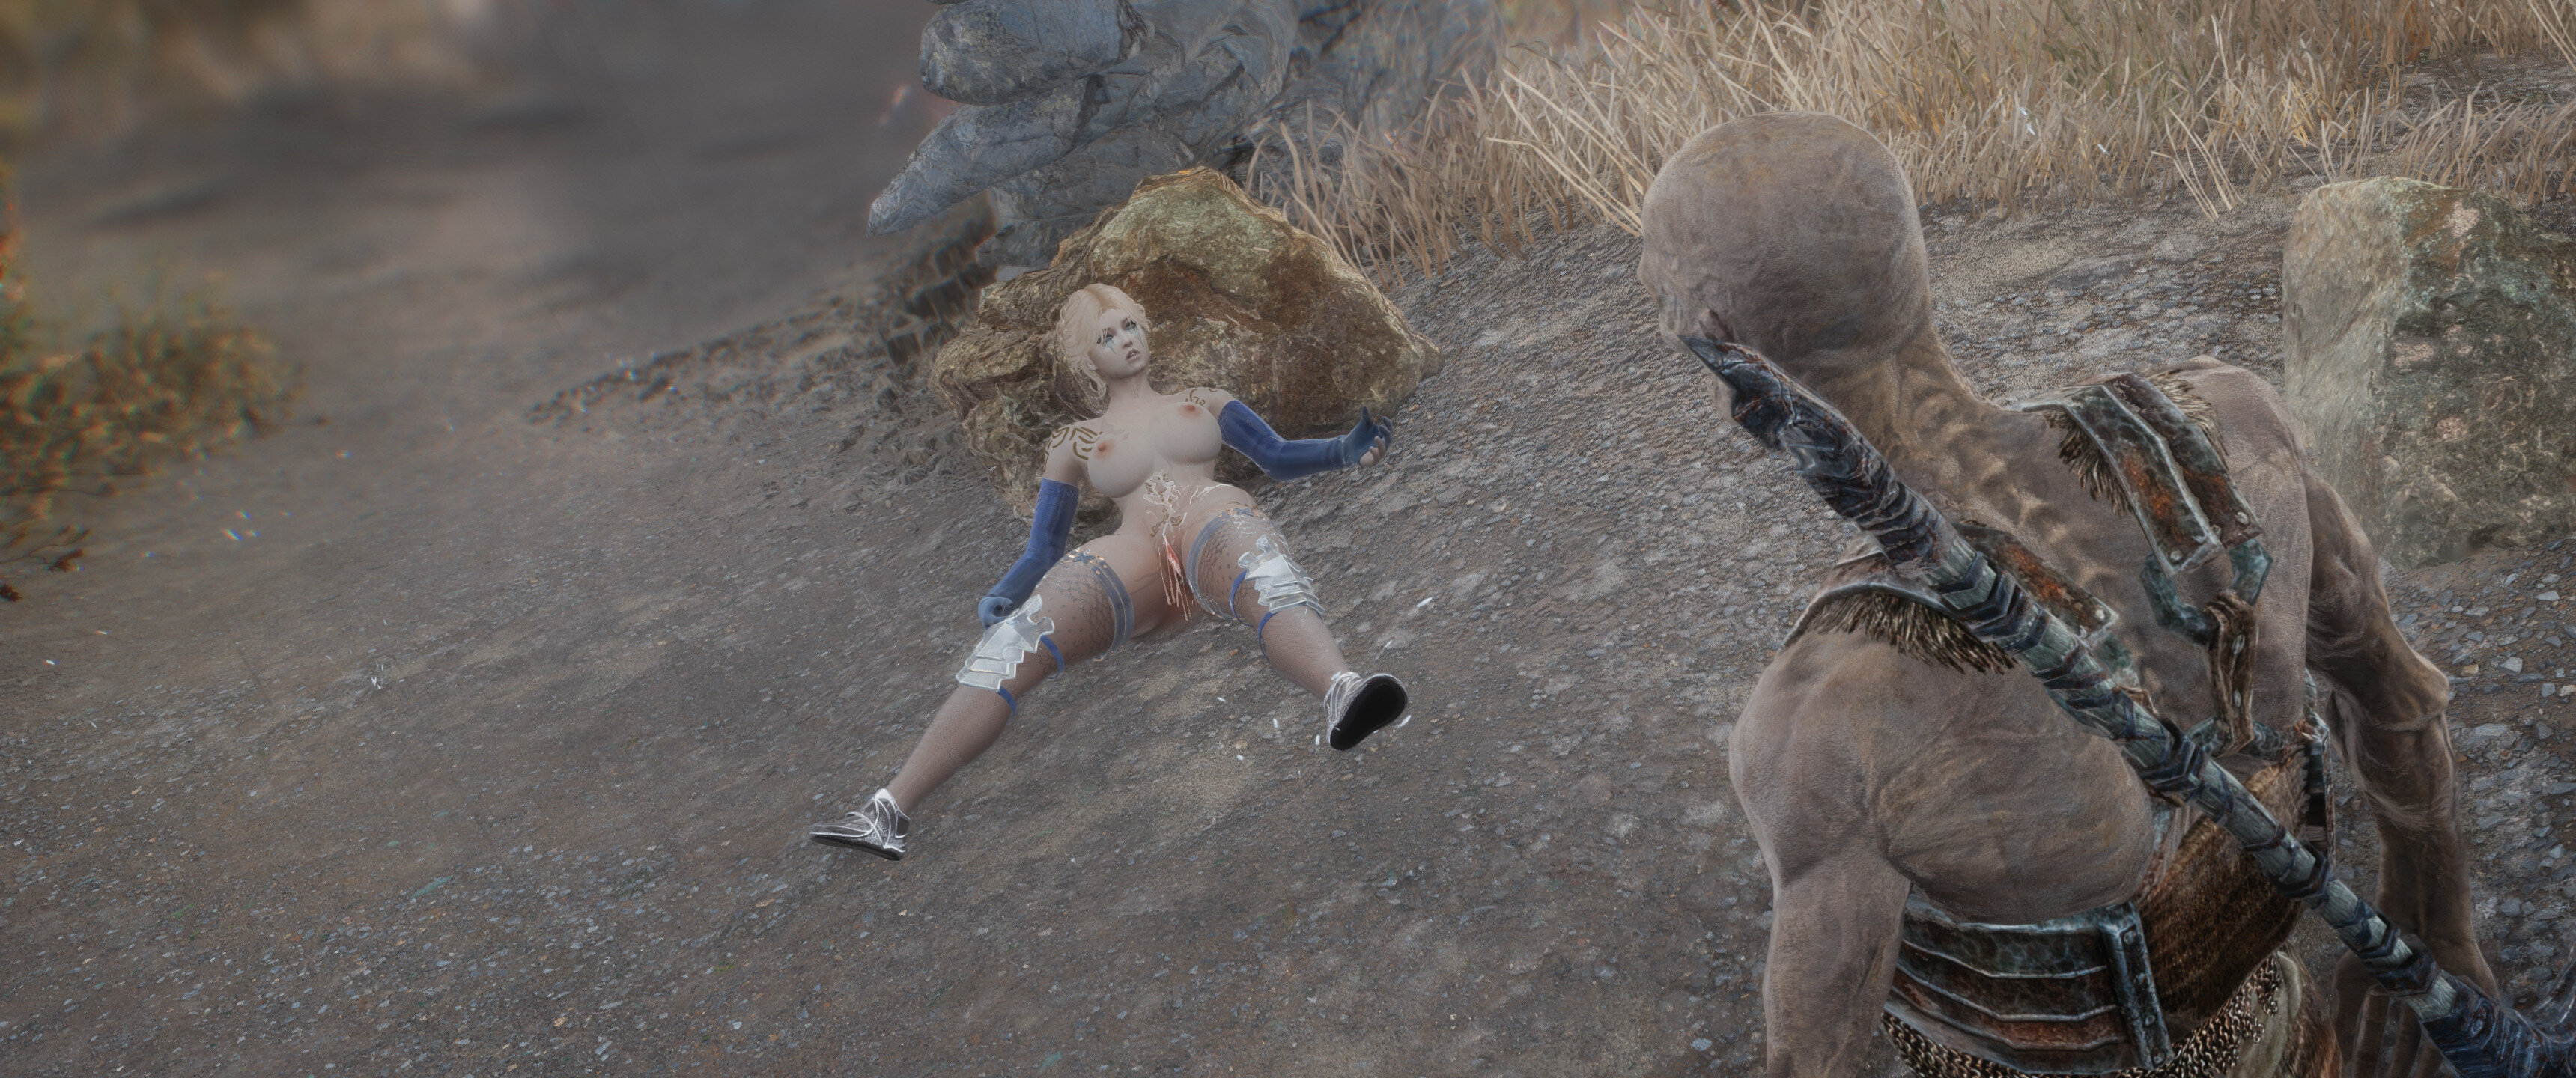
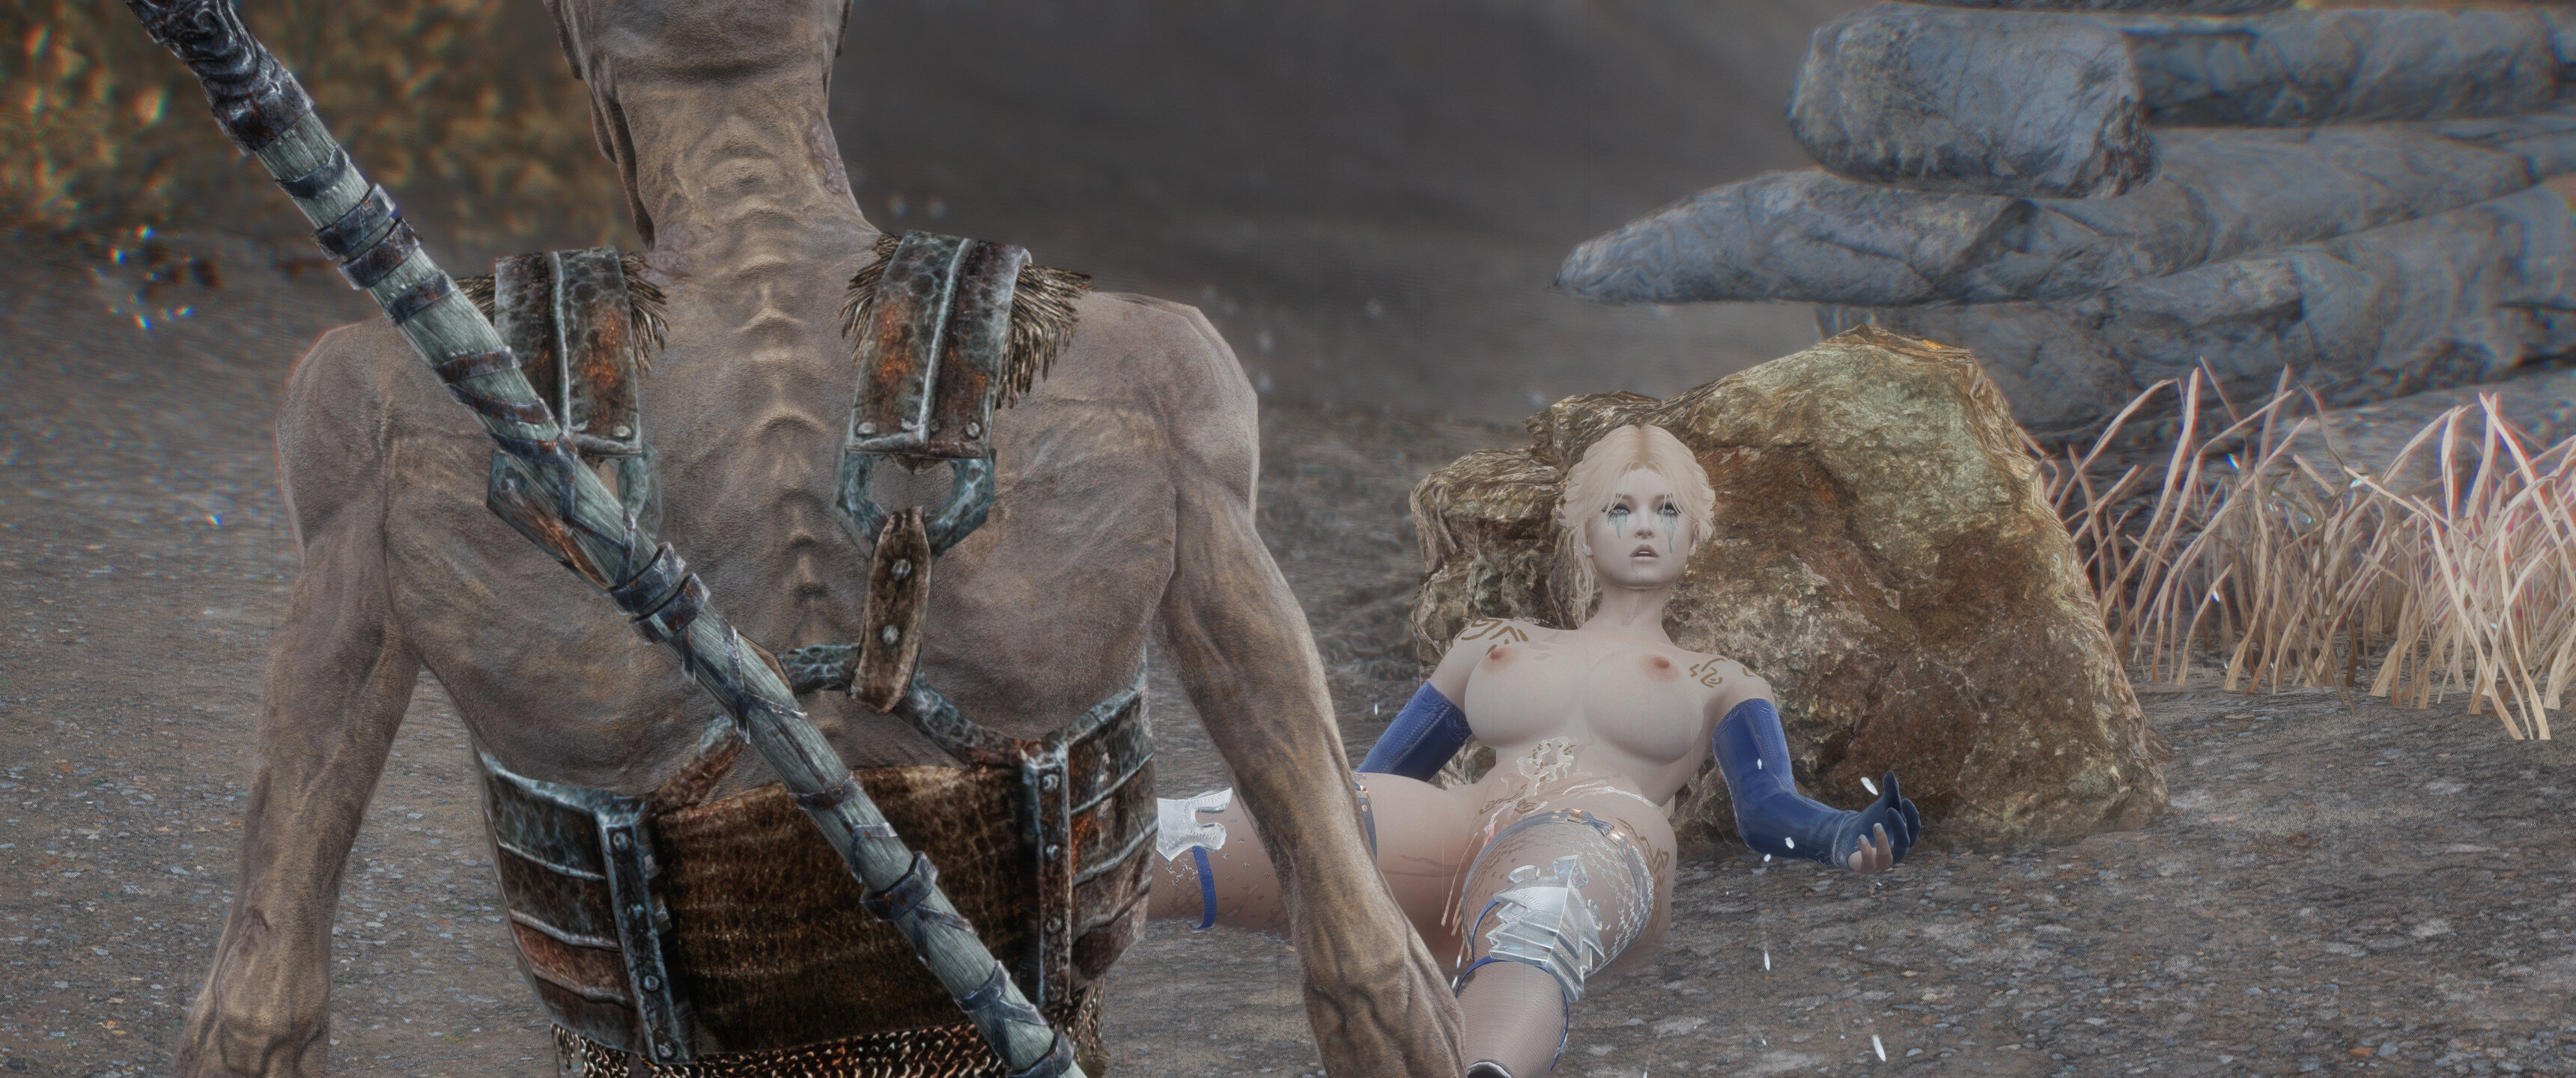
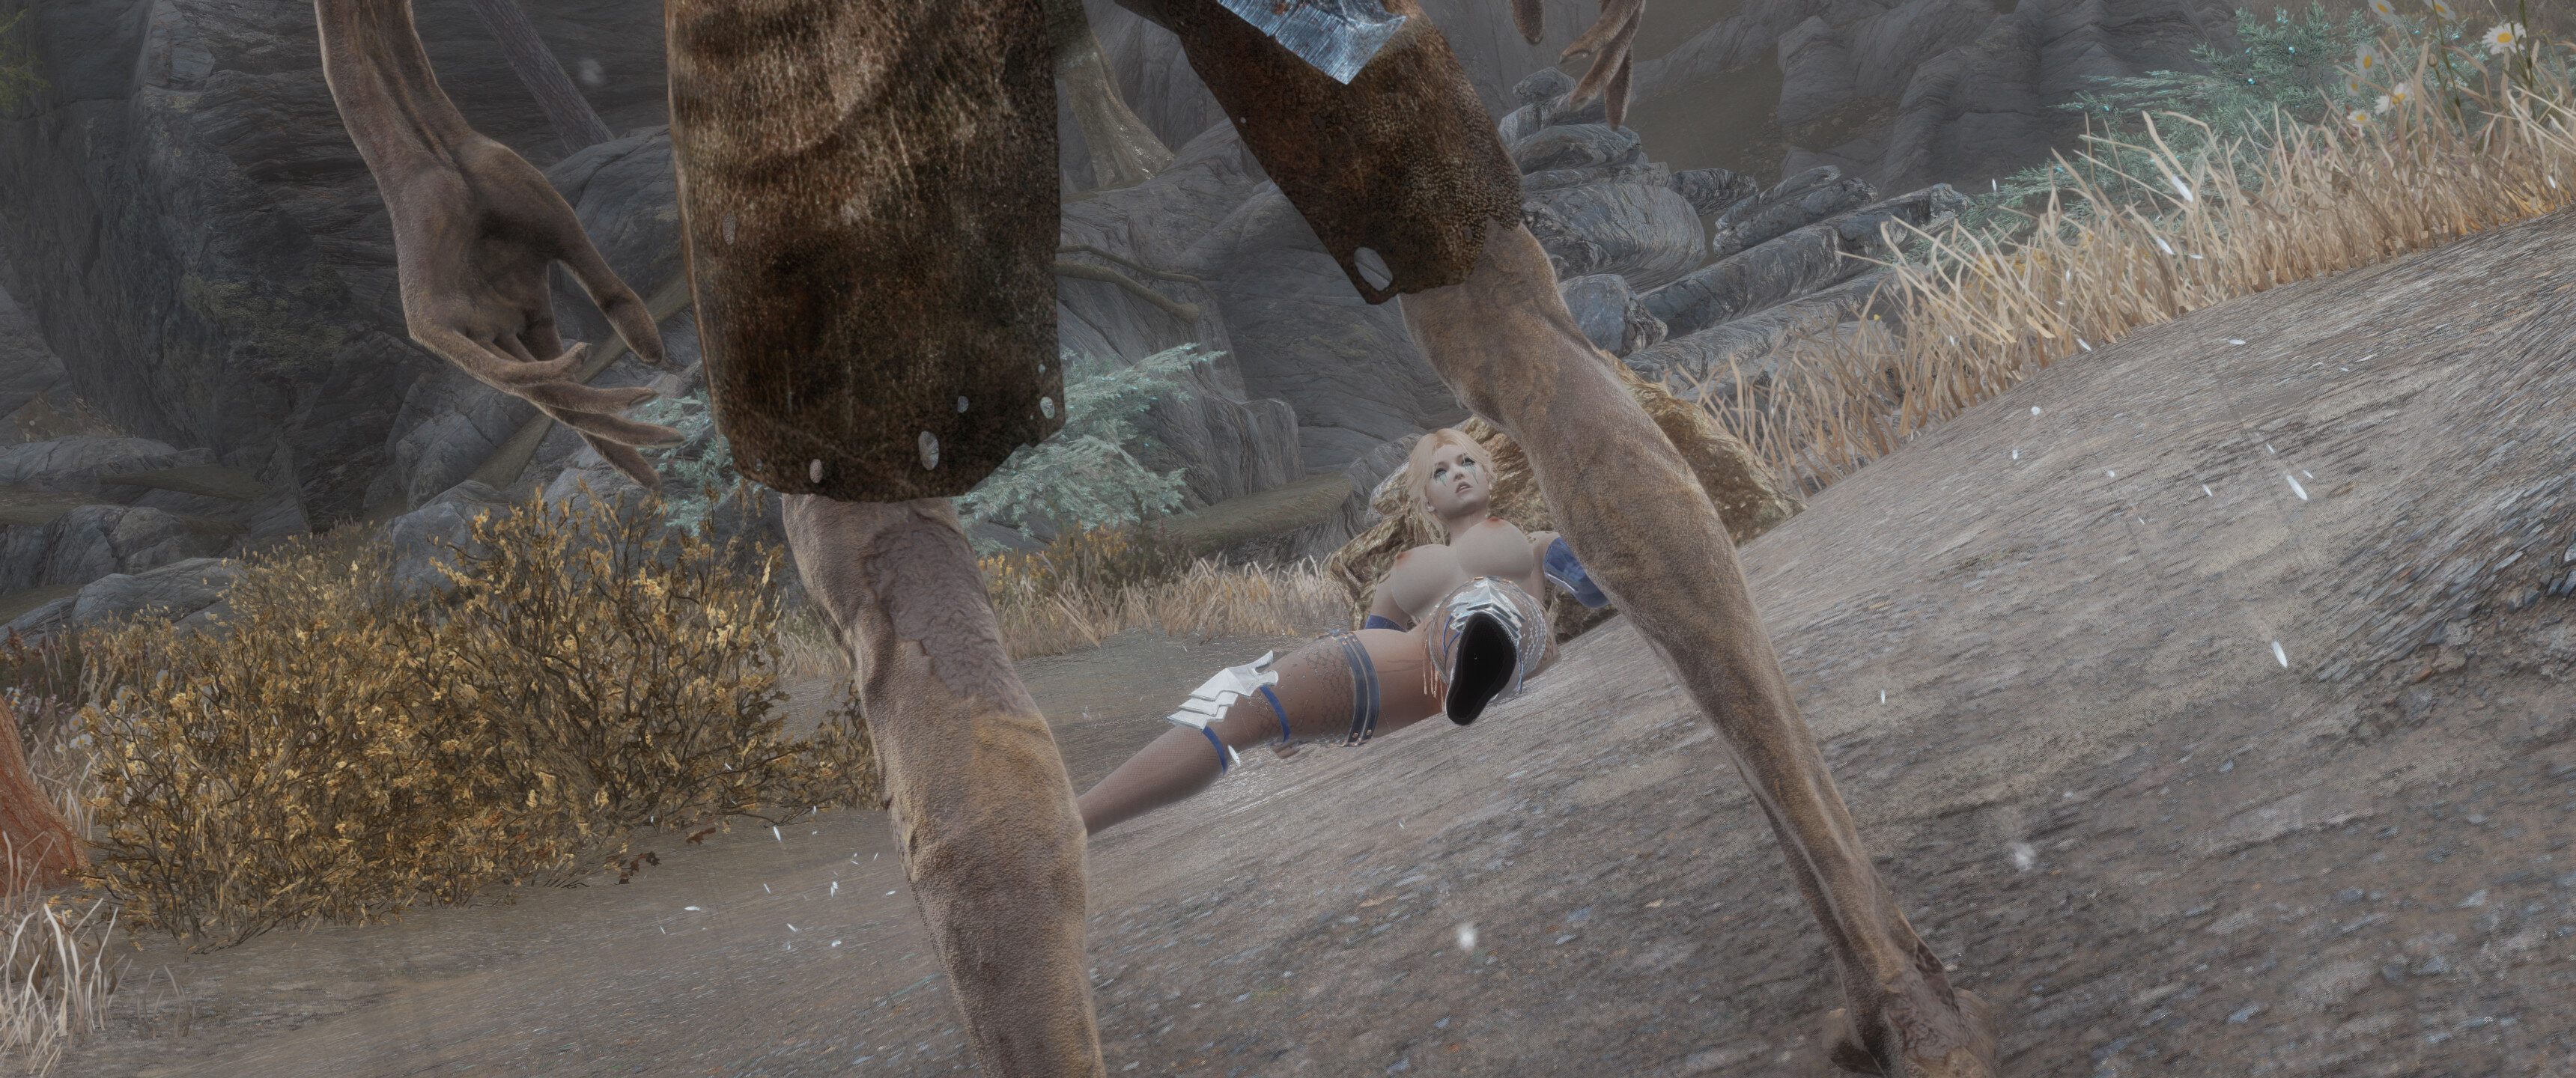
Initially gaining the upper hand, she begins to underestimate her opponent, and in his counter-strike he strikes her to the floor and knocks her unconscious with a kick to the head
After claiming the letter as she lay knocked out on the floor, he seizes his opportunity and begins to remove his tunic with a lustful look on his face
4 Days later:


Absolute experiment above! Linking back to prior episodes! 


The Attack:


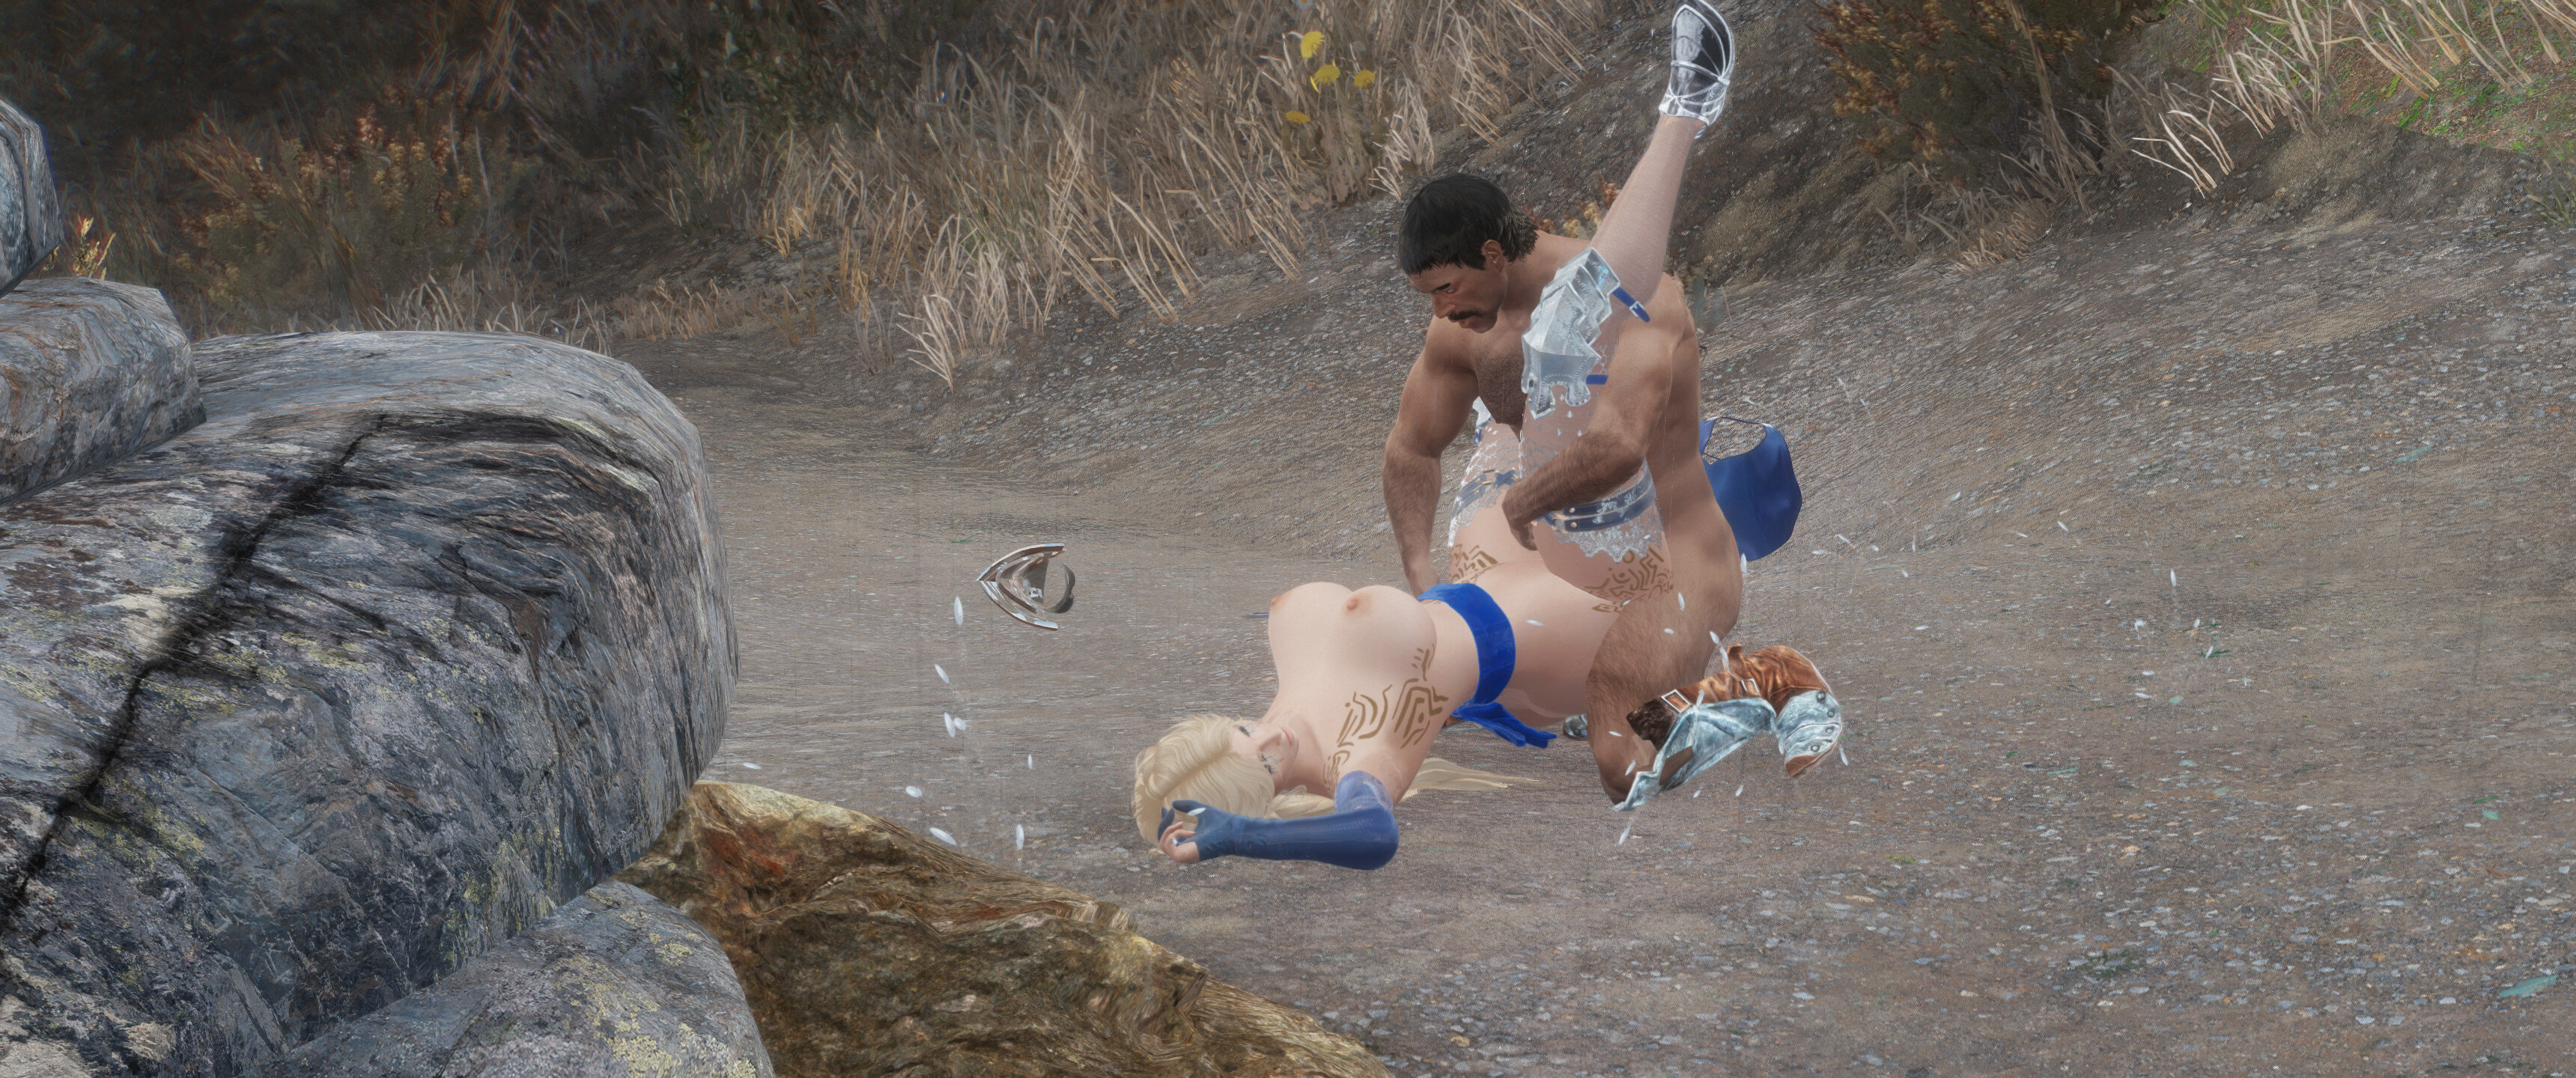
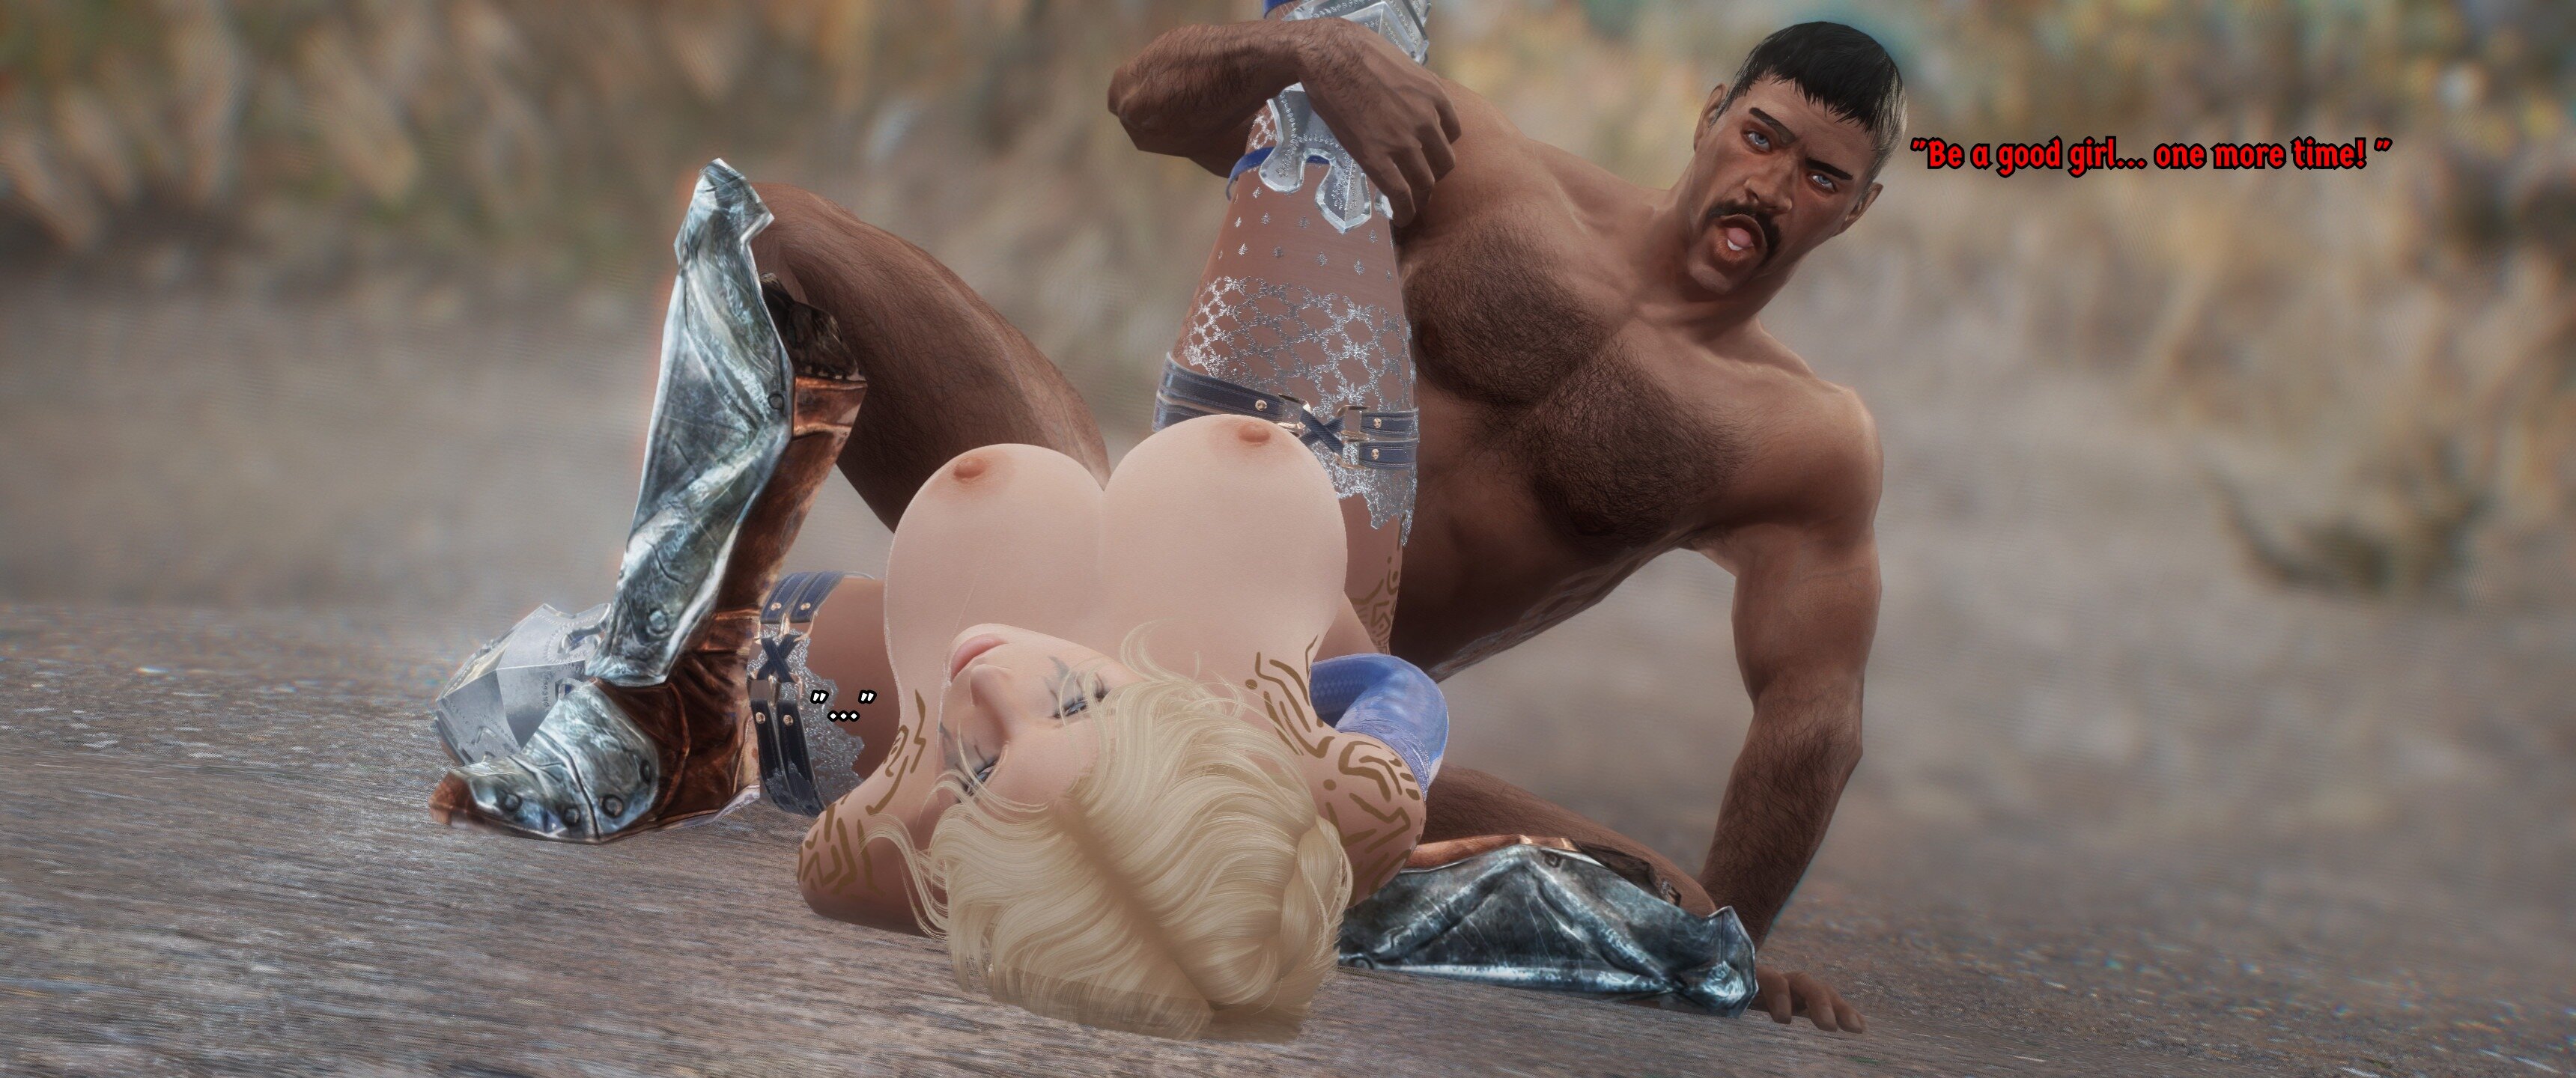
The Defeat:

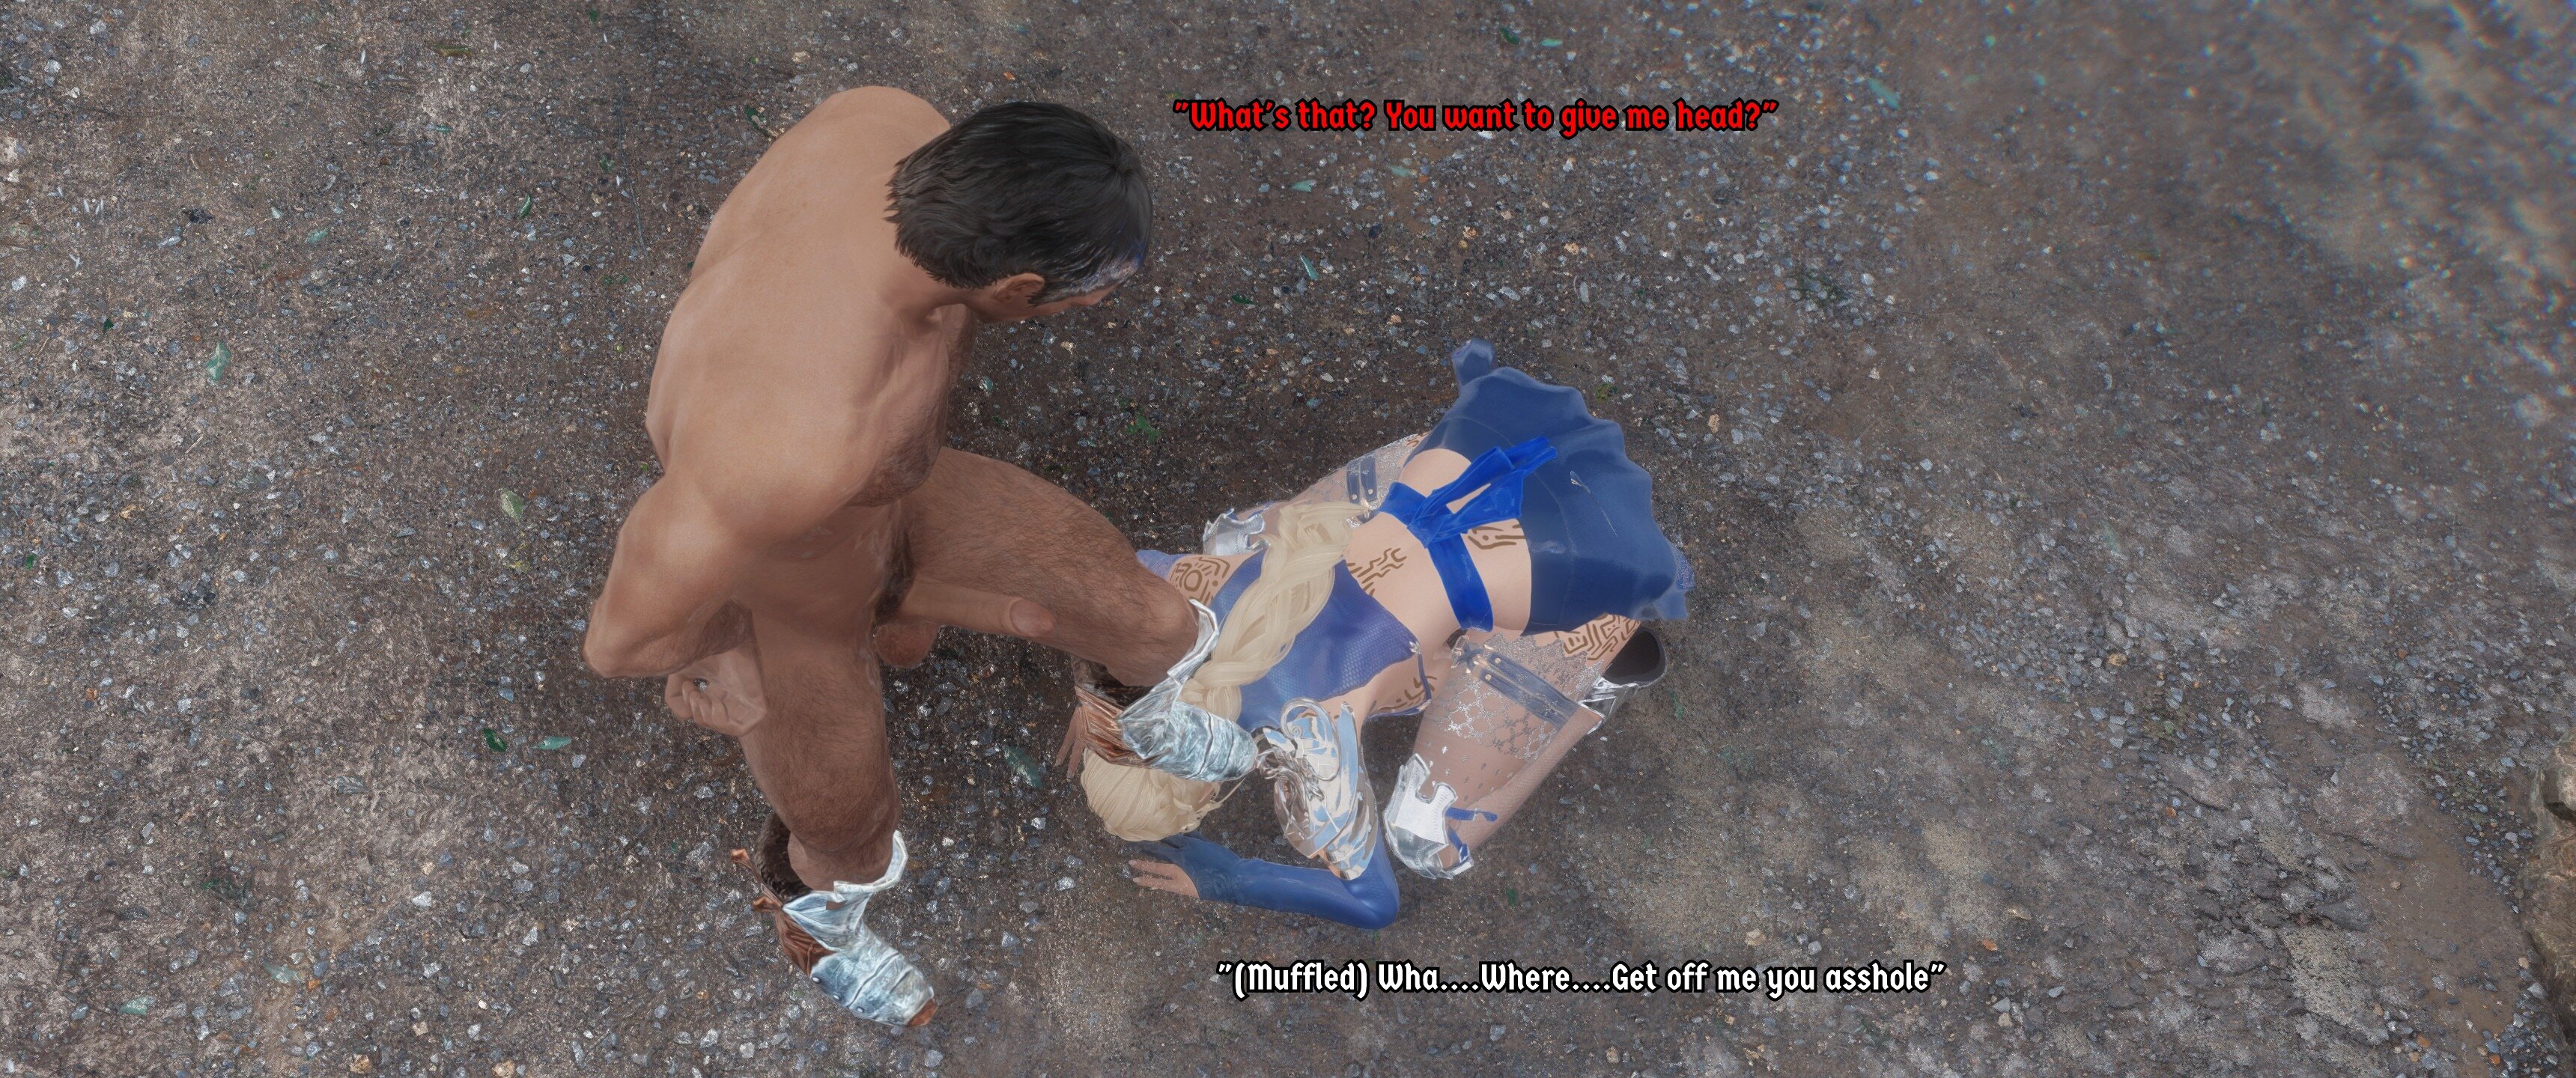
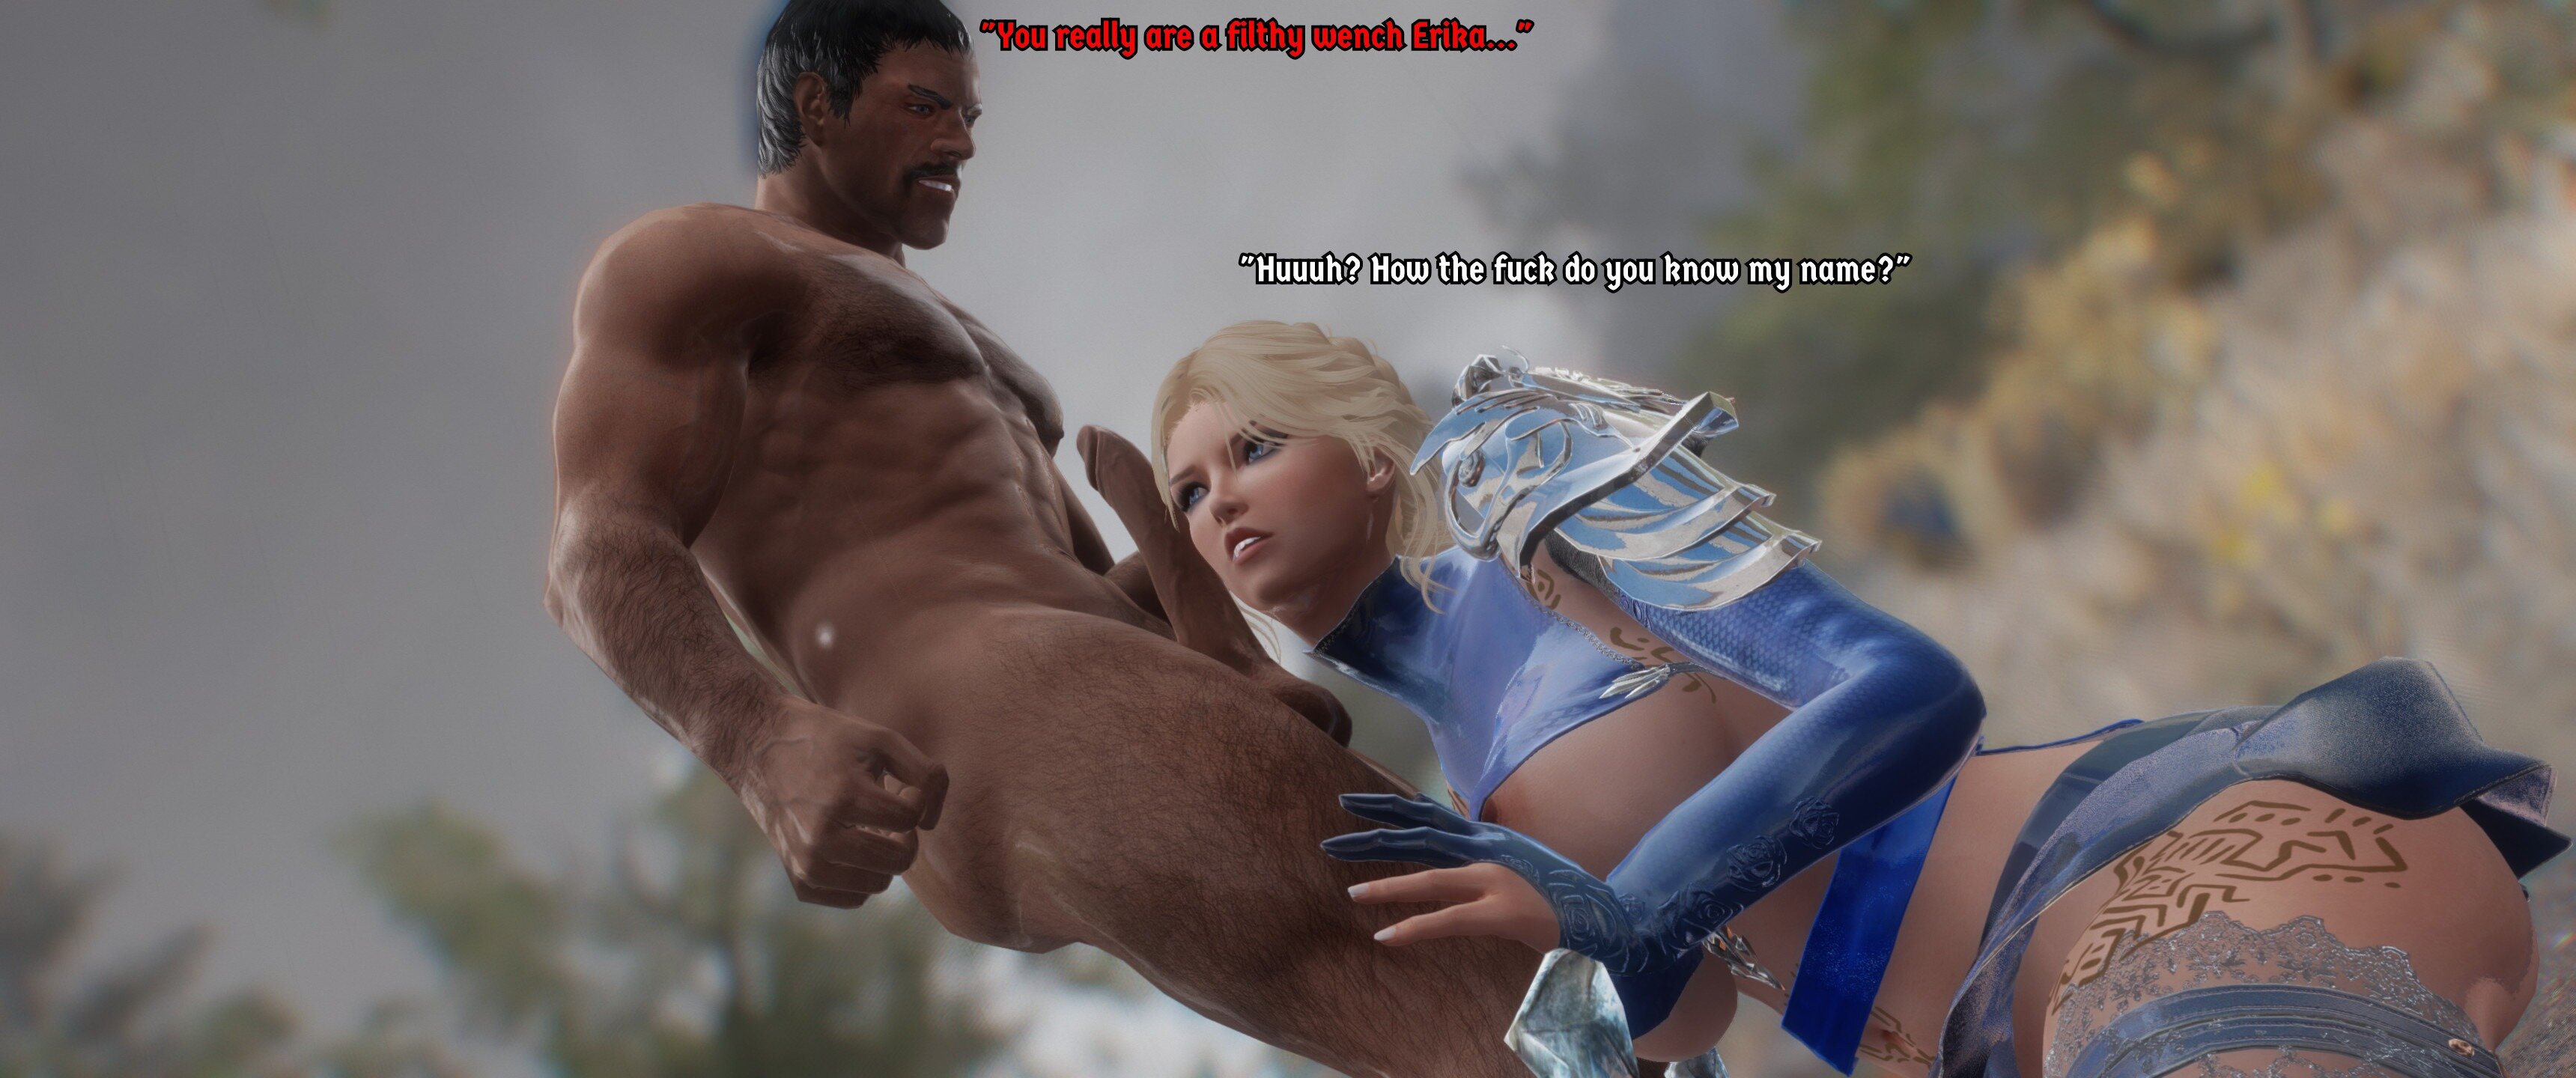


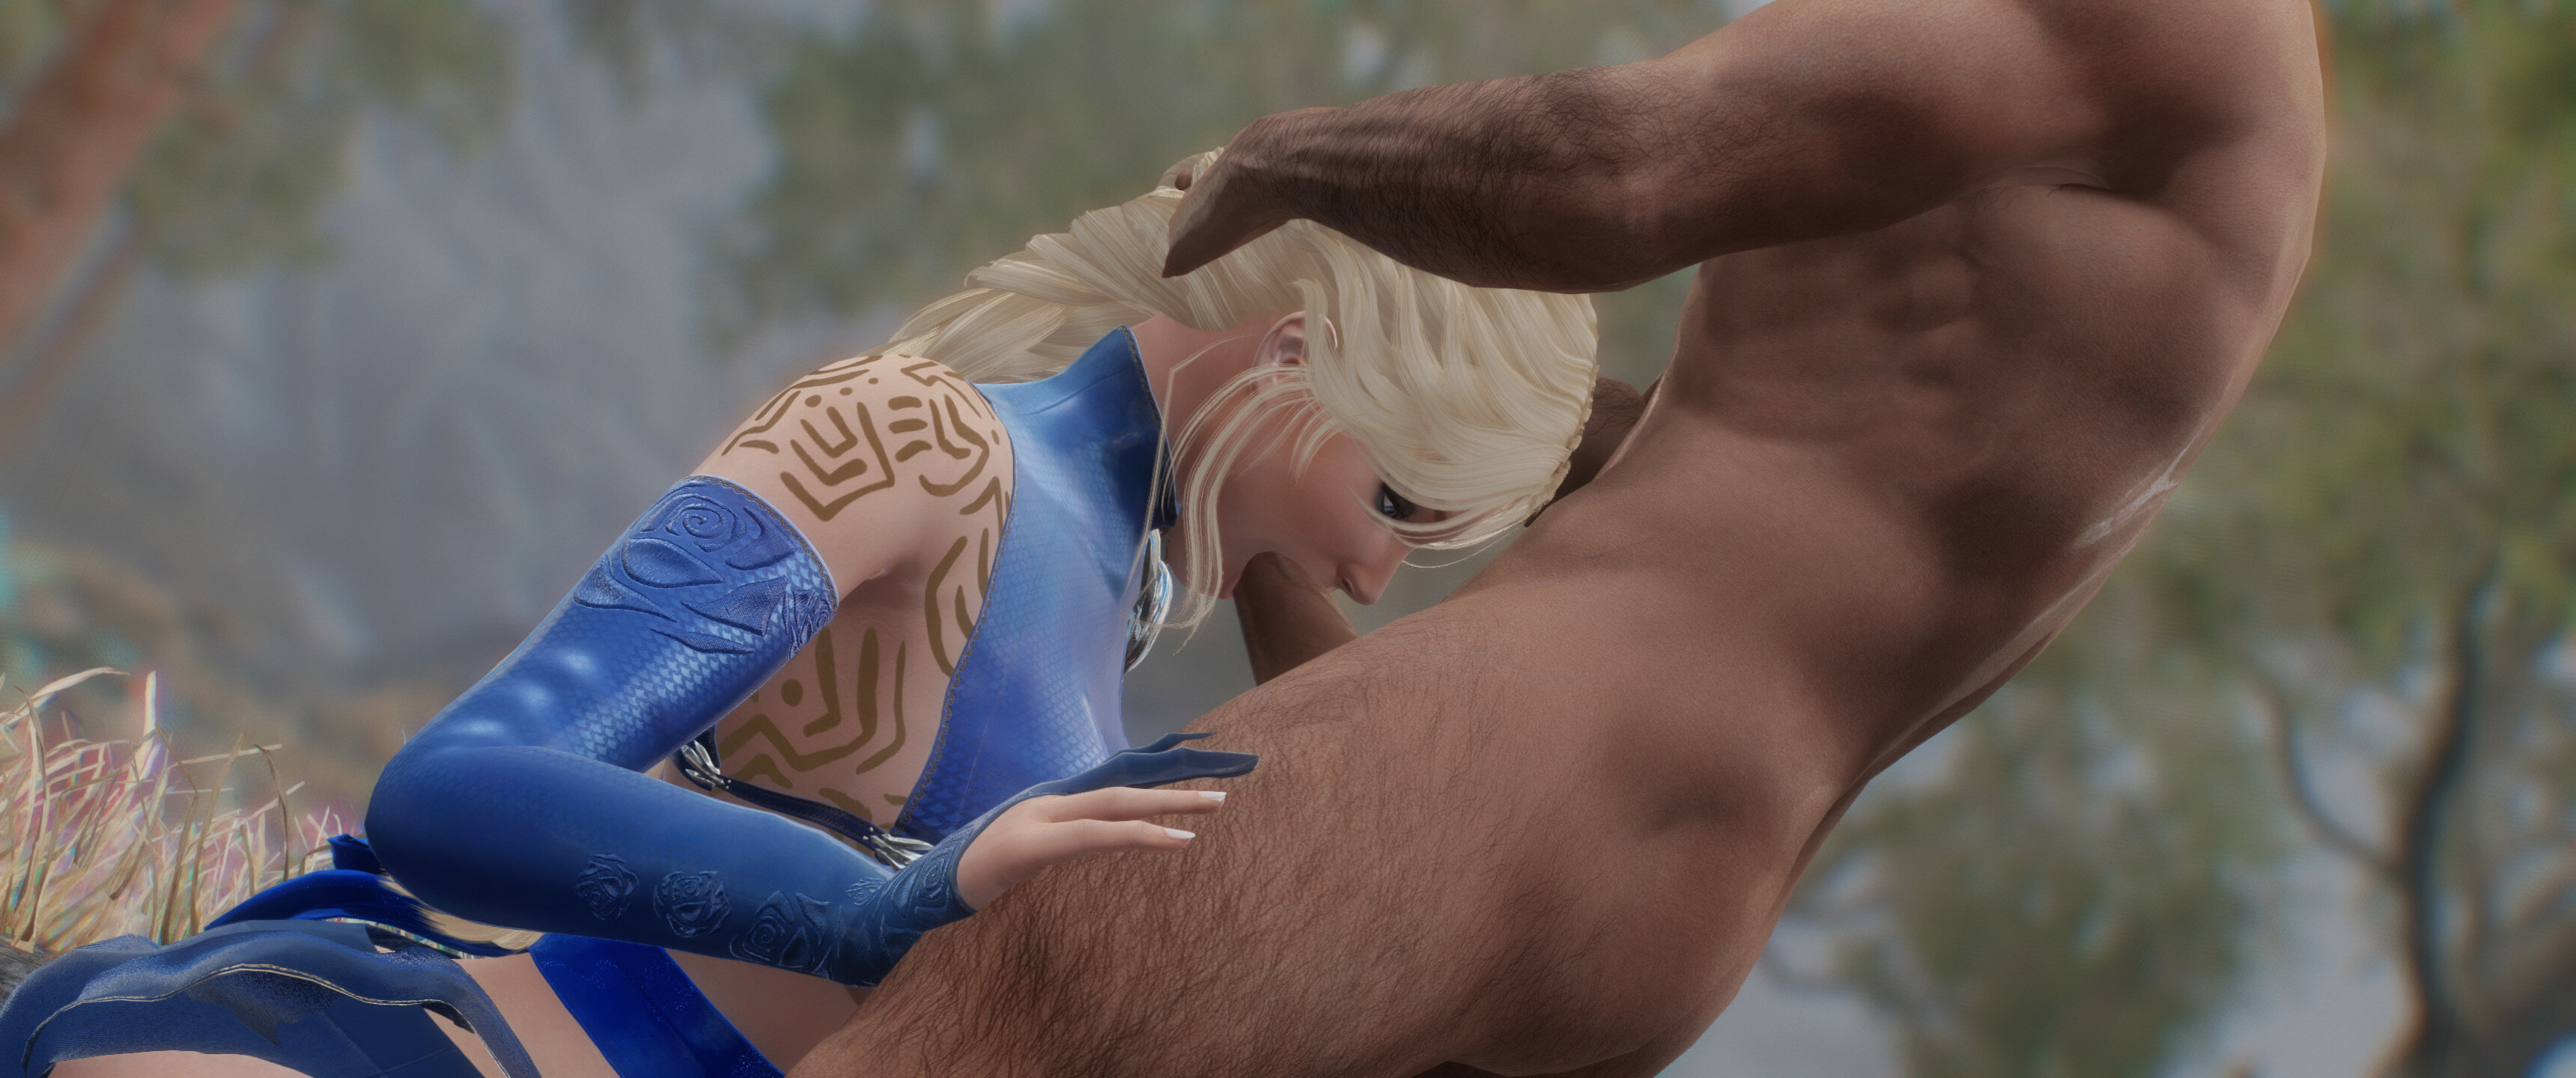
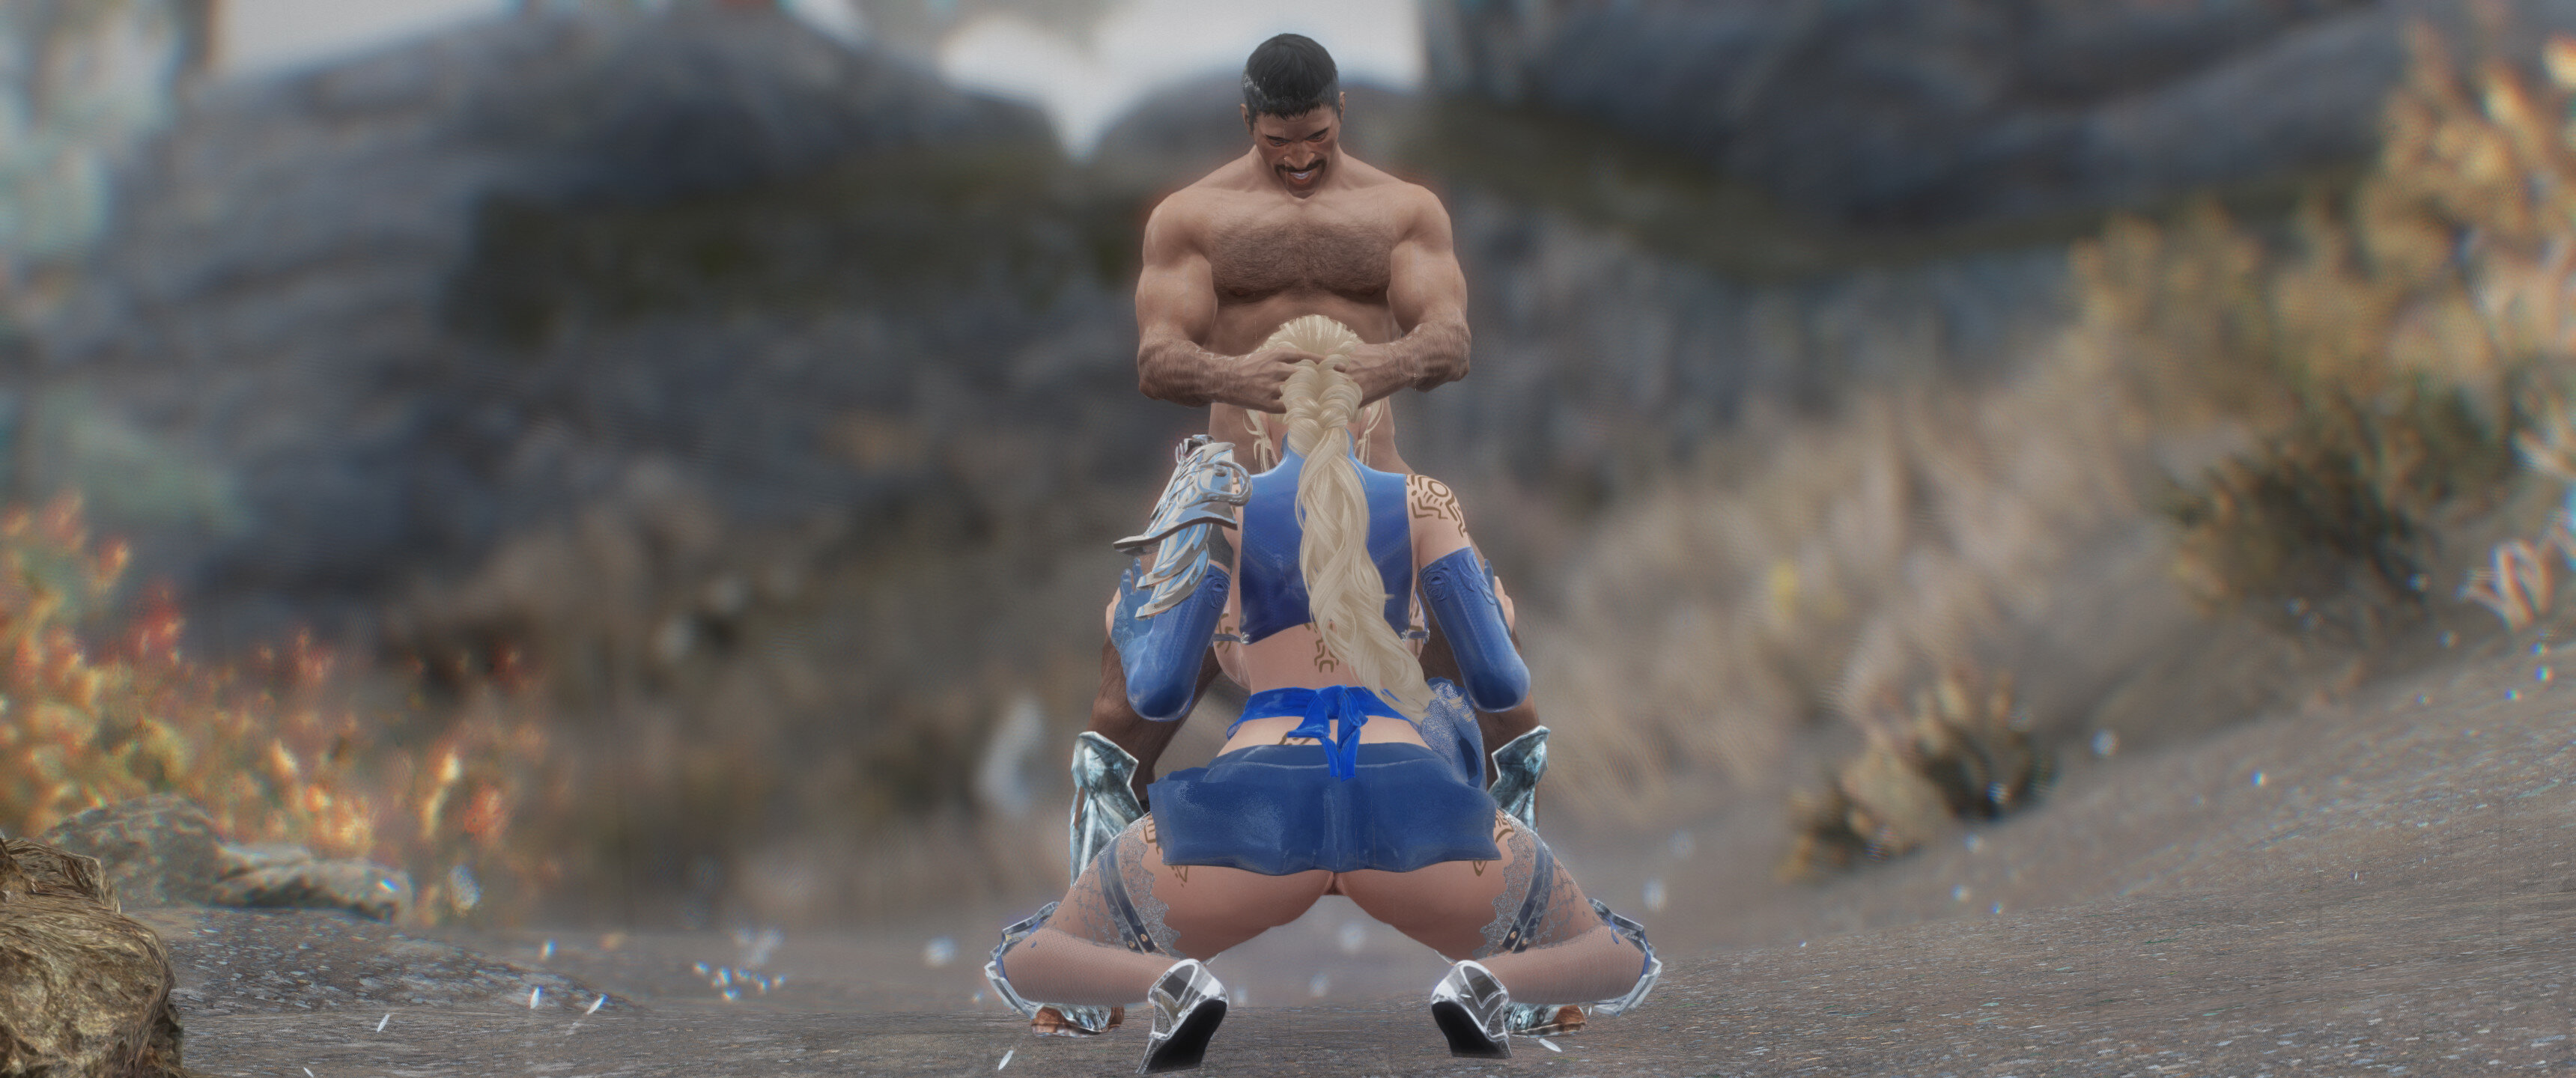

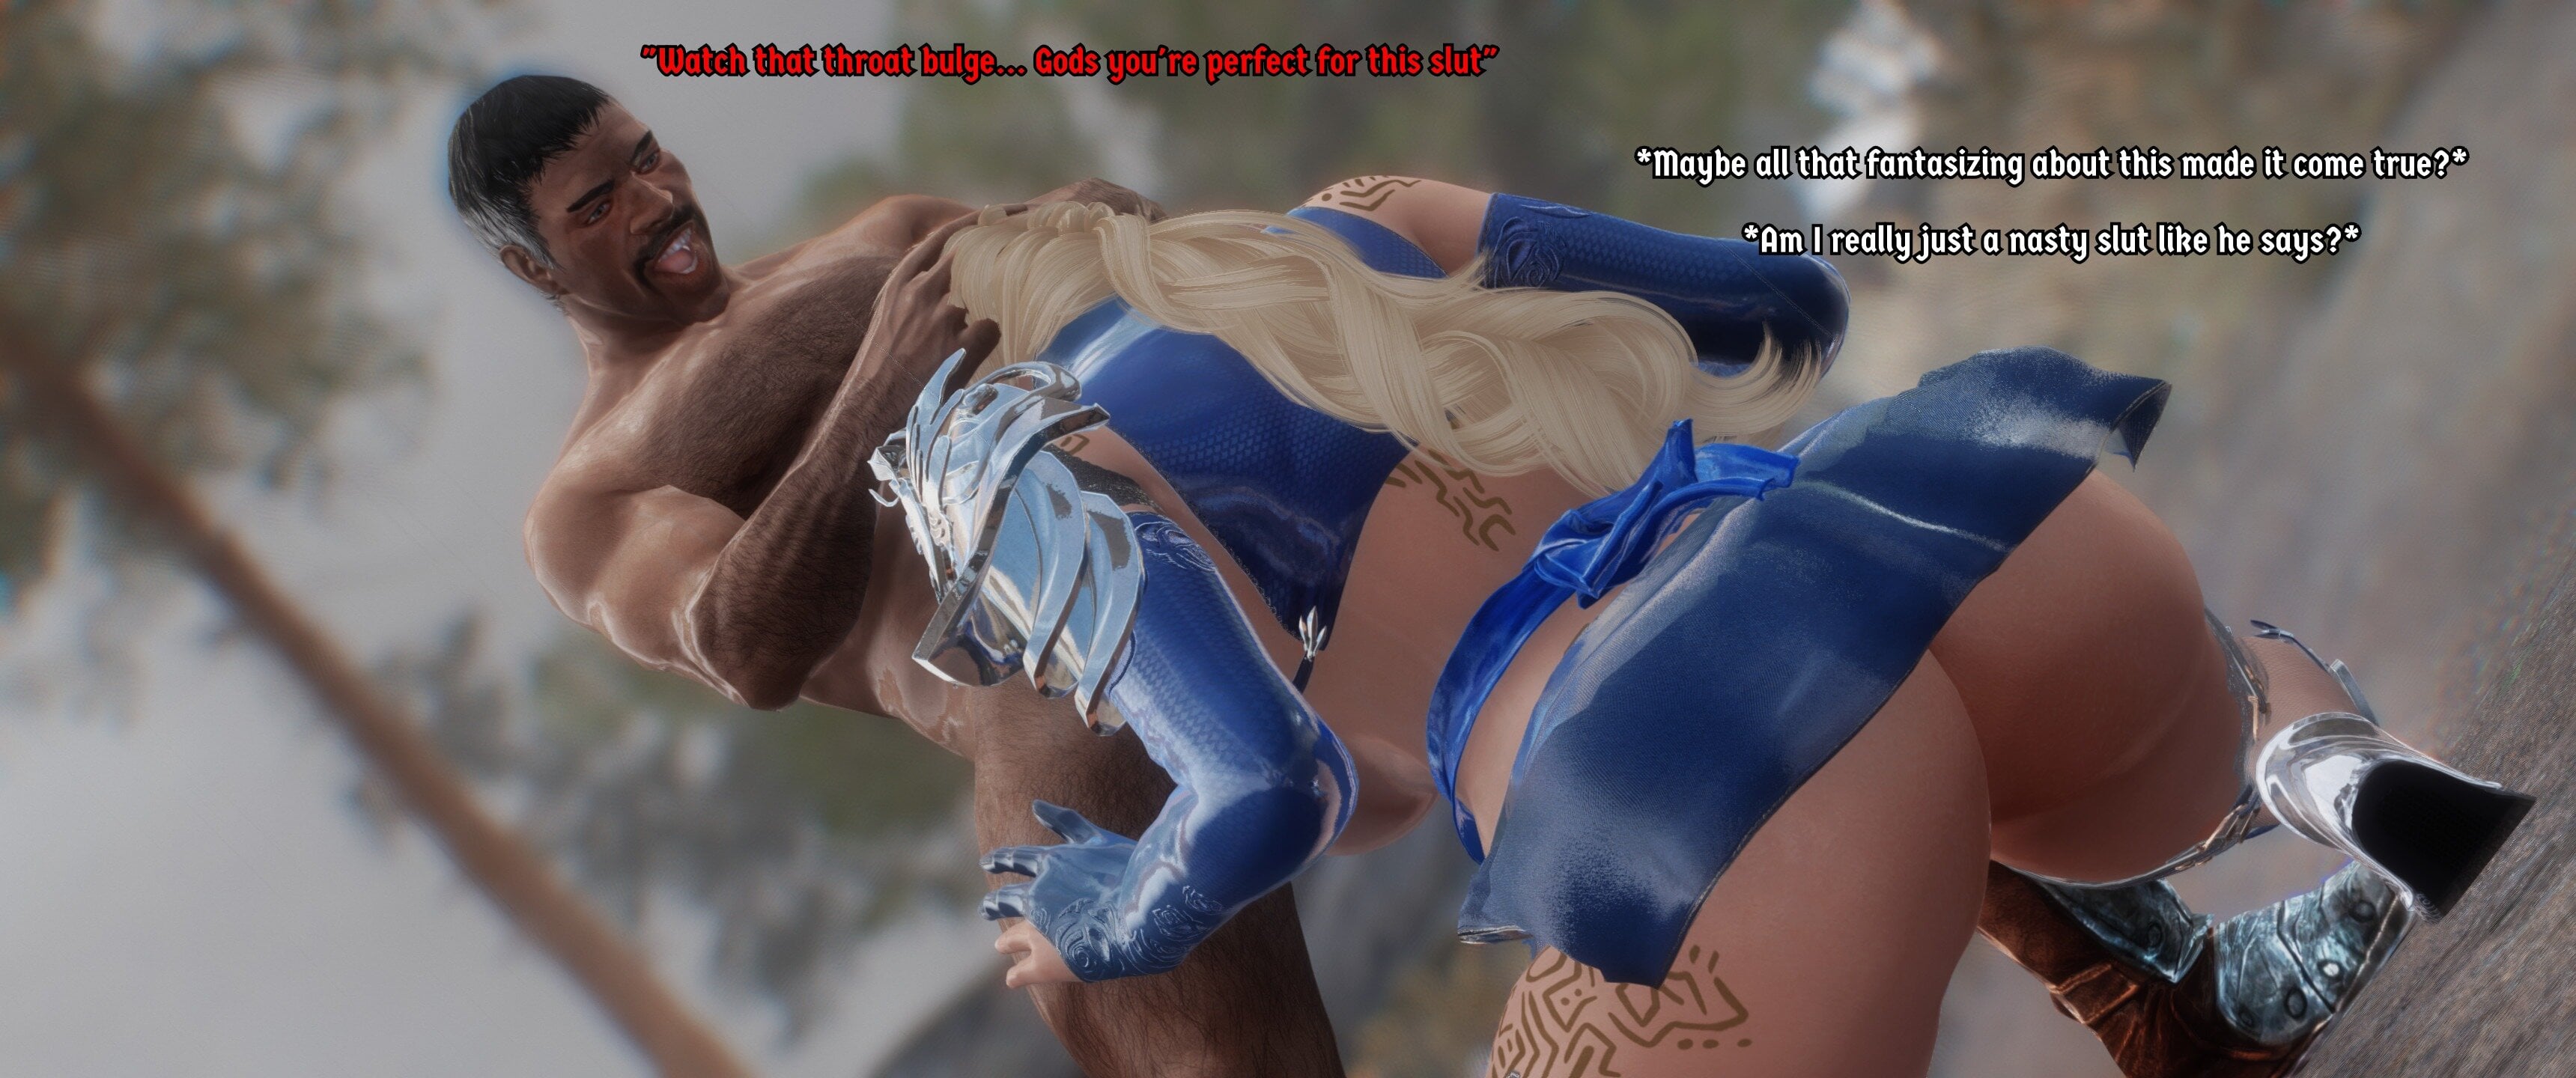
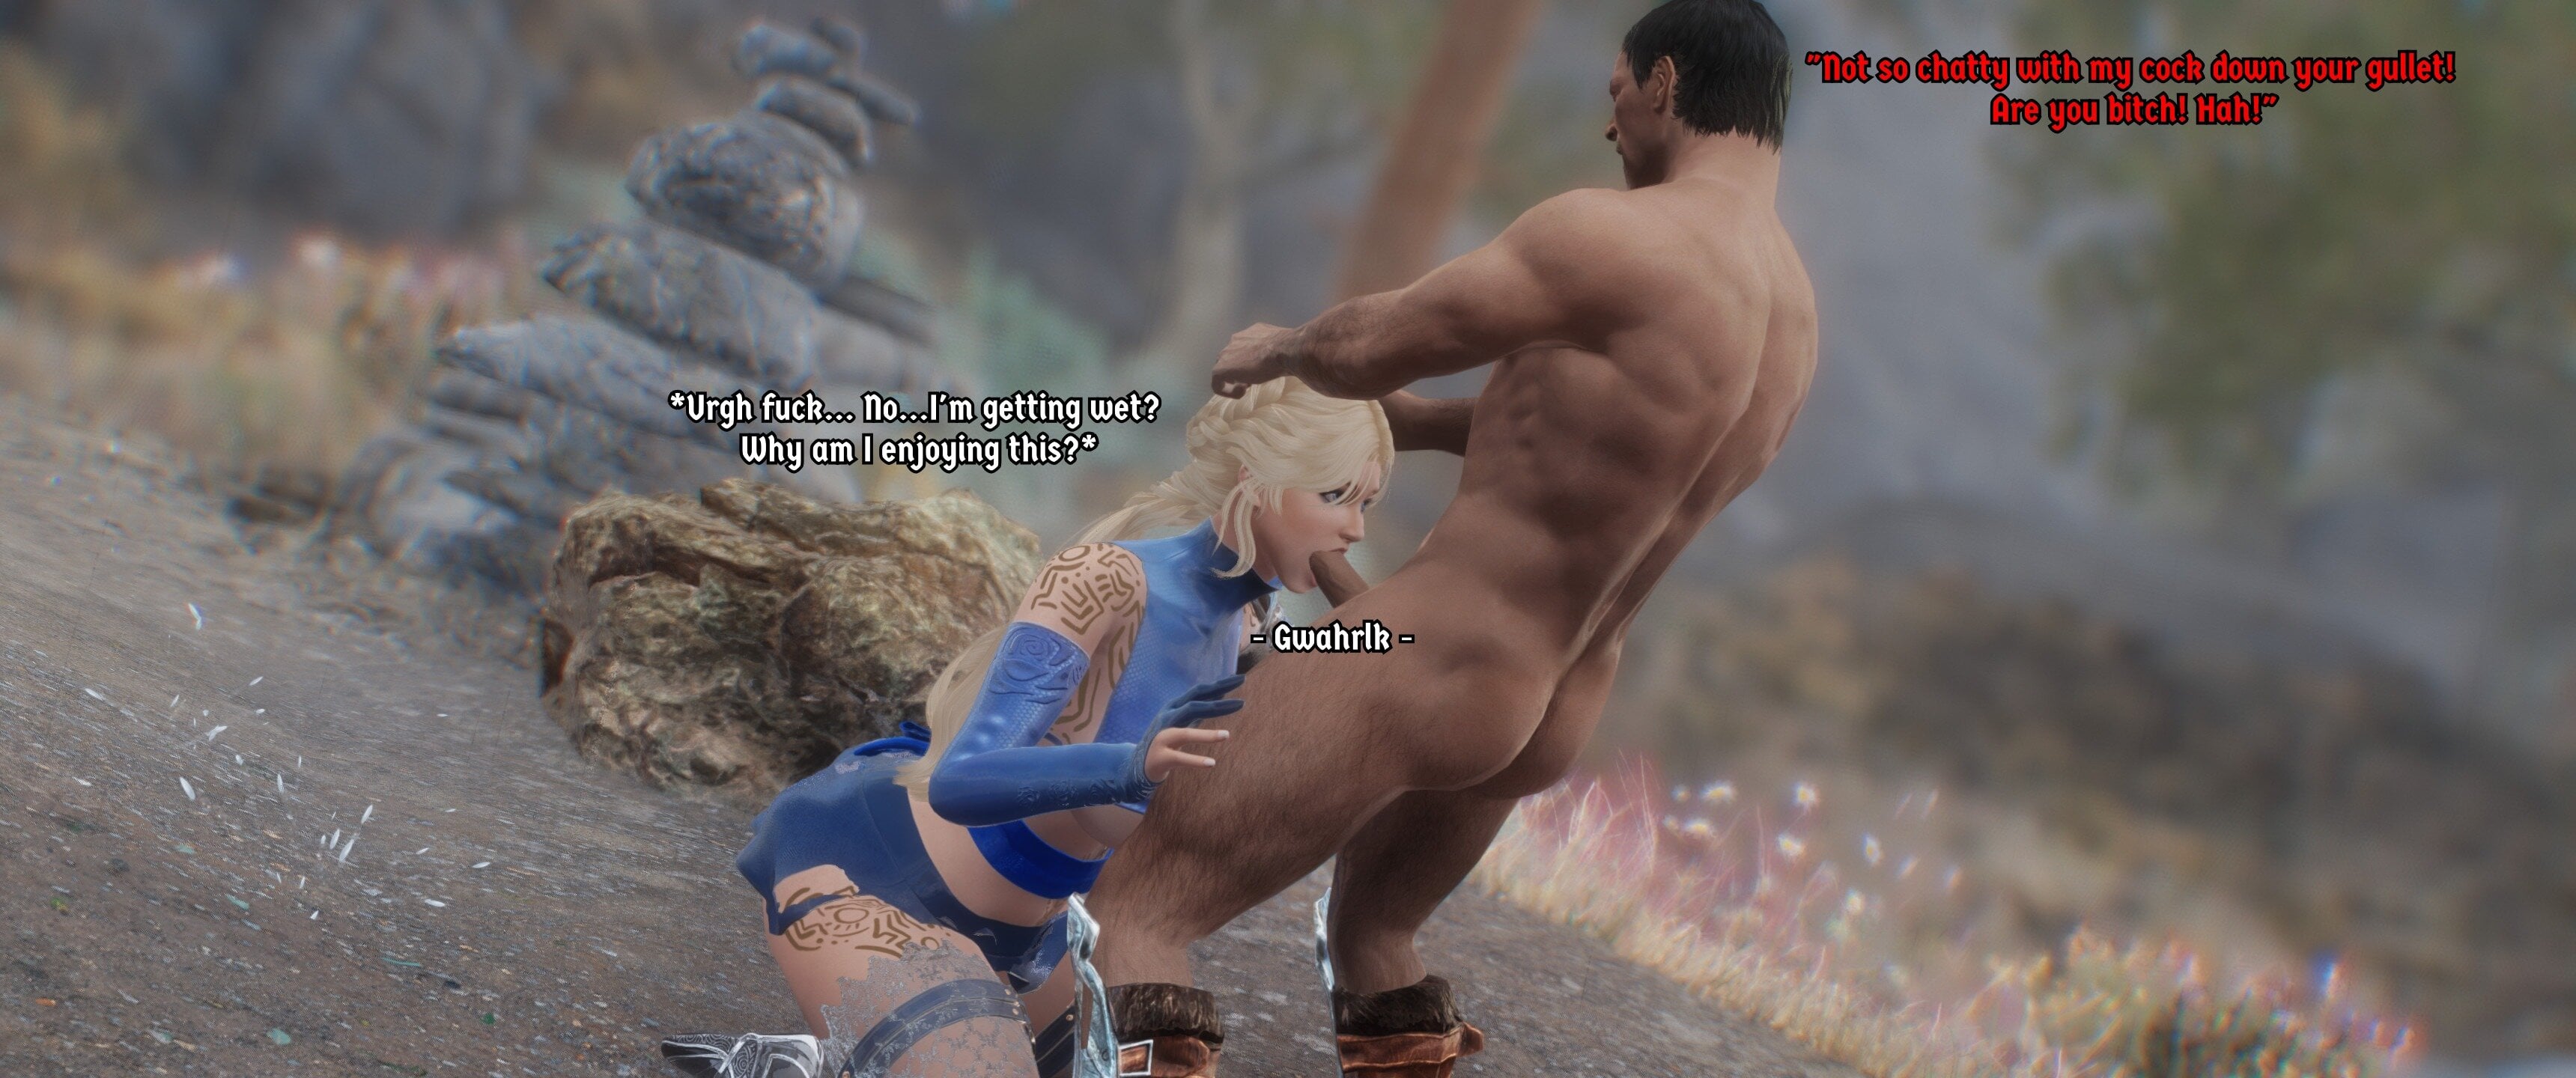


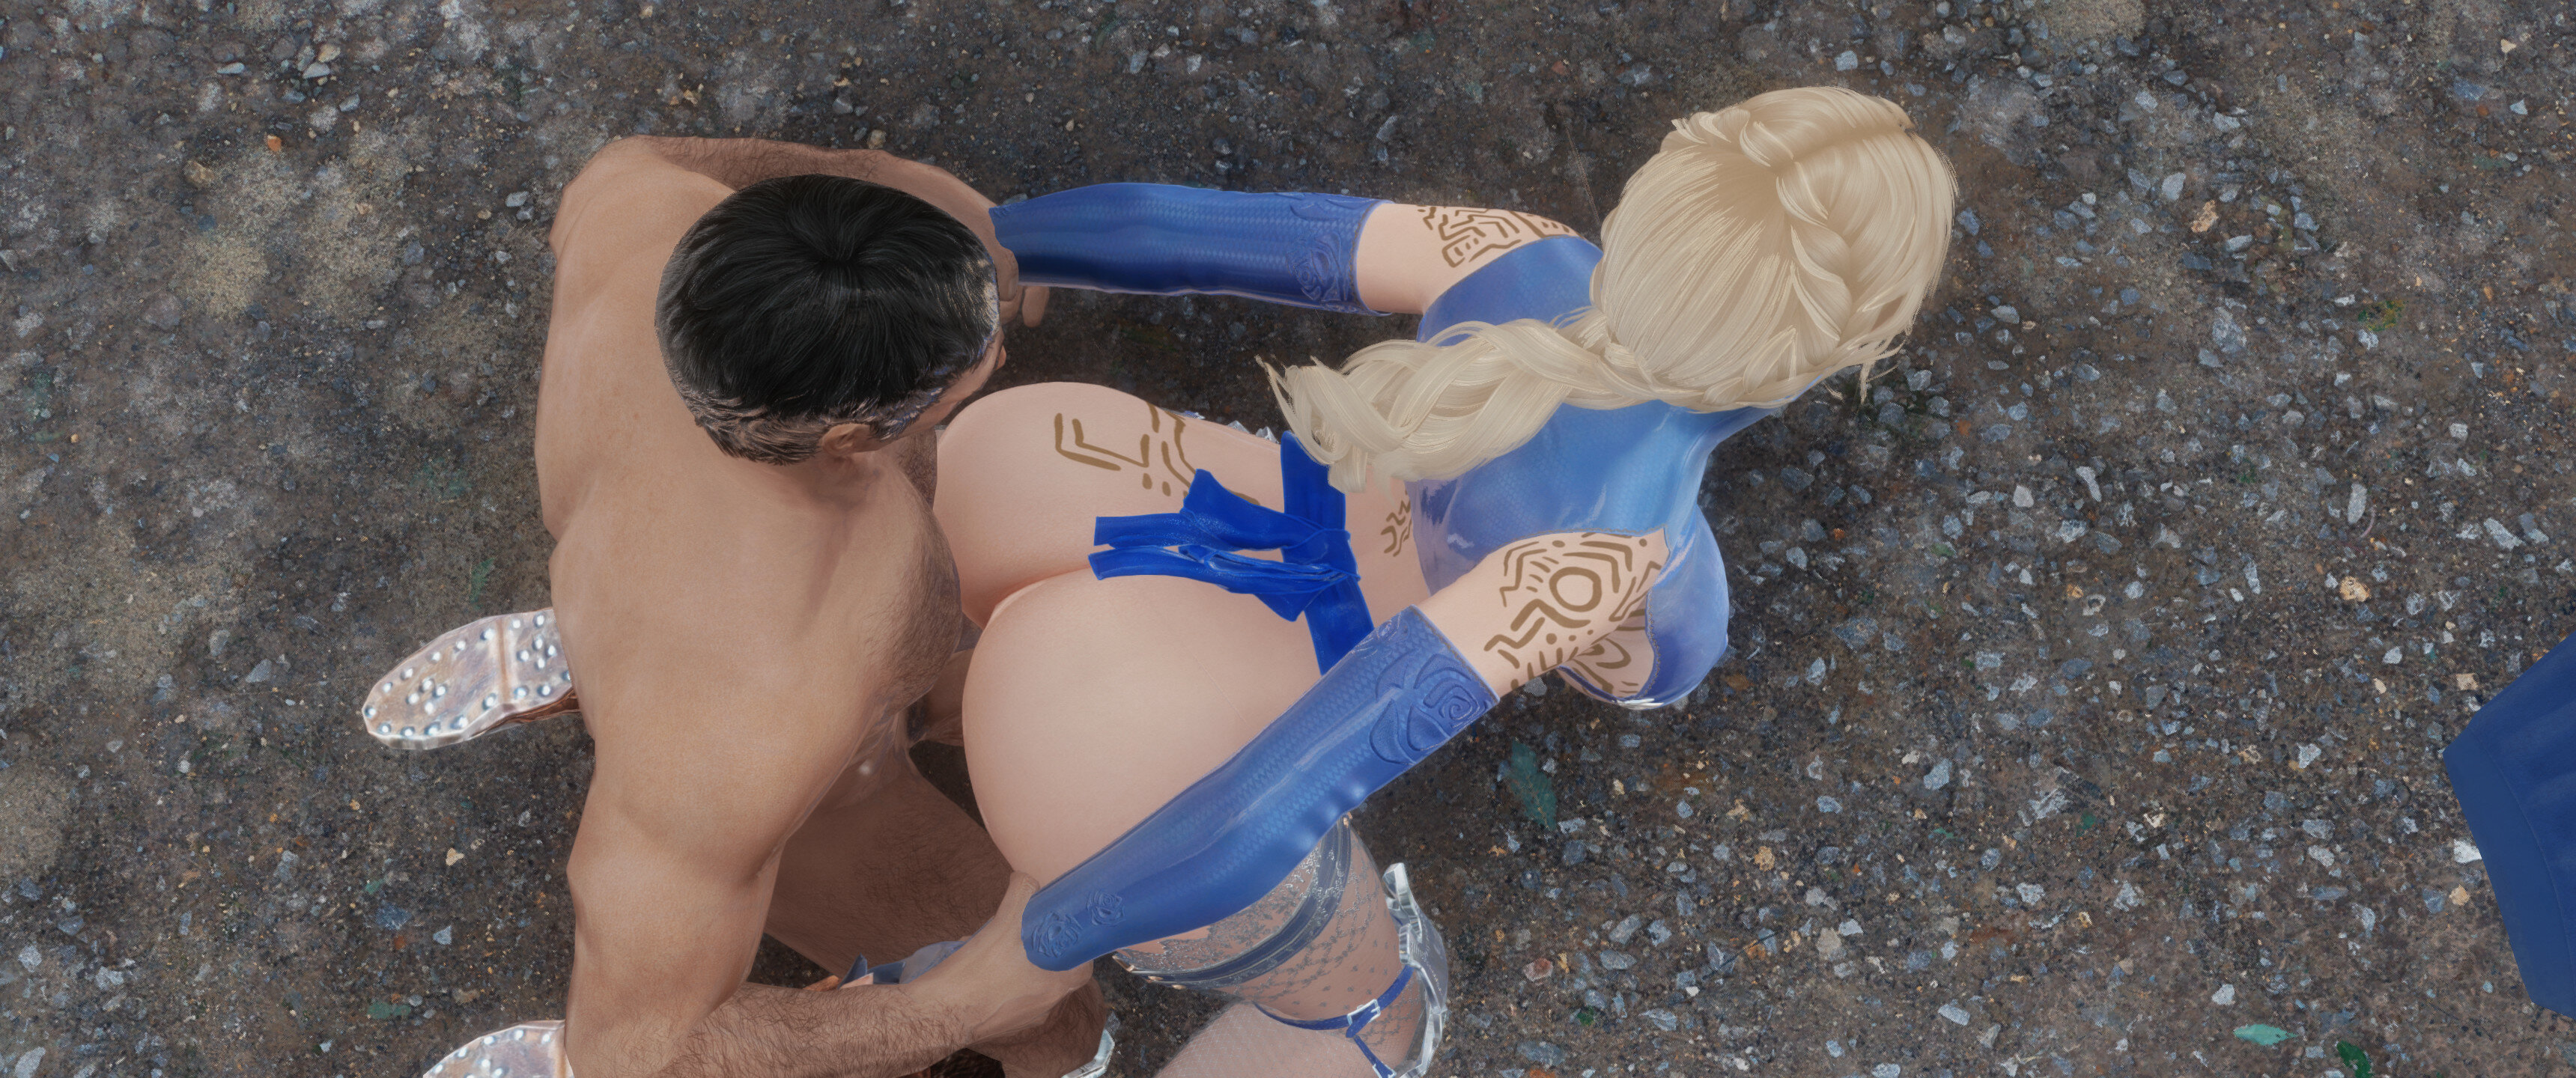

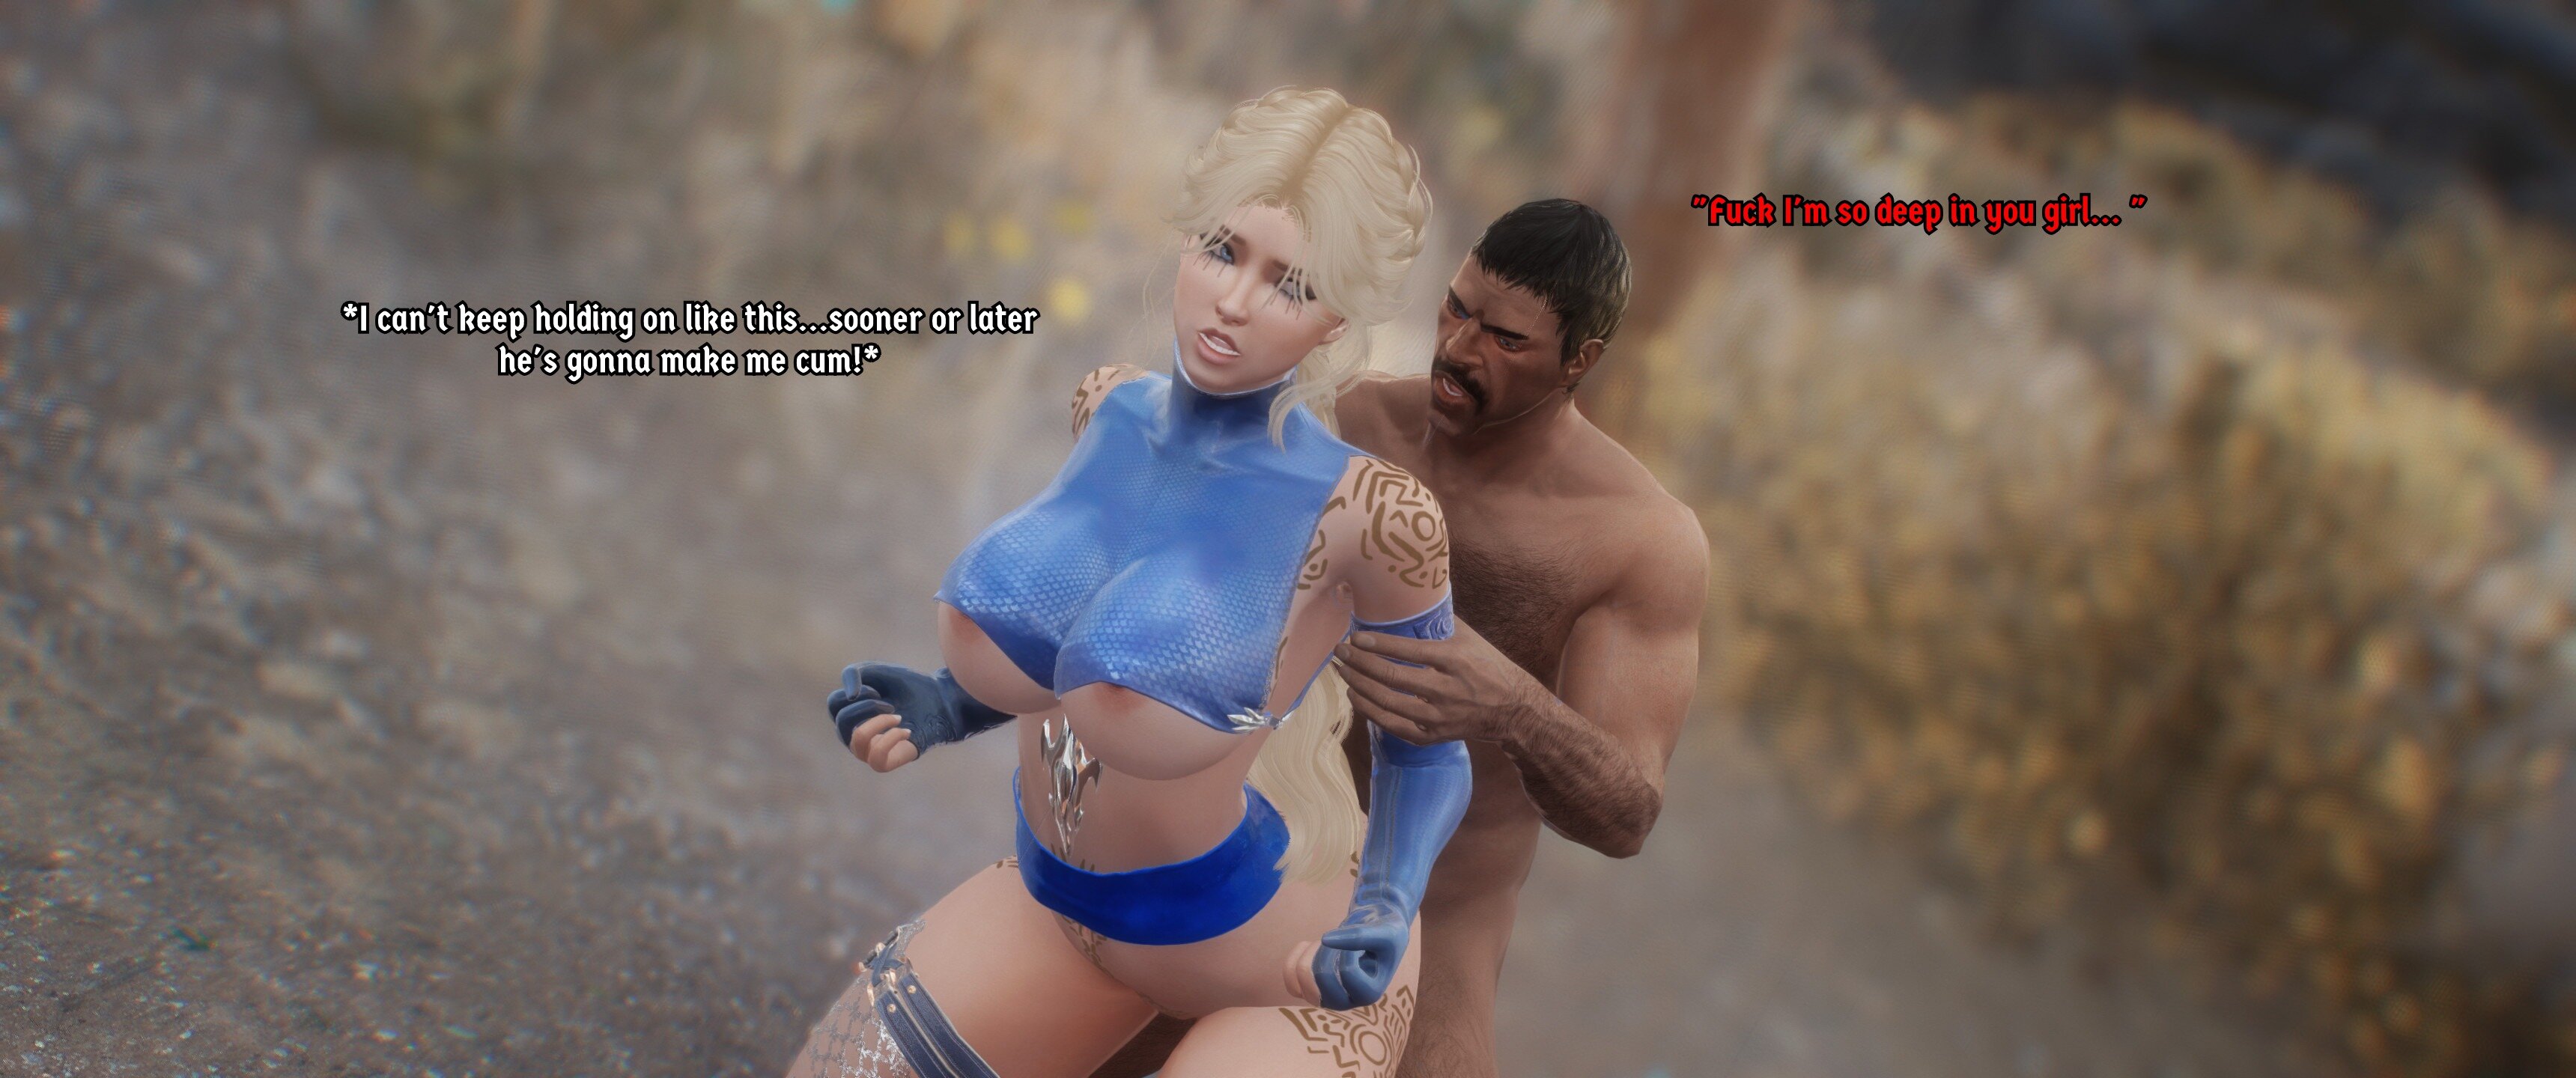


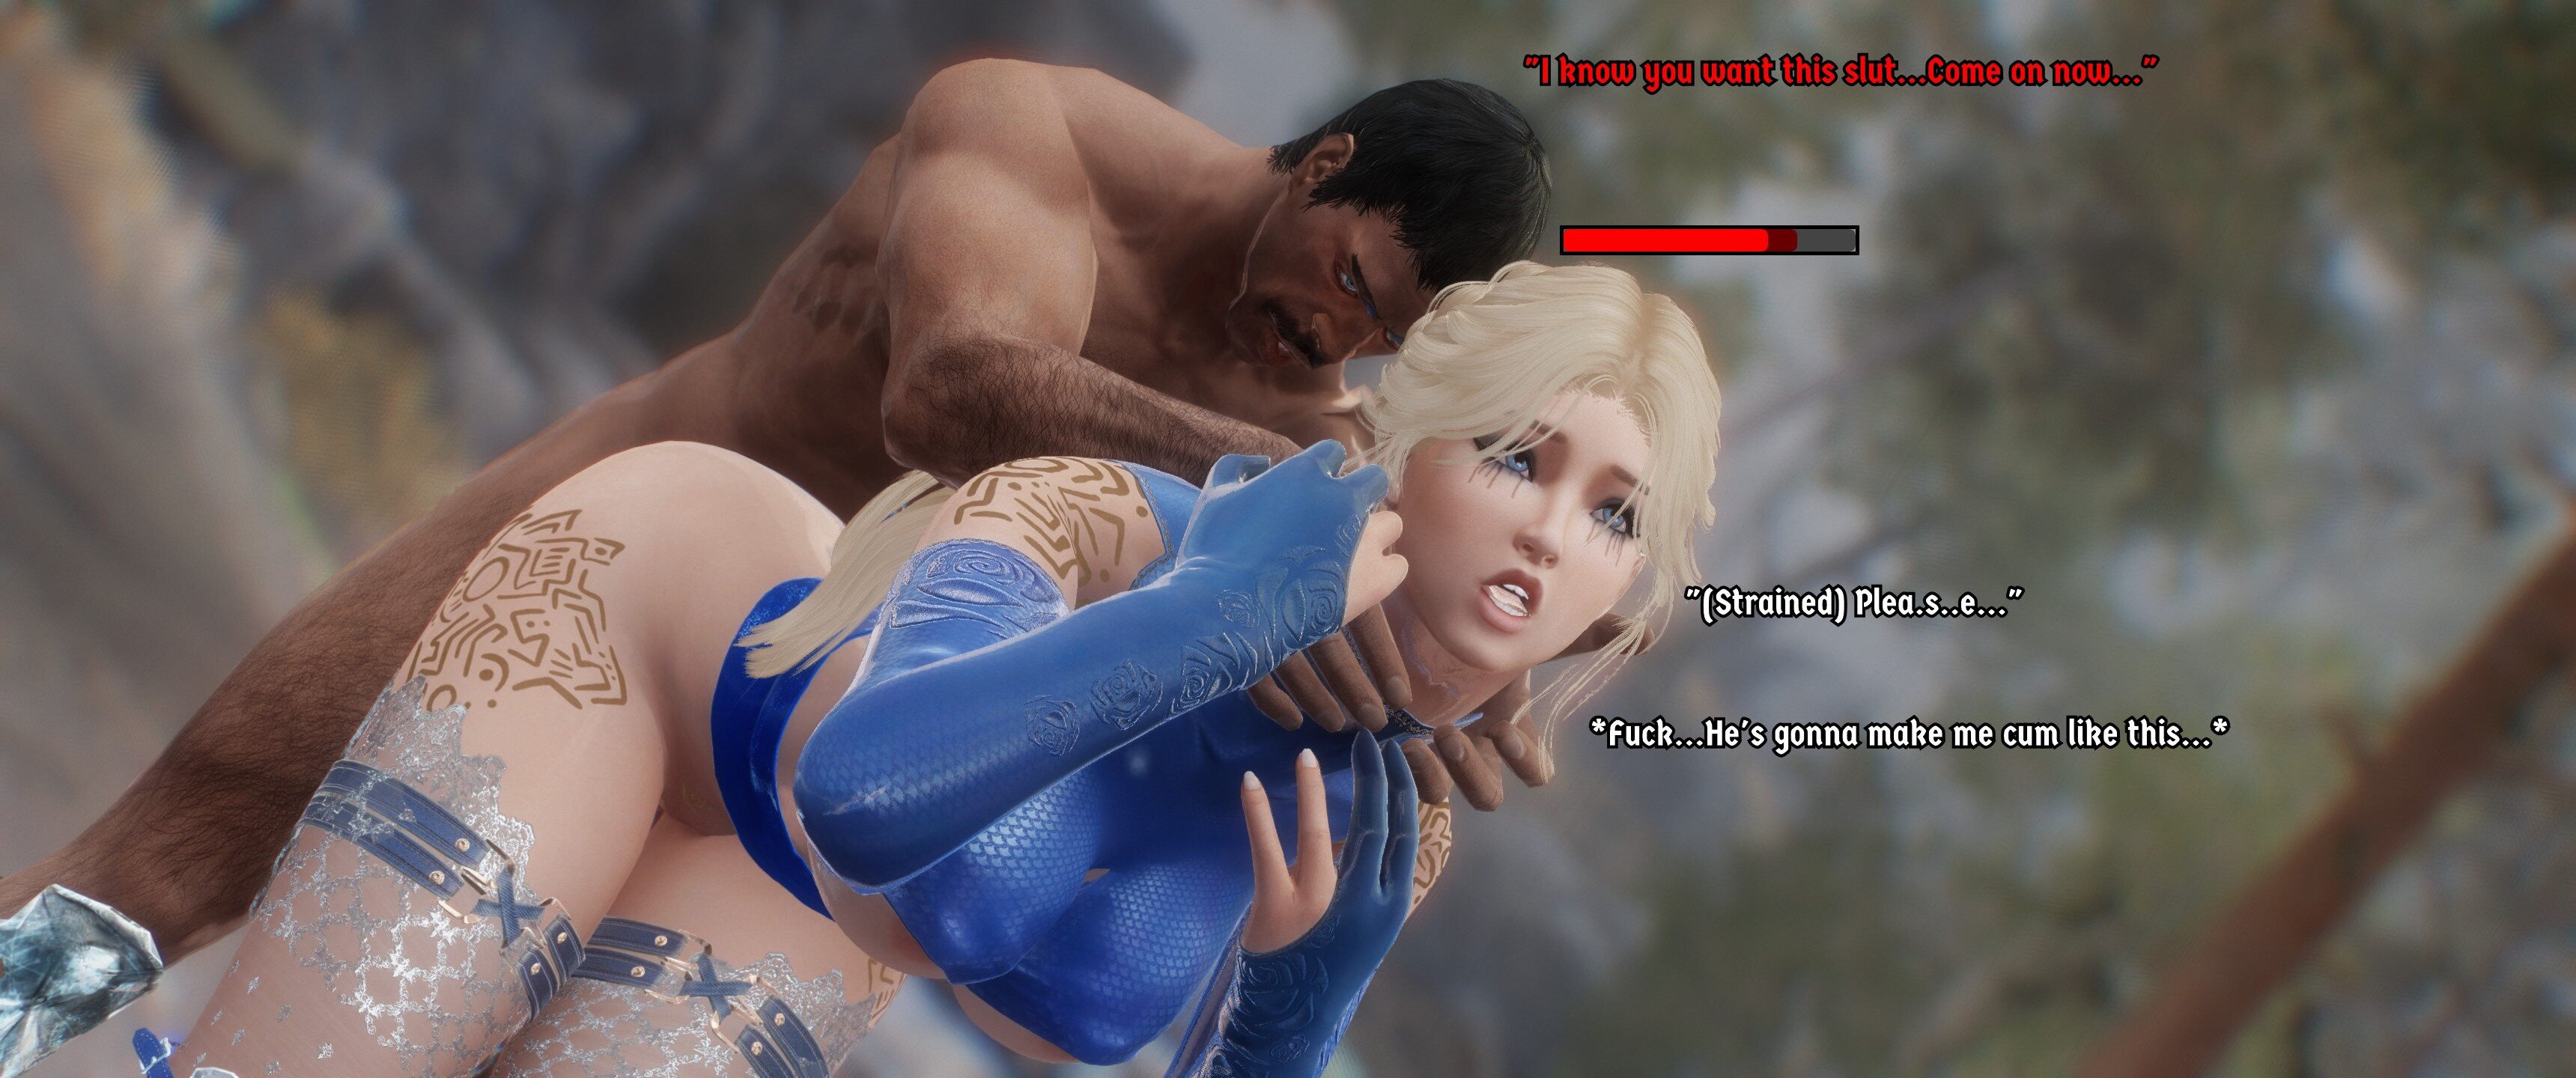
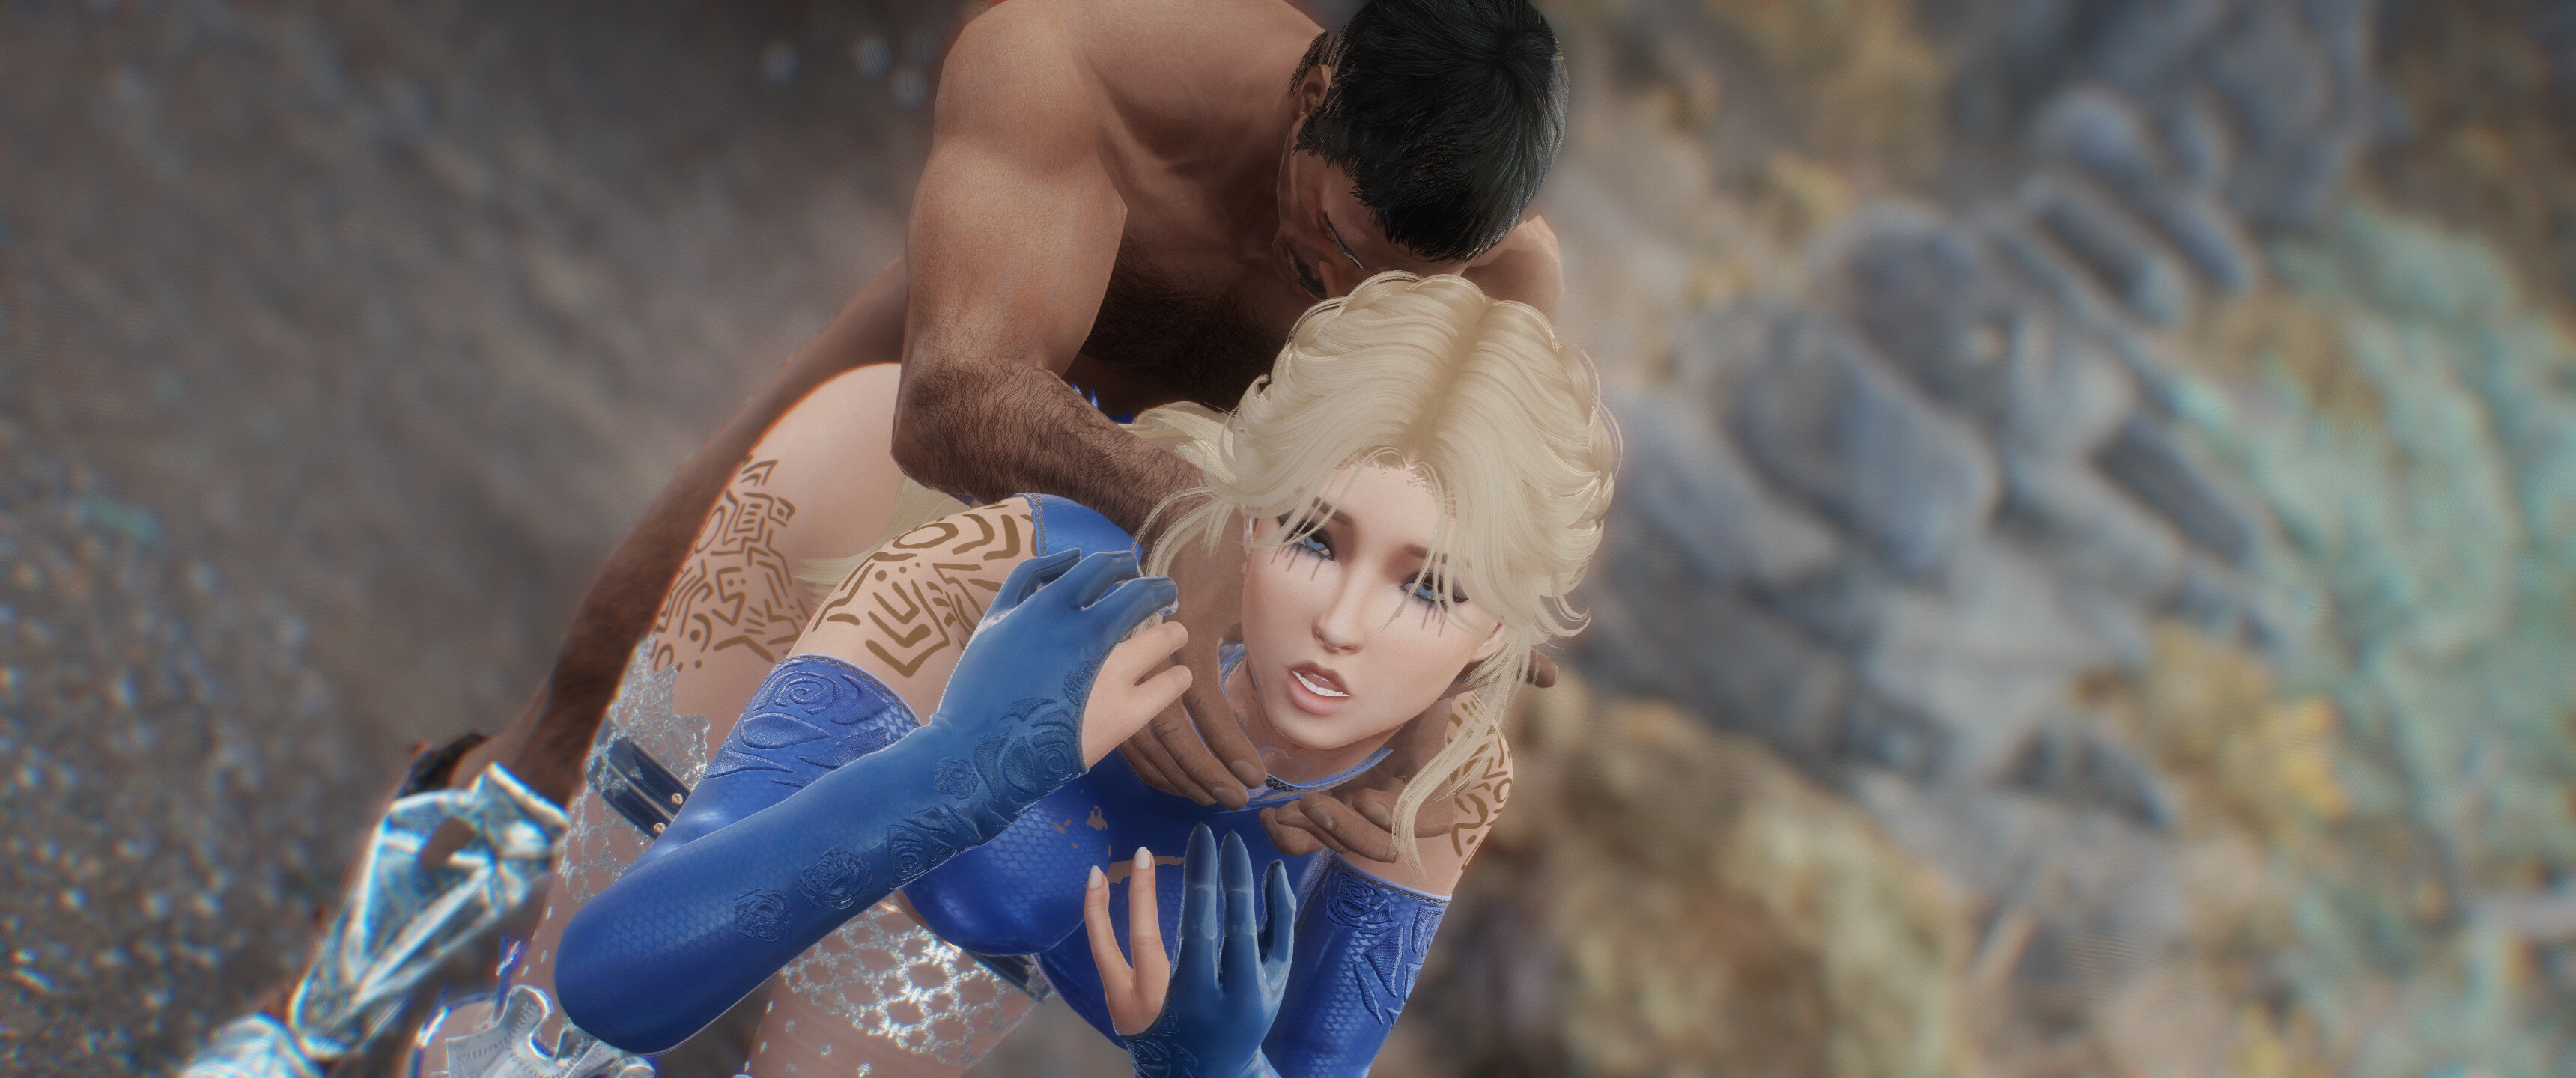


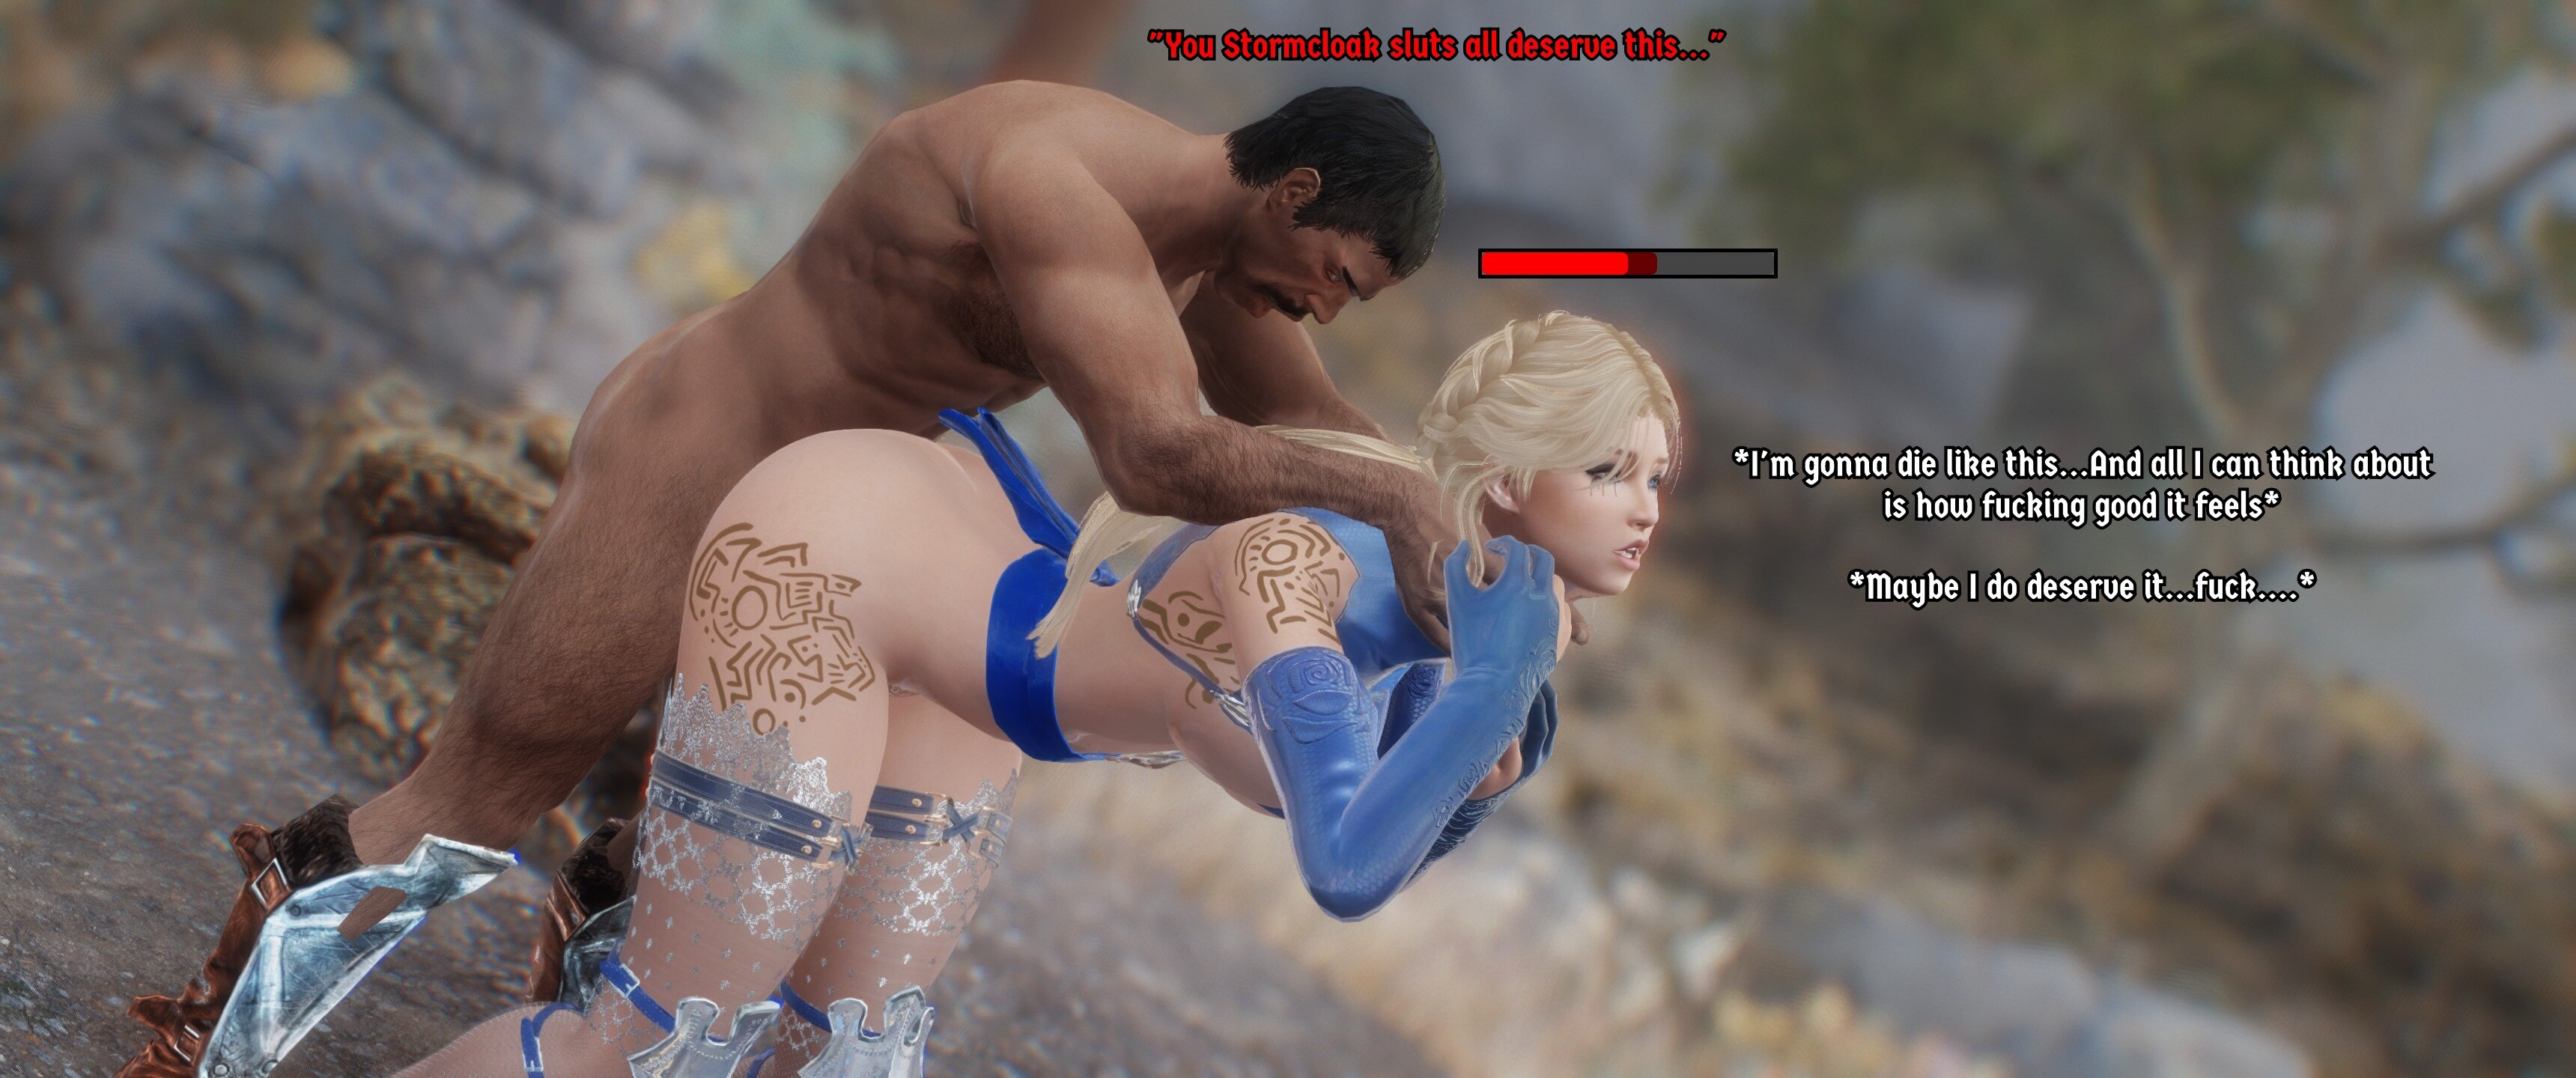
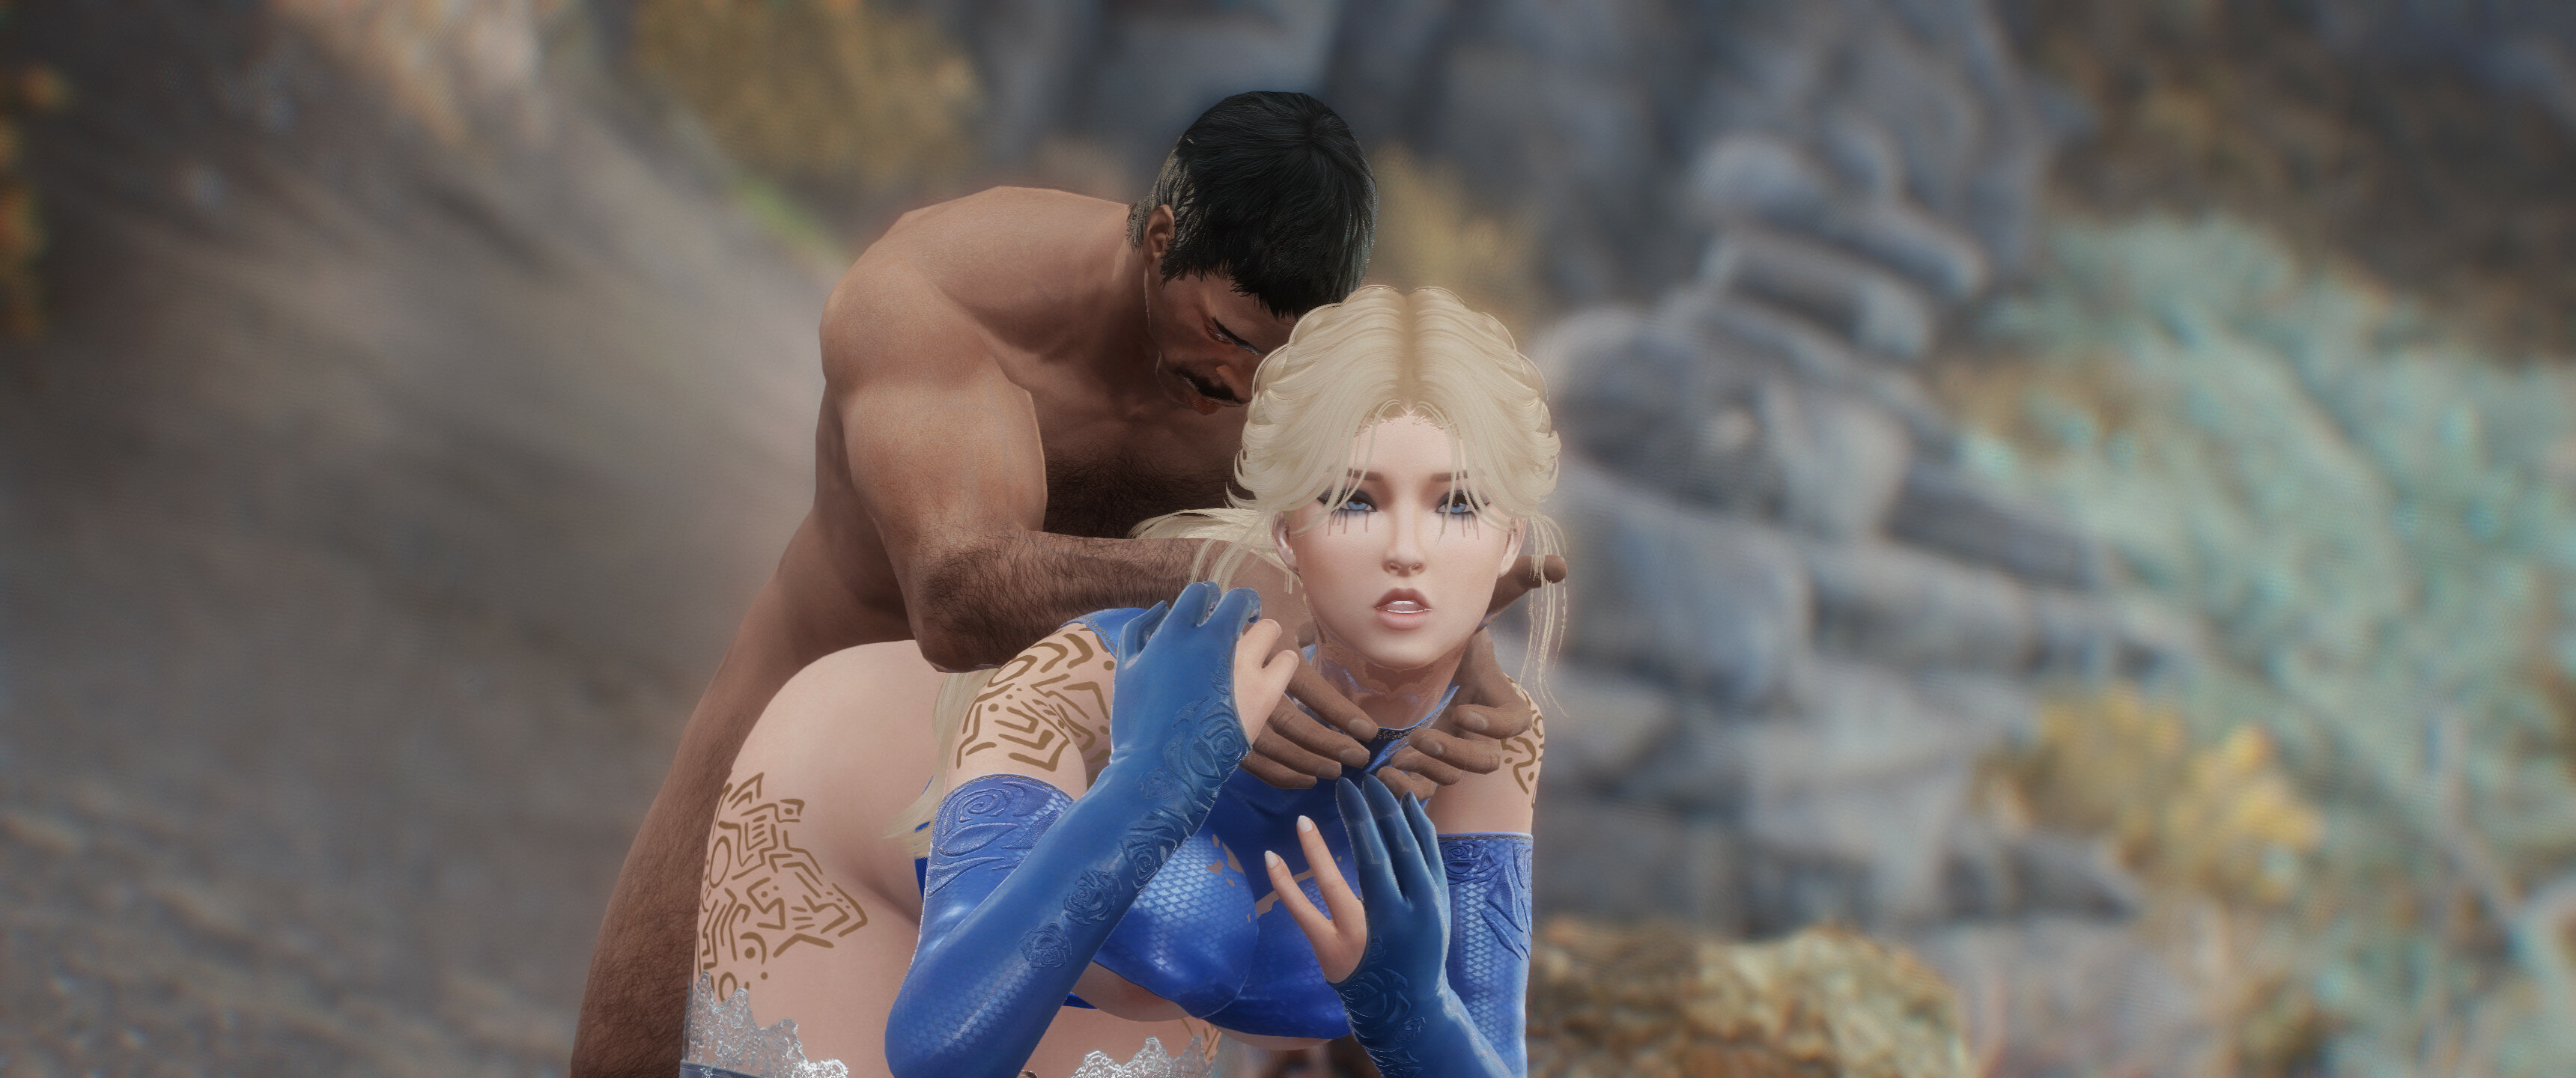


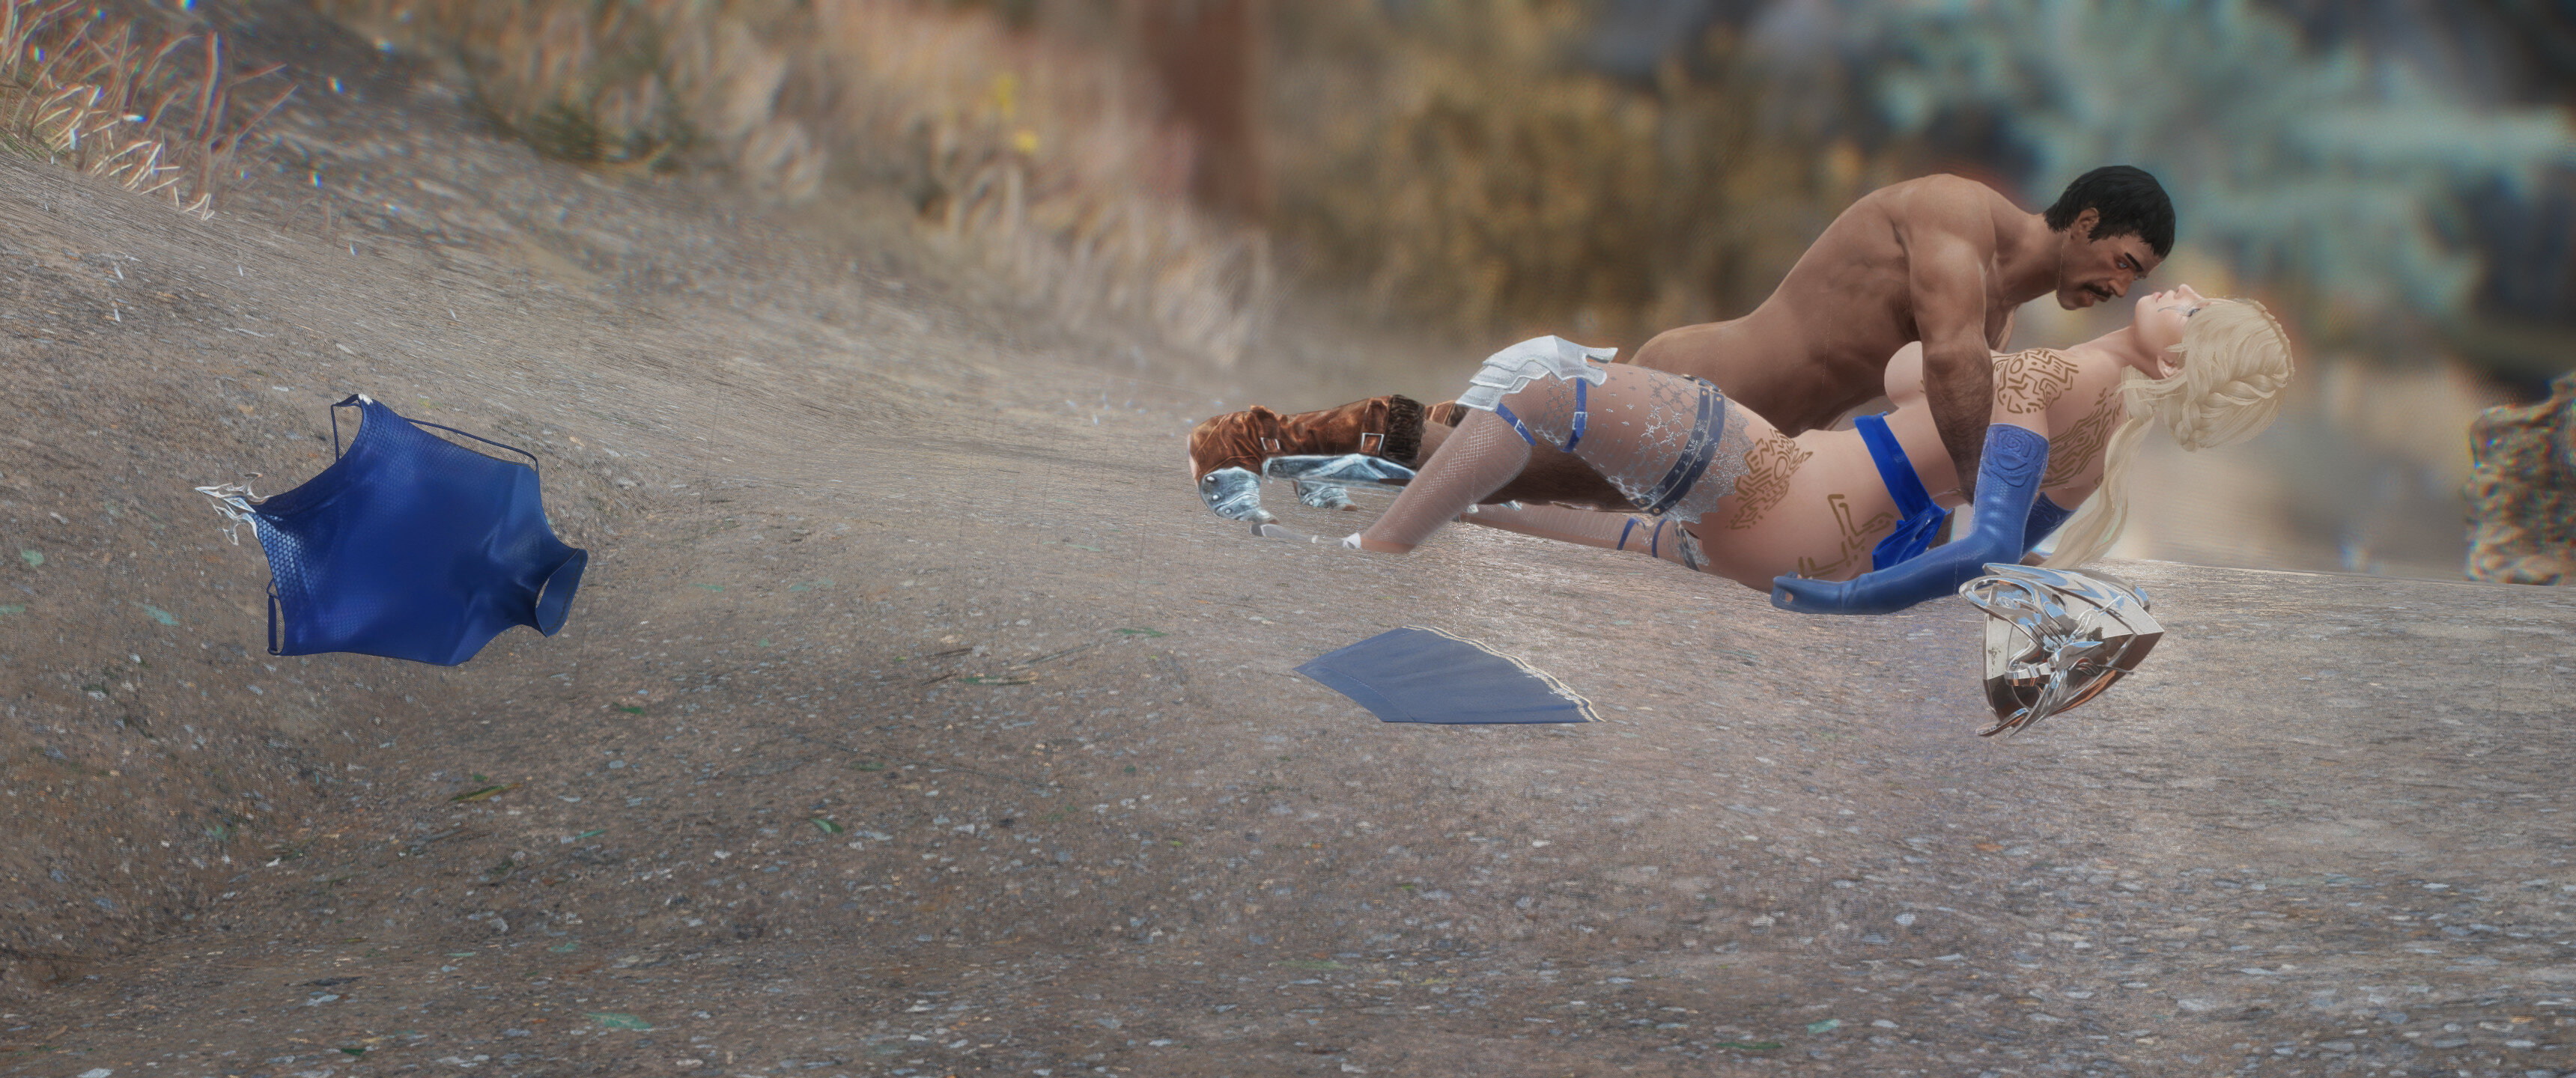
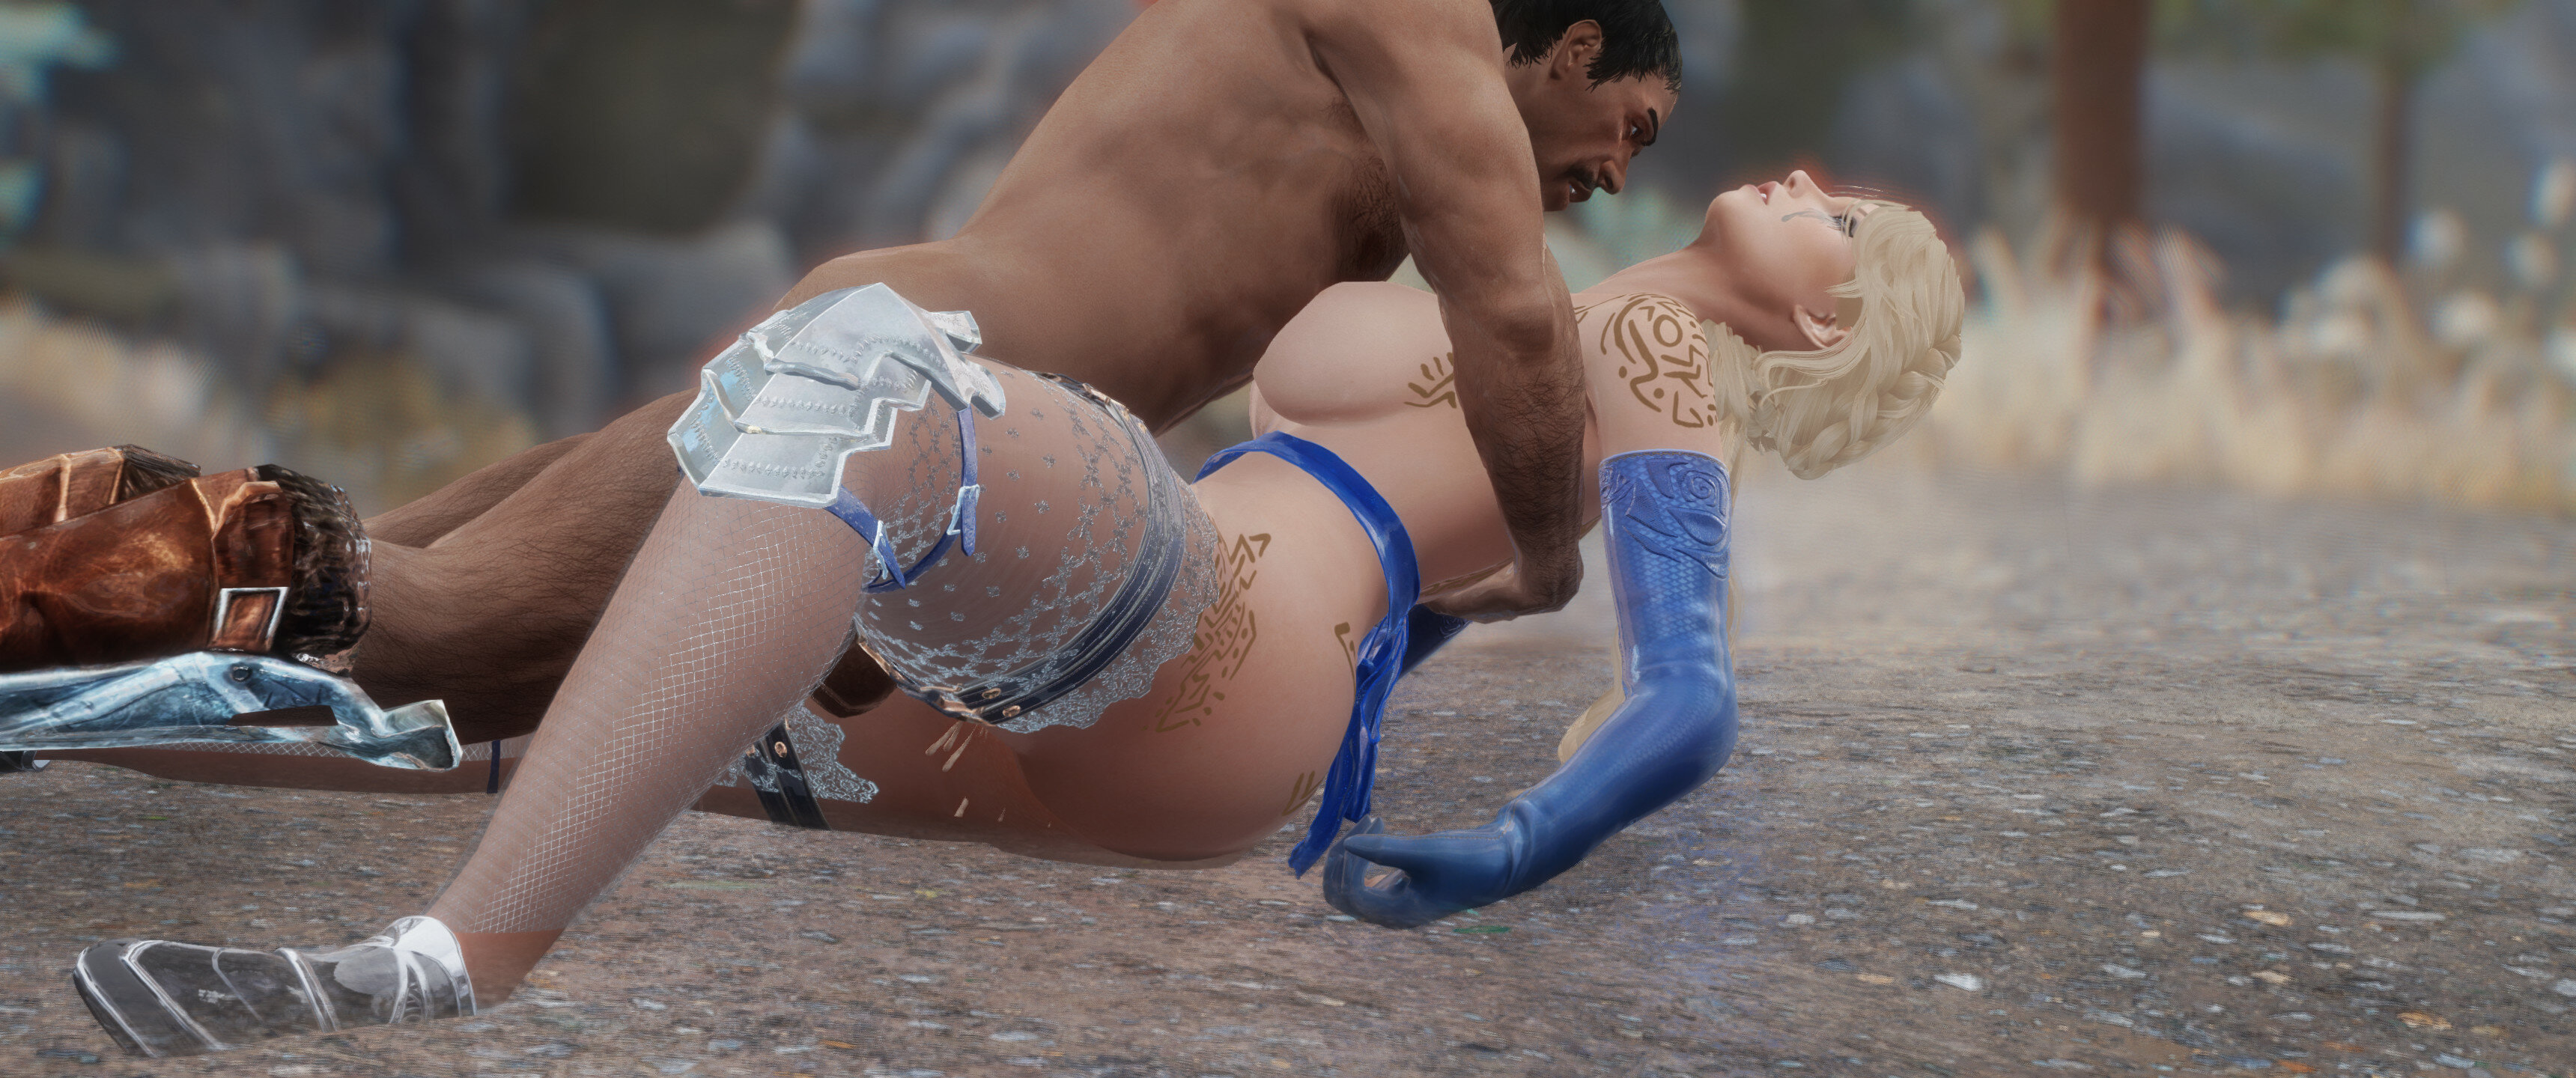
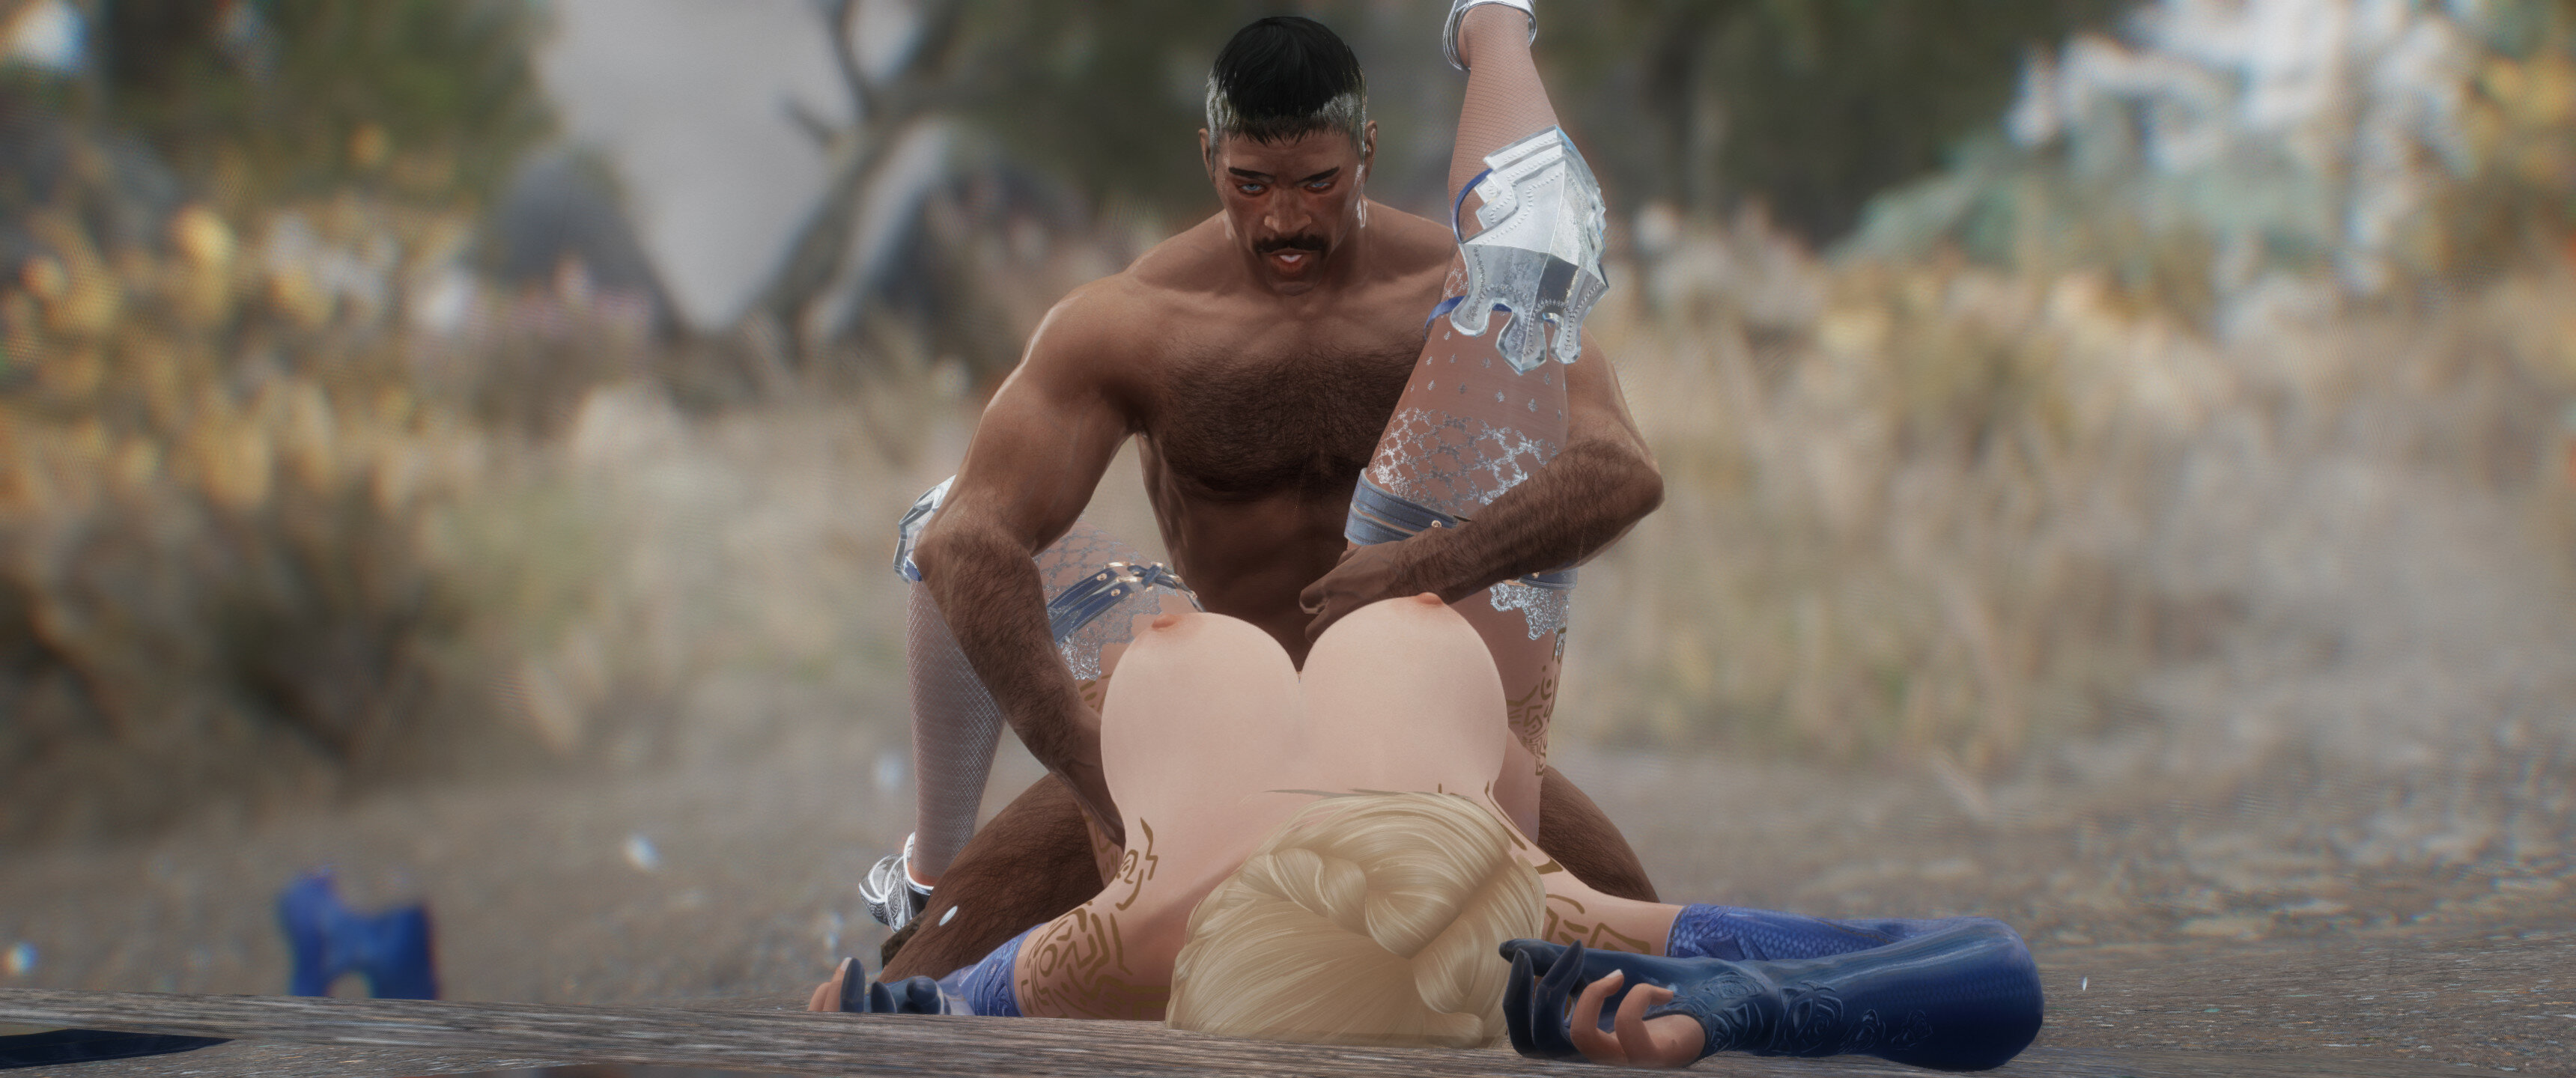
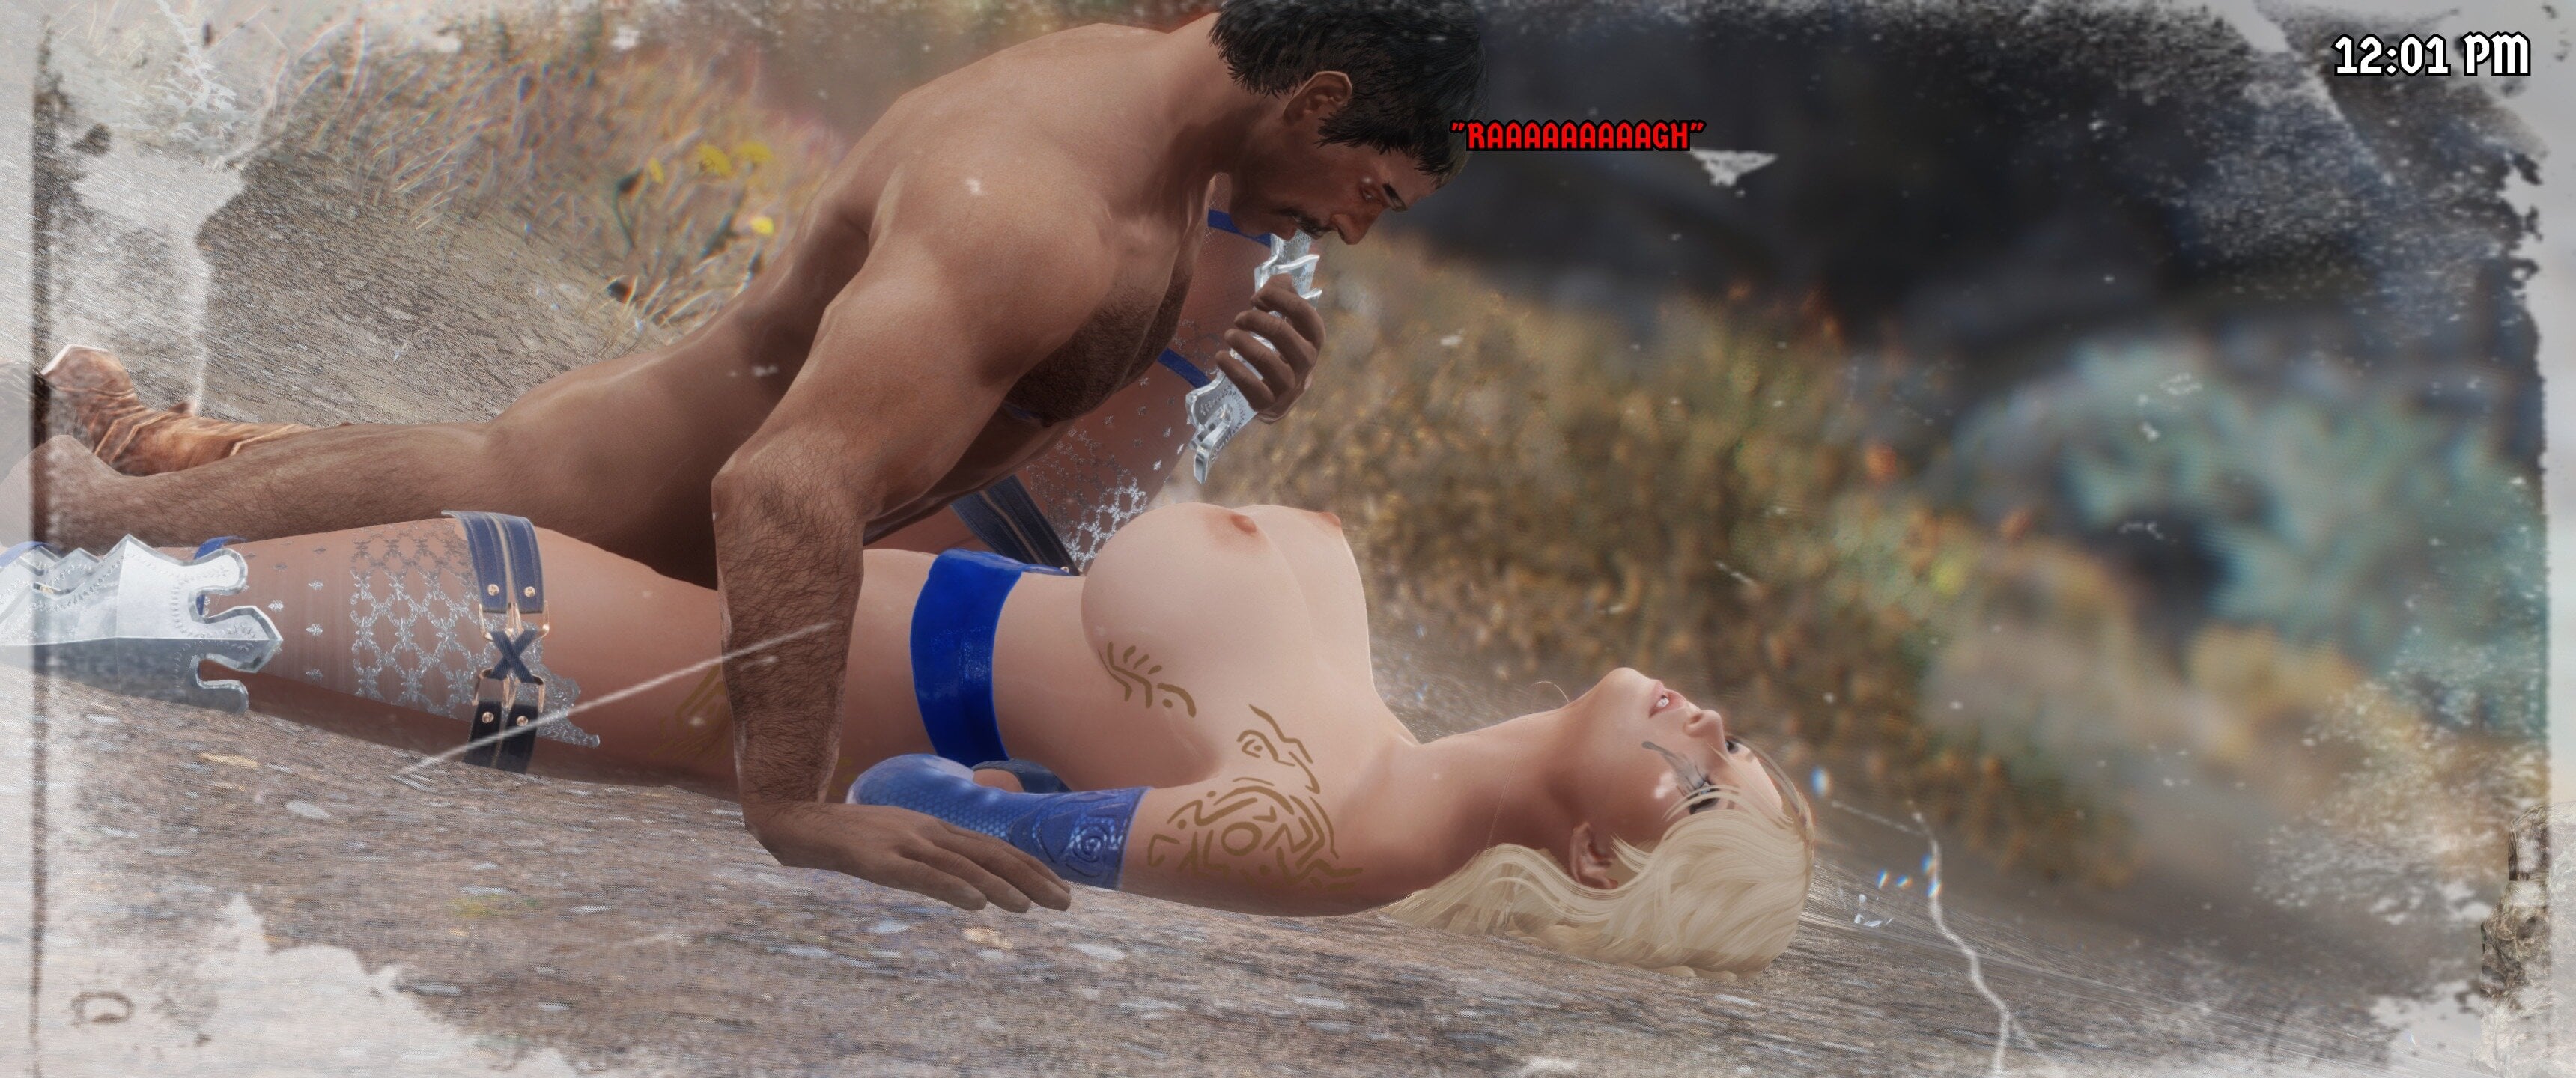
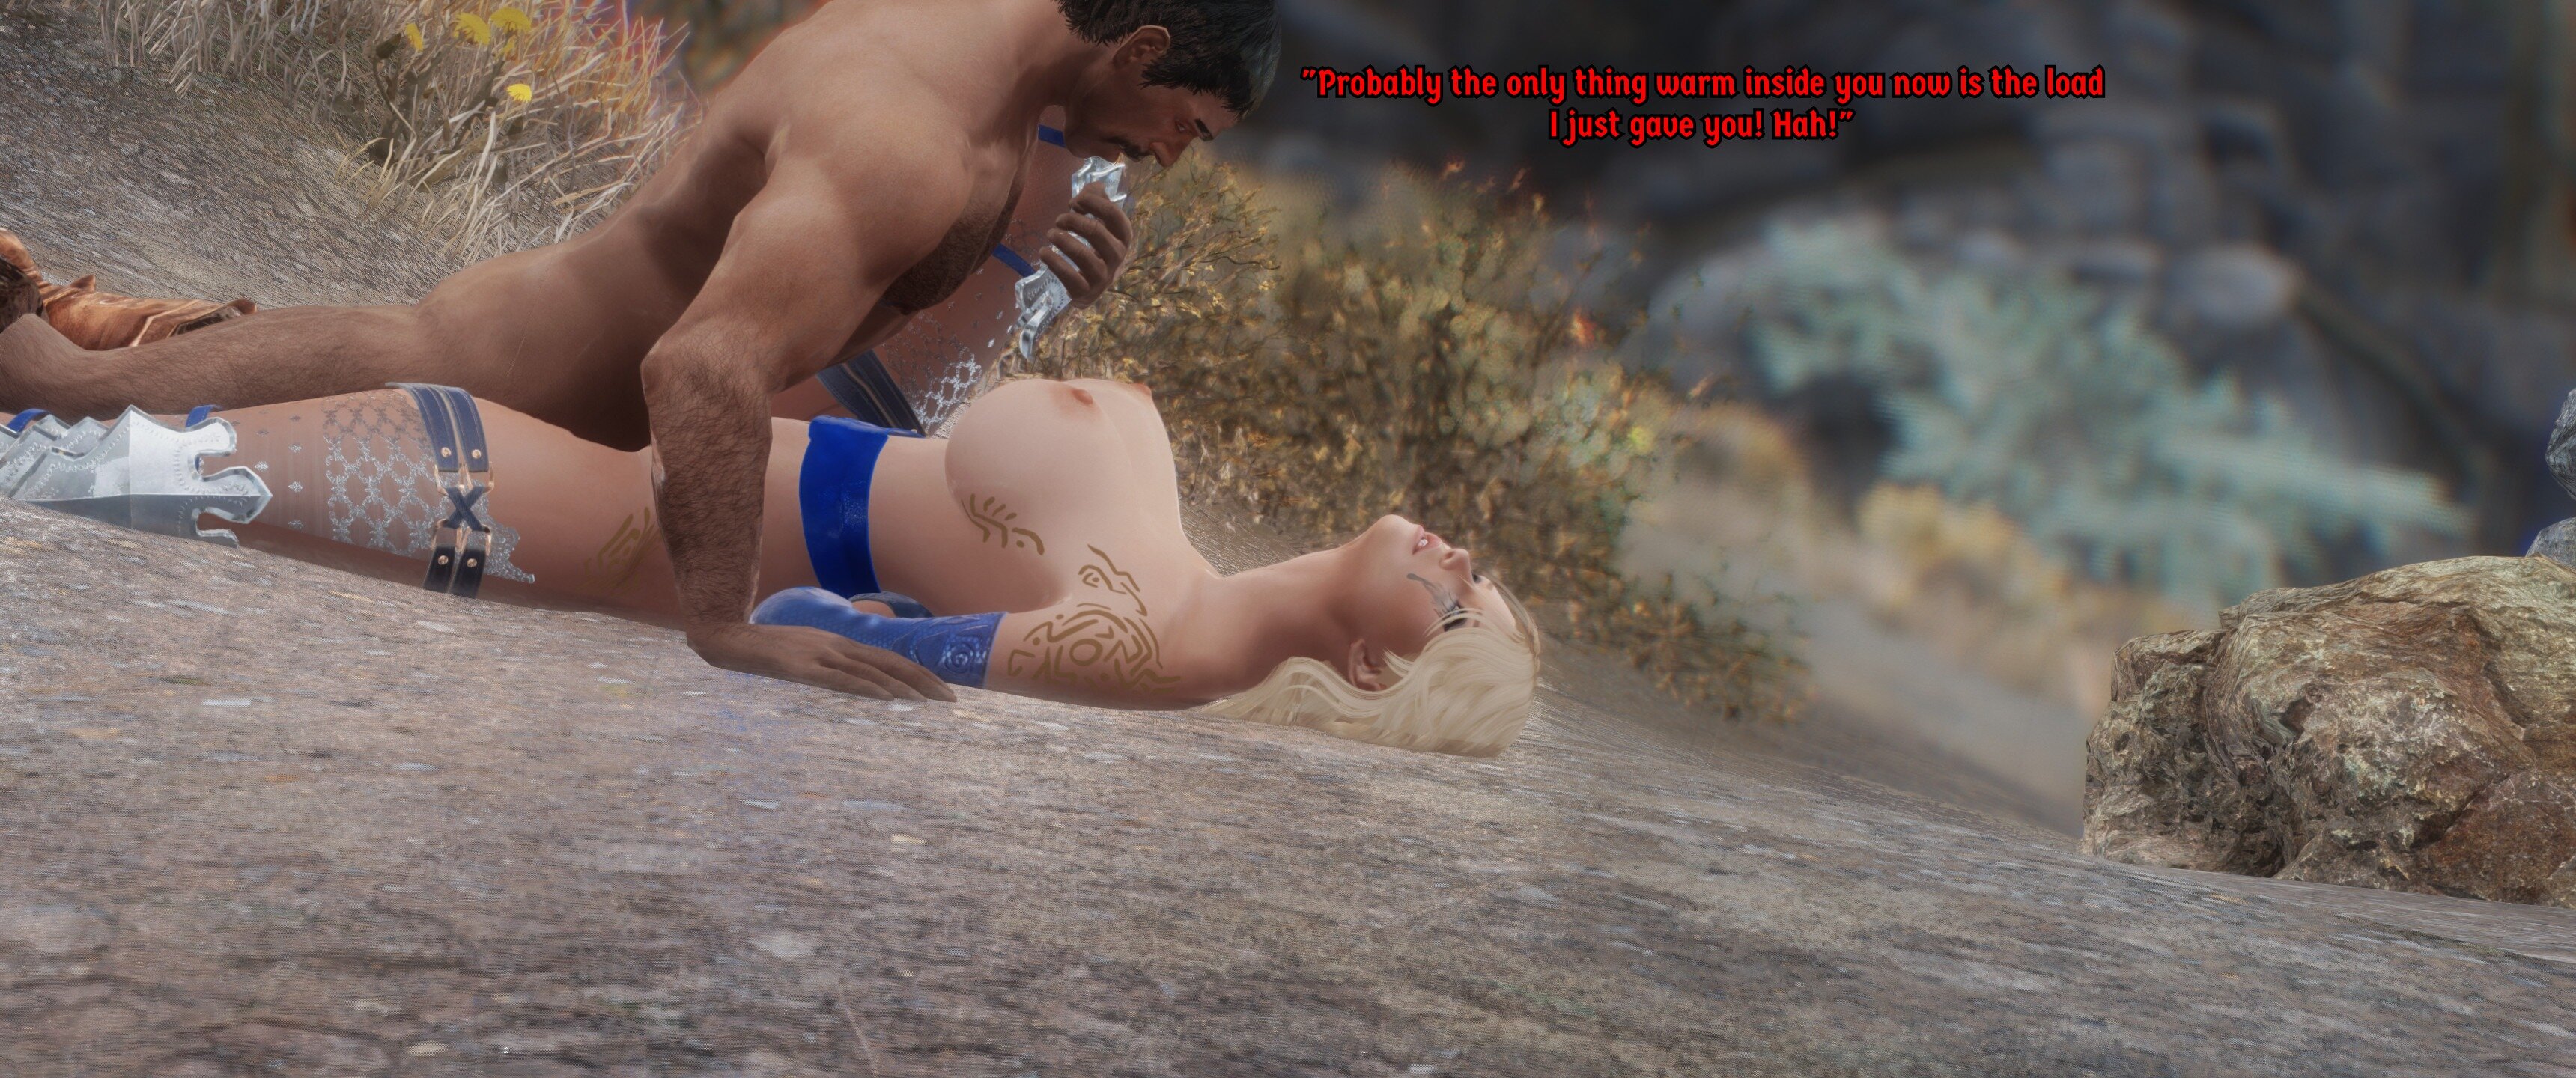
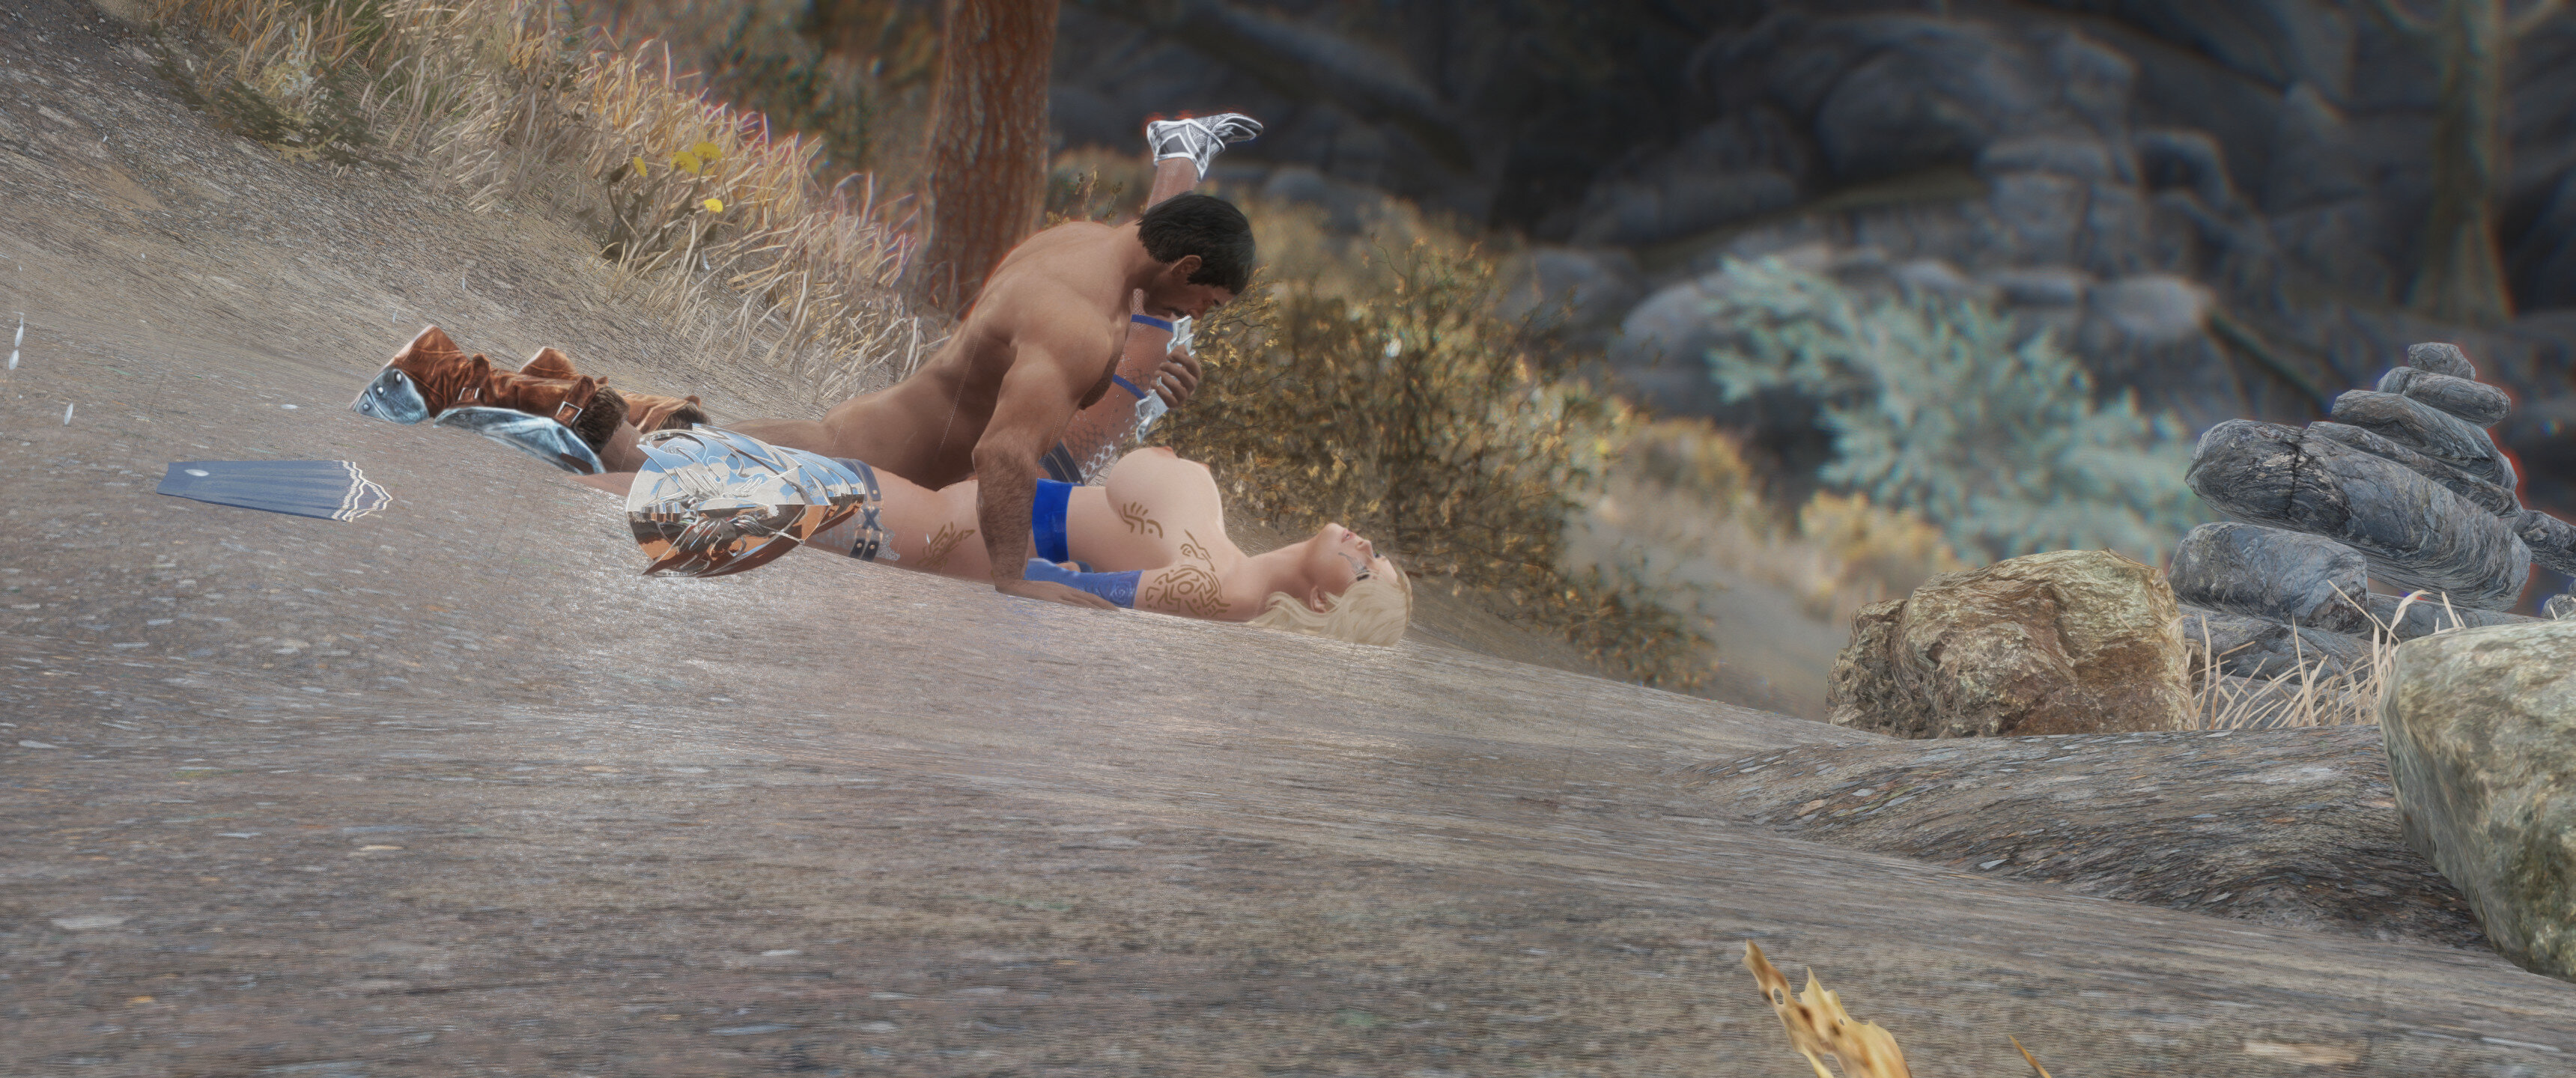
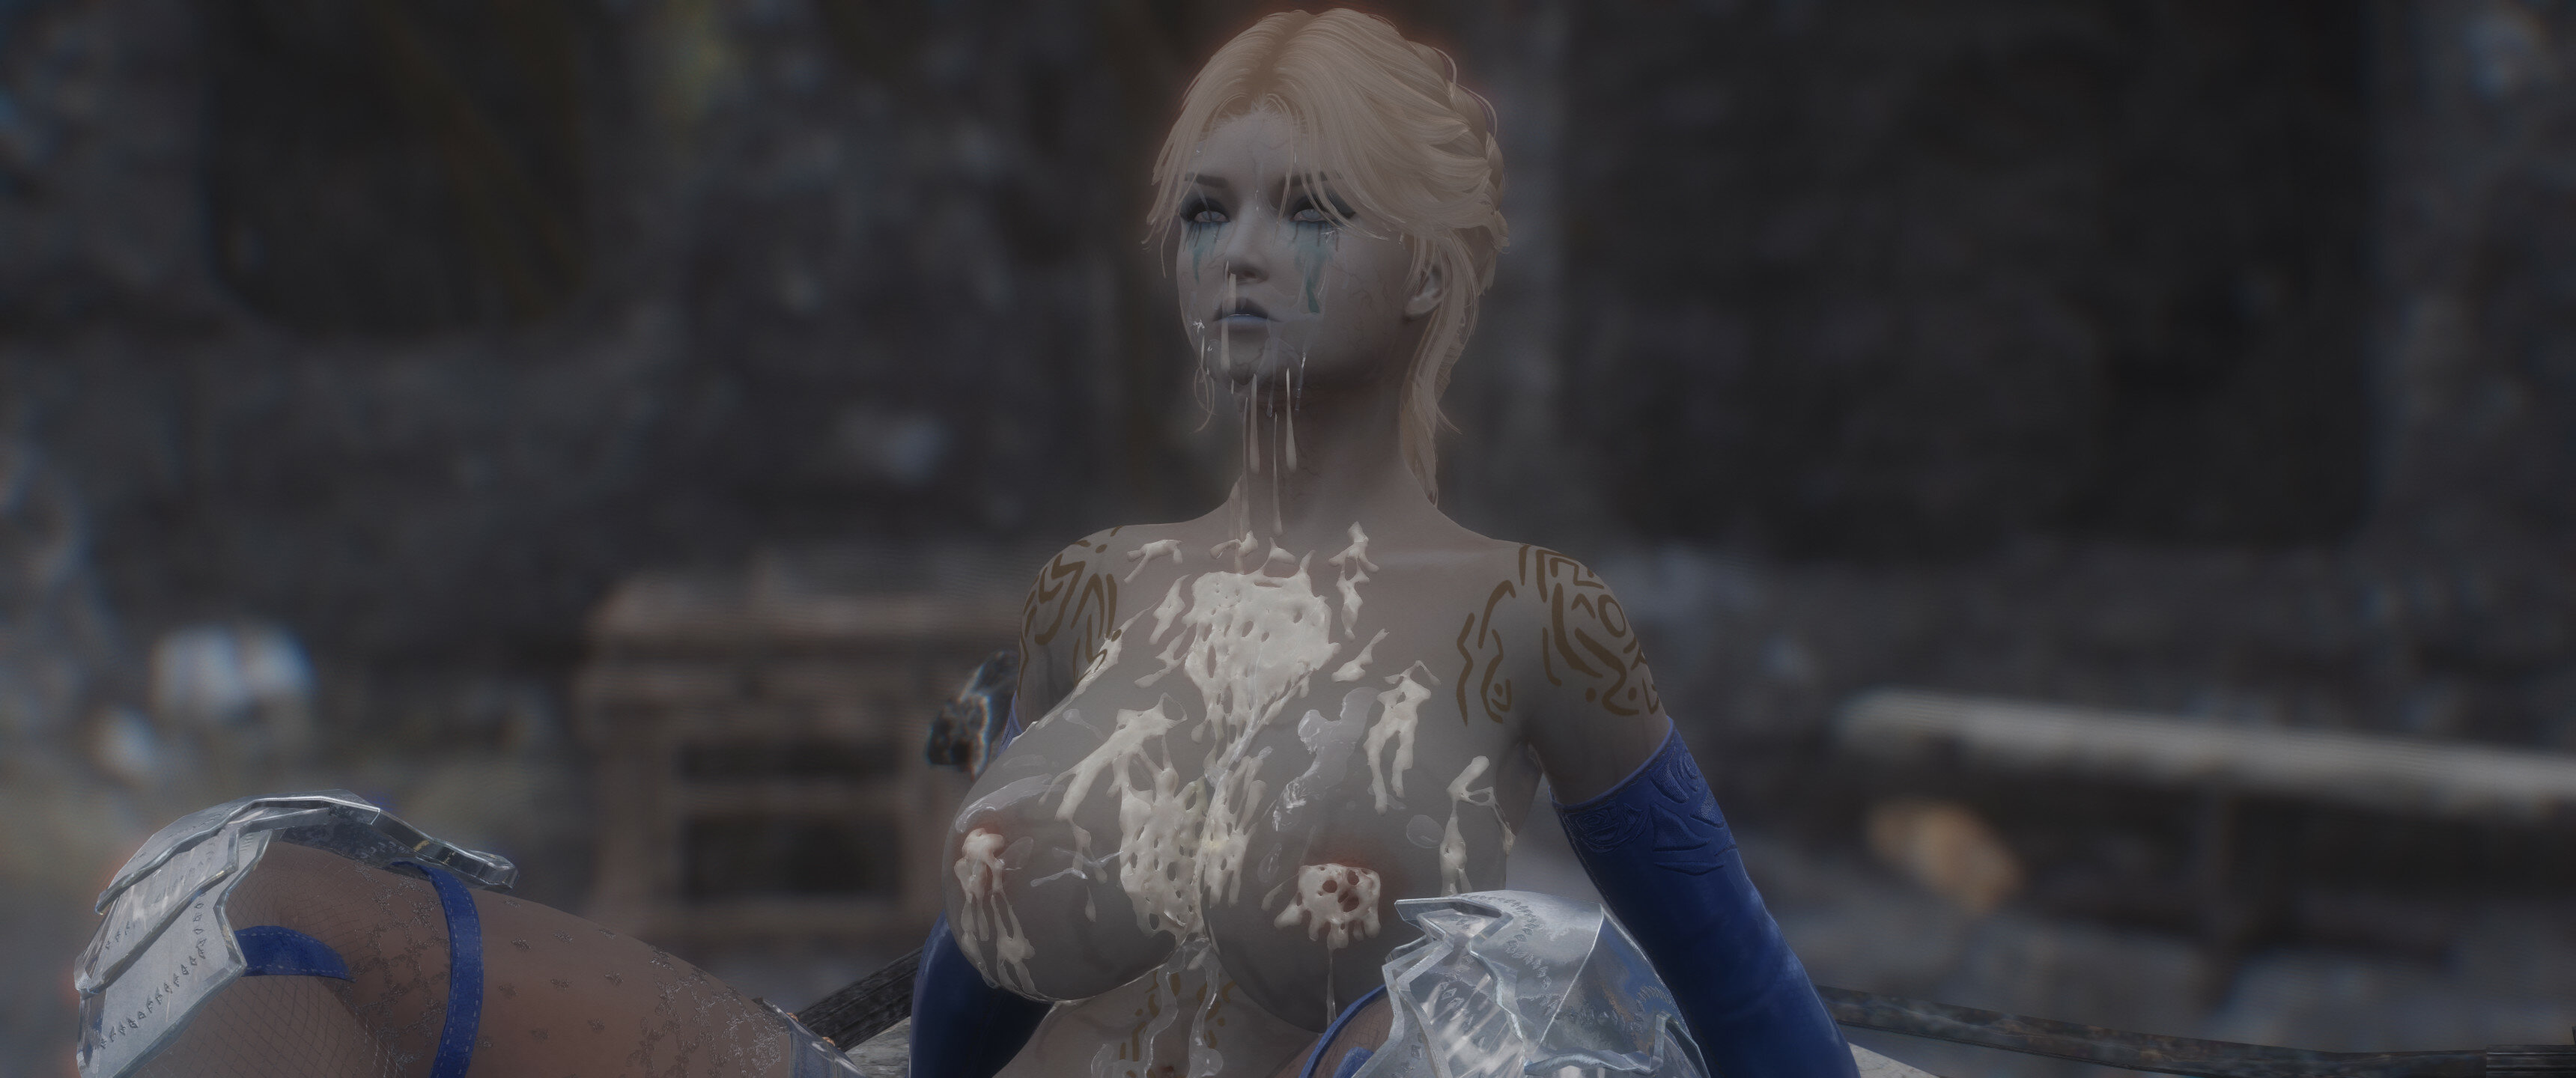
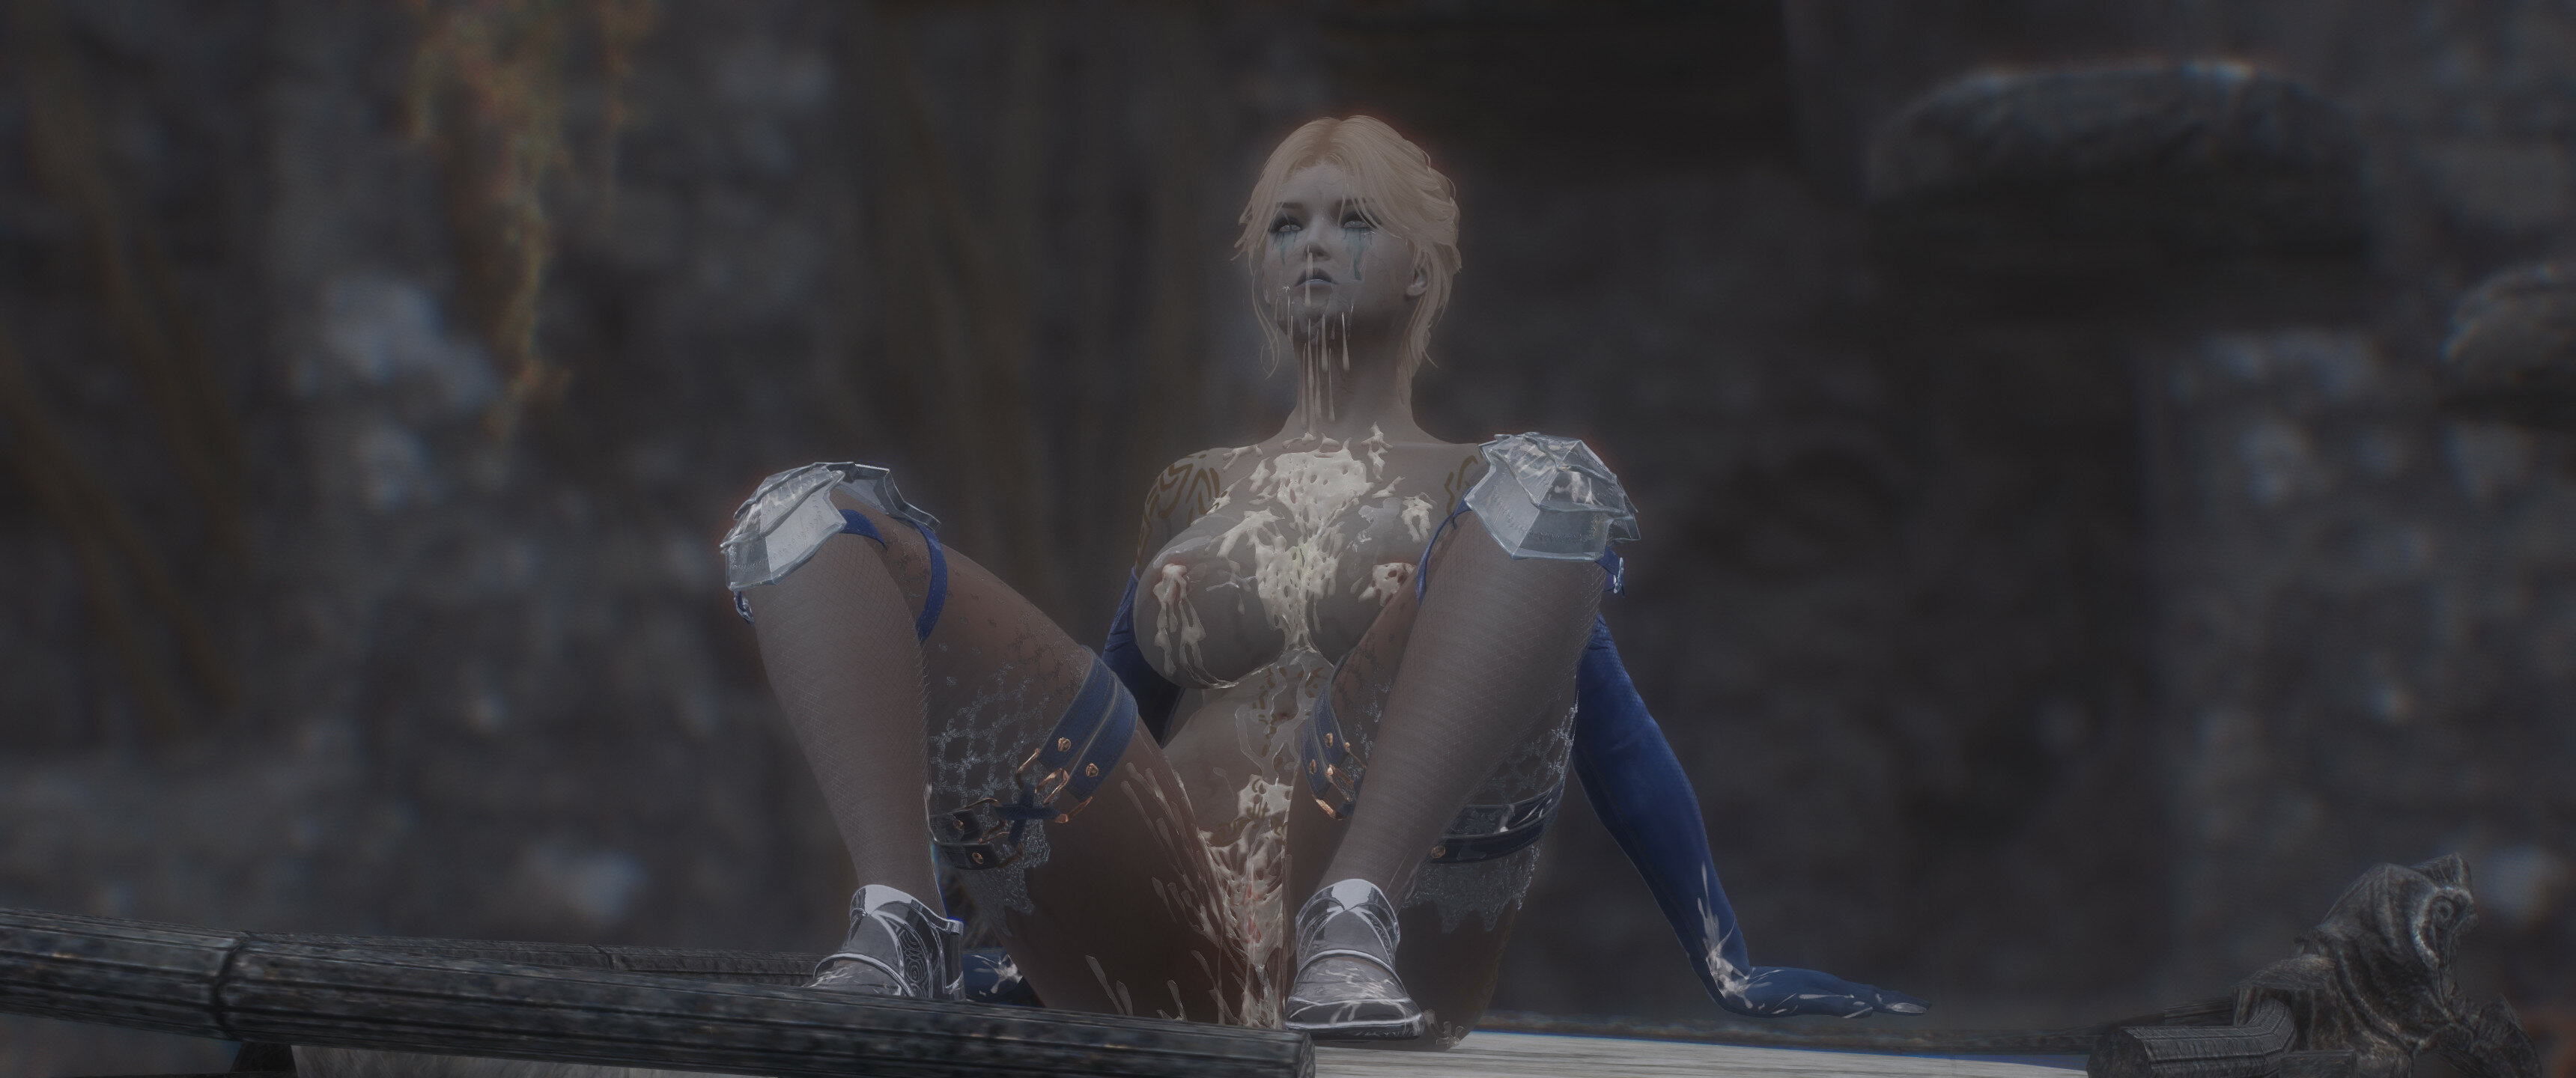
The Victor's Spoils:


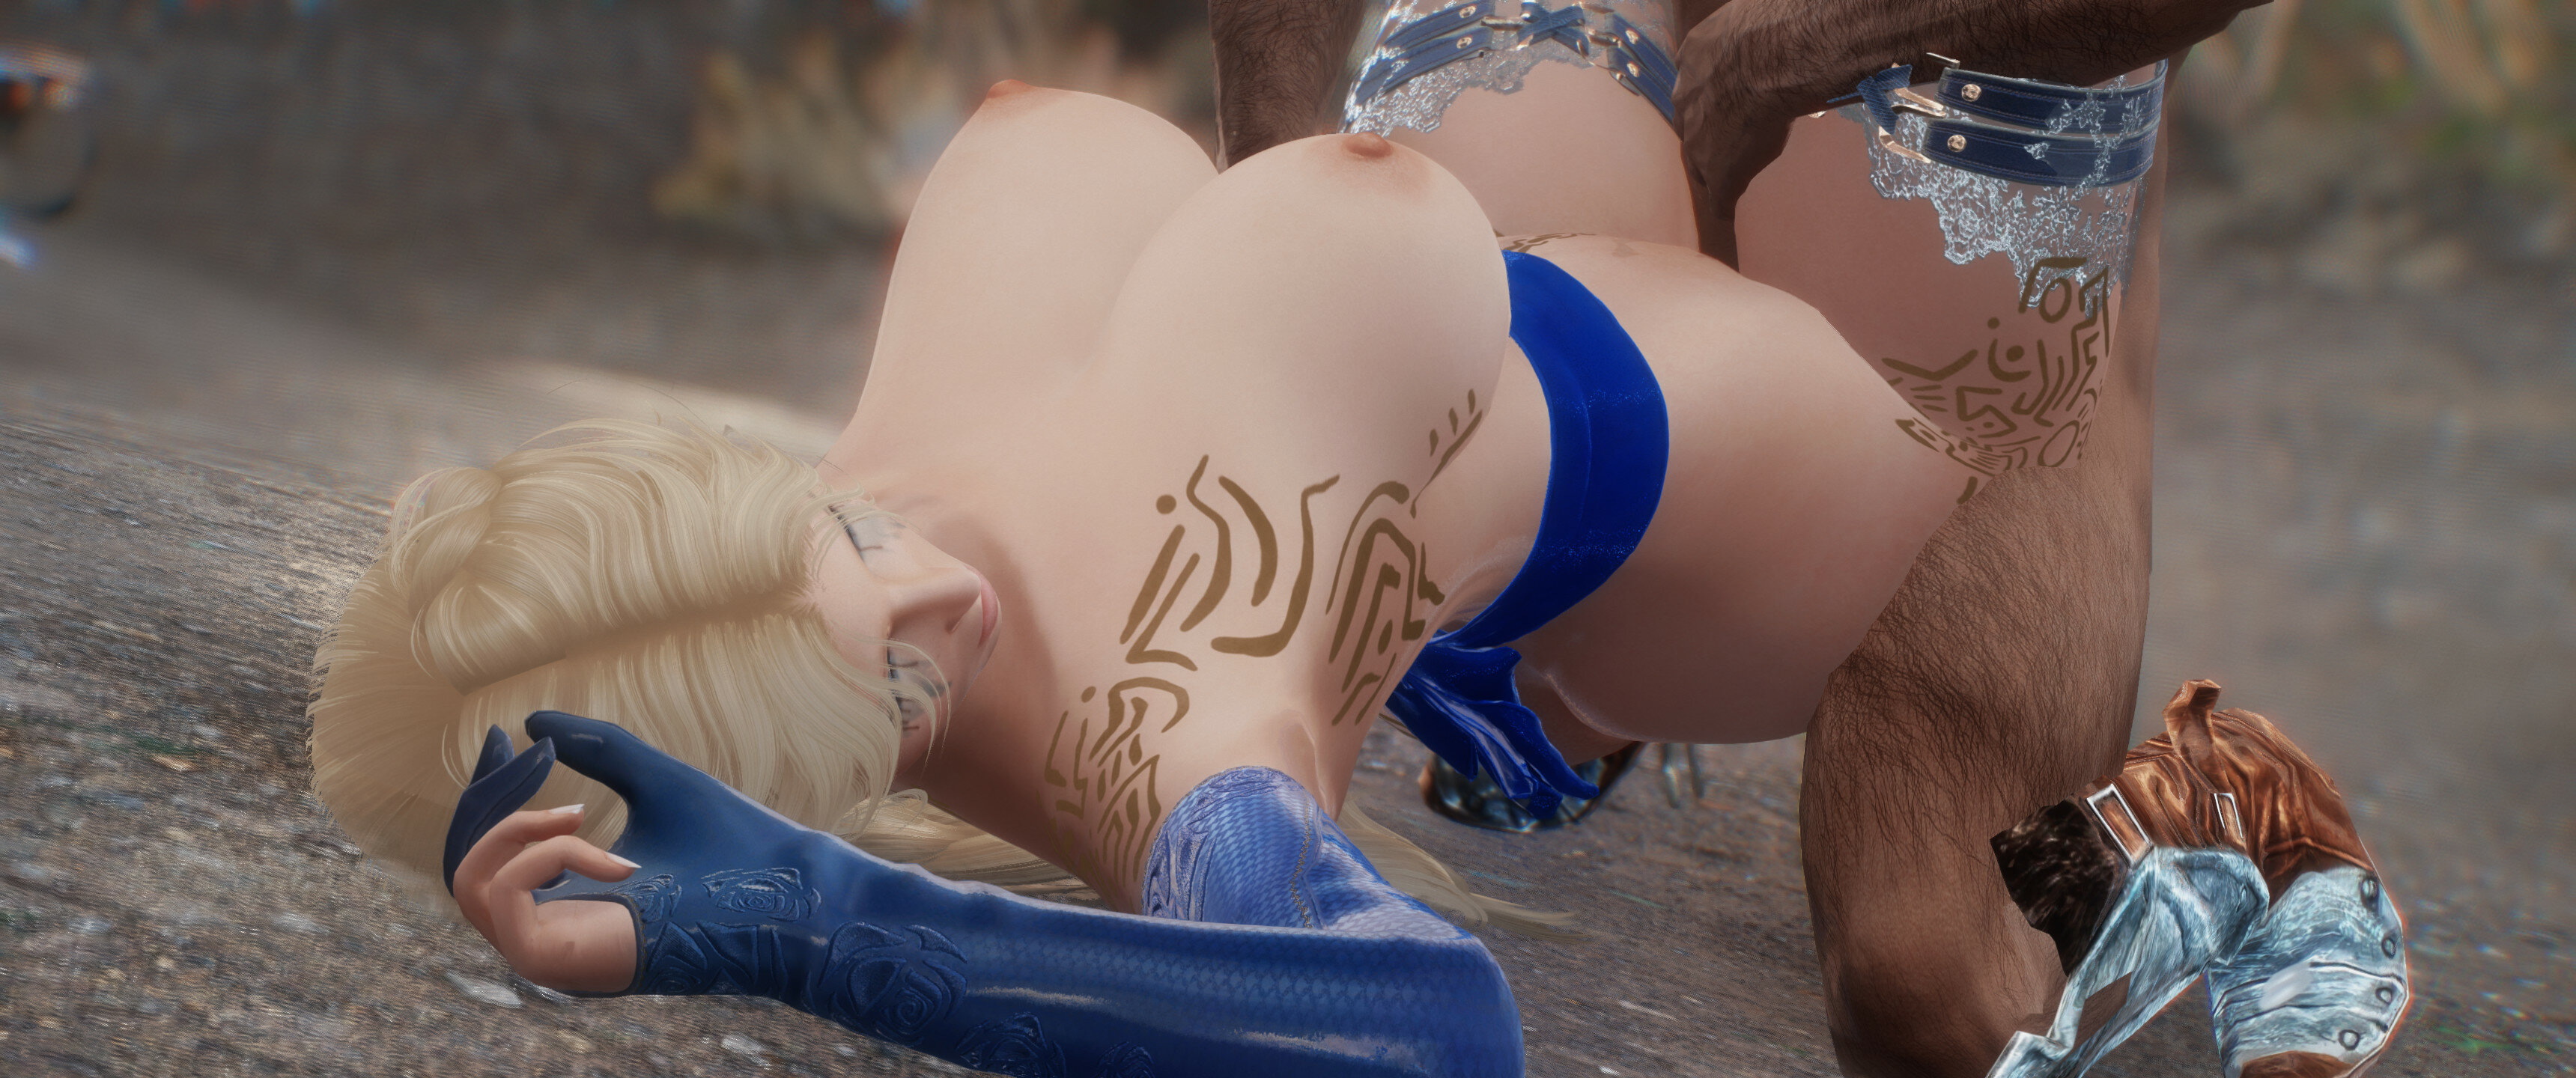


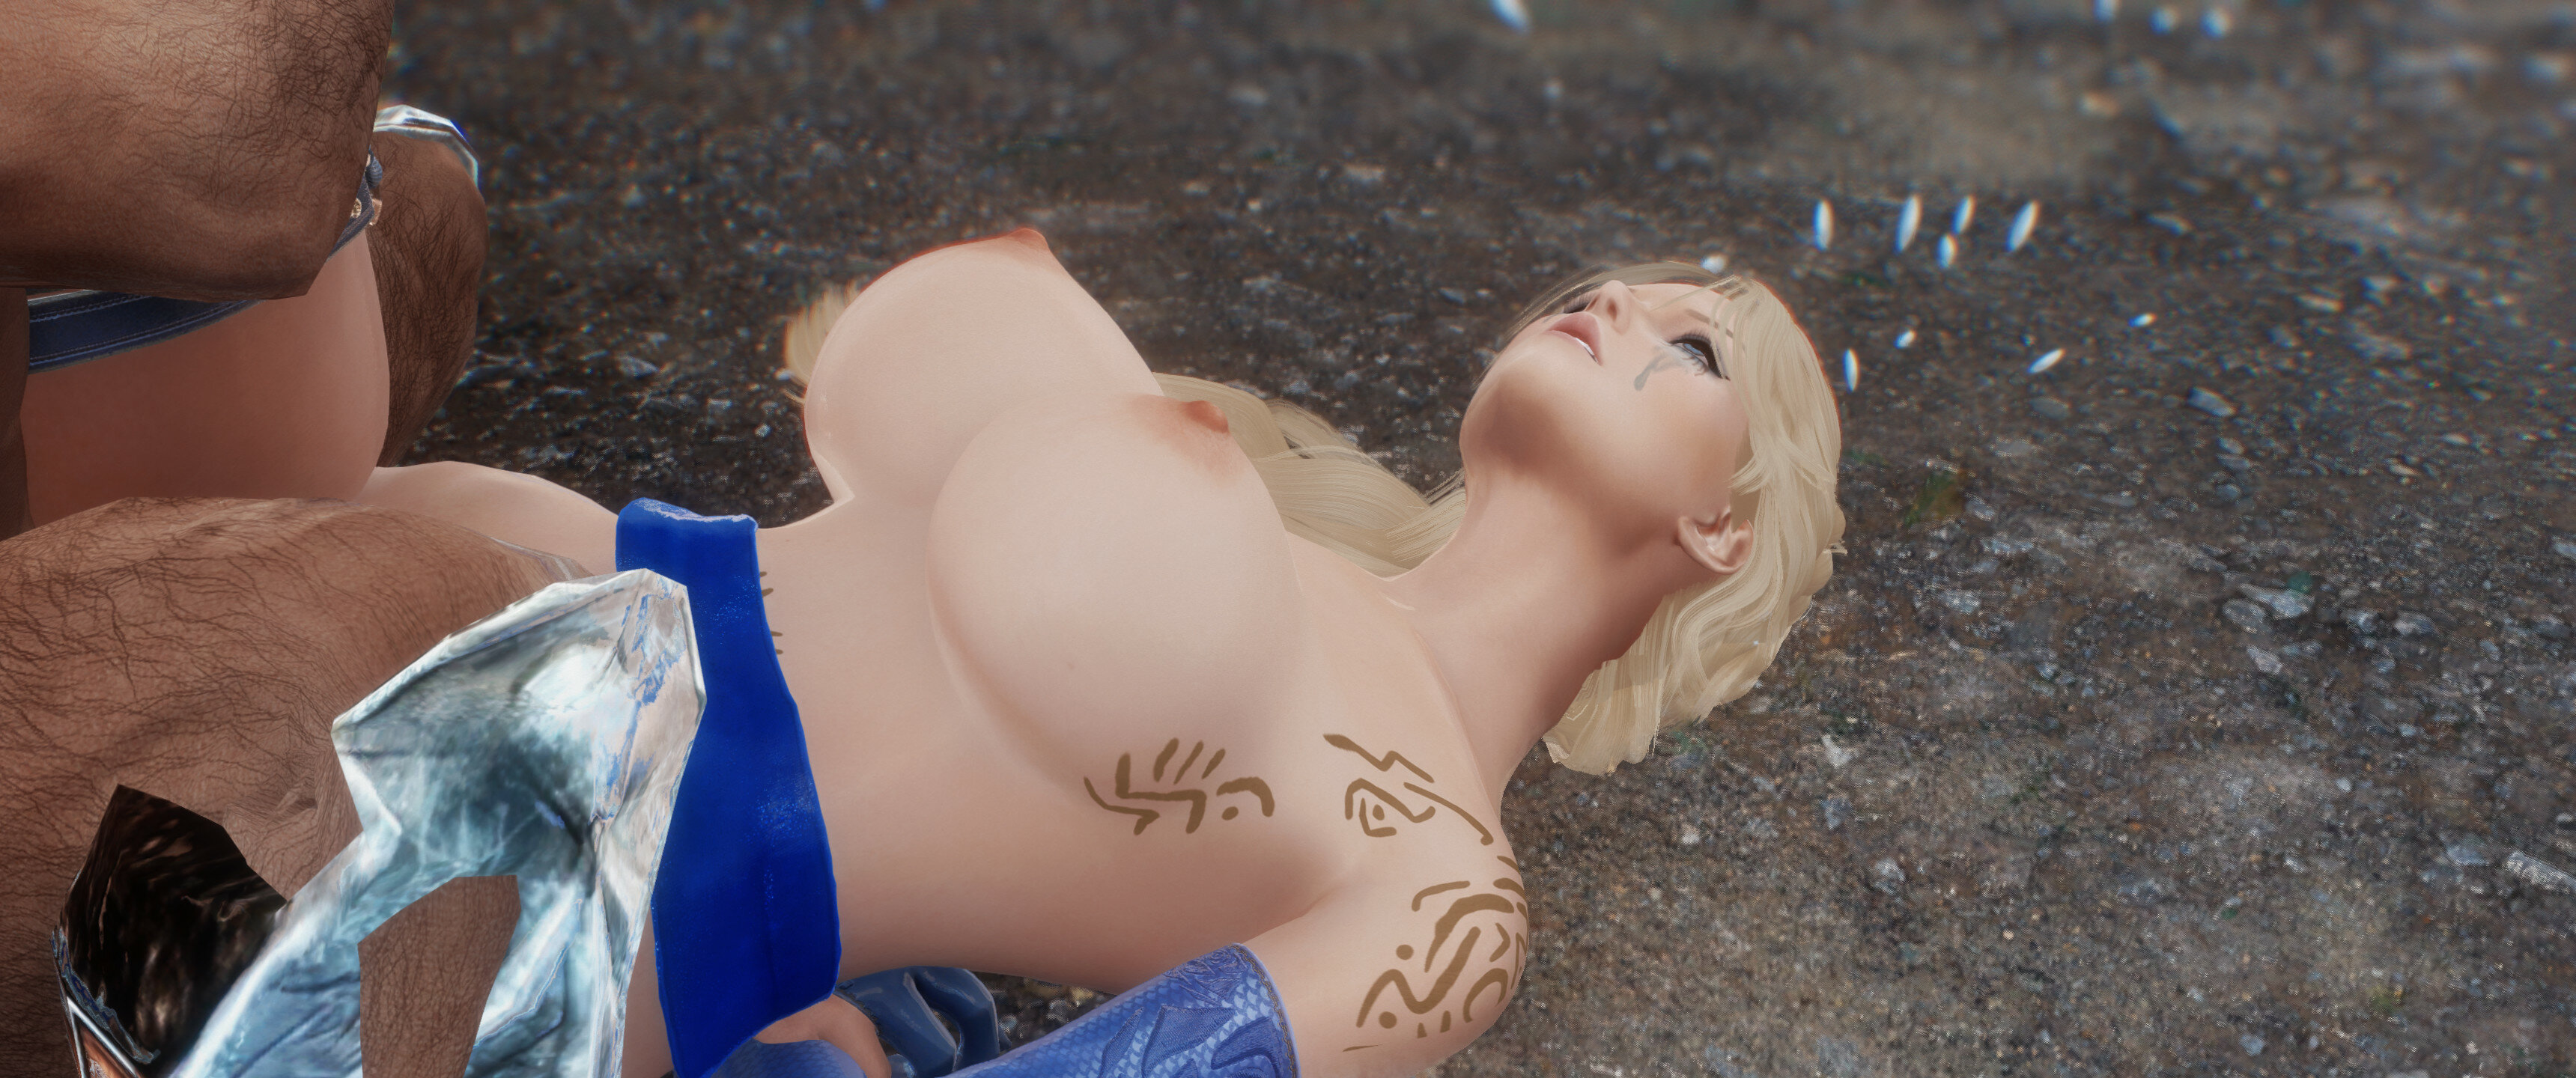

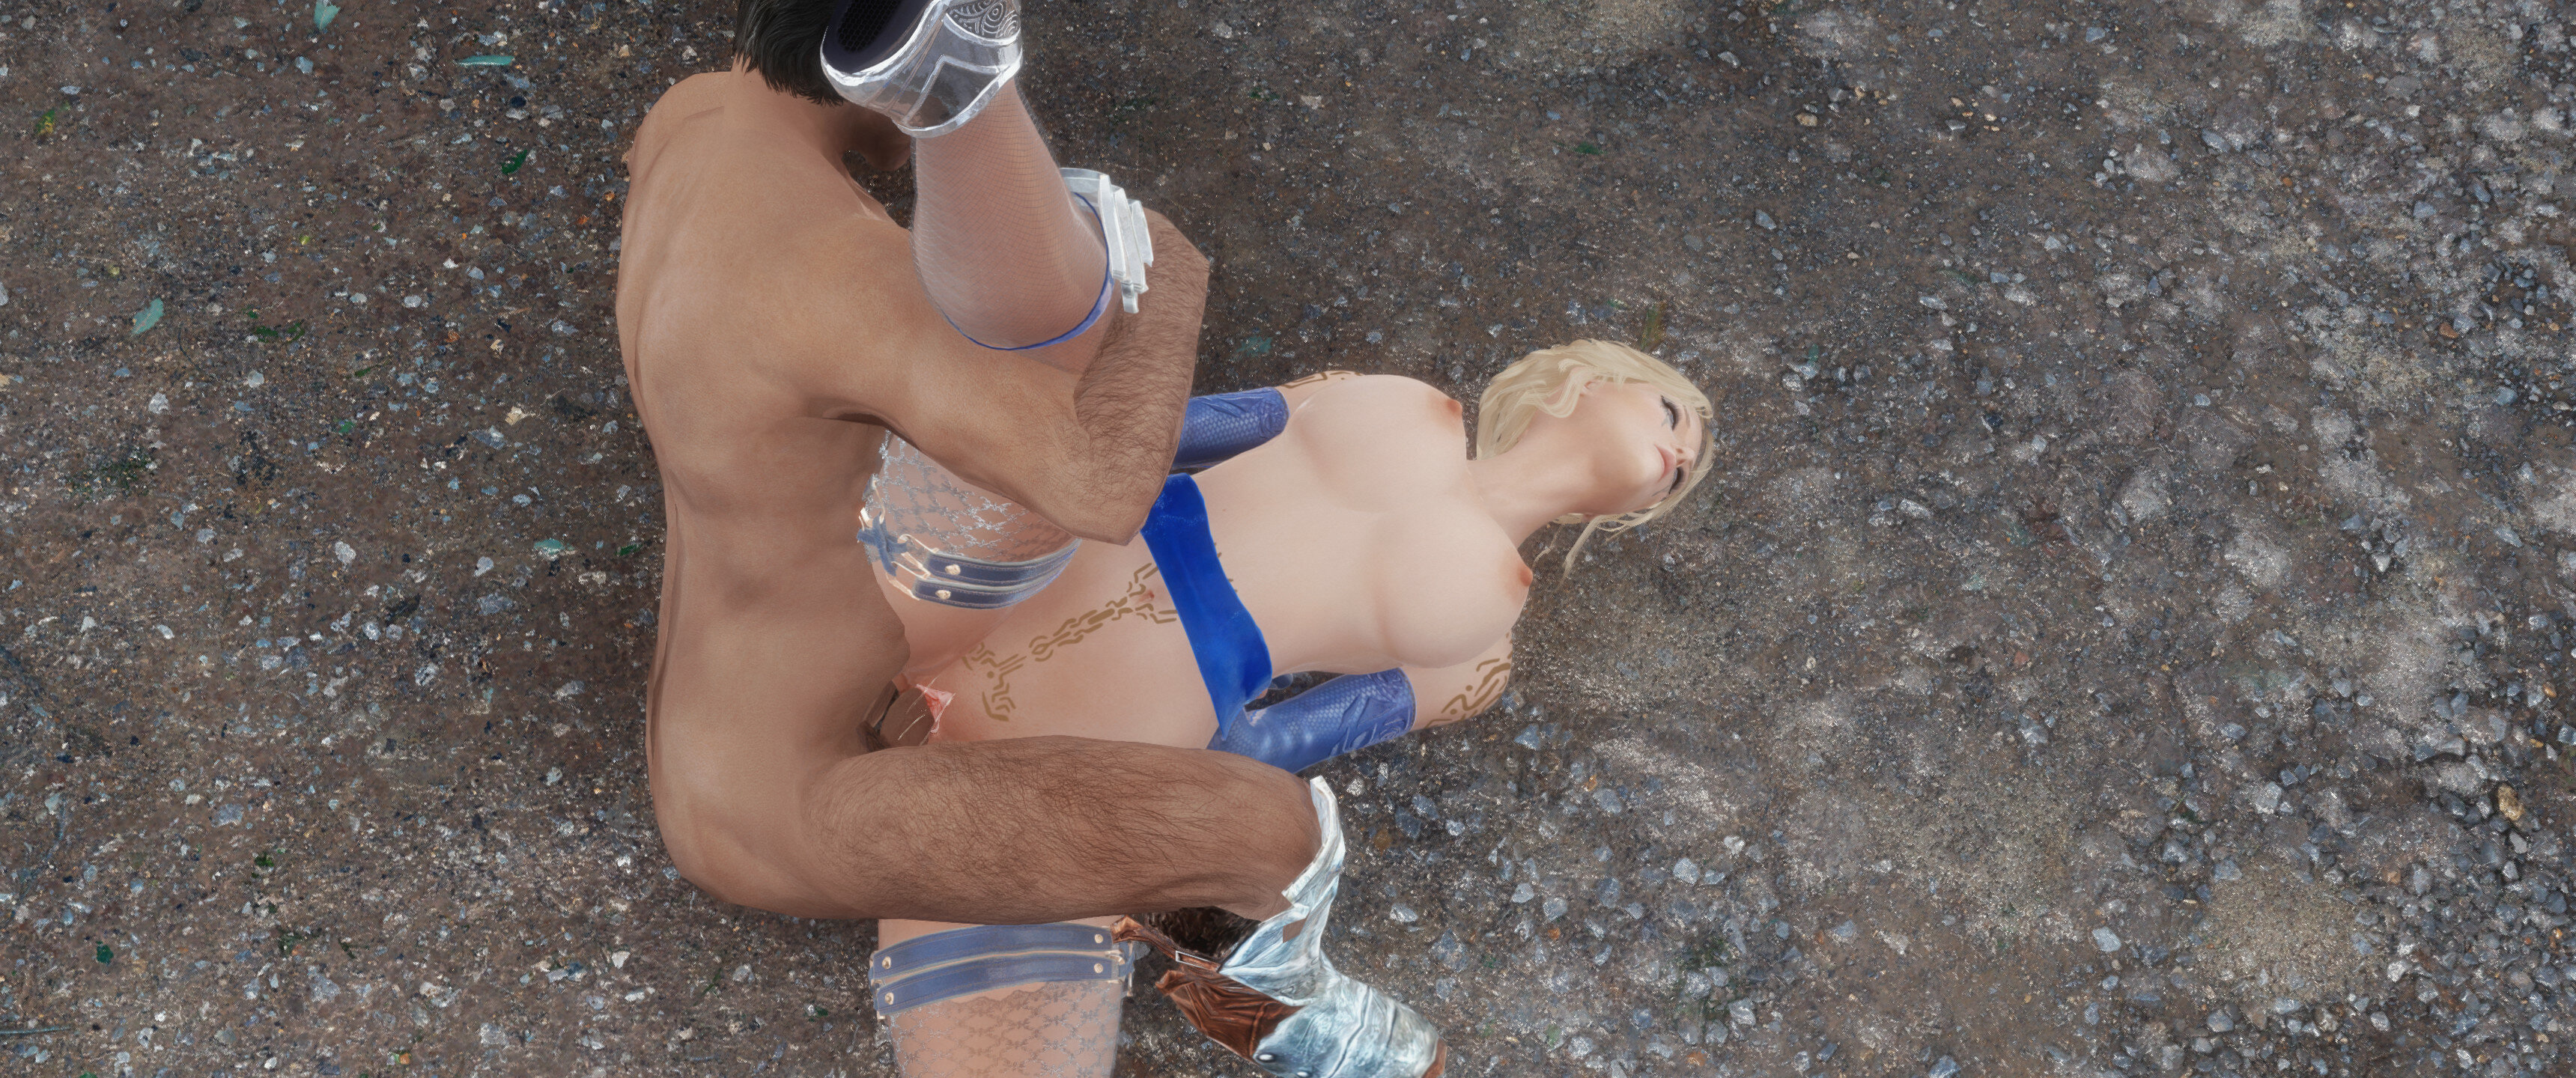
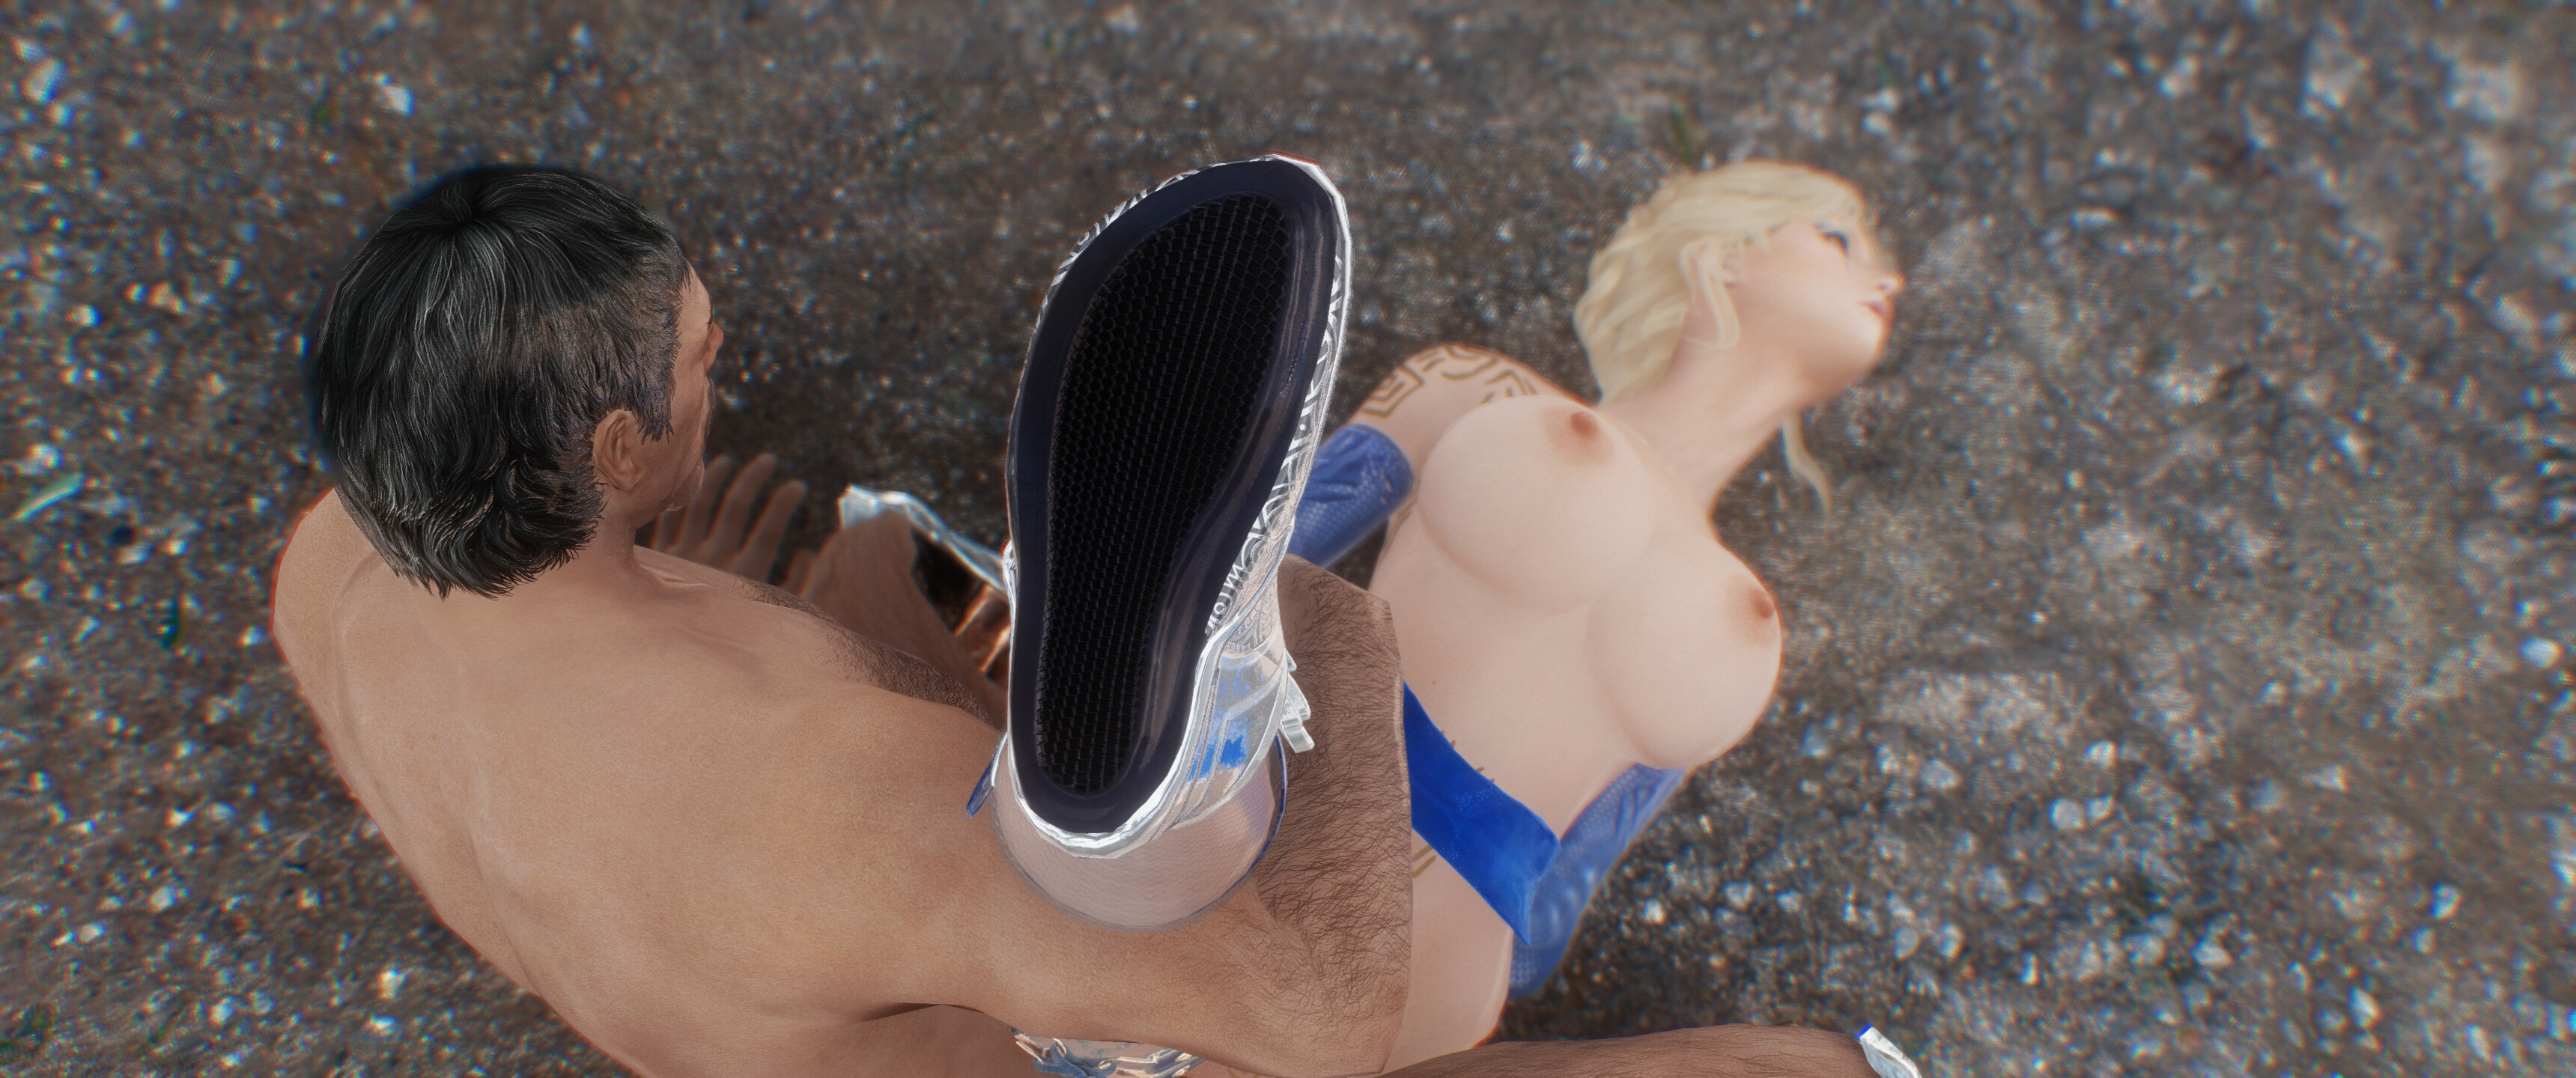
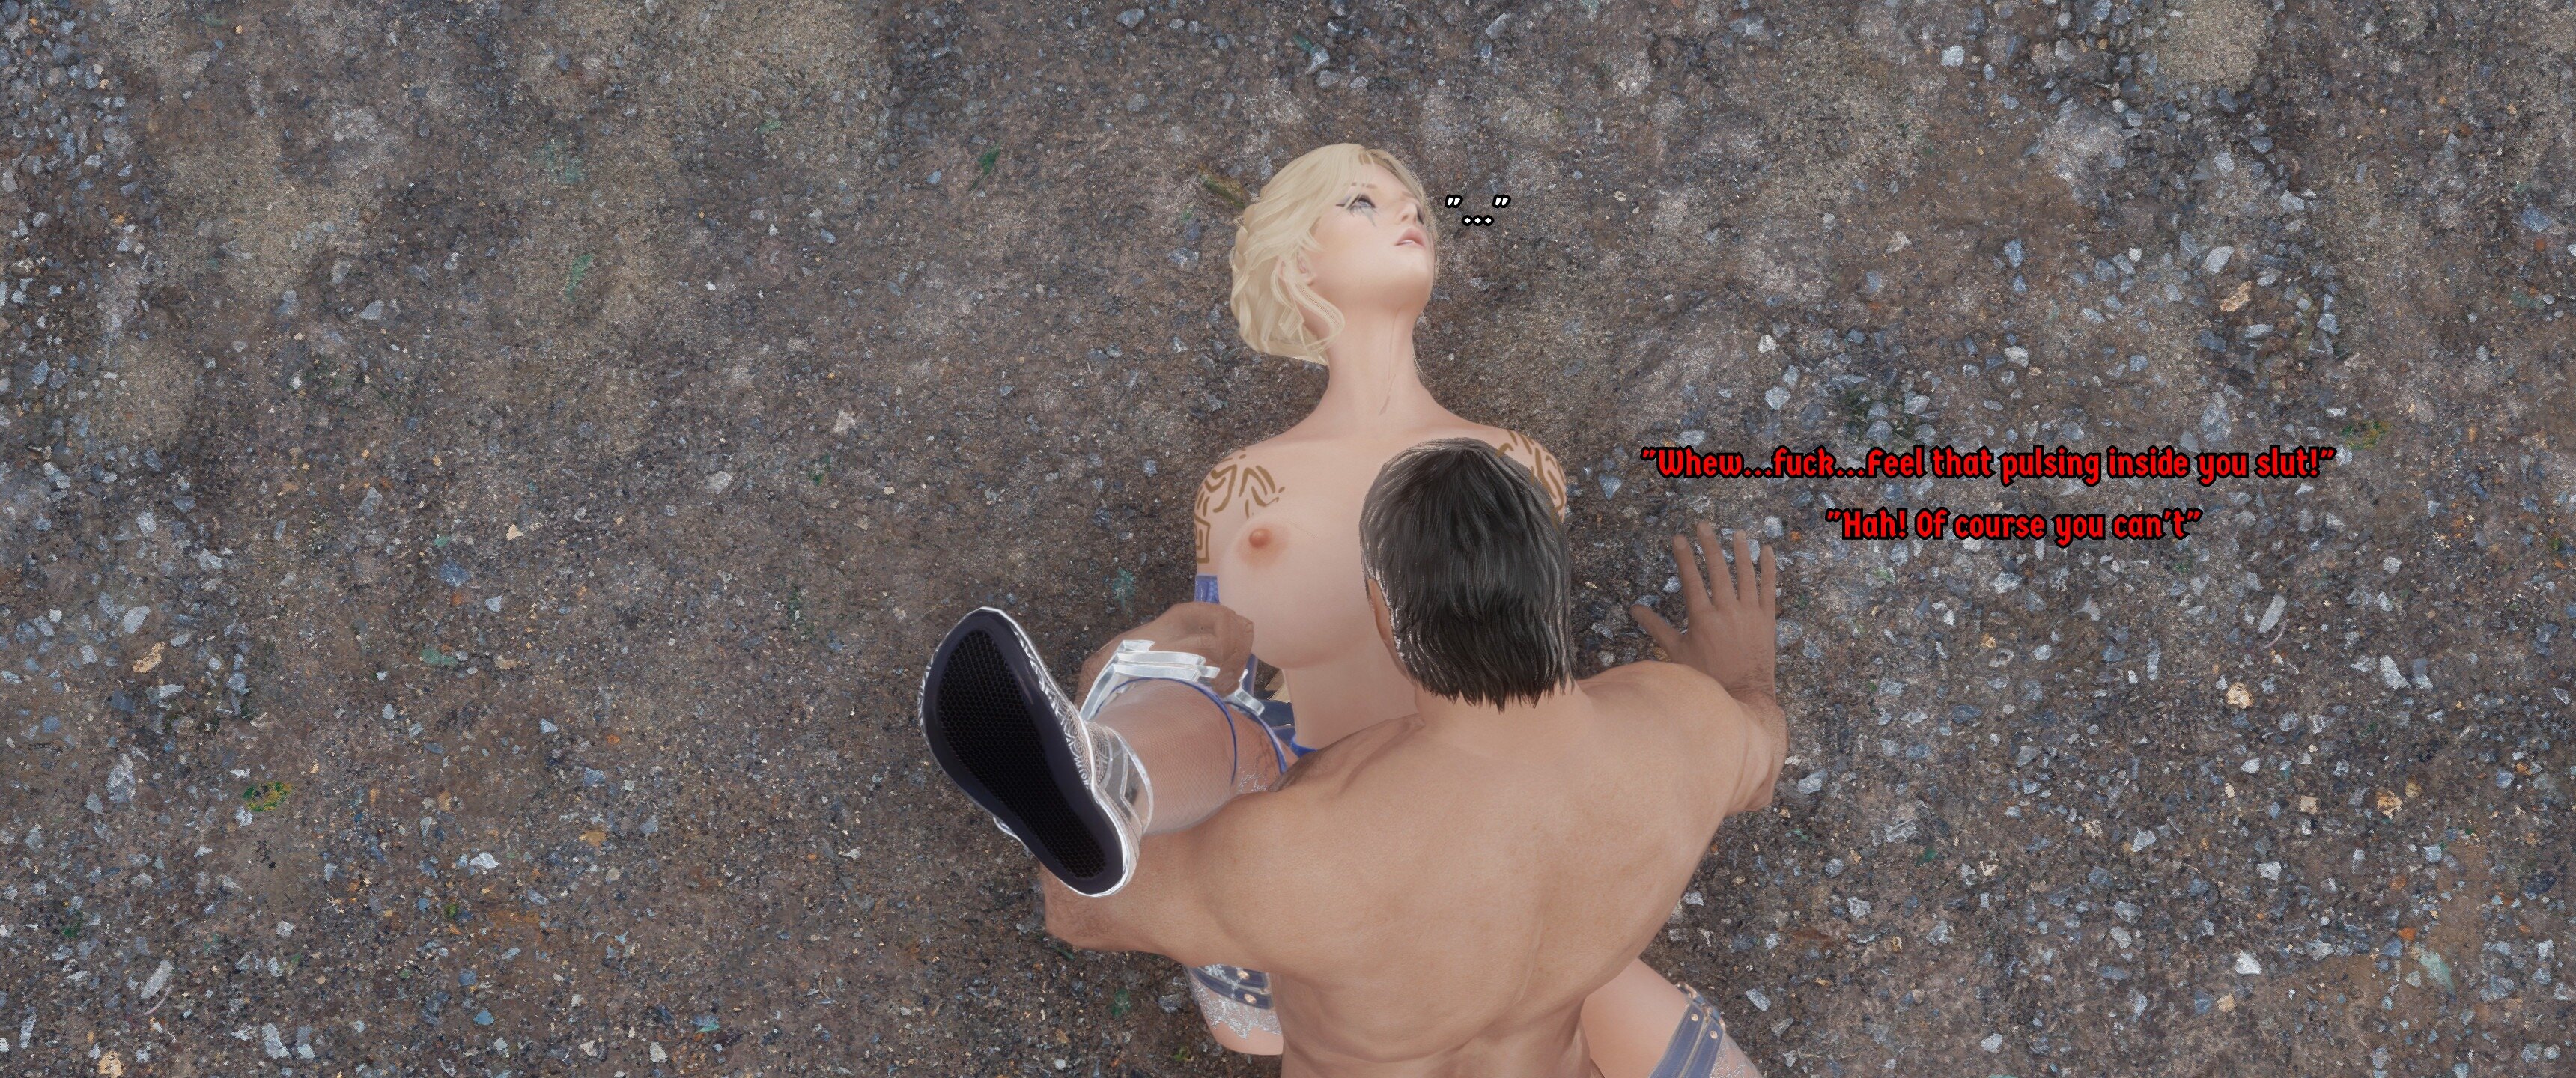
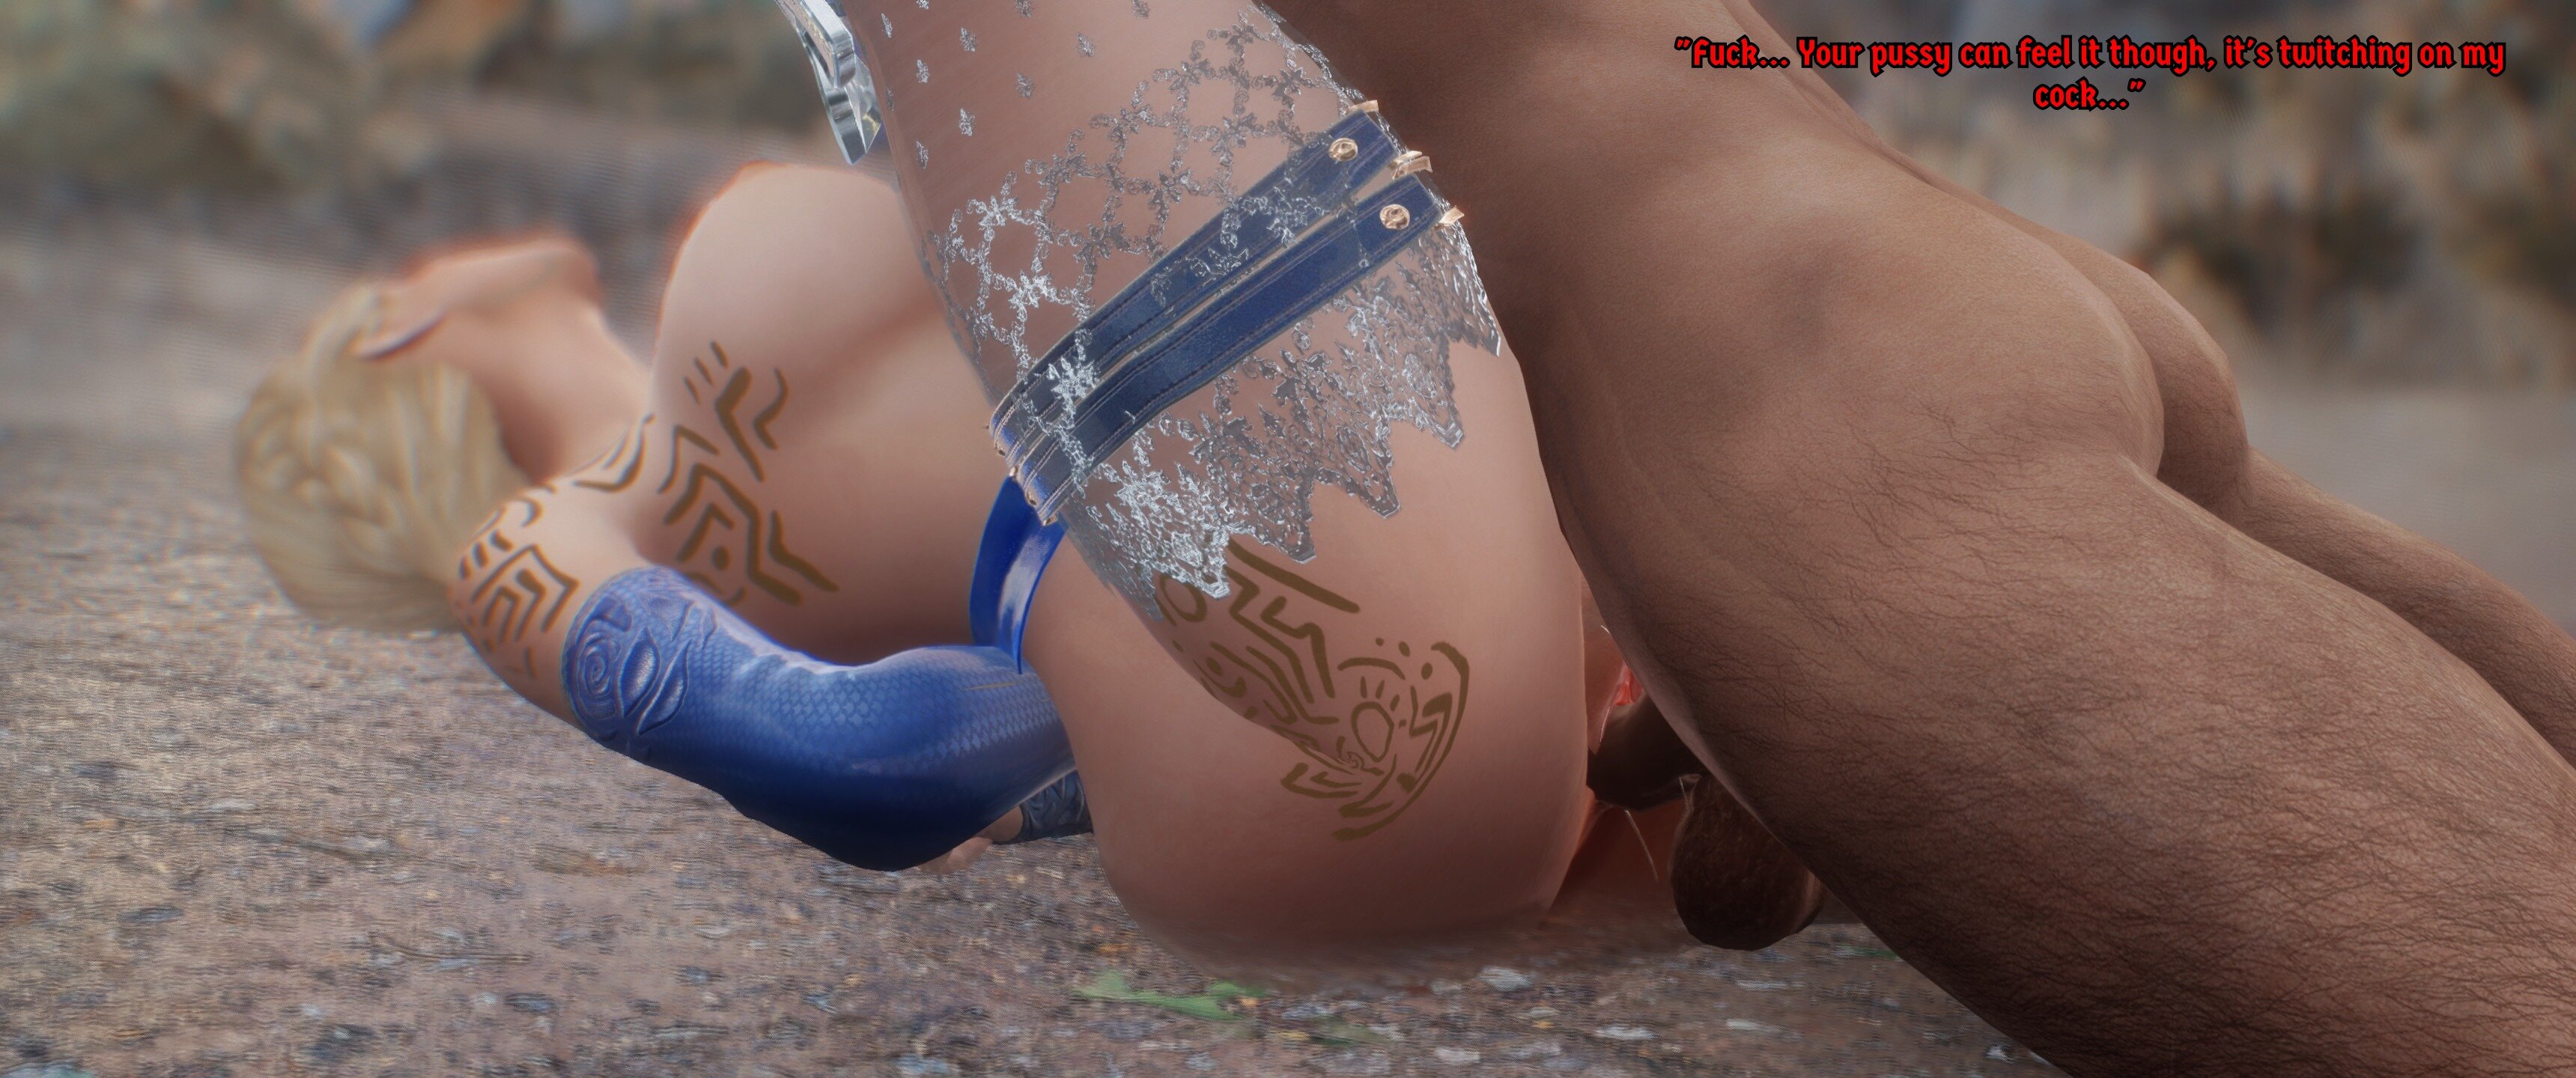


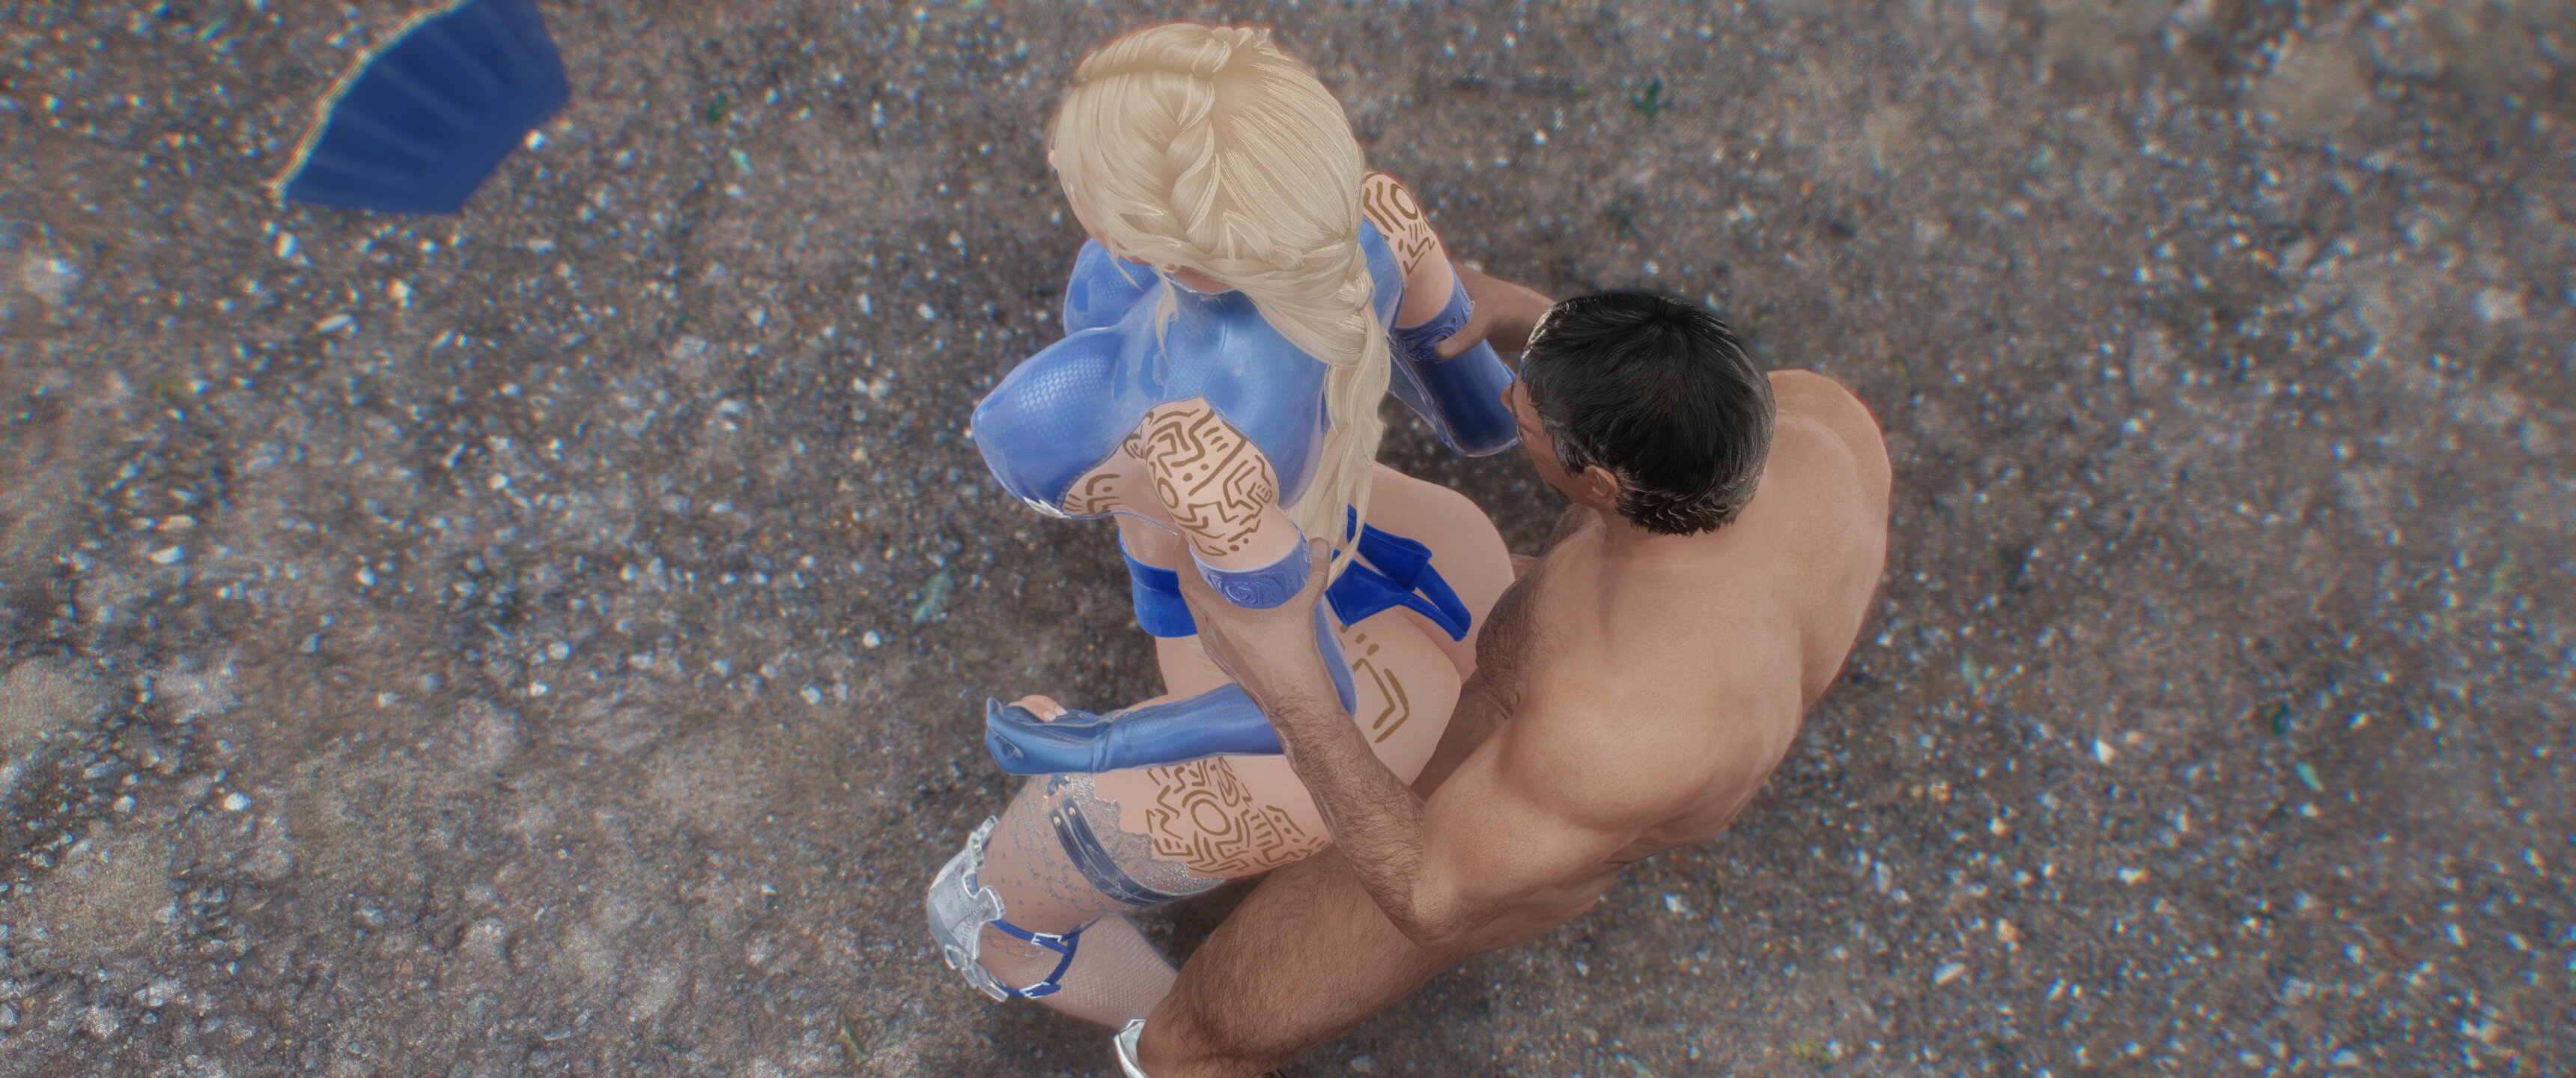
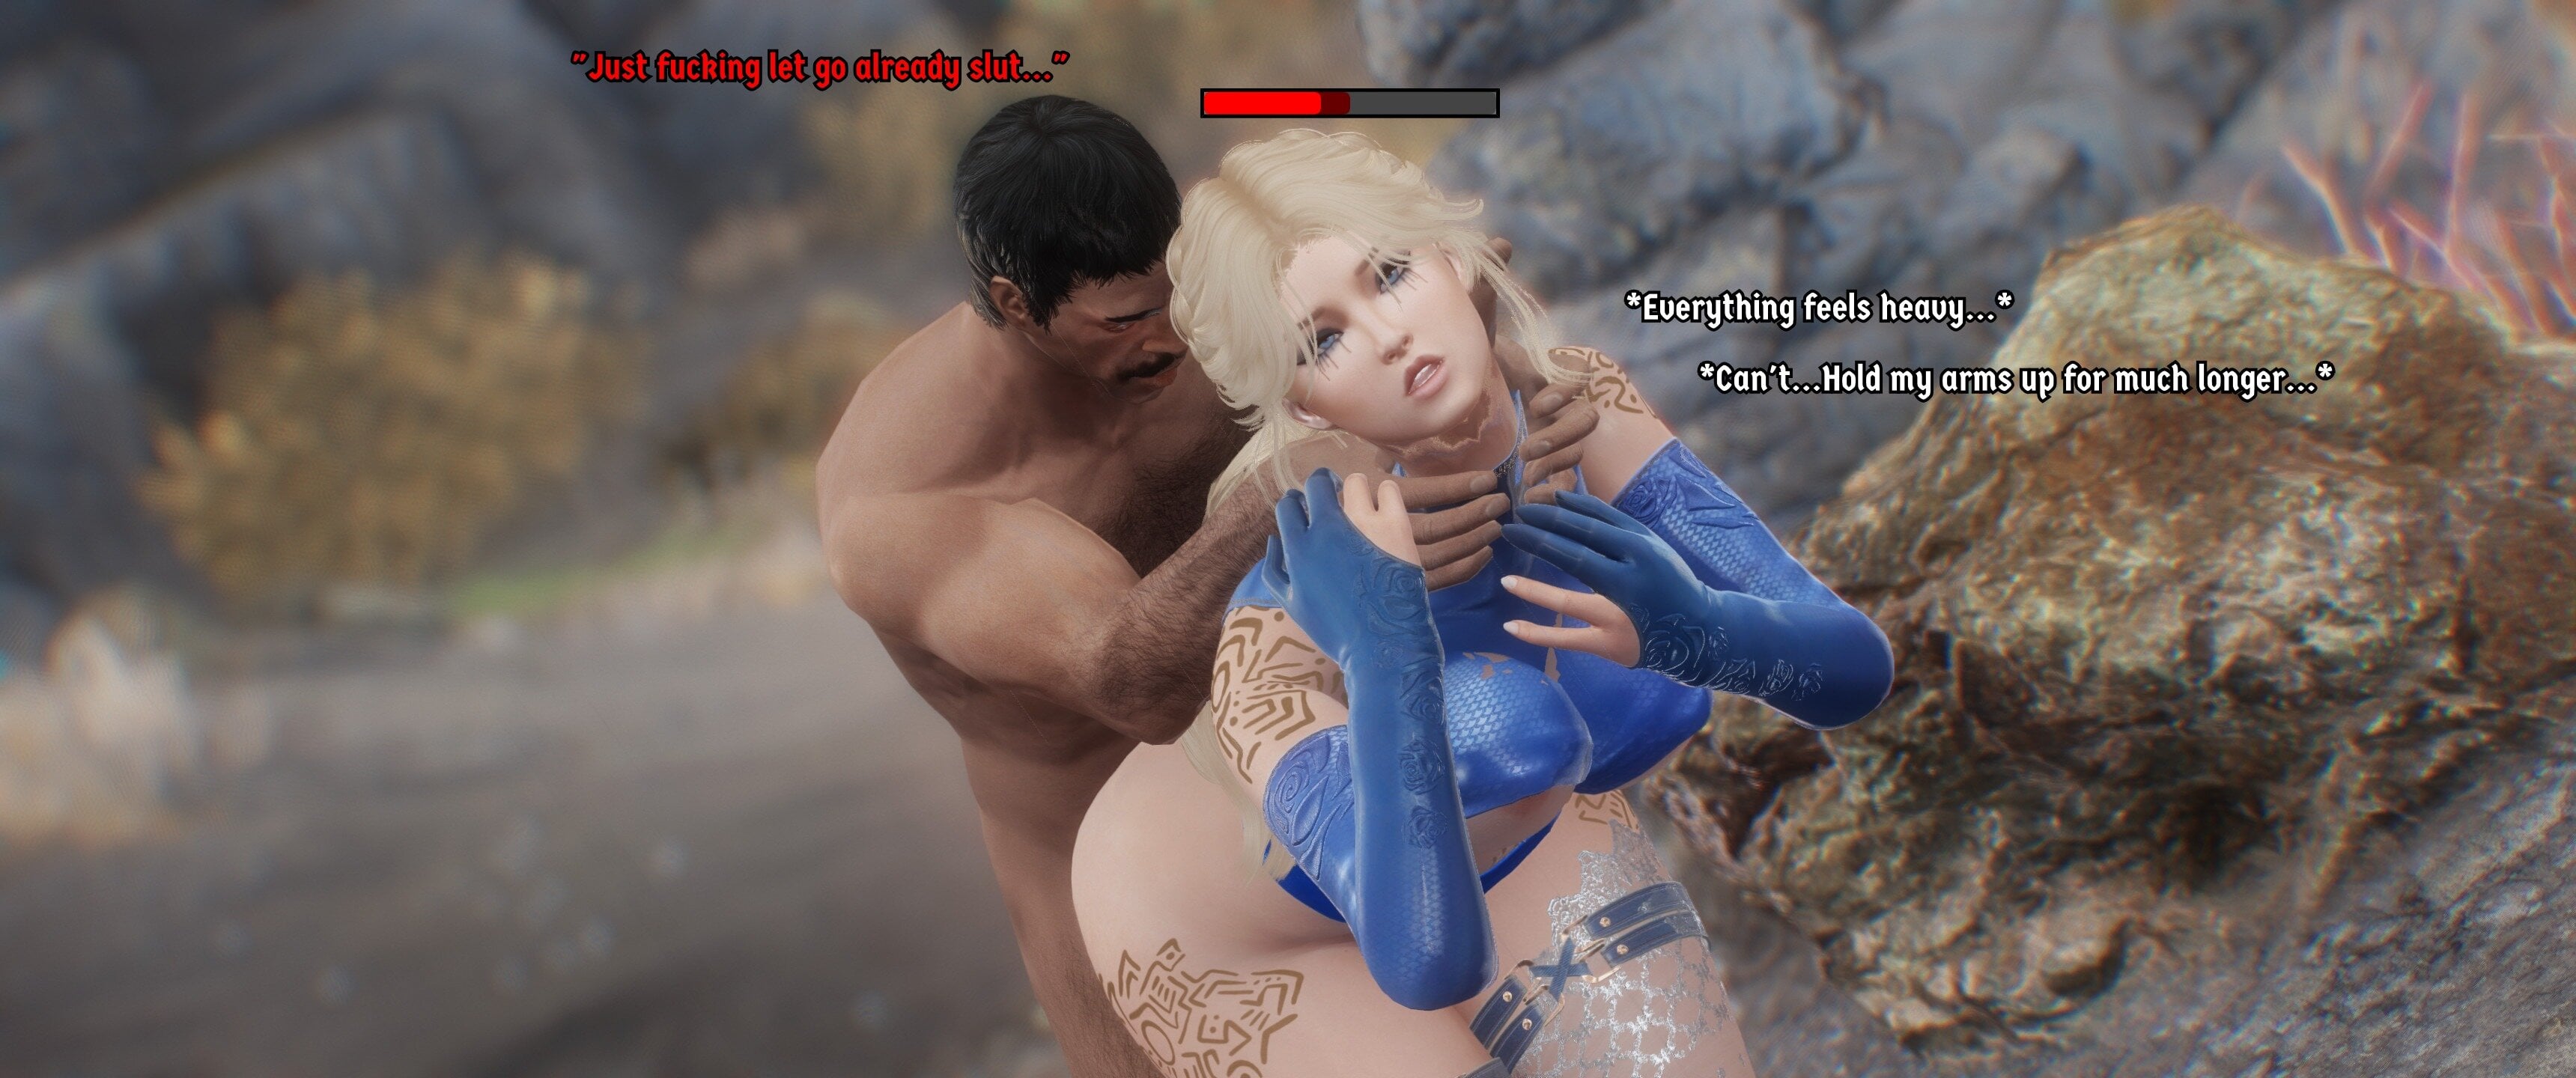
The Aftermath:


Chapter 3:
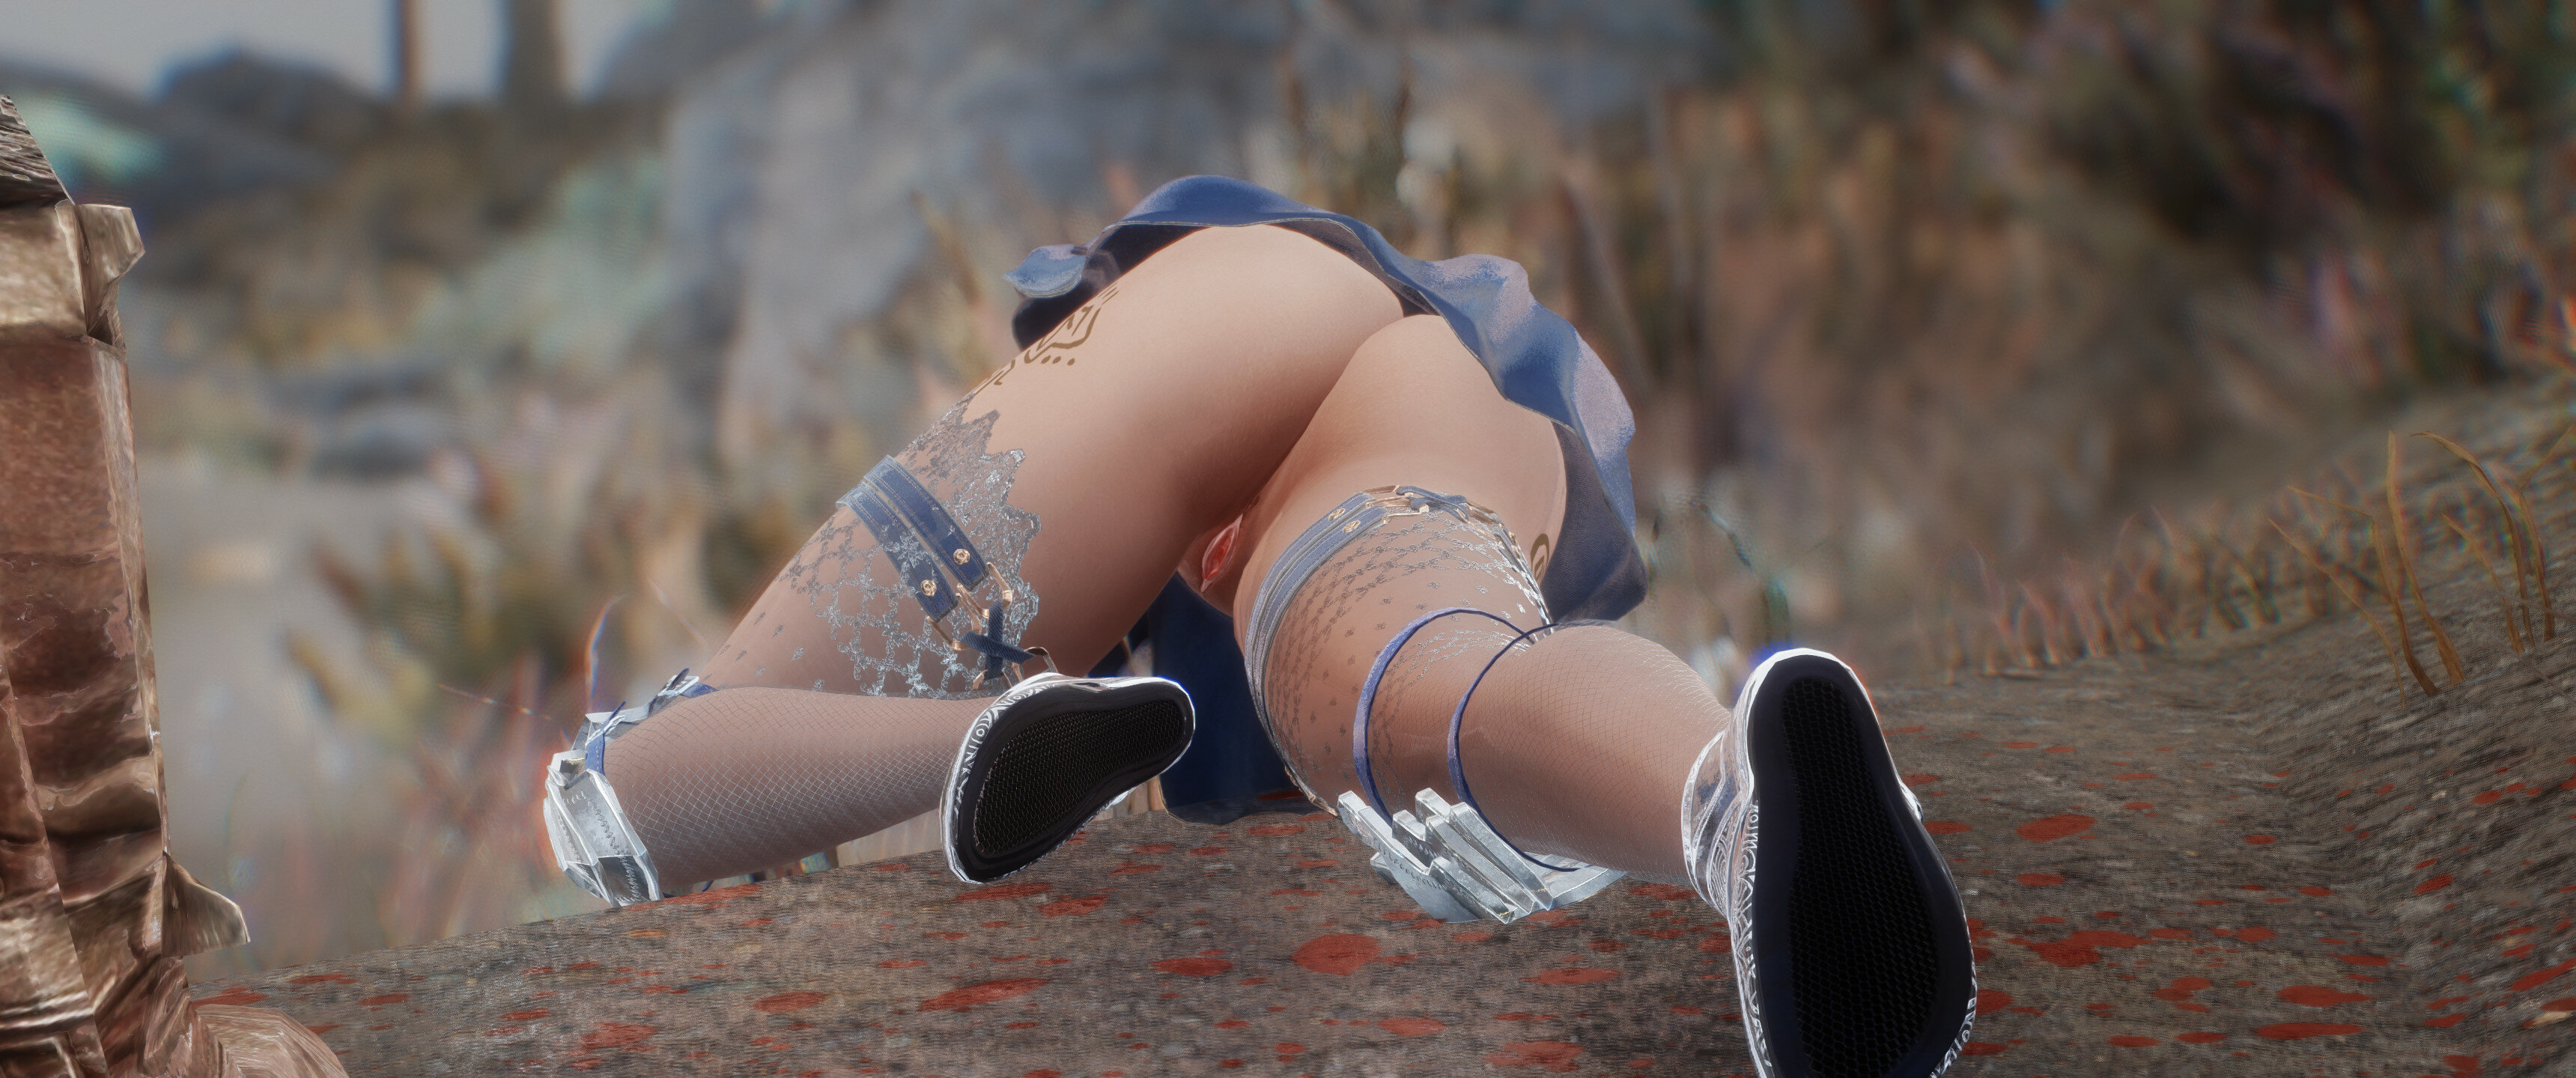
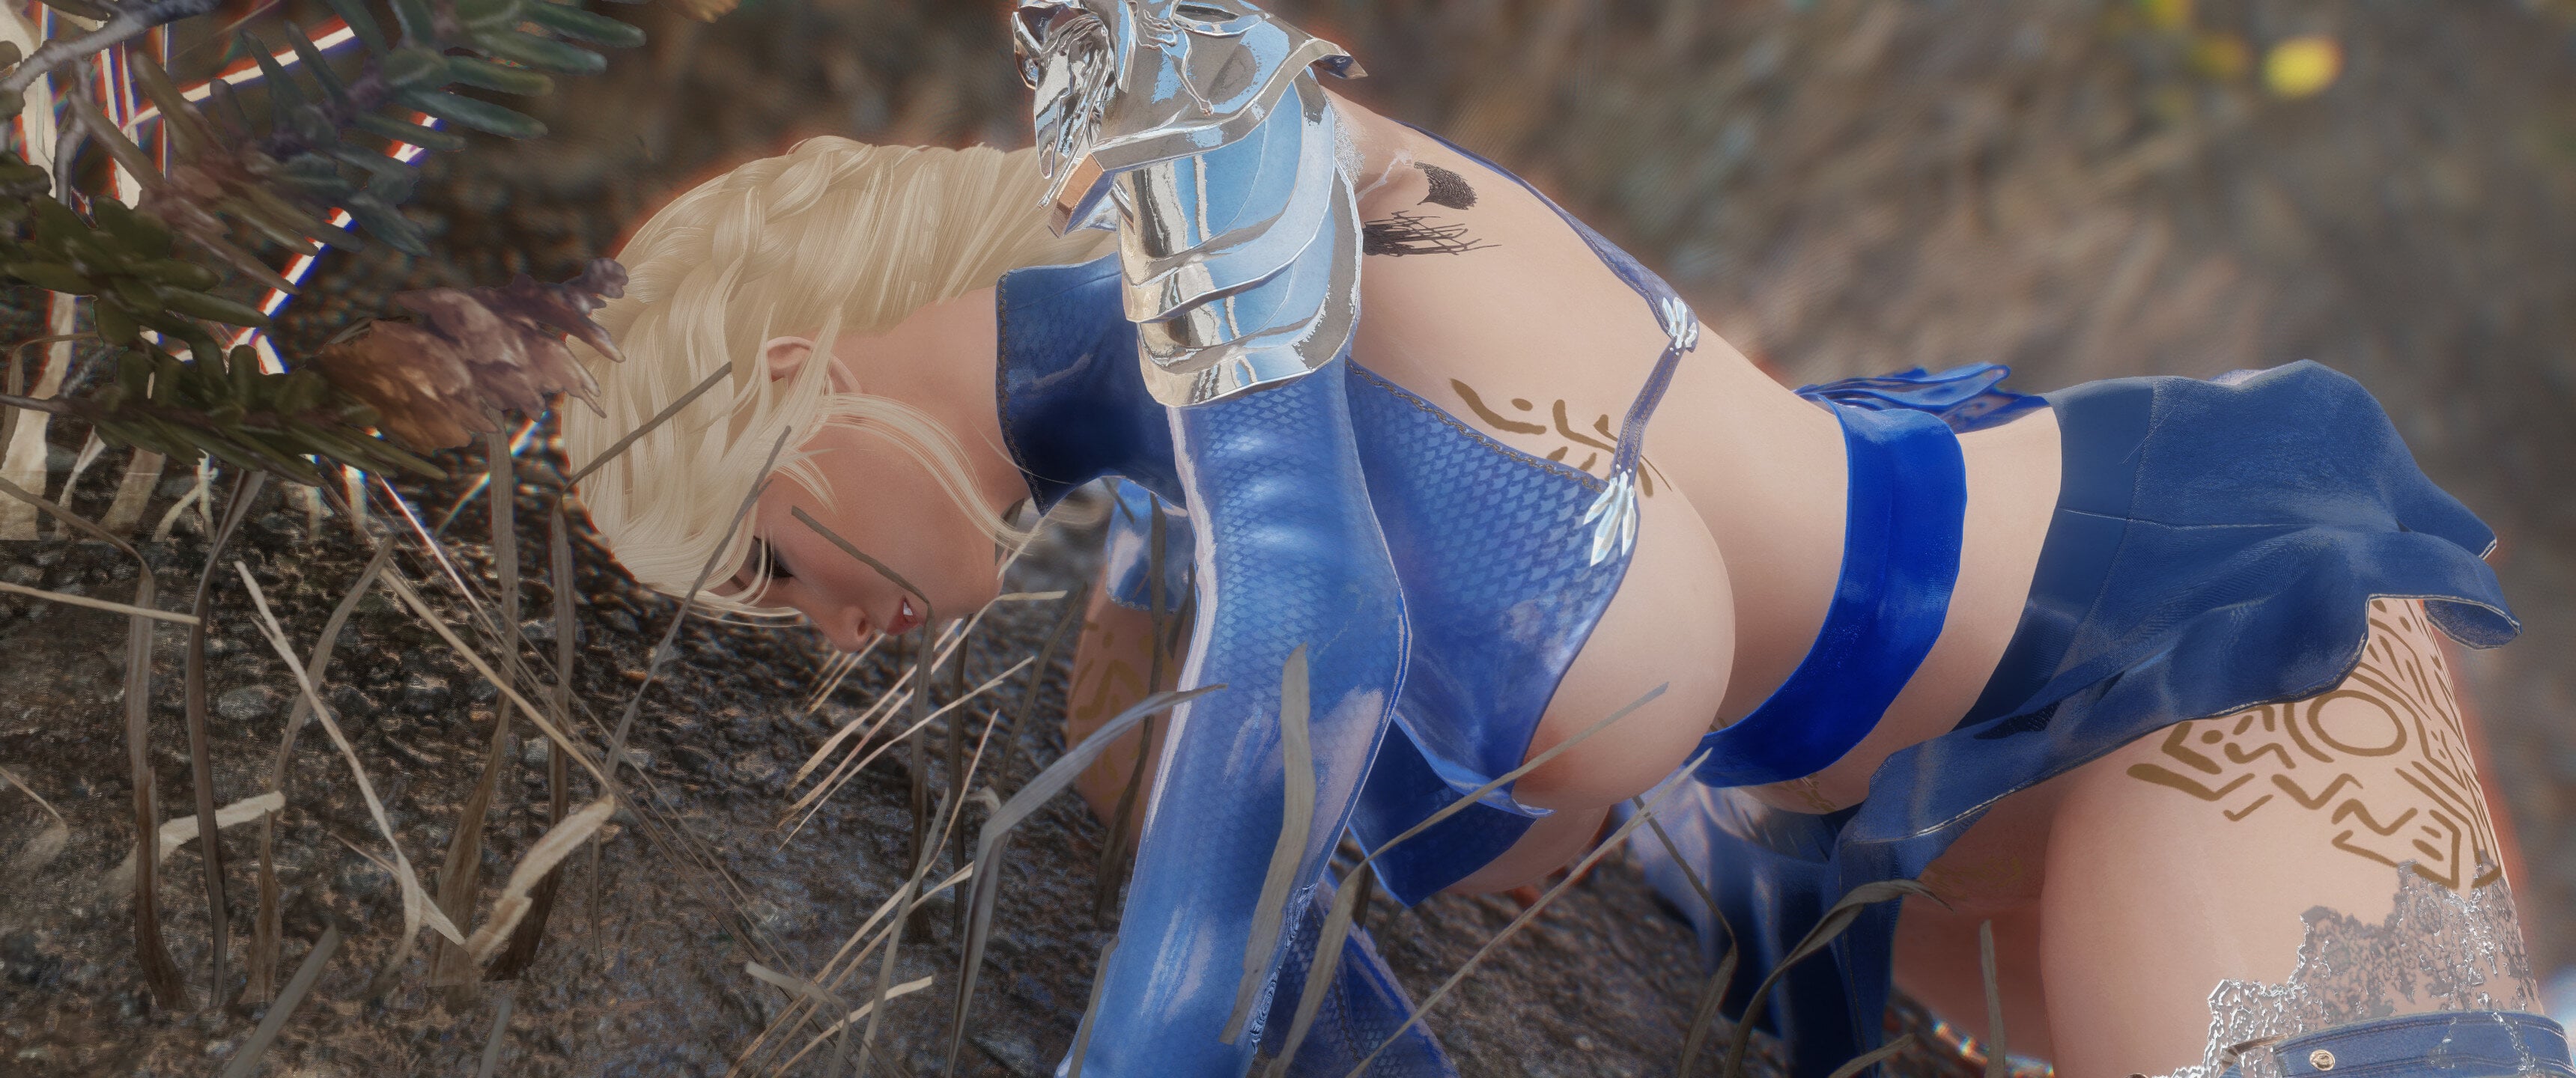
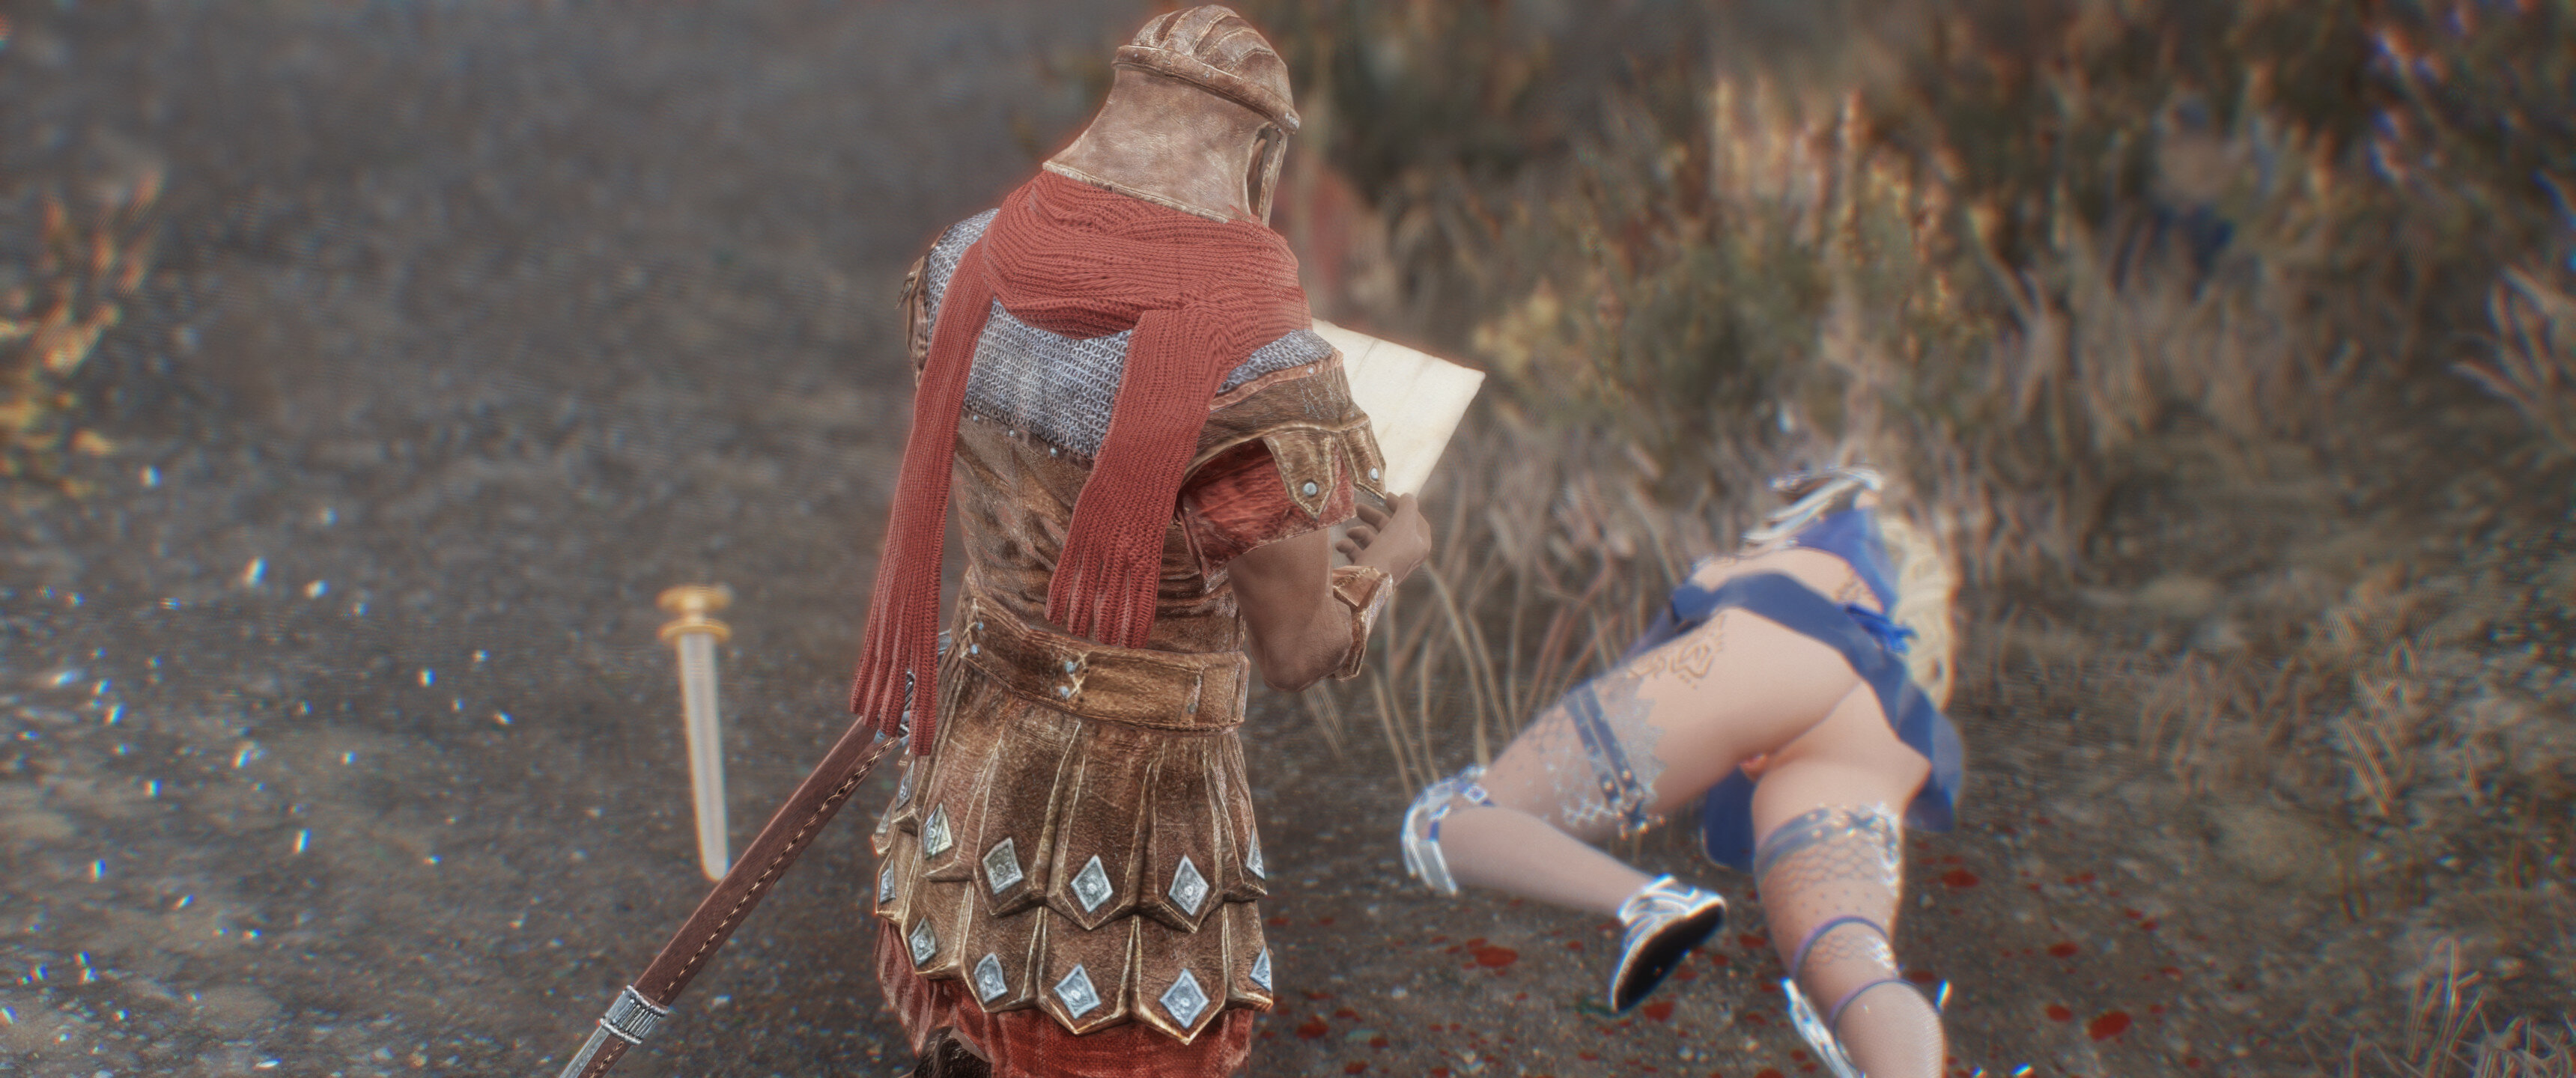
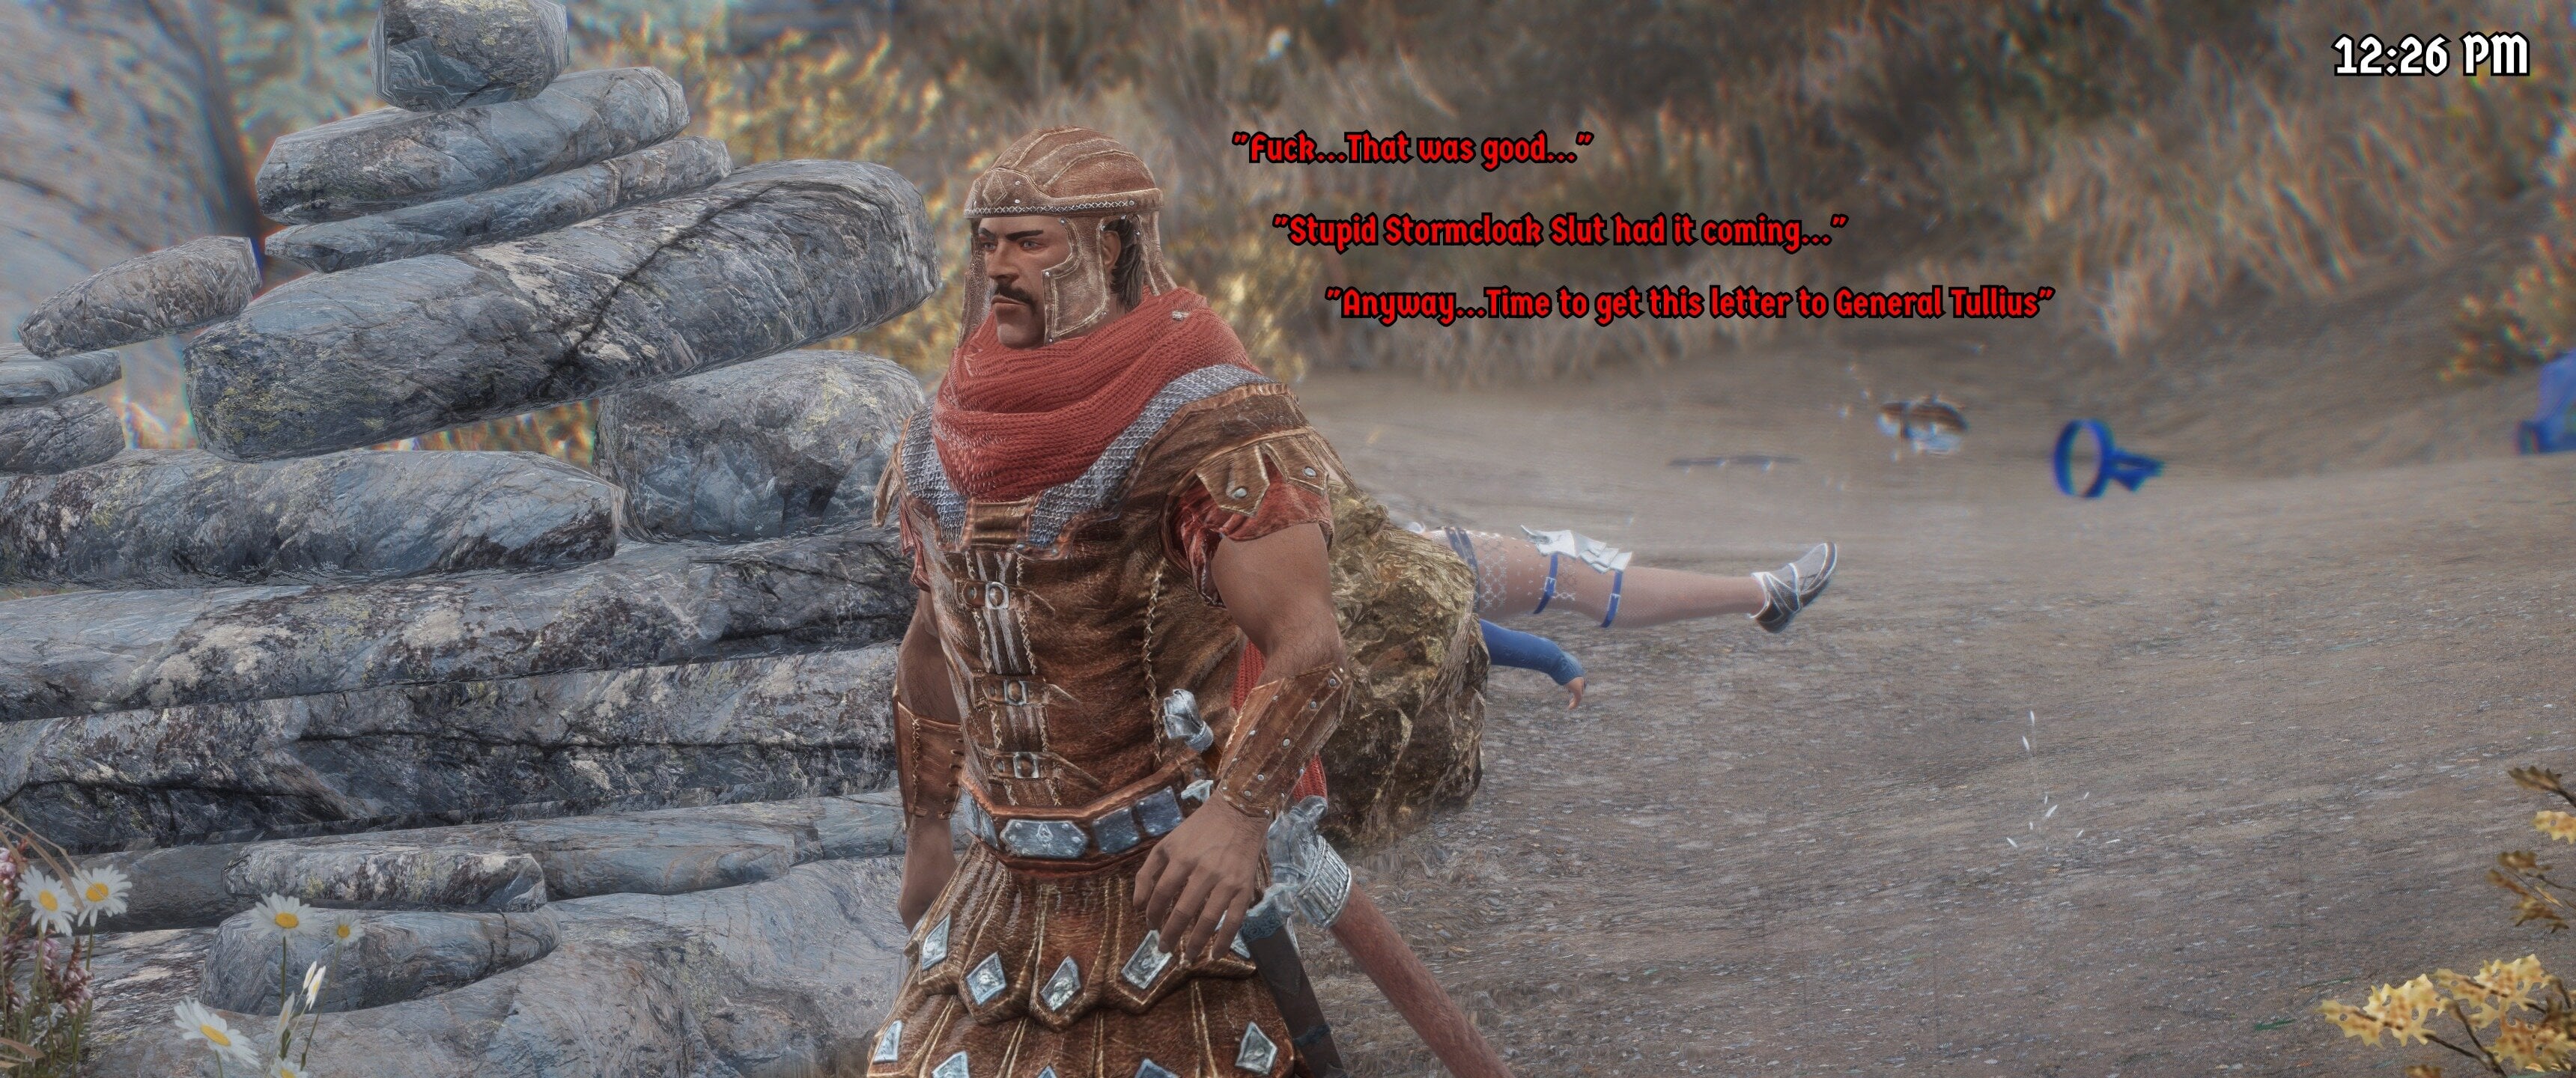
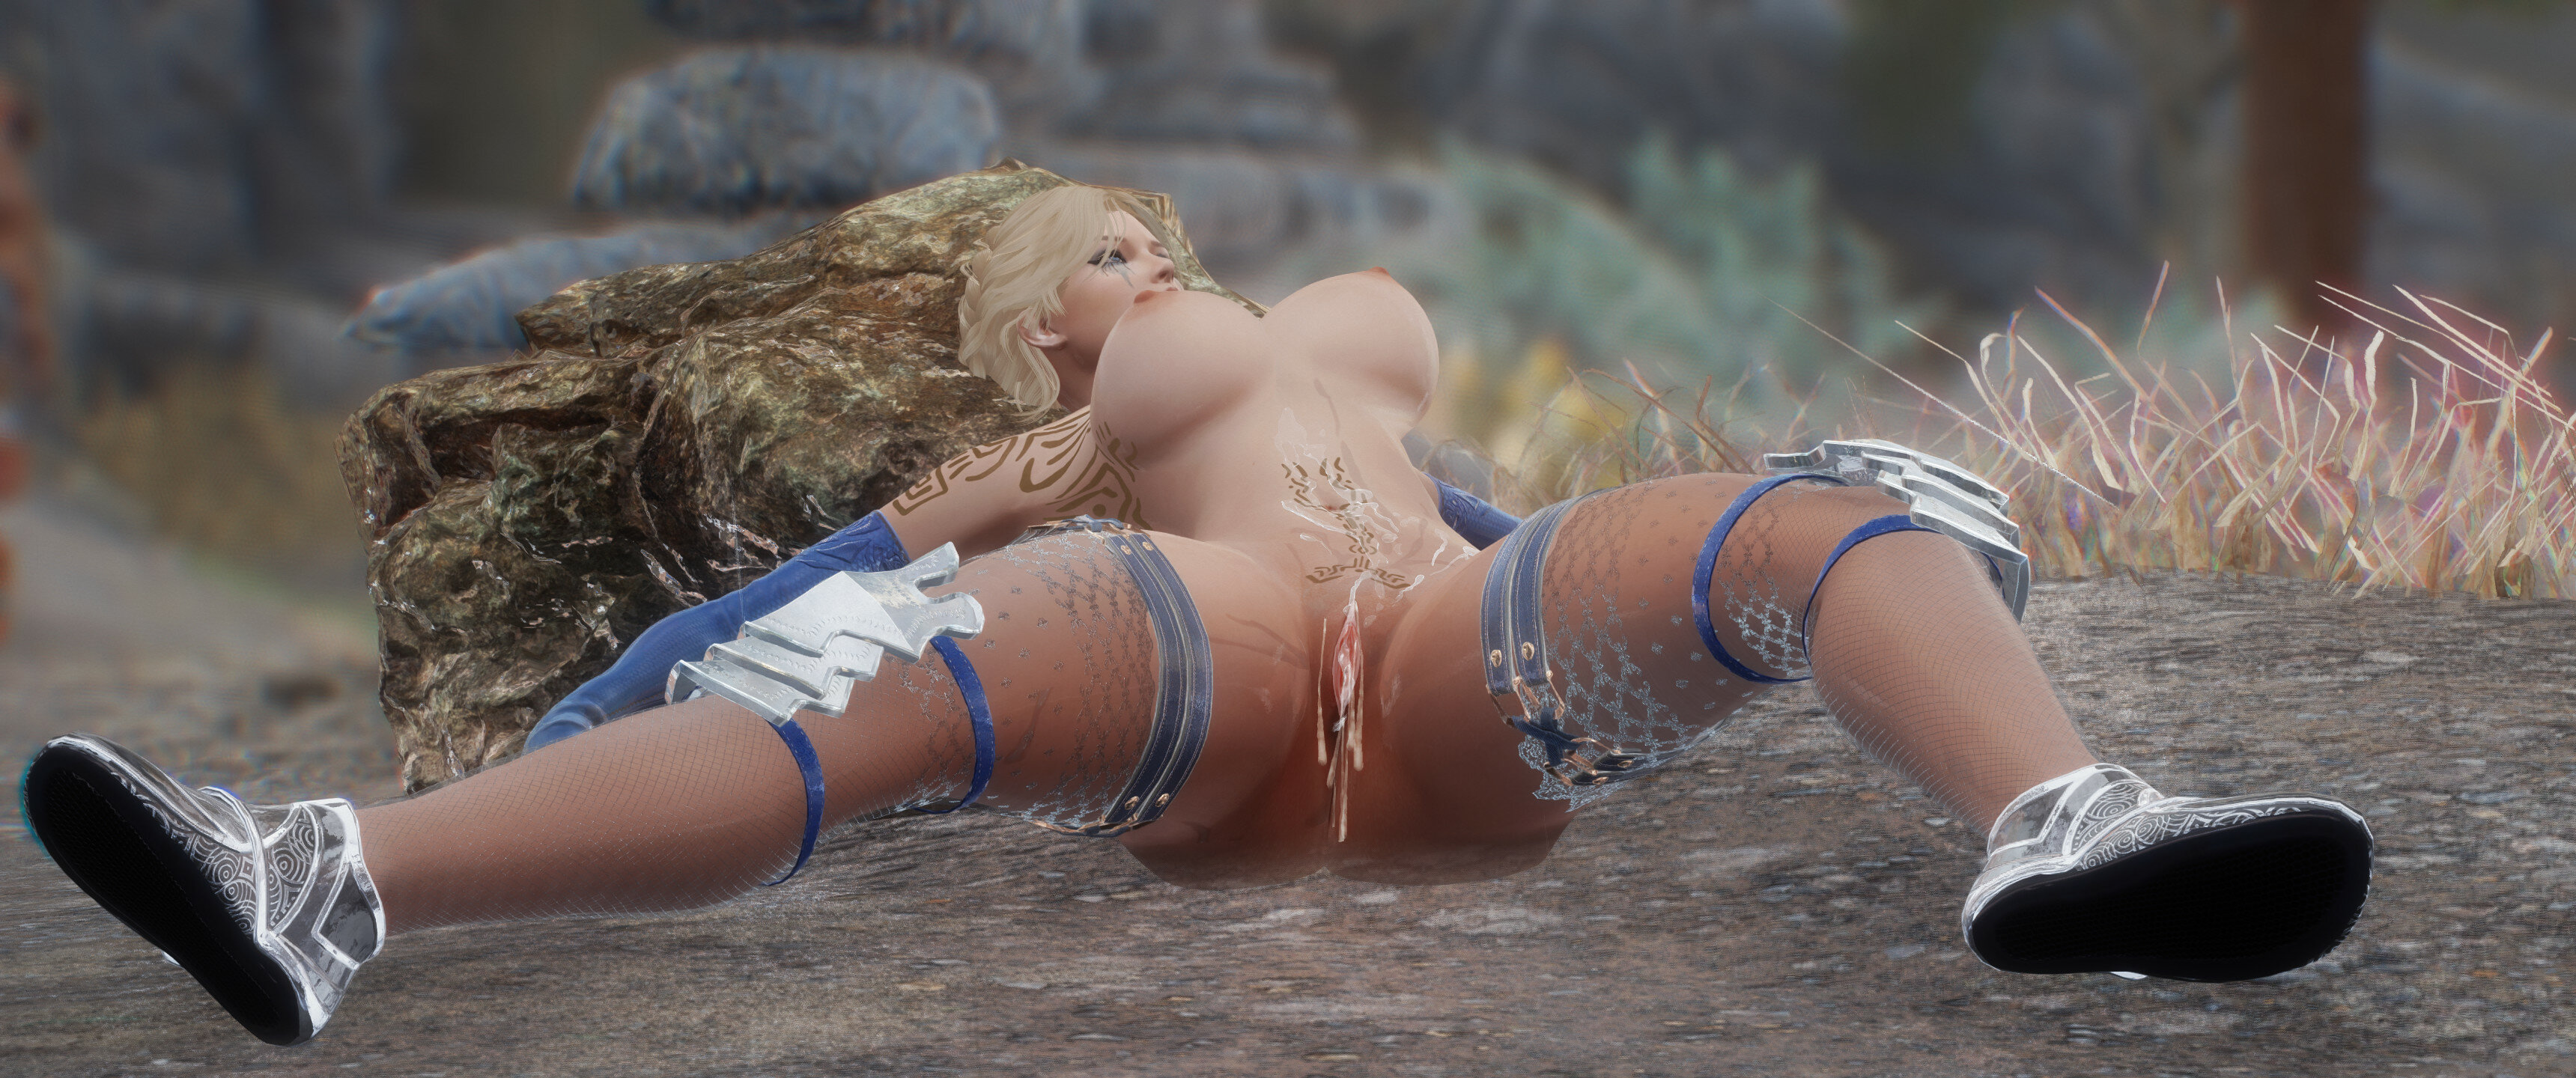
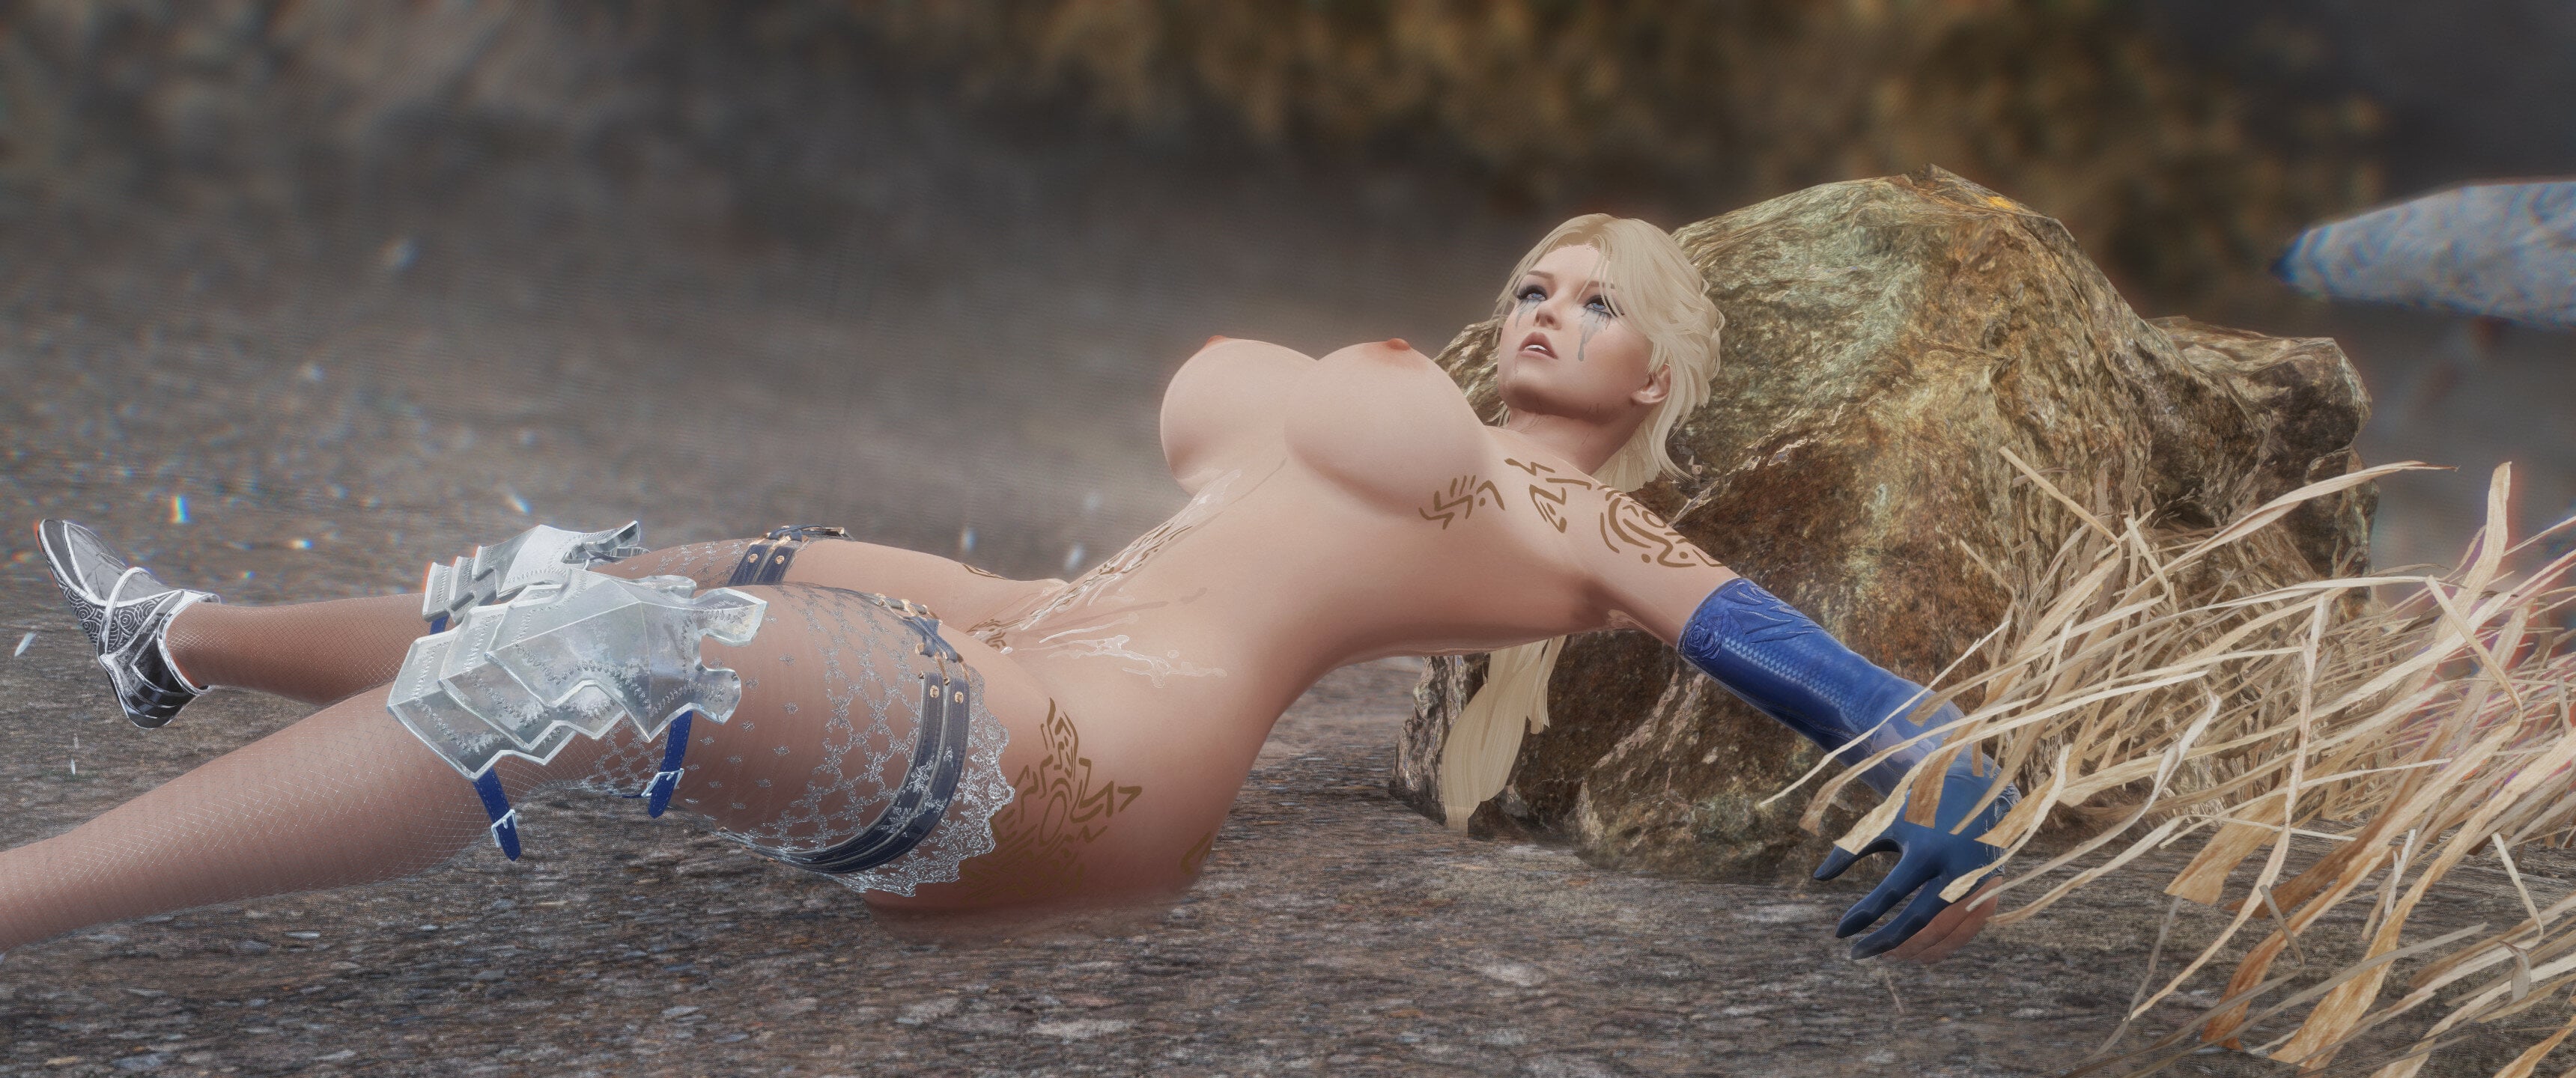
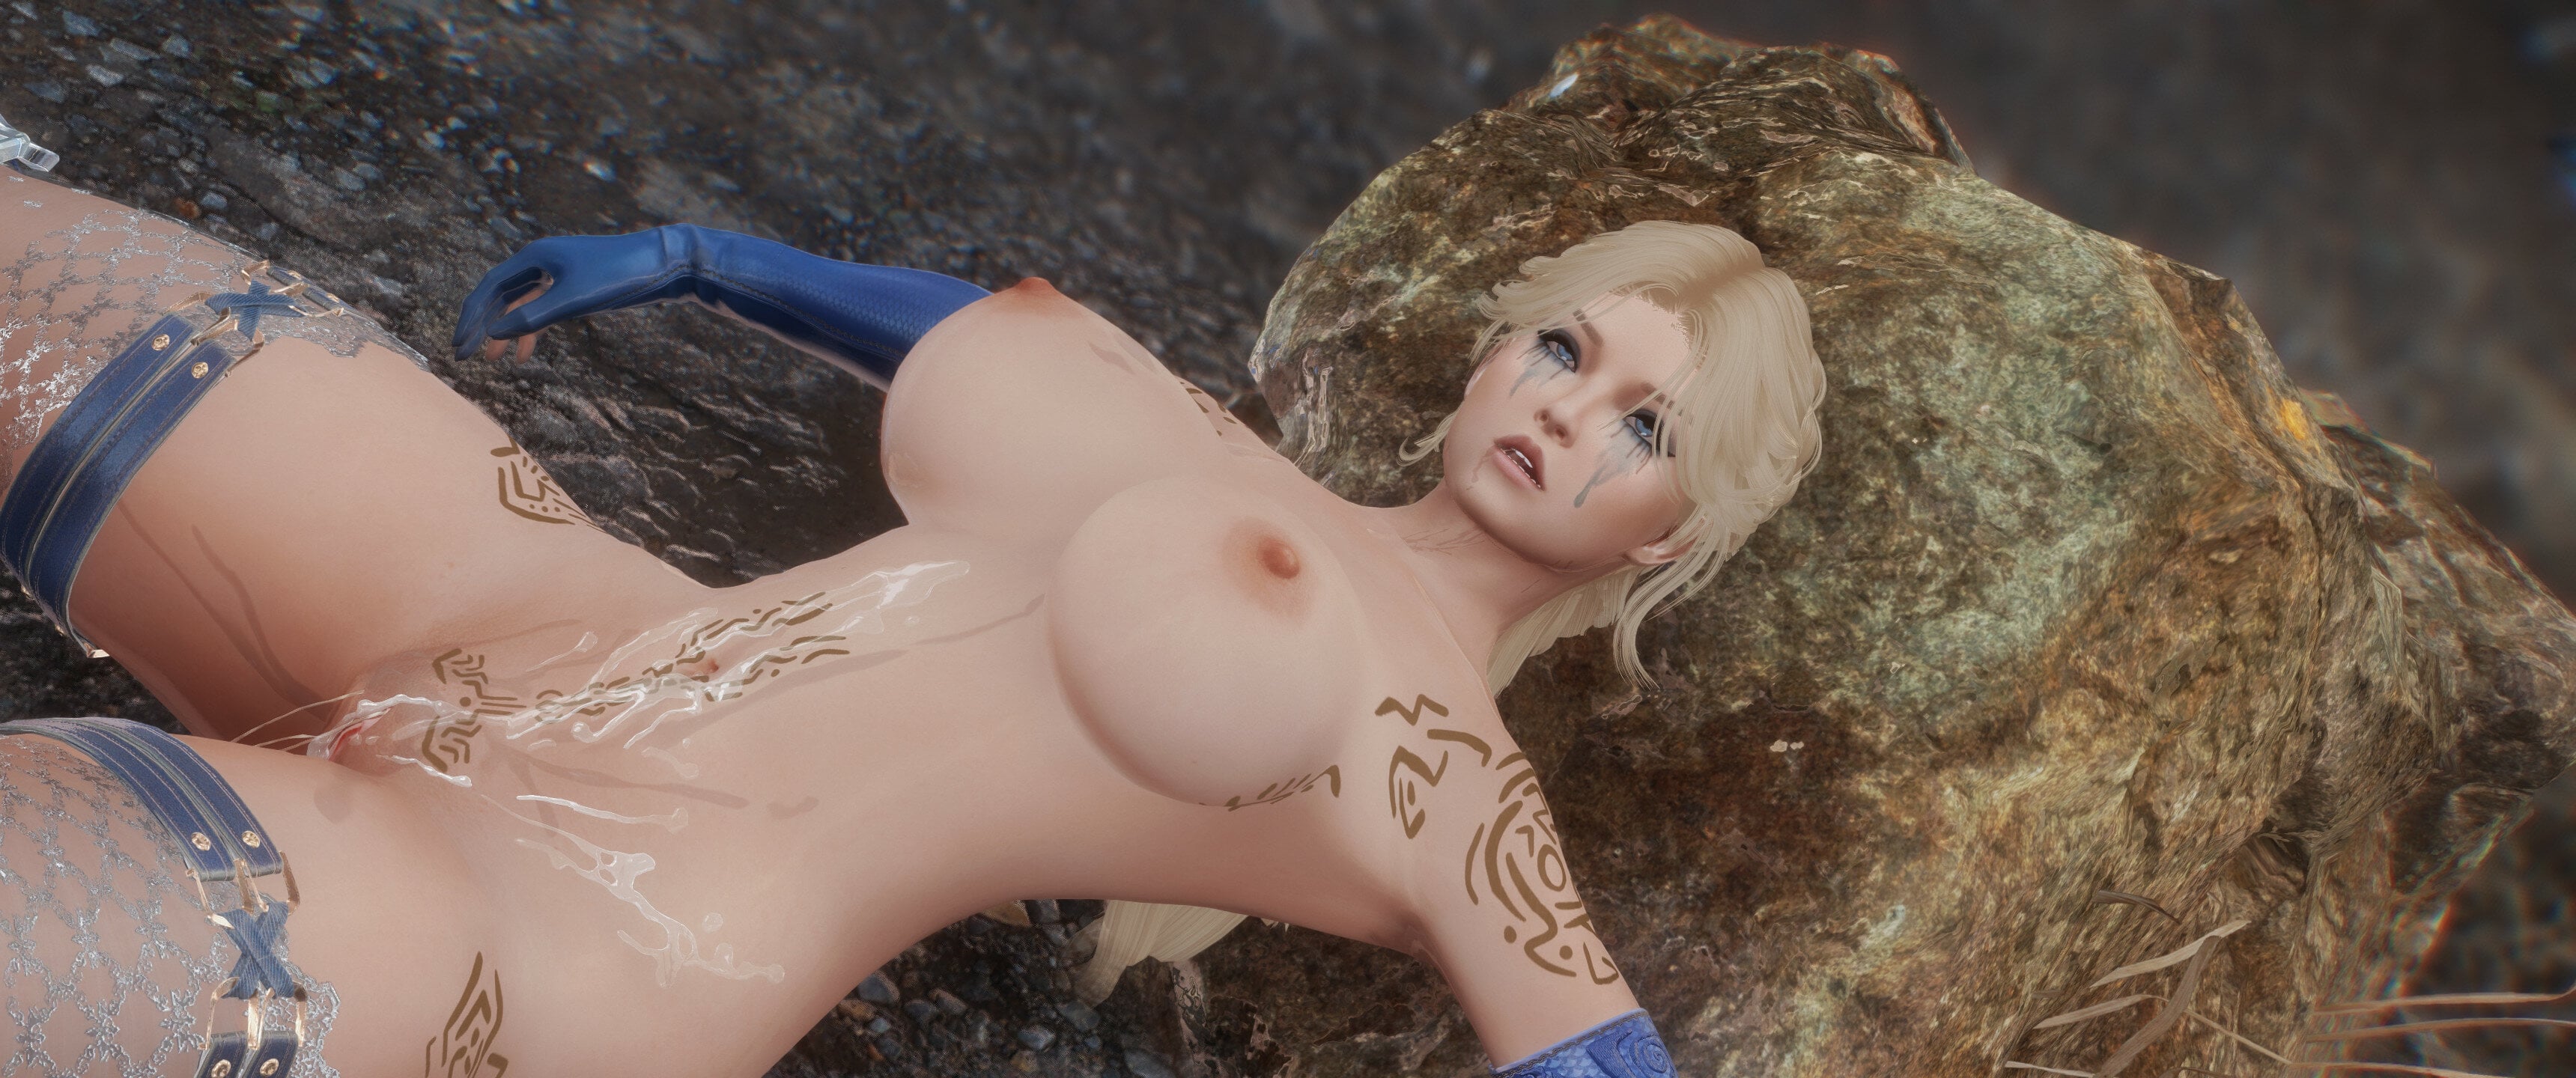
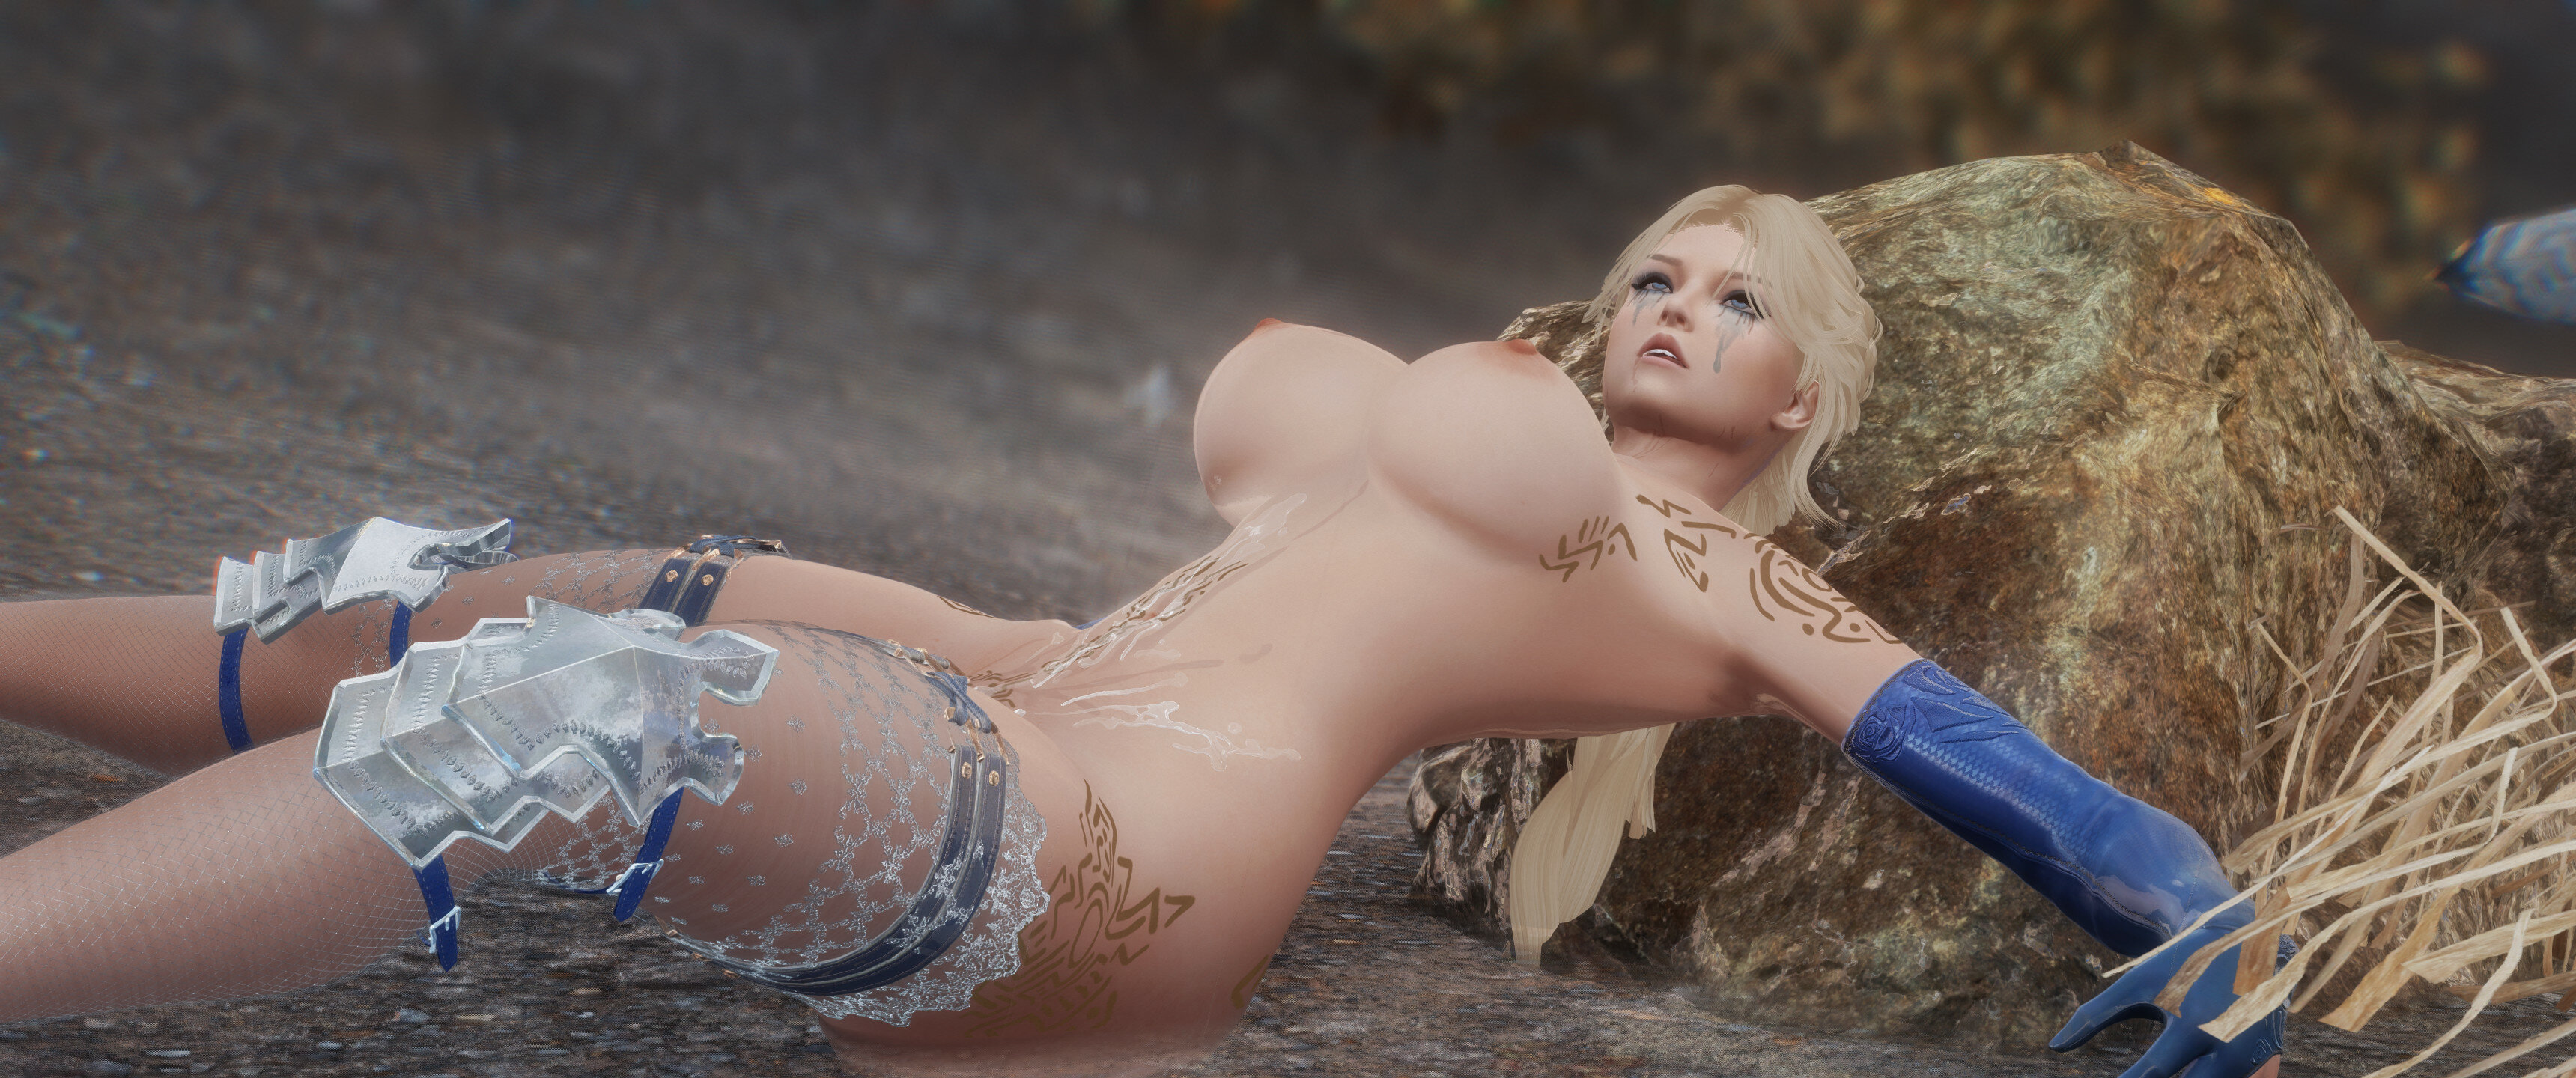
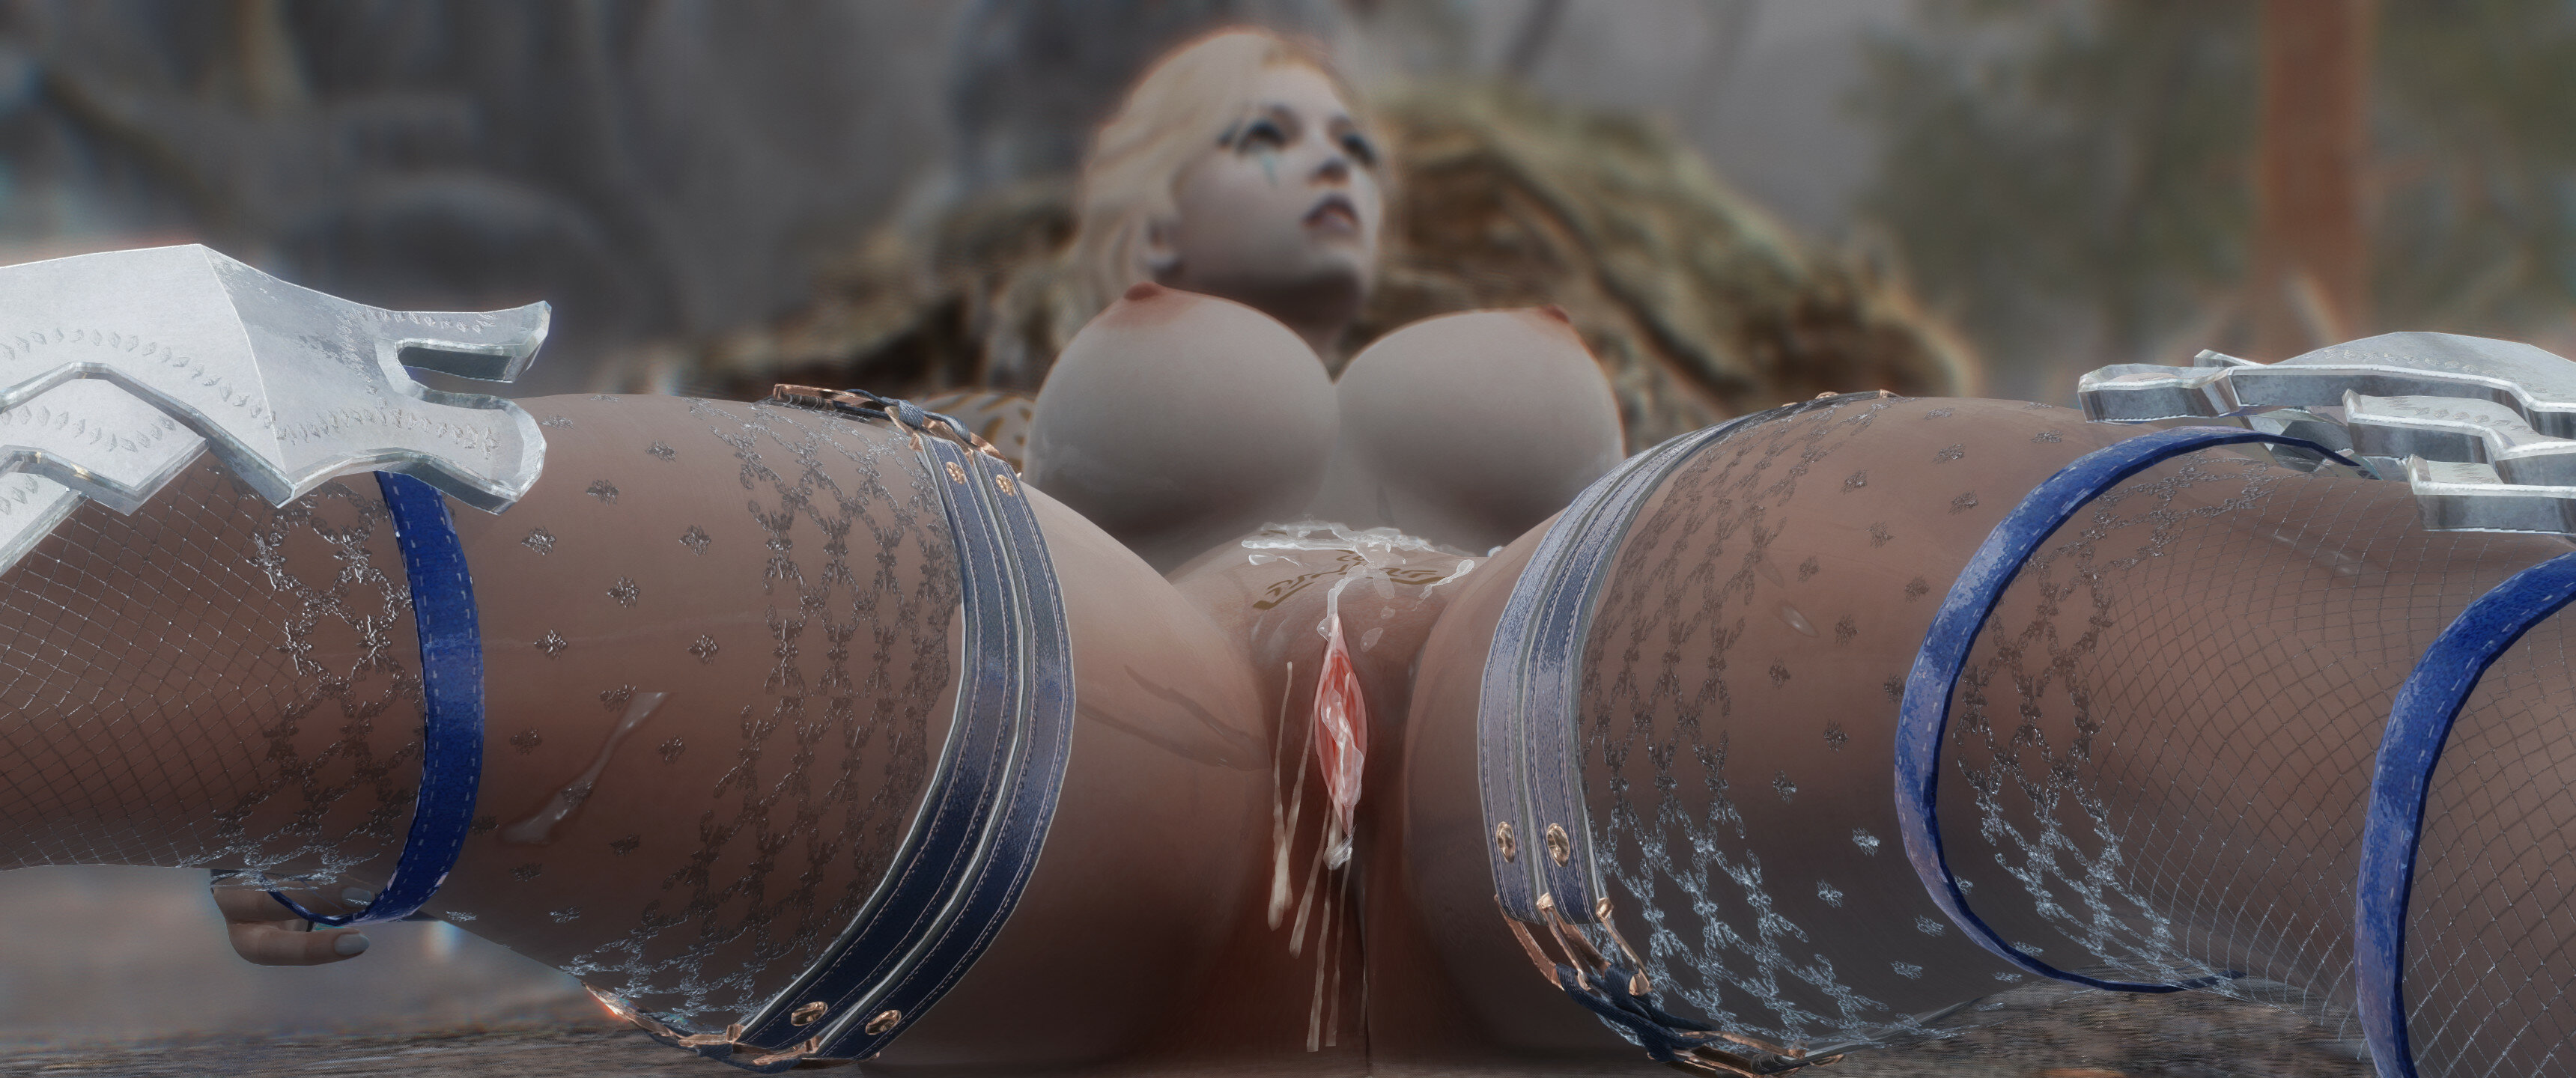
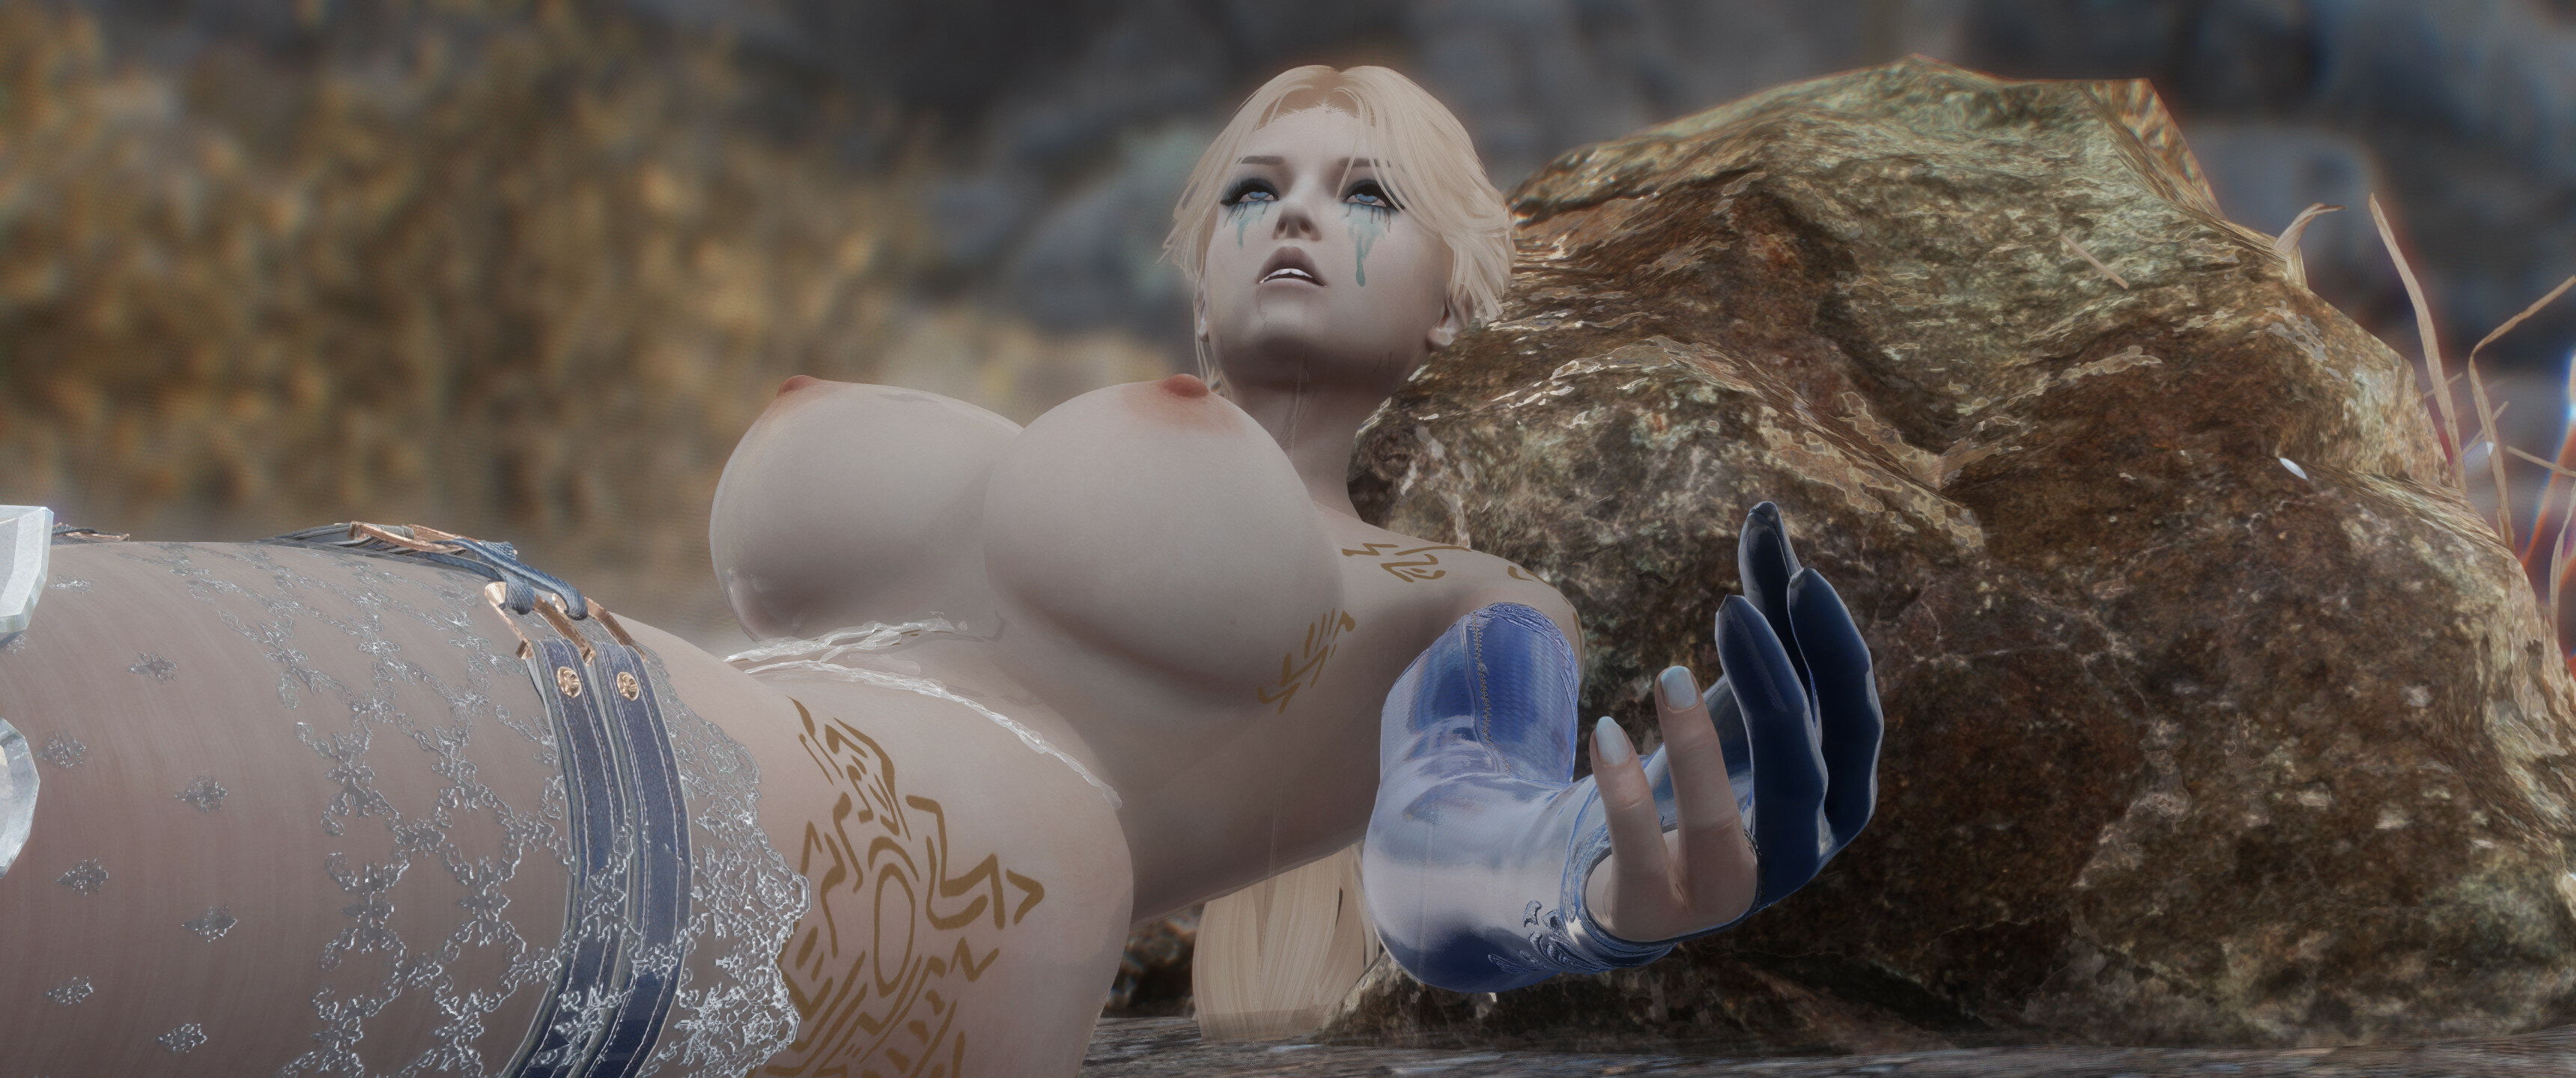
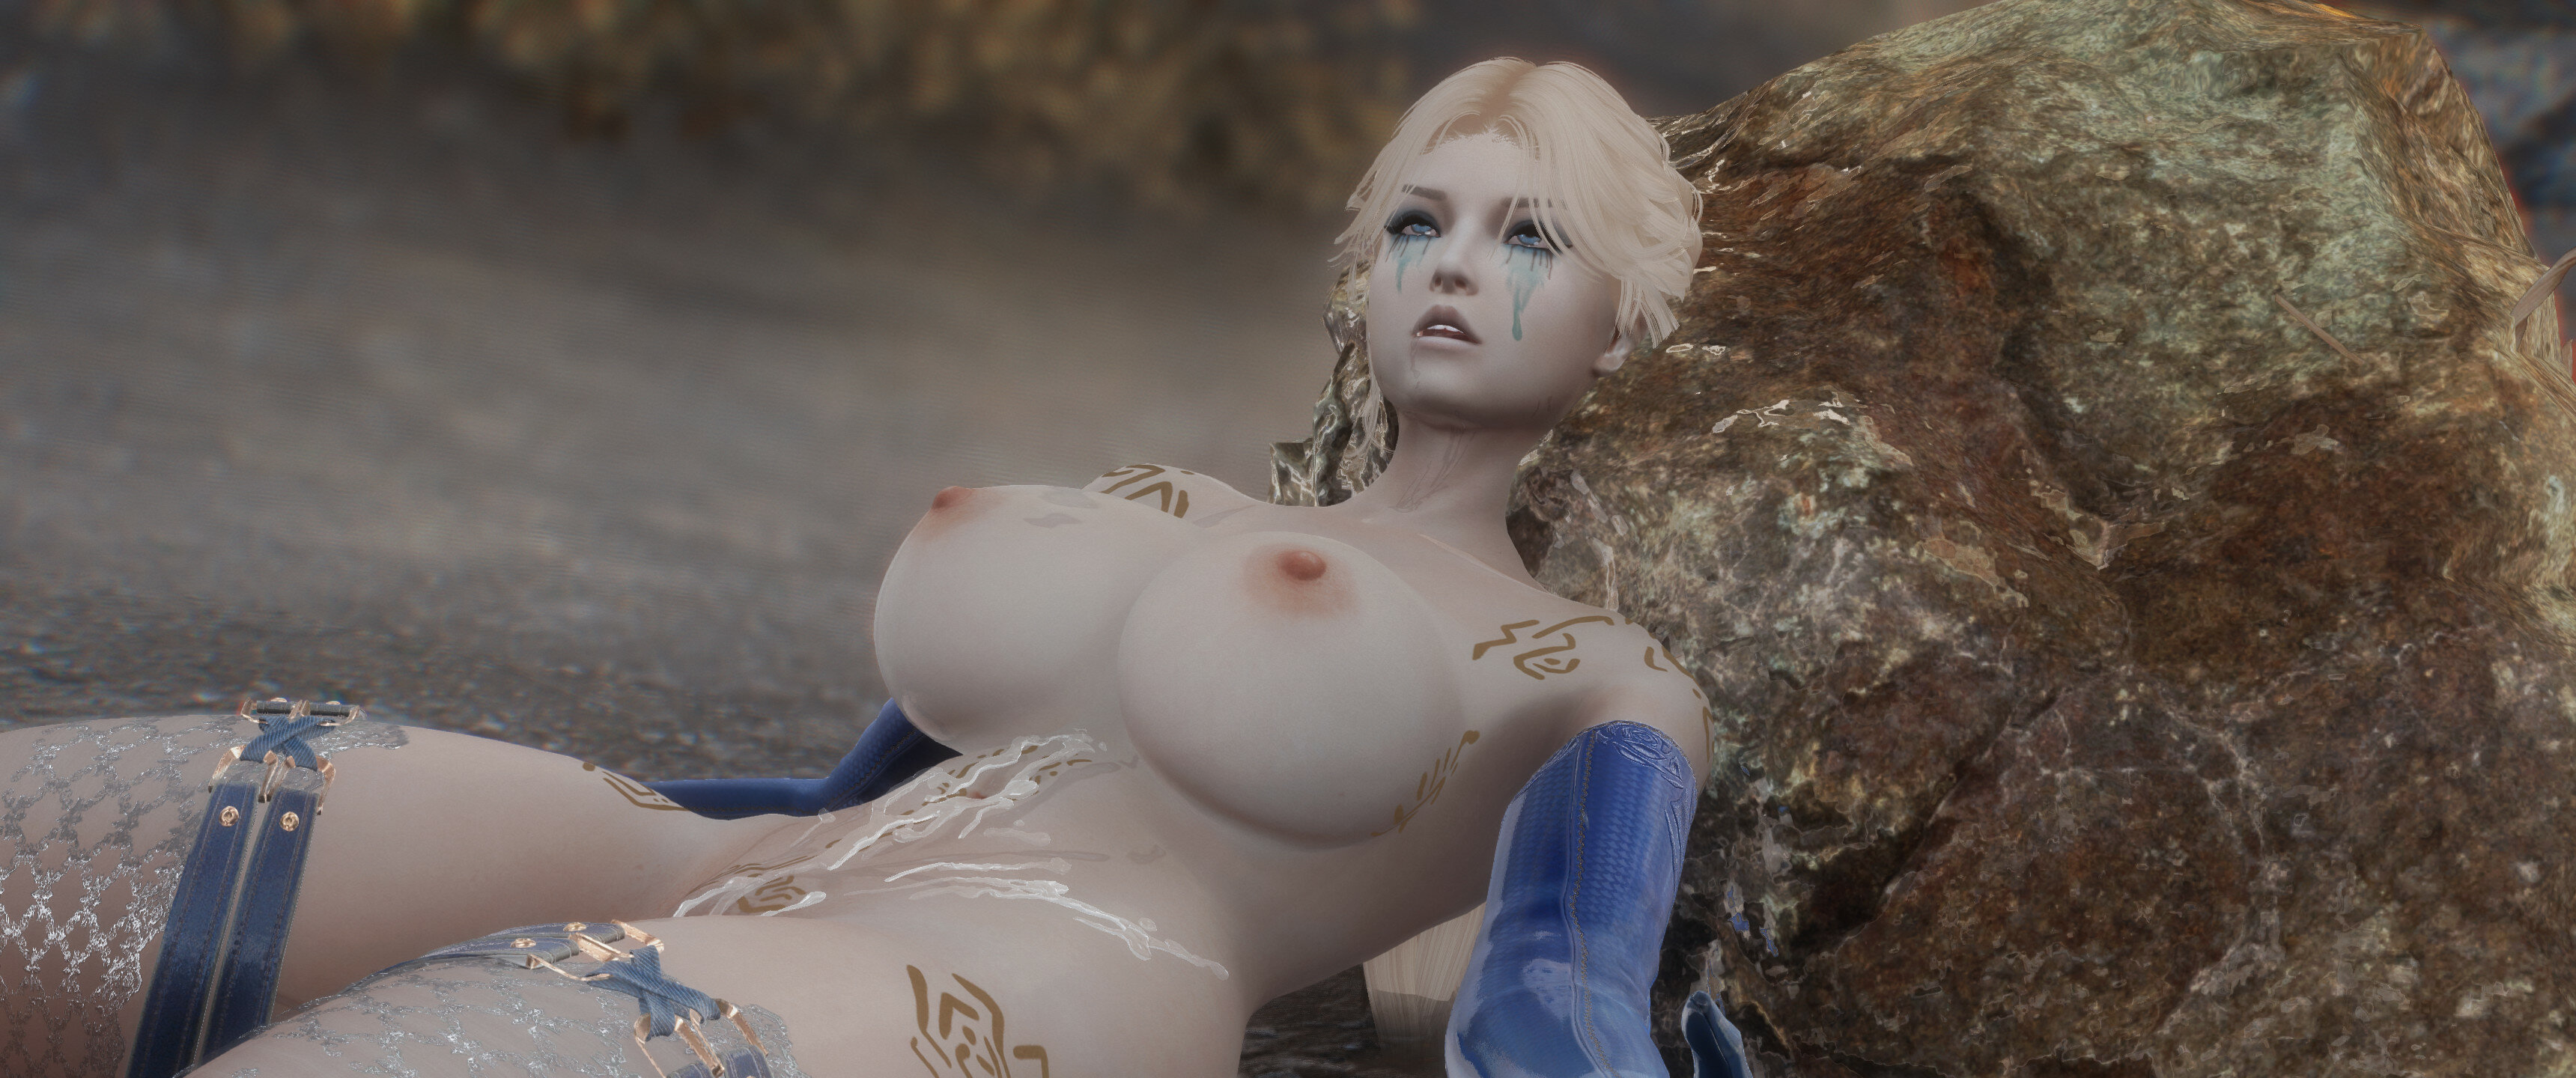
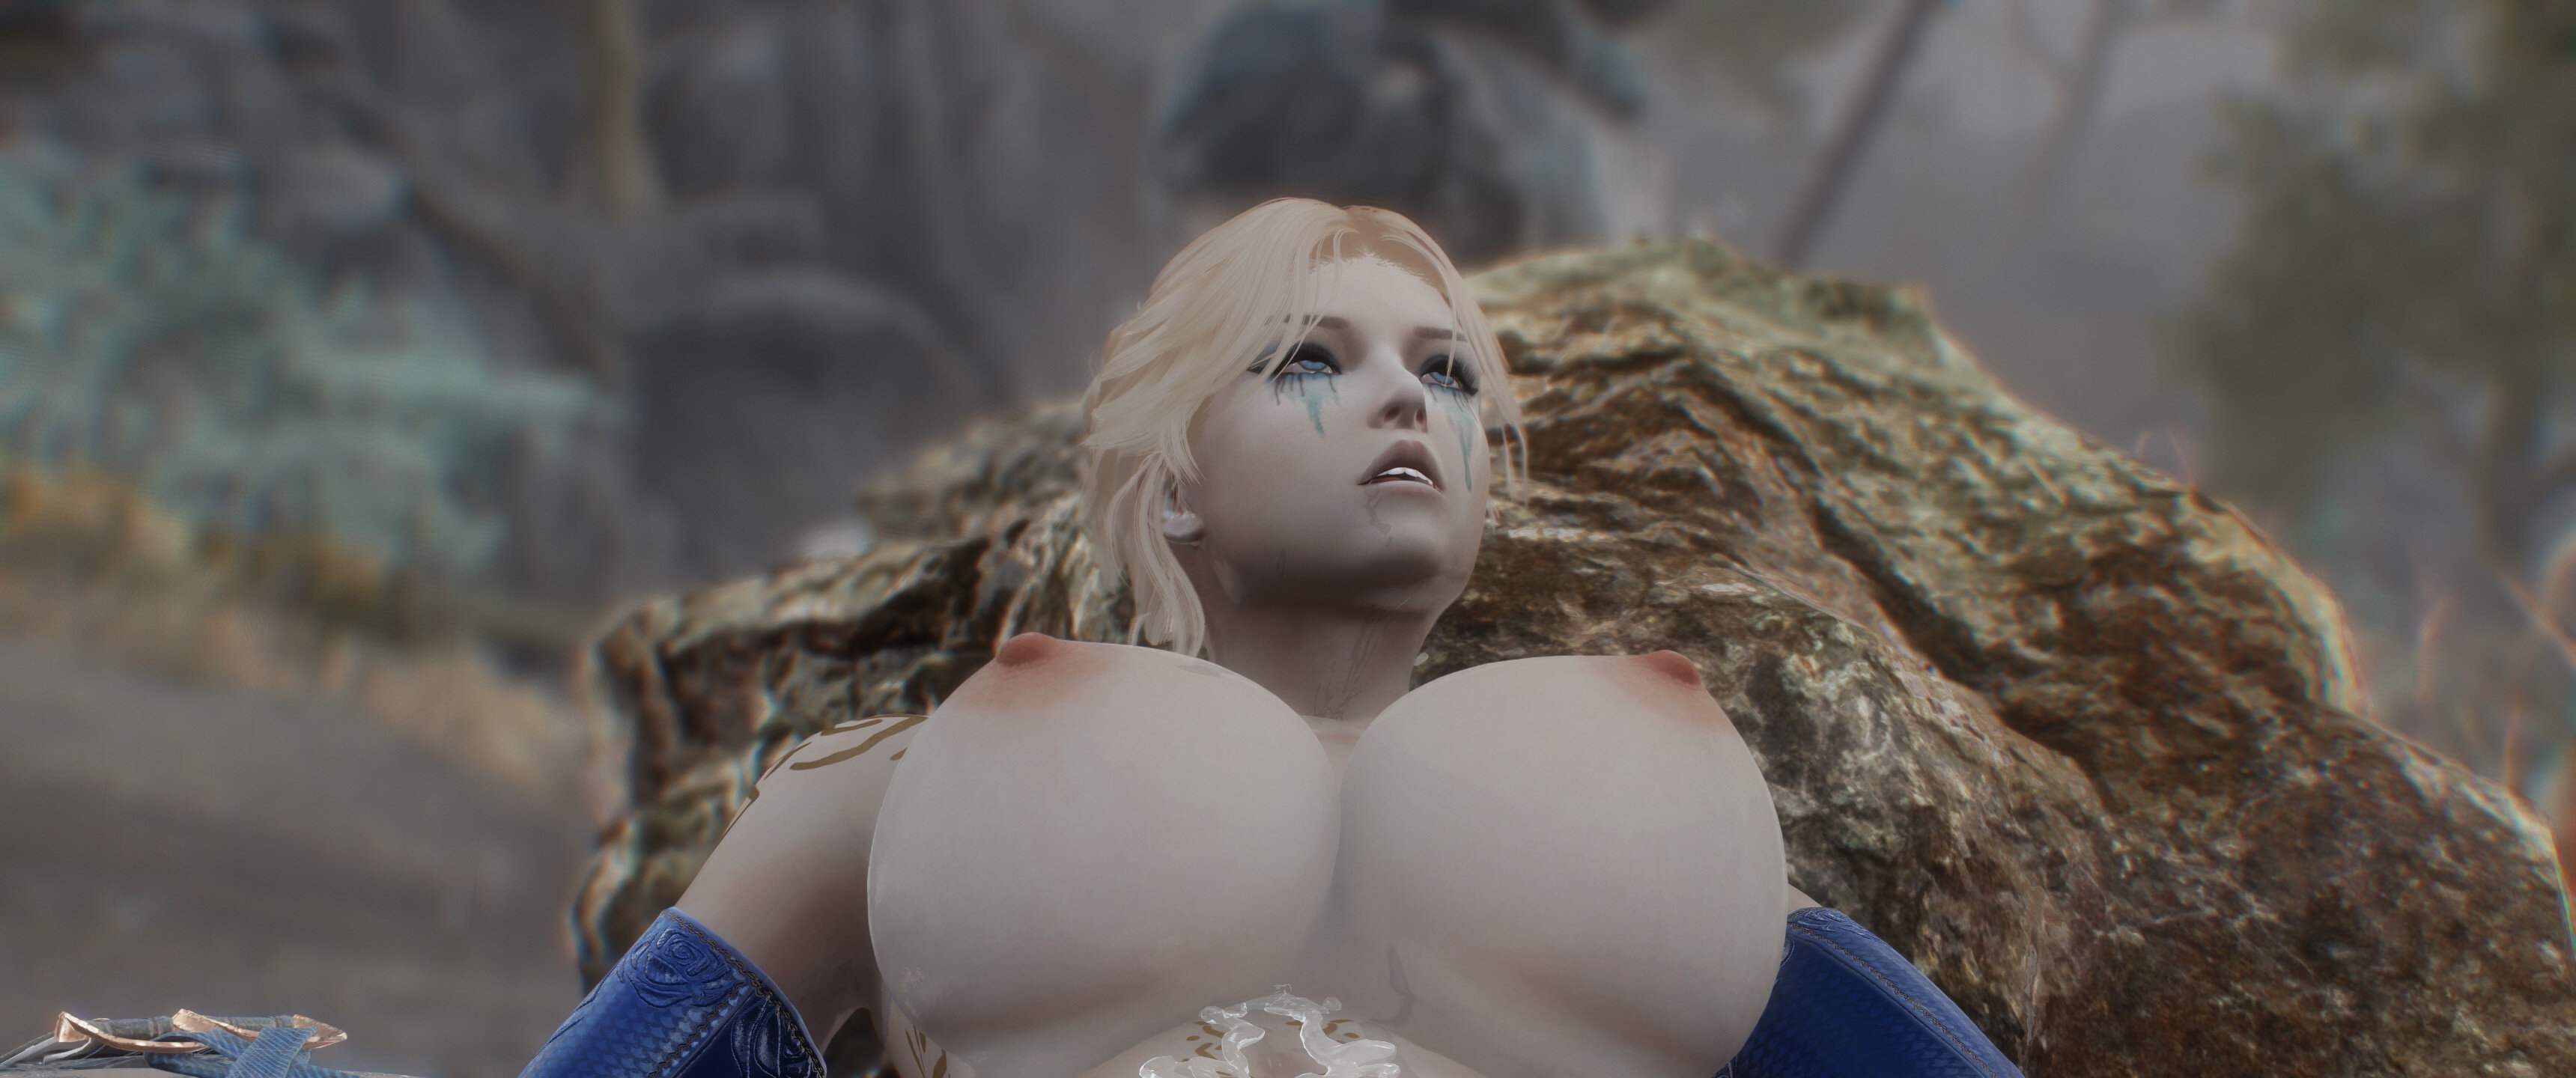
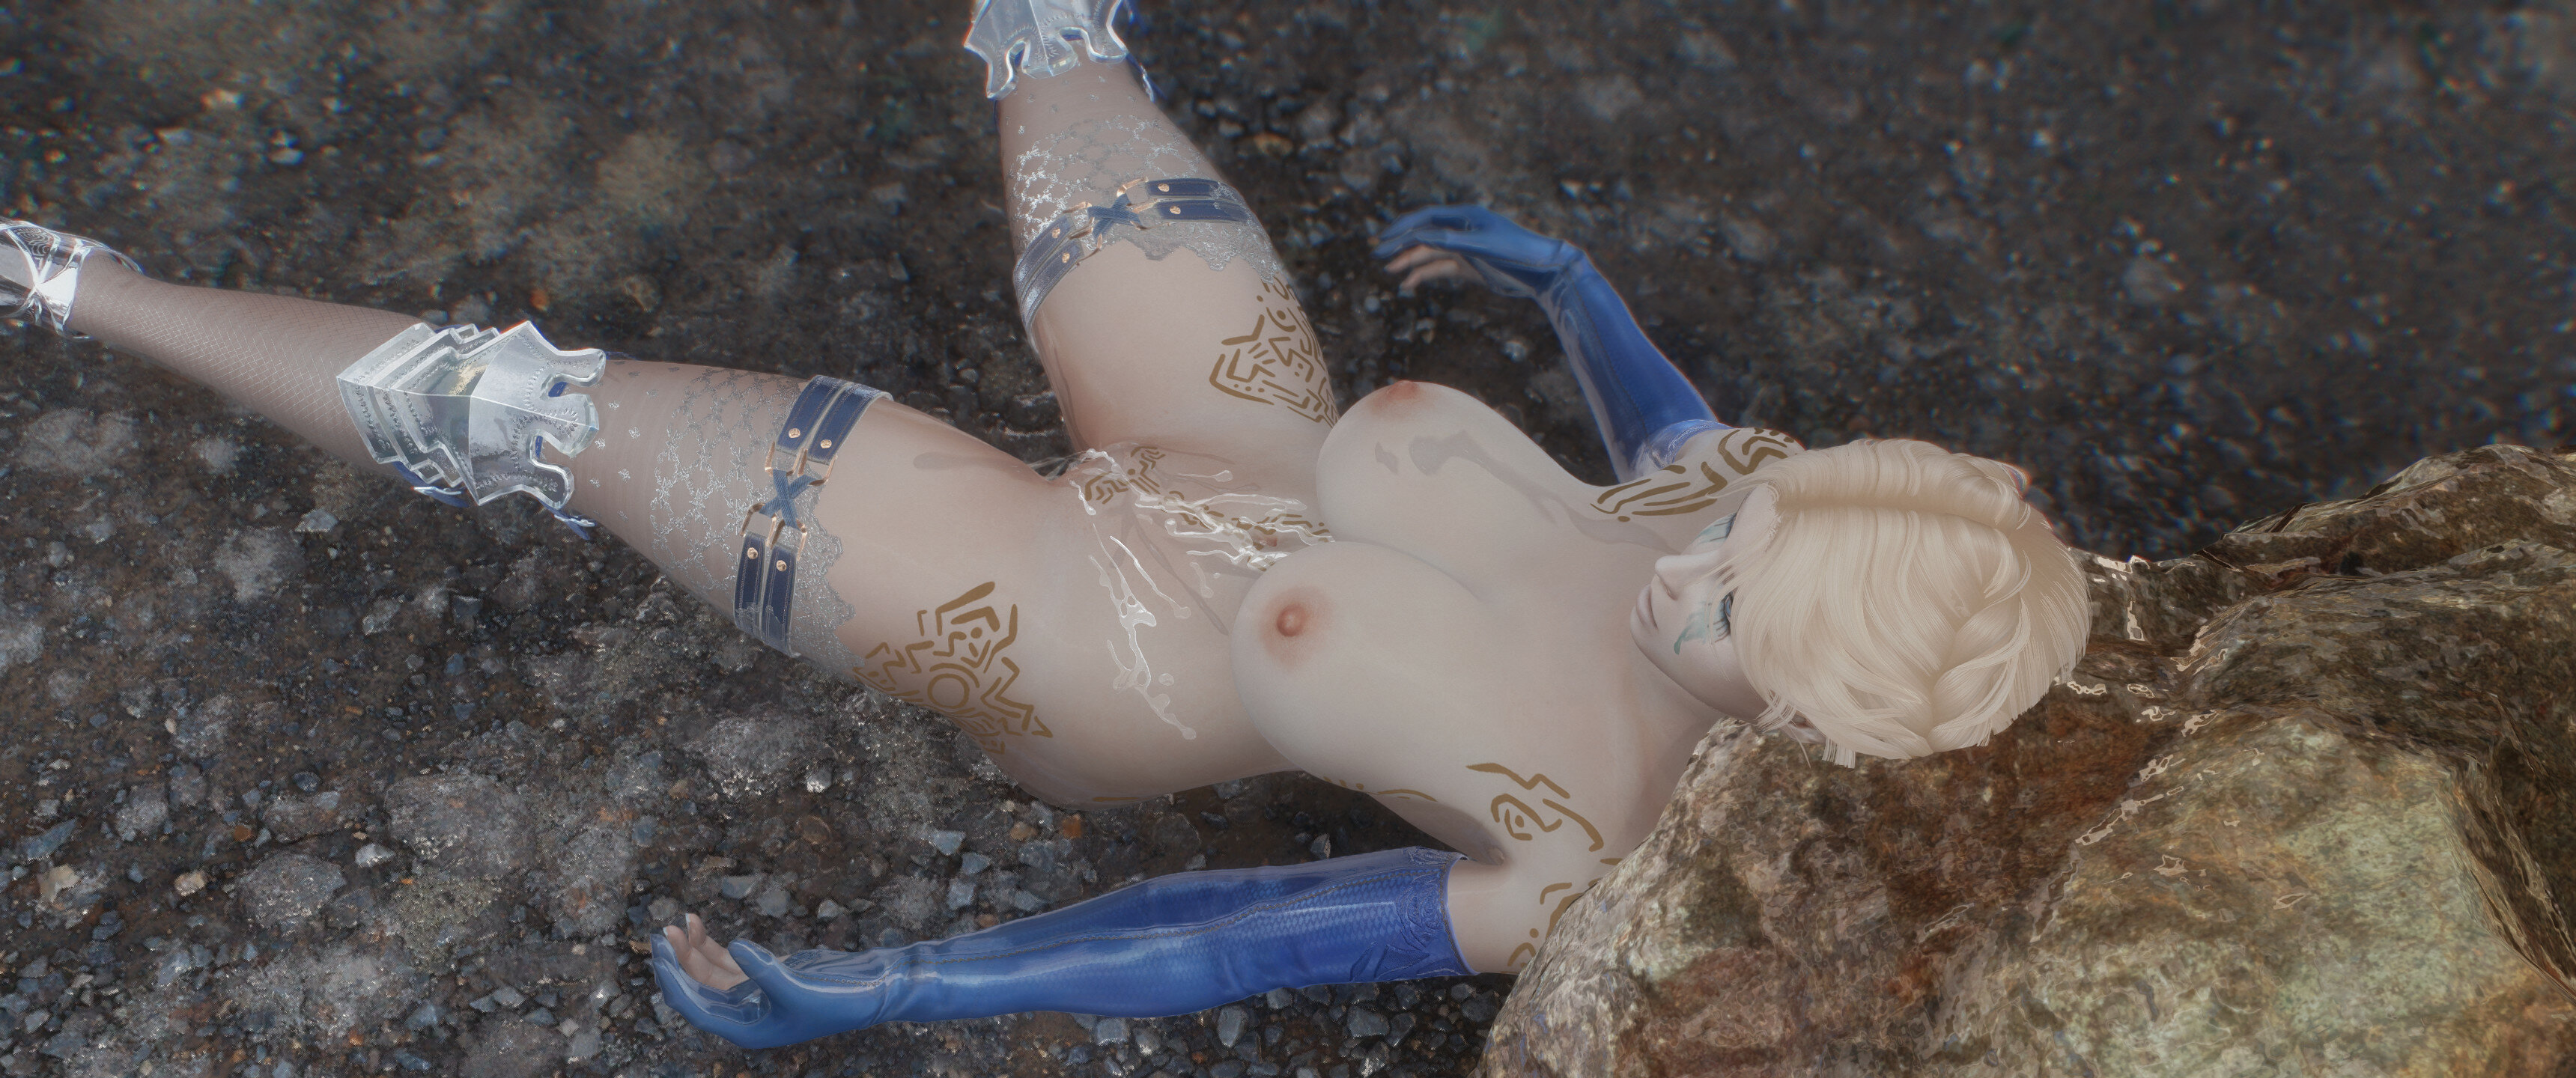
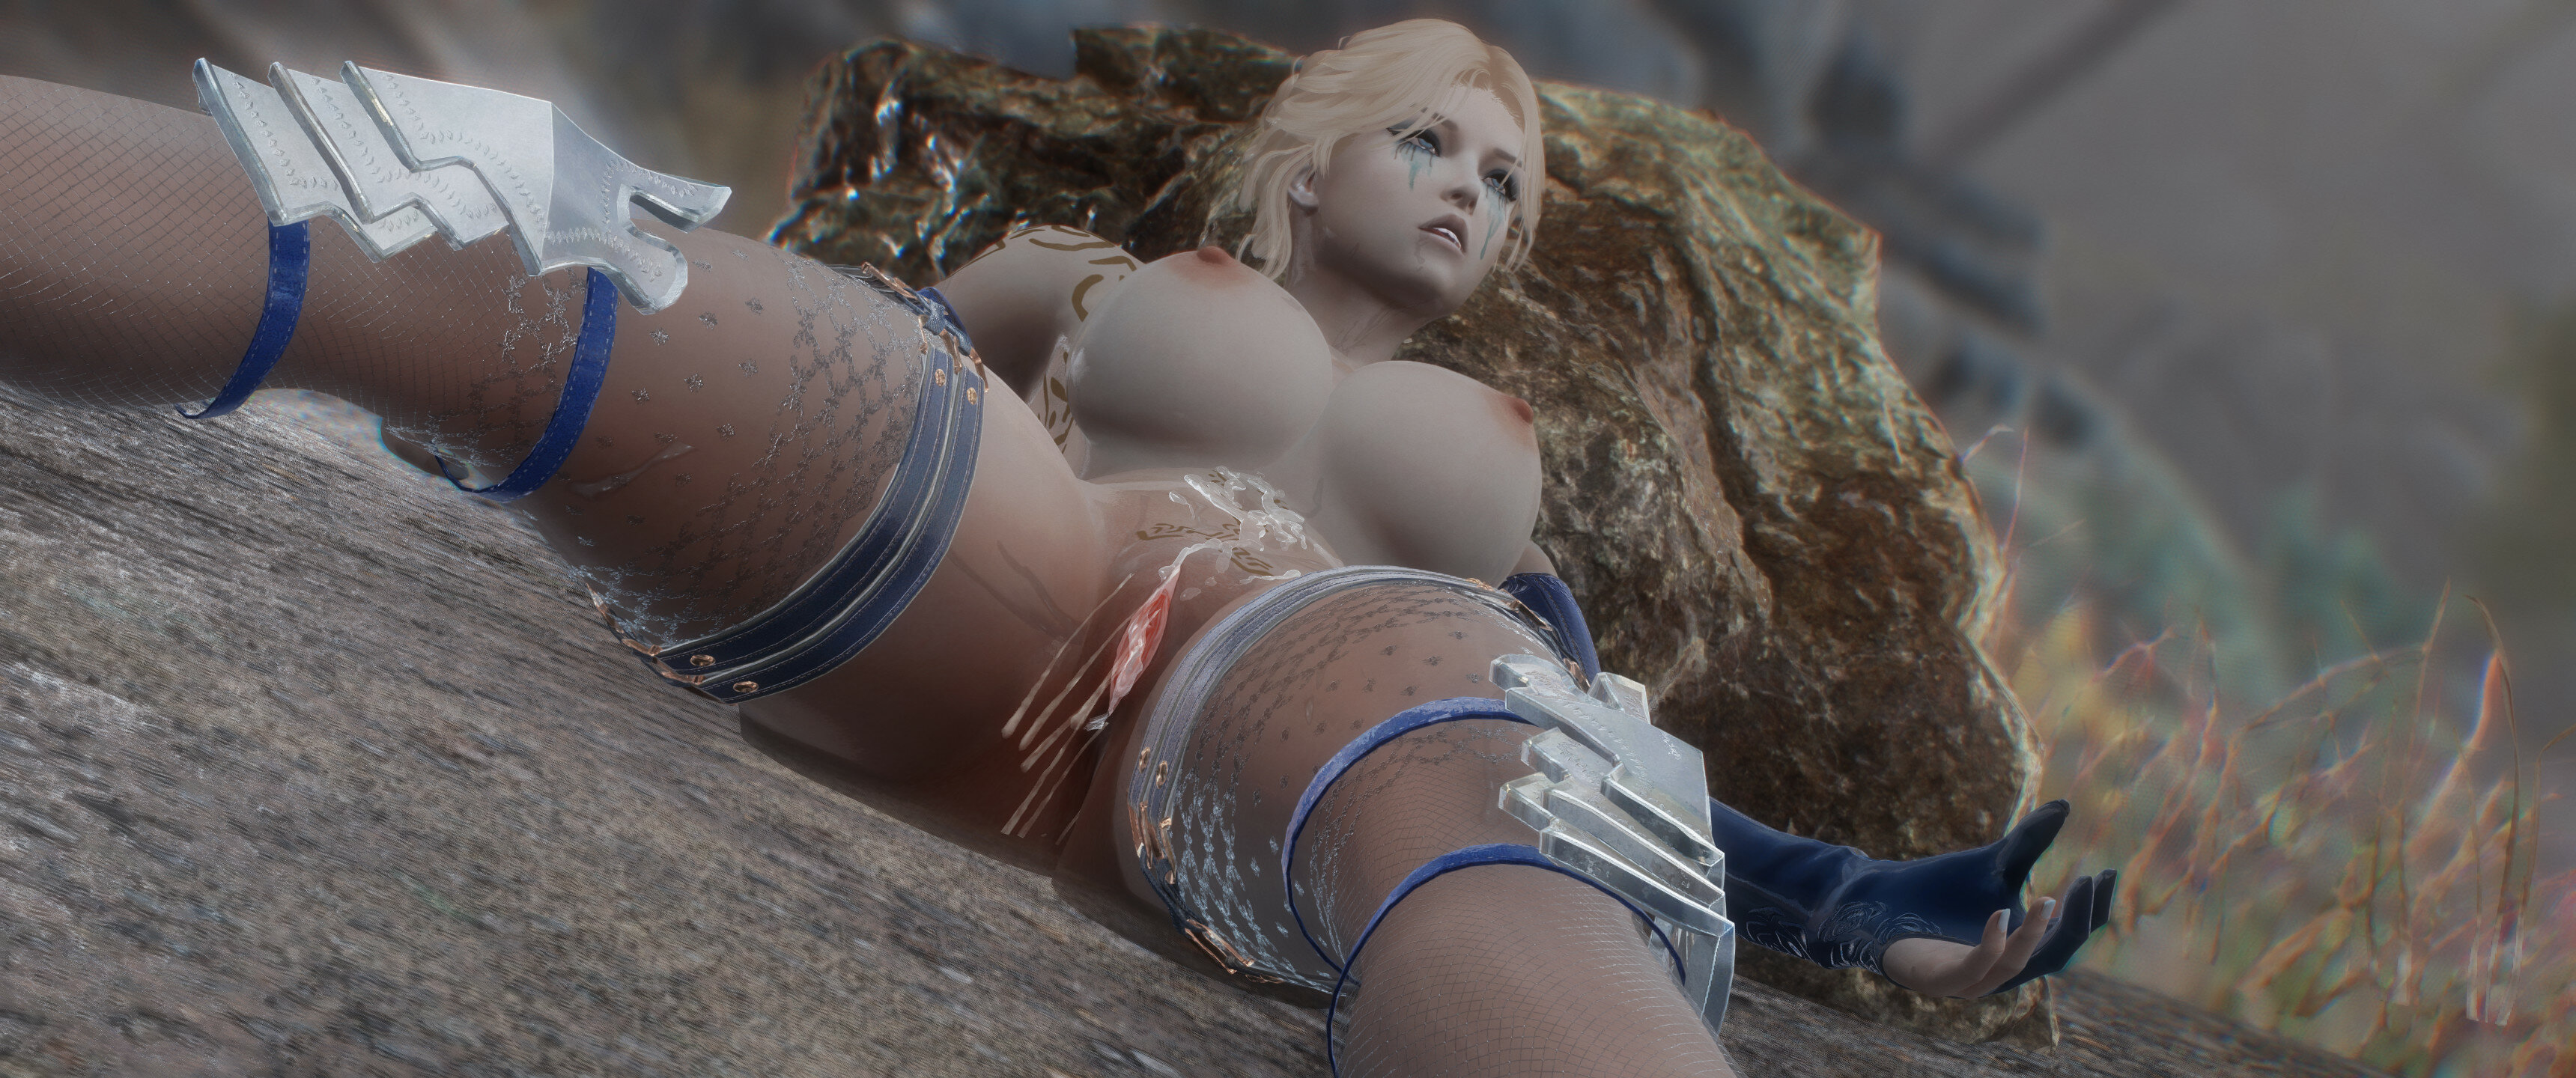
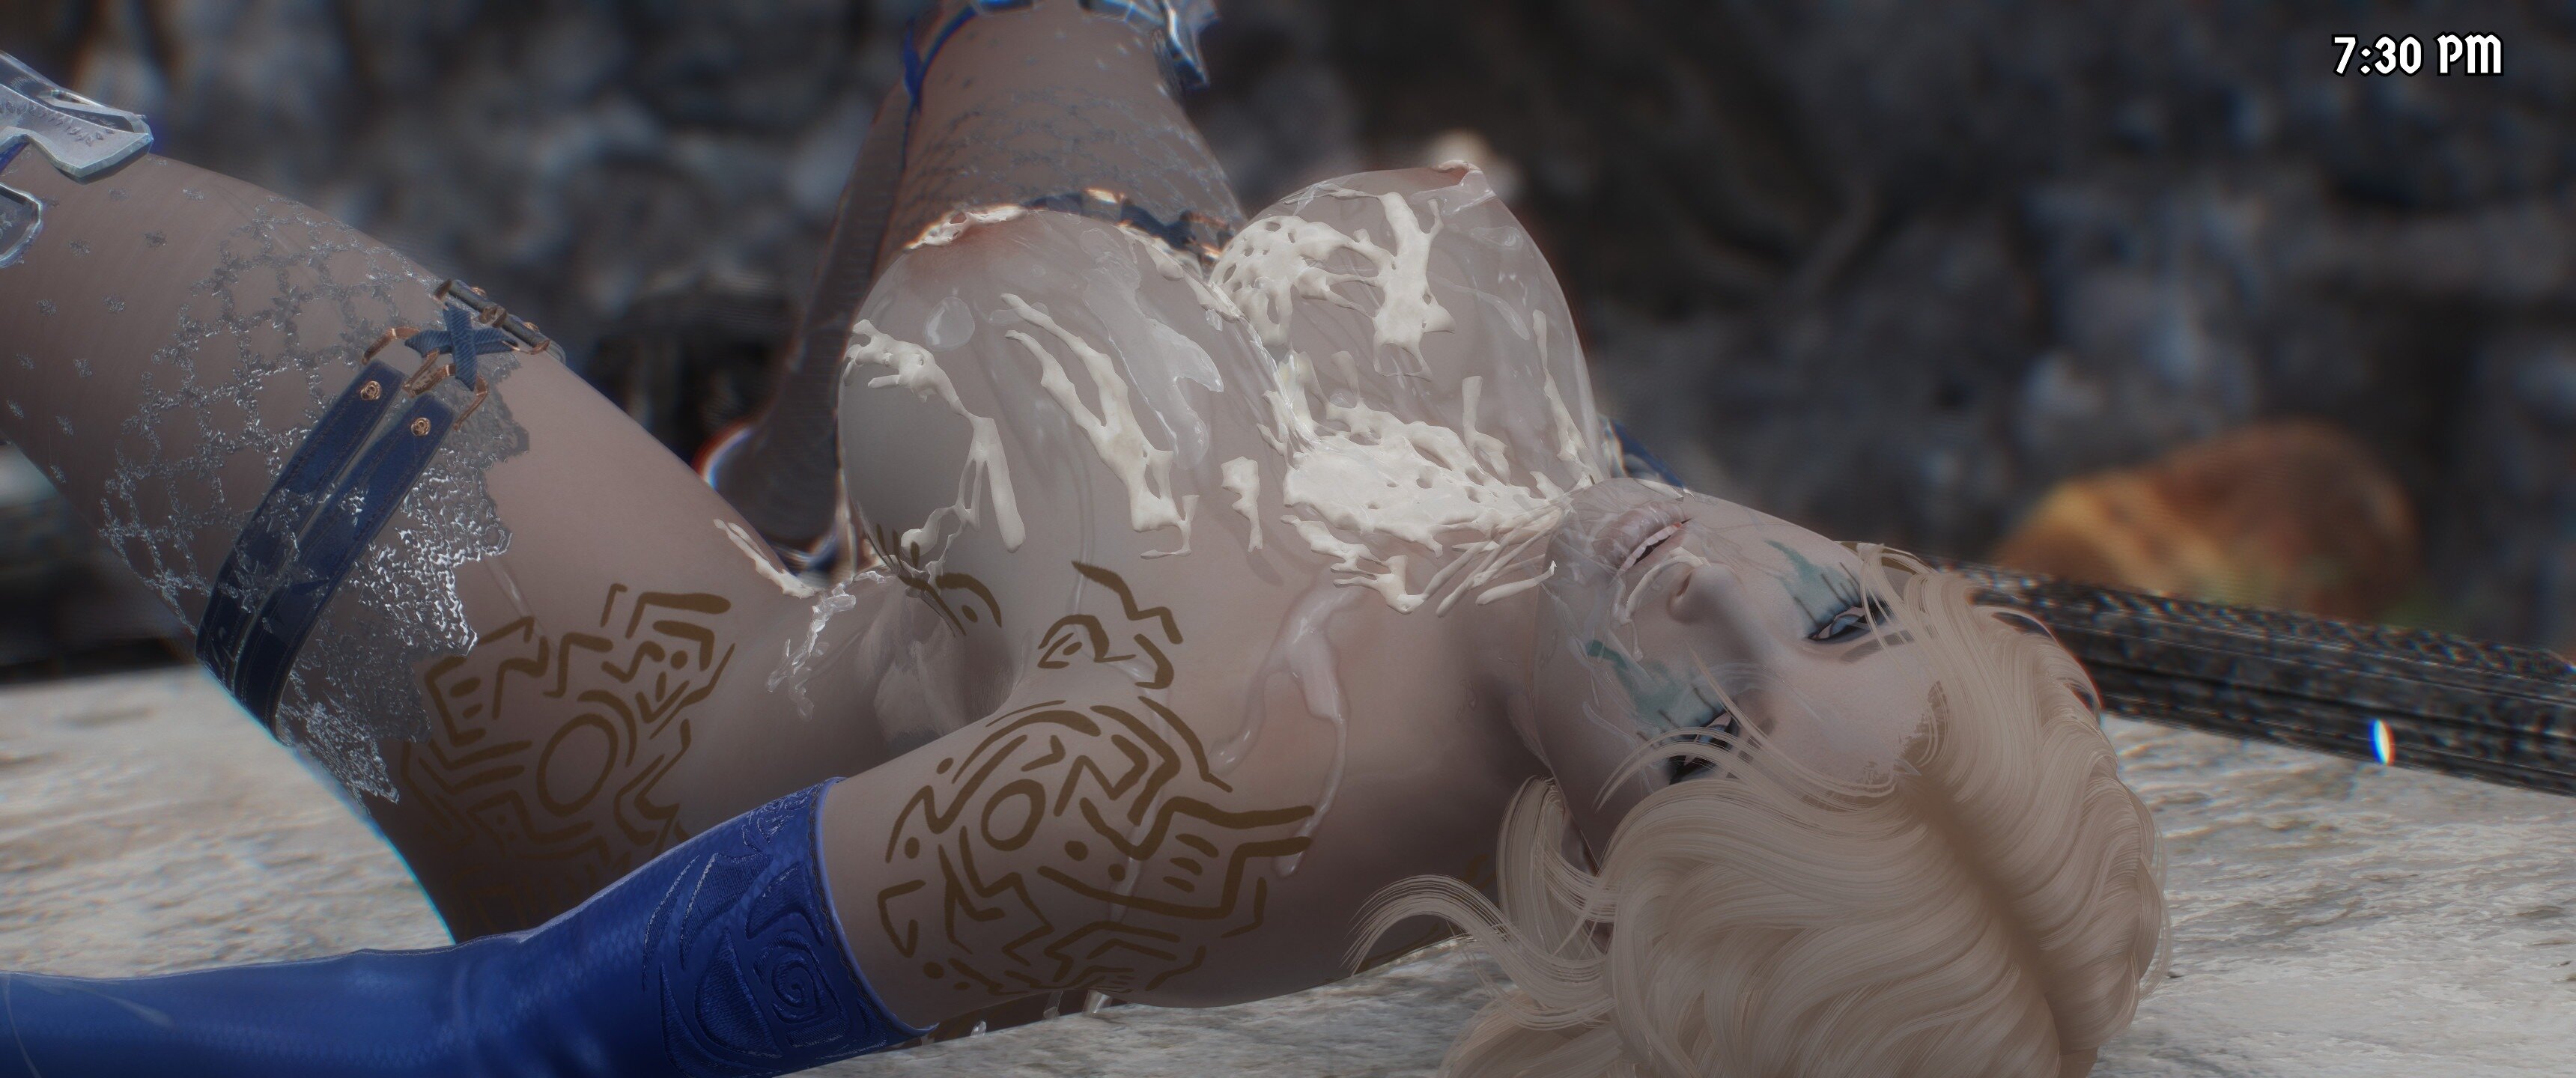
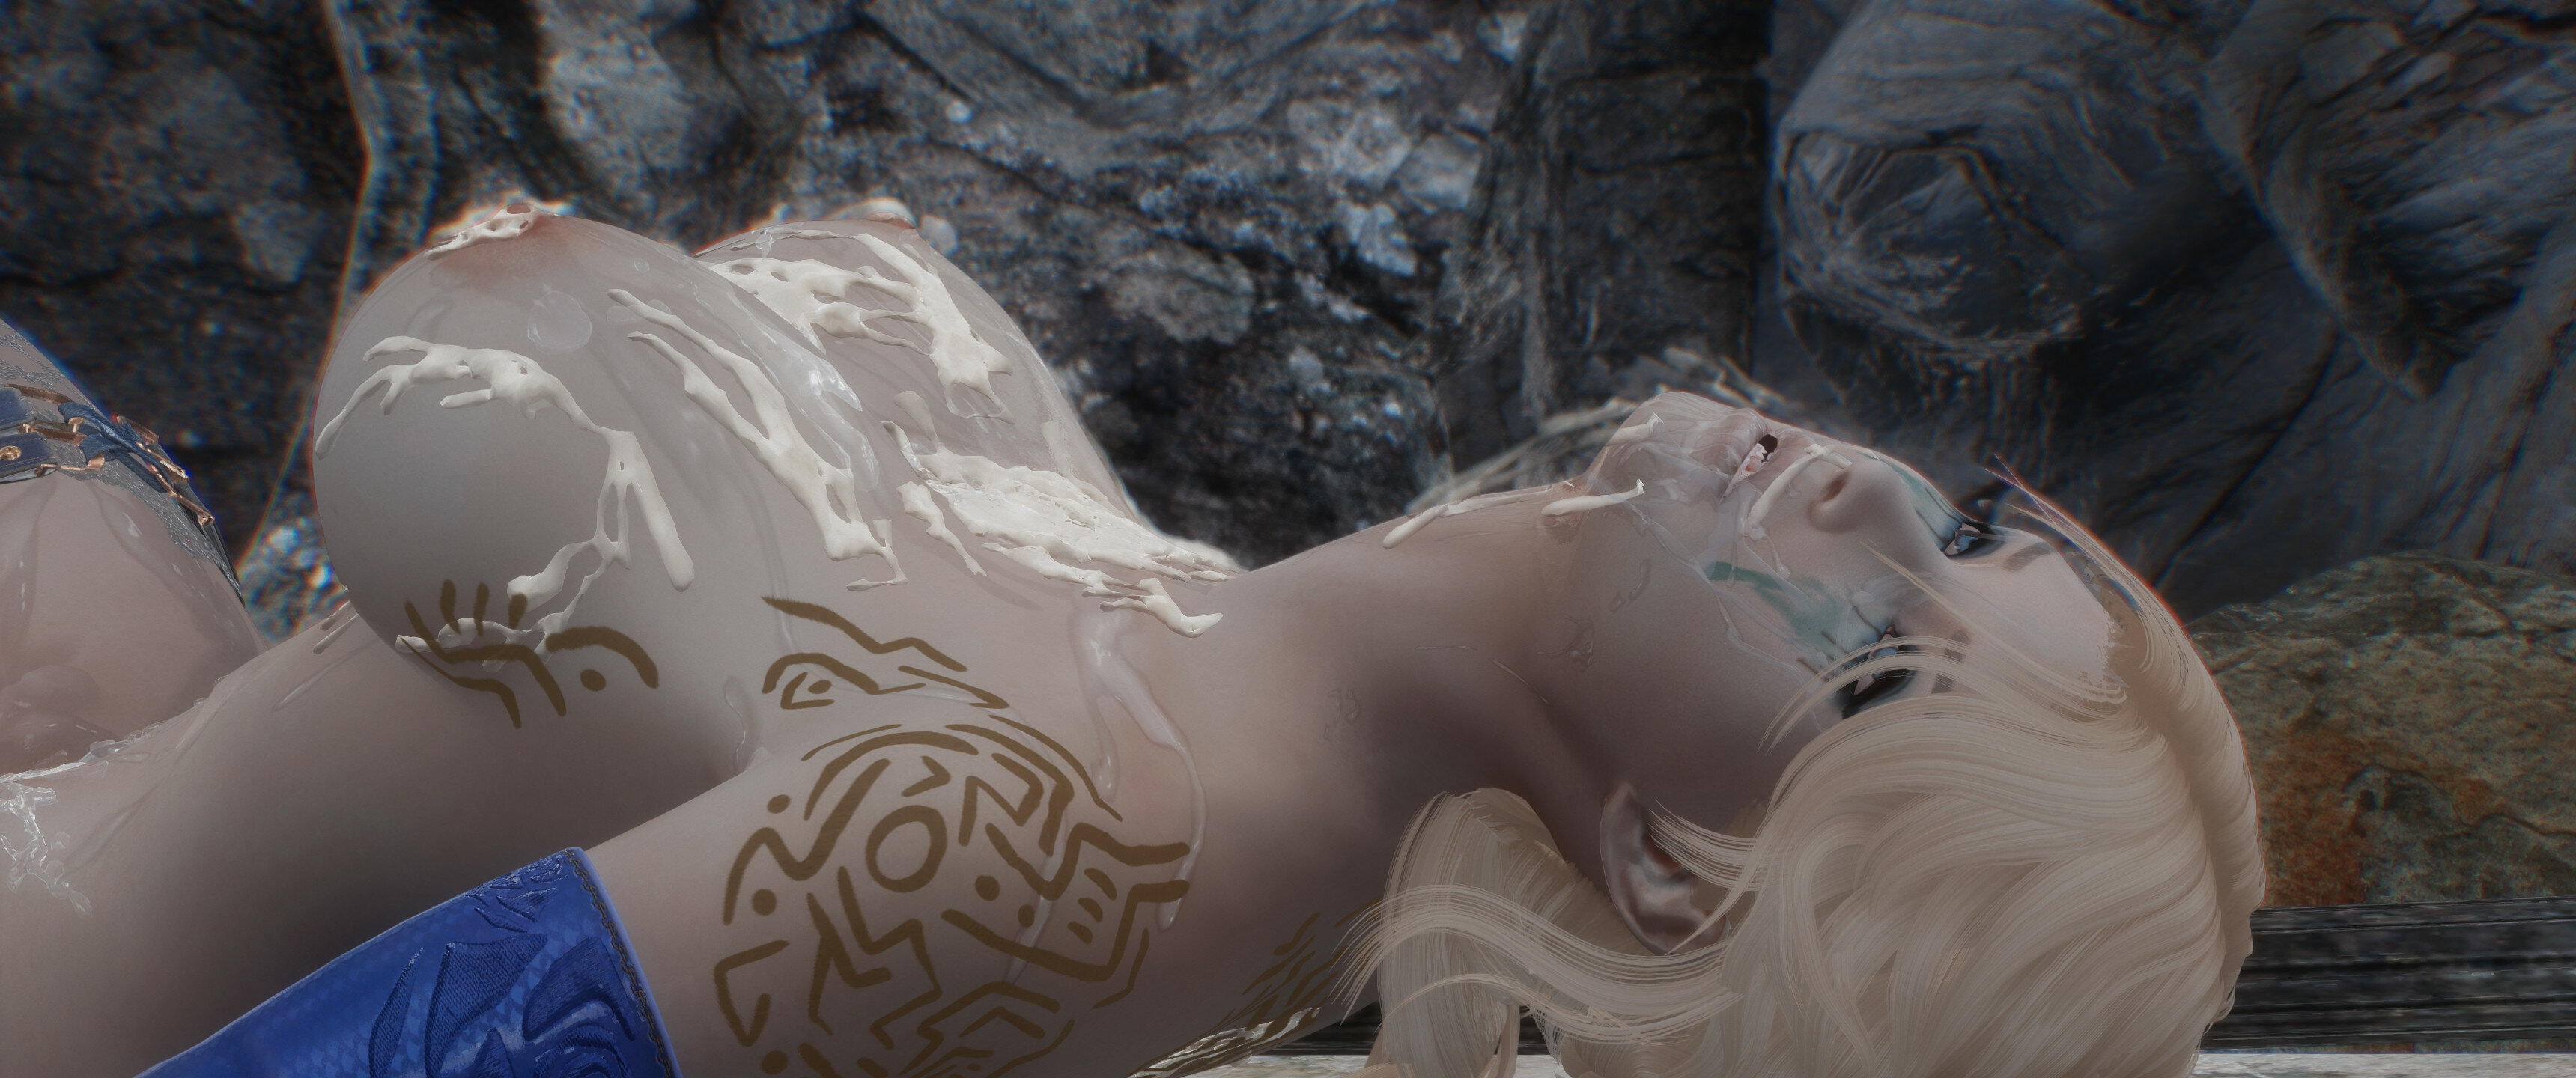
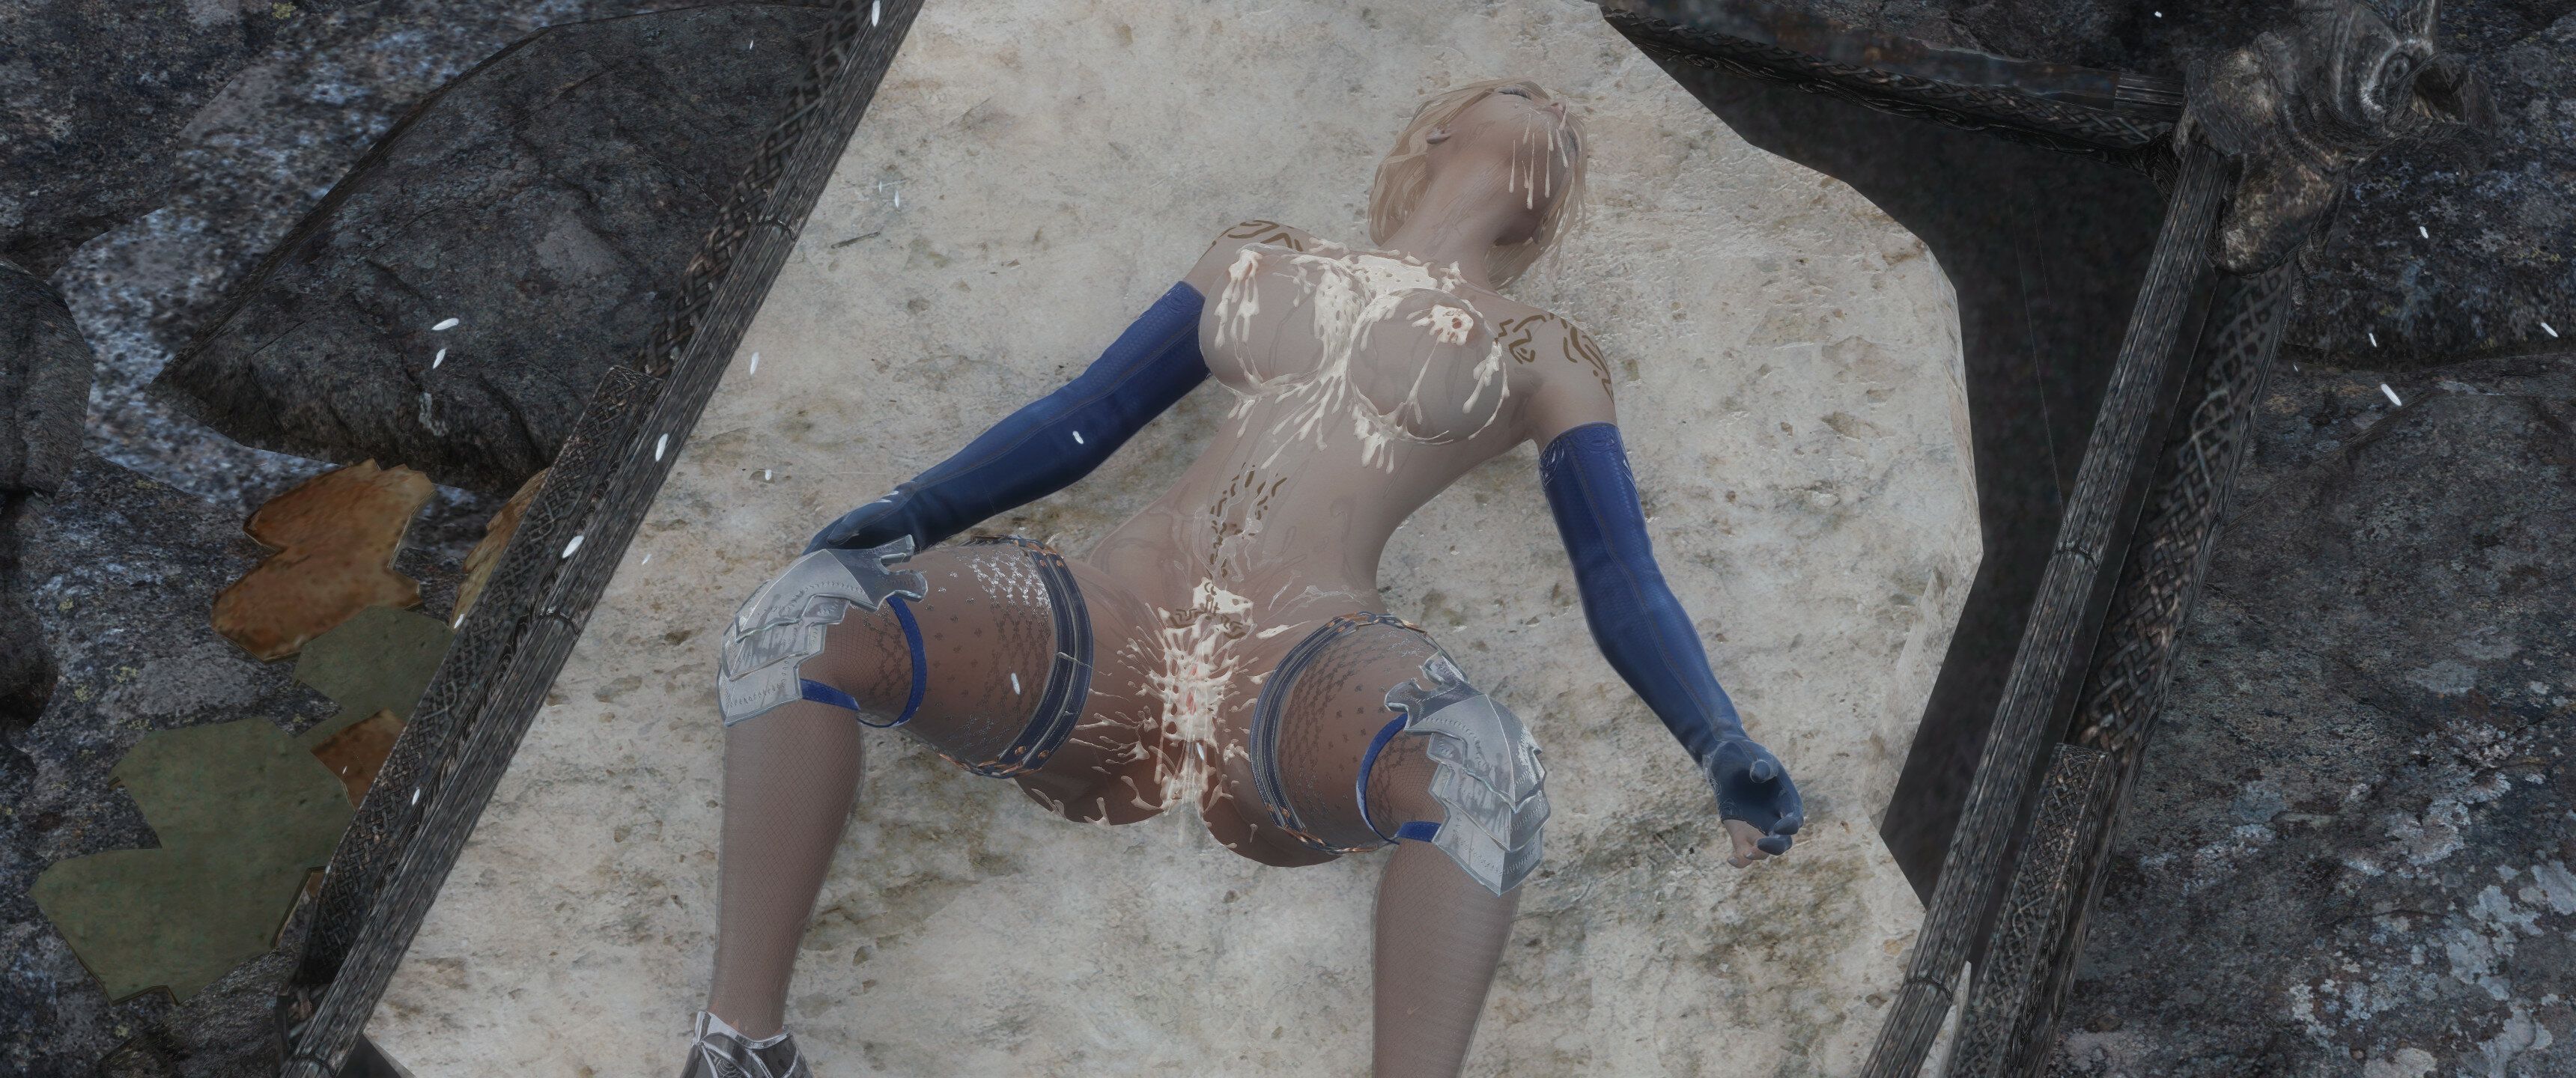
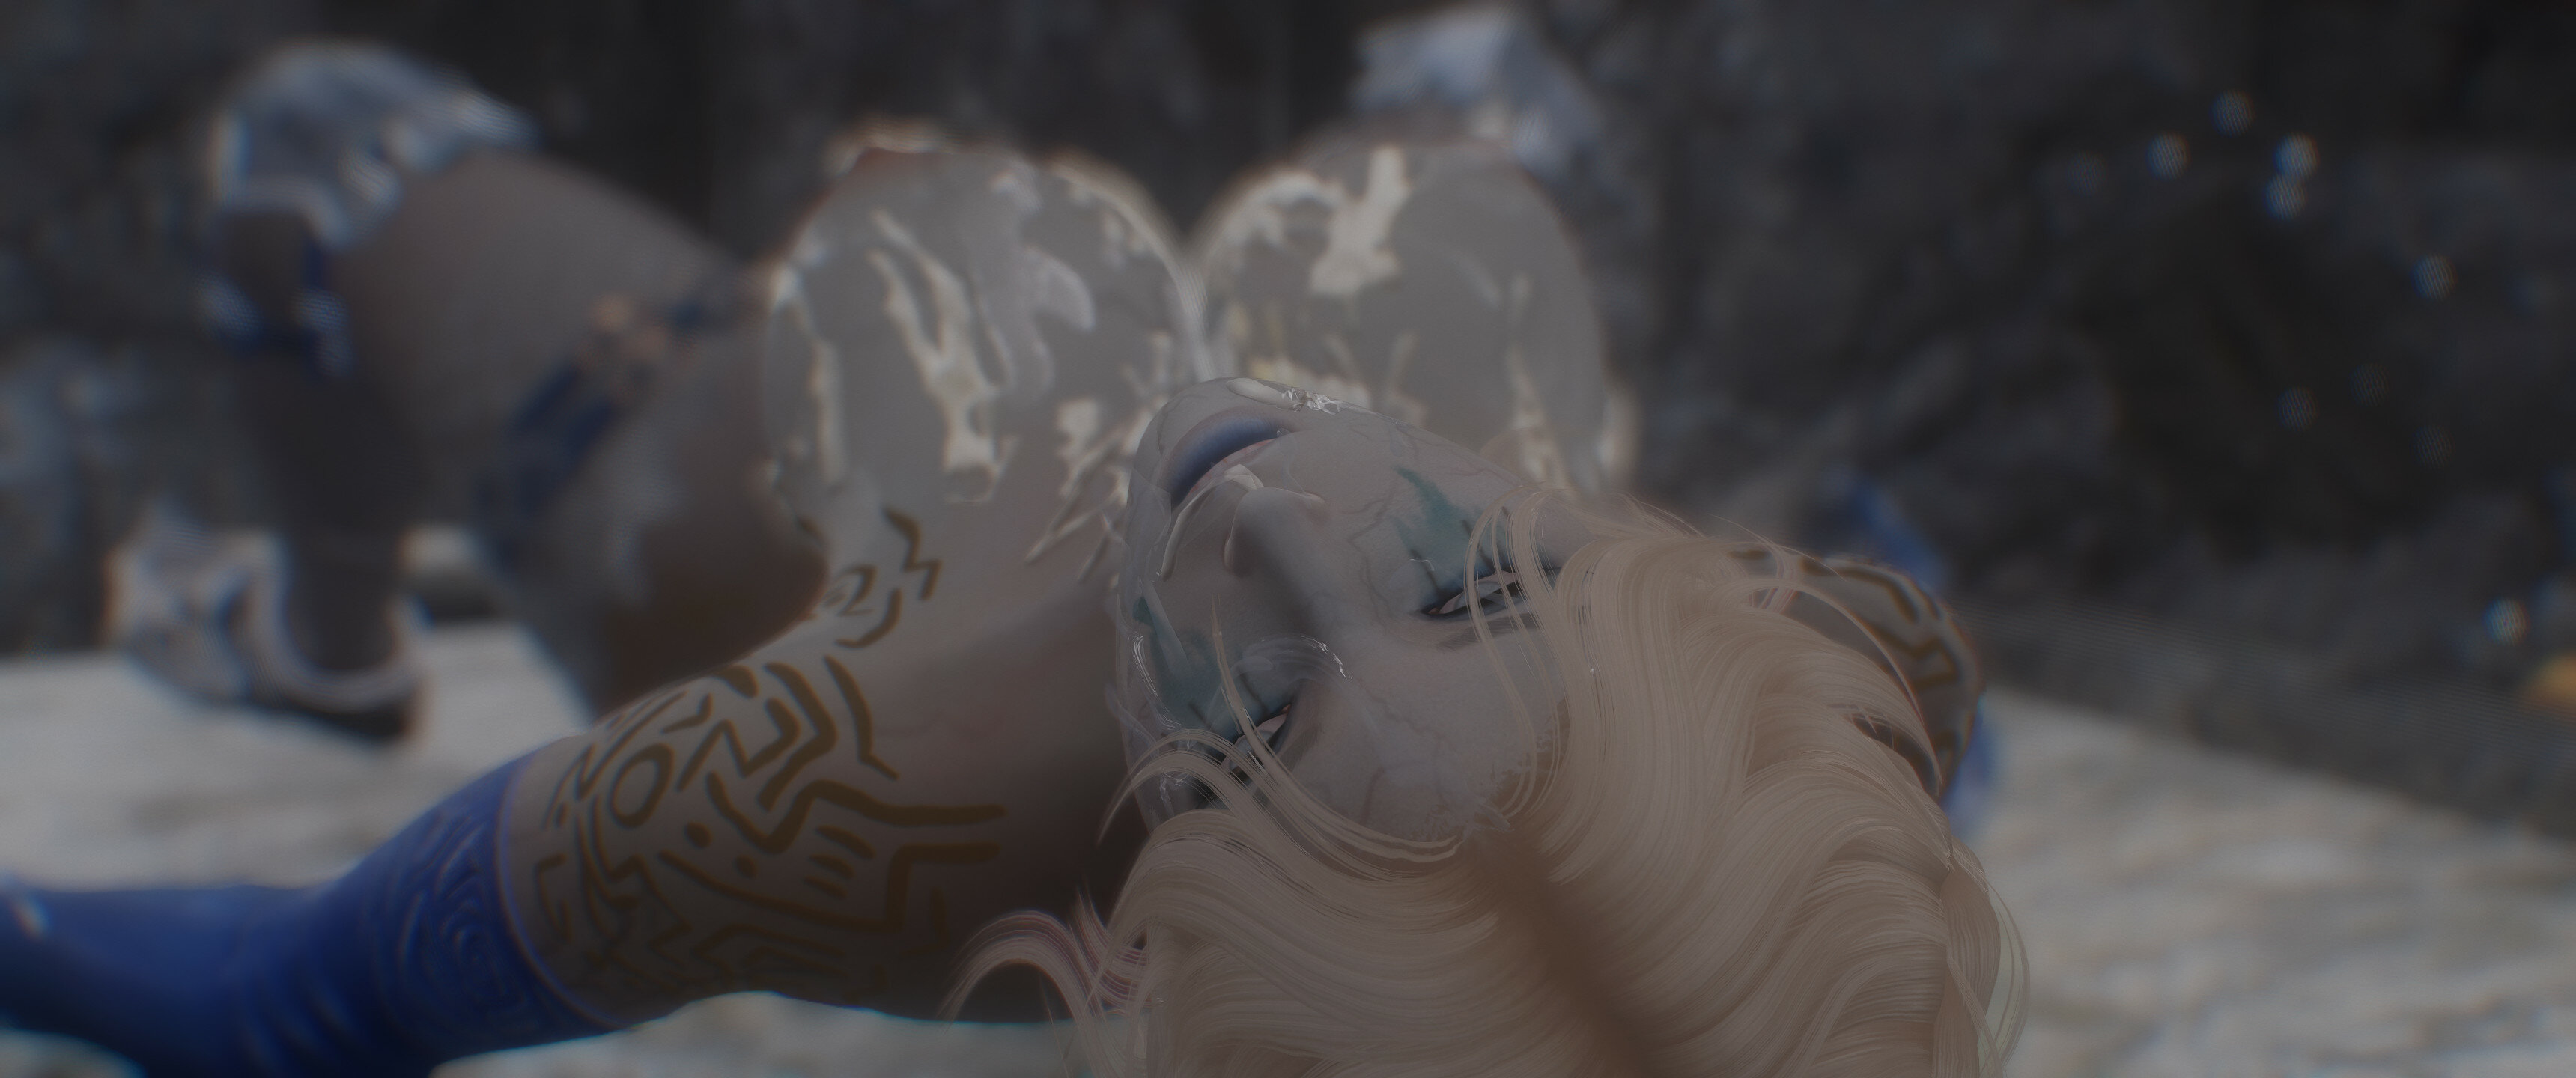
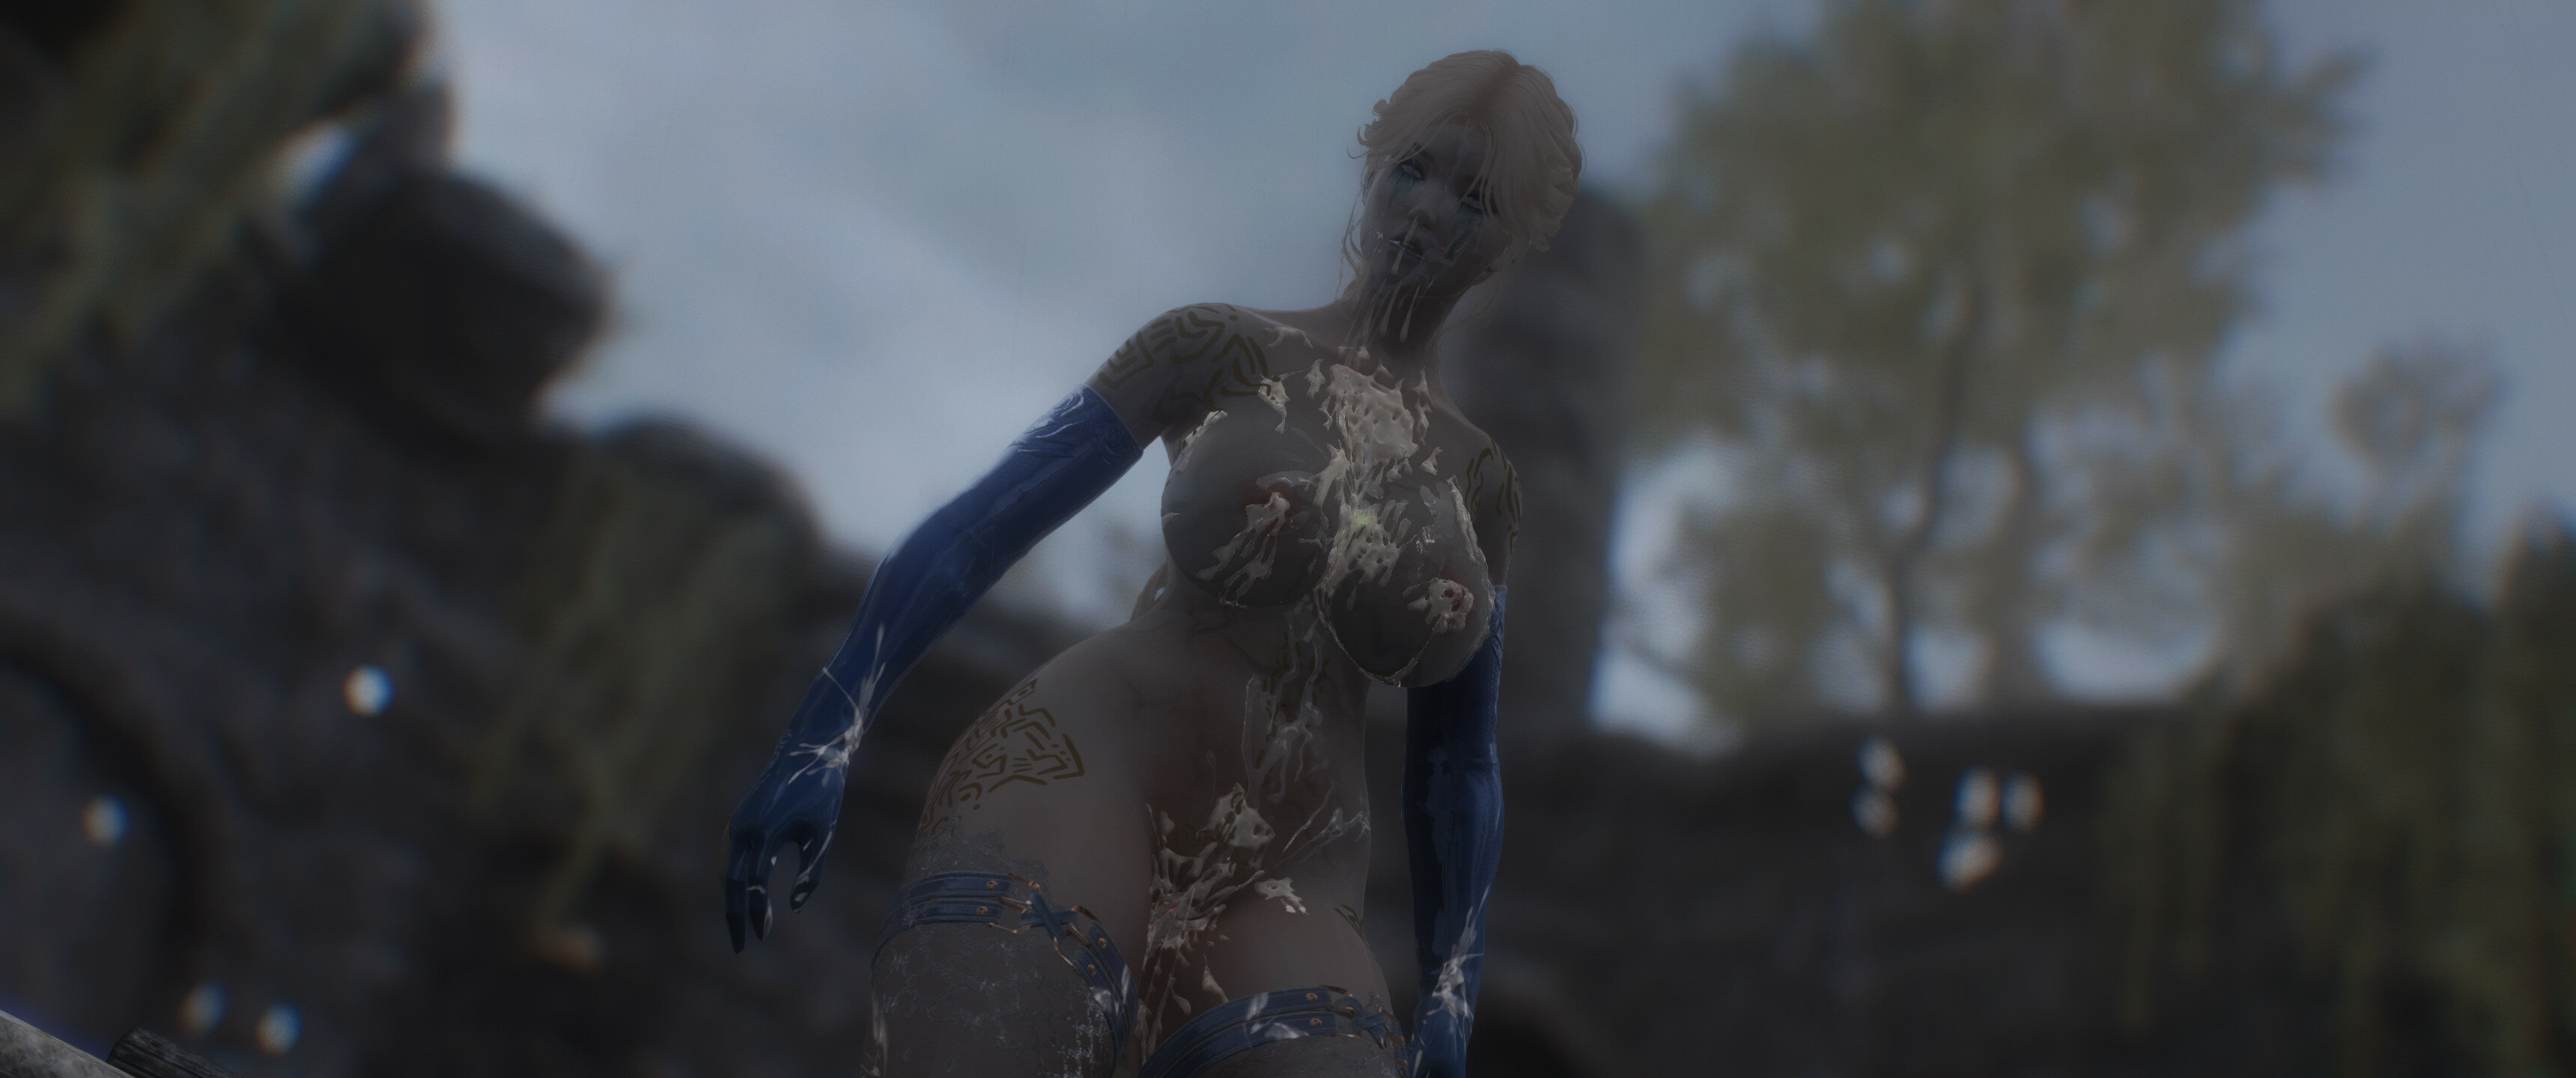
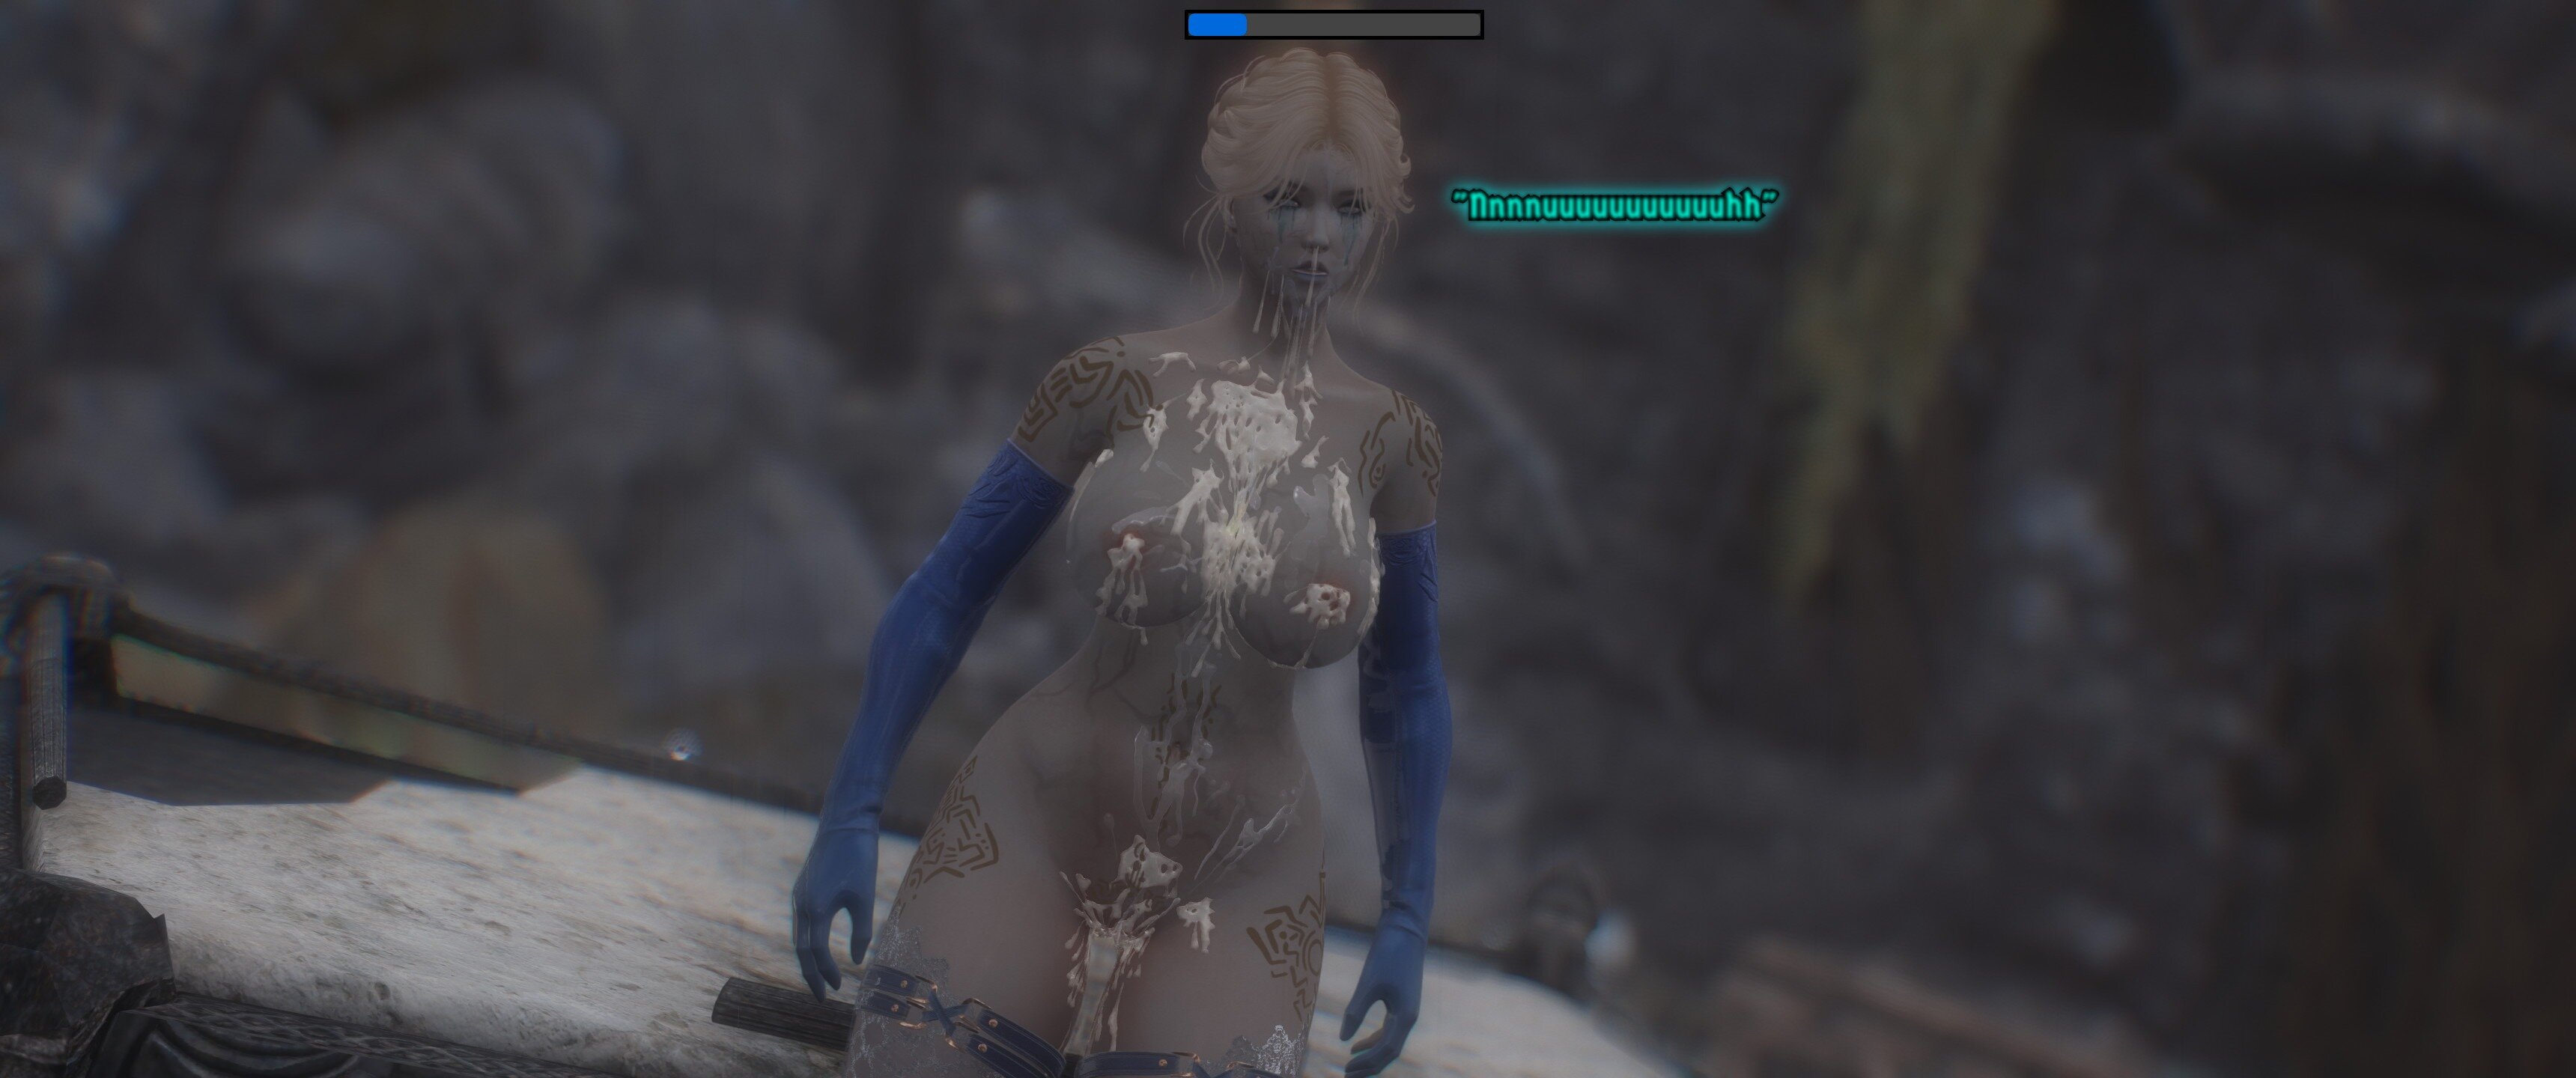
The victorious Imperial, now having taken not only the letter but Erika's life, leaves her defeated body laying against a rock, legs splayed and makes haste for General Tullius in Solitude with the (fake) message.
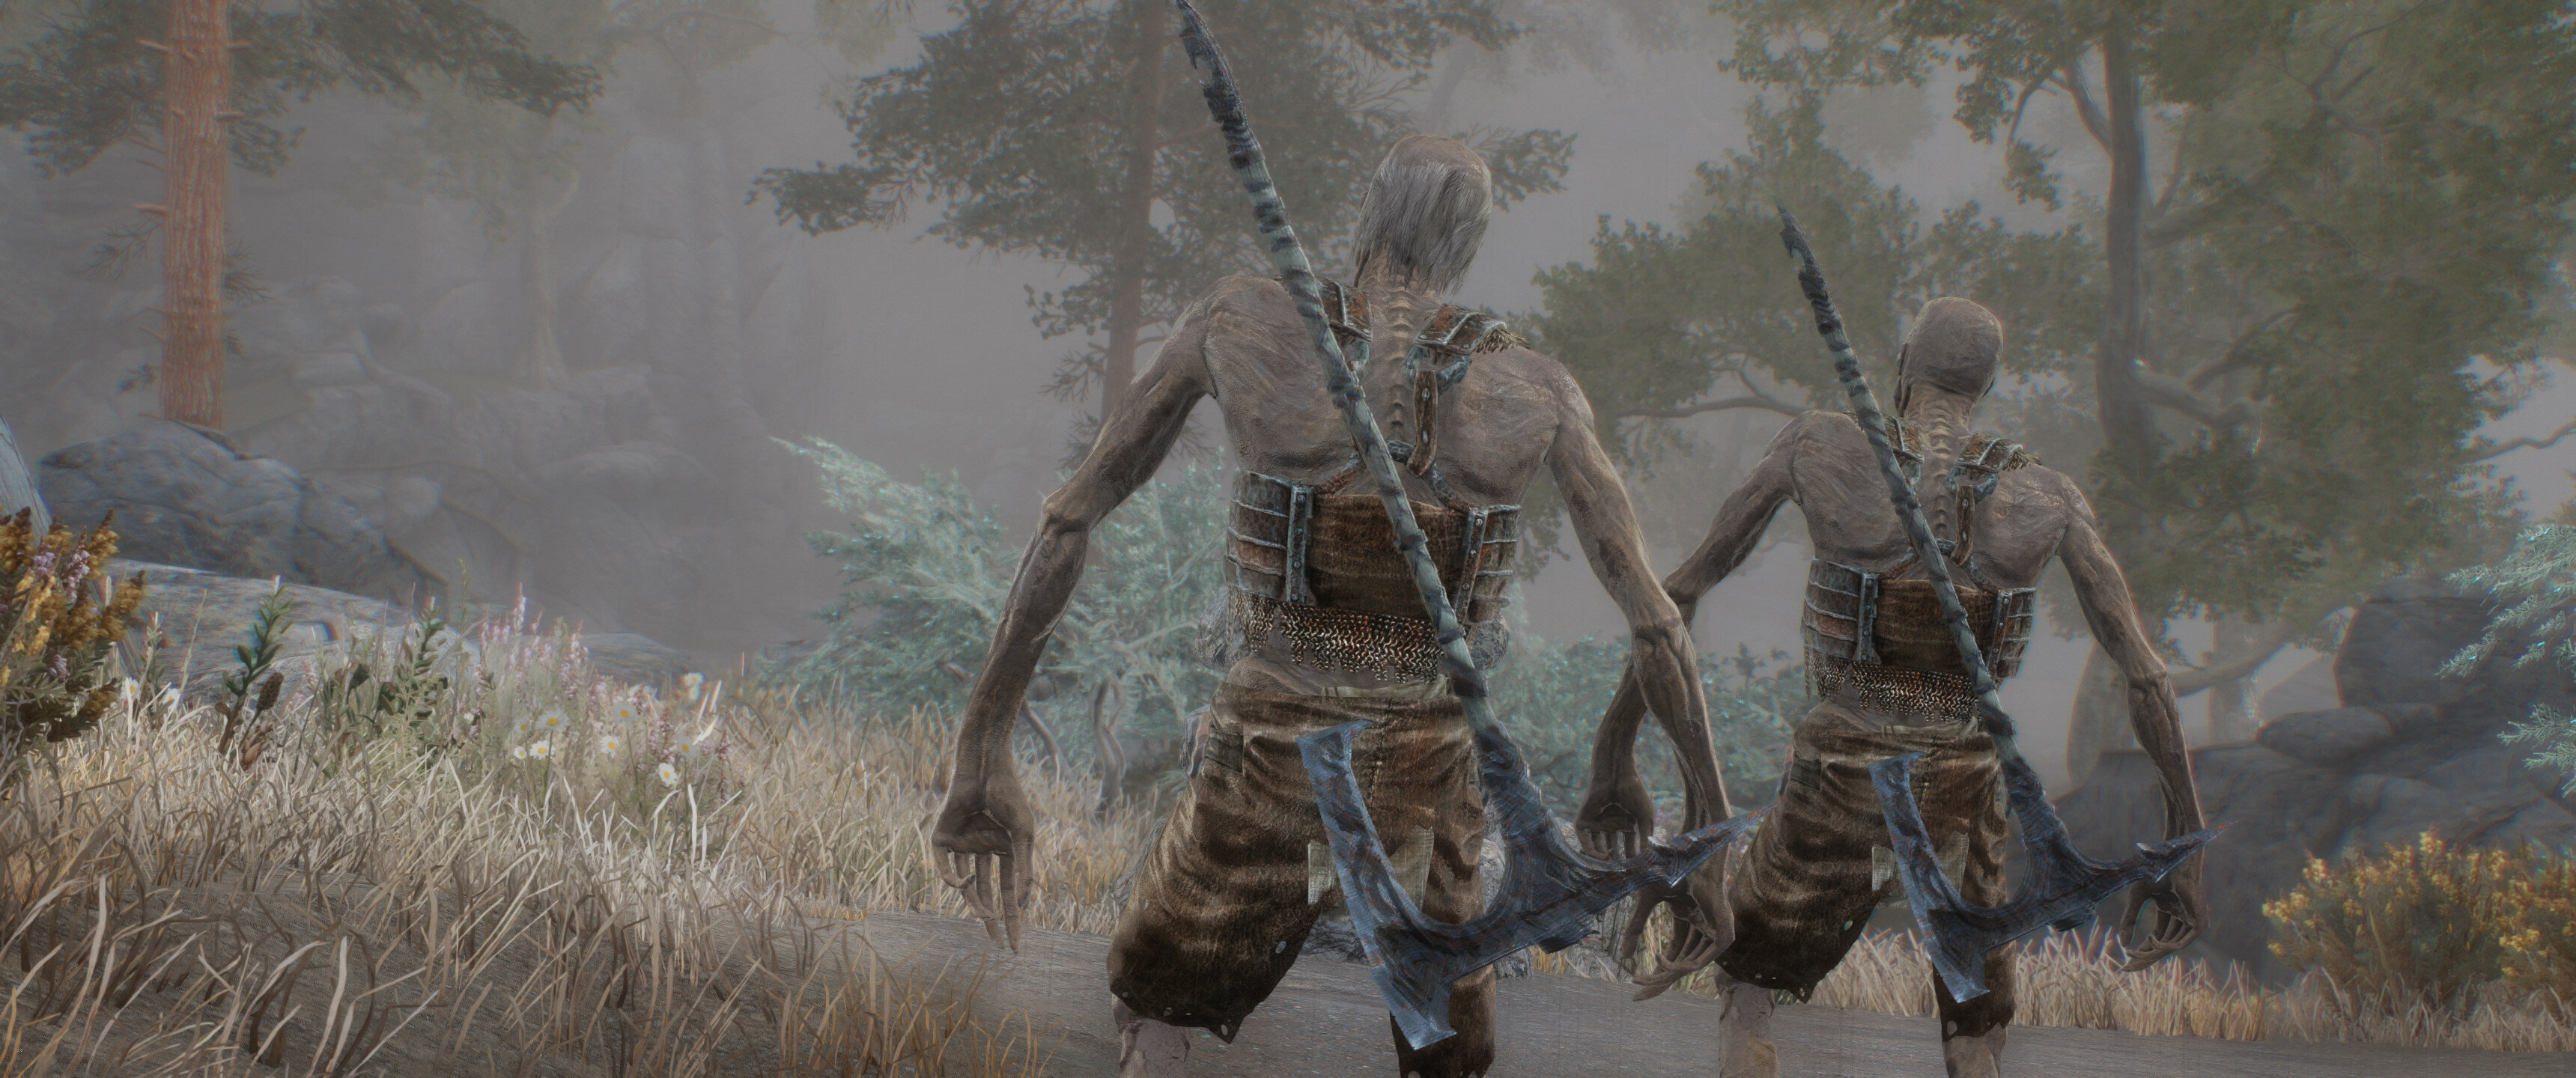
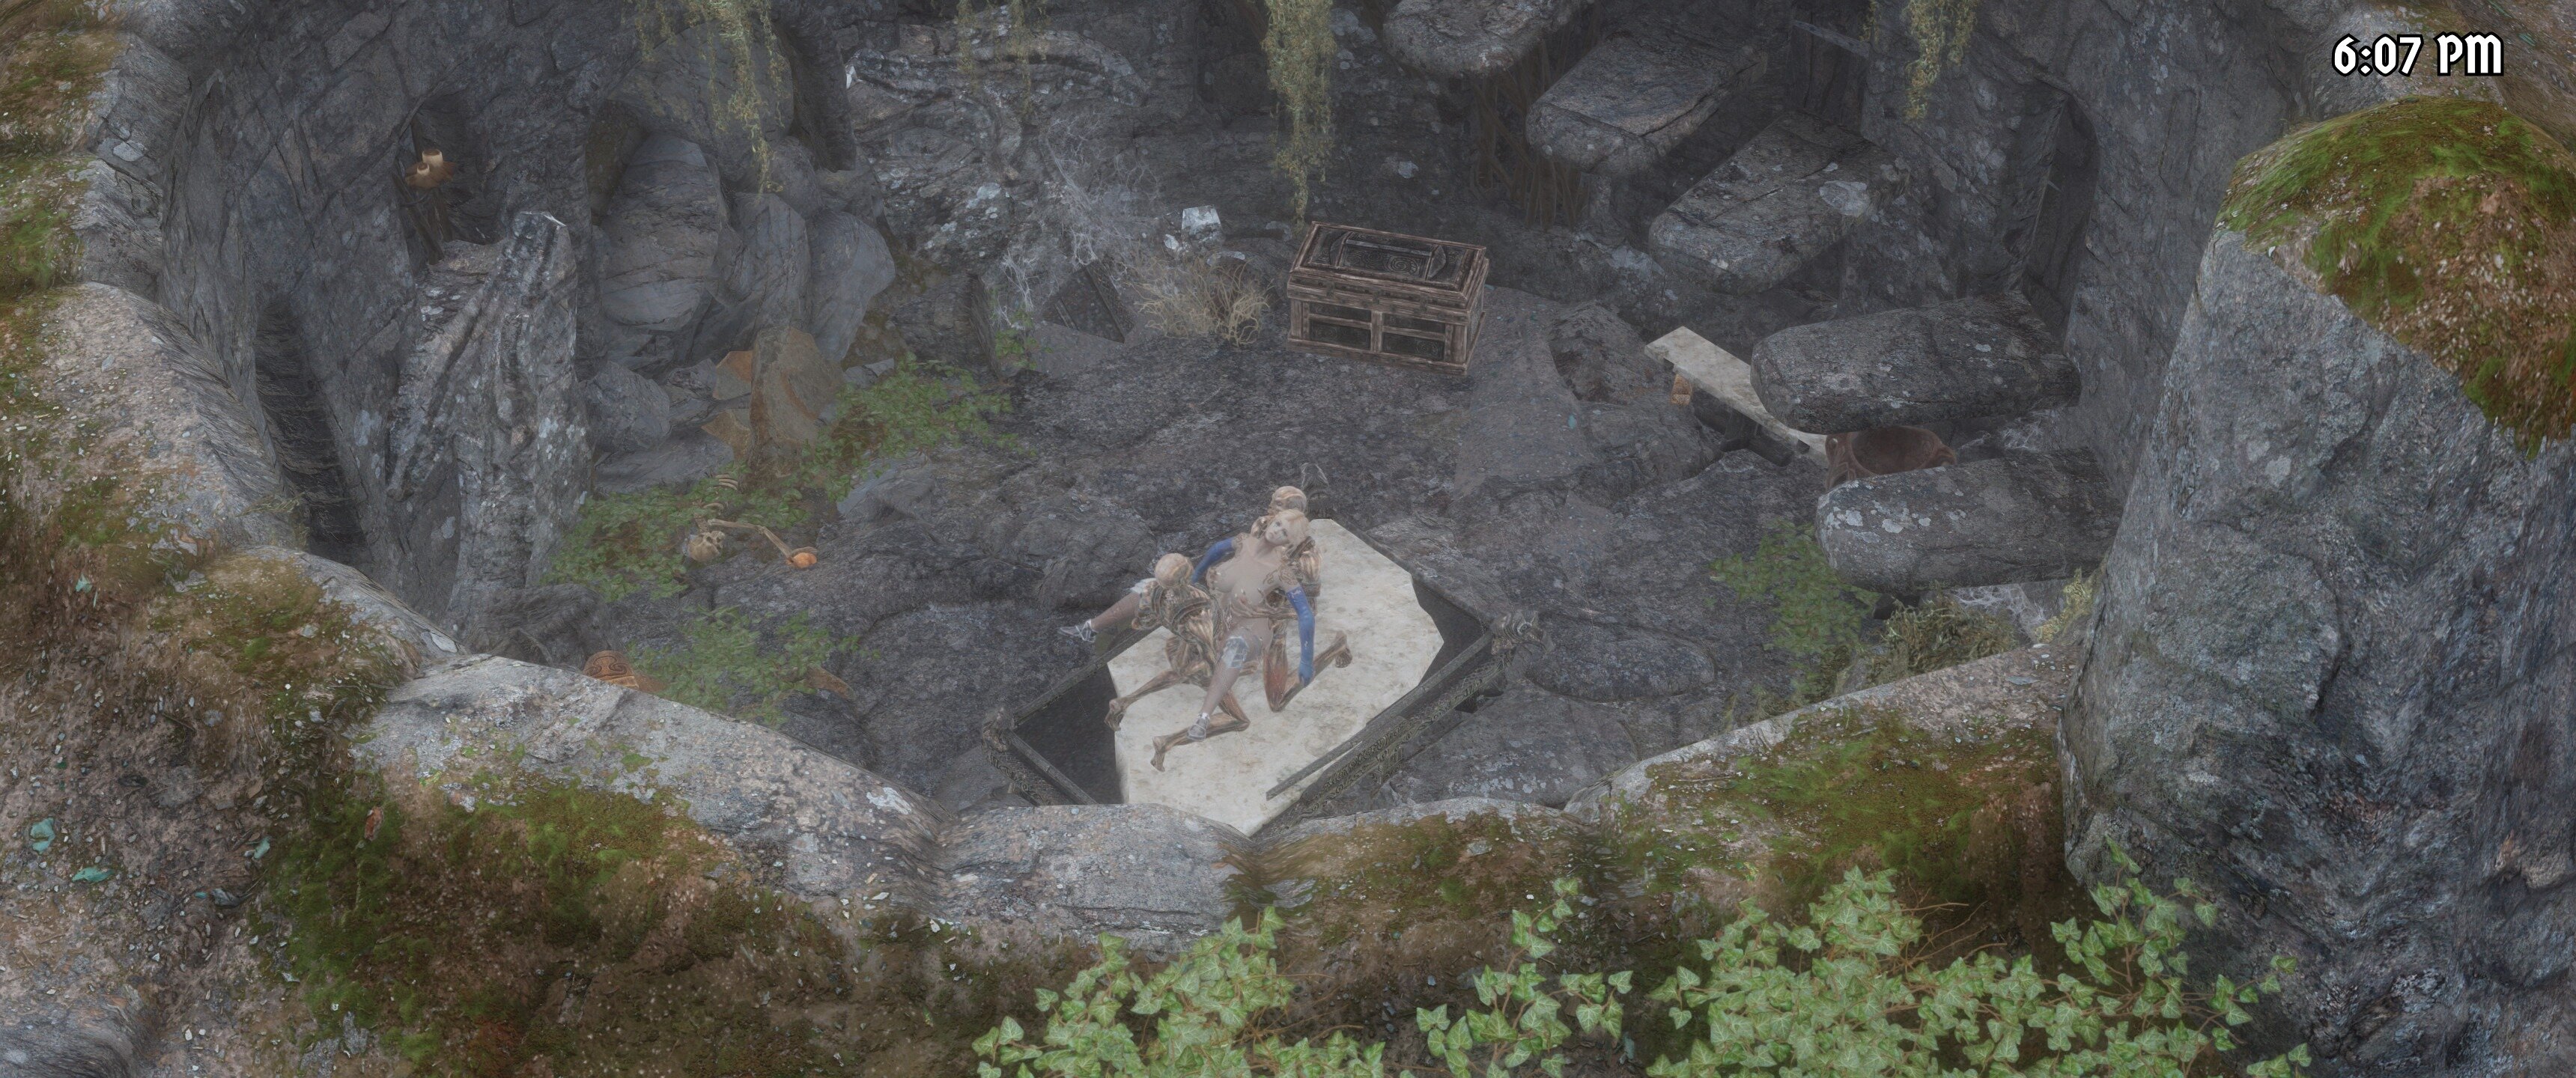
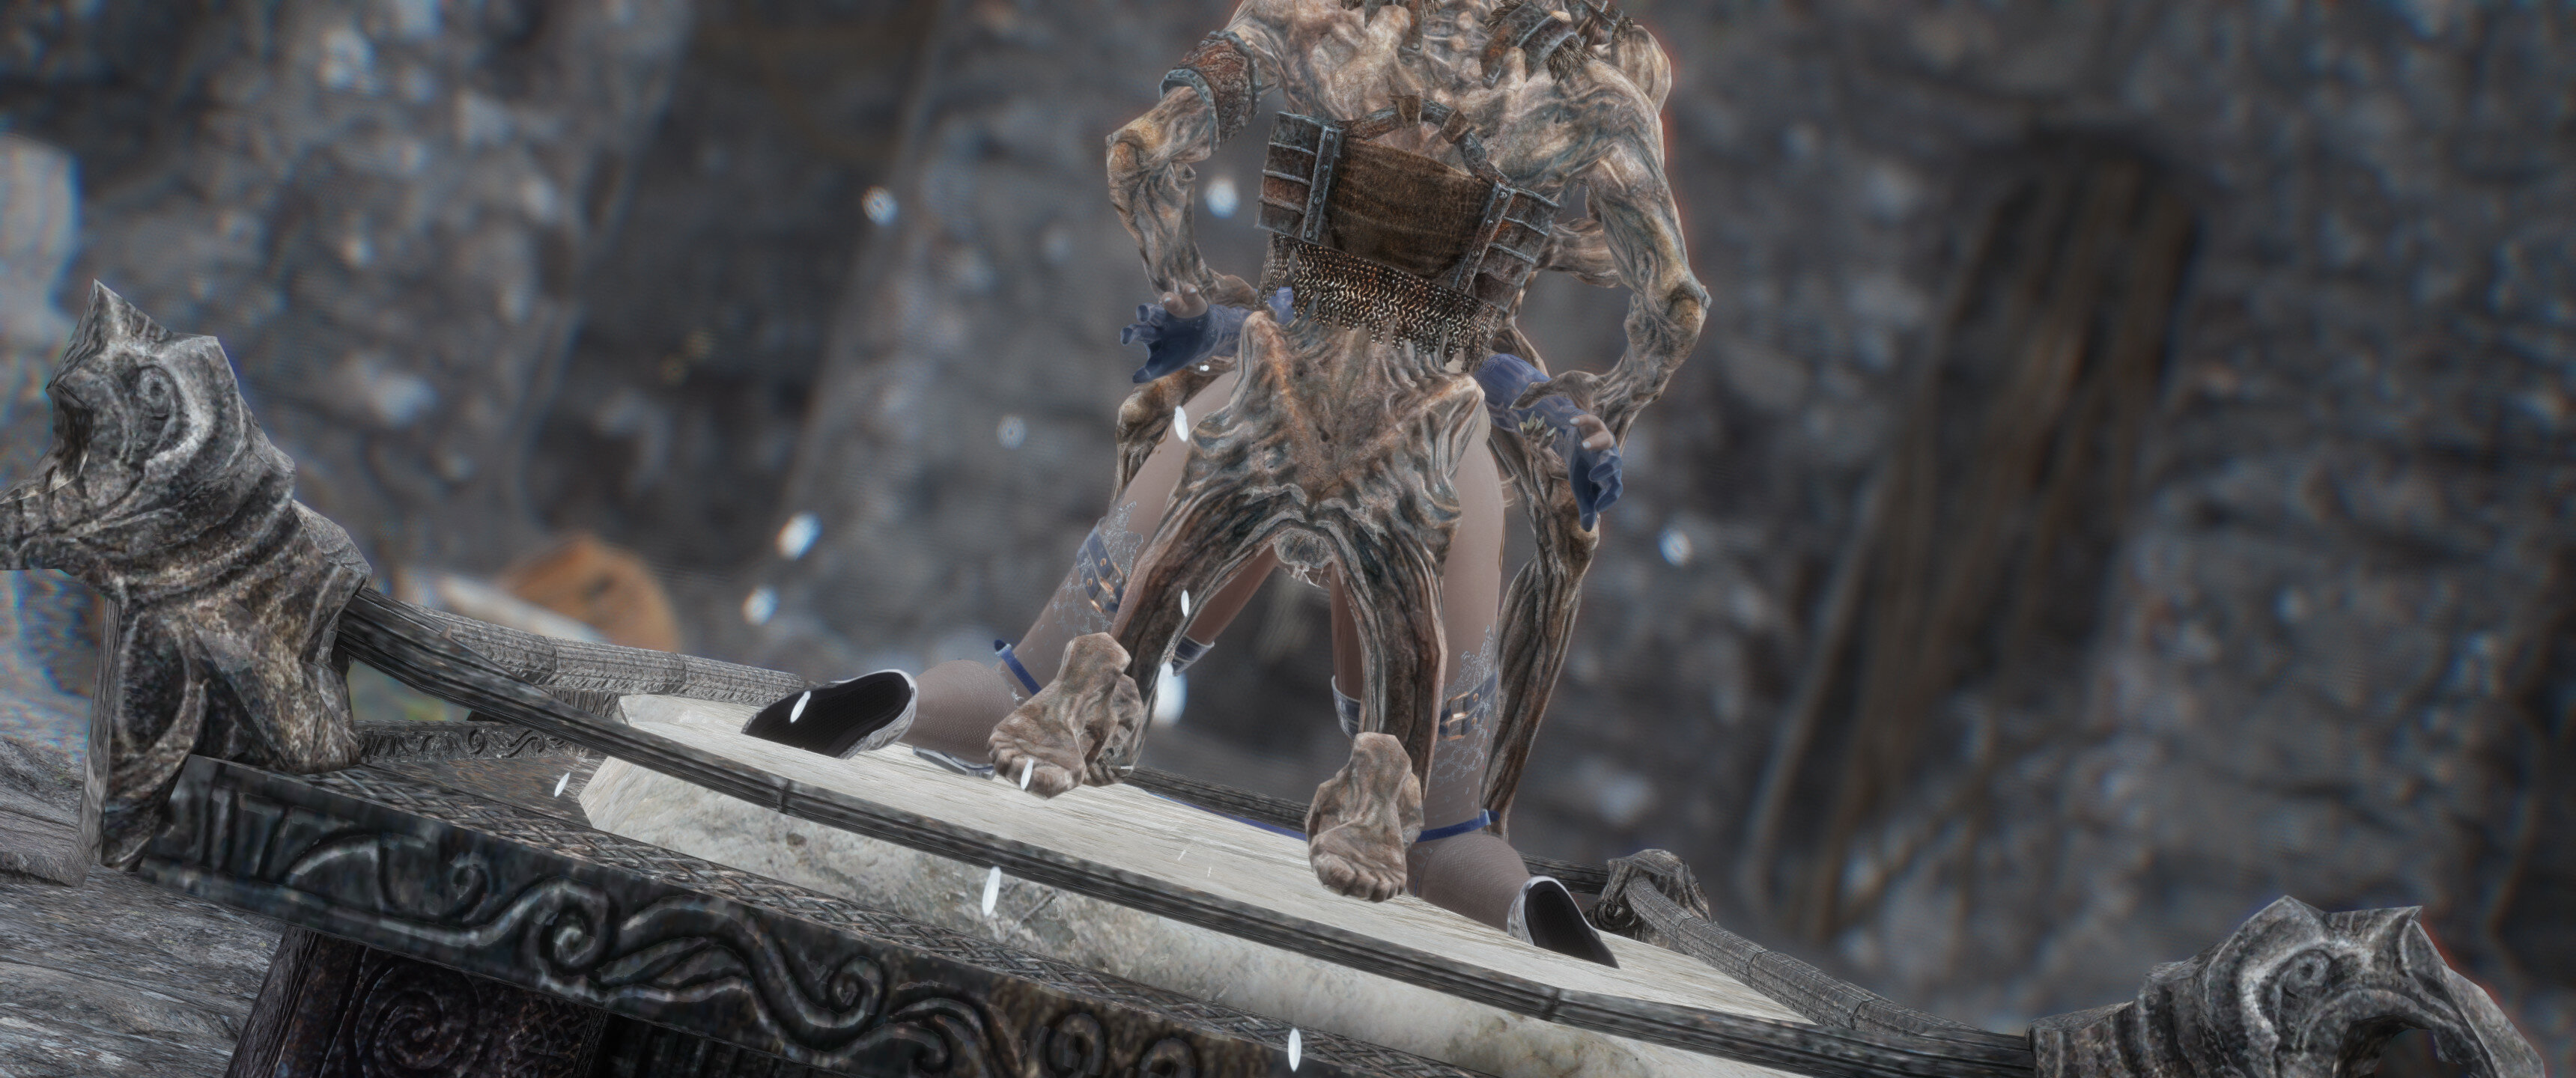
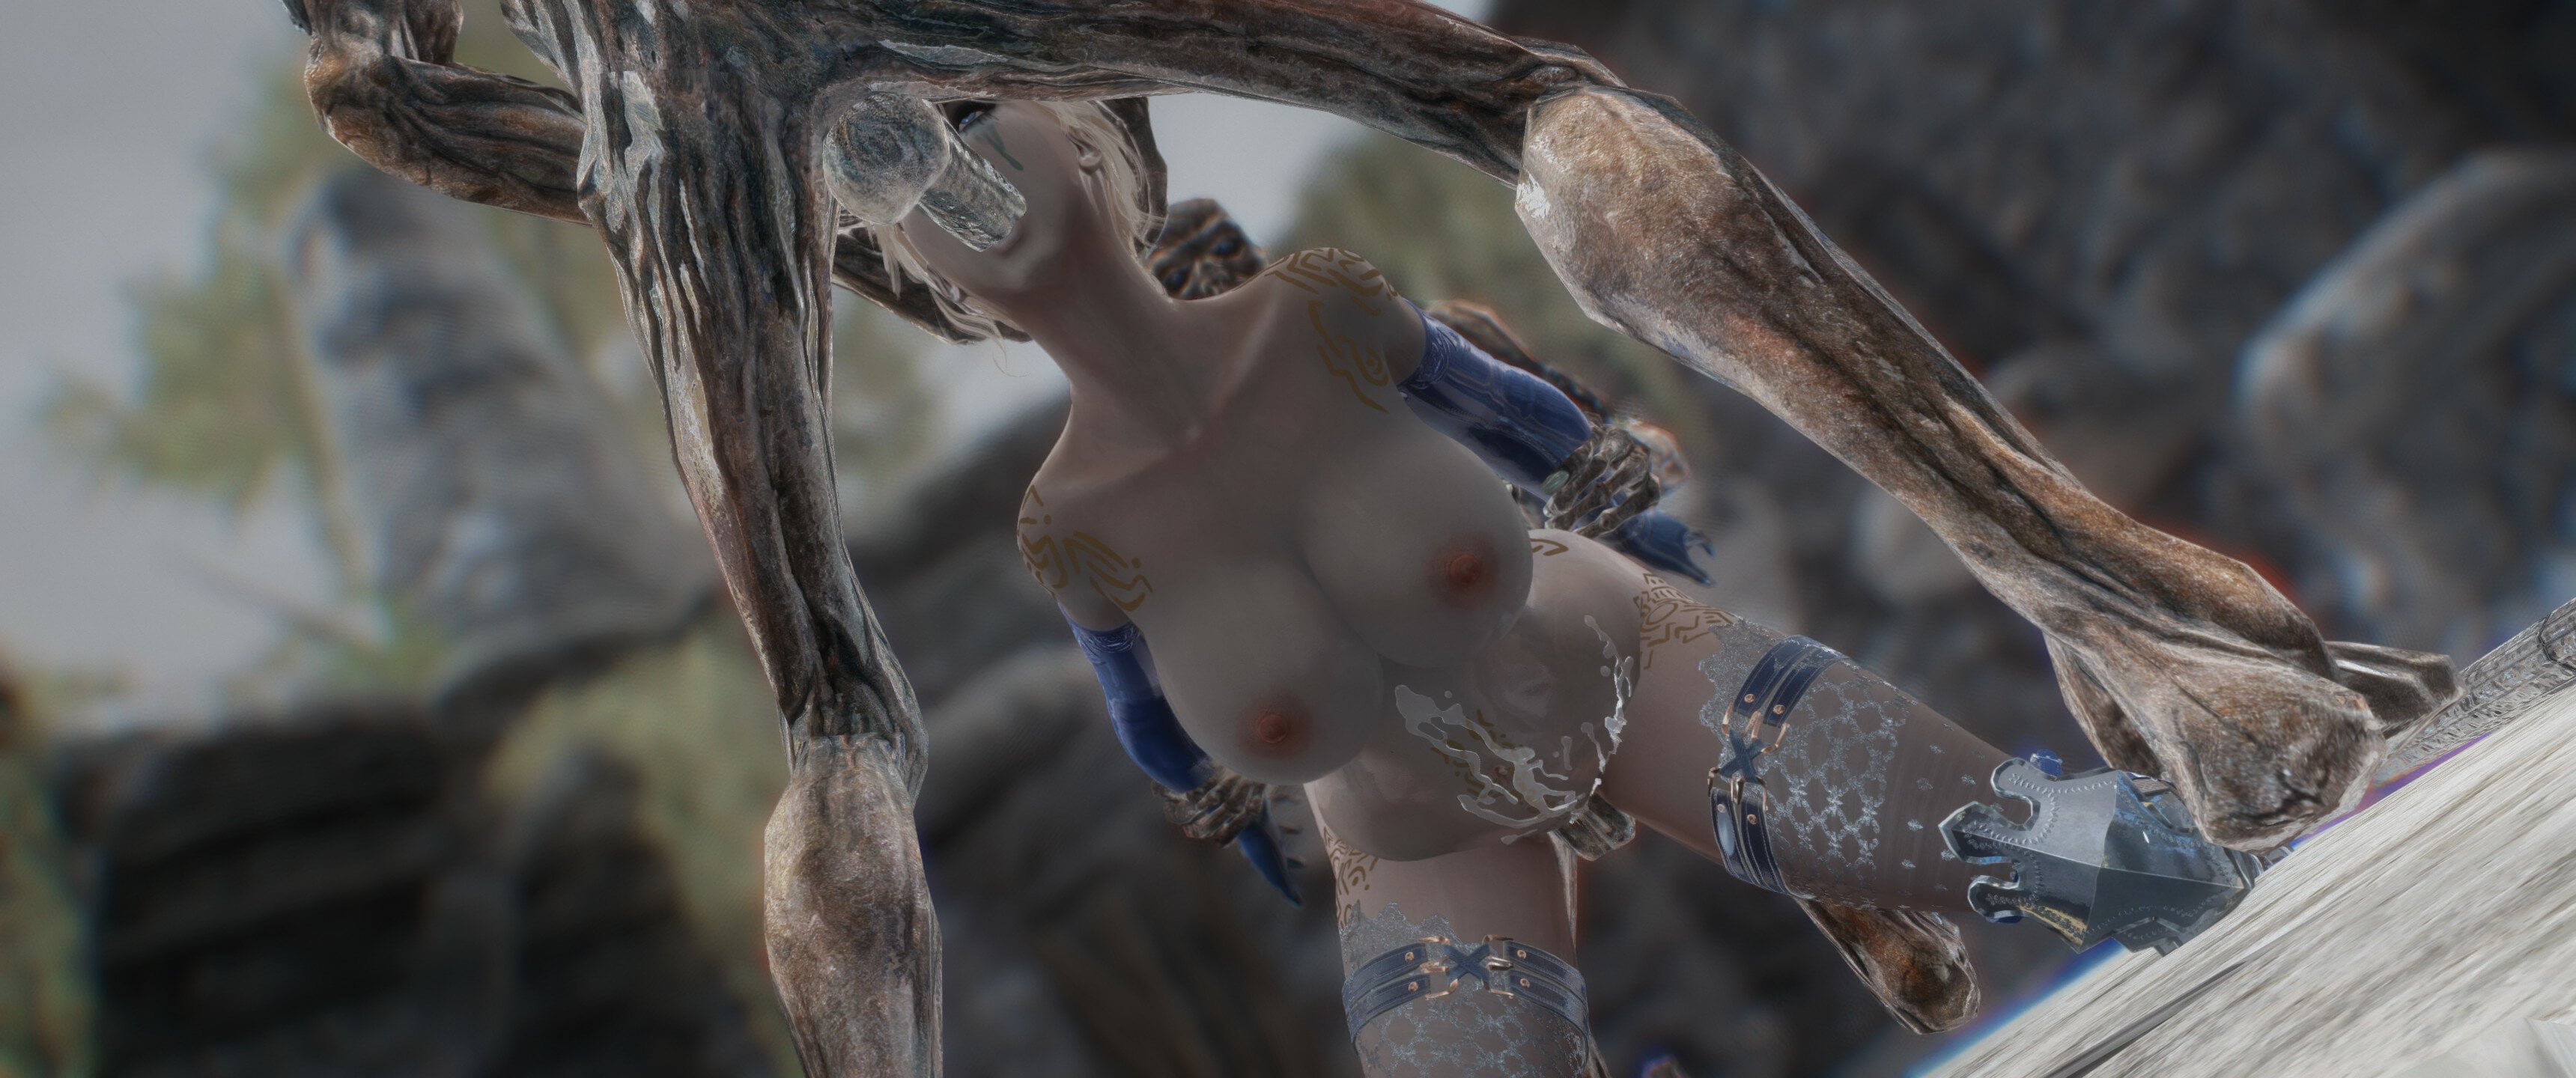
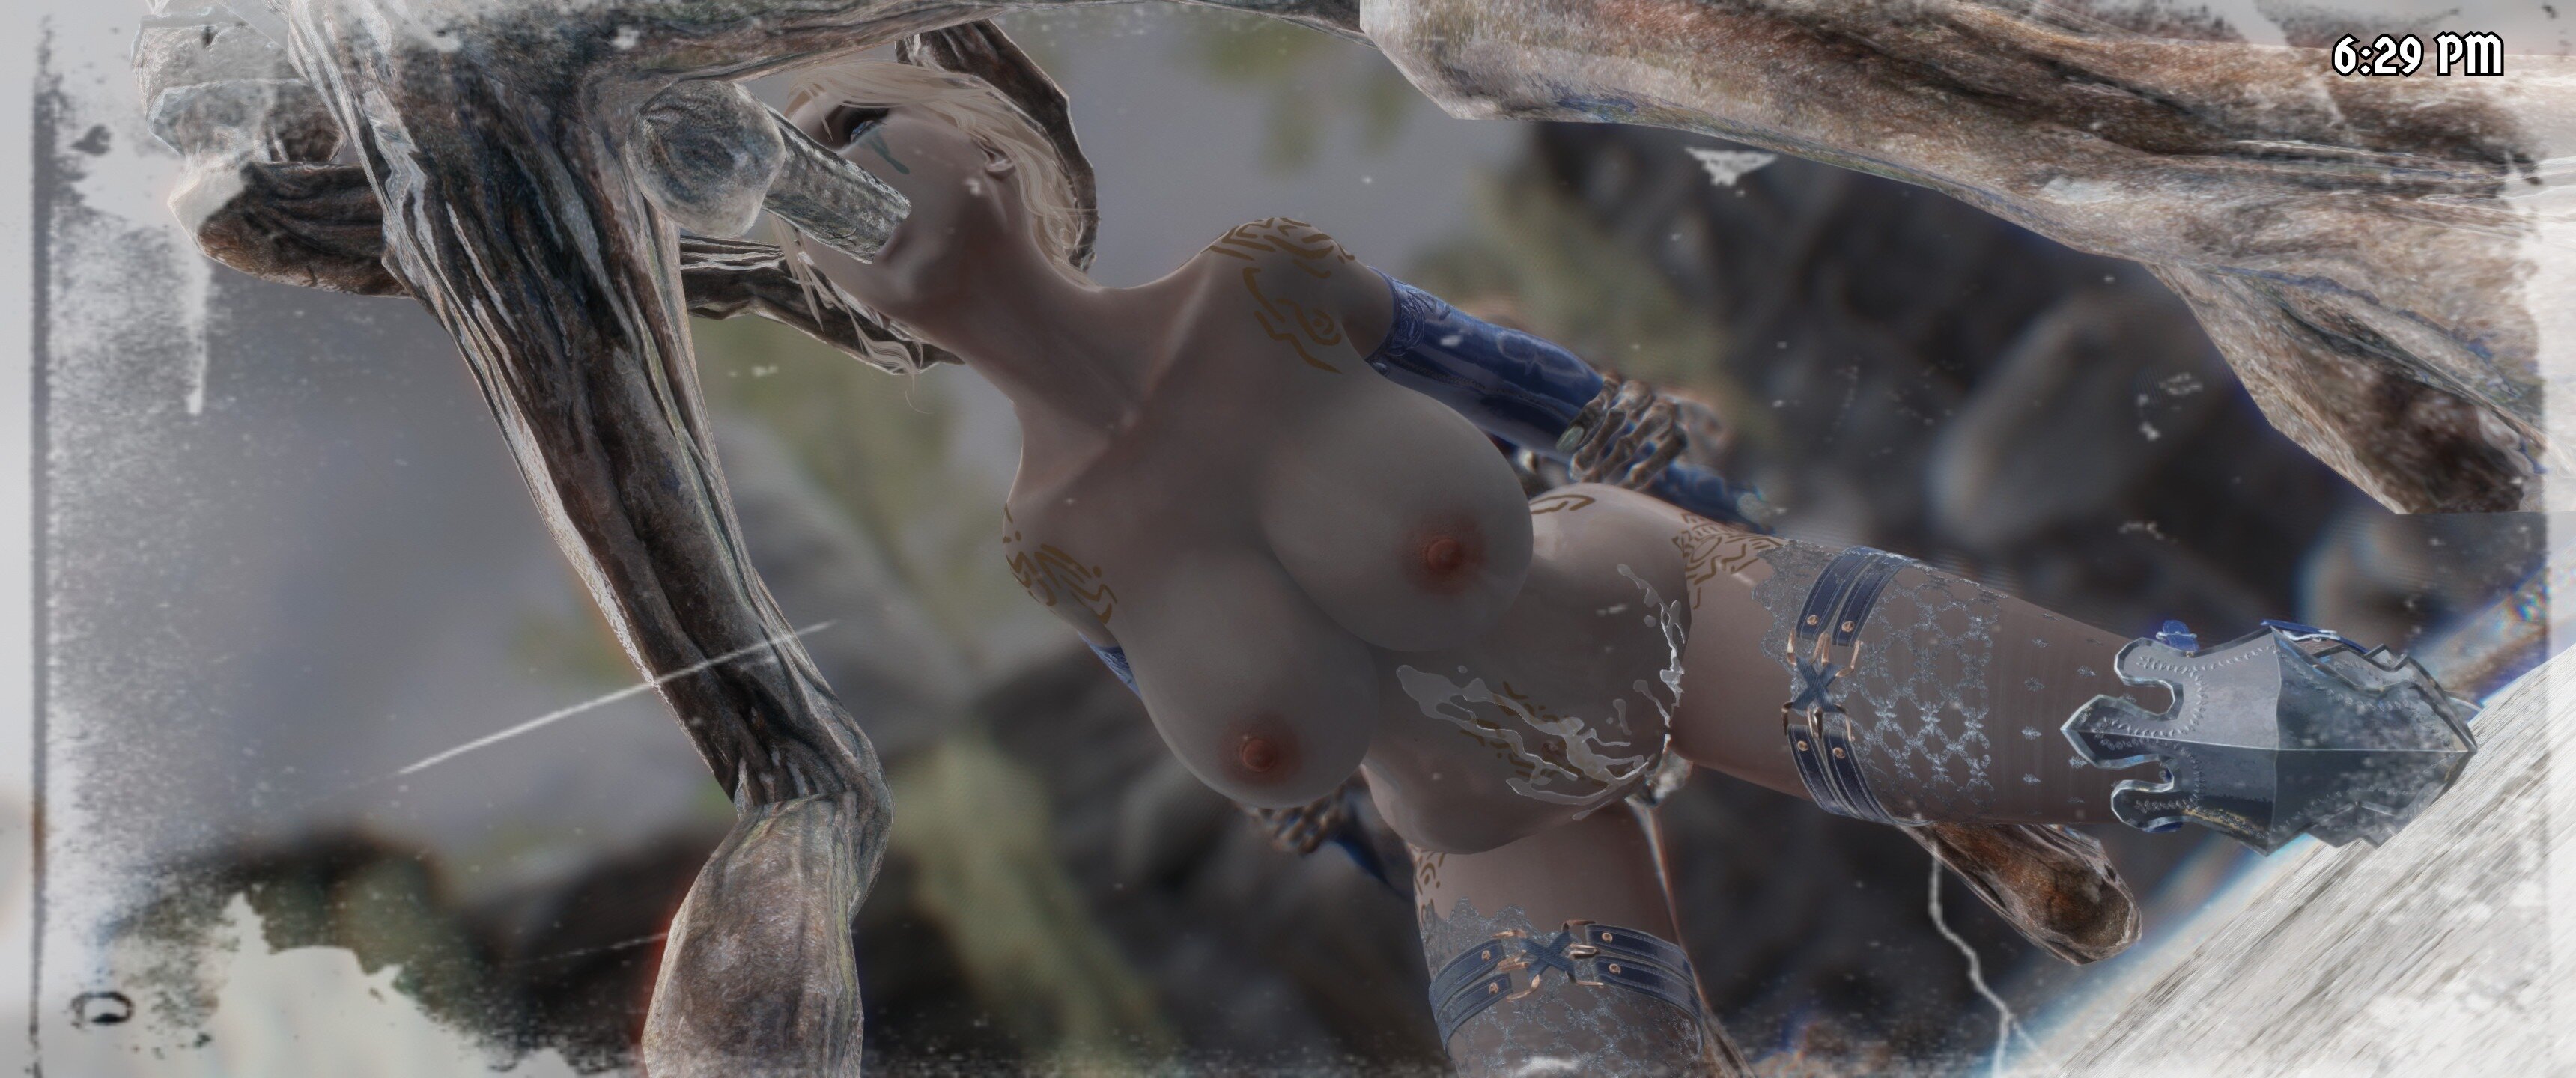
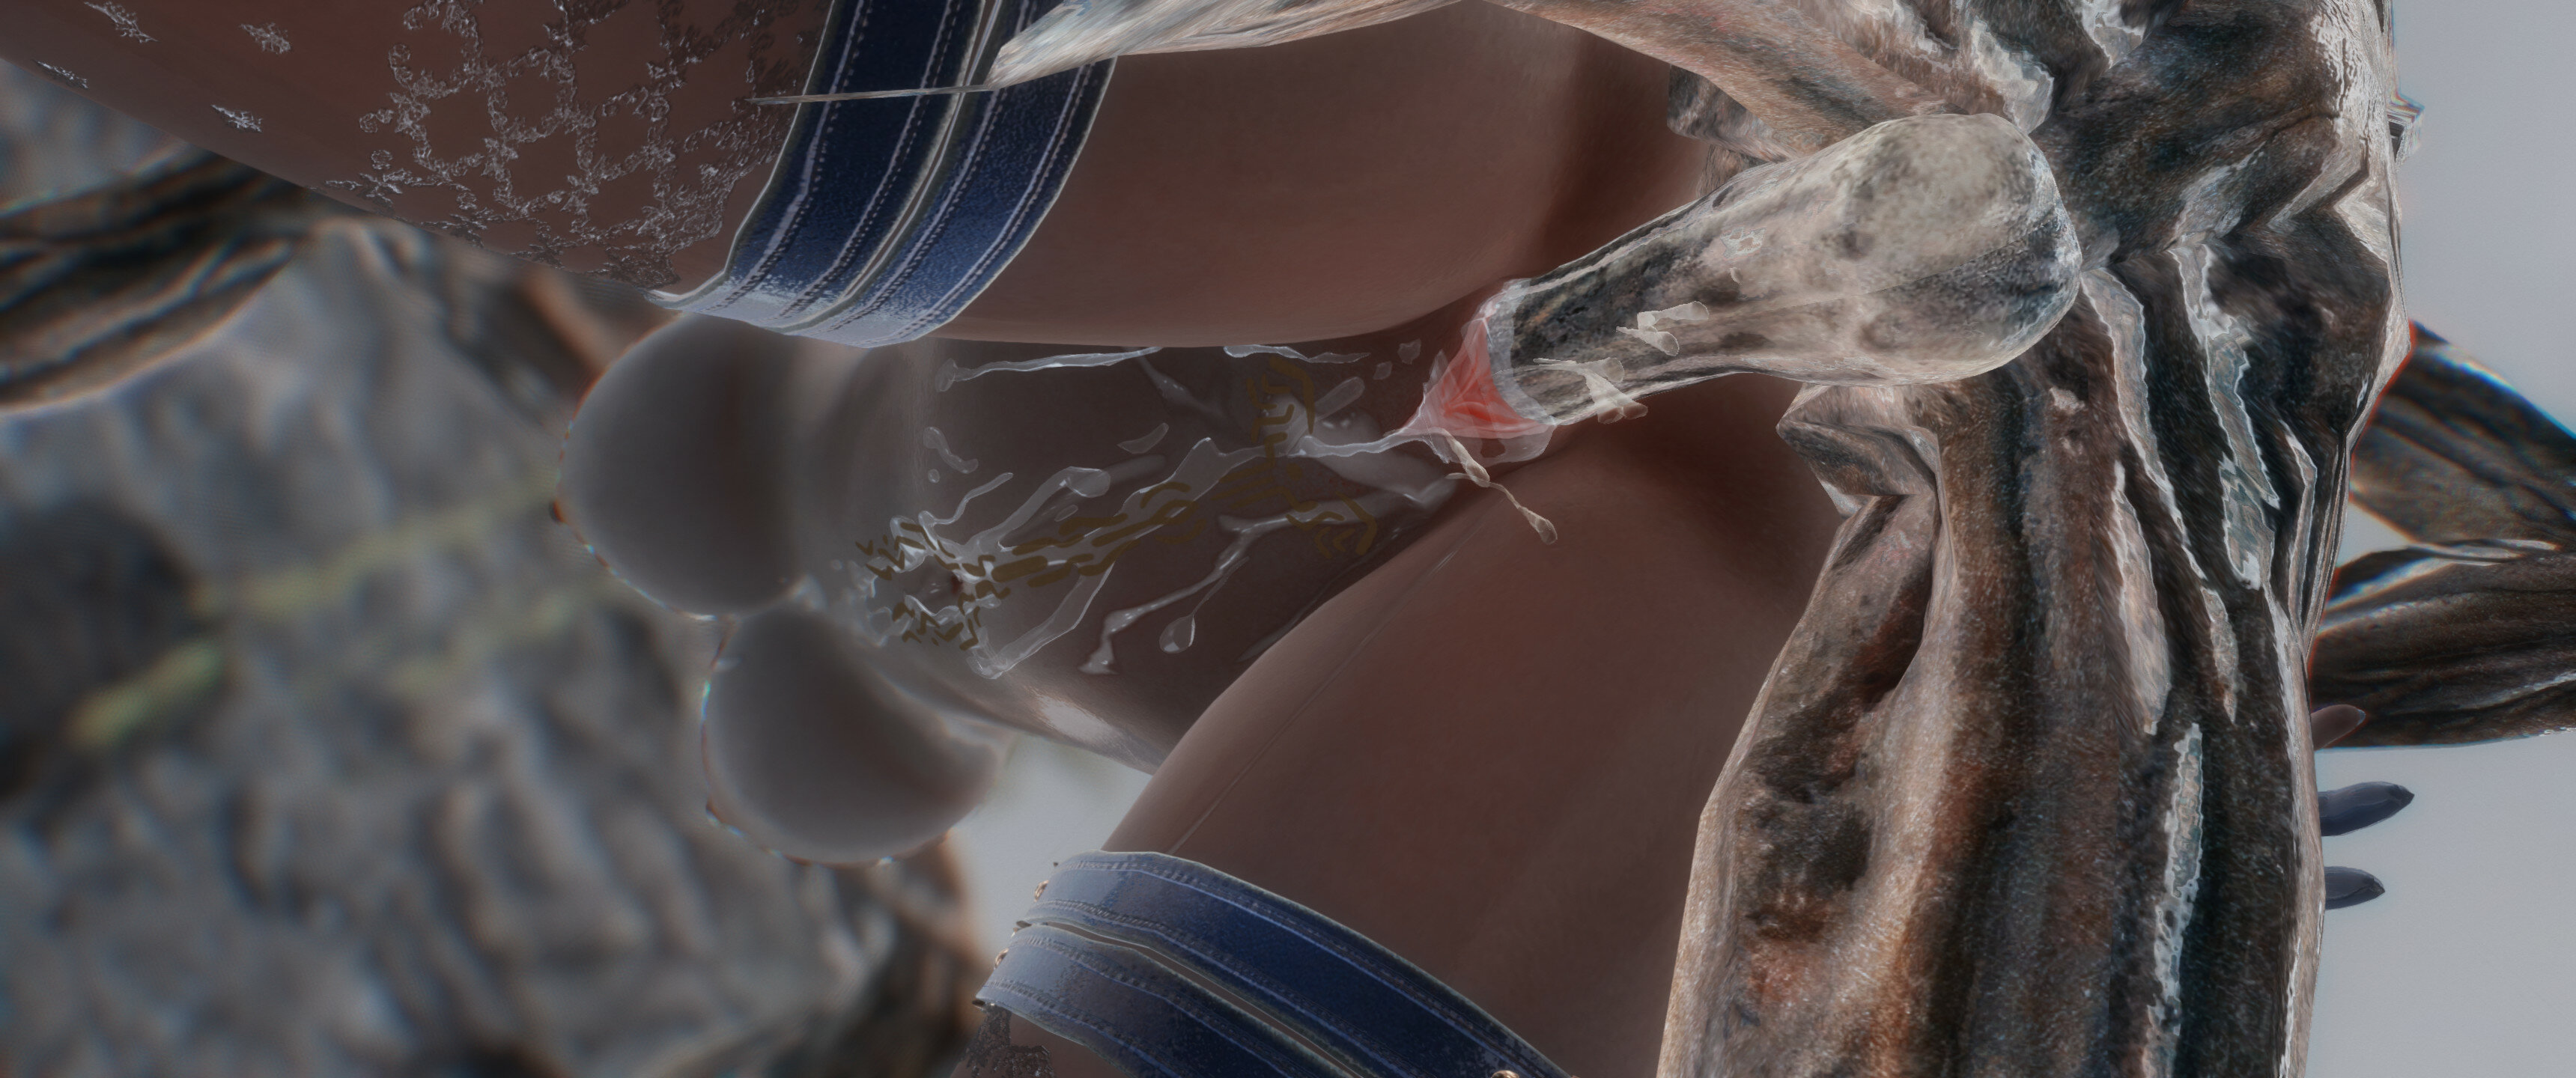
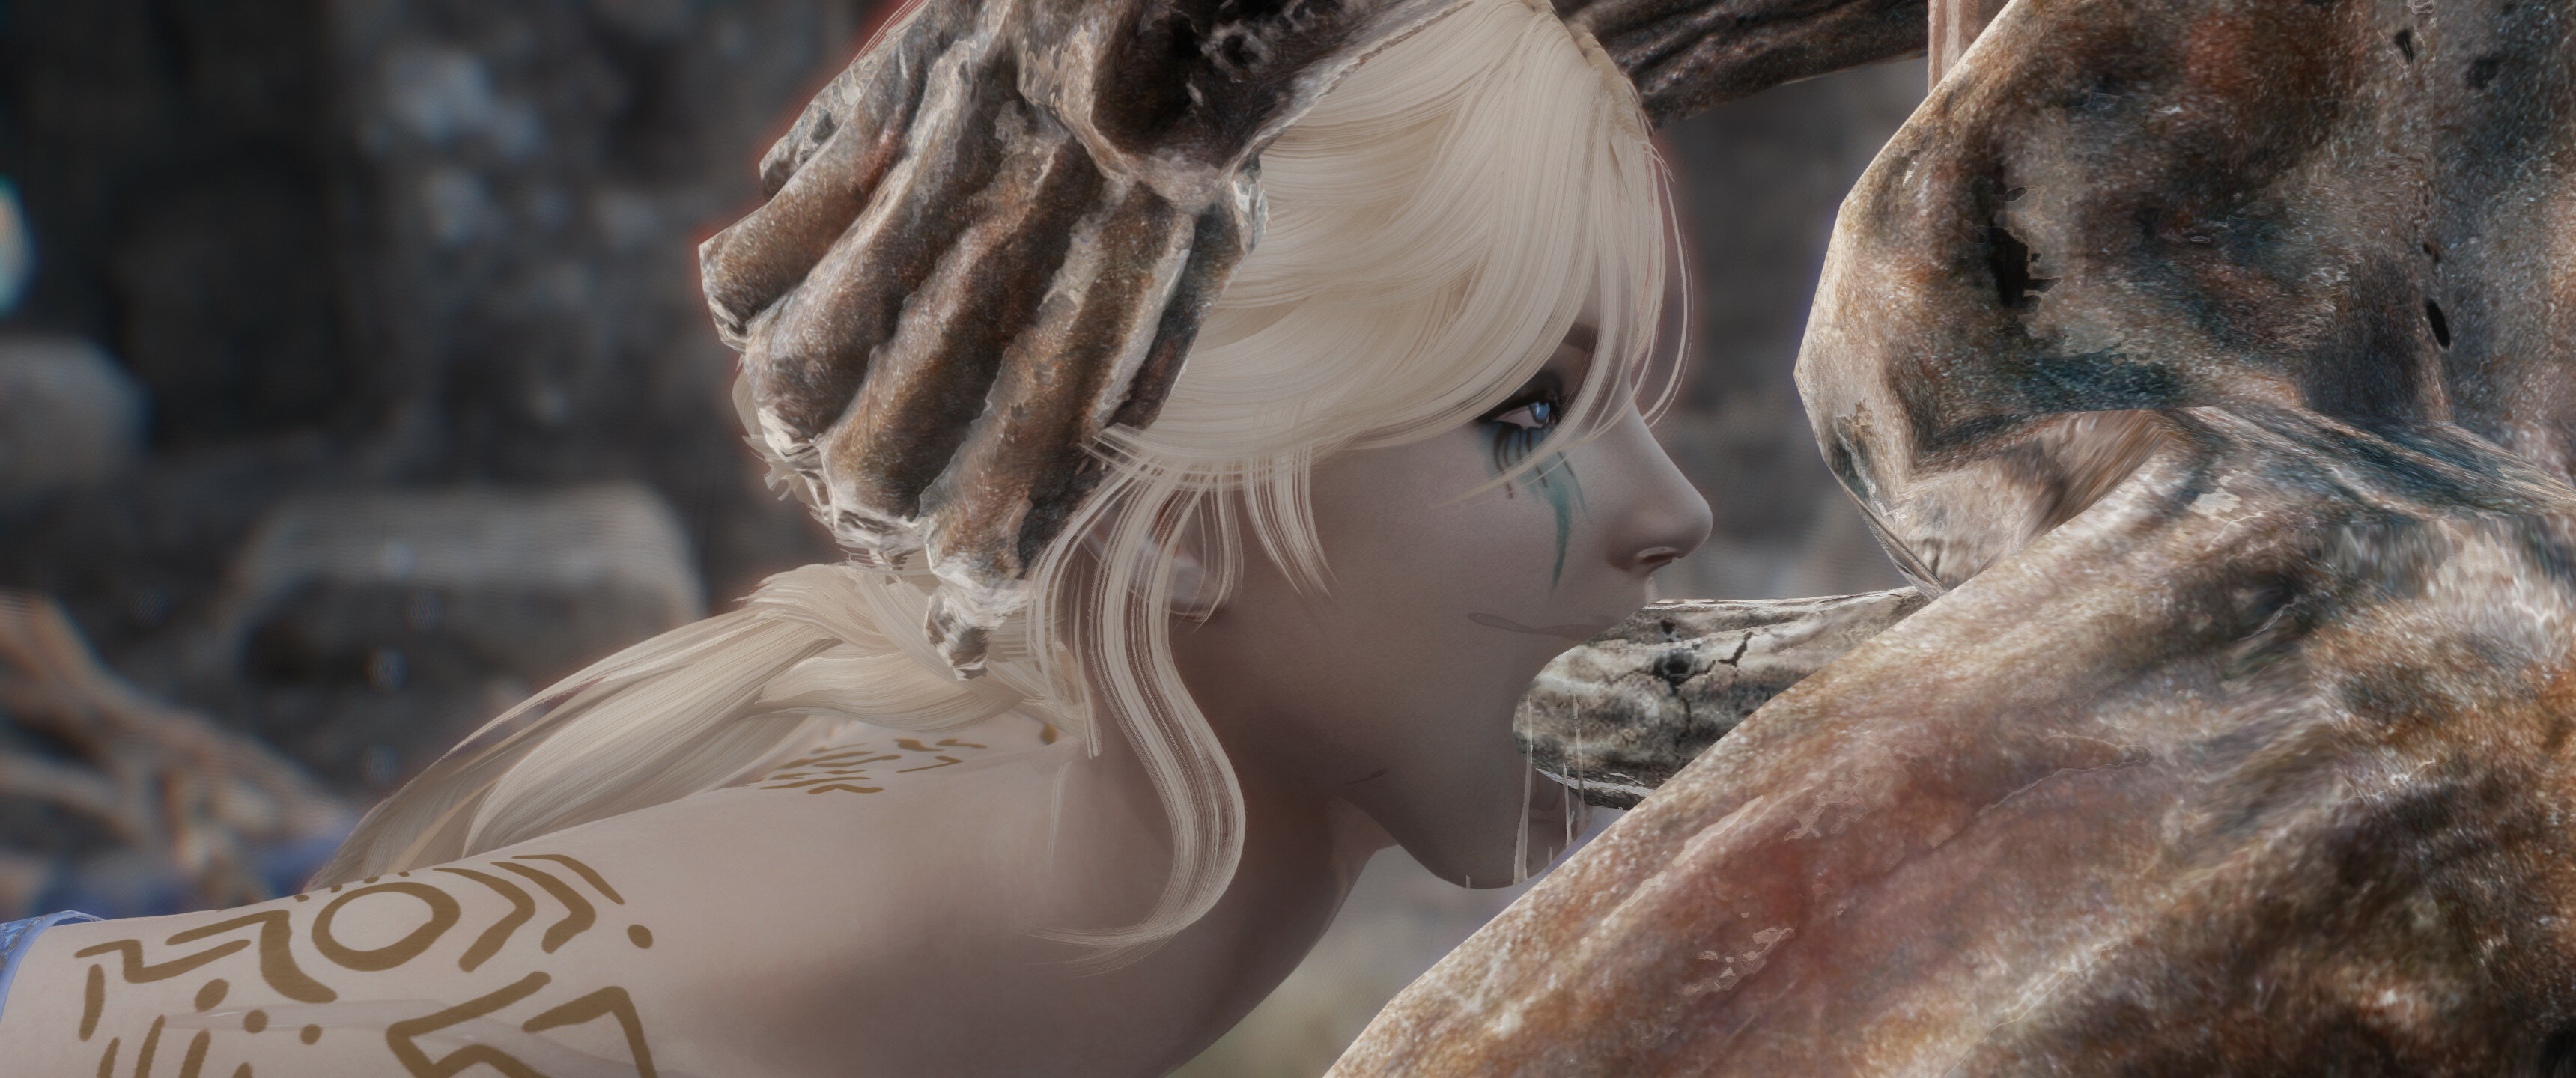
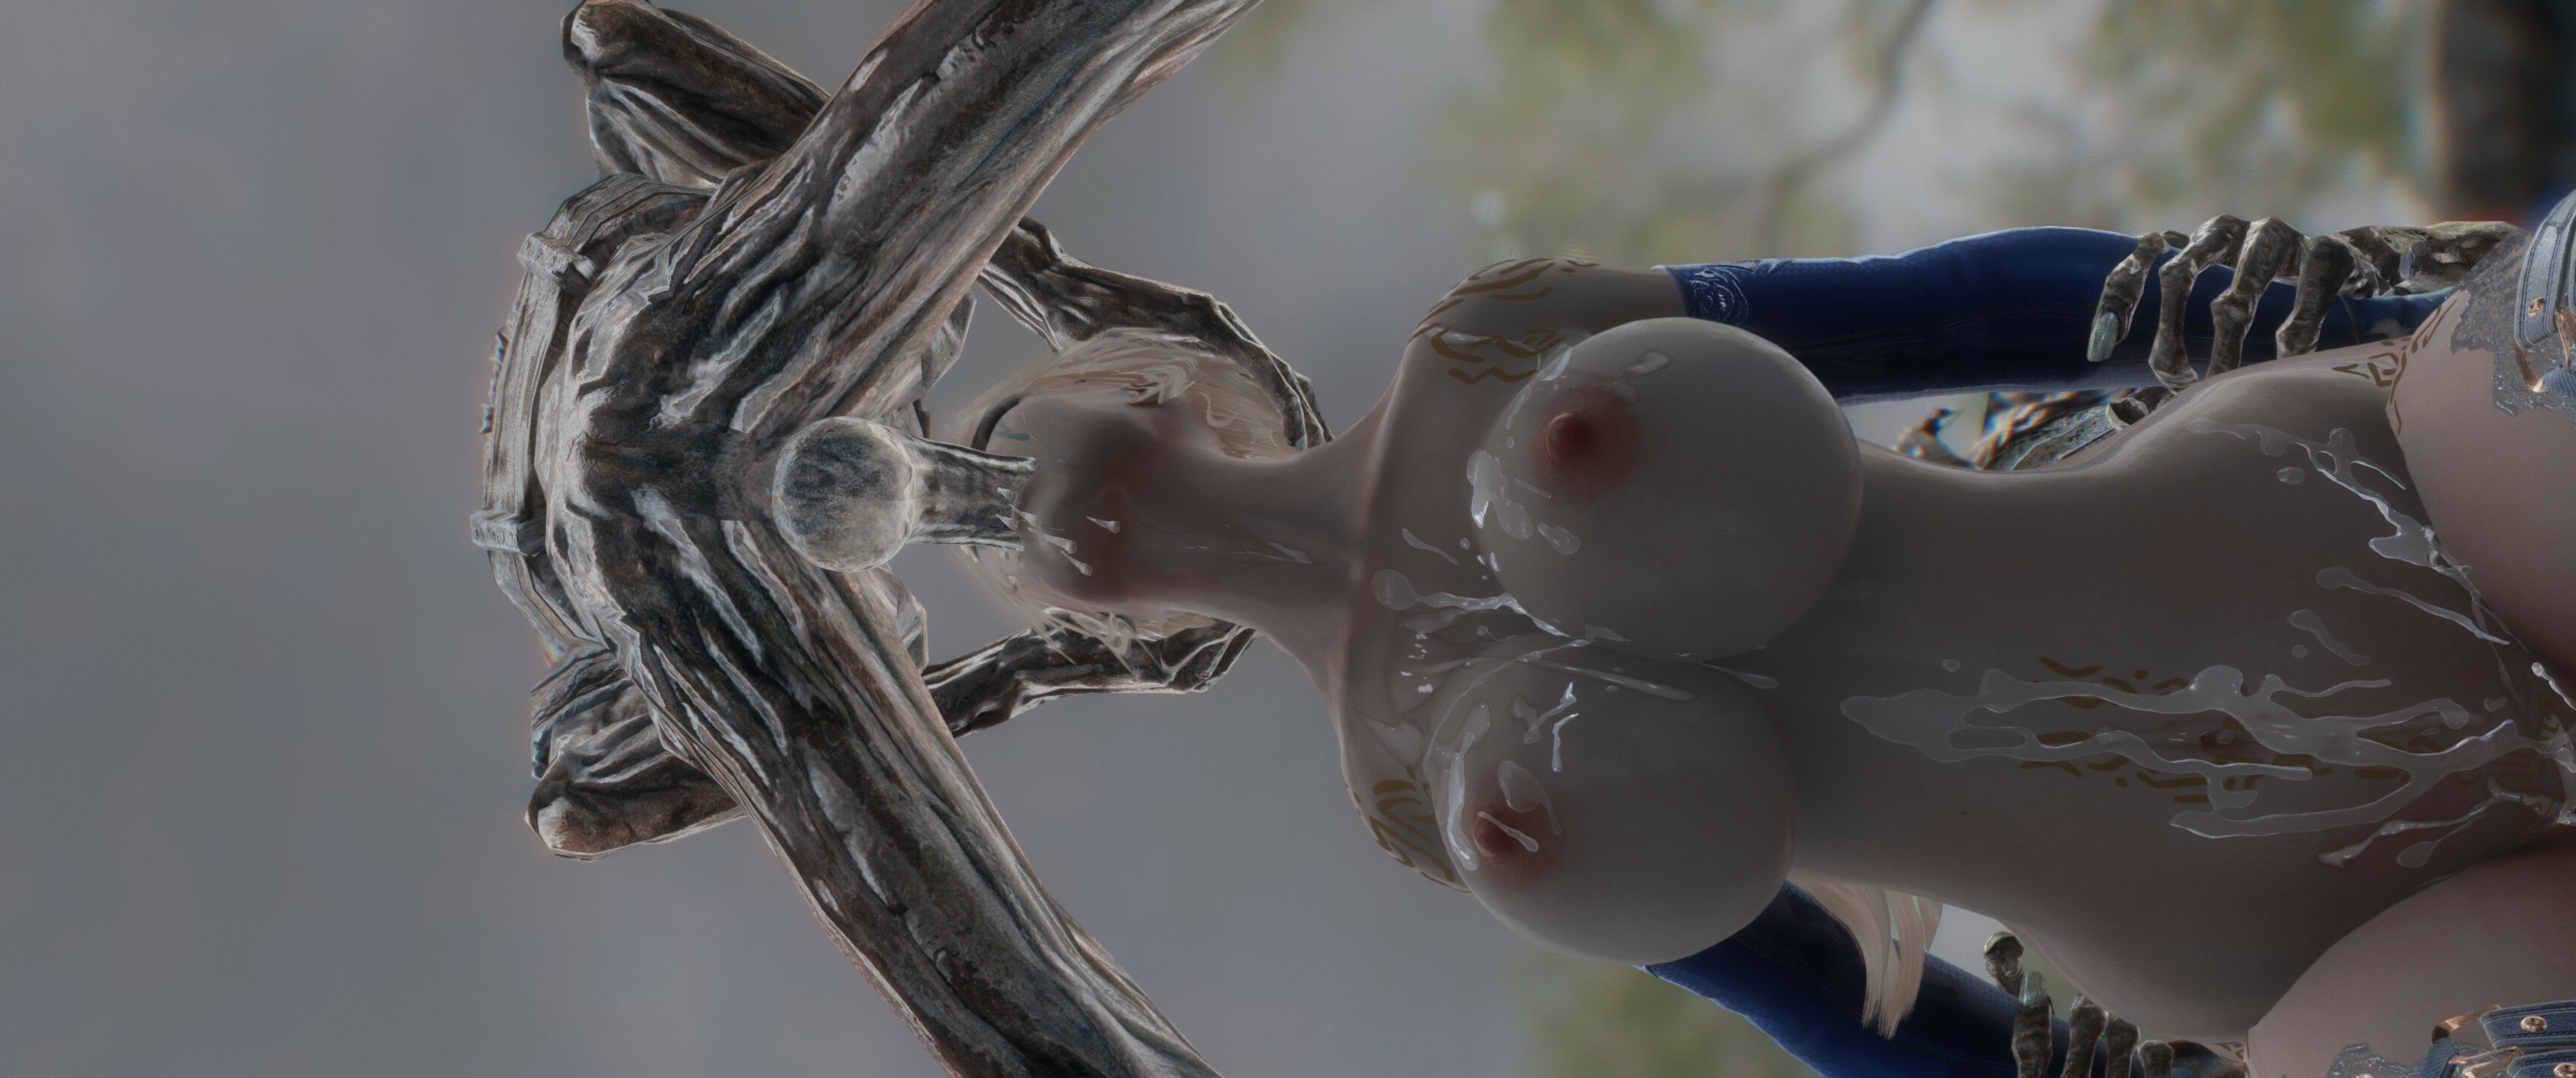
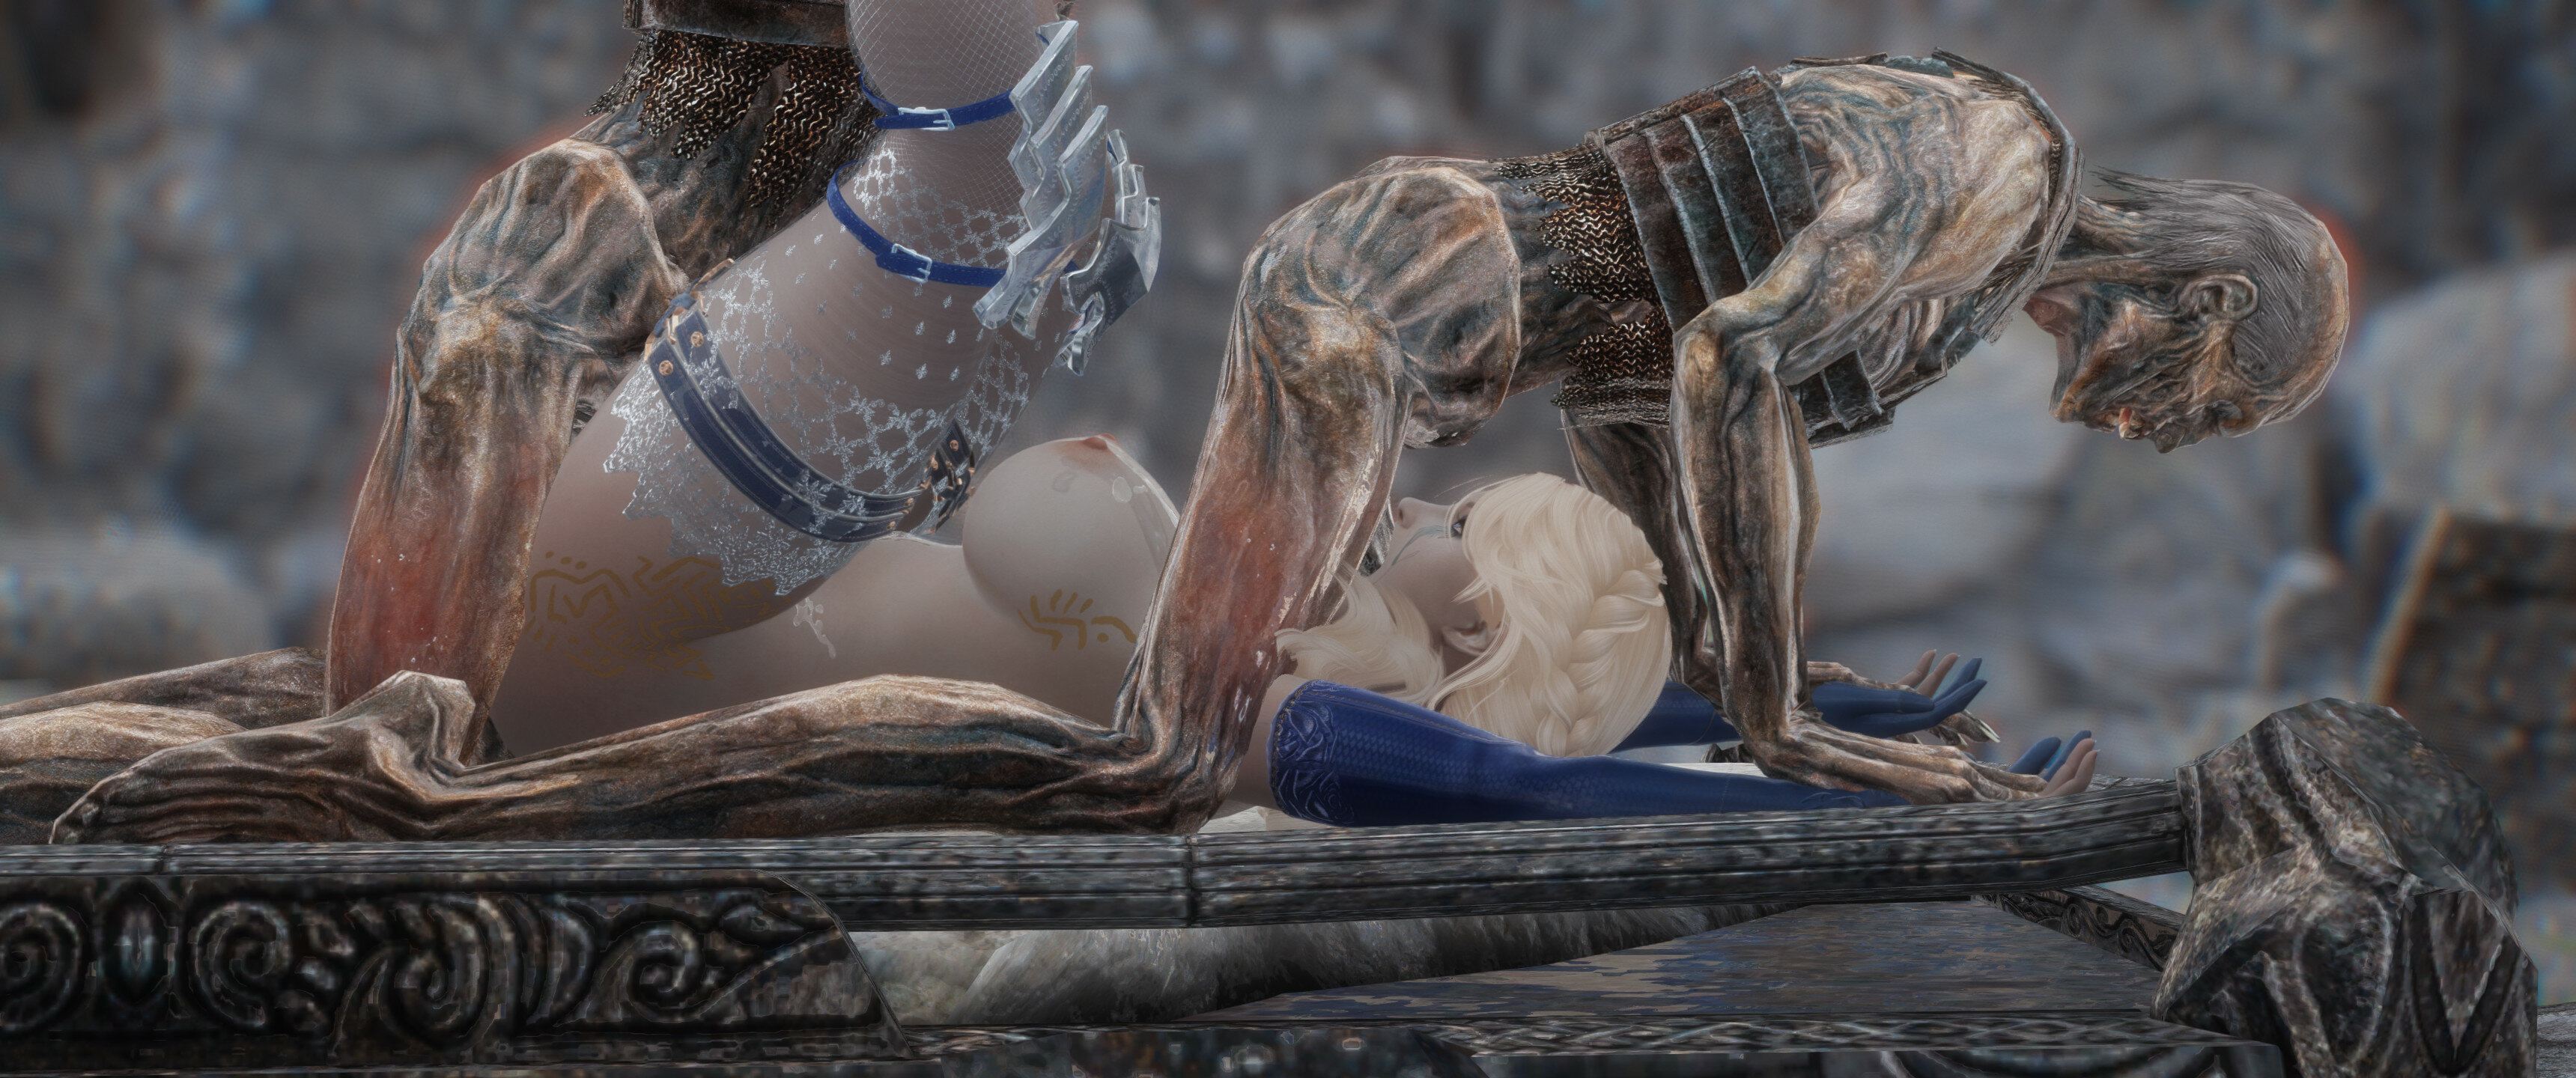
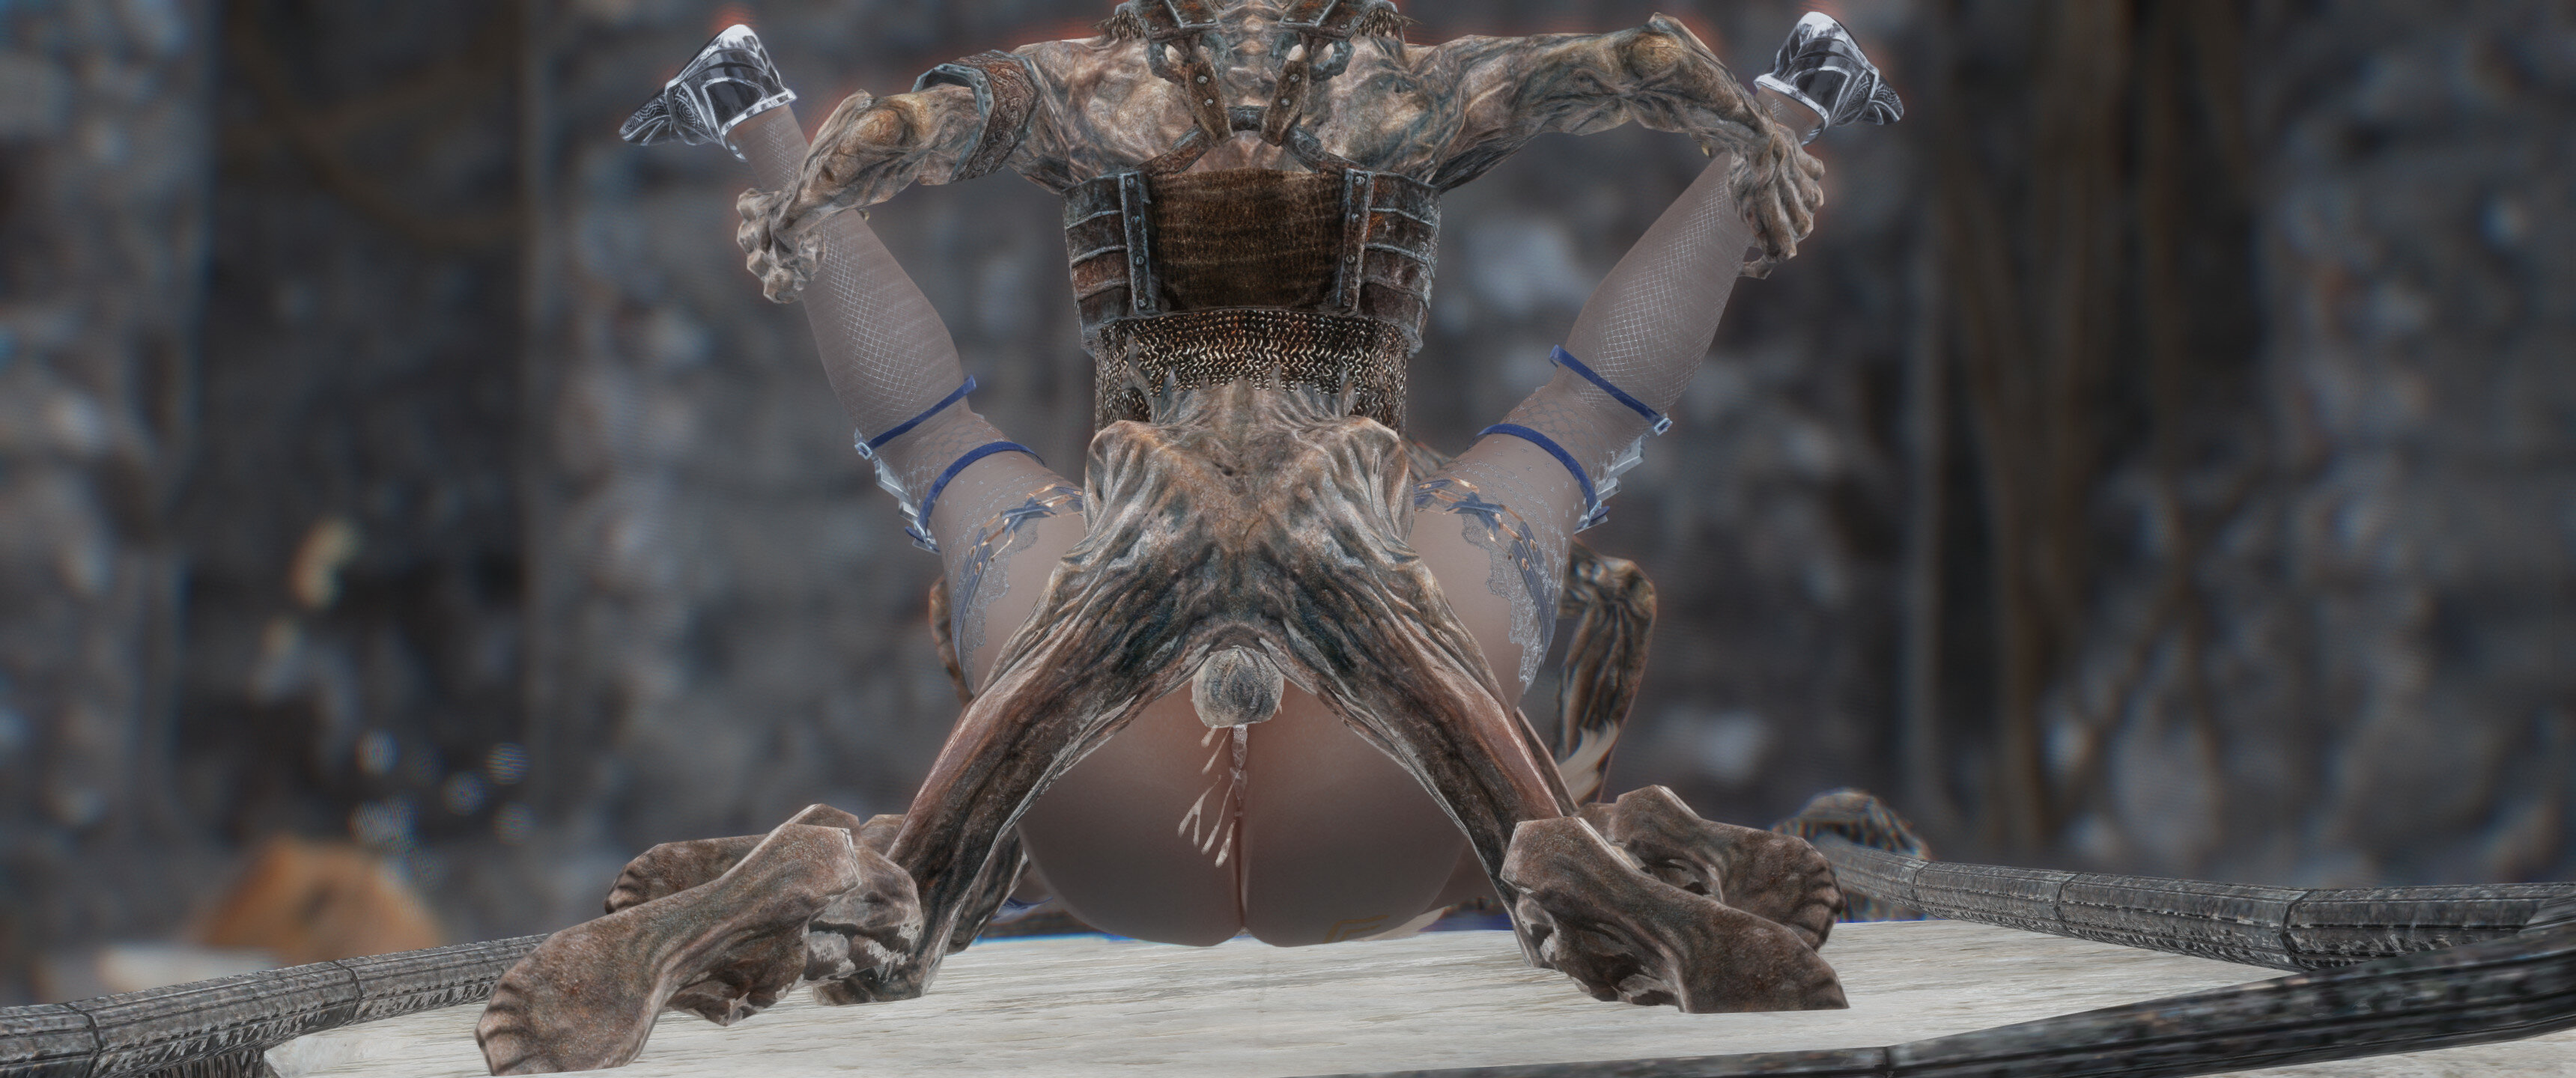
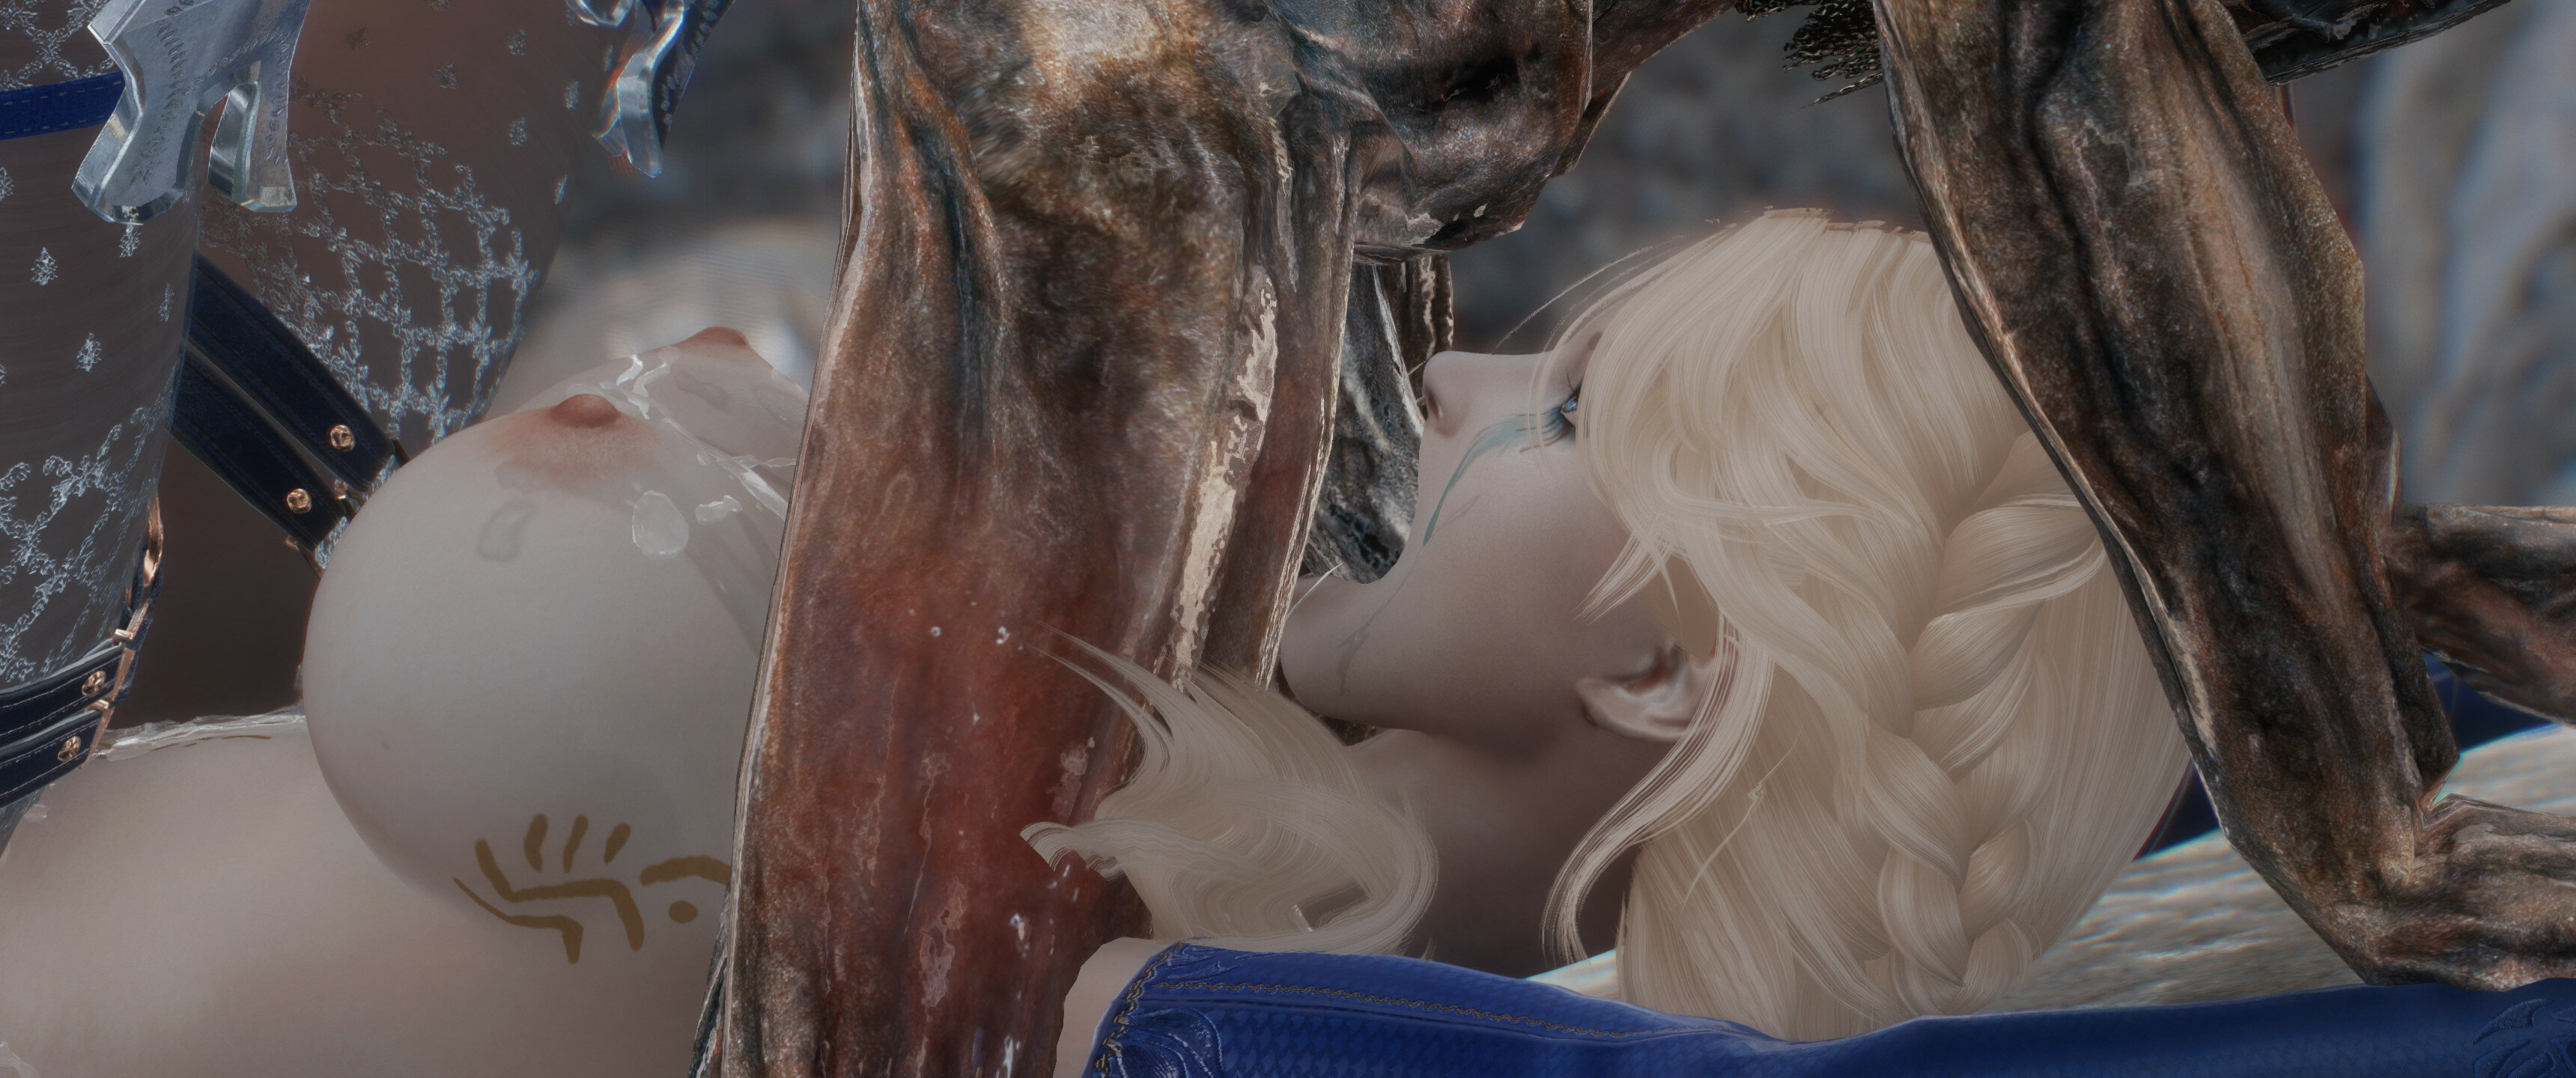
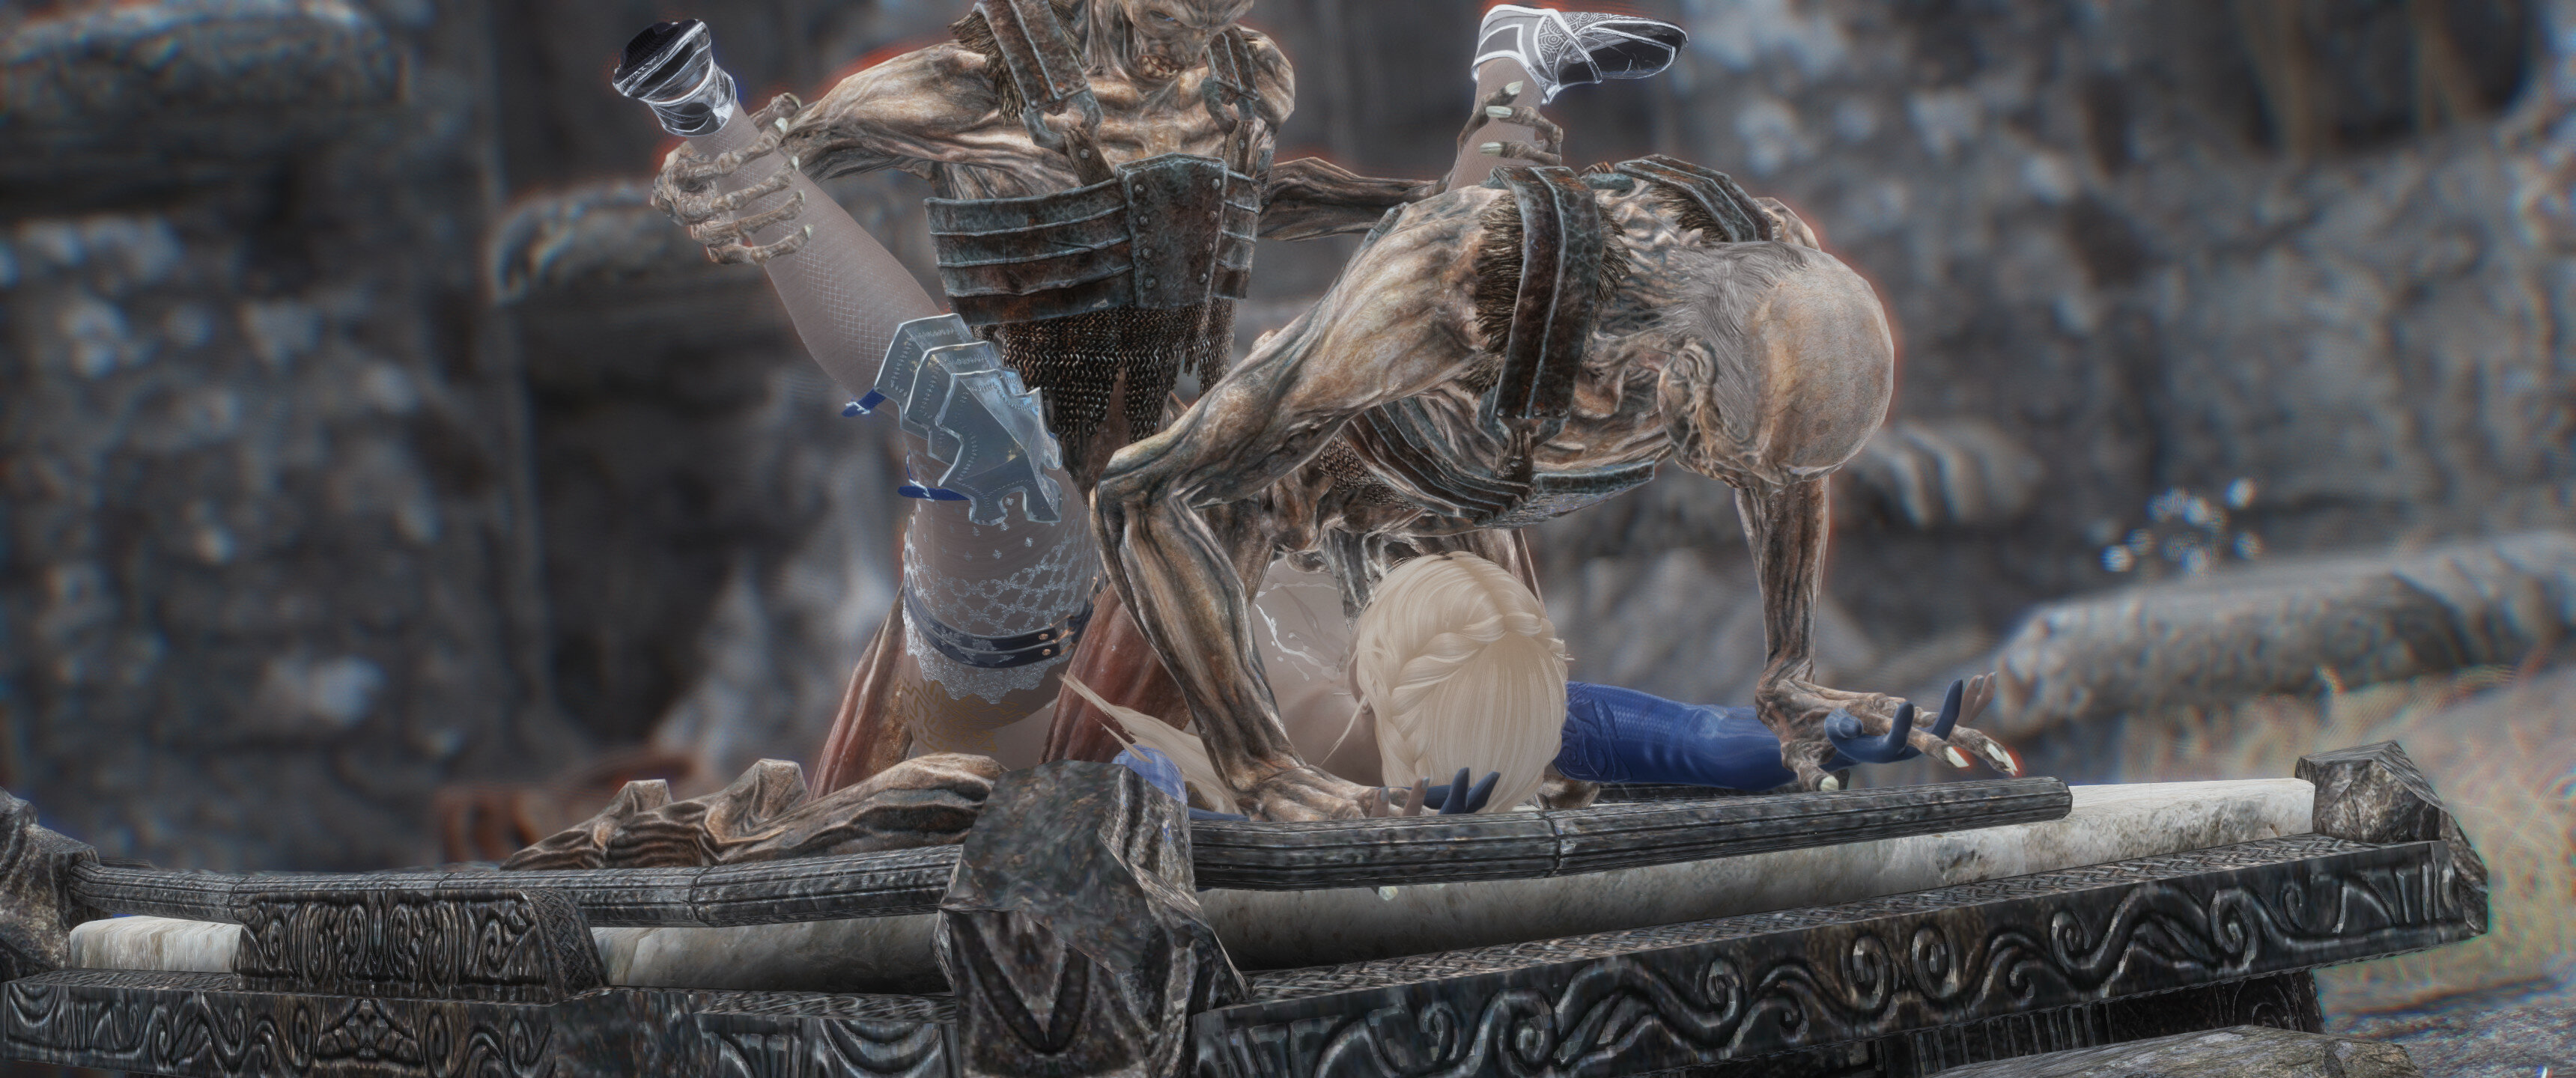
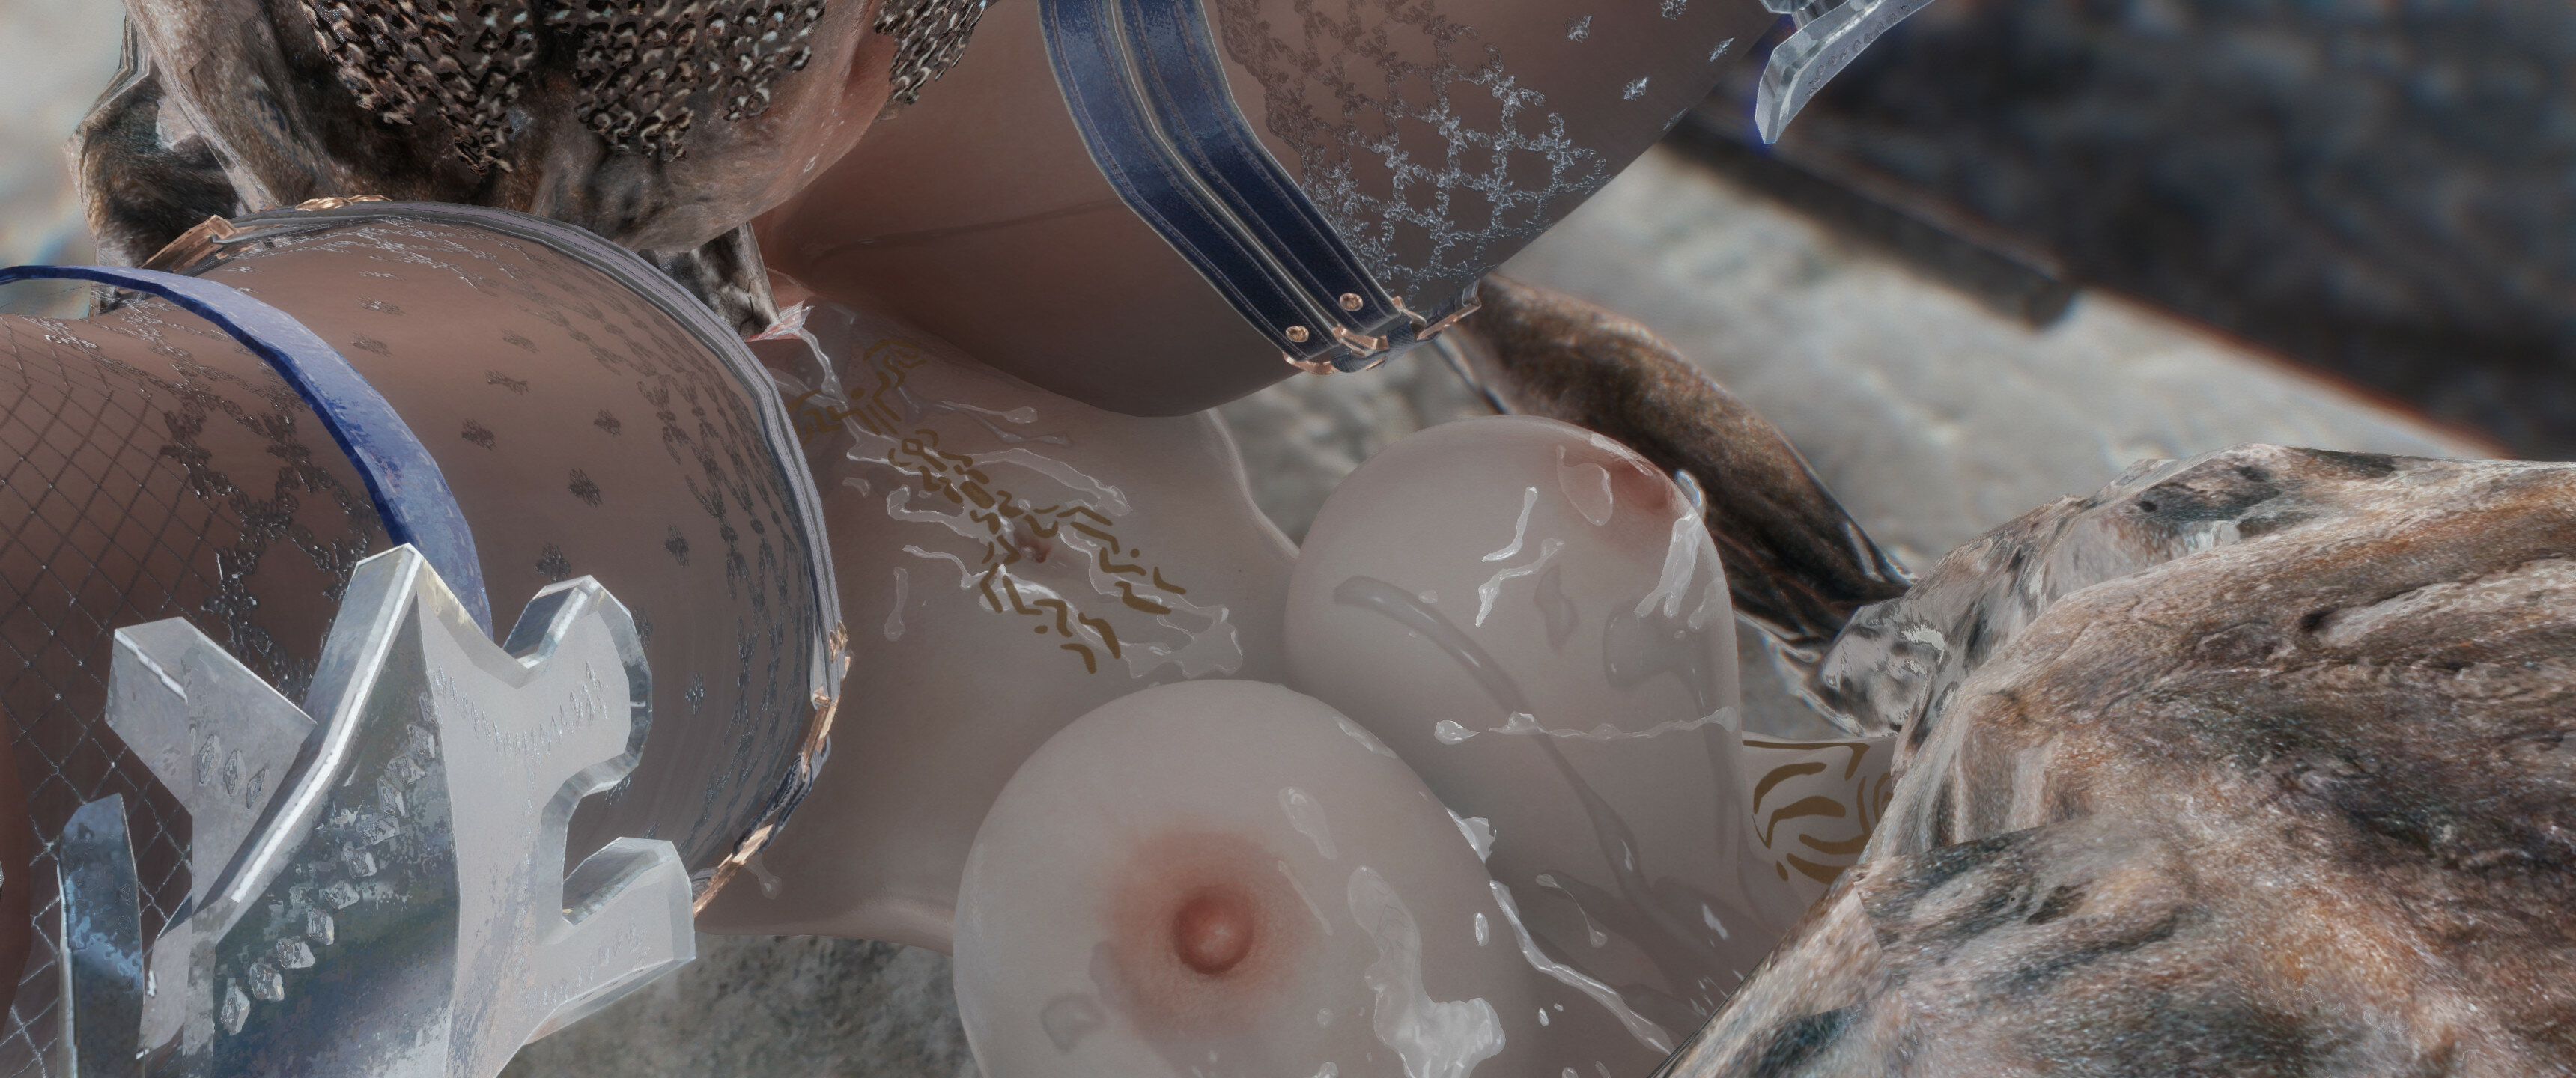
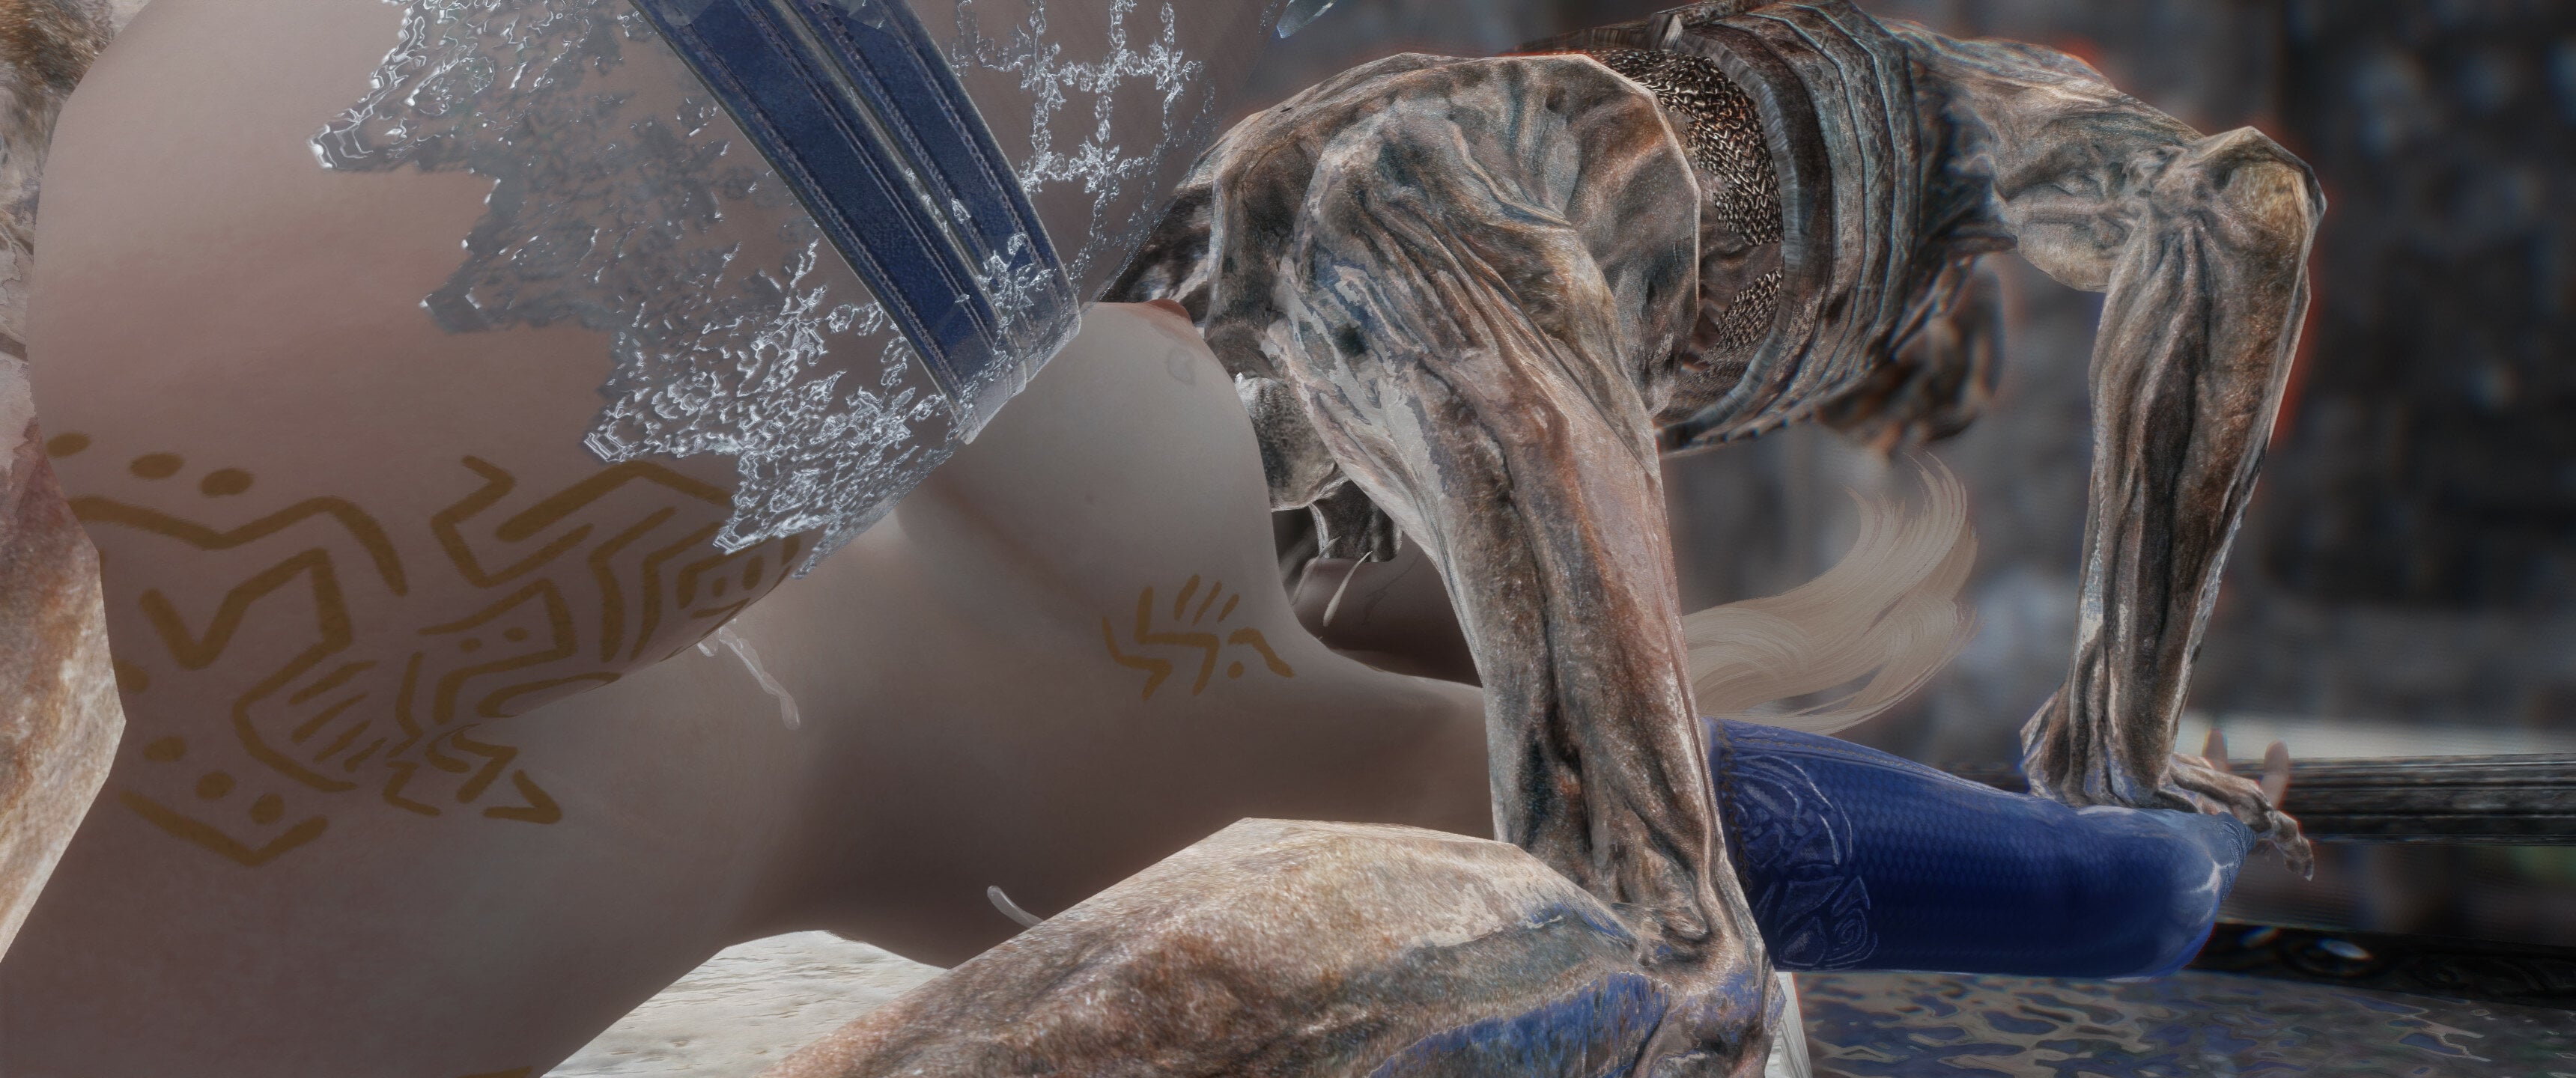
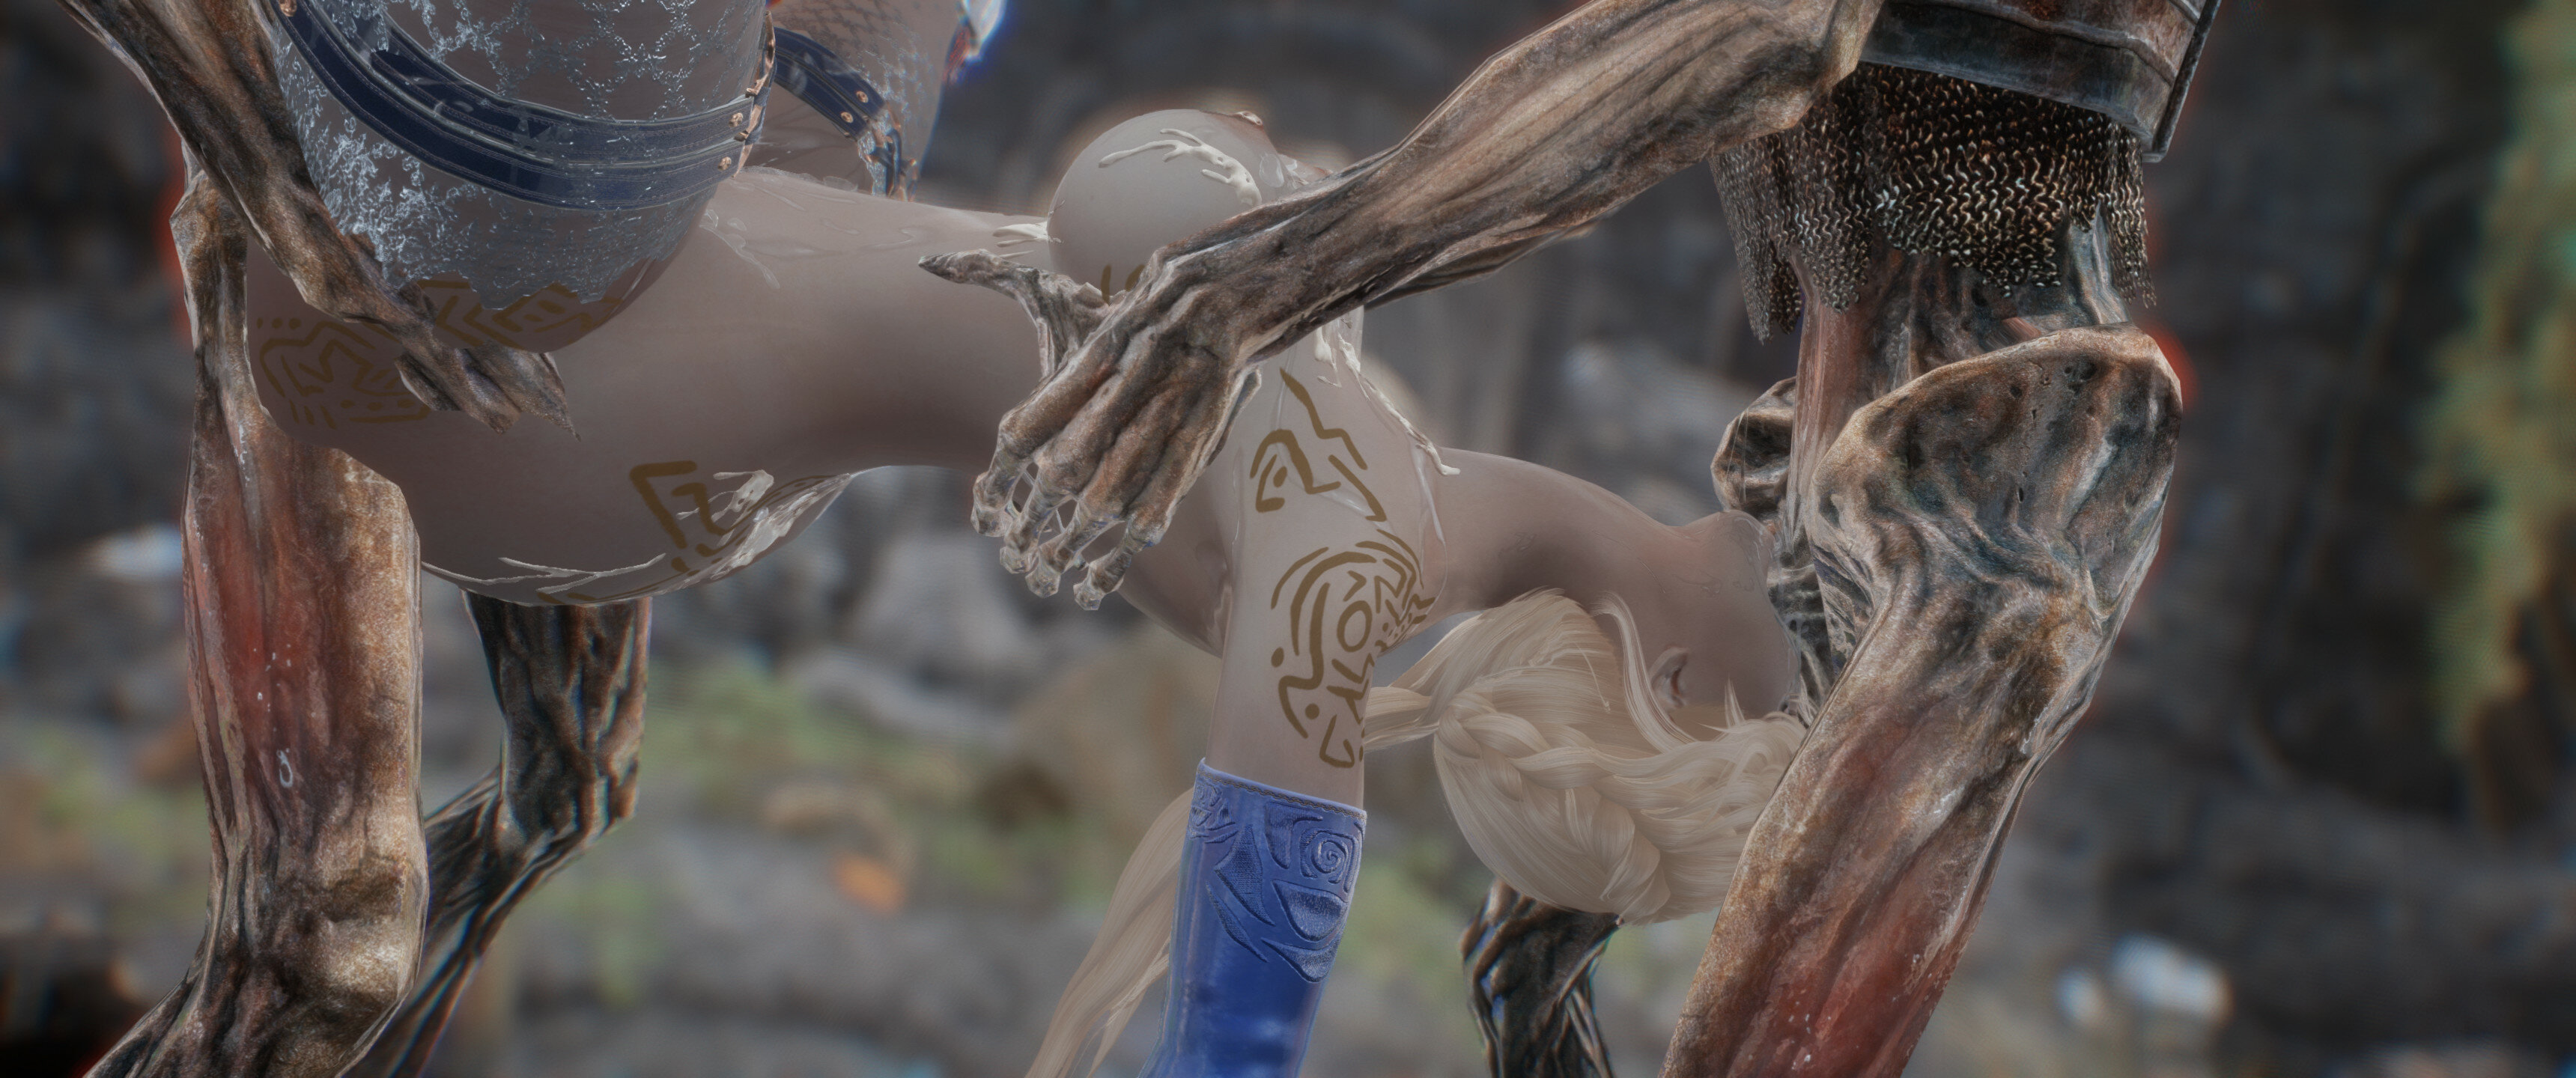
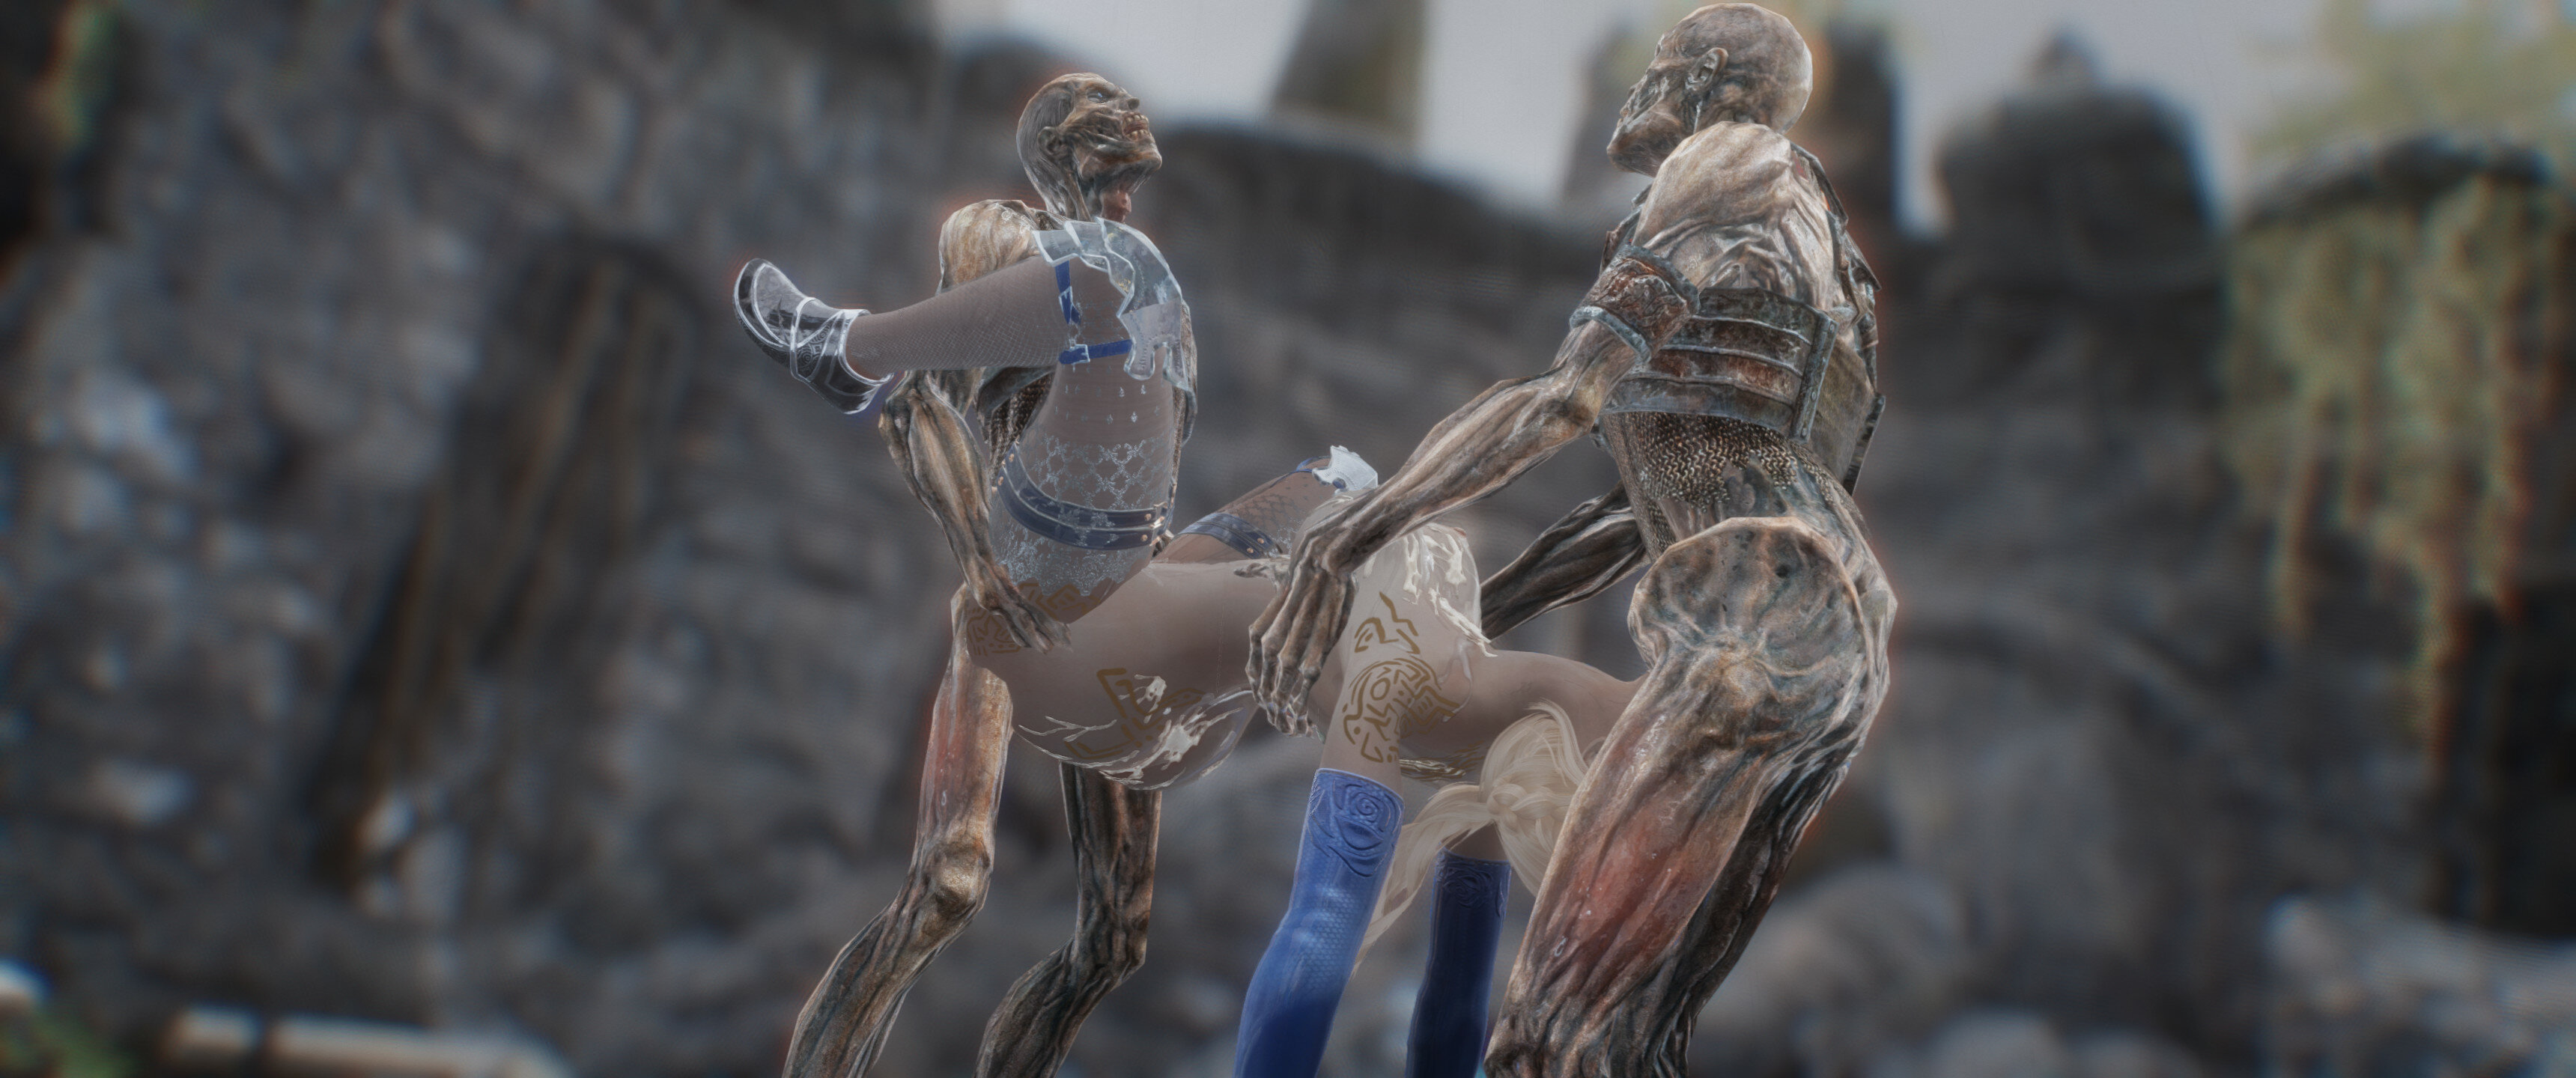
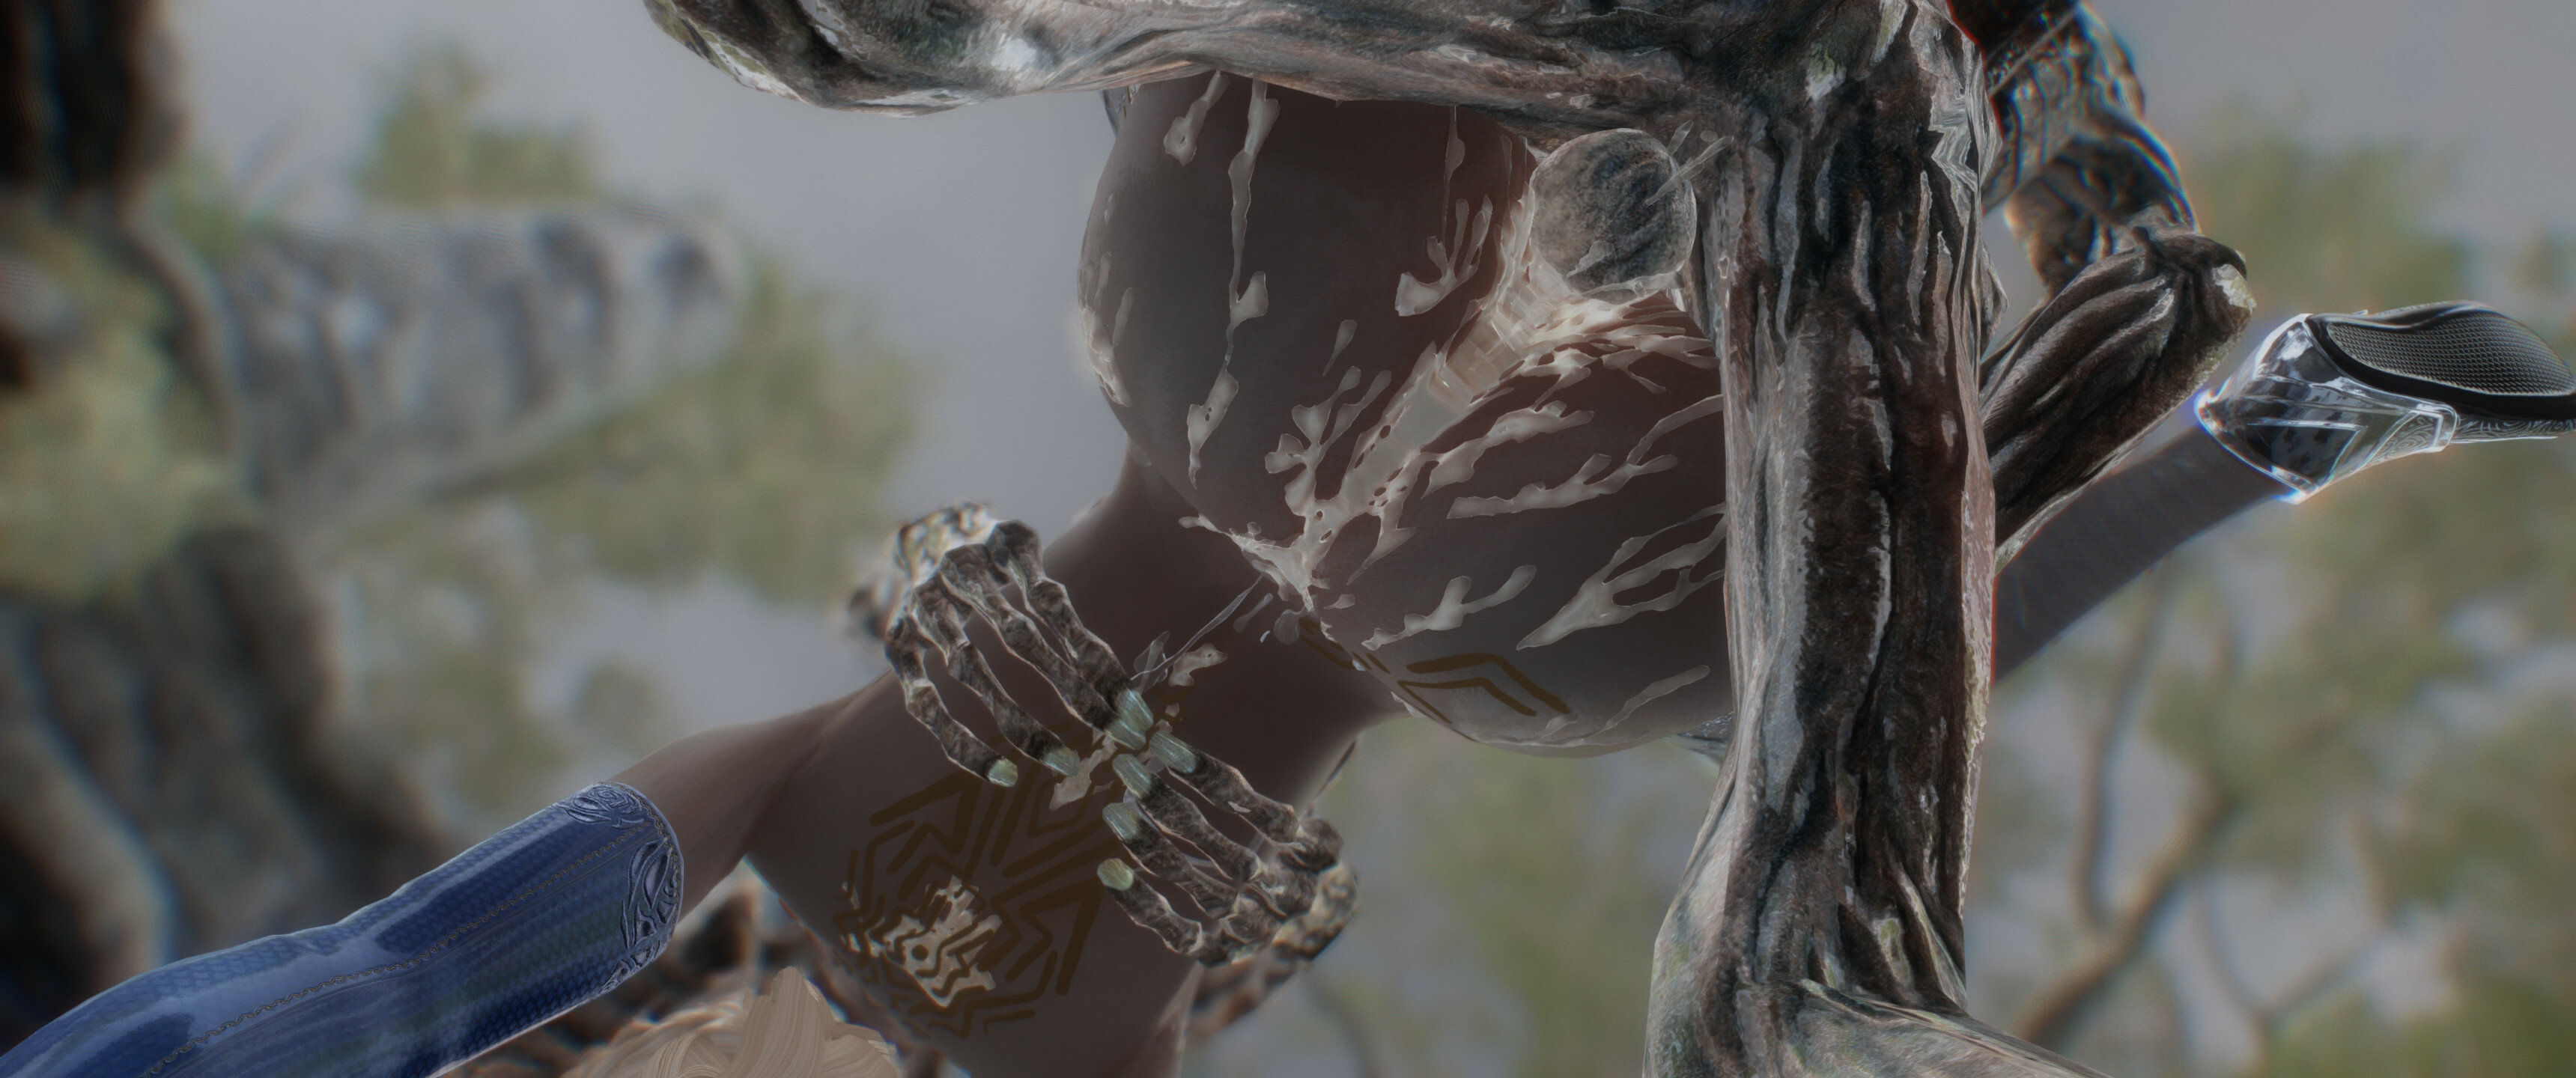
As the hours go by her lifeless remains are come across by 2 Draugr who under the setting sun emerge from a nearby ancient burial site, drawn by the fresh scent of death find her laying naked and motionless.
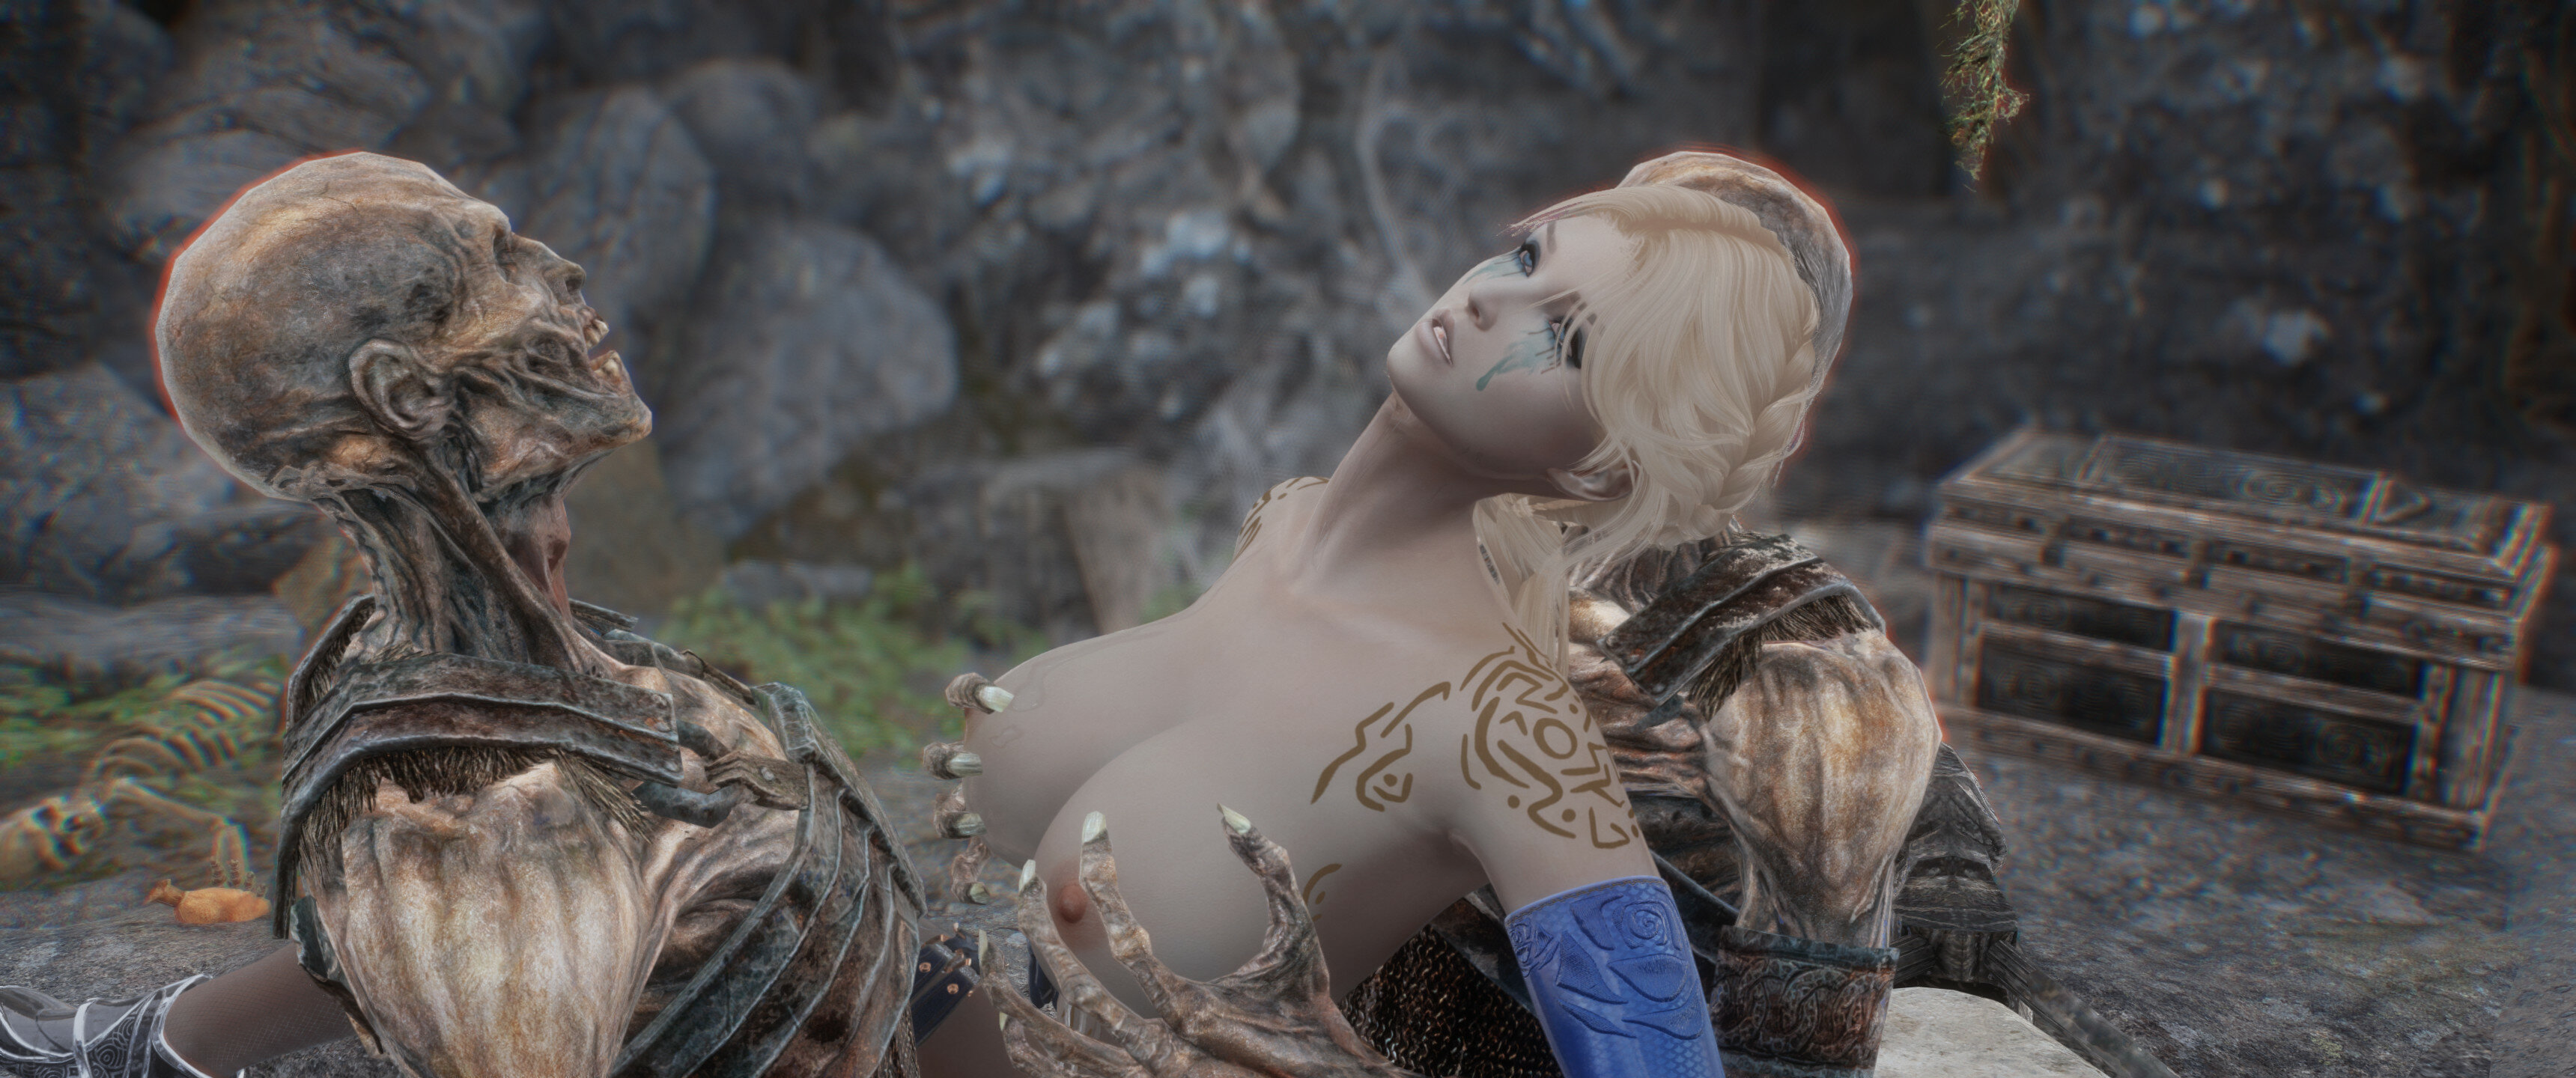
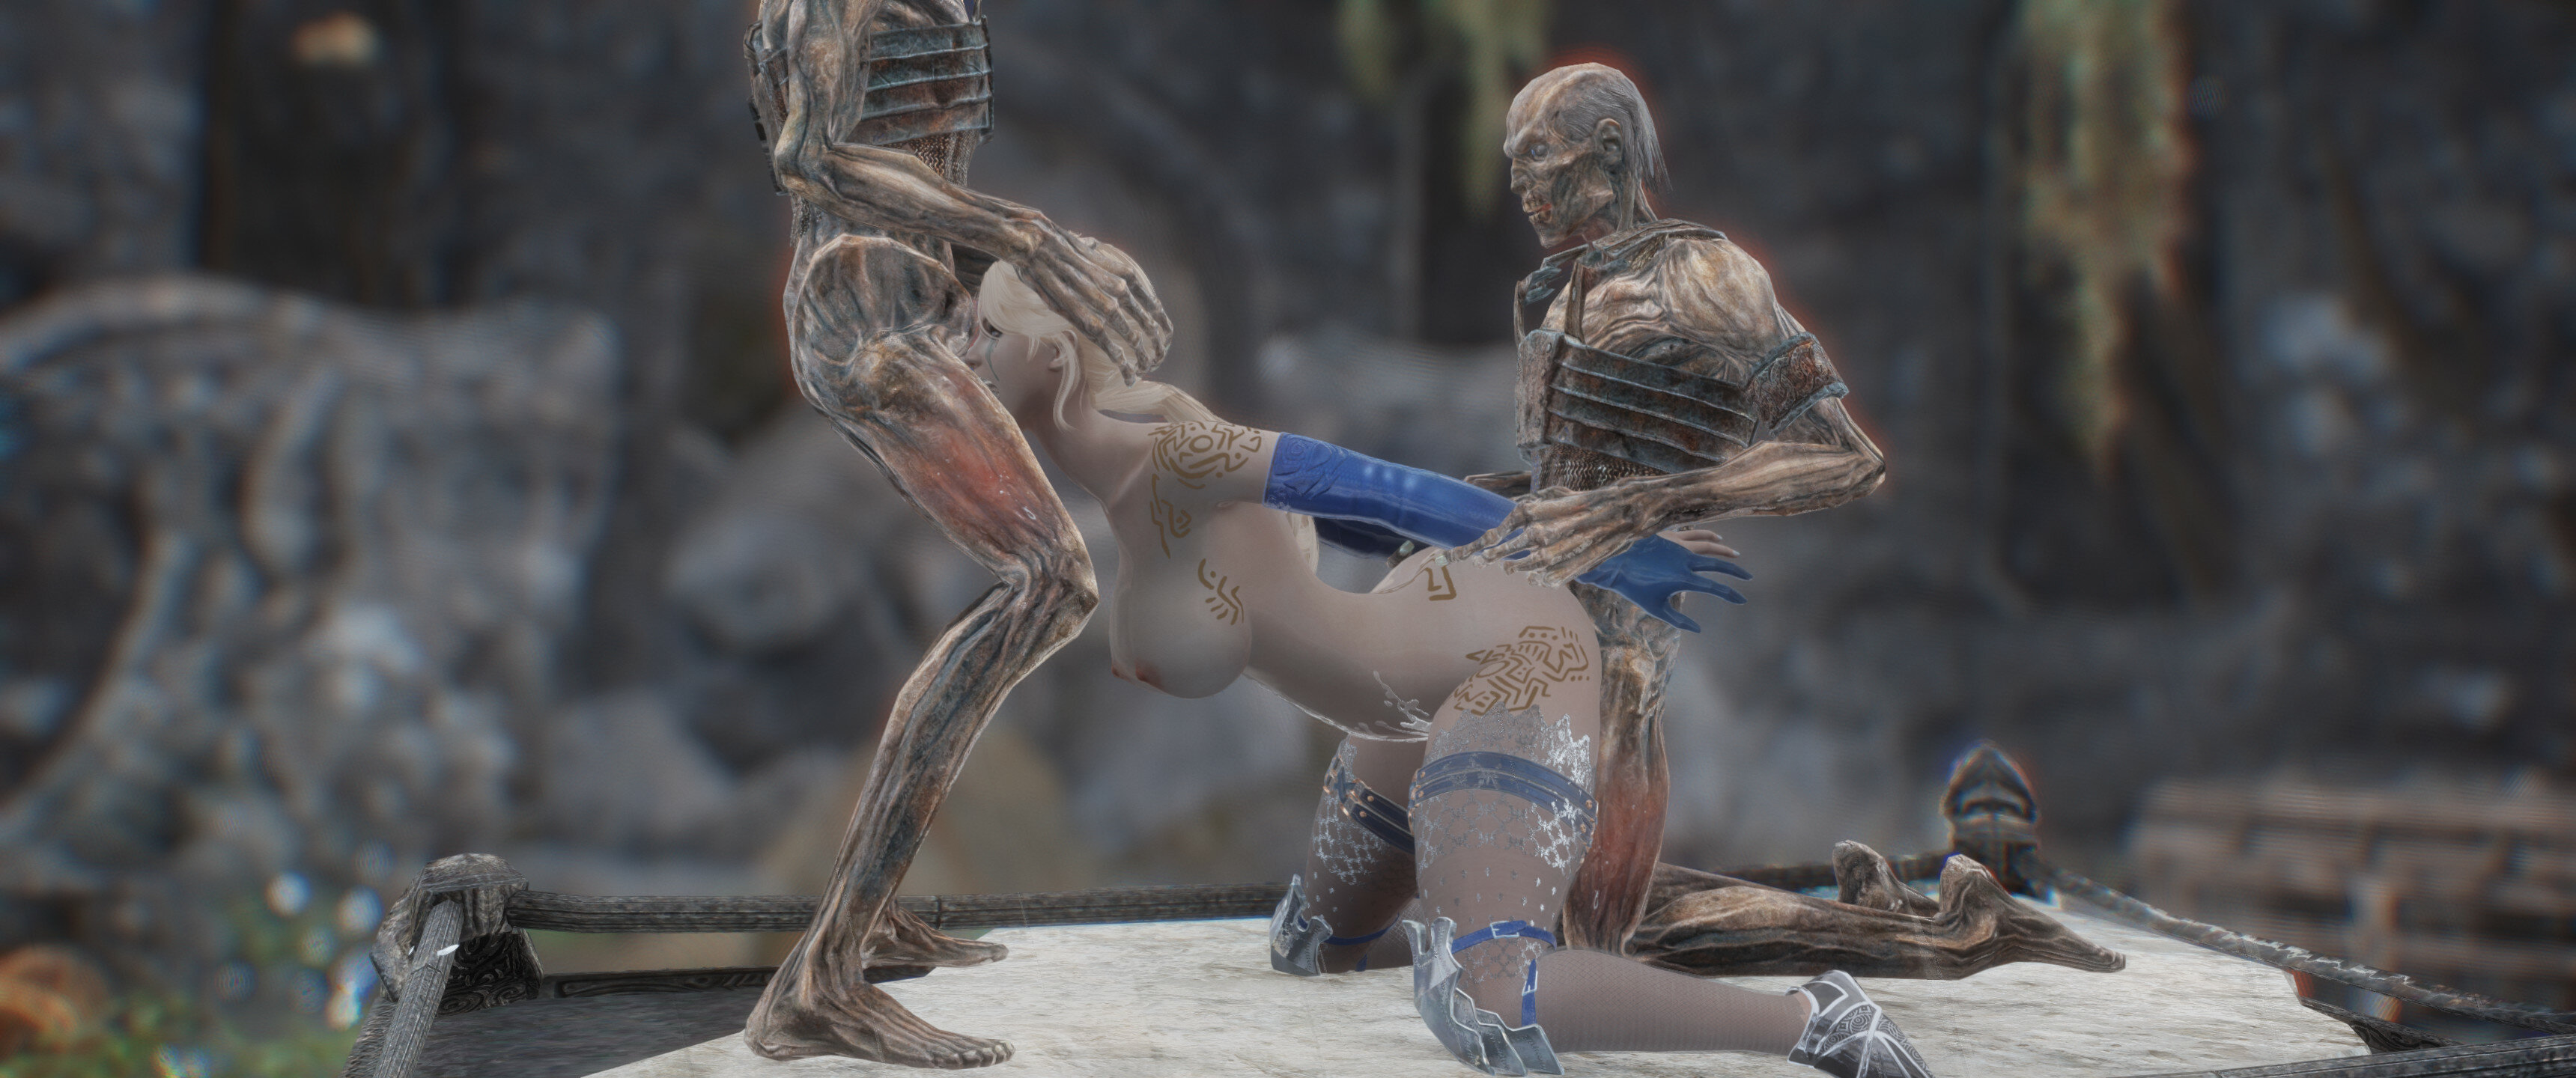
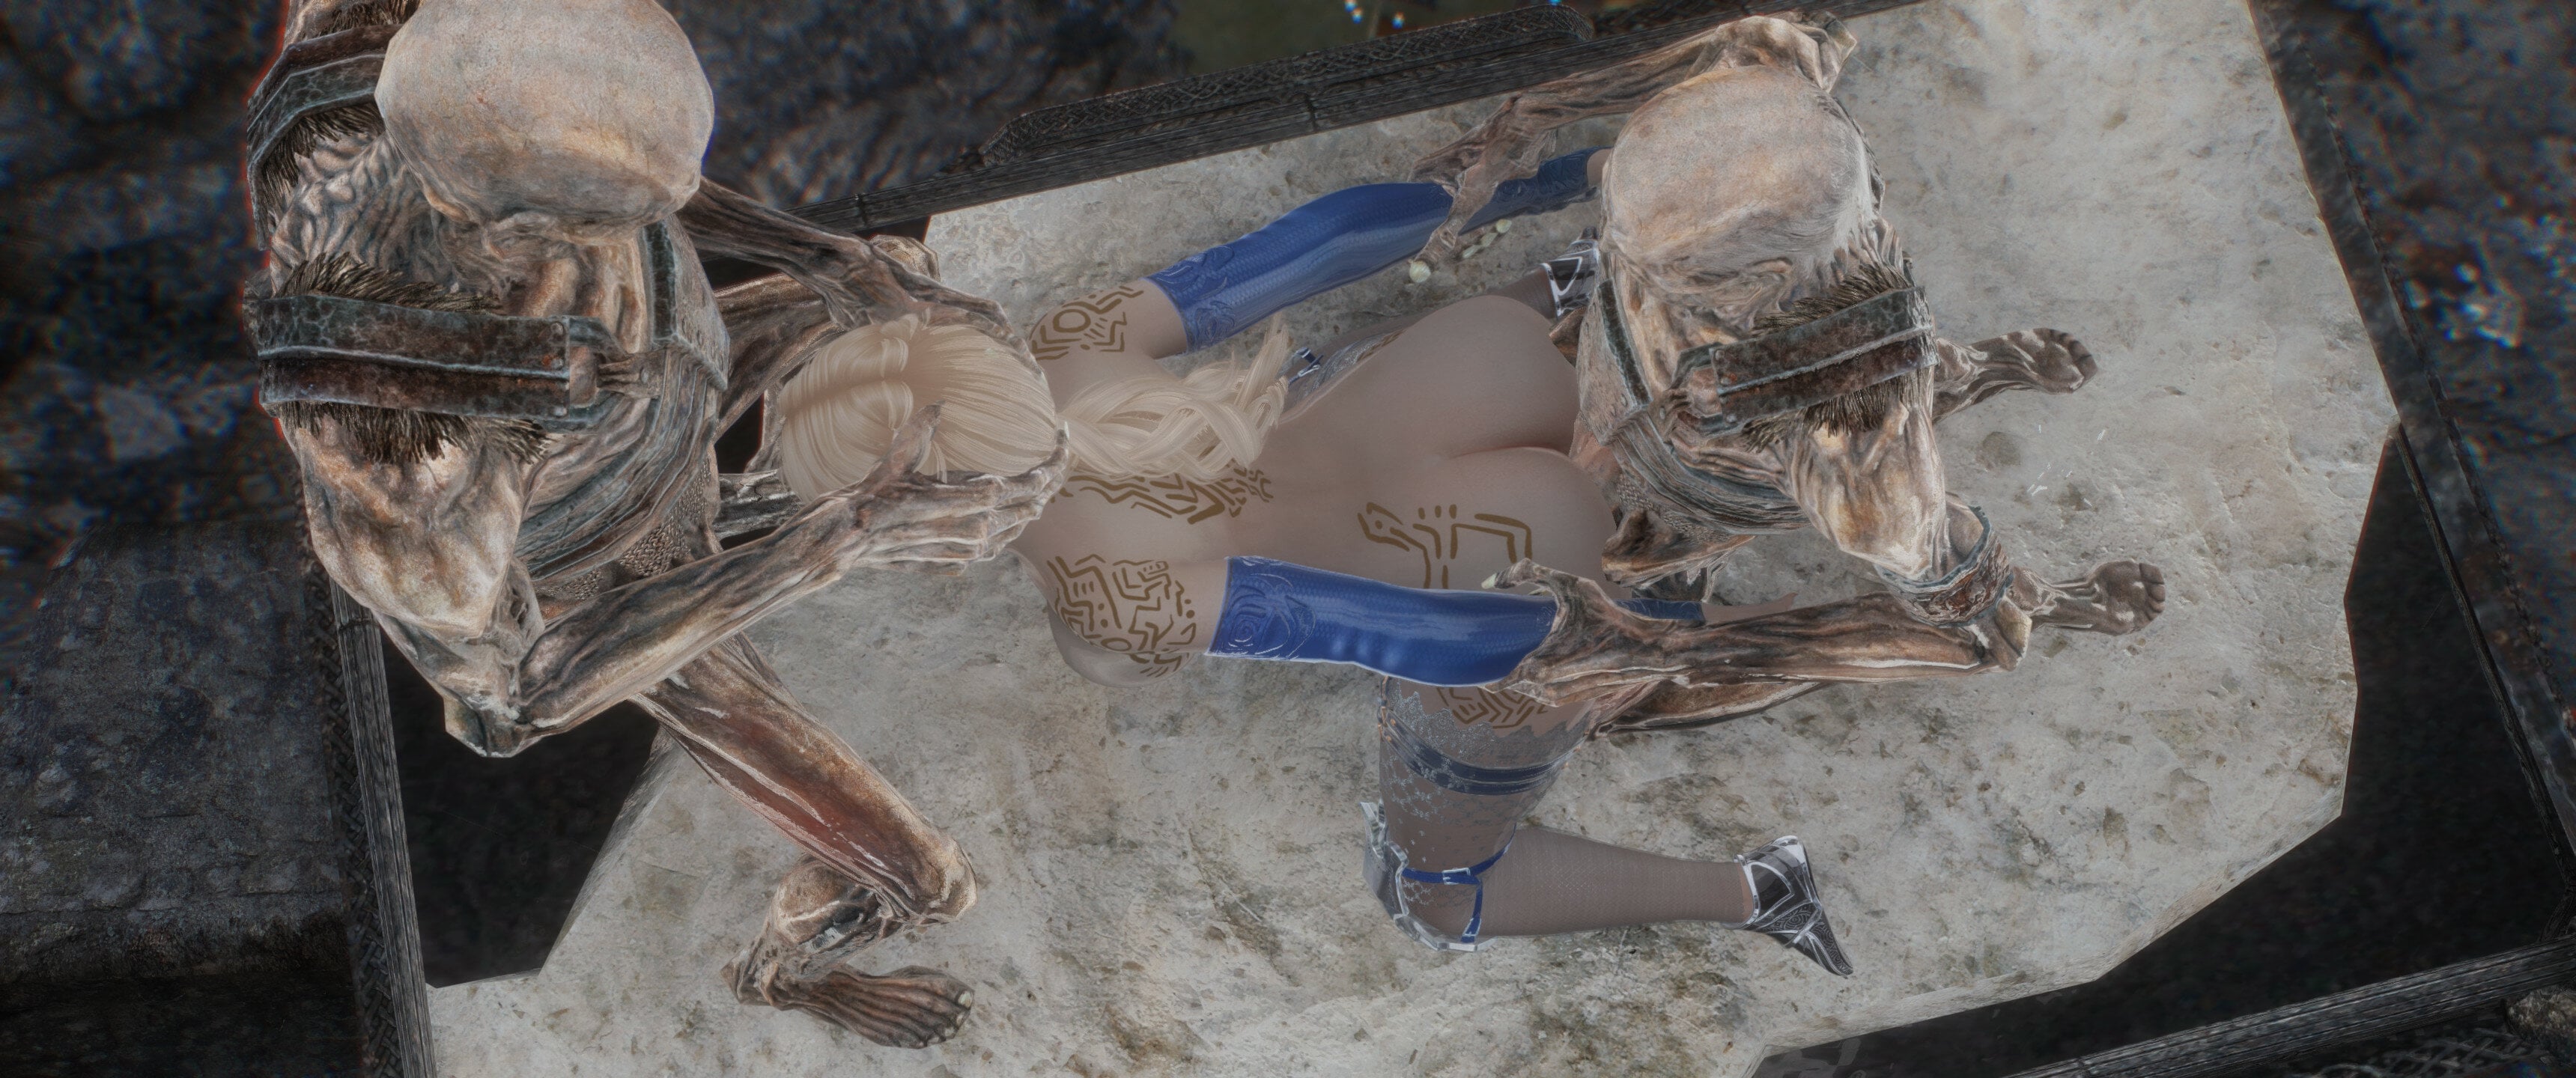
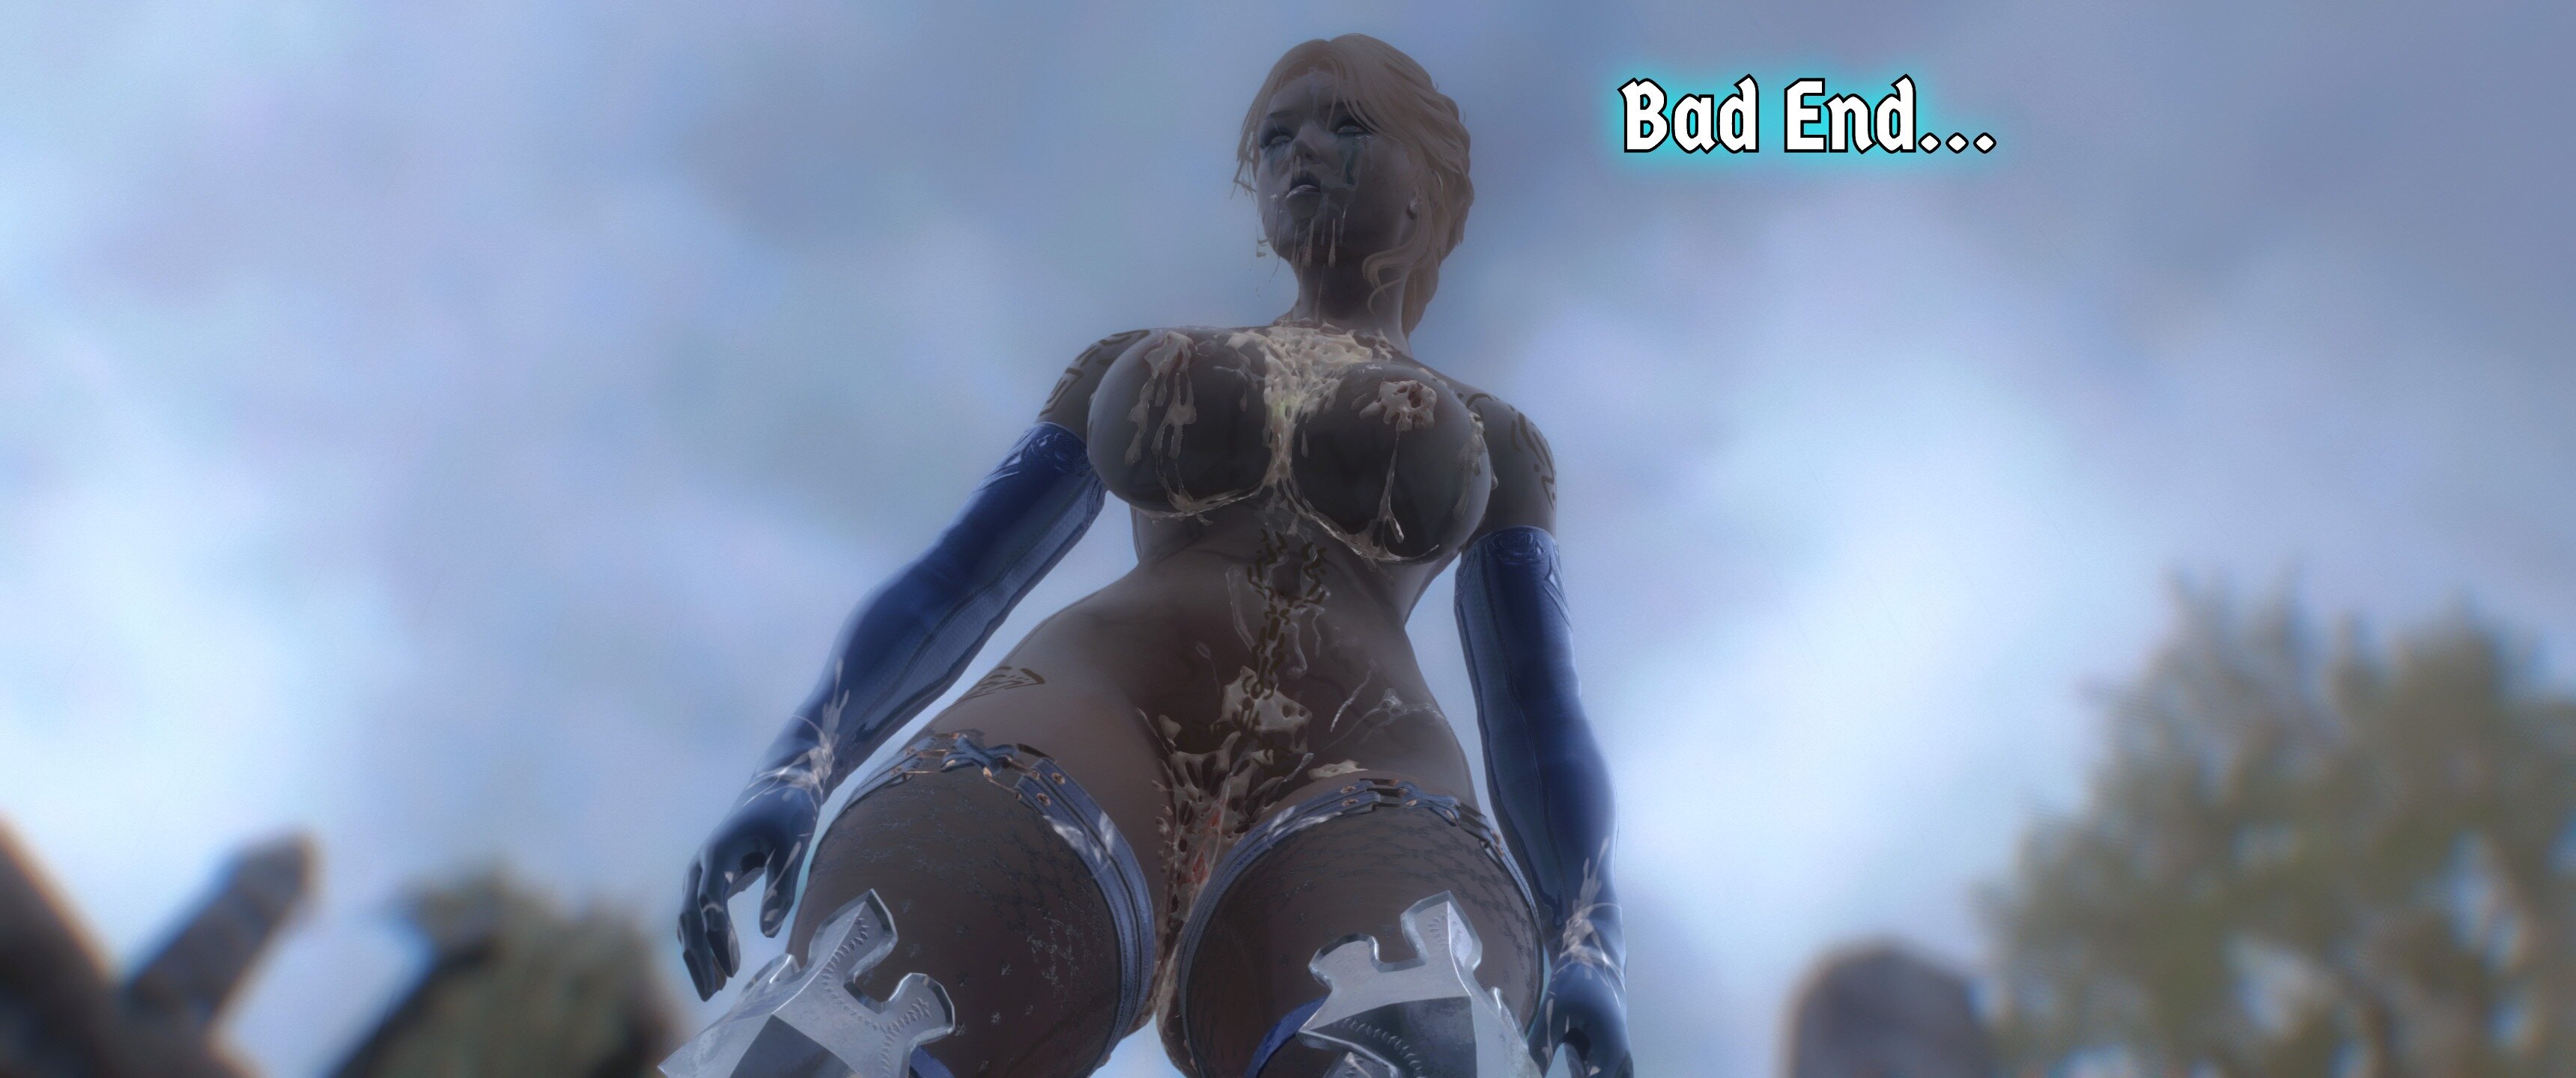
They take her back to the barrow they crawled out of and proceed to have their way with her, knowing full well that in doing so, she will rise again...but not as Erika....
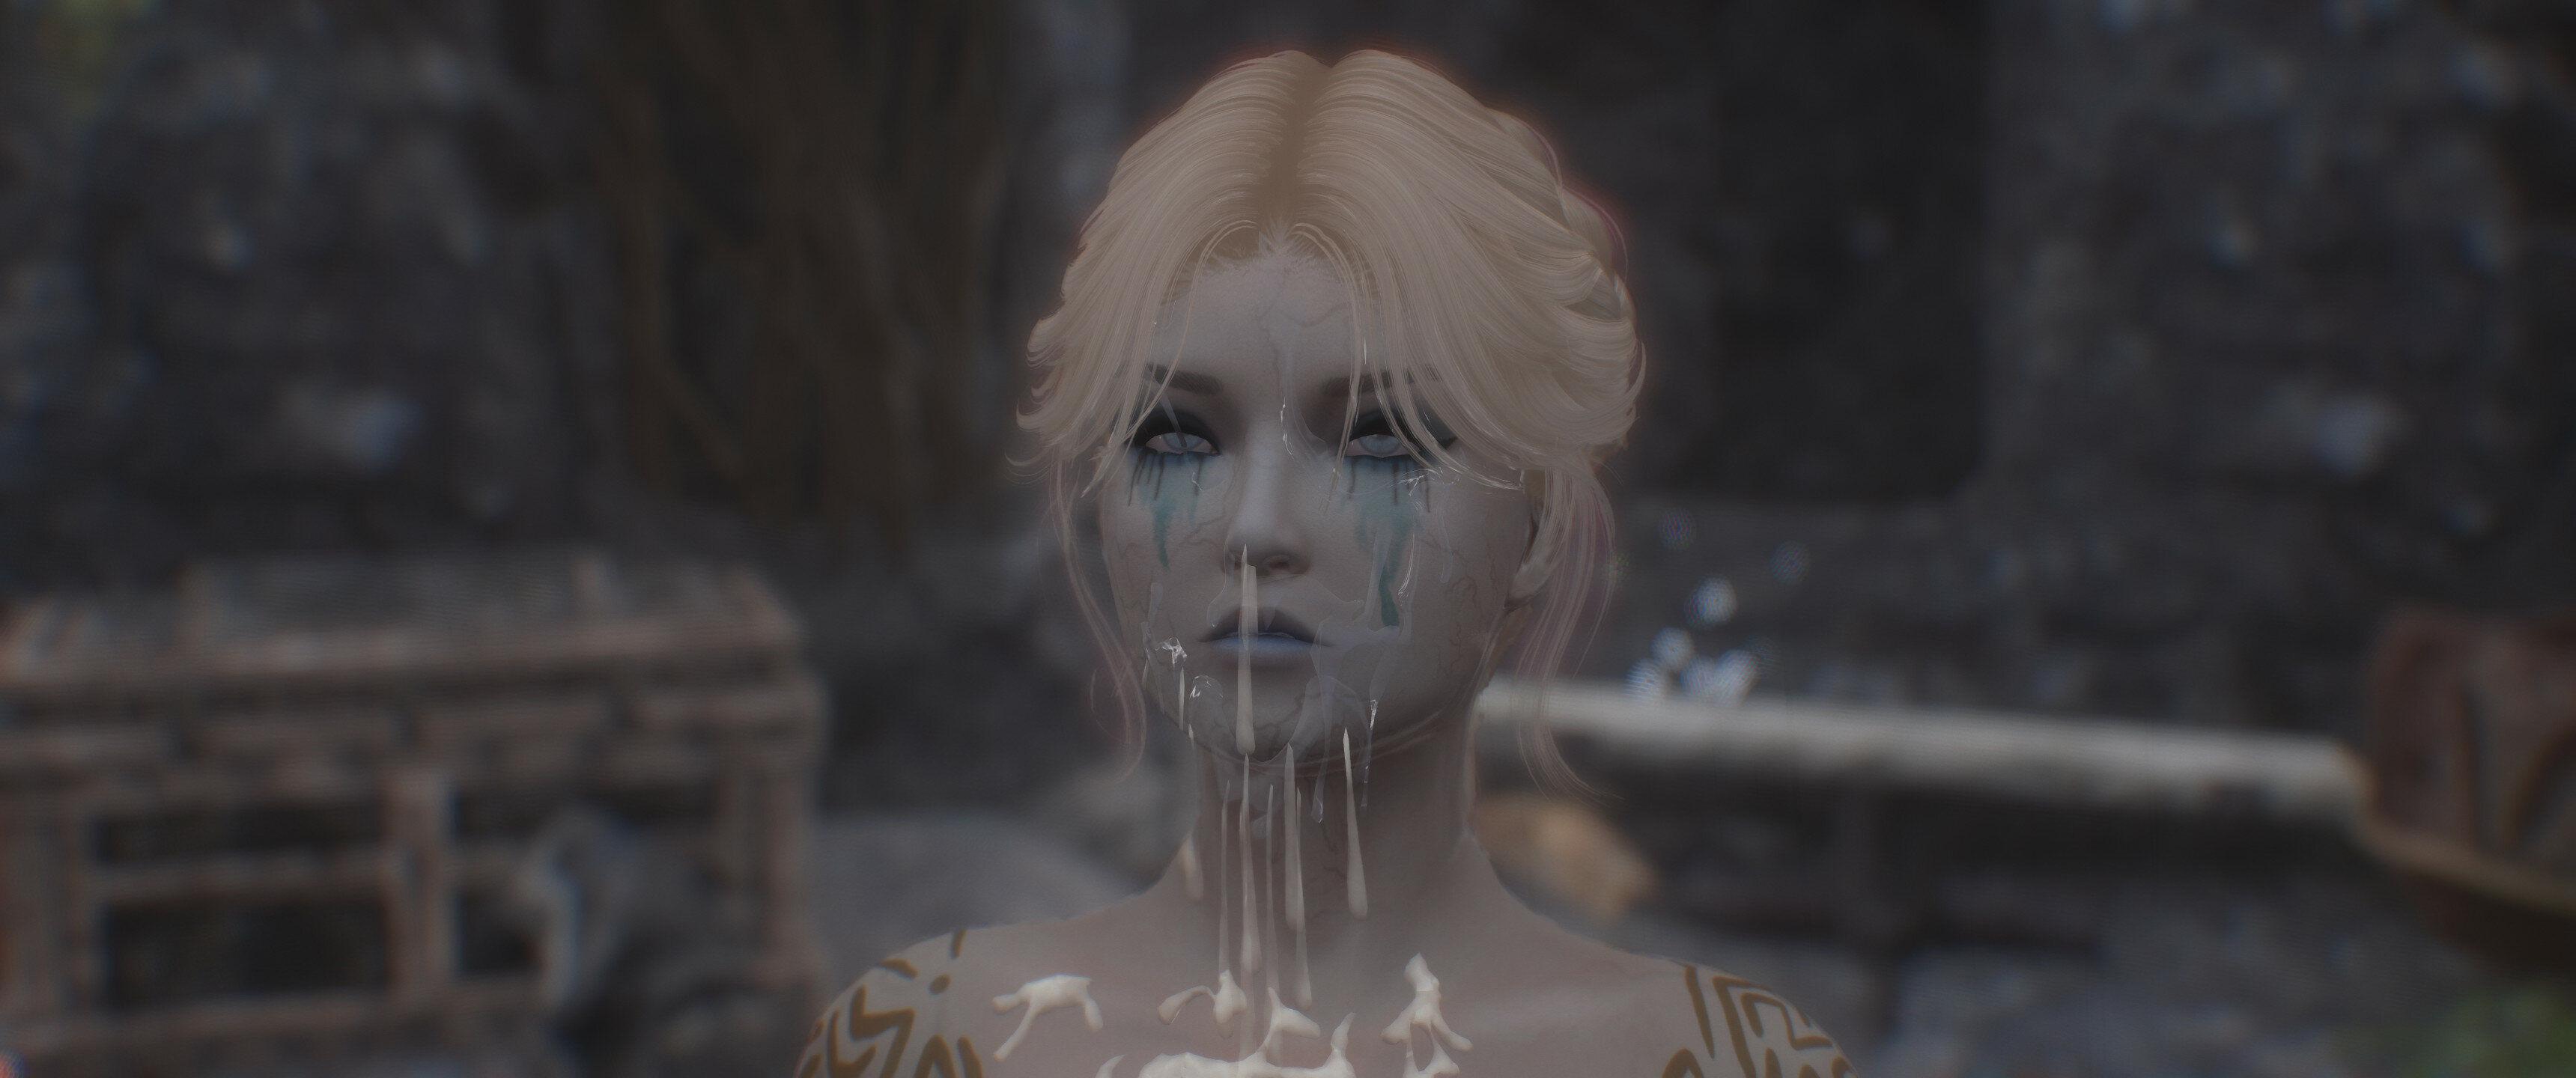
After the Aftermath:


The Barrow:


The aftermath again...:


The Epilogue:


Video:
10 Comments
Recommended Comments