


.thumb.jpg.f6e28b12f919477bd3276e14b01c0f11.jpg)
.thumb.jpg.7e488cdfe2b2043f8604709bae29e643.jpg)
.thumb.jpg.dcd878993037b730169d29dc4cc4d6d0.jpg)

About This File

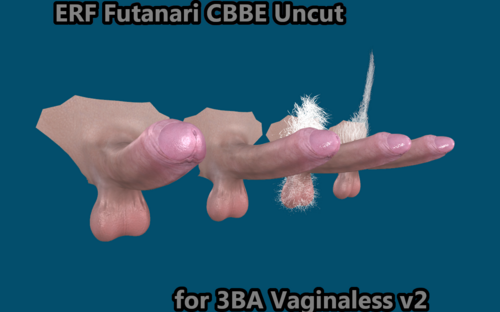
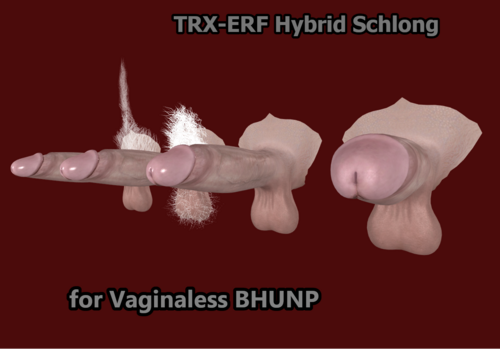
An edit of TRX_Trixter's TRX Futanari Addon that attempts to combine the best aspects of TRX_Trixter's TRX Futanari Addon and EvilReflex's Futanari CBBE SSE as well as Azazellz' LE UUNP conversion of Evil Reflex's Horse Penis Redux, namely the shaft, glans and foreskin shape and customisation from the former with the scrotum shape and sliders from the latter.
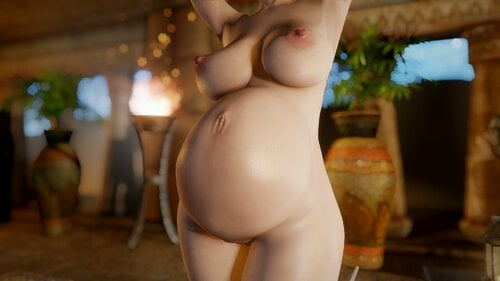
Update 29/07/2024: Added pregnancy slider support for DW 3BA Futanari Schlong.

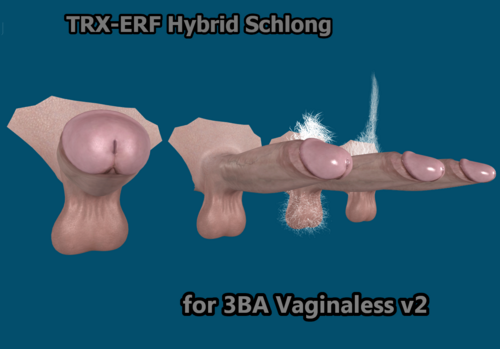
The new version features a redone connection with the 3BA body for enhanced seamlessness- scroll down to and see the image labeled "v2" to see what it looks like. The new version also features redone scrotum geometry that should improve the look of ball deformation when SMP is enabled. For the first time, this schlong is now its own SOS addon found under DW 3BA Futanari in the SOS MCM. It also uses its own separate texture paths, removing the requirement to have the original TRX Futanari Schlong installed.
Do note that due to the changed geometry, textures baked for the old version will not be compatible with the new verion!
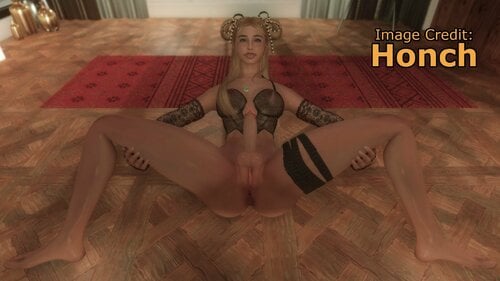
Looking for textures? Honch has got you covered:
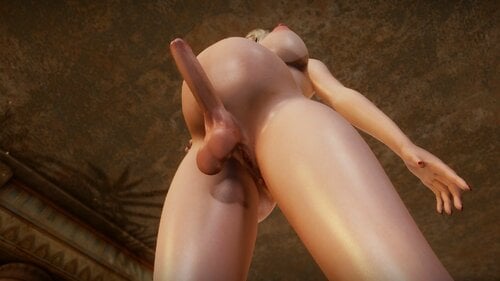
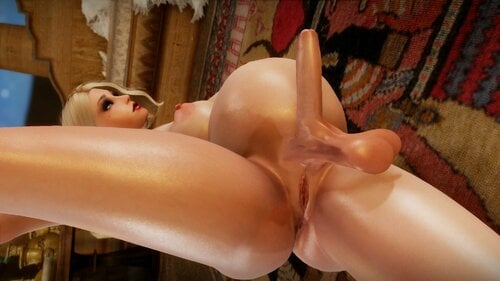
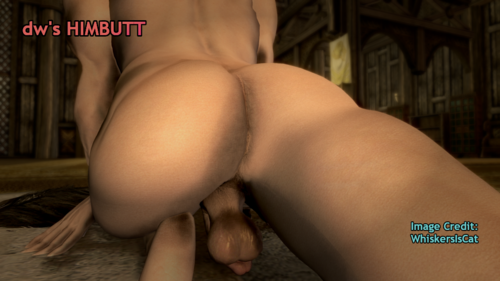
How and where this schlong connects with the 3BA body:
v1
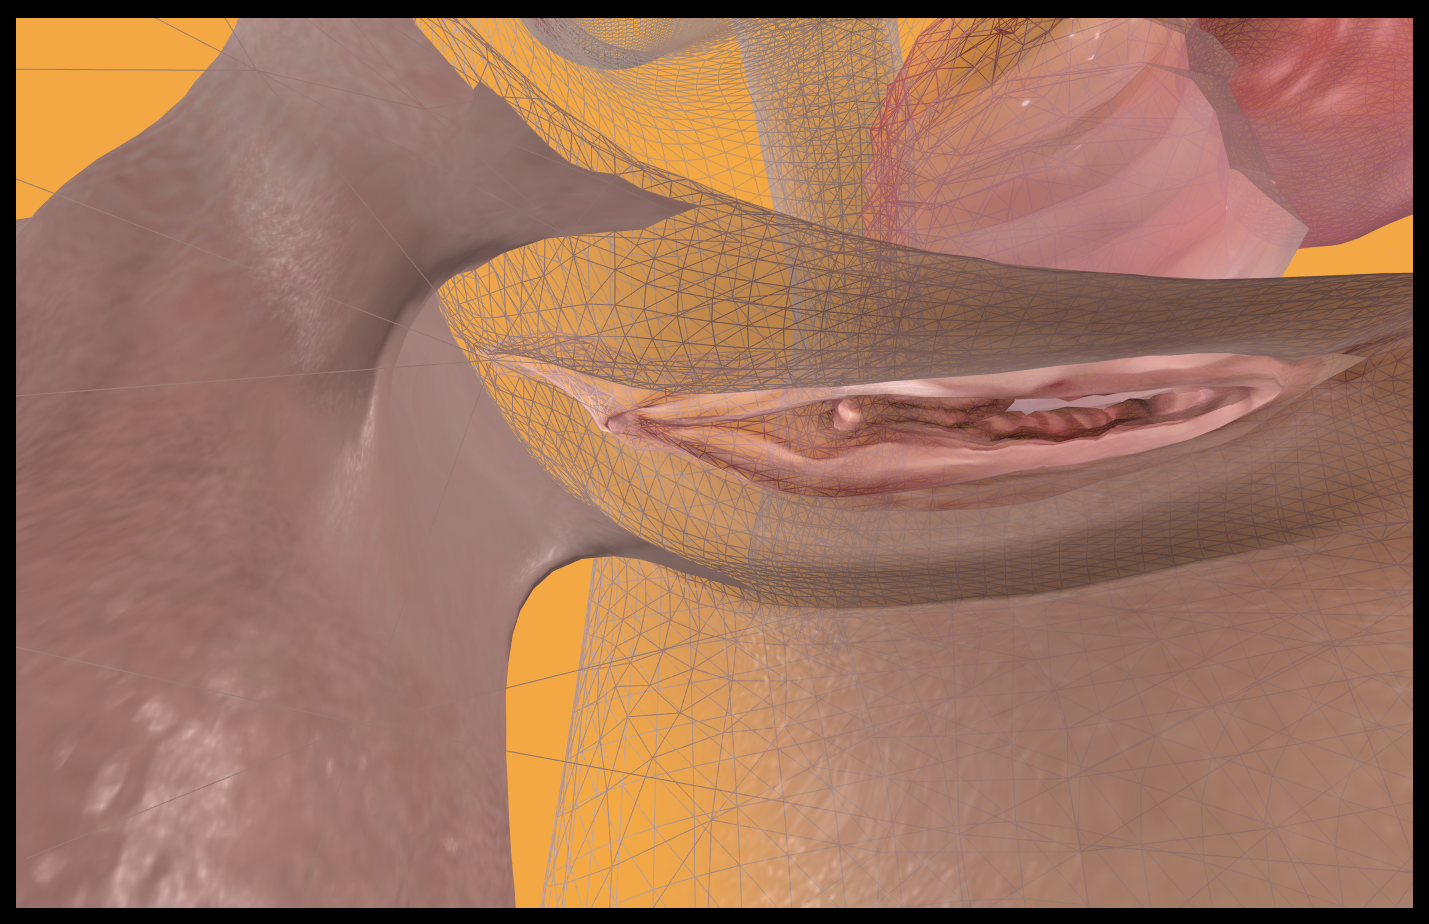
v2

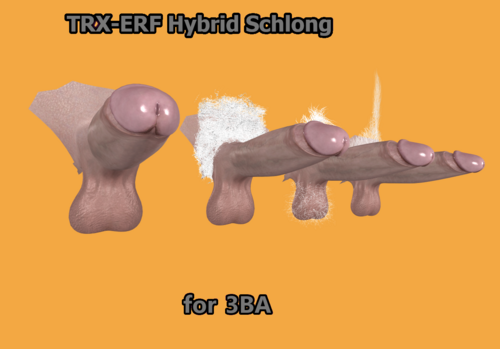
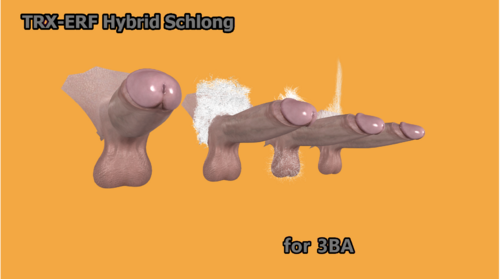
Comparison between TRX-ERF Hybrid and default TRX

Demonstration of new scrotum sliders:
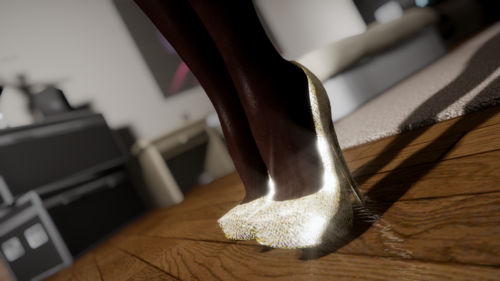
A major impetus behind making this variant of TRX was frustration with trying to make scrotum physics look good with the default mesh. Comparing the structure of TRX's scrotum to ERF's, I concluded that the simpler geometry of the latter deformed less chaotically and the droopier shape made it better for dangly SMP physics, so I decided to combine the two. Here are some videos demonstrating the scrotum physics on this schlong:
A few videos that show off of the schlong connects to the body
The FW4 versions have some of the foreskin sliders pre-emptively applied:

Pregnancy slider support was added in version 2.1:
https://cdn.imgchest.com/files/wye3c9xqbb4.mp4
DW_3BA_Futanari_Schlong.blend
Use this file to generate textures for this schlong.
Spoilered information applicable to old version only
NOTE: Requires the original TRX Addon. Every variant is SMP-enabled dy befault. To disable SMP, do not install the physics config file and use the "SMP Collisions Object Off" zap slider in BodySlide.
TRXERFHybrid_seamless_CBBE_3BA_new_version.blend
Use this file to generate textures for this schlong. Unfortunately, due to various factors, making textures for this specific schlong is a much more involved process than with most other schlongs. Below is a tutorial that walks you through every step of the way:
Quote
Tutorial: Baking textures for TRX-ERF Hybrid Schlong for 3BA
[NOTE: This tutorial assumes you already know how to bake schlong textures in Blender.]
1. Open TRXERFHybrid_seamless_CBBE_3BA_new_version.blend. For your first bake, have this body + schlong combo selected.
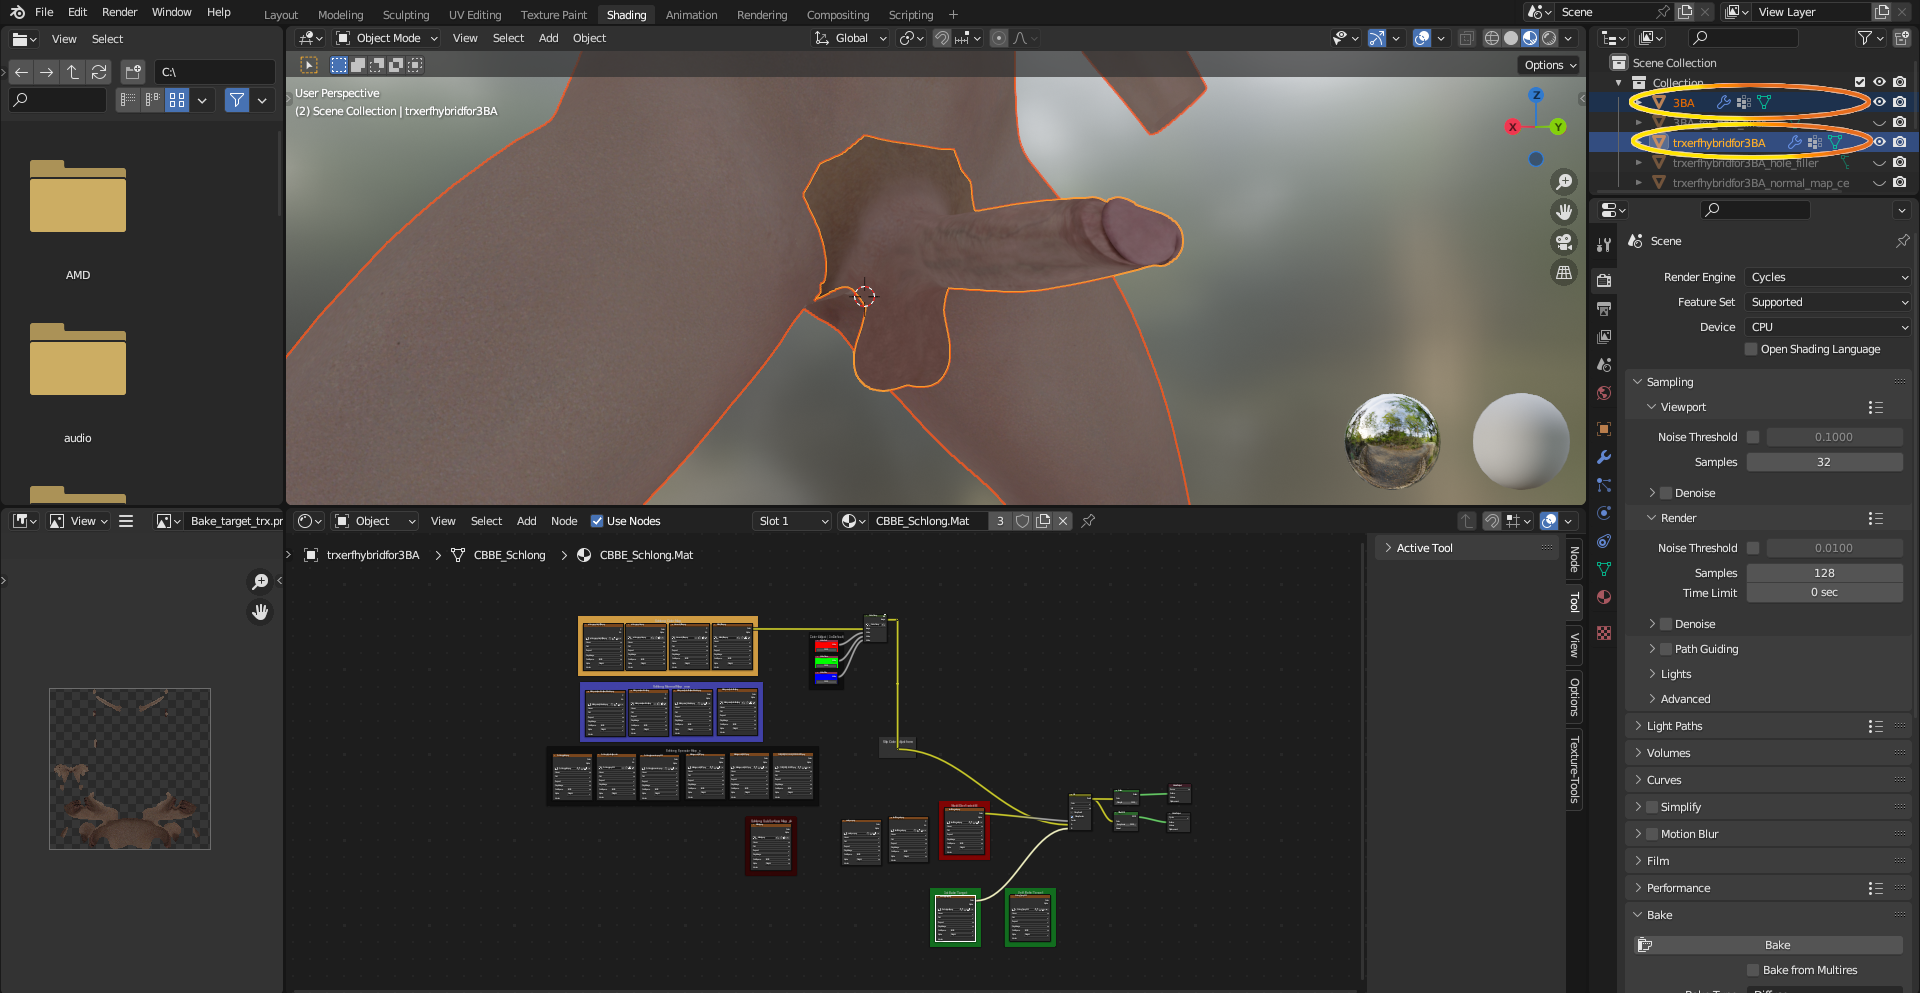
2. After the first bake, you’ll notice these holes on the underside of the schlong. The rest of this tutorial is all about trying to get rid of them.

3. For your second bake, you’ll need these two meshes. Remember to use the eyeball icons to hide unneeded meshes.
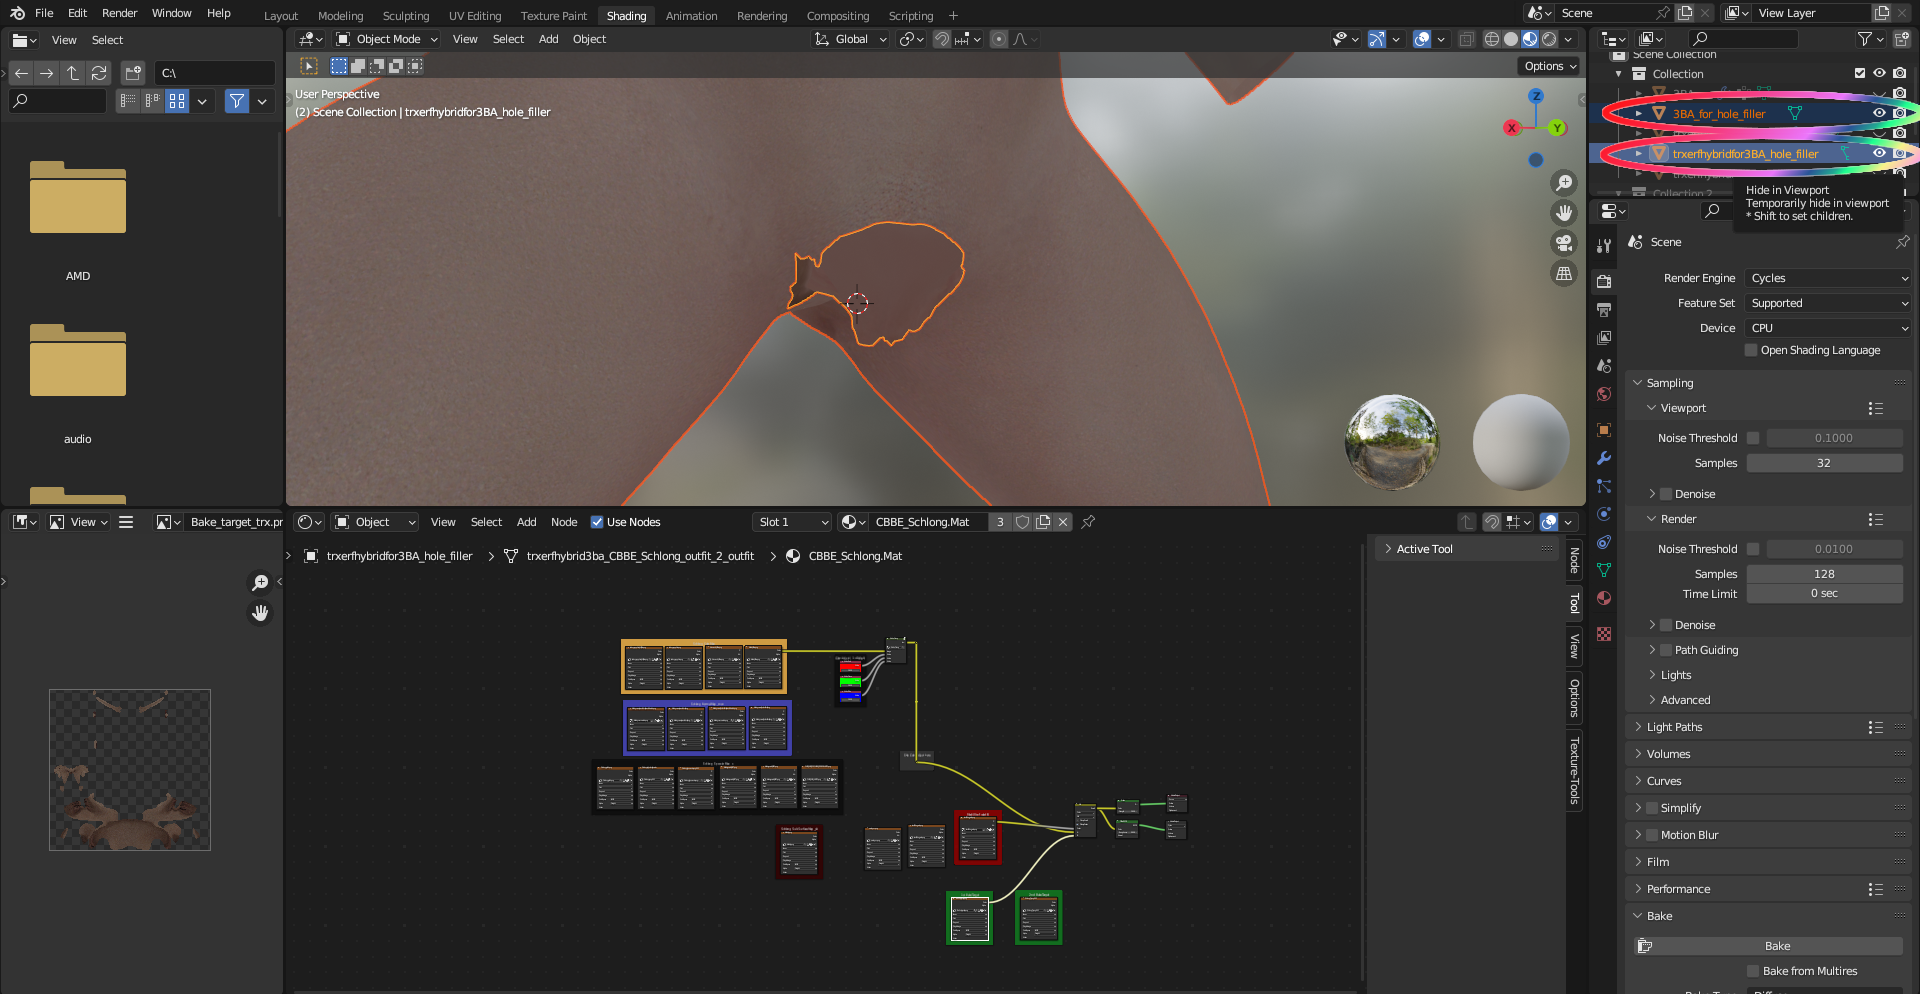
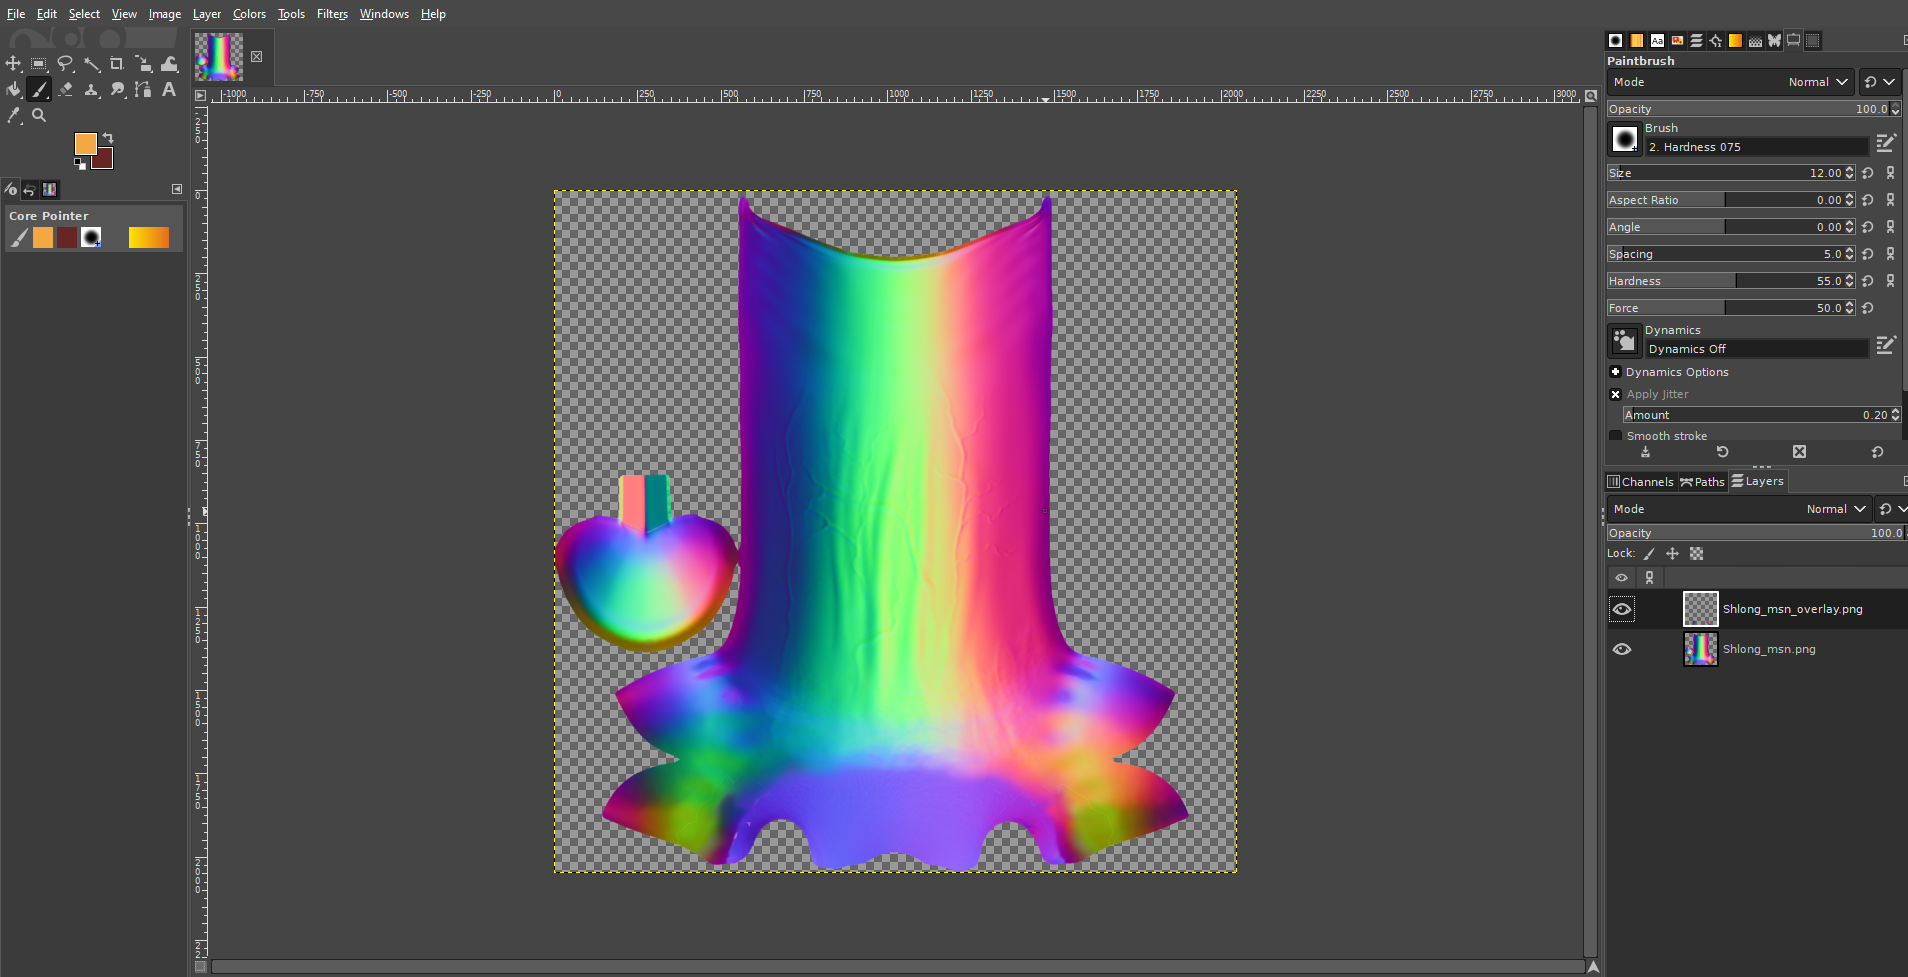
4. Once you’ve completed the second bake and saved the result, open the result of your first bake in your chosen image editor.
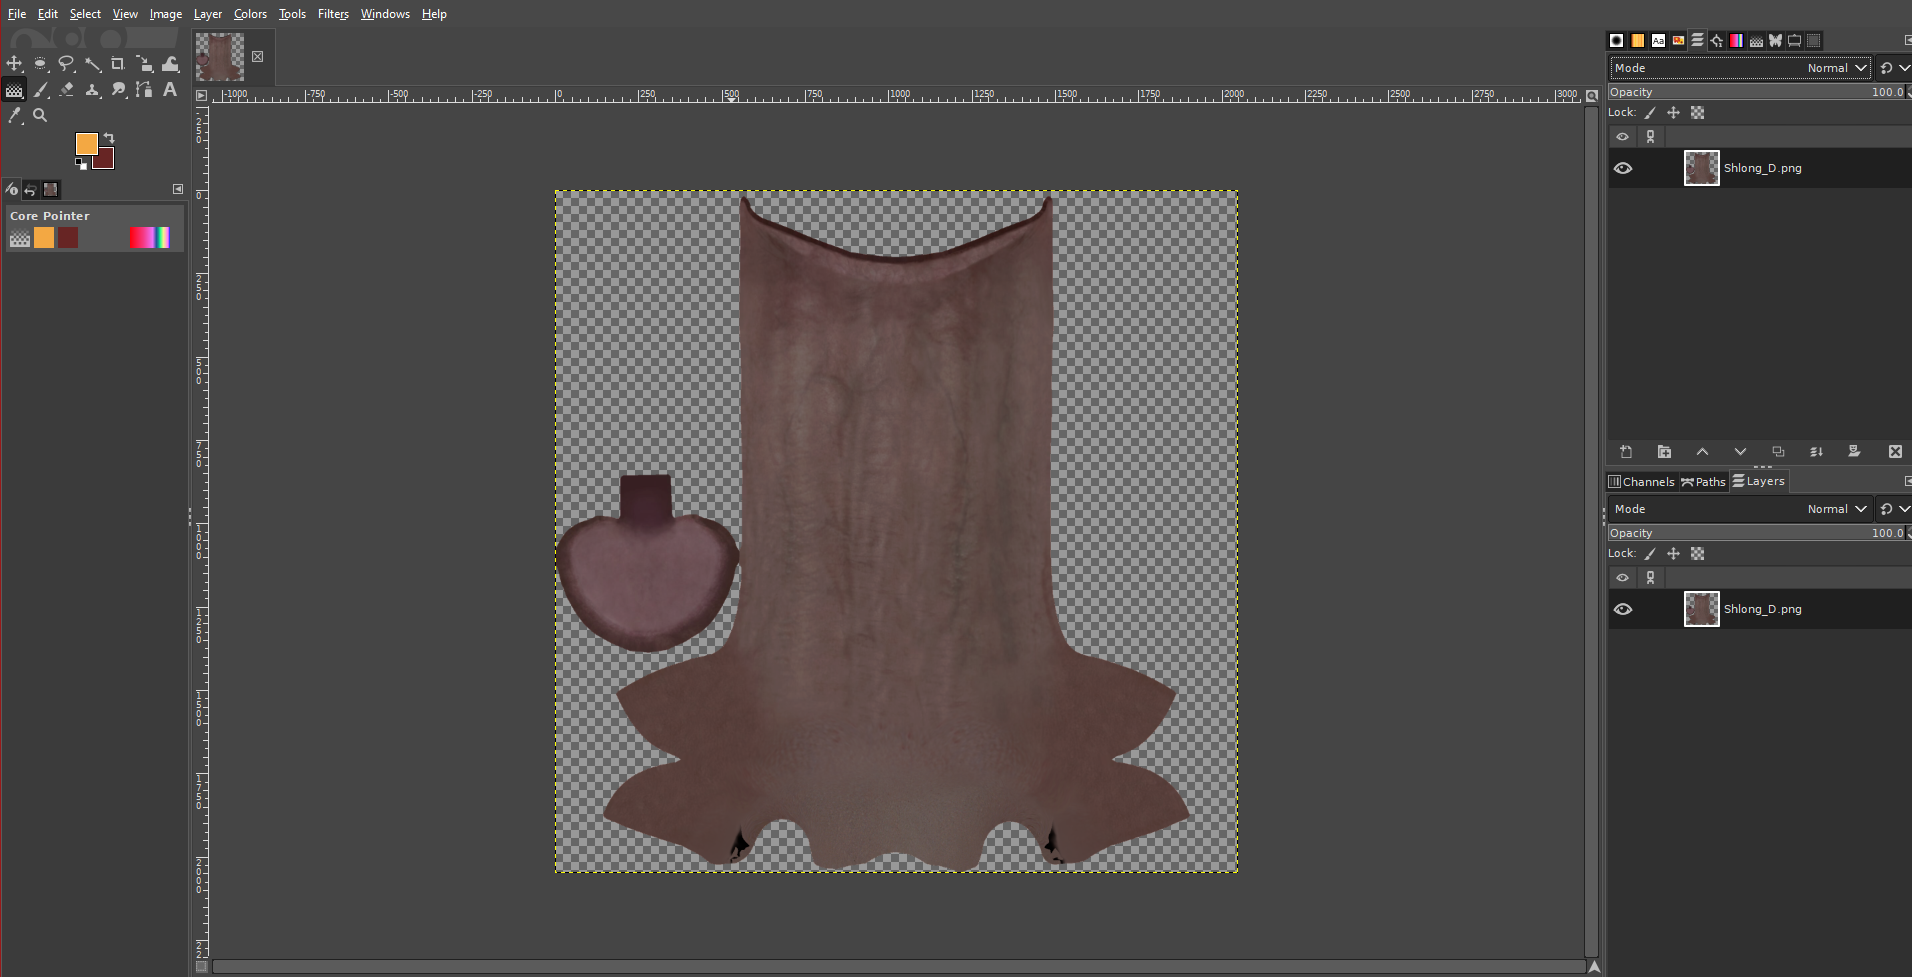
5. Now add the second bake result and layer it on top of the first one.
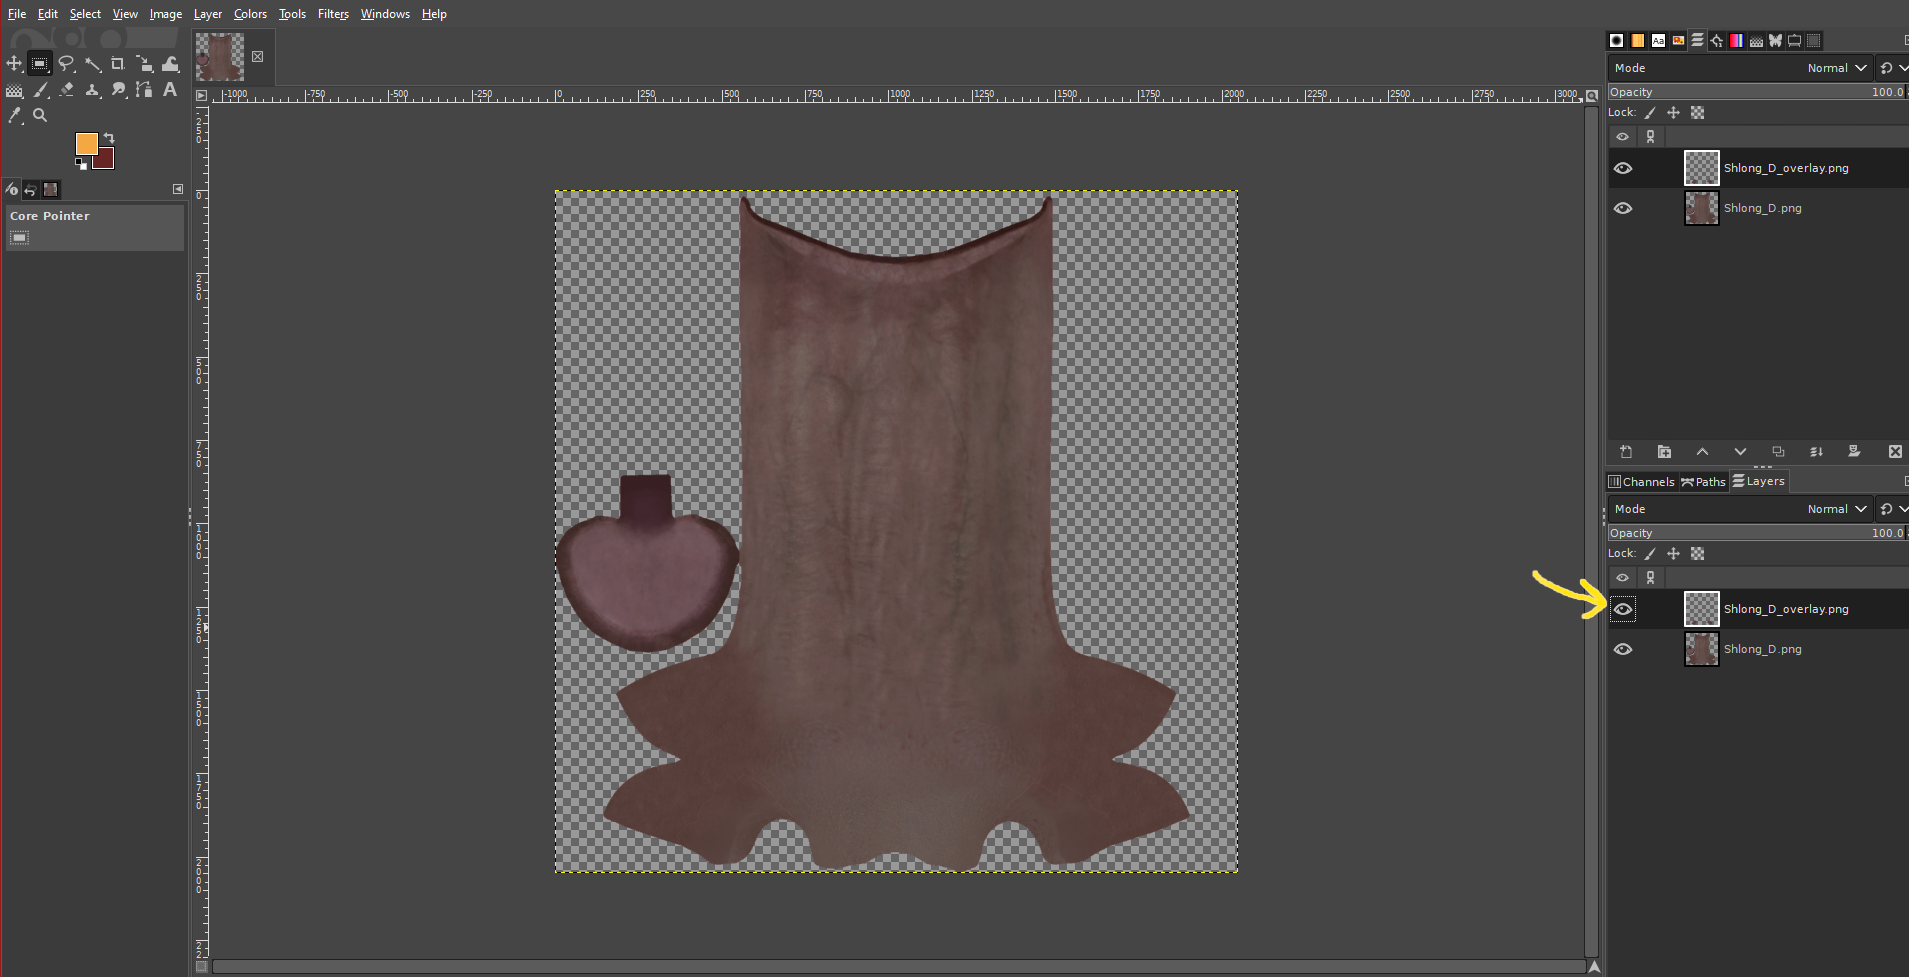
6. When it comes to mixing the two layers together, with diffuse textures, the eraser tool is often enough. Erase the borders like shown in the video. You also generally want to use as much of the original bake as possible and only use the second bake to patch over the holes, which is why you see me go in and erase the overlay right up to the holes. Merge the layers and save as .png when done.
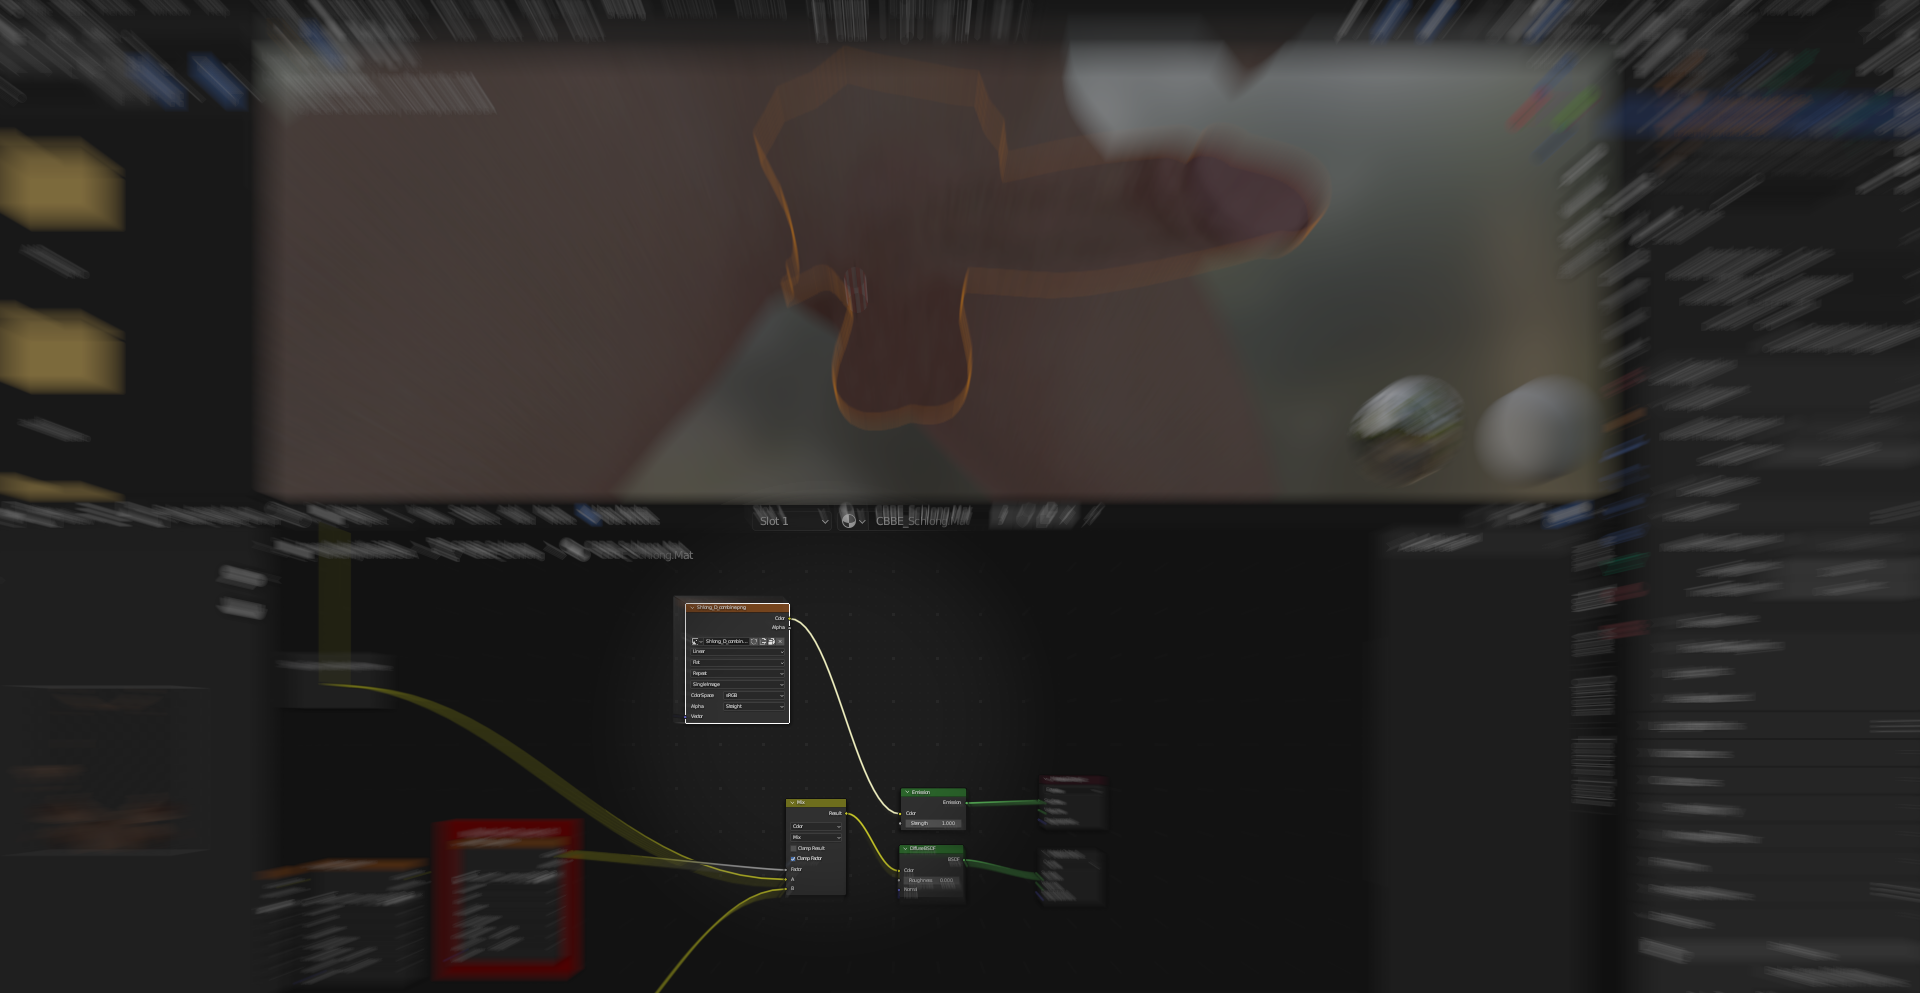
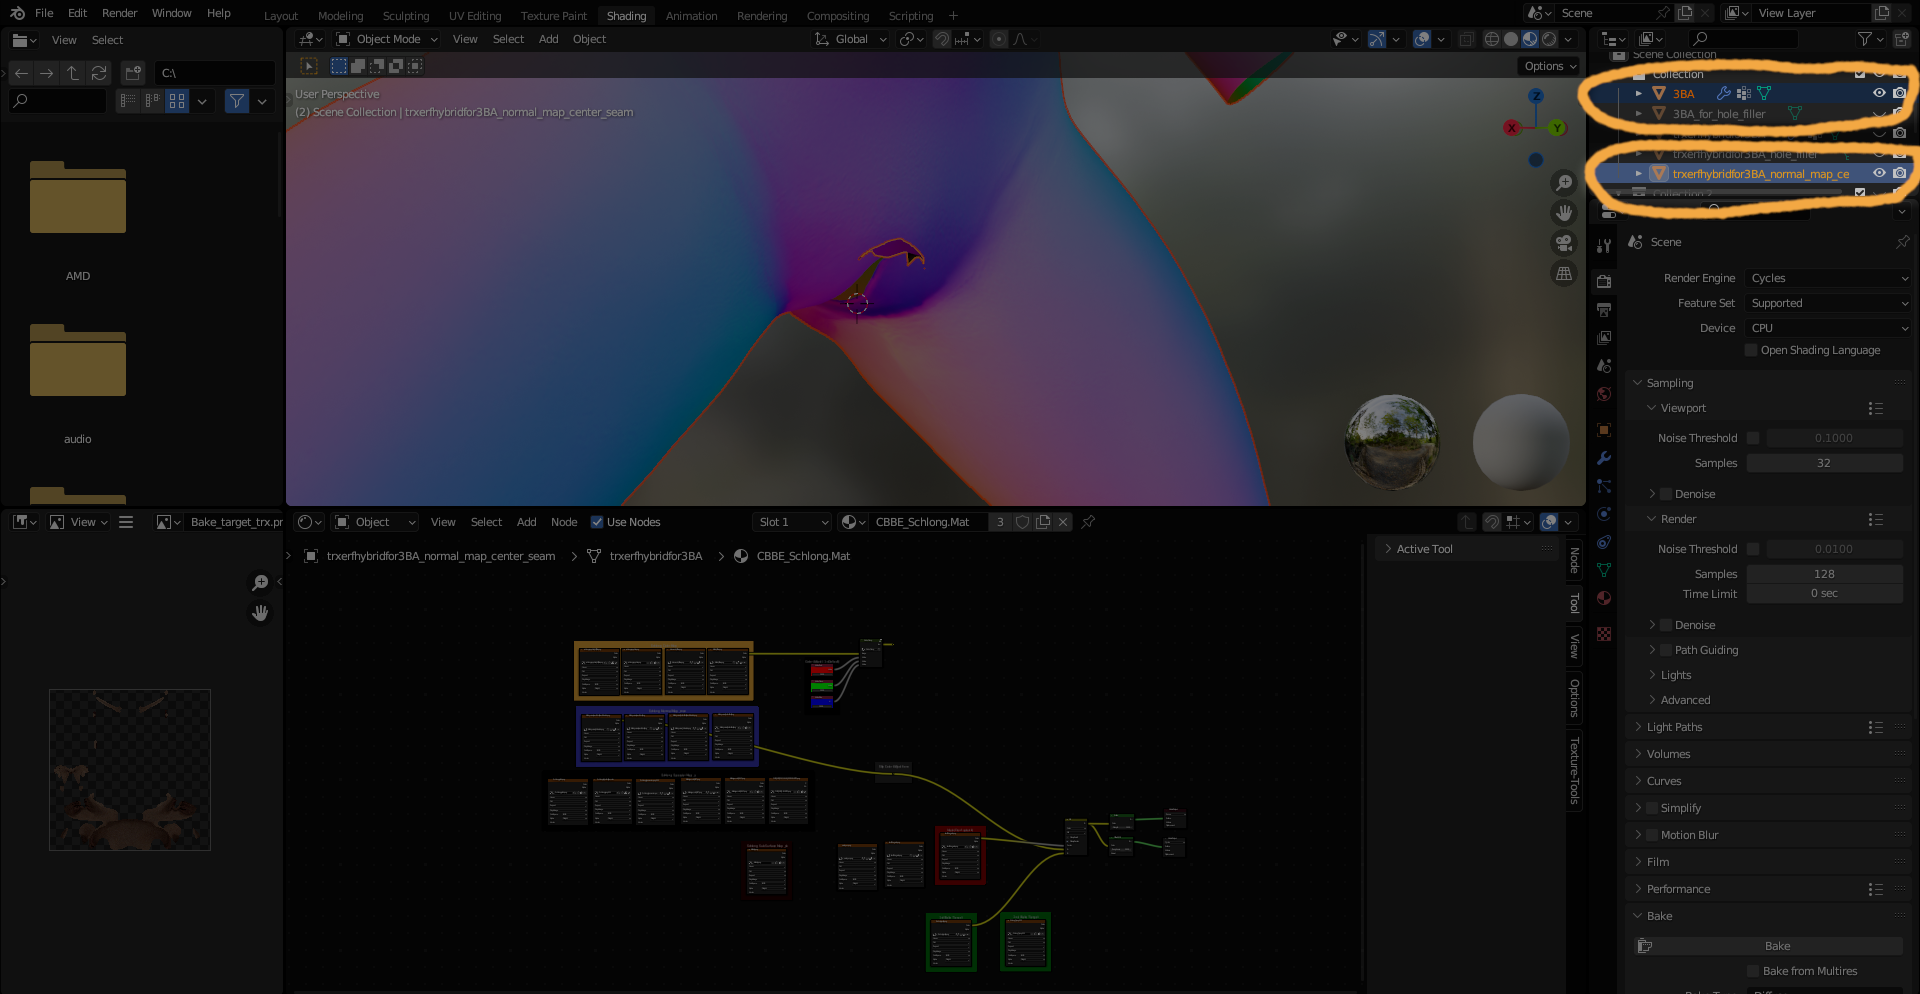
7. Now open the .blend file in Blender again and drag and drop the .png you just saved into Blender like shown.

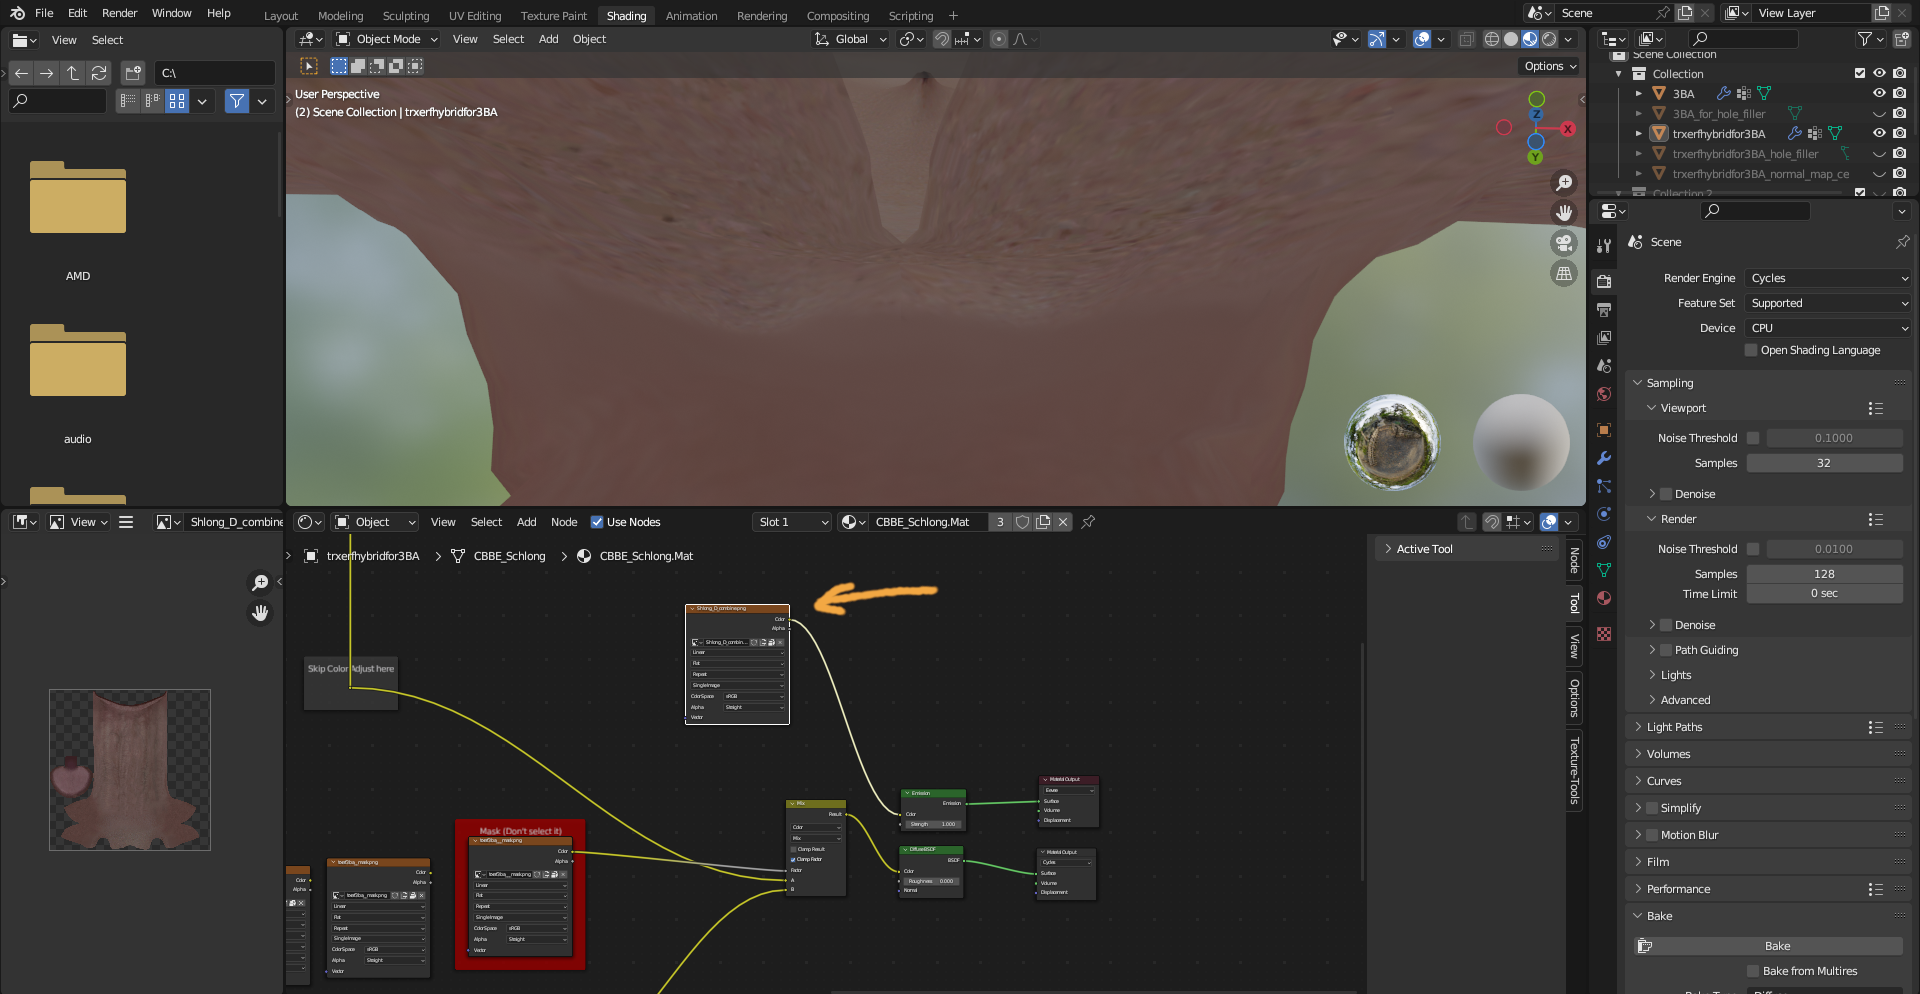
8. Zoom in and connect the new node you just made like shown.
9. Swing the 3D view around to get a good look at the underside of the schlong and make sure the node you made is highlighted in white.
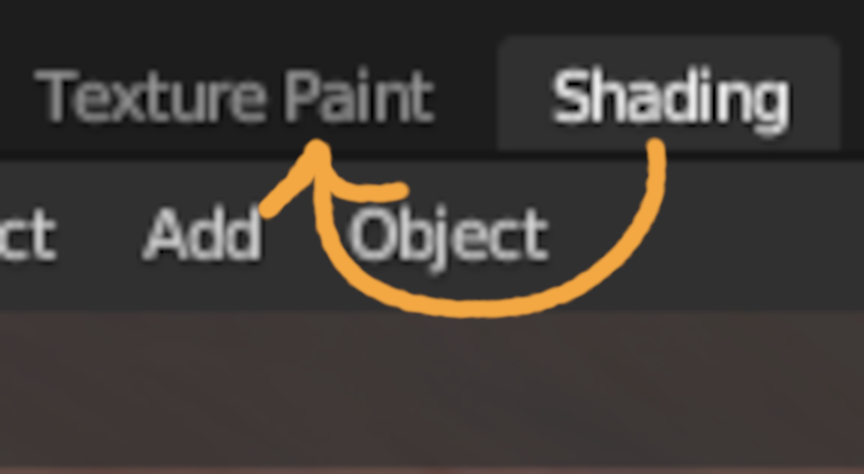
10. Switch your workspace from “Shading” to “Texture Paint.” You’ll need to wrangle the camera around to the underside of the schlong again.
11. The point here is to identify and fix possible texture seams, but in this case everything looks pretty good. For the sake of this tutorial though, let’s zoom in closer…
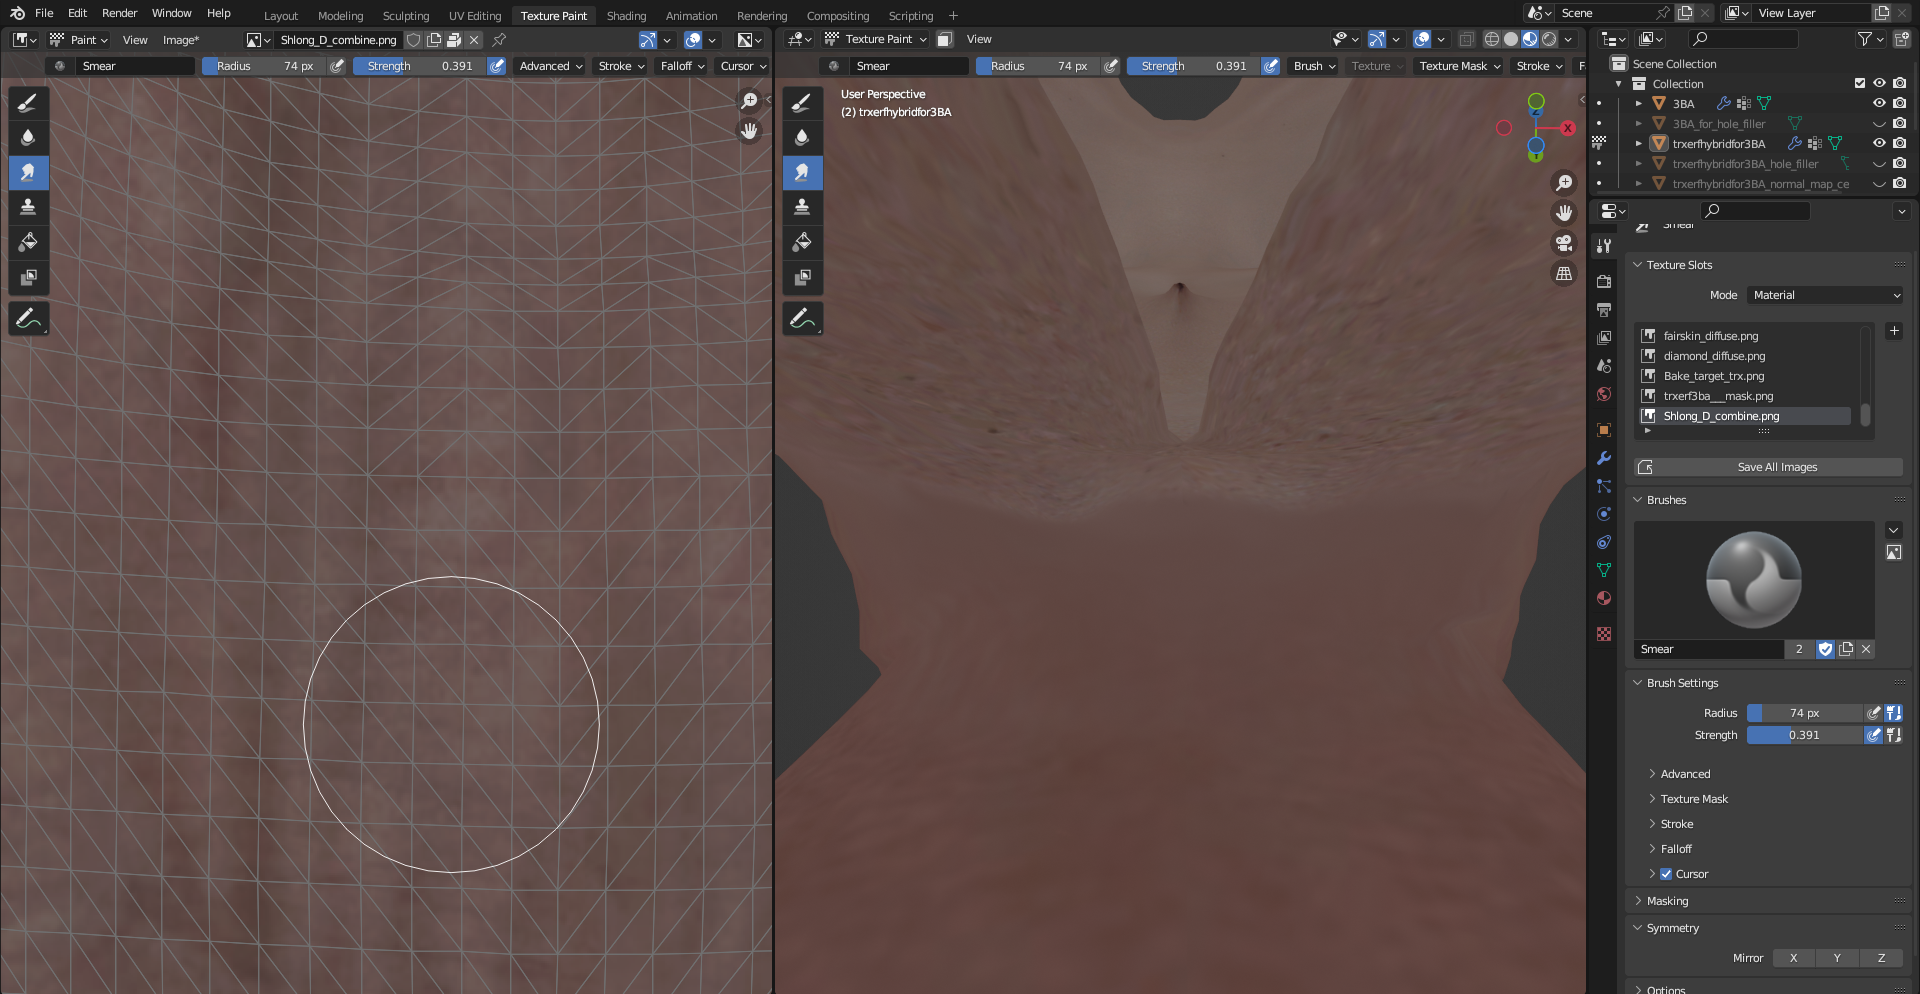
12. A-ha! If we zoom in really close, we can just about make out a bit of a seam in the middle of the schlong. In all honesty, this is pretty small potatoes, but I’m just going to take this opportunity to demonstrate how texture editing in Blender works.
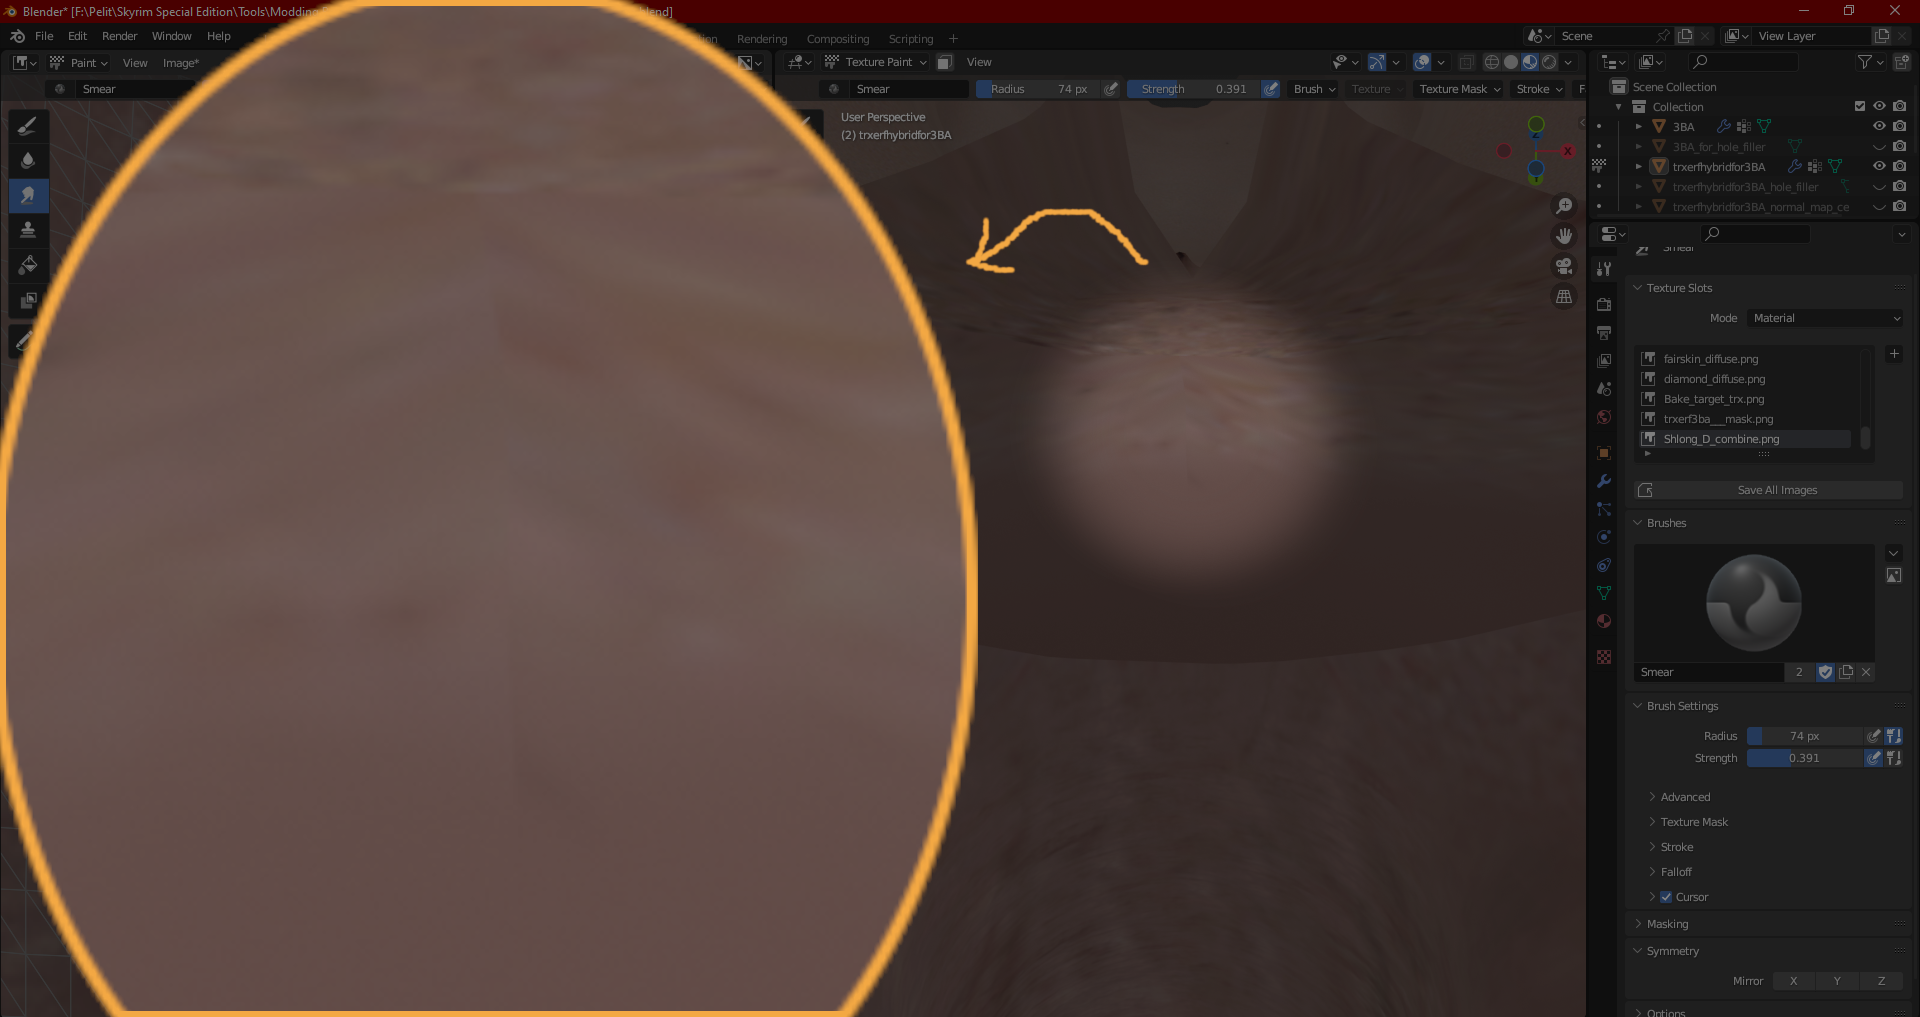
13. Select the Smear tool.

14. Use the smear tool to remove the seam like shown.
15. Click on Image → Save As… to save your edited texture just like when baking schlong textures.
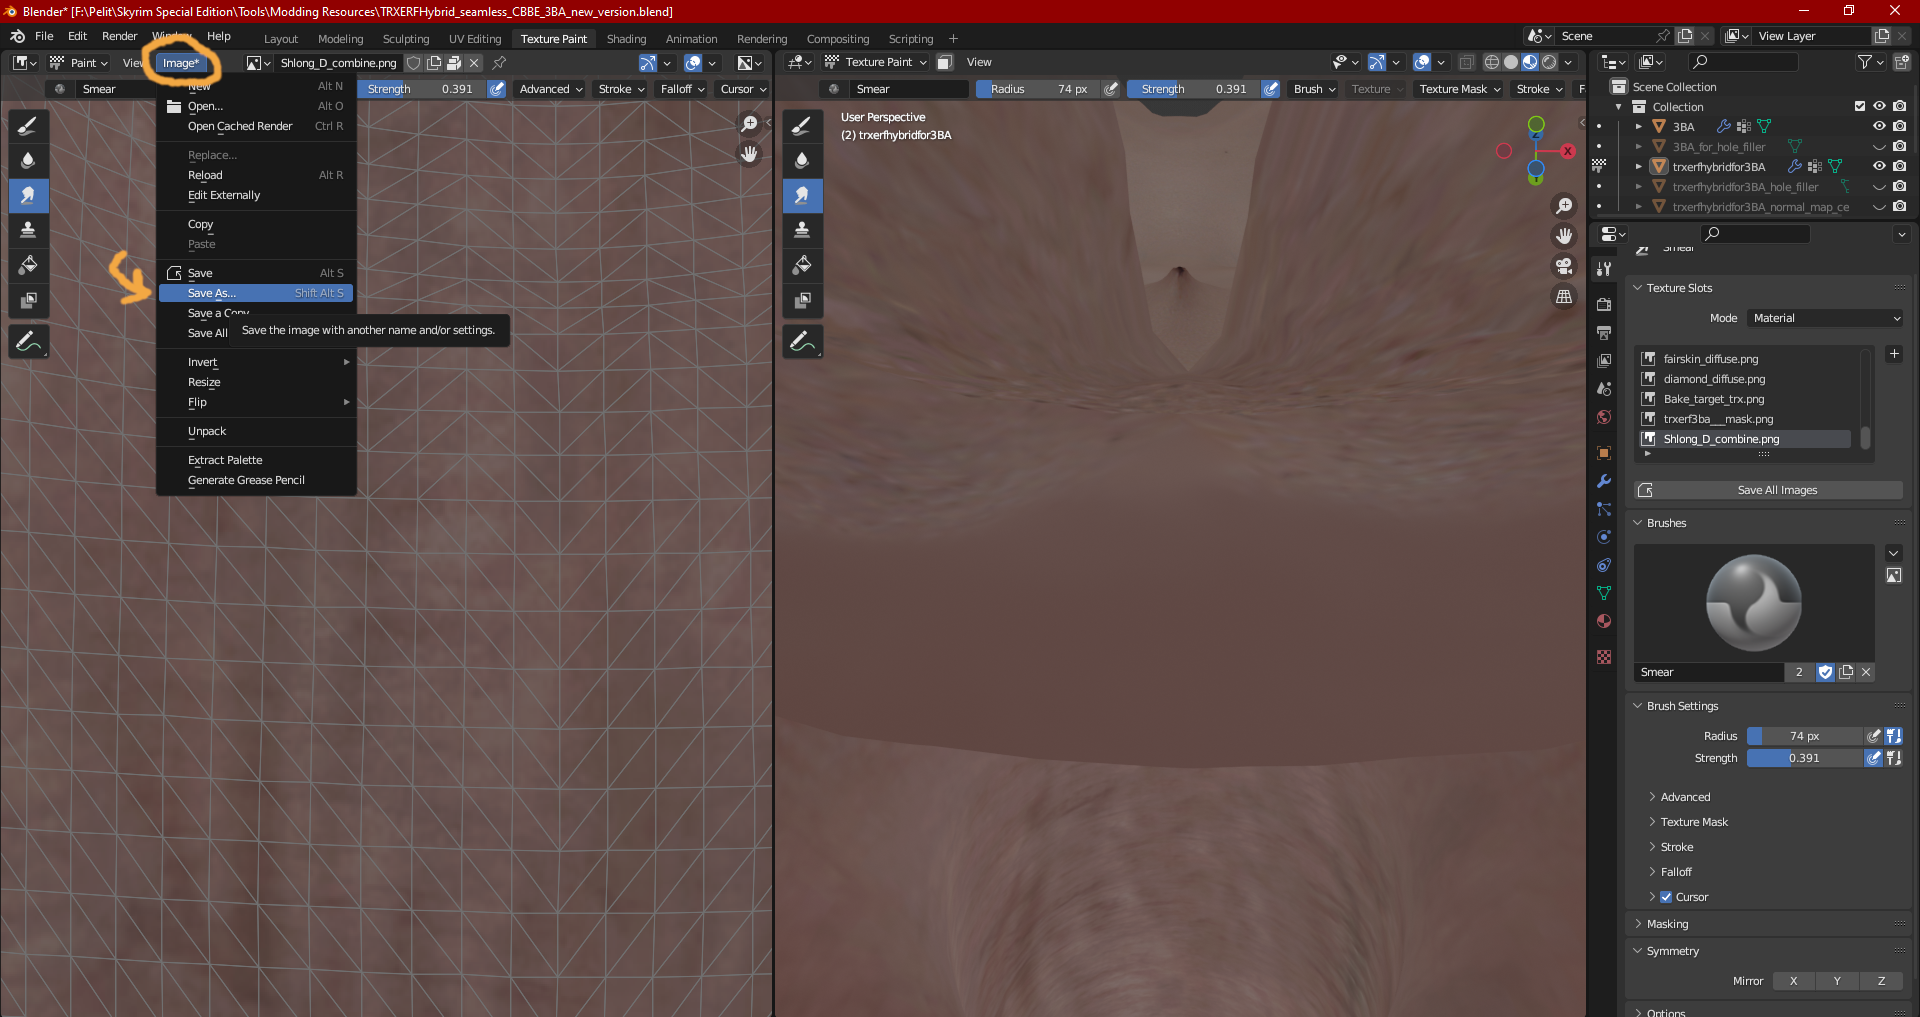
16. Congratulations, your diffuse texture is now ready to be saved as .dds and used in the game! Now onto the normal maps, which are unfortunately more difficult to deal with...

17. Repeat the first two bakes but with normal maps this time.

18. For the normal map, let’s also do a third bake, using this mesh combination:
19. Just like with the diffuse map before, overlay the second bake on top of the first bake. We’ll concern ourselves with the third bake later.
20. Much like before, you’ll need to mix the two layers, starting by using the eraser tool. You’ll notice there are much artifacts and odd splotches of colour than with the diffuse maps, some of which can’t just be erased since they’re covering the dark patches on the first bake.
21. Merge your layers before the next step.
22. Using a combination of the Clone and Smudge tools, remove any remaining discoloured areas or overly harsh edges.
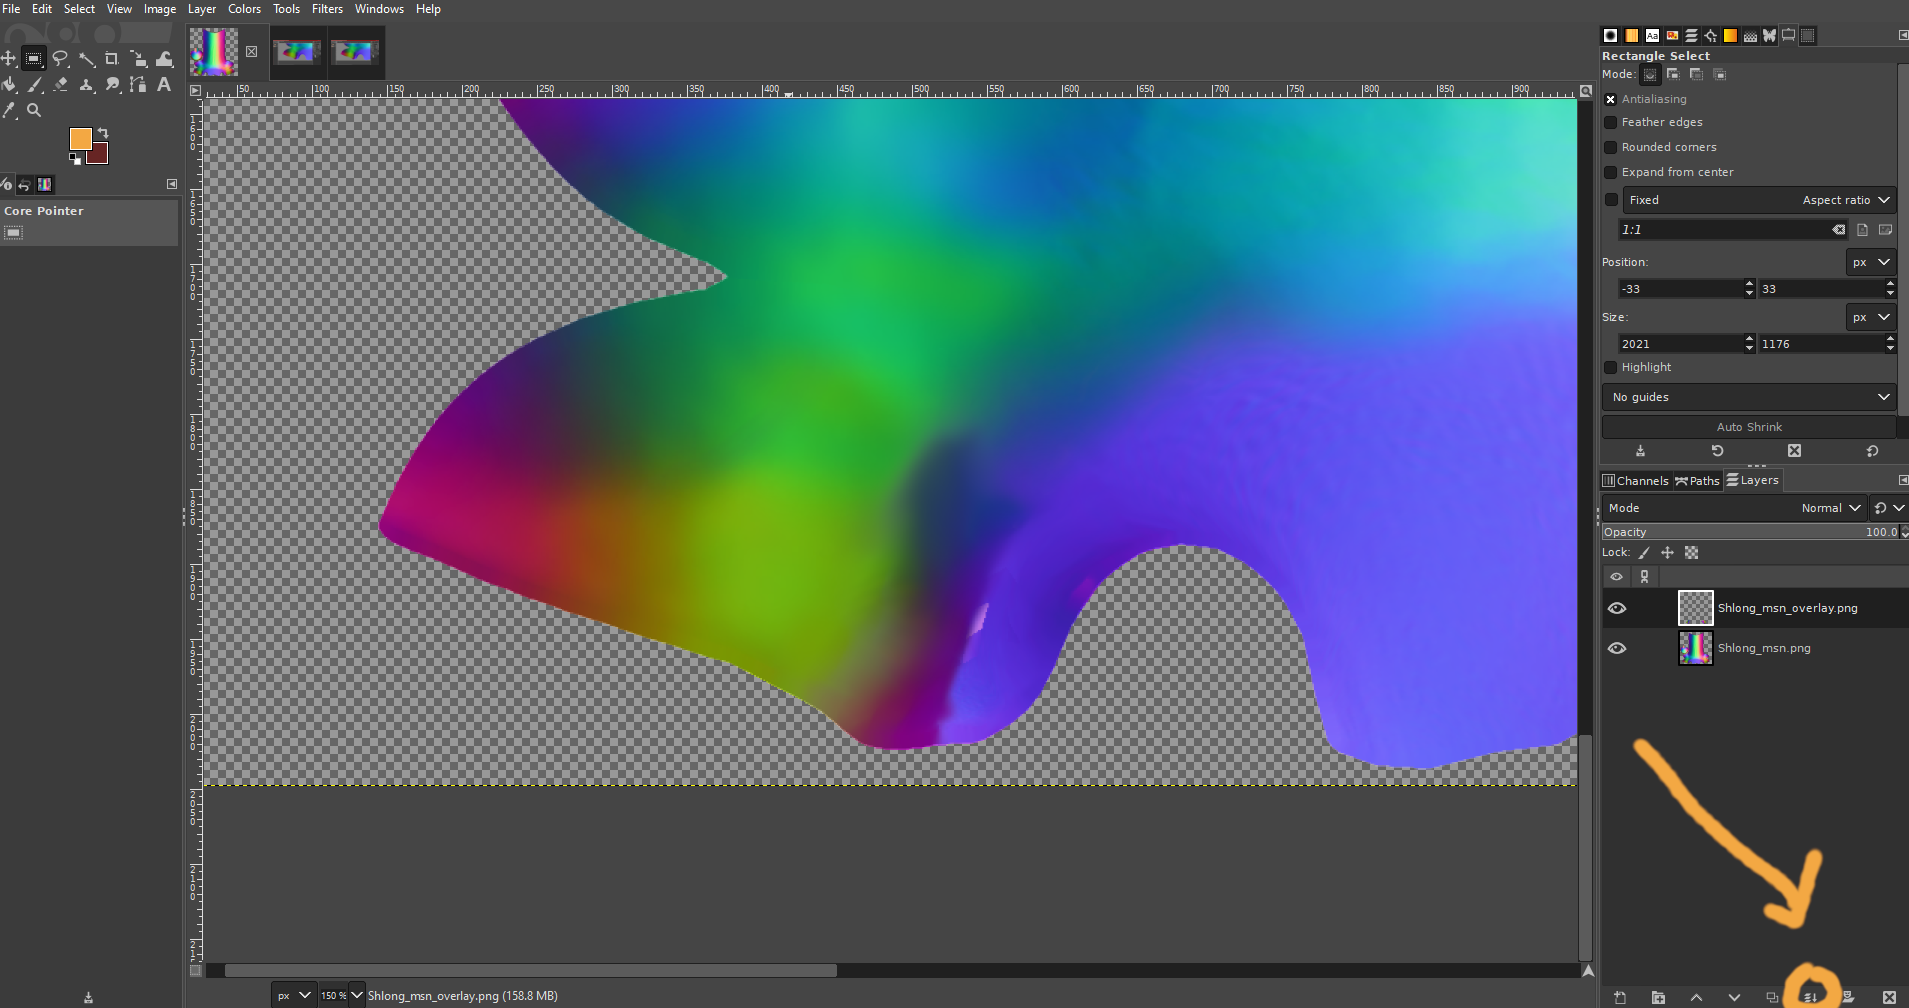
23. Now add in the third bake and overlay it on top of the normal map you’ve been working on.
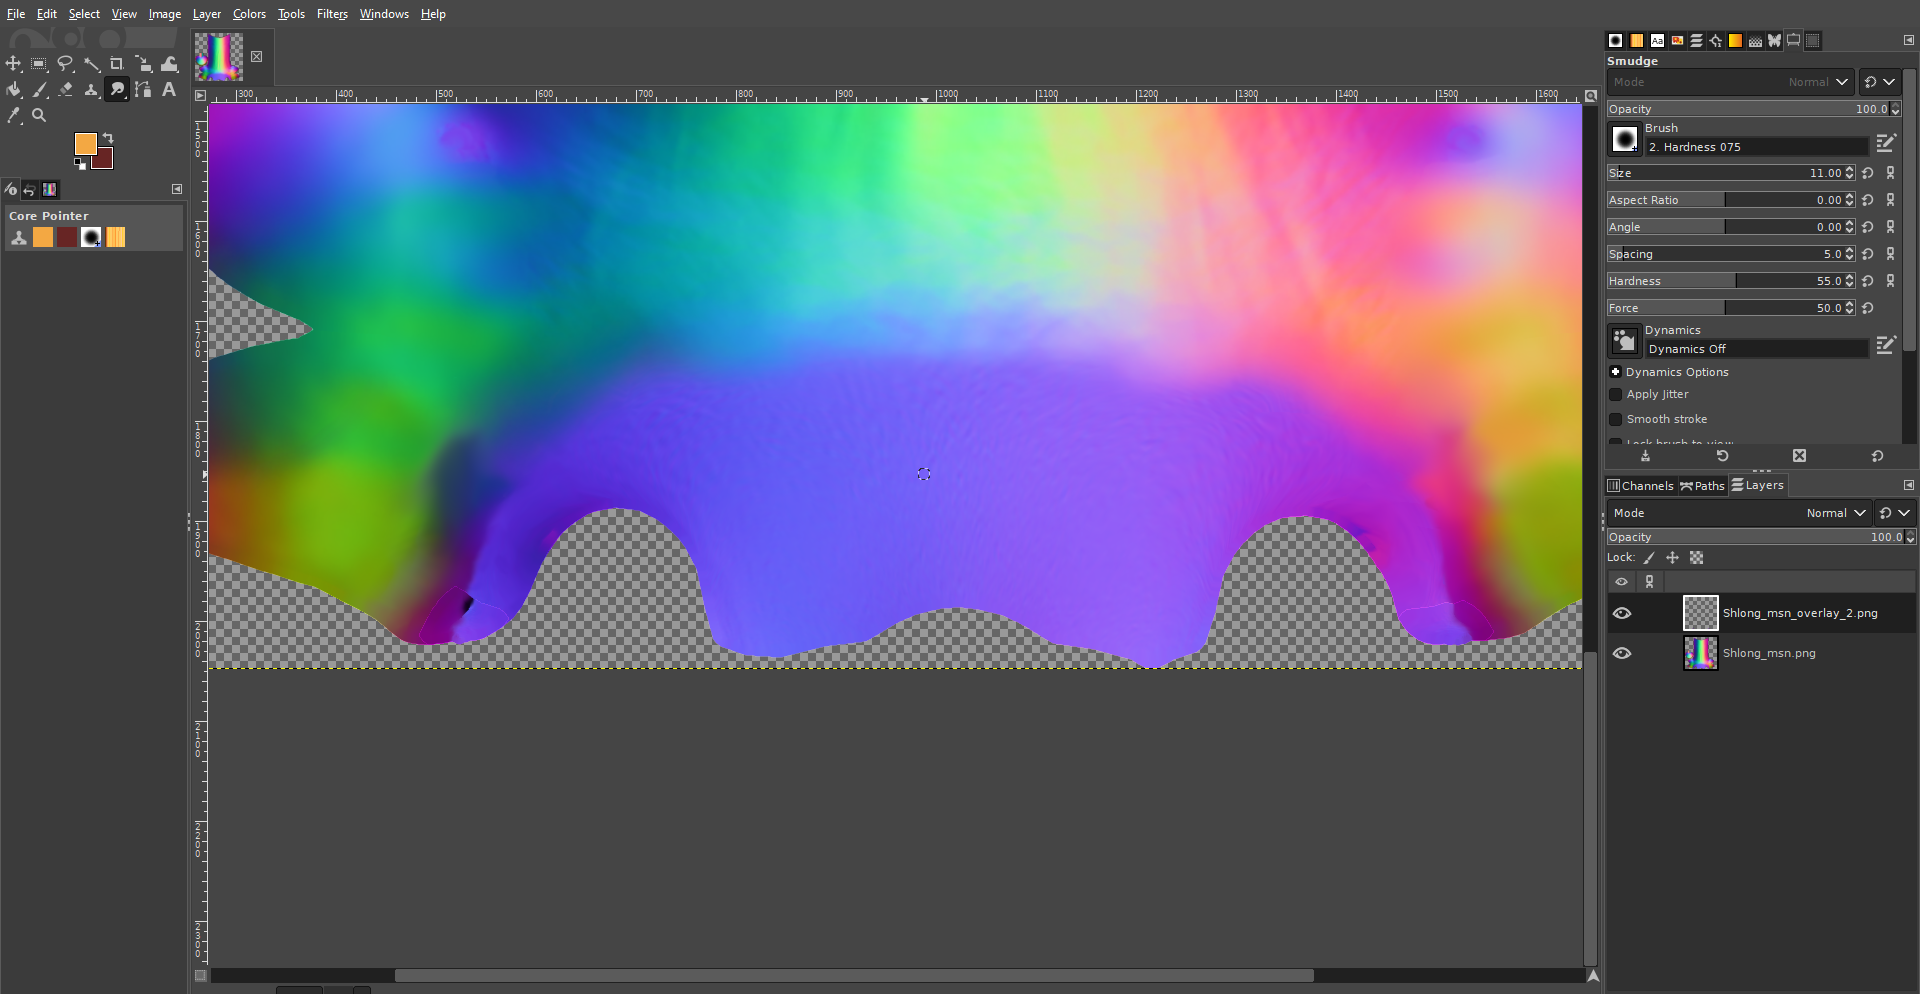
24. Just like the two previous times, erase the edges of the third bake to make it fit seamlessly over the normal map. You’ll notice there’s a black void on the left the third bake that you’ll need to remove as well. After using the eraser, merge the layers and use the clone and smudge tools again to clean things up. Save as .png when you’re done.
25. Now back to Blender for the final touch-ups. Drag and drop the normal map into Blender and connect it just like you did the diffuse map.

26. Switch to Texture Paint and use the Smear tool to paint away any possible seams. Save as png when you’re done, then save the resulting .png as schlong_msn.dds to use it in the game.
Congratulations (again), you now know how to bake textures for TRX-ERF Hybrid Schlong for 3BA! These steps will work for the remaining two texture types, specular and subsurface. That wasn’t so hard, now was it? Now go out and make some patches and share them with your fellow users.

dw's Schlong Physics Selector FOMOD
A FOMOD by tznvlw that allows you to select from 4 different SMP configuration files that enable physics and collisions on the scrotum, and optionally the shaft. There now are semi-accurate collisions with your characters thighs. They are not perfect, however, and there are several "blind spots" where the balls will simply fall through your character like nothing was there.
Acknowledgements
TRX_Trixter for TRX Futanari Addon, EvilReflex for Futanari CBBE SSE, Azazellz for Horse Penis Redux LE, pema123 for SMP config, Honch for testing
Edited by donnerwetter
What's New in Version v2.11
Released
21/08/2024 - Fixed various slider issues with DW 3BA Futanari Schlong


.thumb.jpg.8f401ff34c8eb369496e57e196b27116.jpg)
![More information about "[TRX] Futanari addon for BHUNP Vaginaless"](https://static.loverslab.com/screenshots/monthly_2022_08/1792137508_BHUNPTRX.thumb.png.3d3e570b8a83f73b9afc3f2965e36a39.png)
.thumb.jpg.b2d619487ad8031116542700cf4de8c4.jpg)
![More information about "[TRX] Futanari addon for 3BA Vaginaless v2"](https://static.loverslab.com/screenshots/monthly_2022_08/1601693139_3BATRX.thumb.png.036f43c325bee3b74faa4217fccde0f7.png)