Jump to content

Nanami - FO4 - Sanctuary Part II


Blaze69

2,110 views

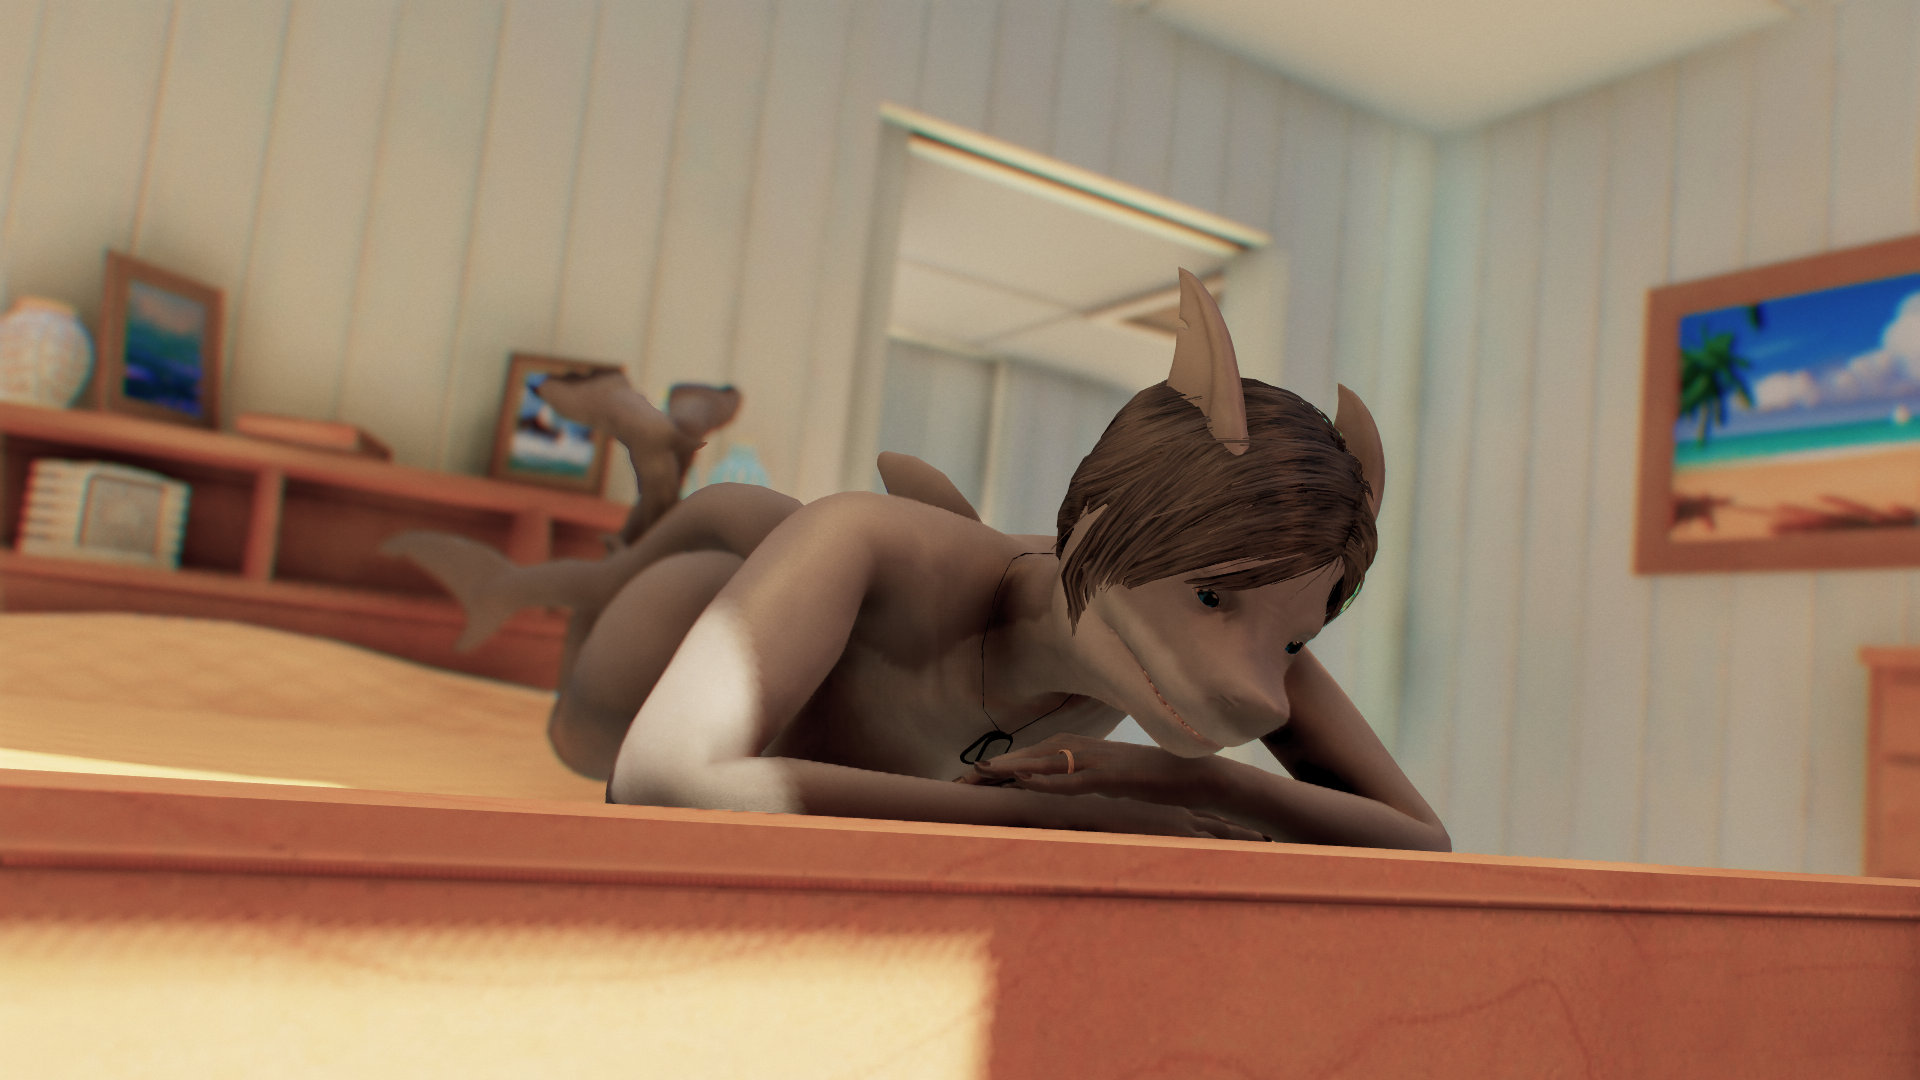
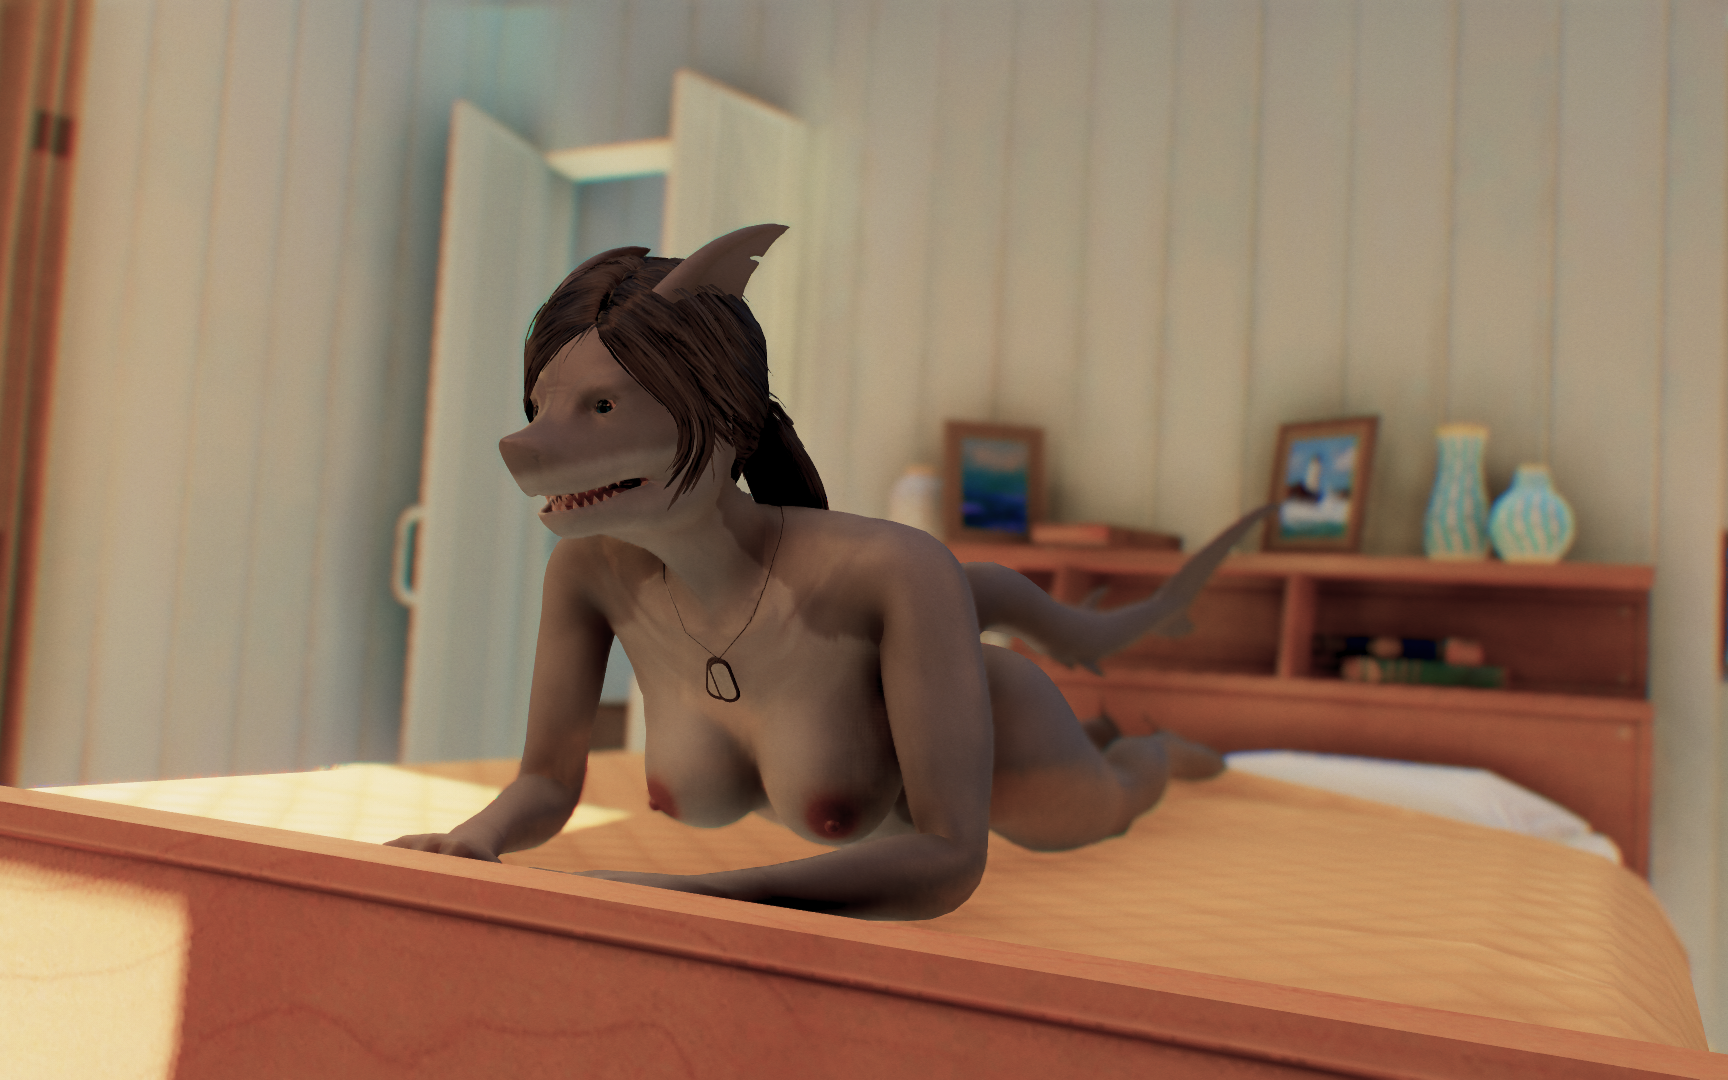
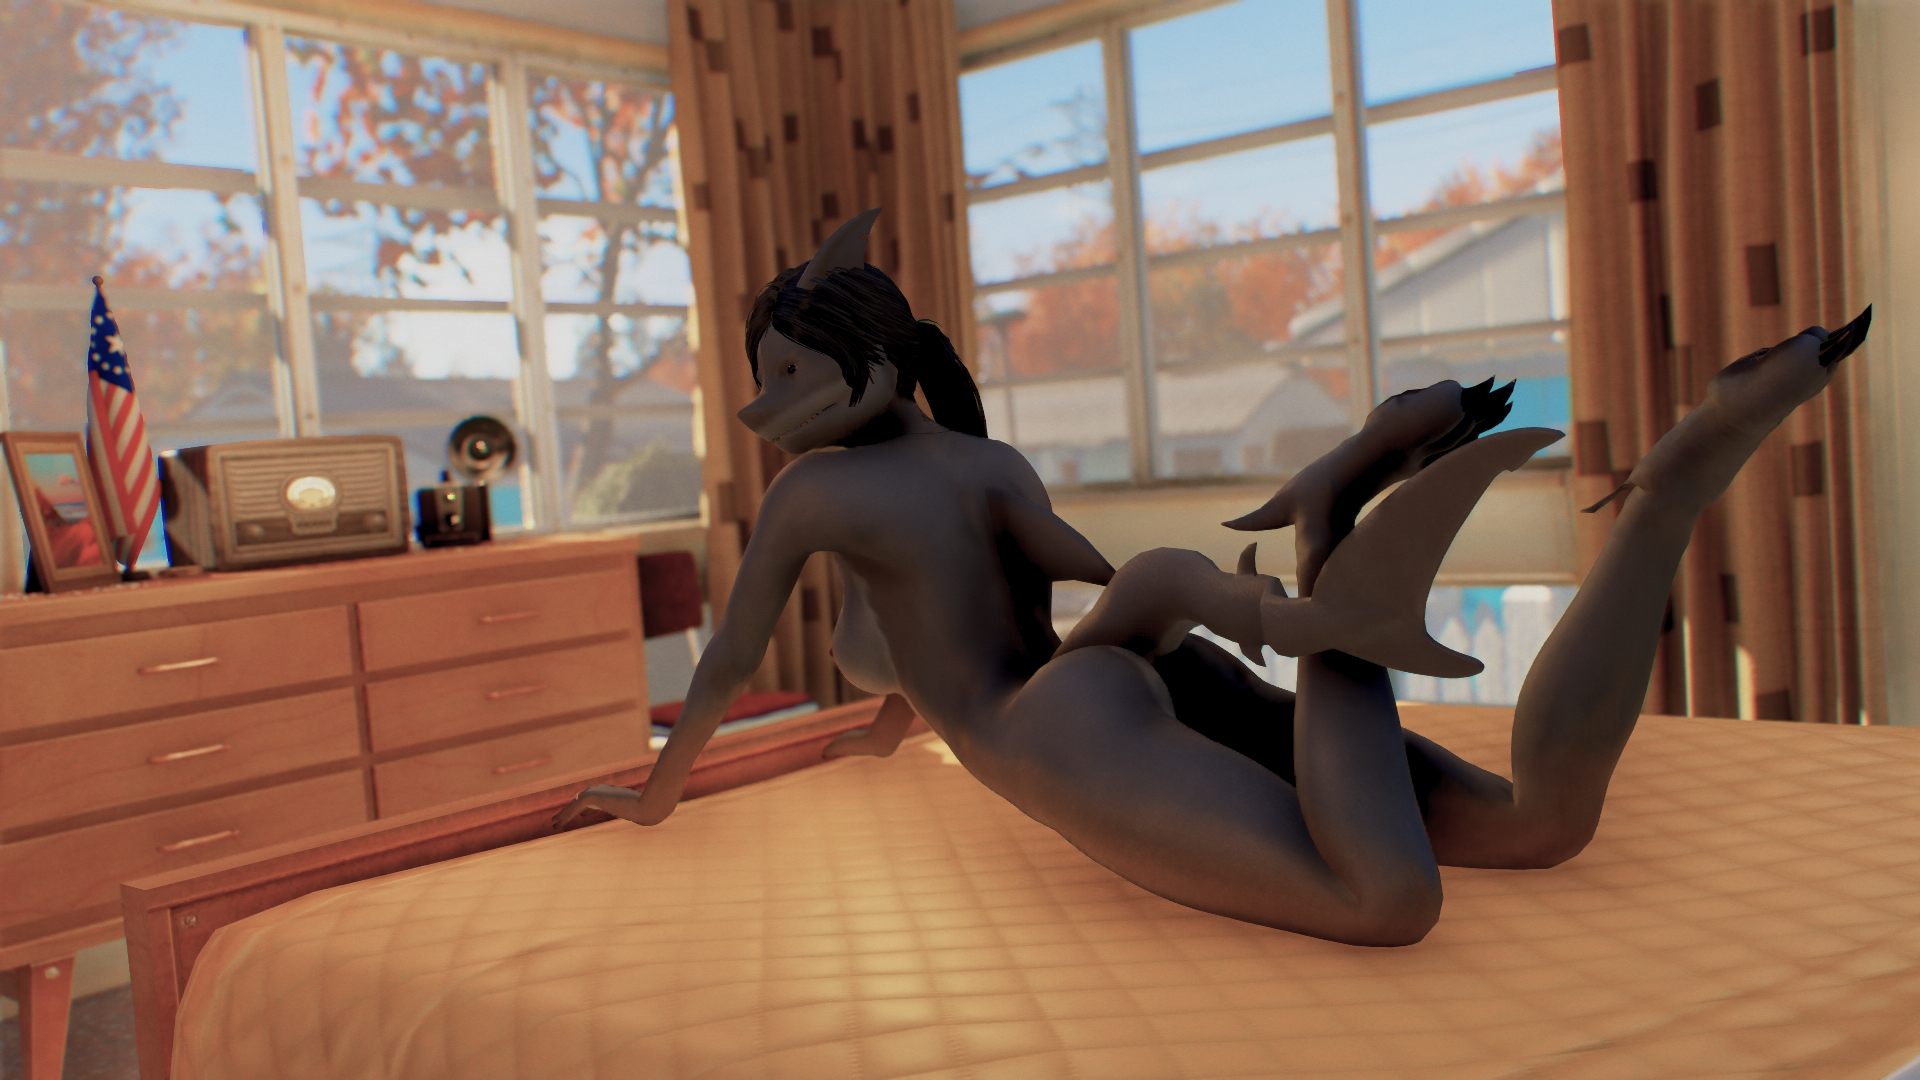
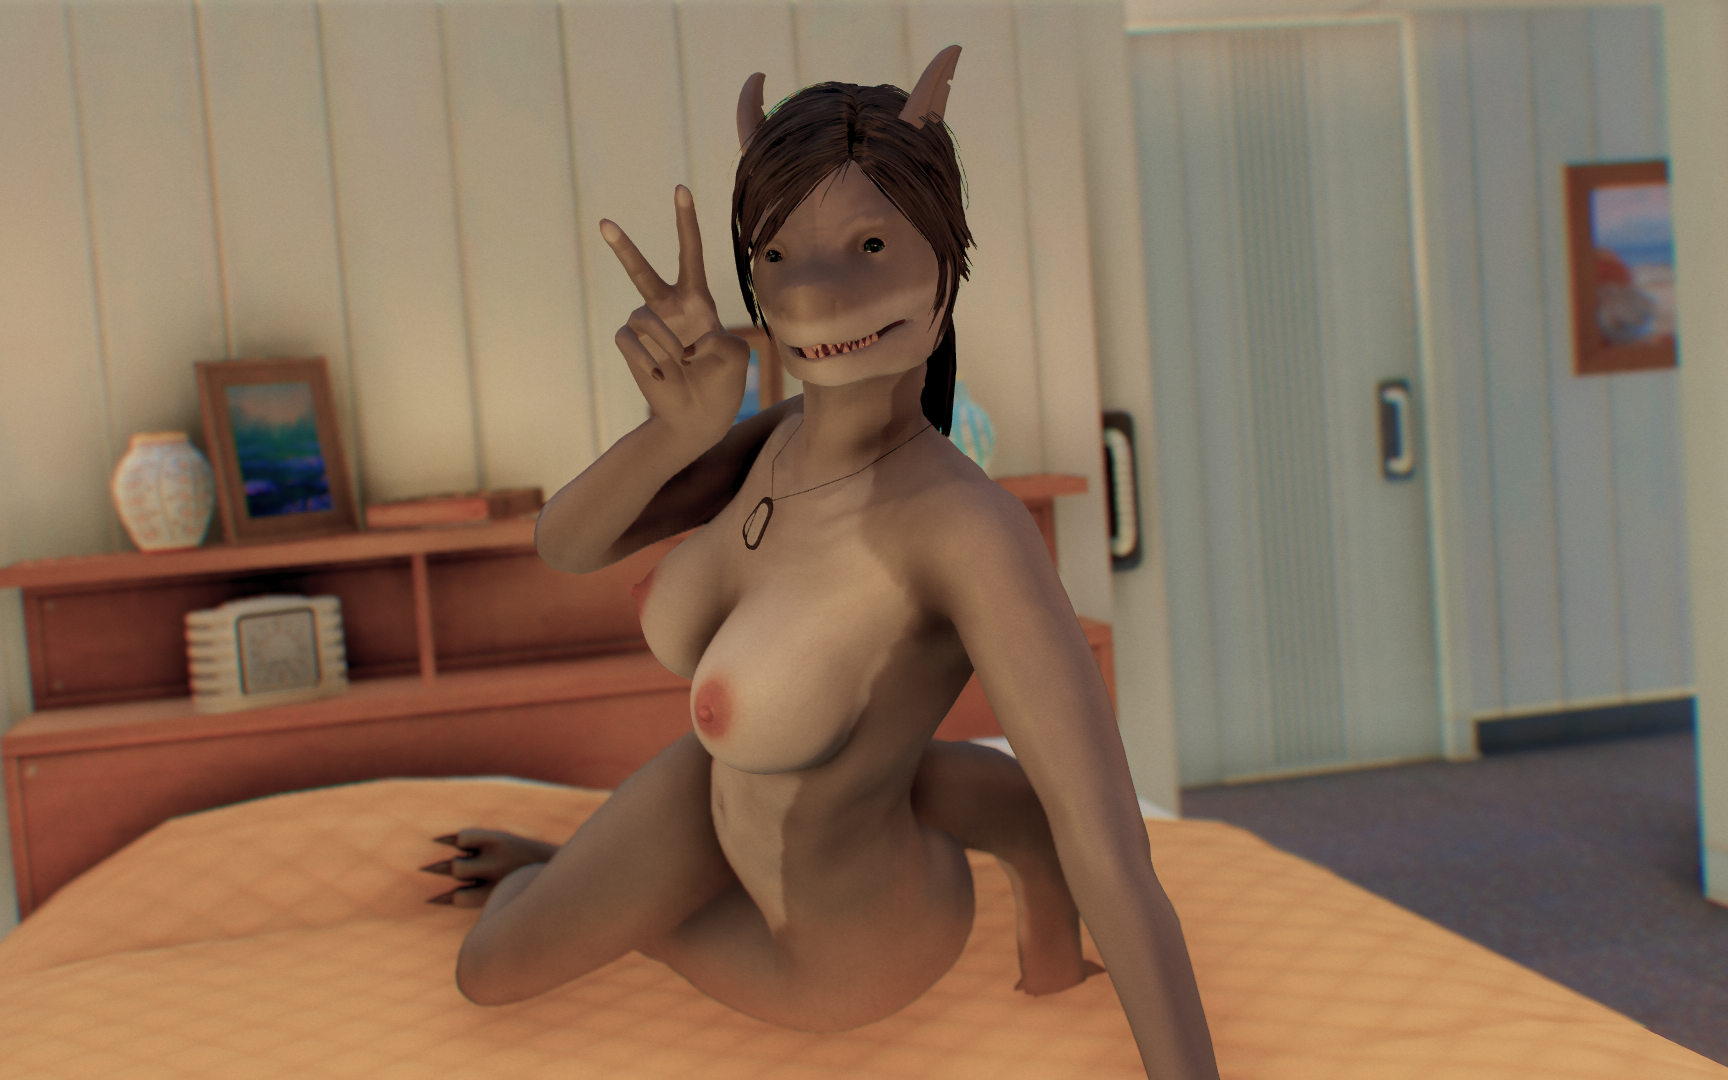
(AKA Sanctuary II: Sharkectric Boobaloo)


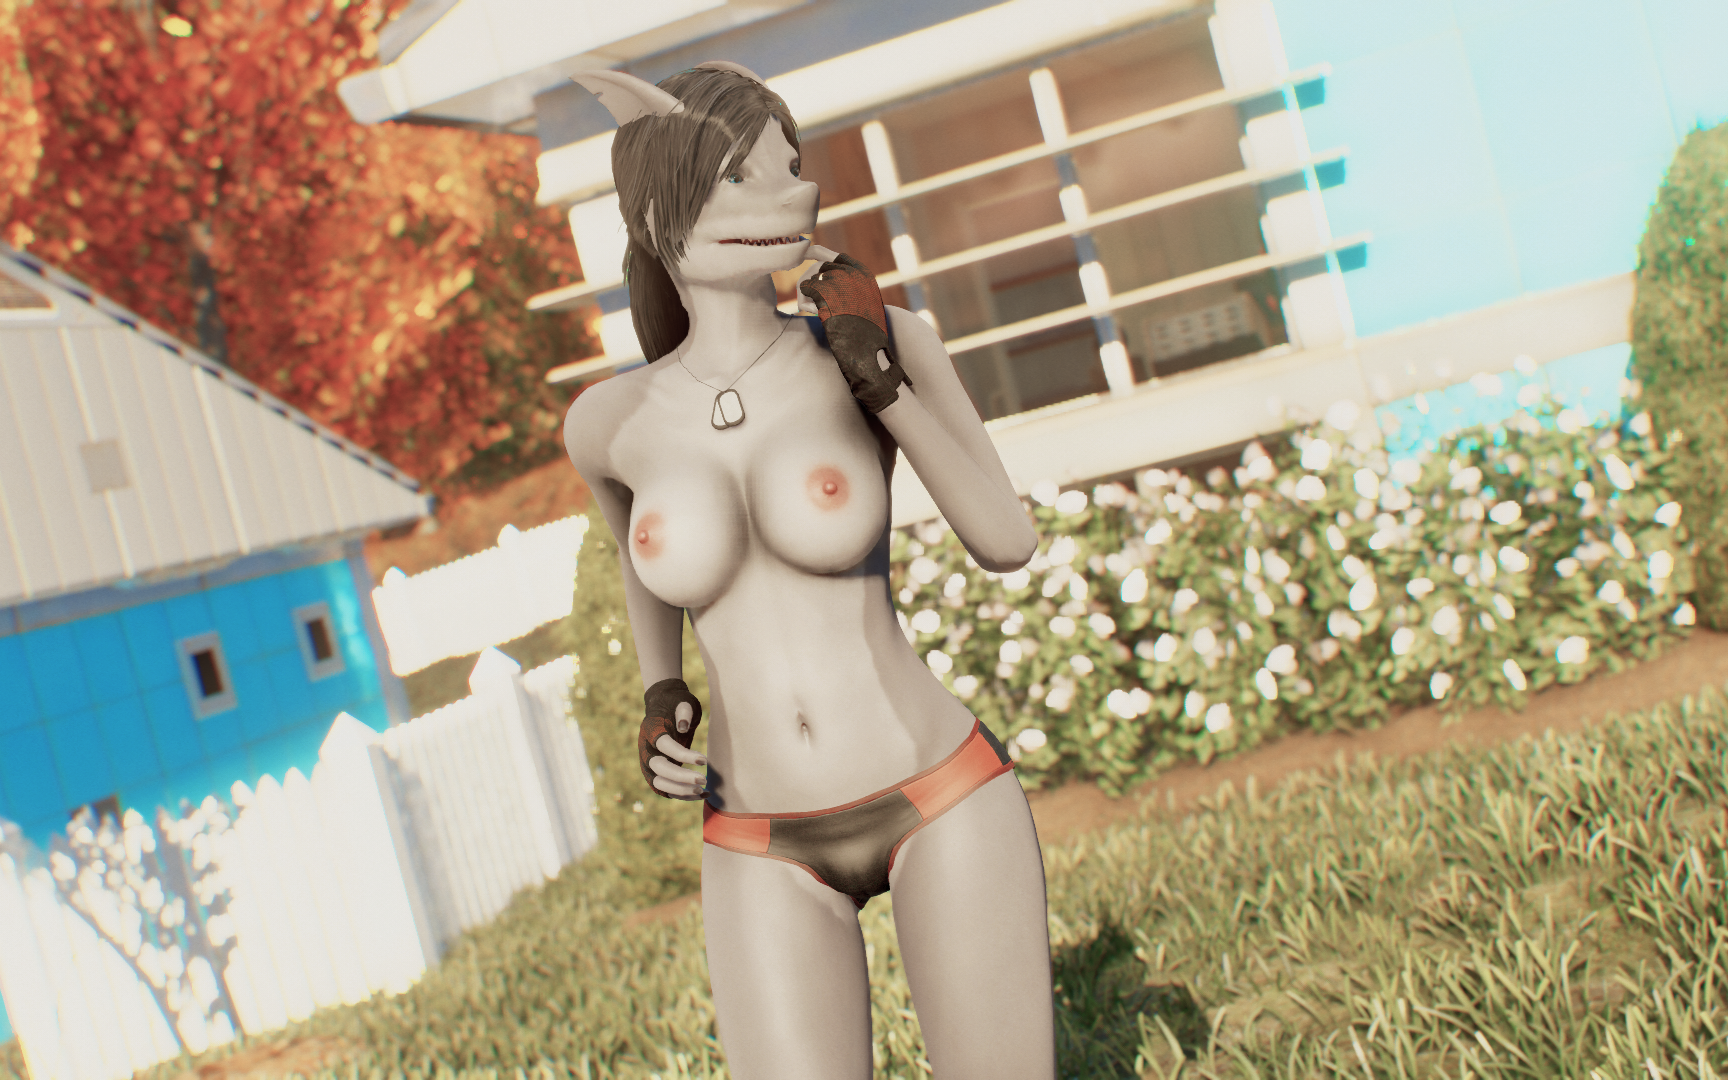
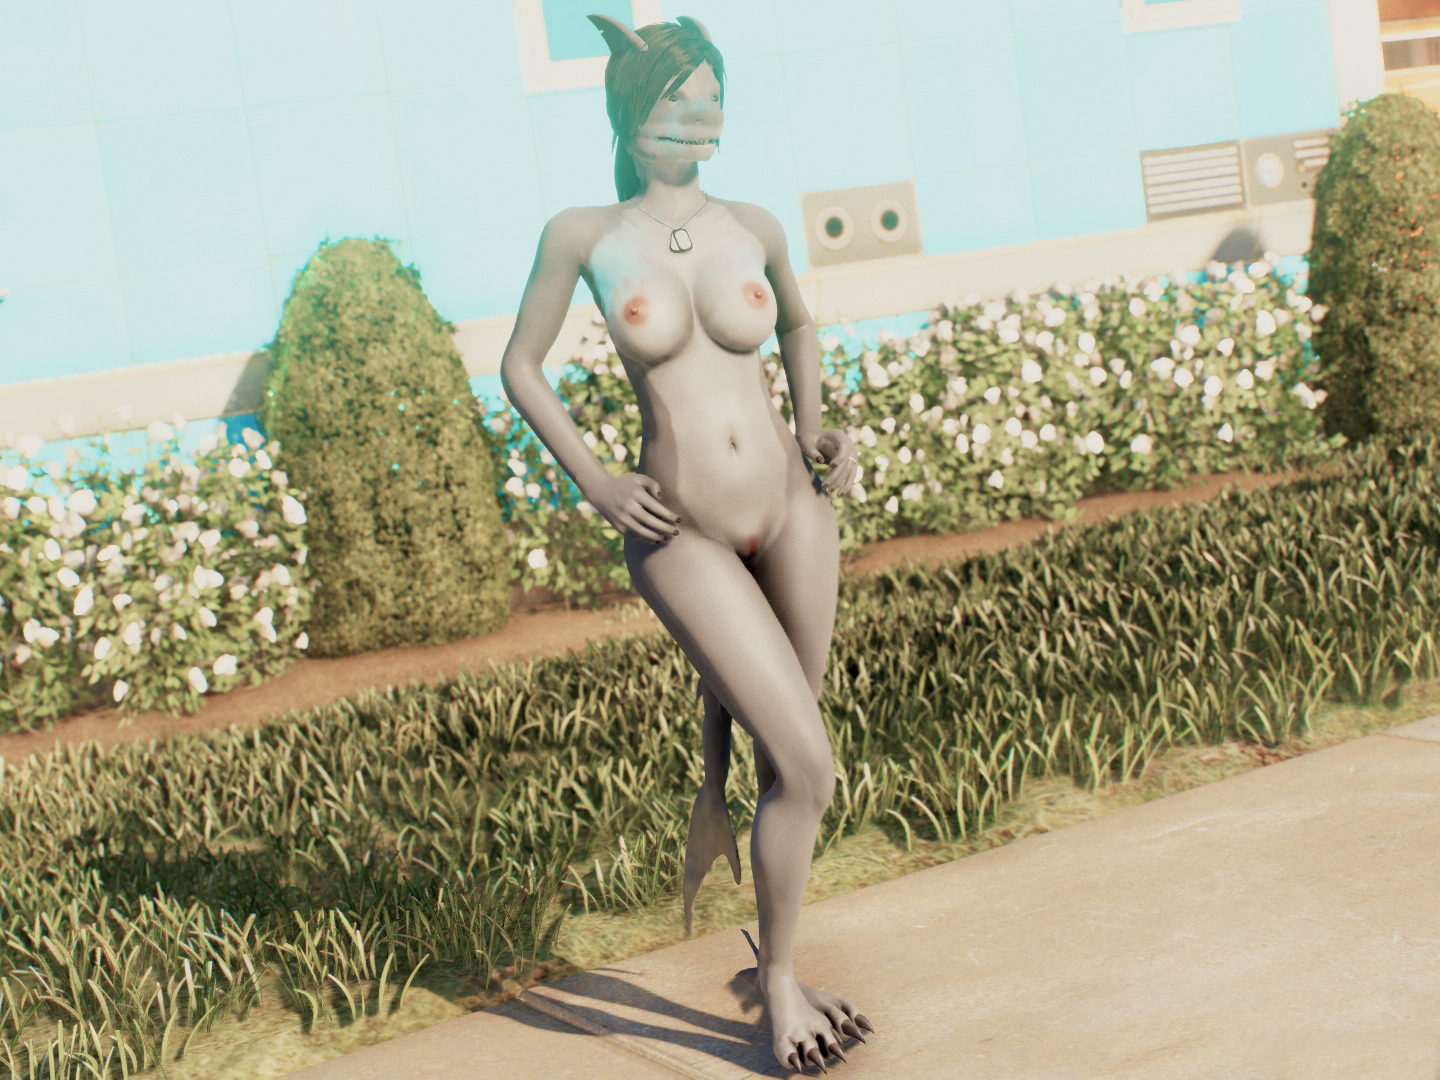
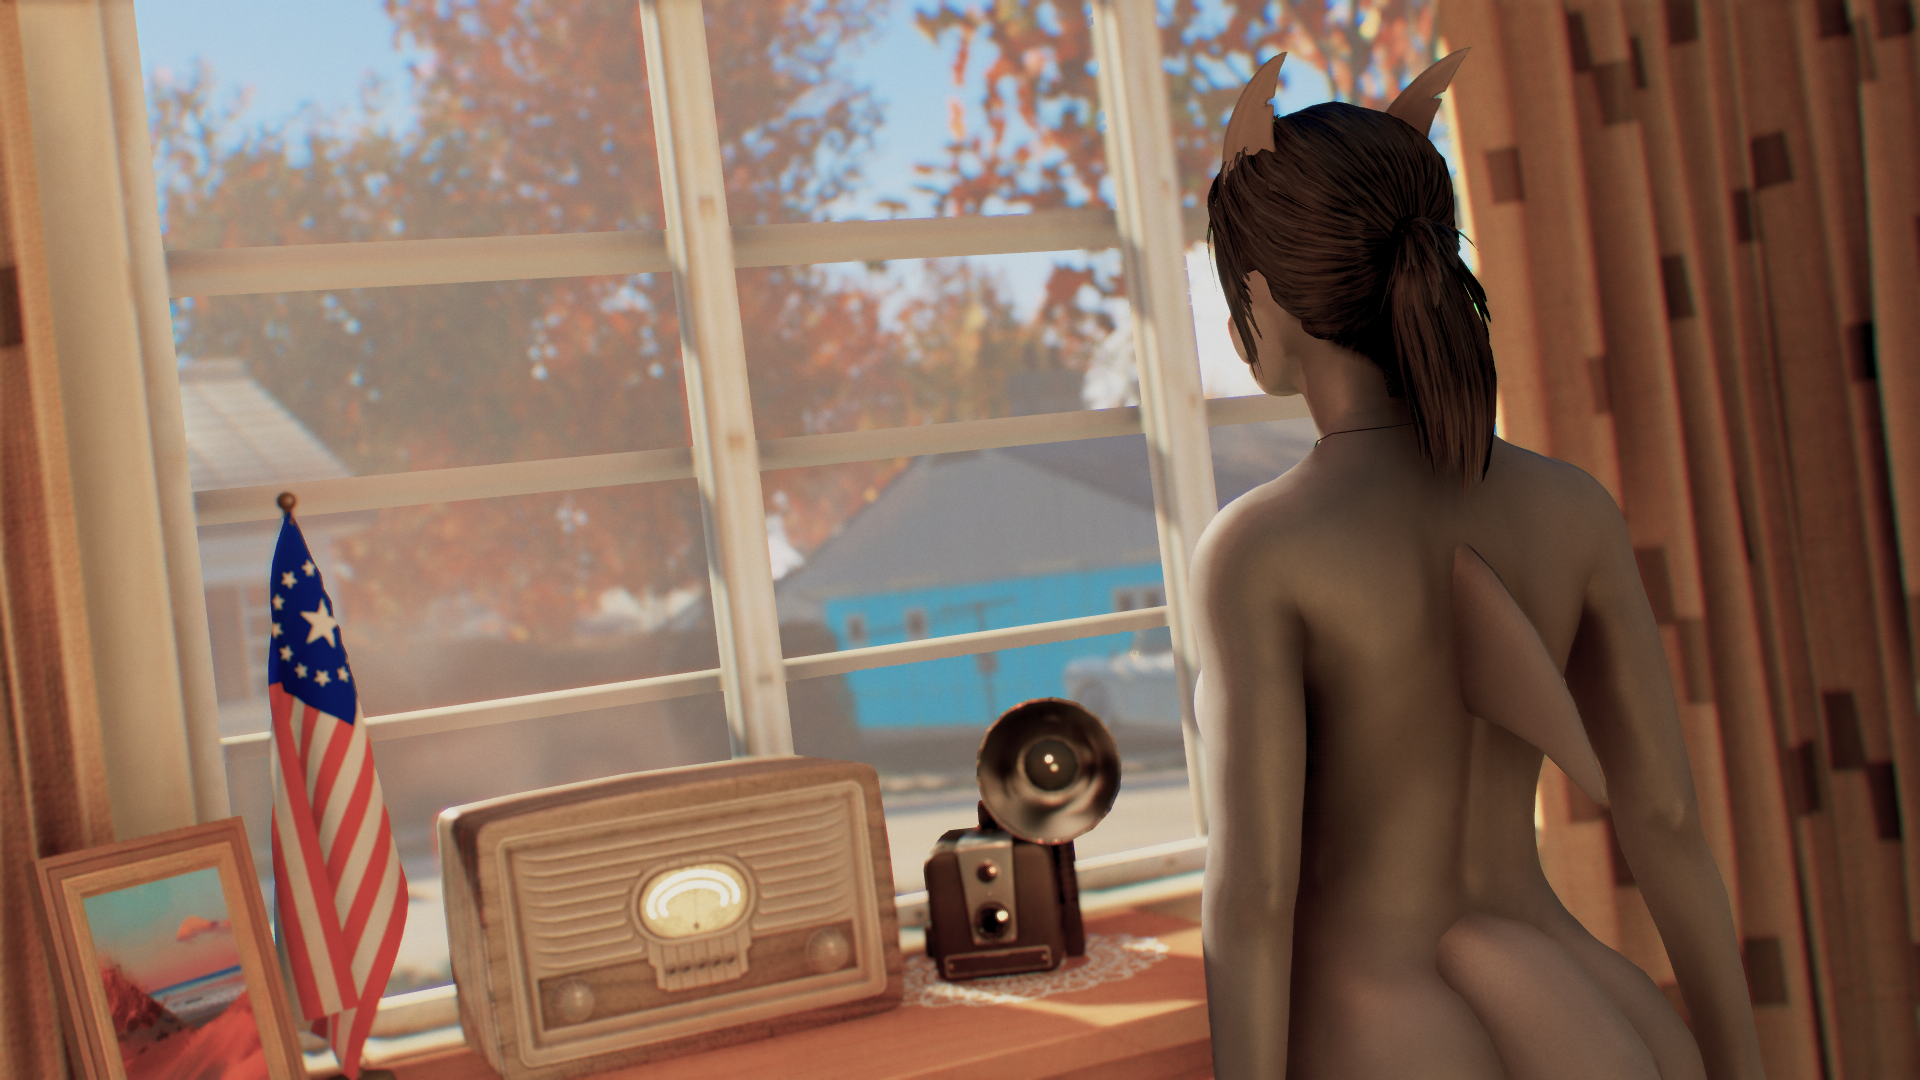
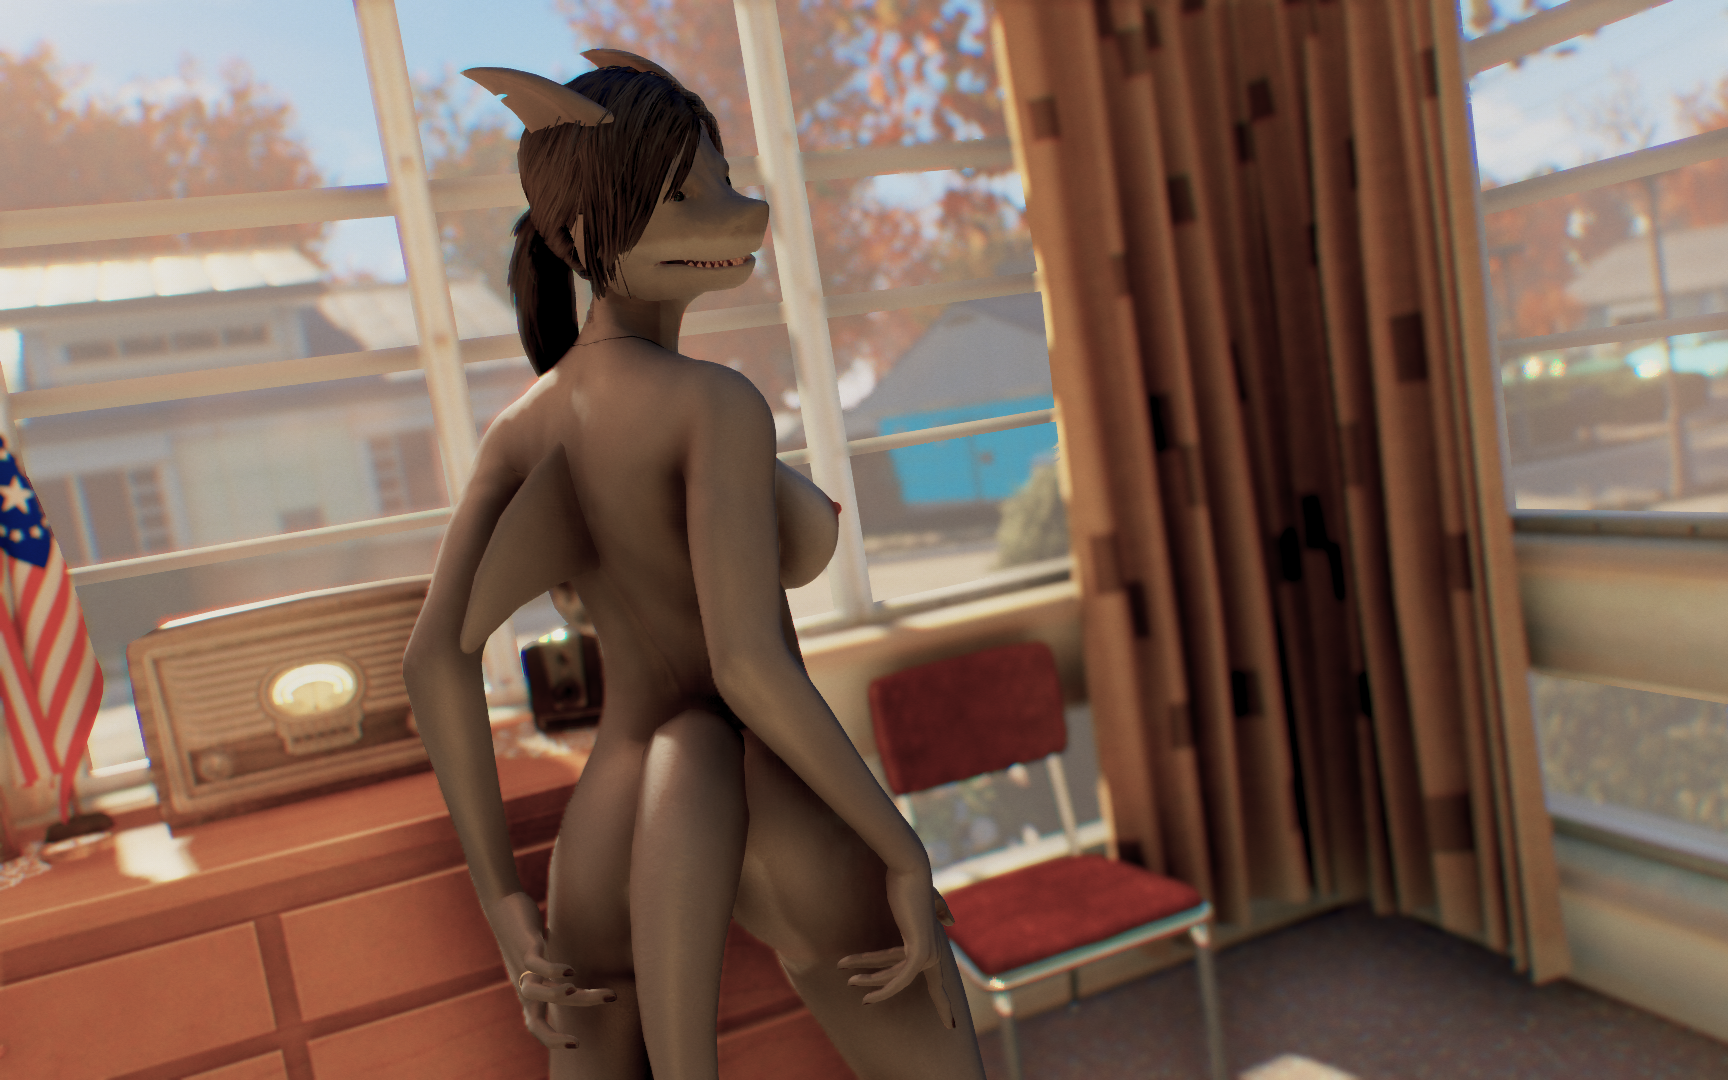
...aaand of course I wouldn't be satisified with the previous photoshoot if I didn't post more saucy pics as well. To... uh... showcase that the race does have all the appropiate bits available and working in FO4 as well. Or something.


Eh, just look at the damn shark tits already.


Shark_Sport2_1.png

Shark_Sport2_2.png

Shark_Sport2_3.png

Shark_Sport2_4.png

Shark_Sport2_5.png

Shark_Sport2_6.png

Shark_Sport2_7.png

Shark_Sport2_8.png

12 Comments


Recommended Comments

Looking amazing so far! Great to see that the race has made a lot of progress. Neck seam is looking great from last time. Were the weights changed?

Link to comment
4 hours ago, Beardofsocrates said:

Neck seam is looking great from last time. Were the weights changed?

Yup, had to tweak the bone weights and edit the vertex normals to blend the seam, but seems like it worked just fine.

Link to comment
On 7/17/2019 at 2:10 AM, Blaze69 said:

Yup, had to tweak the bone weights and edit the vertex normals to blend the seam, but seems like it worked just fine. 


Were the bone weights 1:1 or did you need to use a different value? I plan on revisiting the Vulpine meshes to see if they can be adjusted. 

Link to comment
4 hours ago, Beardofsocrates said:

Were the bone weights 1:1 or did you need to use a different value? I plan on revisiting the Vulpine meshes to see if they can be adjusted. 

They are 1:1 now (and that's why there's no gaps), but I had to take a hacky workaround to get it to work.


The neck end of the head has more vertices than the body neck seam does, so it was impossible to get the weights to match 1:1 because eventually some vertices on the head ended up "unpaired" (these were the ones that would end up causing gaps, as they didn't have a body vertex to "stick to"). So I edited the head and moved the vertices on the neck seam to make sure all of them were paired with body ones; as I said the count doesn't match, so some head ones had to be moved to the exact same position (overlapping). That way, they are all paired and the weights are a 100% match, and thus there's no gaps.


I had to edit the texture transition to make it seamless again, and there's a spot right on the back of the head where the mesh normal looks weird (probably because I had to squeeze 8 vertices into the same spot and so many vertex normals overlapping cause the renderer to derp a little), but at least now there are no physical gaps and it seems to be pretty much seamless.

Link to comment
21 hours ago, Blaze69 said:

They are 1:1 now (and that's why there's no gaps), but I had to take a hacky workaround to get it to work.


The neck end of the head has more vertices than the body neck seam does, so it was impossible to get the weights to match 1:1 because eventually some vertices on the head ended up "unpaired" (these were the ones that would end up causing gaps, as they didn't have a body vertex to "stick to"). So I edited the head and moved the vertices on the neck seam to make sure all of them were paired with body ones; as I said the count doesn't match, so some head ones had to be moved to the exact same position (overlapping). That way, they are all paired and the weights are a 100% match, and thus there's no gaps.


I had to edit the texture transition to make it seamless again, and there's a spot right on the back of the head where the mesh normal looks weird (probably because I had to squeeze 8 vertices into the same spot and so many vertex normals overlapping cause the renderer to derp a little), but at least now there are no physical gaps and it seems to be pretty much seamless.


I may give that a try. Thanks for the idea! :) Was that all done within outfit studio, or did you need to import the mesh back into Max then Blender/?

Link to comment
1 hour ago, Beardofsocrates said:

Was that all done within outfit studio, or did you need to import the mesh back into Max then Blender/?

I had to use Blender for that, and then import it back into Outfit Studio as an OBJ.


To get the vertices to match, I use the cursor, and more specifically the "cursor to selected" and "selected to cursor" commands. Go to body mesh, select vertex on the neck seam, do "cursor to selected". Go to the head mesh, select corresponding vertex(es), do "selected to cursor". The result is that the moved vertices on the head mesh end up in the exact same coordinates as the body ones, so they are guaranteed to match perfectly.

Link to comment
22 hours ago, Blaze69 said:

I had to use Blender for that, and then import it back into Outfit Studio as an OBJ.


To get the vertices to match, I use the cursor, and more specifically the "cursor to selected" and "selected to cursor" commands. Go to body mesh, select vertex on the neck seam, do "cursor to selected". Go to the head mesh, select corresponding vertex(es), do "selected to cursor". The result is that the moved vertices on the head mesh end up in the exact same coordinates as the body ones, so they are guaranteed to match perfectly.

Thanks a lot for the description! Not what what went wrong, but I think the morphs broke in the process.


1. Export mesh from OS

2. Align vertices through the cursor selection

3. Export as an OBJ, flip 90 on X axis in OS.

4. Copy over weights from the original head, export as a nif

5. Overwrite, and hope for a good result? :)

Link to comment
2 hours ago, Beardofsocrates said:

Thanks a lot for the description! Not what what went wrong, but I think the morphs broke in the process.

...yeah, that's the problem with this method.


OS really wants the vertex order to be laid out in a very specific way. And when I say "really wants", I mean it forcefully reorders imported OBJs to match that layout, with no way to prevent this. So if your original nif/tri has the "wrong" order, exporting it and then importing it back in OS (even if you make no changes to the exported file whatsoever) will mean the imported mesh will no longer match the original one, and thus the morphs won't work anymore.


I didn't have this problem with the shark heads because they already use the OS layout from when I worked on them in Skyrim, but I guess the Vulpine heads are not so lucky.


Only way to fix it would be to edit the vertex order in the TRI so it matches the one from the fixed head. The latest version of the Blender TRI plugins includes an option during export to reorder the vertices so they match OS' liked layout. In theory it may work if you just resave the TRIs with that option selected, but I wouldn't keep my hopes up.


Otherwise, I think I have another possible way to do it in mind, but it would take some work and I've never tested it so it may be a waste of time. Let me know if you want the info anyway.

Link to comment

Ah okay, so OS forces a vertex change, even though the Blender meshes are consistent. I wonder why this was done with the program?


Was any of the work done through 3DS Max, or were you able to transfer the Shark meshes in OS only?


I'll give that TRI export a try. Thanks for pointing that out! I may have the older scripts, do you know where I can the news ones? Sorry about all the questions.

Link to comment
33 minutes ago, Beardofsocrates said:

Ah okay, so OS forces a vertex change, even though the Blender meshes are consistent. I wonder why this was done with the program?

No idea. Perhaps the import code expected OBJs to have that particular order and it was easier to always force it than to edit it so it supported alternative ones.

33 minutes ago, Beardofsocrates said:

Was any of the work done through 3DS Max, or were you able to transfer the Shark meshes in OS only?

I don't have Max, so all of it was done in Blender and OS. It could even have been ported in OS alone (export from Skyrim OS as OBJ, import into FO4 OS, copy bone weights from FO4 head, done), but it obviously had to be refit to the FO4 neck seam and head position so that had to be done in Blender.

33 minutes ago, Beardofsocrates said:

I'll give that TRI export a try. Thanks for pointing that out! I may have the older scripts, do you know where I can the news ones? Sorry about all the questions.

You can find the latest plugins and some info on how they work in this thread: Blender 2.63+ TRI file import/export plugins


Might as well post the (potential) alternative method here in case the special TRI export option doesn't work. But again, it's untested, so it may end up being a waste of time:


So, the latest version of OS added support for head TRI files. You basically edit the morphs as if they were standard OS/BS sliders, and then save as TRI. That could be used to update the TRI to the proper vertex order by doing this:

  1. Load the current head TRI into OS using the TRI import option.
  2. Go through each "slider" (aka morph) and export them as OBJ files; remember to name the exported OBJs with the same name as the morph they correspond to.
  3. Load the current ingame nif and export it as OBJ.
  4. Clear the project.
  5. Import the main head OBJ from step #3; here is when OS' OBJ importer will scramble the vertex order to get it "right".
  6. Add a new slider and give it the same name as the first morph you exported from the TRI in Step #2.
  7. Enter "Edit mode" for that slider and use "Import Slider Data -> From OBJ..."
  8. Select the OBJ you exported in Step #2.
  9. THIS IS THE CRITICAL STEP! If my predictions are correct, the OBJ importer should scramble the vertex order of morph #1 the exact same way as it did with the base head OBJ (because they are supposed to be the same mesh and have the same "wrong" order). If so, OS should be able to match the base with the morph as the same meshes and load the morph data into the slider without throwing any errors.
  10. If it did indeed load, check that the slider works as intended and doesn't look weird or cause the head to explode into a mess of random polys.
  11. Repeat this for the 50-ish morphs you exported in Step #2. Remember to use the exact same names they had in the original TRI when you loaded it in Step #1!
  12. Once you are done, save the whole thing as a TRI using the TRI export option.
  13. Load the old head nif as a reference and weight the new one, give it the proper material data and textures, etc. (basically make it game-ready).
  14. Export the newly-rigged base head as a nif.

If everything goes well, you should end up with a working ingame nif that has OS' prefered vertex order and also has matching TRI files, which in turn should allow you to edit the base head shape in Blender as much as you want through the OBJ import/export pipeline without the TRIs breaking. This only needs to be done once per head mesh, and since you only have one set of heads (so far), the total final number should be two: once for females and once for males.

Link to comment

Thanks a lot for the descriptive instructions! I'll try out both solutions this week. Will post if either of them work. Otherwise I may have to go back to playing with the weights only lol.

Link to comment
×
×
  • Create New...

Important Information

We have placed cookies on your device to help make this website better. You can adjust your cookie settings, otherwise we'll assume you're okay to continue. For more information, see our Privacy Policy & Terms of Use