Scientific Progress Goes 'Clank'
Entry posted by AVS
1153 views
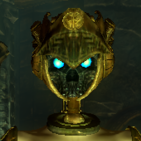
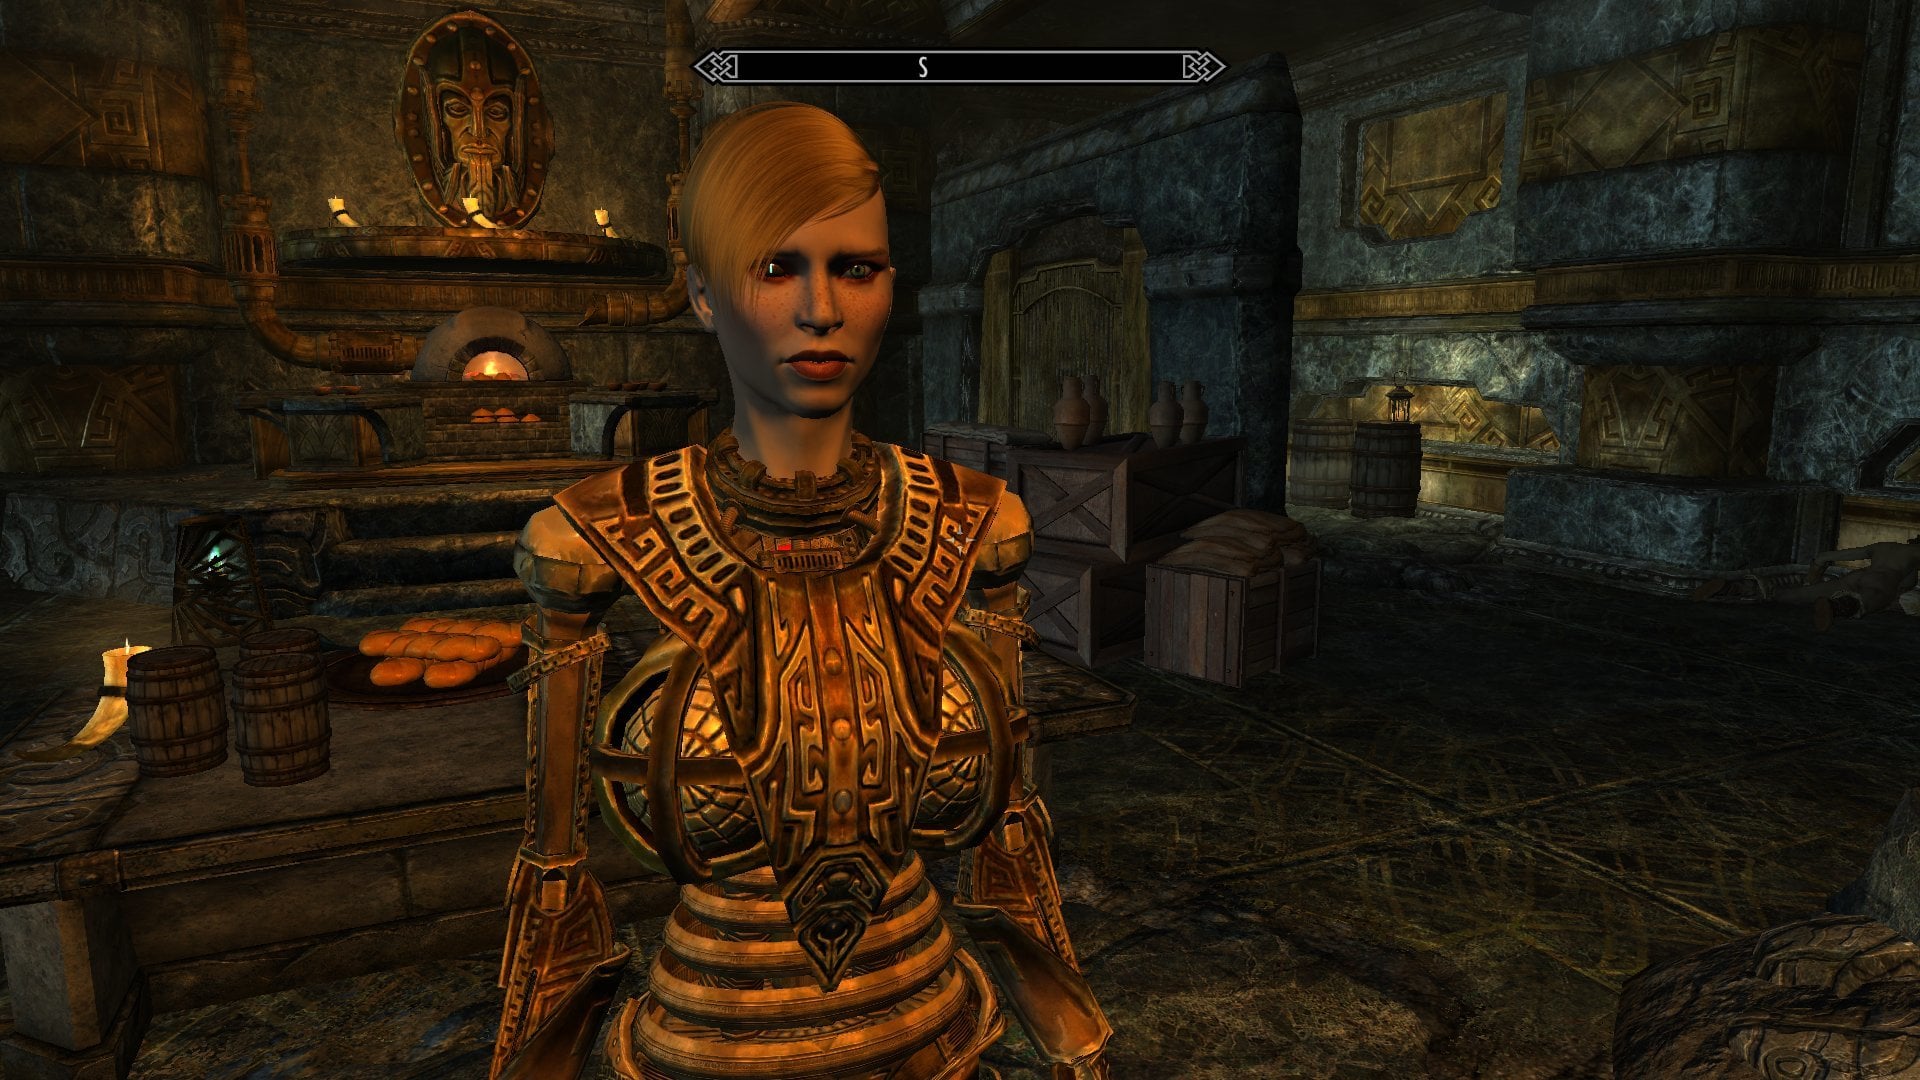
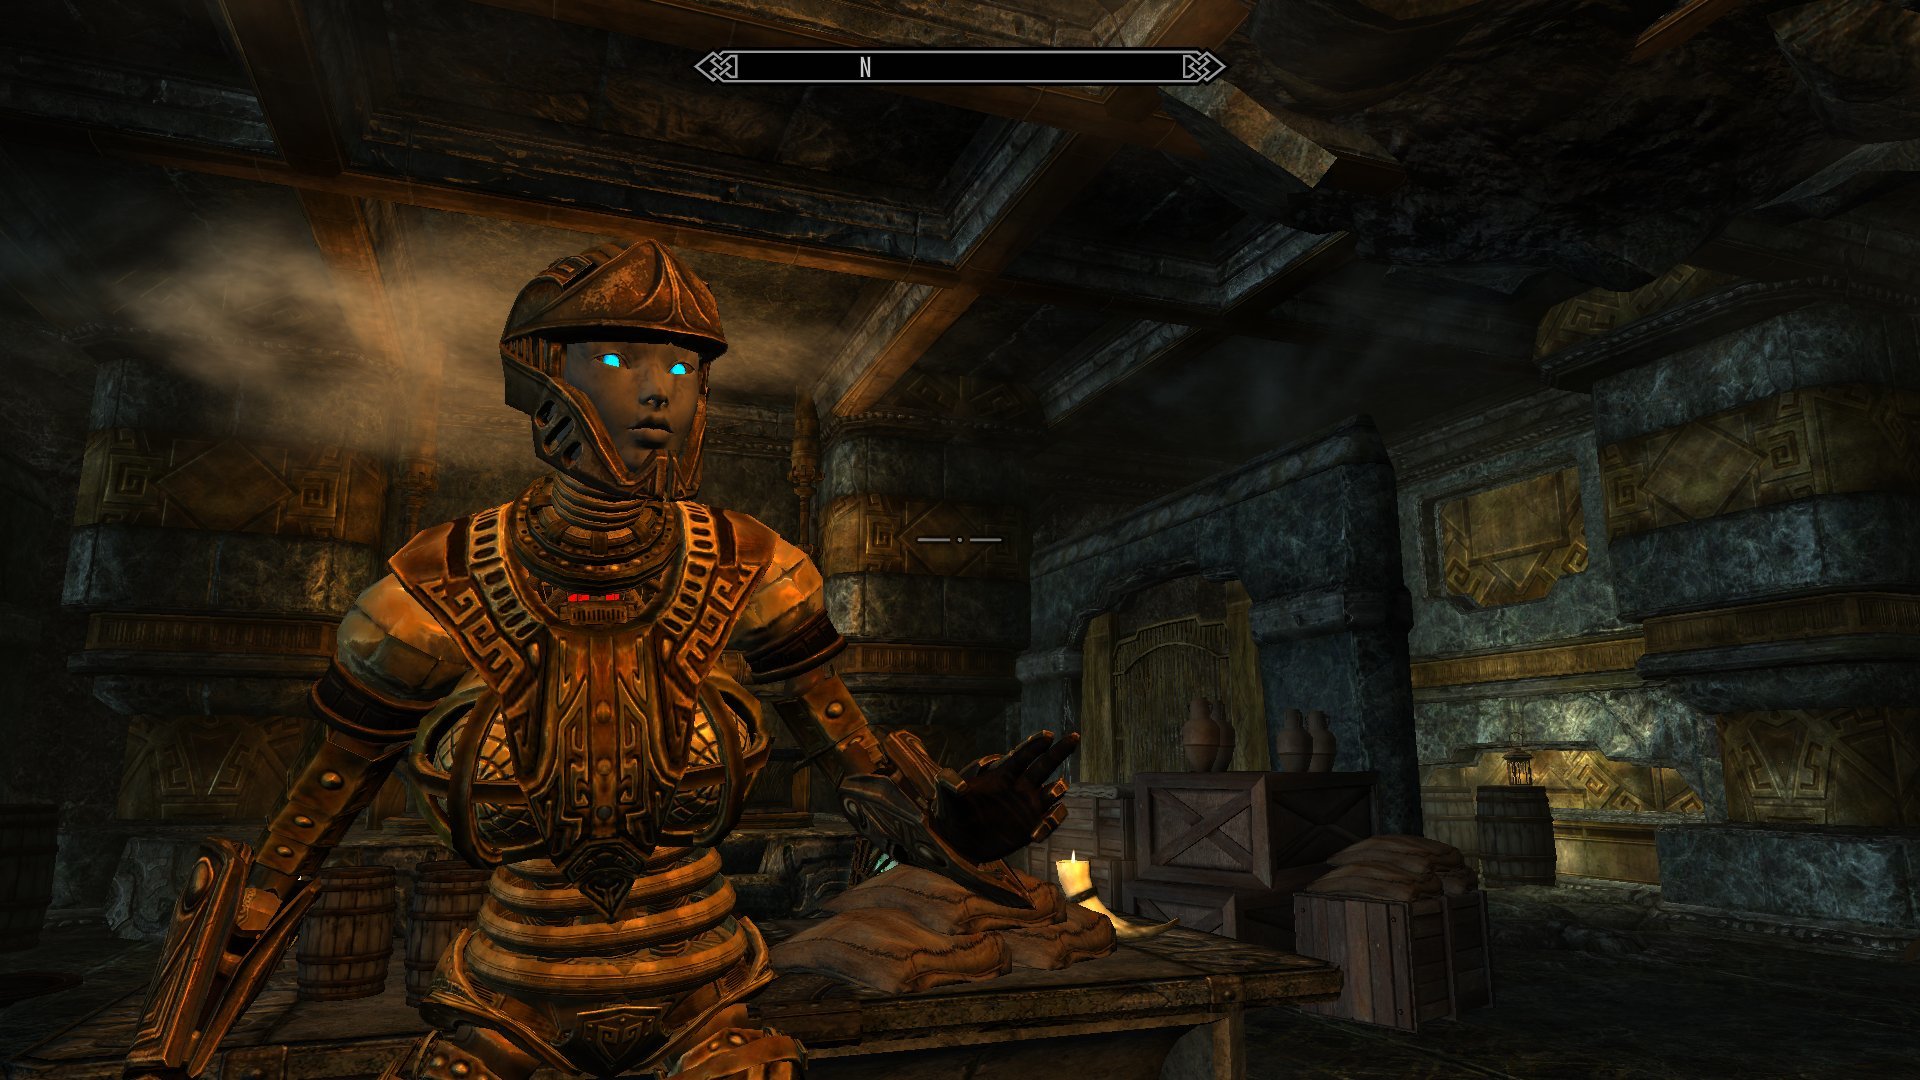
Less Wall-O-Text in this one. Been proceeding apace with the ground models, including going back and doing some fixes for issues I'd identified with the first batch. First among those was killing the eye-glow for the face ground models, which ended up taking a bit longer than I would've liked, for a couple of reasons. The first being that changing the emissives on a couple of meshes in ~150 models is inherently tedious and time-consuming, but the second, well... I wasn't entirely sure if I wanted to turn the lights off entirely or just knock them back to a dim glow, so I altered them for both on one of the faces to see how they'd look. The face was one that I happened to have dropped into the world on the most recent save for my tester, so I could just pop right in and check the effect in-game. This apparently turned out to be key.


From this I decided that I preferred the fully-off look, so I went ahead and ran through all the faces to make the change. Managed to fit the entire thing exactly into the runtime of a podcast, too, which was nice.


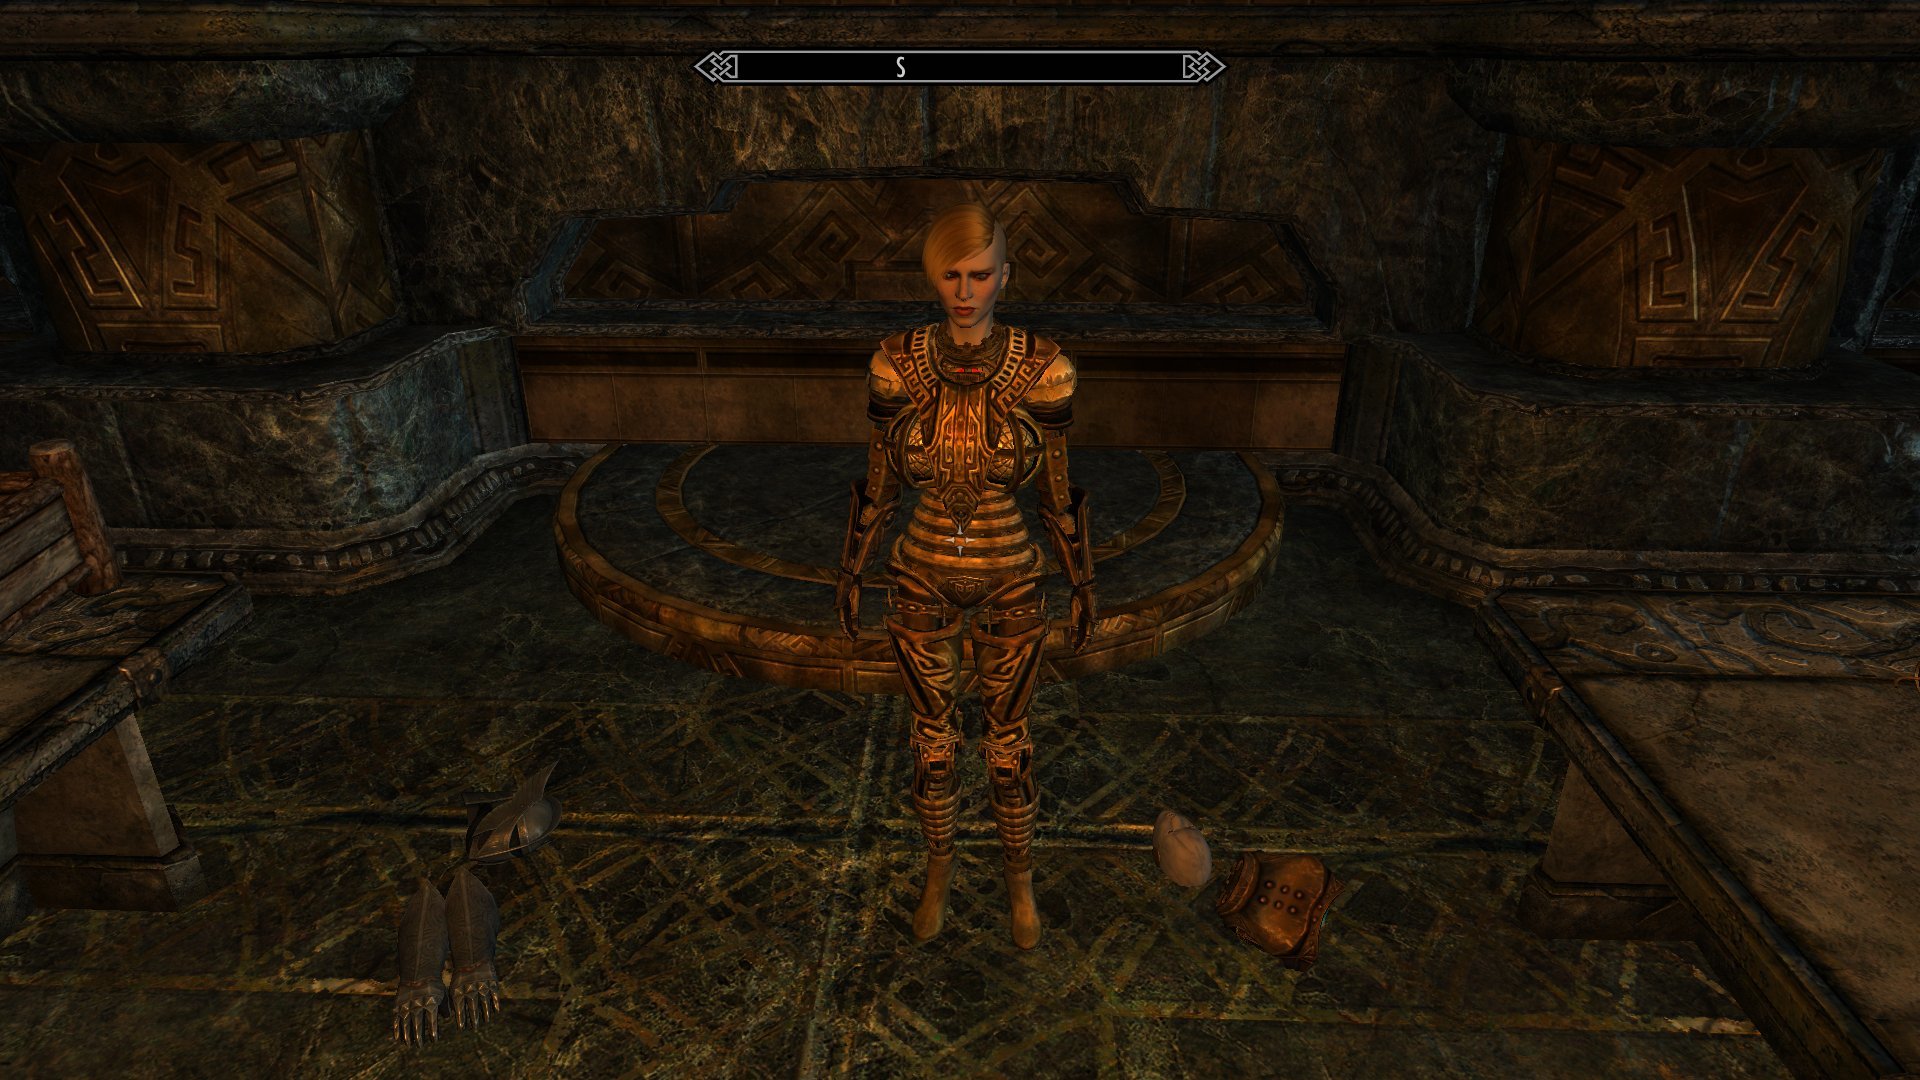
So I got them all done, fired up the game to check them out... and none of them fucking worked. They were all doing the same thing I ran into when I tried to change the inventory display data; the models were invisible in-inventory until going into inspection view. On top of that, I found out that when you try to drop a model that's bugging like that it just outright vanishes from the game. The only one that was still working was that first one that I had done the test on... Until I tried to pick it up and drop it again, at which point it also vanished.
Fucking. Skyrim.
Fortunately I had a backup of the finished-with-glow faces I could fall back on, but before I did that I got the idea to give re-loading the root data back onto the busted models a try. Basically just re-running how I built them in the first place, by loading the collision's donor mesh into OS and then importing the face meshes onto it. That, for whatever damn reason, got them displaying and dropping into the game properly again. So I ran through all that for the ~150 faces. Again. That took longer than the length of a podcast, this time. But that's fine. They're good now. And I am never fucking messing with them again.


I had a much easier time modifying the collisions for the pelvises, but in that case I was directly swapping out the collisions to begin with, which Skyrim hasn't yet gotten pissy about. Switched them from the Dwarven Armor's collision to the one from the Steel Plate Armor, which is significantly smaller and seems to fit the scale of the pelvic units much better.


I left the two that have the integrated legs as-in, though, since they need the increased length from the Dwarven Armor, but I'm still not entirely happy about it. I just also haven't come across a more suitable donor yet. Same for the legs, annoyingly. I did, however, have unexpected success with fitting the chest units into the collision from the Banded Iron armor.


This is an improvement over using the Dwarven Boots mesh in a couple of ways, the one that's more subtle but that I personally really appreciate being that the physics are a lot less hair-brained. These don't go spinning off to all corners of the room at the slightest touch like the first run did. They also don't default to an upright position, which gets rid of the 'floaty' thing I mentioned before. But they don't exactly default to lying on their backs in-game, either. Like almost all of the damn meshes in Skyrim they insist on 'flipping over' when picked up or moved, and despite the 'bottom' of the collision being a nice big, flat plane so they can rest on their backs, what they really like to do is roll over on their sides for some damn reason. So it's actually a little hard to get them to just lie down properly.

Another issue is that some of the bustier variants exceed the bounds of the collision, so if they manage to roll over onto their fronts the bosoms clip through the ground a bit.

But even with those issues they're significantly more workable than the first try was, so I think I can call them done.
I'm a little less sure about the alternate collision I dug up for the head models, though. My main priorities there was to get something that didn't do the 'flip over' shit and that had a good base for setting the parts upright, and going around in the game picking up random stuff netted me the clothes iron as one of the only things that fit that criteria. The downside with it was that it was kinda narrow, and that the model in NifSkope is noticeably larger than it appears to be in-game. So actually merging it with the head models got me this:

But on playing around with this in-game, it actually kinda works, The sides do certainly clip some if the model gets laid down, but not as badly as I was kinda expecting from the above image, and much more importantly for my purposes it hits the 'doesn't flip over' and 'easy to stand up' boxes just fine.


It does lose the side-on view in-inventory from the previous collision donor that I kinda liked, though. Fixing that would require adding in a copy of that inventory data node, since the iron's root data lacks one, but I'm just a little bit leery of messing with anything along those lines at this point. And the face-on look ain't that bad.

The last fixes from last time's batch were the beast faces, which ran into the same issues as the regular faces when I altered the eyes. But in their case I was planning on changing the collisions anyway, so no big deal. I found the perfect one for the horse head in the Werewolf Skull Totem, which fit it damn near perfectly as a collision and gave it a neat inventory view angle to boot. The sabercat head didn't have anything quite as suitable, but tossing it onto the Steel Plate helmet's collision is at least an improvement.


The Steel Plate set turned out to be very useful for this as a whole, actually. The high heels there fit nicely into the Plate boots collision, while the Gauntlets served well as a donor for the Gynoid feet and arm armors. The thigh armors didn't fit as nicely into those boxes, but they did happen to work pretty well with the Skull Totem collision from earlier. And the helmet was further sourced out with decent effect to the rest of the headgears, although some of them- particularly the larger hairs- have bits that exceed the bounds of the collision. But honestly, I think they're good enough to be getting on with.


I also finally followed through on doing some fixes to the headgear to get it to work better with the 'open' head designs prior to building these. Just a minor detail of adding a couple of rods to the knob elements on the Ripper helmets to 'mount' them to the crystal frame, as far as those go, but a significantly more extensive cleaning and bulking up in the Aster's case to hide at least some of the mess I left inside of it. It's still not perfect, since I couldn't clean up the intrusions from all of the 'points' without breaking things, but it's better.


Still have a few other things to do, and oddities to maybe try to fix. There's a couple of things that are showing up in the inventory view in odd positions, despite sharing root data with items that're working just fine, and I'm not sure how to approach those. But I'm well on my way to having my 'piles of stuff' objective fulfilled.


I've also got the DD chest finished up. Kept it fairly simple, just filling in the back of the bosom frame and adding some pipes to cast the globes as 'storage tanks' akin to the barrels used in the other chests. I used the central cylindrical detailing cut out from the Spider's body for the fill parts, which is a piece that I've long though could come in handy somewhere but never really found a place to use it, so I'm glad it's finally getting to make its debut.


The whole look is quite nice, even if it is a bit restricted in what arms it can use.


This will probably be the last new part before release, unless I remember/discover something else that I absolutely need. I have some ideas that I've cut for various reasons that might make it into an update at some point, but aren't vital enough to delay the rest of it. I've been kicking around the idea of making 'backpack' parts since before I started working on the -BAF-, for one, but keep putting them off in a large part because they're a pain to rationalize with back-mounted weapons. And I had also considered early on in the project making weighted tails that could feasibly be seconded in to the armor entries so that they would auto-apply when one of these is used with a beast race, since as-is that just does this:

The problem there was I couldn't get the simple tail I made to test that to actually act like a tail. Loaded the tail mesh as a reference in OS and copied the bone weights over like I would for any other part, but when I tried to use it in-game it just kept sticking straight out like it hadn't been painted at all. So until and unless I can figure out what's going wrong there, you're just going to have to manually clamp one of the robot tails on in place of the natural ones when using these with beastpeoples.
I'd put this at around 90% right now. Still some road left to travel, but it's starting to feel like an actual coherent mod at last.
2 Comments
Recommended Comments