About This File
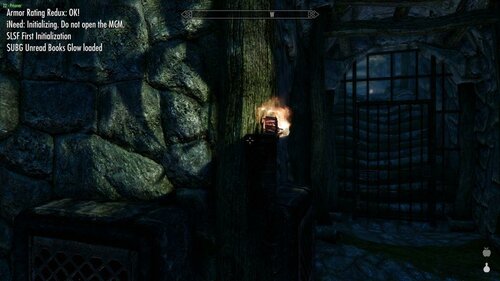
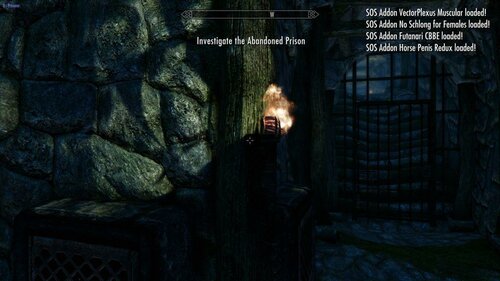
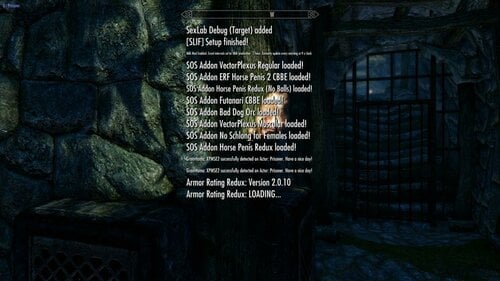
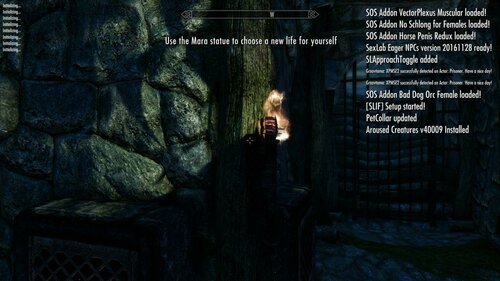
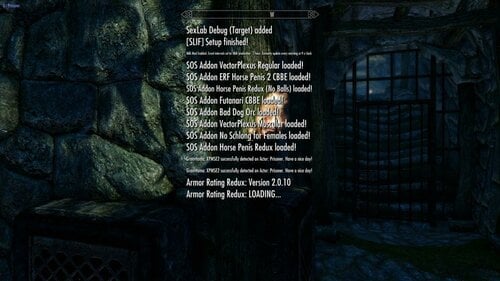
Supports Left, Centre and Right Notification messages.
This mod can increase the amount of notification messages (or use vanilla settings) and makes them fade faster. Handy during mod setups
This is based off this mod on Nexus but I didn't like the bright hud colours so I used the stock Interface assets
https://www.nexusmods.com/skyrimspecialedition/mods/30170?tab=description
Here are some timings with different settings (based on 261 active plugins)..
messages stopped/disappeared
3:29 80 frames 3 shown
2:12 50 frames 3 shown
2:02 40 frames 3 shown
1:27 30 frames 3 shown
1:17 20 frames 3 shown (Faster but noticed some messages still appeared "your follower can't follow you here" so scripts still running)
3:09 80 frames 15 shown
2:05 50 frames 15 shown
1:51 40 frames 15 shown (I use this setting, a good balance I think)
1:21 30 frames 15 shown
1:02 20 frames 15 shown (Faster but noticed some messages still appeared "your follower can't follow you here" so scripts still running)
You won't always get 15 spam messages during a playthrough unless your doing something to spam the notification messages (building a house etc)
Tools Used:
Jpexs - https://github.com/jindrapetrik/jpexs-decompiler
Compatability:
LE Version Here
Don't know if it will work with LE, if somebody could test I'd be grateful
Anything that does not touch "interface/exported/hudmenu.gfx"
If you do have a mod that touches on it you can modify it (hudmenu.gfx or hudmenu.swf) yourself (might need to extract it if it's in a BSA).
Steps To Modify Or Change Position:
Open gfx or swf file in Jpexs ( if you get a "this uses assets from gfxfontlib.swf" just select no (twice).
1) In the left pane navigate to Scripts then click on Messages
2) In the far right pane click on "Edit P-code" and modify either the "MAX_SHOWN" (default 3) and "END_ANIM_FRAME" (default 80) to your choosing.
3) To change the position navigate to line 71 and change the x,y coords to your choosing
4) Press Save under the Pane, then Press Save on the main file menu voila your done.
Edited by pinkfluf
added LE Link
What's New in Version 1.3
Released
Slight adjustment to change centre coordinates to not interfere with quest messages etc (rest remains the same).
Line 71: from x 470.0 y 105.0 to x 470.0 y 130.0


