Two Problems, One Solution
Entry posted by AVS
2191 views
Previously, on This Blog:

This damn problem. Lacking any solution for this bizarre 'inverted lighting' on the ground models' skin meshes, I put an ask about it into the Outfit Studio thread and got some helpful information about the cause. Specifically that it was due to the normal maps somehow getting 'flipped' during the build process. Using that as a keyword I found a way to un-flip them using NifSkope, but unfortunately that by itself wasn't enough of a solution. The issue is the 'model space' normal maps that the skin mesh uses. As far as I can figure, NifSkope doesn't treat them the same as regular normal maps. That program has a 'flip normals' command under the mesh tools, but it doesn't display on the model space meshes. It does have a 'face normals' command that appeared to fix the issue in-program, but oddly had no noticeable effect in-game, so that was a bust. Digging further into the mesh settings showed that the model space meshes actually have their 'has normals' flag set to 'no', which is apparently why the flip command wasn't present. Switching that flag on restored the flip command, but also activated another familiar problem with trying to change the normal maps on the skin meshes: it seems to make the mesh act as if it did have a regular normal map, but trying to use a regular normal map on a mesh that's been built to use model space maps simply results in weirdness. The mesh takes on a translucent appearance while the lighting goes all flat and drastically changes the brightness of the mesh as it moves around. It's bizarre and completely broken, and I could not remember how the hell to fix it.
I've fixed it before, when I did the bodysuits for the -BAF- set. I even mentioned that there was a trick to it in one of the blog entries I made while developing that set. But I didn't bother to mention what that trick was, and was damned if I could recall the process. I'd been trying to since early in the Doll development when I was exploring the idea of a full-brass variant and ran face-first into the issue, but I'd pretty much given up on it as a tertiary priority until I saw that same issue crop up at that point in trying to get the ground models to work. I still hadn't remembered what the trick was, though, and was about ready to shelve the whole thing and just go with the inverted ground models, but instead I just set it aside for the day and gave the whole thing a think.
The core of the problem was that there's something in the settings for the skin meshes that indelibly ties them to the model space maps. Simply turning off the 'model space normals' shader flag does nothing to undo those ties. What exactly would, I don't know enough about the molecular structure of the models to affect. I had been thinking in terms of 'fixing' the existing meshes, but the problem was clearly far too baked into how the mesh was built for me to be able to do anything with them. So what I needed was a mesh that didn't have all that crap baked-in. And hey, wasn't that old .nif>.obj>.nif conversion trick actually really useful for getting a clean copy of a mesh without any weird game-breaking stuff hooked onto it?

Yes. Yes, it was. I still don't remember clearly if this is the method I used for the bodysuits, but I feel it has to be because it works so cleanly. You end up with a perfectly functional copy of the mesh that lights properly and that will take regular normal maps without complaint. Of course, the next problem was getting a regular normal map to use for a skin texture. Trying to use a model space map on a mesh built to use regular maps has pretty much the same problem as trying to do it the other way around, just in reverse, with the lighting going all weird and glow-y. I first ran into that issue during some experiments a couple years back, which caused me to abandon them as I had no idea how to make a non-model space skin normal map at the time. But since then I'd figured out how to generate workable normals from the main textures in the course of the Bikini Revival project, so that wasn't really a problem anymore. Open the skin textures up in GIMP, run the filter, play around with the settings and re-run the filter until you end up with some combination that doesn't make the skin look like it's made of glossy plastic, and boom:

One perfectly workable non-model space skin normal map. Loses some of the depth of detail from the original, but it's functional. From here, fixing the ground models was fairly straightforward. A bit involved due to the need to run the .obj conversion on all of the skin meshes, but once the working mesh is generated it's only a matter of adding on a couple of textures and changing a few settings to get a properly-lit version that can quickly be subbed back into the full model. They do tend to fall victim to that initial lighting inversion if you do the process before building the ground model in OS, but unlike the original skin meshes they respond just as well to the 'edit alpha' fix as the Dwarven meshes. The skin tones still seem to be a lost cause, sadly, but as of now I have everything I need to build ground models for all of the Doll parts.


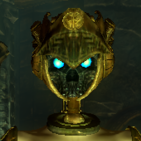
Although as to those skin tones, it's worth noting again that the problem there seems to be that the game's engine refuses to process the 'skin tone' shader flags and data on ground-type models. It instead shows whatever the base skin texture applied to the model is. That means that it's technically feasible to cheat around it for the racial masks by making copies of the base texture with the colors properly altered, but getting those to match up correctly to the in-game results is waaaaaaaaay beyond the level of effort I'm willing to or capable of putting into this. This particular quirk won't stop the Corrupted masks from being distinguishable, though, since they're already using alternate skin textures.

And on the subject of alternate textures, I've been leaving a pretty big one hanging. I mentioned above how I had earlier ran into the model space issue when I was playing around with the idea of a brass-skinned variant for the Doll. Well, obviously if I found a way to fix the problem on the ground models then I can do the same thing to make brass skins, right?

Right. Once the .obj conversion is done it's a pretty trivial matter to load the environment map settings and textures to generate a brass variant. And the .obj conversion itself goes by pretty quickly, with the most annoying part being the transfer of the weight painting onto the new mesh. So while it was easy as pie to do it to the test ground meshes I had already built, it was just about as easy to run the process on the body-use Charmer masks.


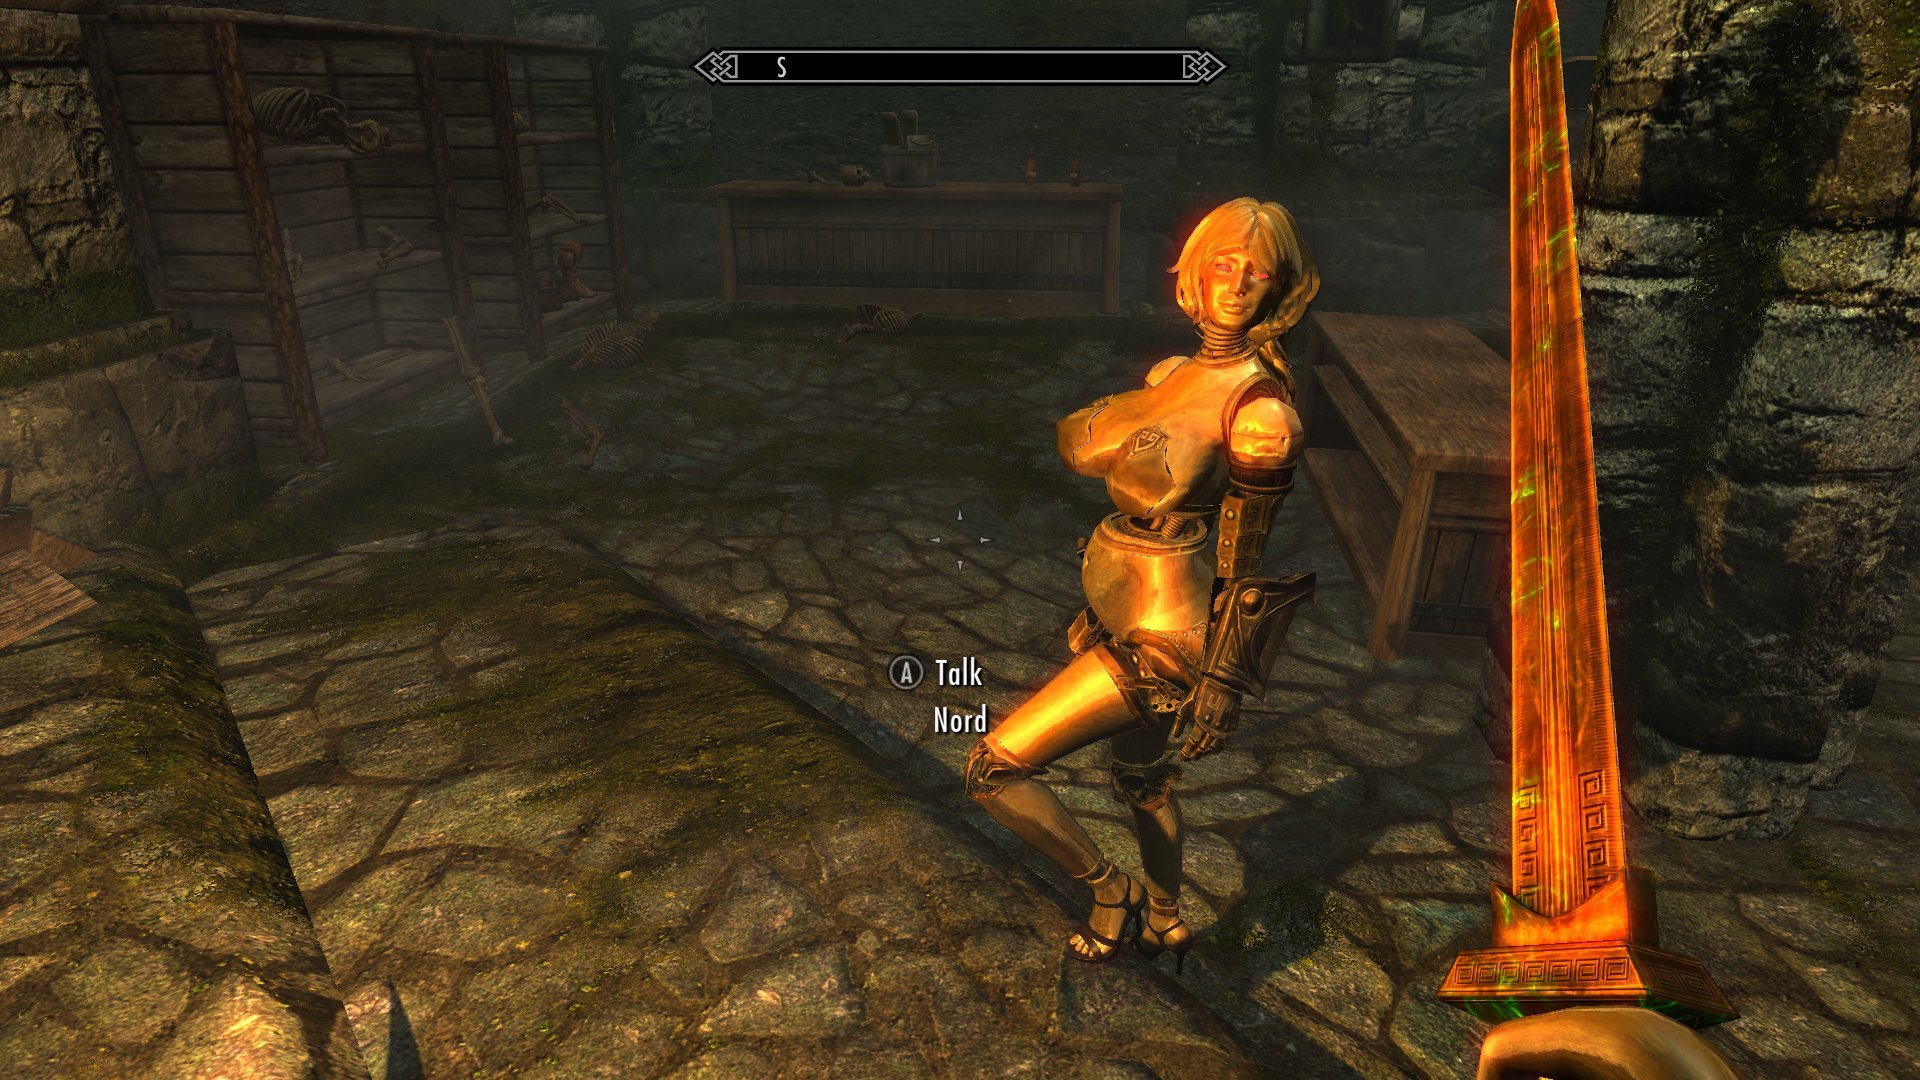
That gave me the brass mask variants to match the SeXtreme set, suitable for use with the more fully-robotic body builds:


But why would I ever stop with that? Of course I whipped out a full set of matching Doll body parts.


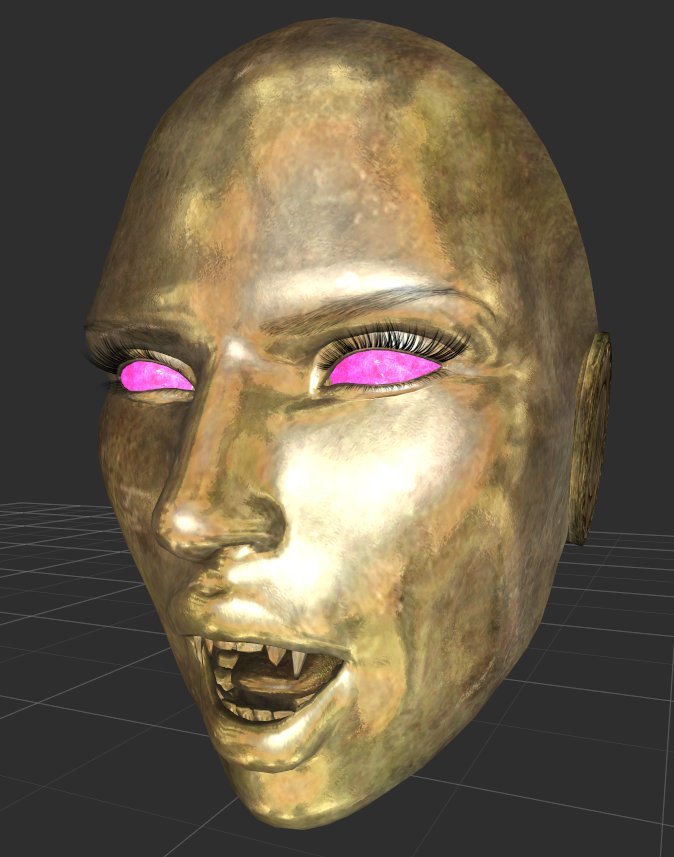
And when you put them all together, well now.


The brass tile texture gets a bit more noticeably stretched on some parts than I might like, but it matches well with the hair and faces and is just generally amusing to look at. So I'm pretty happy to have this in here. But there's the question of how much of it should be in here. The faces and the variants for the arms and feet were quick to do and don't add much bloat to the item count, but the main body parts are a bit more of a problem. Part of the issue there is that making these requires adding new copies of the skin meshes to the existing models. For fixed stuff like the faces and arms that's just a matter of a straight swap, but on the parts that are more reliant on Bodyslide/bodymorphs to build it's necessary to add the duplicate skins to the Shape Data model. The problem is that adding new parts to the Shape Data model after you've already added zaps and built variant outputs for Bodyslide is Kind Of A Pain. It was much easier to just give these their own independent Data model and project files with the original and stone skin meshes deleted, which let me quickly add in a Variable set for the torso and pelvis.


(How can a metal body get pregnant? Magi- wait, I did this joke already)
I'm largely inclined to just leave this as a Variable set variant in interest of controlling the parts count bloat, but the way that the ground models are going to be built actually impacts upon the consideration of adding fixed-weight versions of this. You see, this all would have been much, much easier if I had realized that I needed those converted skin meshes for the ground models right from the start. If I had I could've included them in the combined base models I used to generate the meshes for Doll and Statue versions of the fixed-weight variants and have a ground-use copy of the variant right at hand. Instead I'm basically going to have to recreate the process I used to create the fixed-weight variants using a new base model with a set of converted skins. For the other parts it was easy enough to build the initial converted mesh and then save off copies with the texture setting changed for the respective skin types one by one, but the sheer number of fixed-weight variants makes doing that for the main body parts far more of a chore. Piling on a full set of converted skins makes it much easier to generate the ground models for all of the skin variants all at once, where I can then pull off the meshes I don't need for each type... but it also means that in the process I could pretty easily generate fixed-weight variants for the metal body as well, since I've already got its skin tossed onto the pile for the Variable version's ground models.
I'm a bit inclined to split the difference and just do metal versions for a handful of the body variants. Probably at least the robot leg-equipped pelvises and some of the UNPF-styled chests, since they're not entirely doable with the standard Bodyslide settings on the Variable body. Gonna have to have a bit more of a think about the logistics there.
Either way, it's nice to have this in here at last. Some early considerations about doing a 'brass doll' set based on the more easily-retextured SeXtreme models were what got me started down this particular route, so I'm happy to finally have something along those lines running around the game in a workable state.


(Other people might not be)
5 Comments
Recommended Comments