Packing to upload a mod
Entry posted by Psalam
1100 views
I have had to look this up every time I wanted to put a mod here or on Nexus. As a result, I felt it was time to leave myself a note on how to do it so I could at least look it up here. I want to give credit to Darkfox127 whose video is where I have been going to get this information.
Preliminary Step (if not already done): Make an seq file
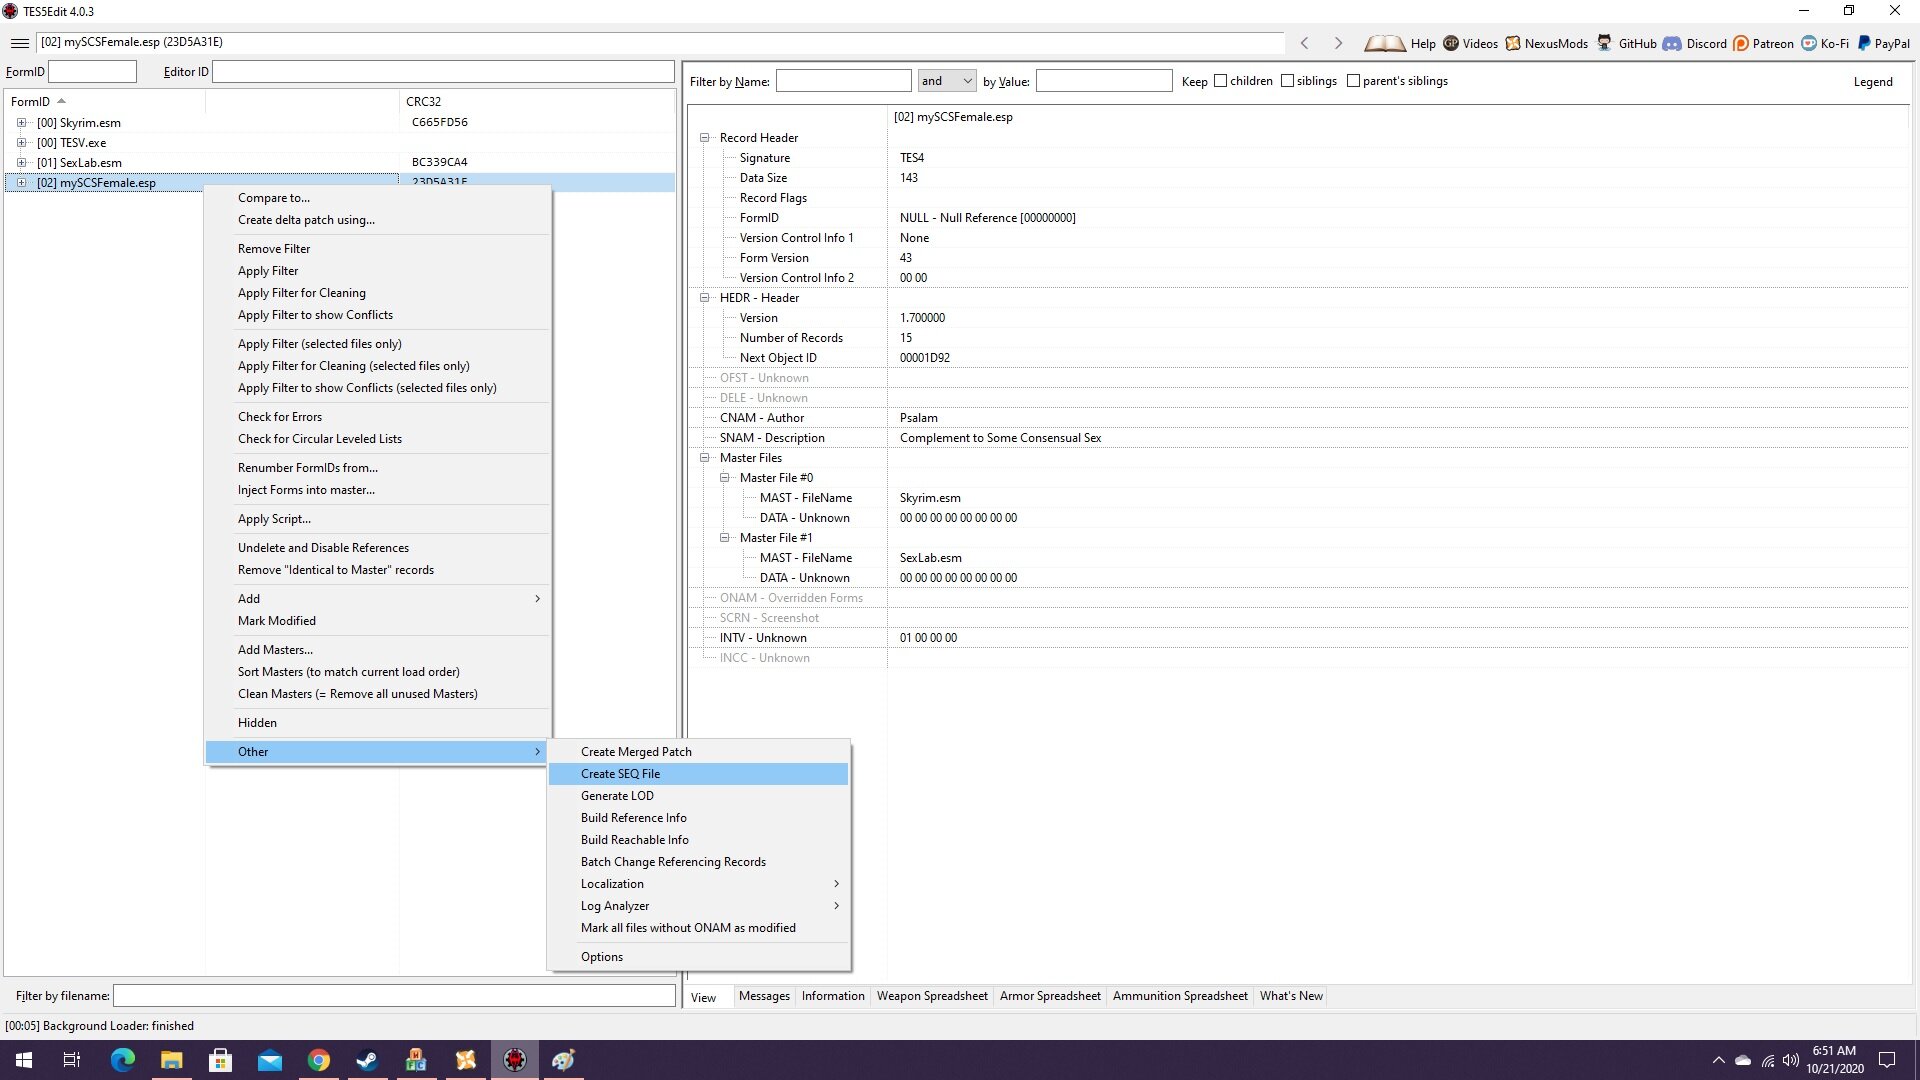
While an seq file is not absolutely needed for all mods in all conditions it is good to have and shouldn't do you any harm. So, open up your version of TESVEdit. Right click and hit select none. Then select and double click your mod. It will take a moment for TESVEdit to finish. Then, right click on your mod. From the drop down choose "Other" and the choose "Create SEQ file". (see below)
With that out of the way you can actually start.
Step 1: Recreate the mod's file structure.
While a little variation here is entirely possible what I am describing has worked for me consistently. On the desktop create an empty folder and entitle it Data (like Skyrim does). Then create an SEQ folder within the Data folder. Put your SEQ file in here. Repeat this with each and every category of thing that you created for your mod (meshes, textures, scripts, sounds, etc.) Once everything has been copied into this new structure you're ready for the next step.
Step 2: Create the bsa.
BSA stands for Bethesda Studios archive, So, the archive tool is found in your Skyrim directory (not the Data folder but the Skyrim directory). Double click to open it. Go to the Edit tab and click on "Add Directory." You should be able to scroll through the dropdown and find the Data folder on your desktop. Click on it.

You should get the results above in the green box. A larger mod will take longer than a smaller one. Once it's done click the boxes in the area I've outlined in red. While only the relevant boxes must be checked it is entirely safe to check them all (as I have in this picture). Then click the three boxes on the top on the right that I've highlighted in the blue box. Finally hit "Save As." It is critically important that this bsa be named EXACTLY the same as the esp (without the esp file extension). I normally just save this too to my desktop.
Step 3: Clean up and pack up.
Step 2 will have given you a bsa and a bsl (on the desktop in my case). The bsl is NOT needed unless you intend to upload to Steam Workshop. So, now is a good time to delete it. Pack your esp and bsa together and compress this (with 7zip or similar). Now you can upload. Done! (except for the interminable writing).
2 Comments
Recommended Comments