Tattoo Workshop: LooksMenu
Entry posted by DocClox
1687 views
This is the workflow I use to make tattoos for LooksMenu. Tools used are Blender 2.82 and Gimp 2.10. And you'll need the OBJ file for the CBBE mesh. It's an optional download on the Nexus CBBE page.
Start by opening up Blender and importing the CBBE .obj. This is described in detail in Tattoo Workshop: Fallout 4, so look at that if you don't know how to do that. The main difference here is that we'll be painting greyscale images onto the mesh, so to make it easier to see what we're doing, we're going to use a solid white texture. That's easy to make: just open up the Gimp and create a new 4096x4096 image, fill it with white and save it. Then go back to blender and set the white image as the skin texture for the body.
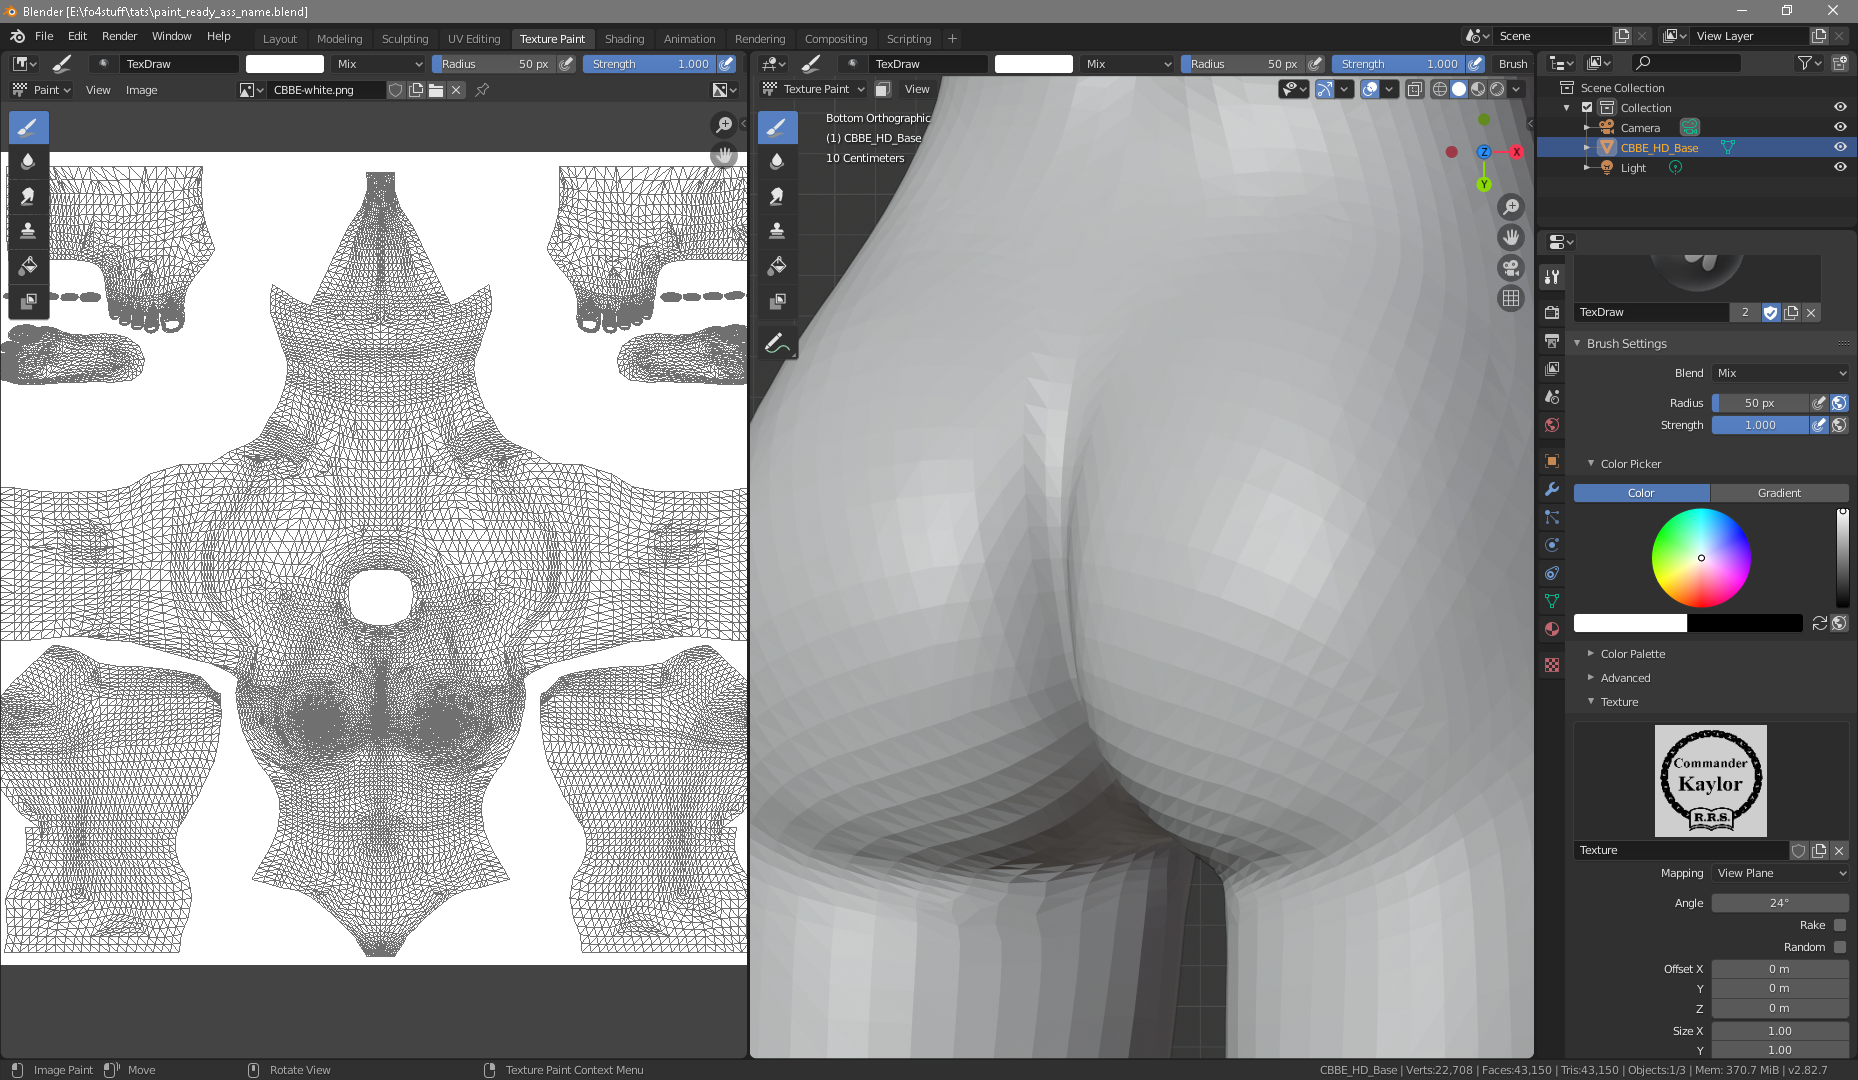
Once that's done, go to the texture paint tab and position the body so you have a good view of the area you want to apply the tattoo. You should be looking at something like this:
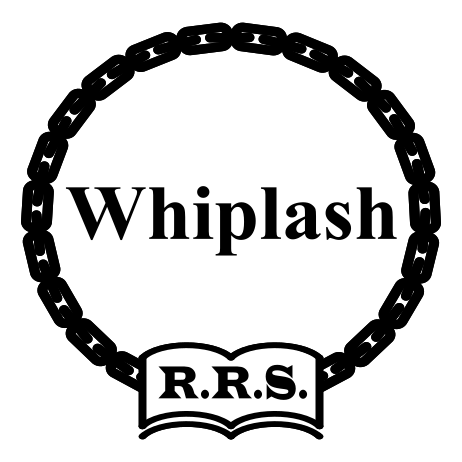
As before, create an brush image brush with the design you want to apply, and set the texture mapping to Stencil. I'm currently making tats with raider names, so I'll be using this one:
Fiddle with the image until it's in the right place (RMB drag to move, RMB+shift to scale, RMB + control to rotate. RMB = Right Mouse Button)
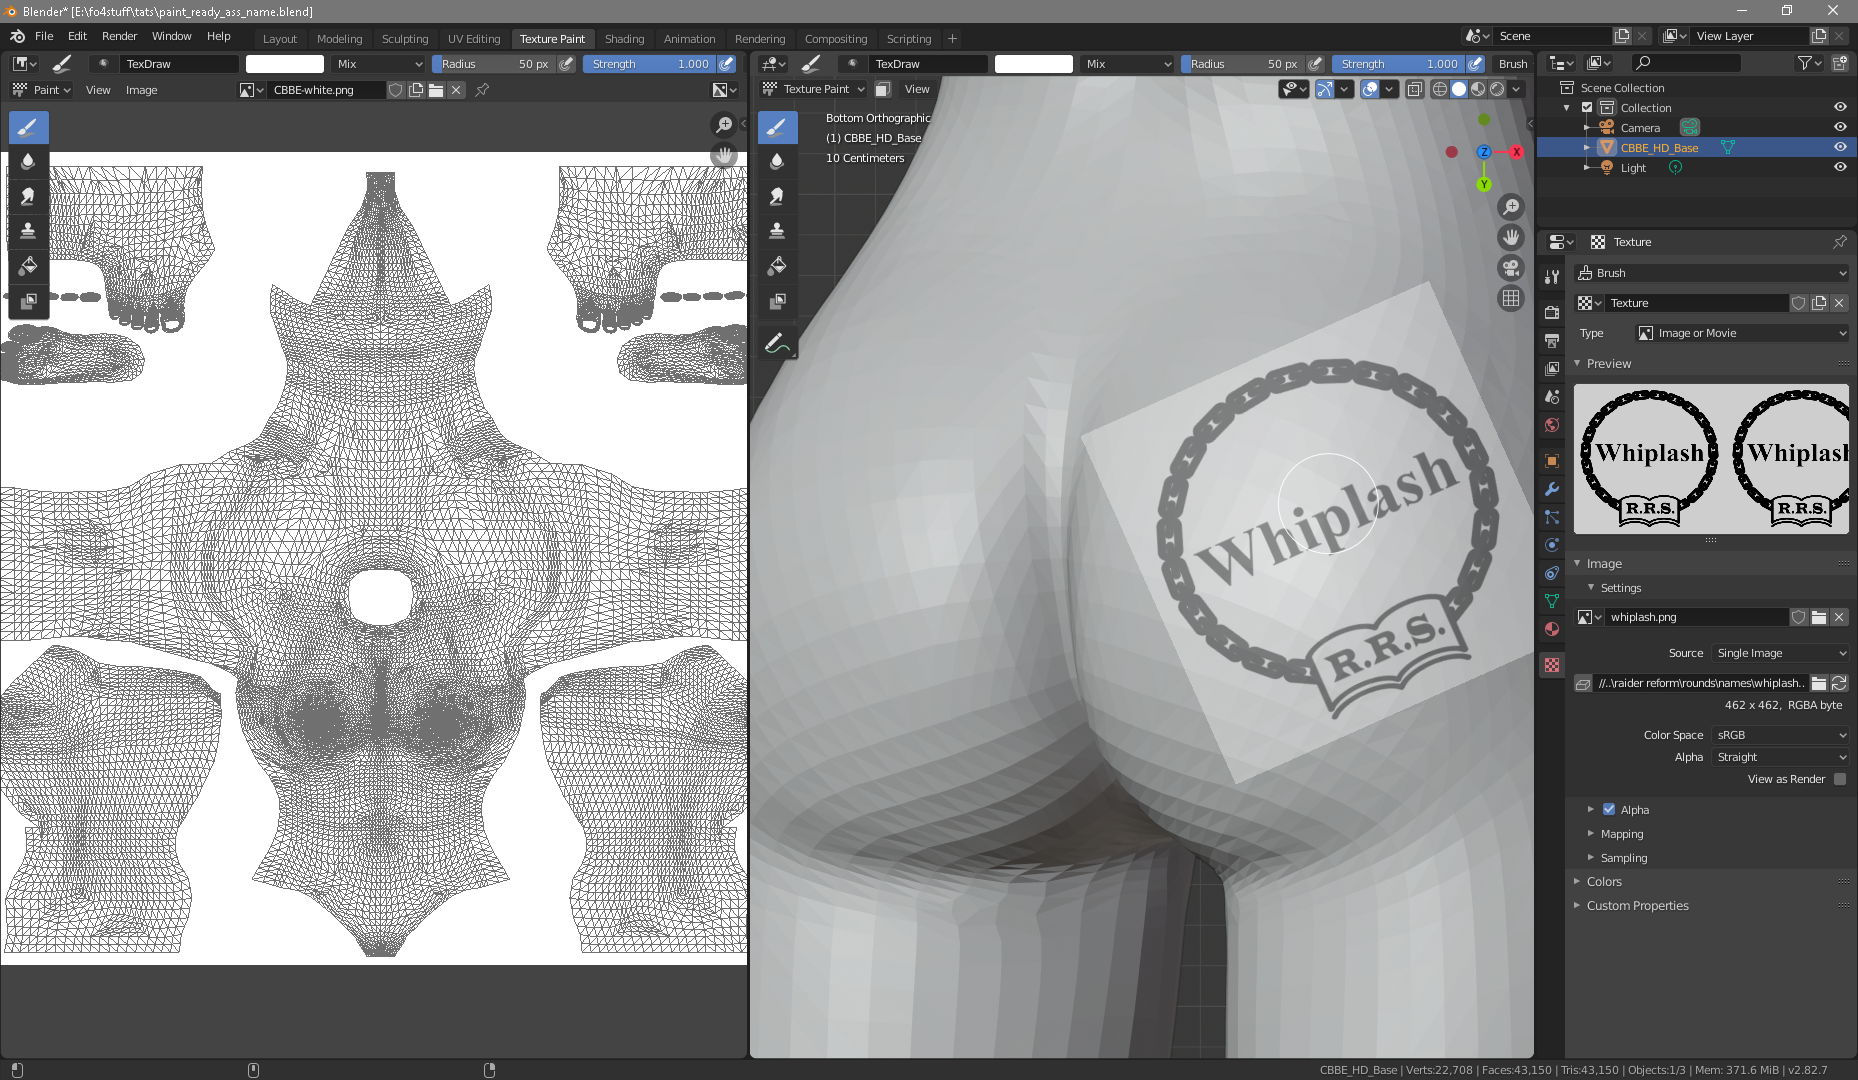
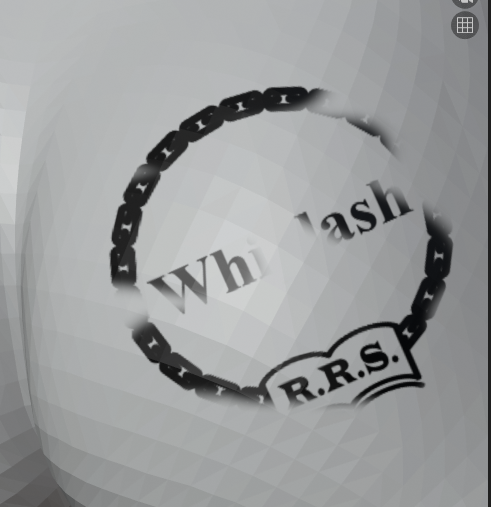
Once it's in place drag the LMB (left mouse button) over the image to paint it on. It'll get less grey as it applies. You can move the cursor into the other pane to see how it looks and check for any bits you might have missed. Like this:
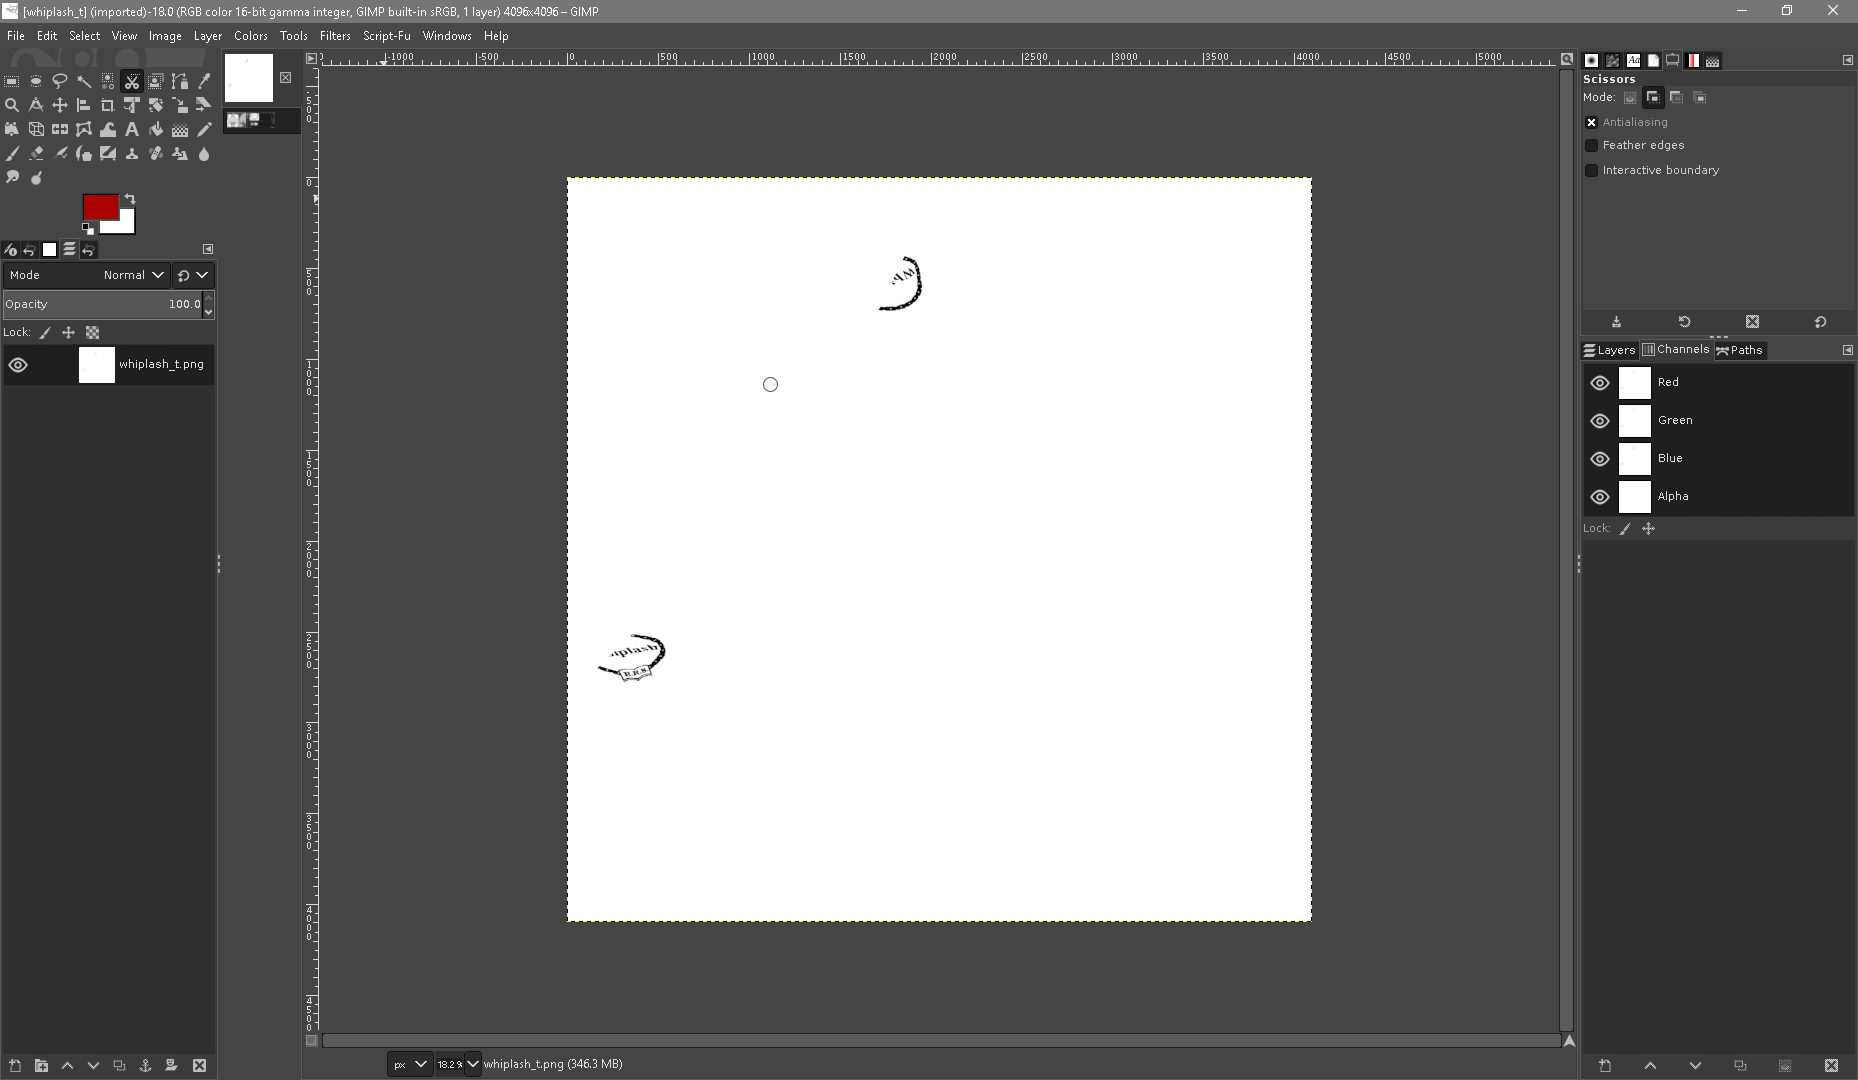
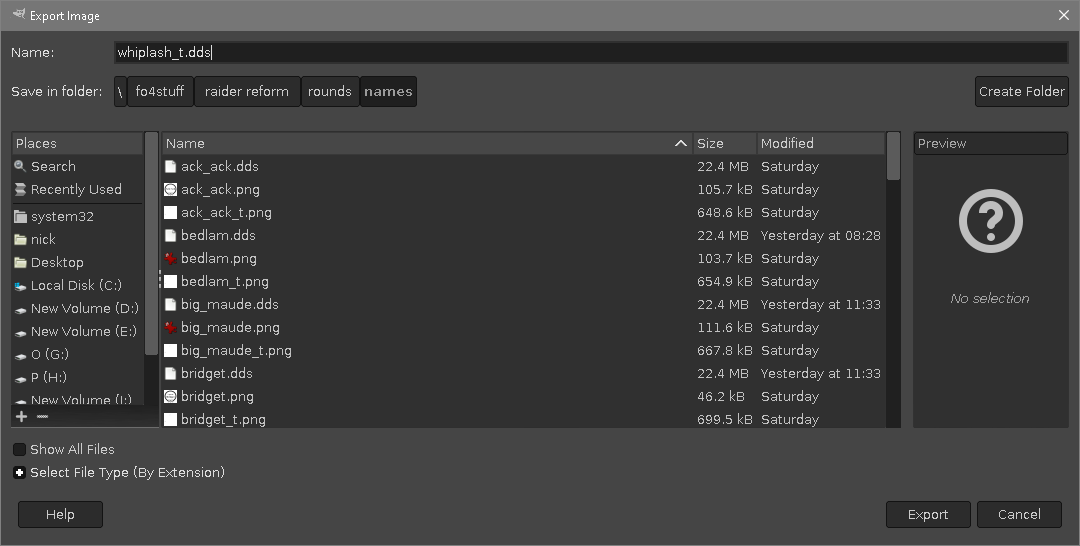
When the whole thing is fully painted, go the the UV pane and choose image->save a copy and save your texture under a new name, I'm calling this one whiplash_t.png, where the "_t" is to remind me that this is a texture rather than the original design.
Except it's not really a texture yet. It's black on white and we need black on alpha. So the next step is to take the file you just saved from Blender and load it into the Gimp.
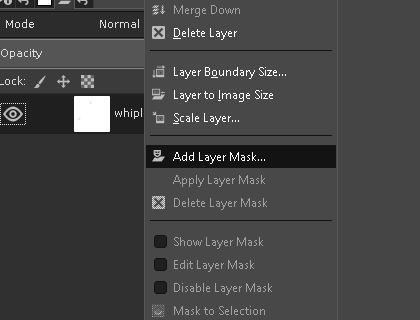
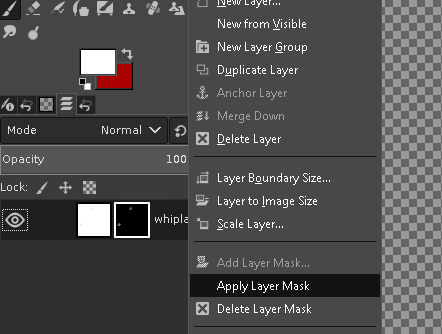
Then right-click on the layer at the side and choose "Add Layer Mask"
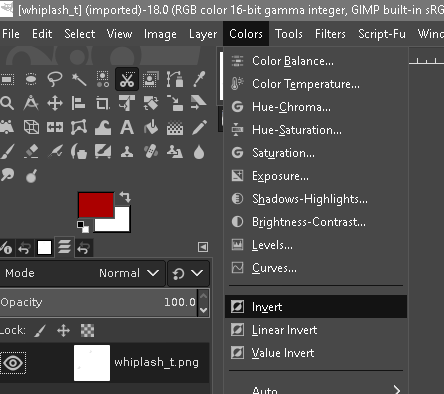
Then Go to the Color menu and choose "Invert"
You'll see a progress bar on the bottom of the window, then something like this:
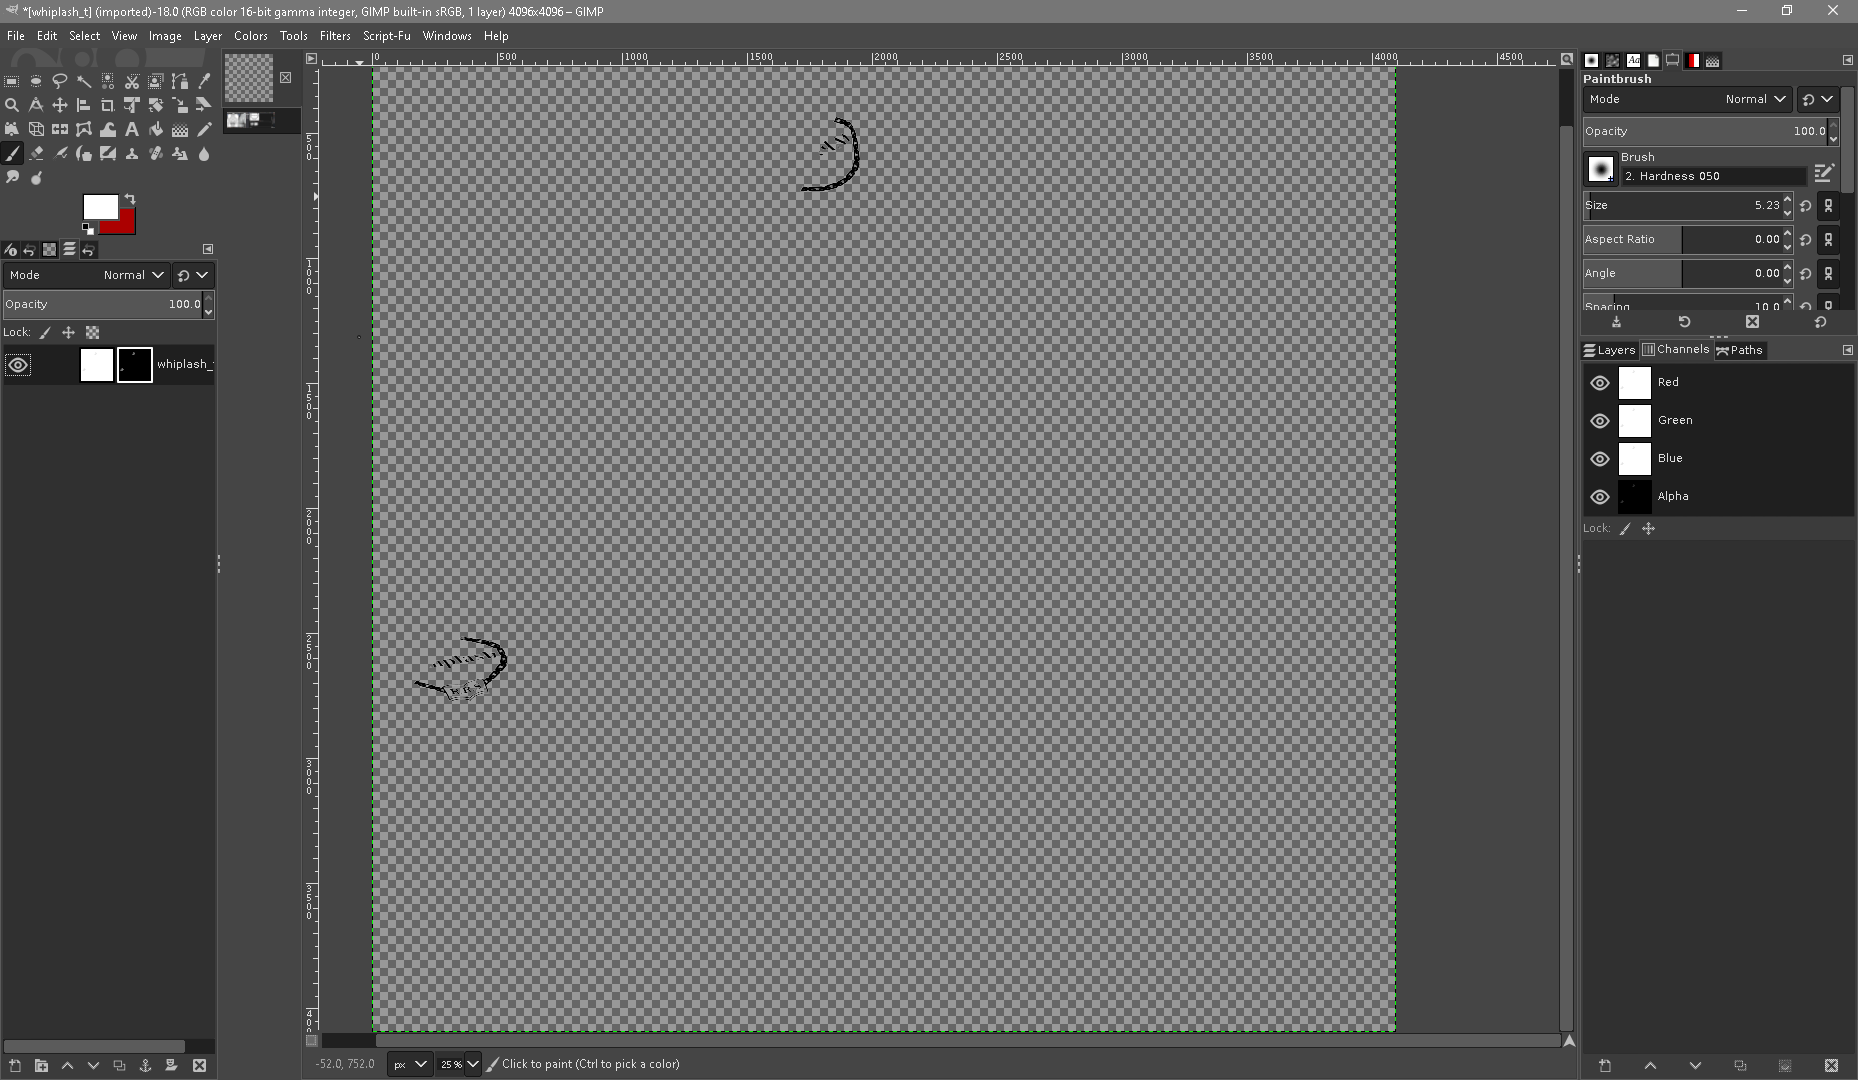
Right click on the layer again and choose Apply Layer Mask
Then press control-shift-E to export the image. Change the extension in the filename to .dds
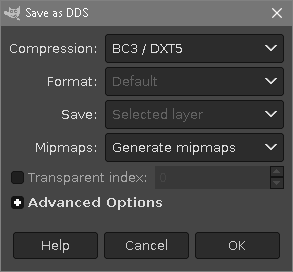
Choose these settings
And close the gimp. You have your texture.
Now we just need to get it into the game. I'll describe how to do that in the next installment.
3 Comments
Recommended Comments