Tattoo Workshop: Fallout 4
Entry posted by DocClox
1972 views
I have been looking again at making some tats for the Raider Reform School project. I haven't done any tat work in a while, so this seemed like a good chance to update to the latest Blender. Only to find that they'd redone the UI completely, and got rid of the old render engine. None of my old tricks worked anymore.
So I spent yesterday working out how to do it in Blender 2.8. And loathe though I am to admit it, it's actually easier, once you know. So I thought I'd blog it up, if for no other reason than I'll know where to find my notes the next time I come to do this.
The Image
First thing you need is the image you're going to use for the tattoo. Make it how you like, but bear in mind that it has to be square. Pad out the dimensions with alpha, or the image will distort.
This is the one I'm going to use for this workshop.

Blender:
I did this using Blender 2.82, so that's what I suggest you use. More recent ones will probably work too. Unless they change everything again.
Body and Textures:
Last time I did this, I went through all sorts of shenanigans to get a CBBE mesh and textures. This time I got smart and checked the download page on Nexus. There's two optional downloads: one of them with the model in OBJ and FBX format, the other with the photoshop textures files. So go grab both of them, and unzip them somewhere convenient.
Getting The Body Into Blender
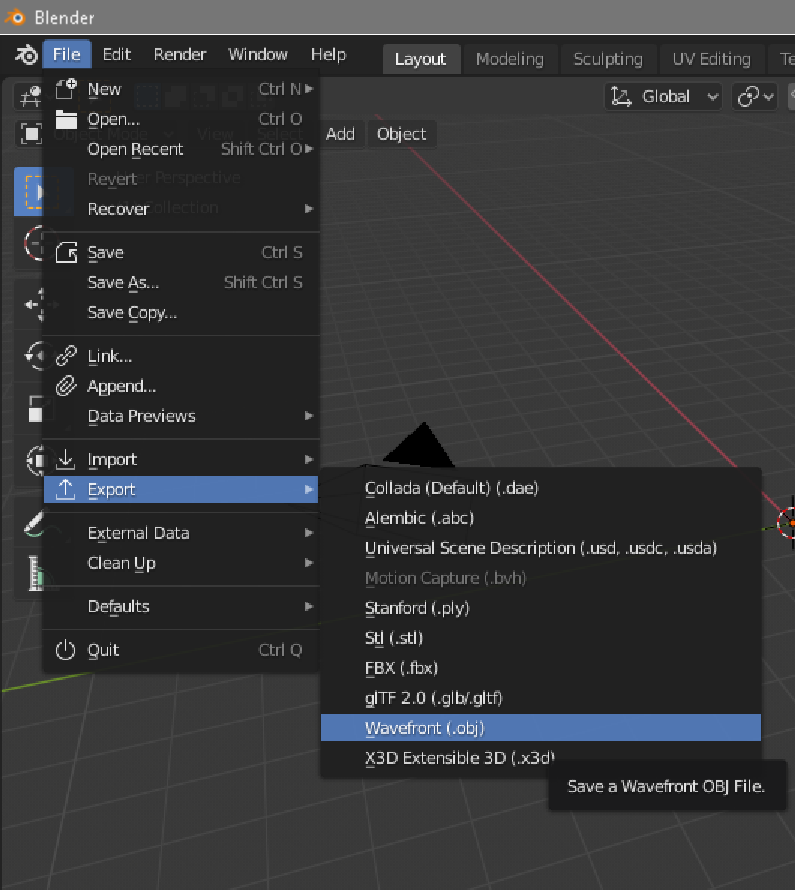
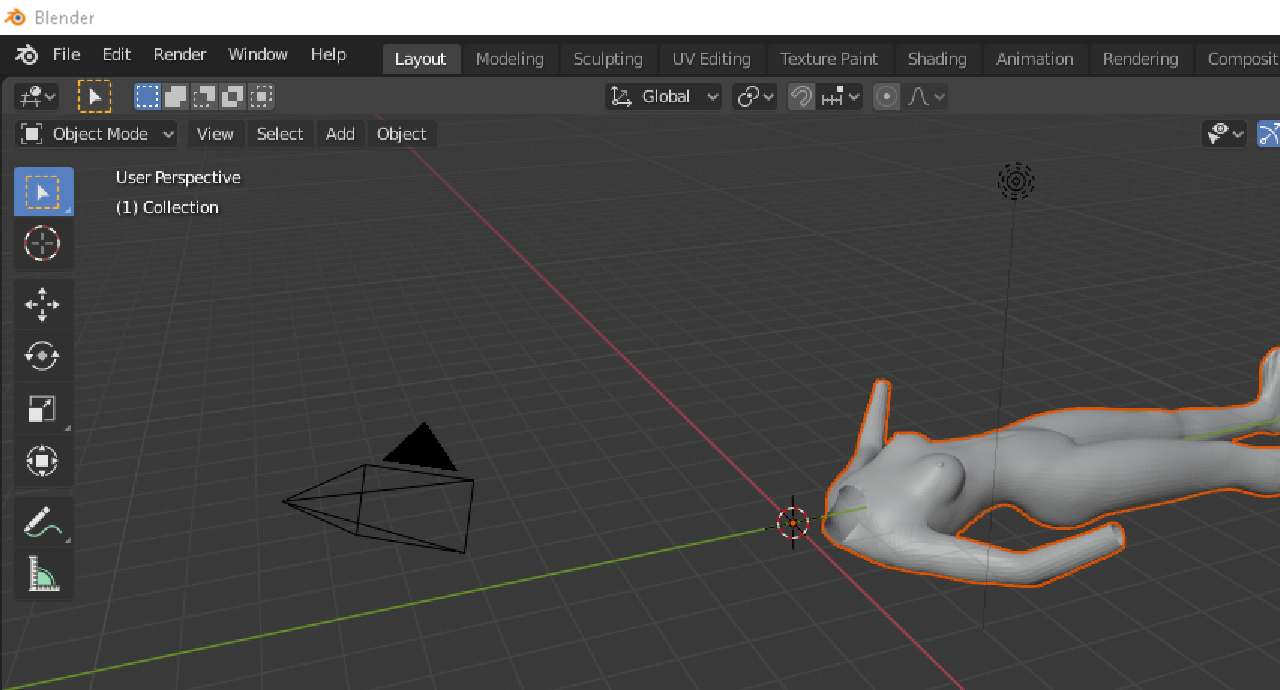
Fire up Blender, delete the default cube, and go to file->import and choose "Wavefront (.obj)". Find the CBBE_HD_Base.obj file from the archive you unpacked and click "Import OBJ".
That will get you the body mesh:
Setting up the textures
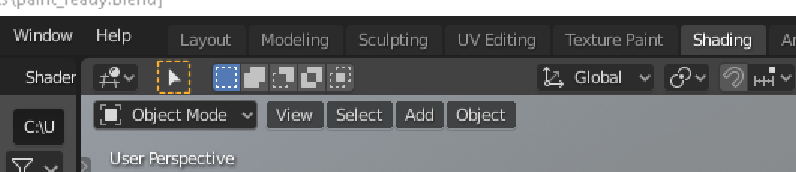
Click on the body model to select it. Then choose "Shading" from the tabs on the menu bar. You should get a screen like this:
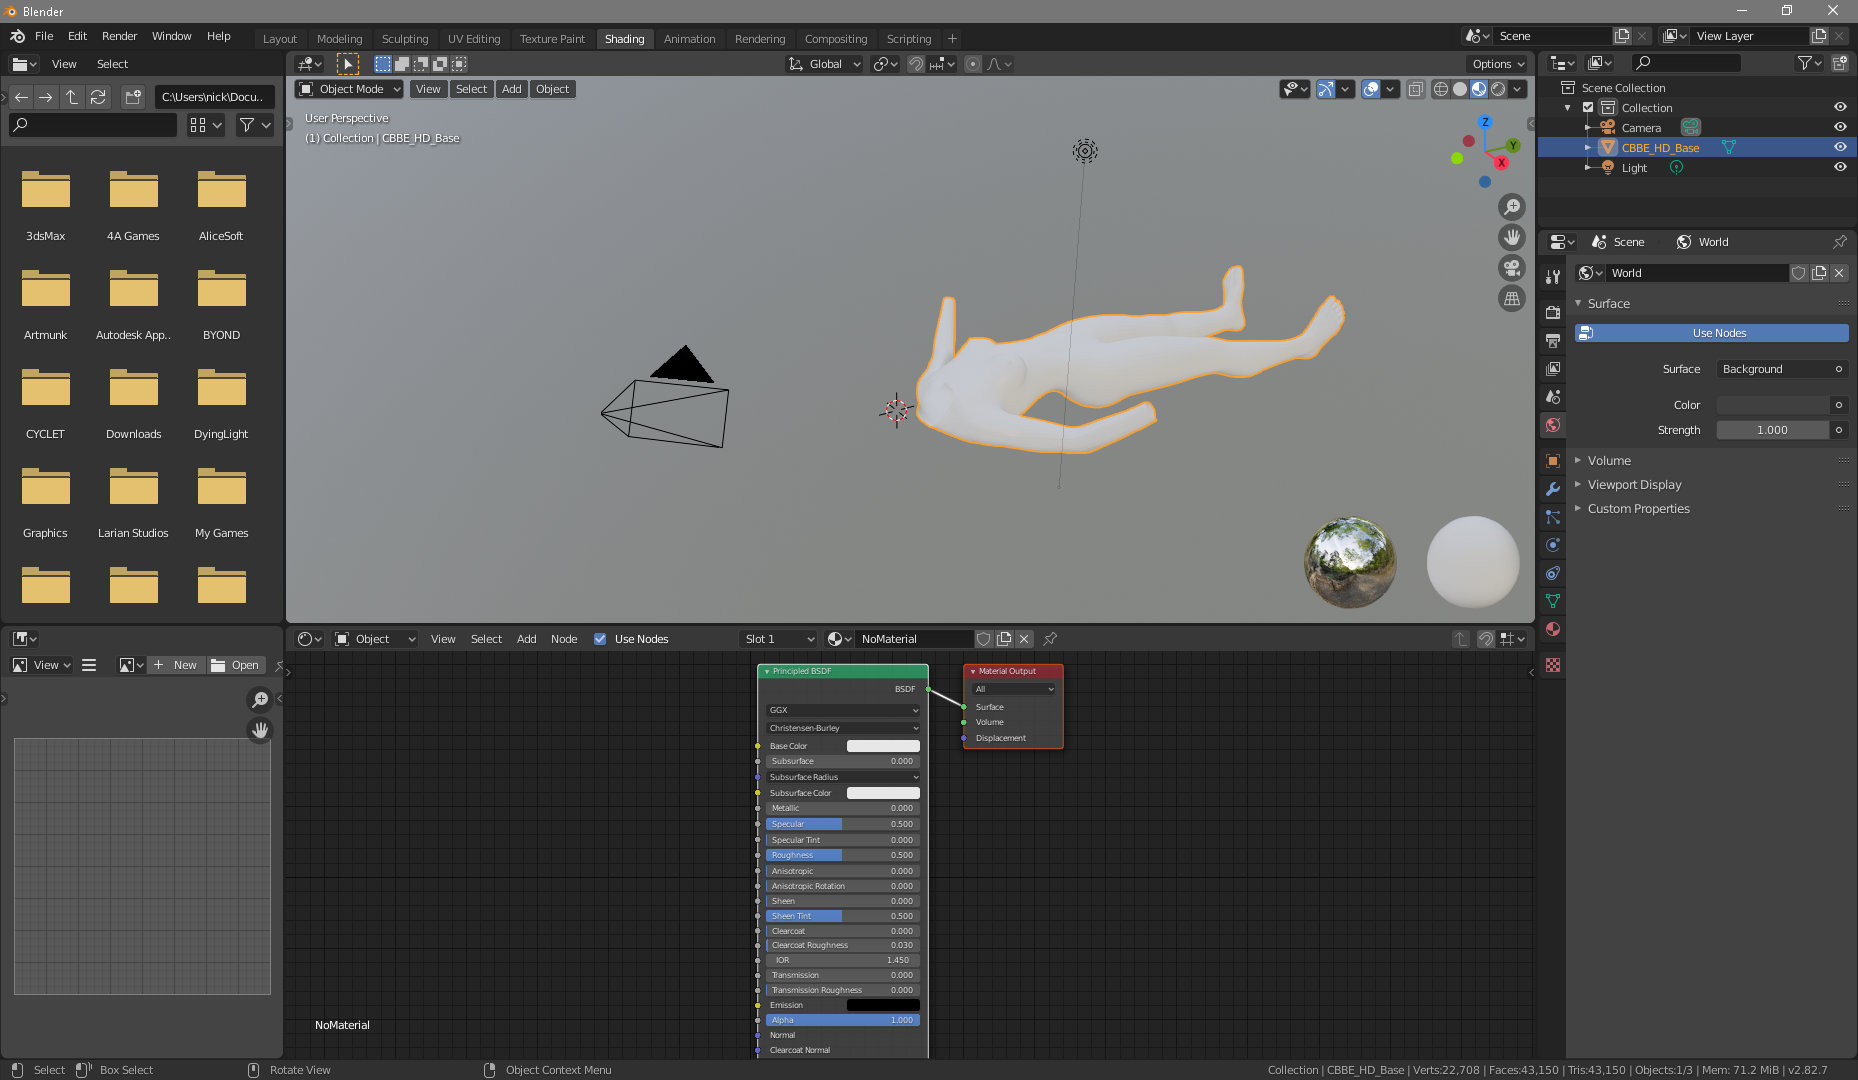
On the "material output" box, there's a green dot next to "Surface". Click that and drag it away to unlink the "Princpled BSDF" box. Then click on "Princpled BSDF" and Delete to make it go away, Then pick "Add" from the menu at the top of that panel. Choose Texture->Image Texture
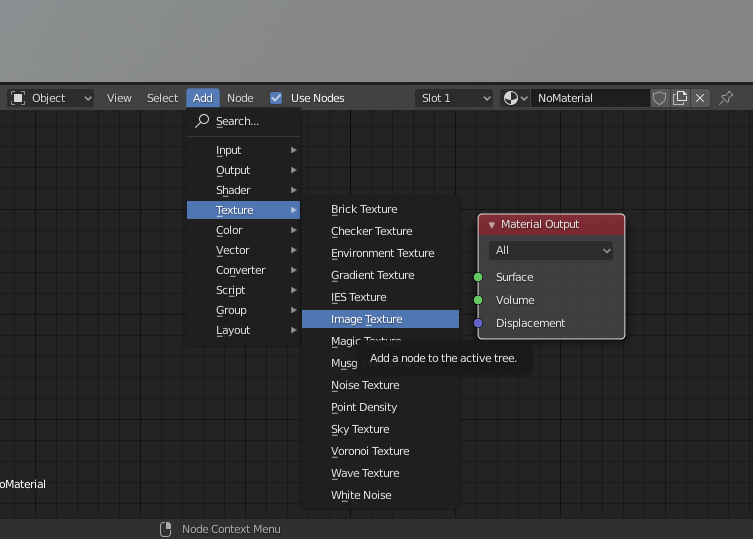
A new box will appear
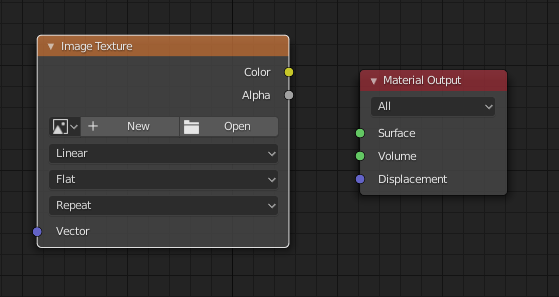
Drag the yellow "color" connector on the new box to the "Surface" connector on "Material Output". Then click open and navigate to where you unpacked the CBBE textures. Load CBBE-TexOptions-Diffuse.psd. It may take a few moments to load.
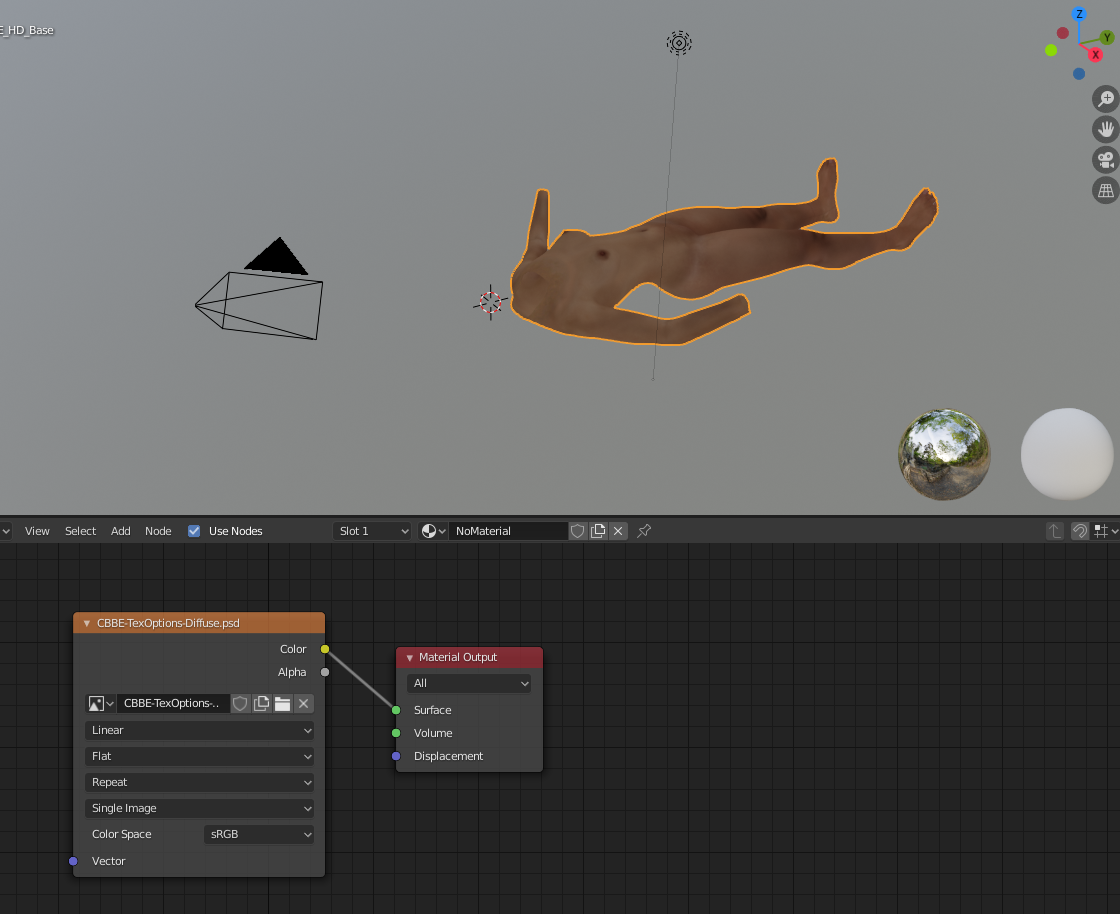
But eventually you'll get a textured body, as above.
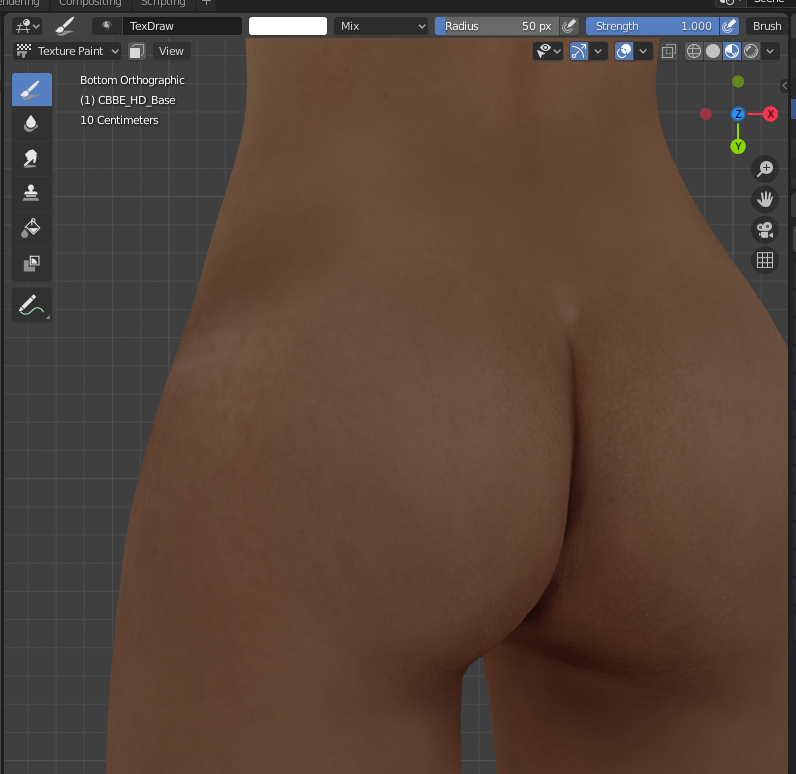
Texture Paint Mode
First click the "texture paint" tab on the menu bar
That will get you a window with two main panels. One with a UV map and one with a 3D object view. I've moved the model ready to apply the tattoo, and zoomed the UV out from the defaults. What you need here will depend on whatyou want to tattoo, and where. Note that you can see the mesh in model by default. It's fine to work with it this way, but if you want it to look as it will in-game, there's a row of buttons in the top-right of the 3D panel:
Clicking on those will change the view from wireframe to fully rendered. I generally go for "material preview"
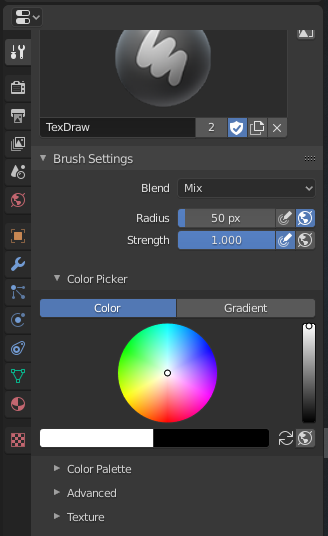
Setting Up A Brush
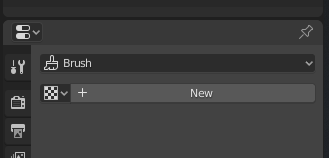
On the far right of the window, there's a column of property boxes. Click on the one at the bottom that looks like a red chess board. Click "New"...
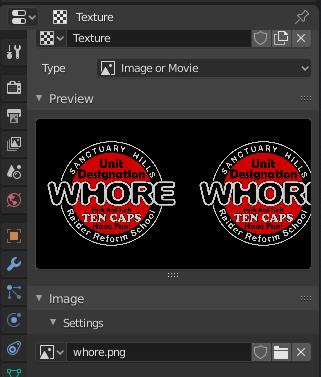
... then click "Open" and load your tat texture.
Click "Open" and load the tattoo texture
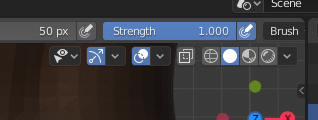
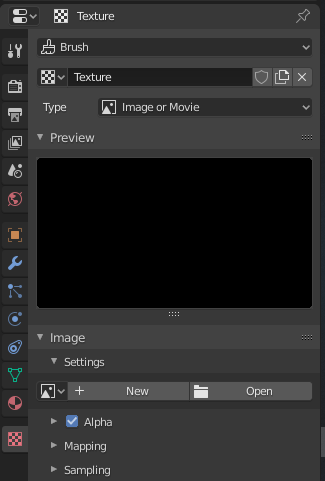
Now click on the screwdriver-and-spanner icon at the top of the icon stack. Scroll down to find "texture"
Click on it to expand the section, then click on the "Mapping" drop-down and choose "Stencil"
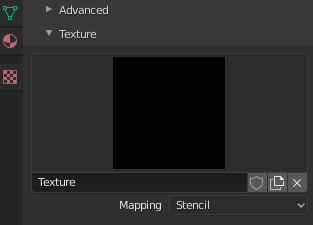
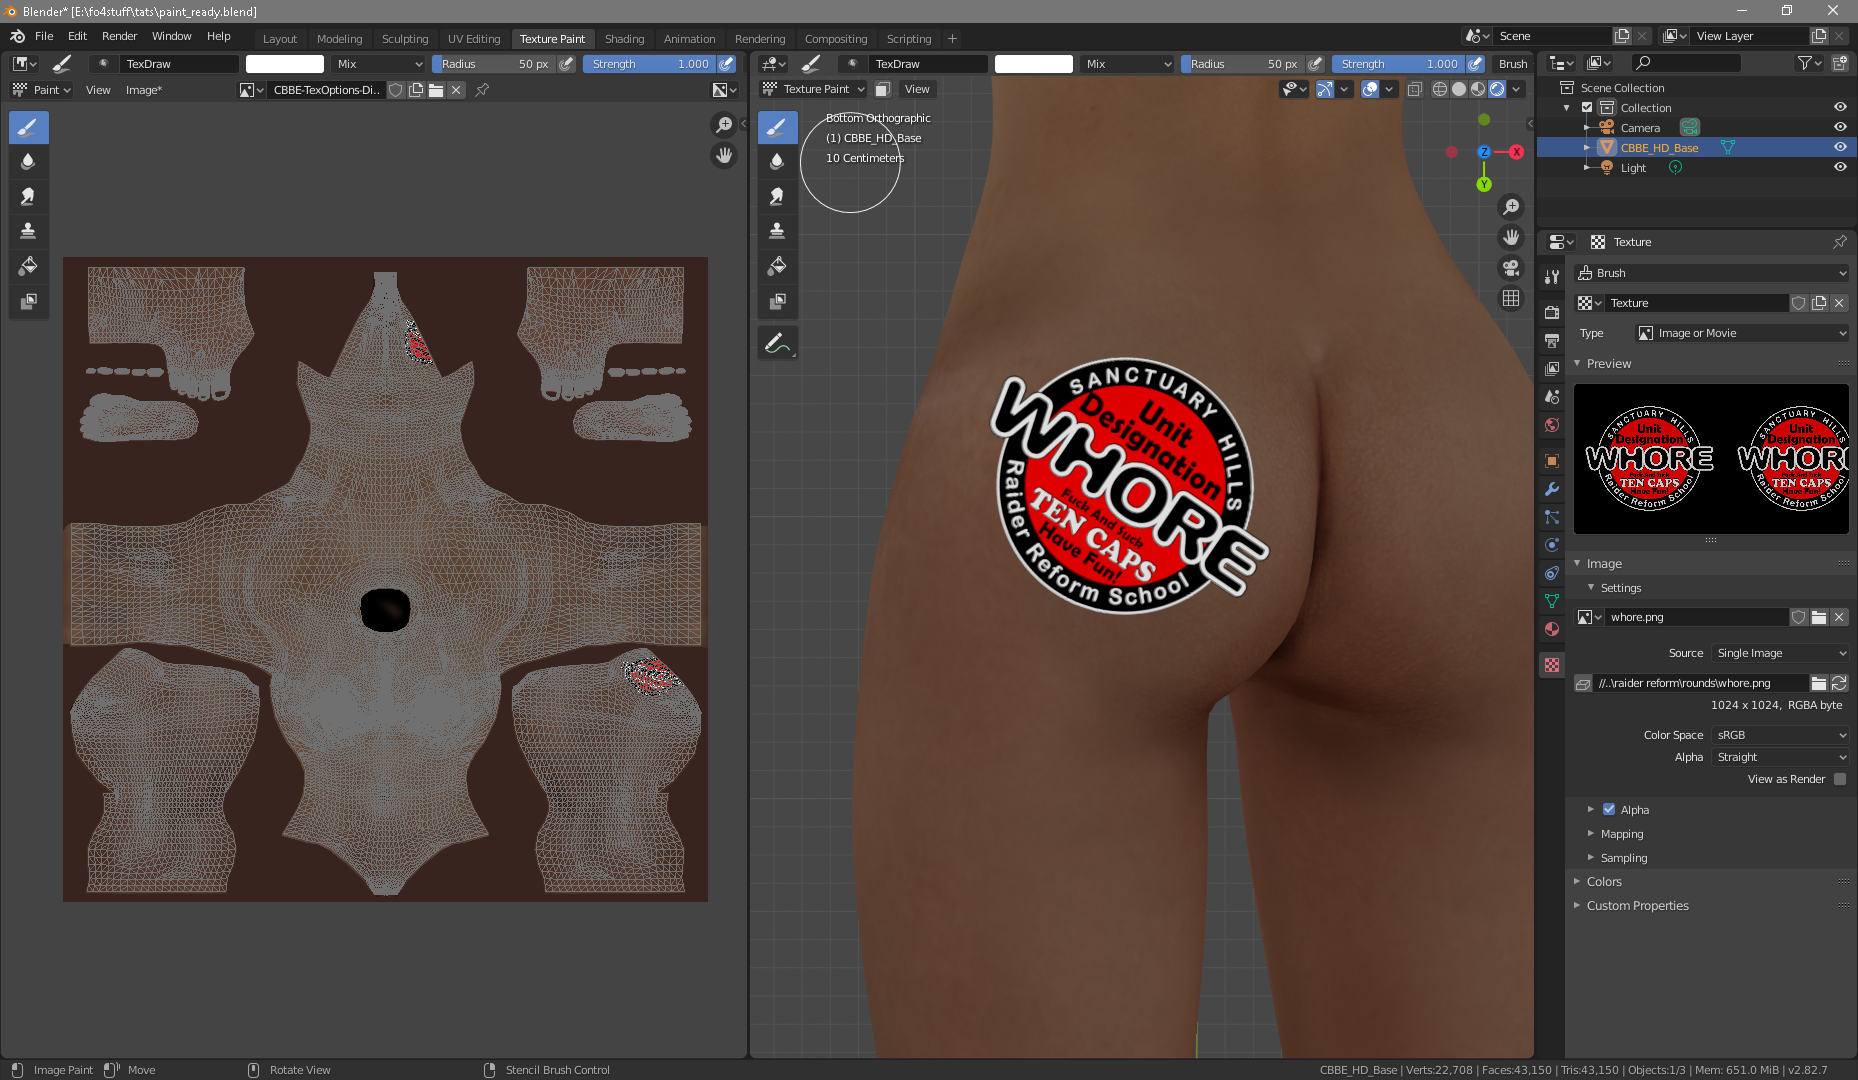
If all has gone well, you should see something like this:
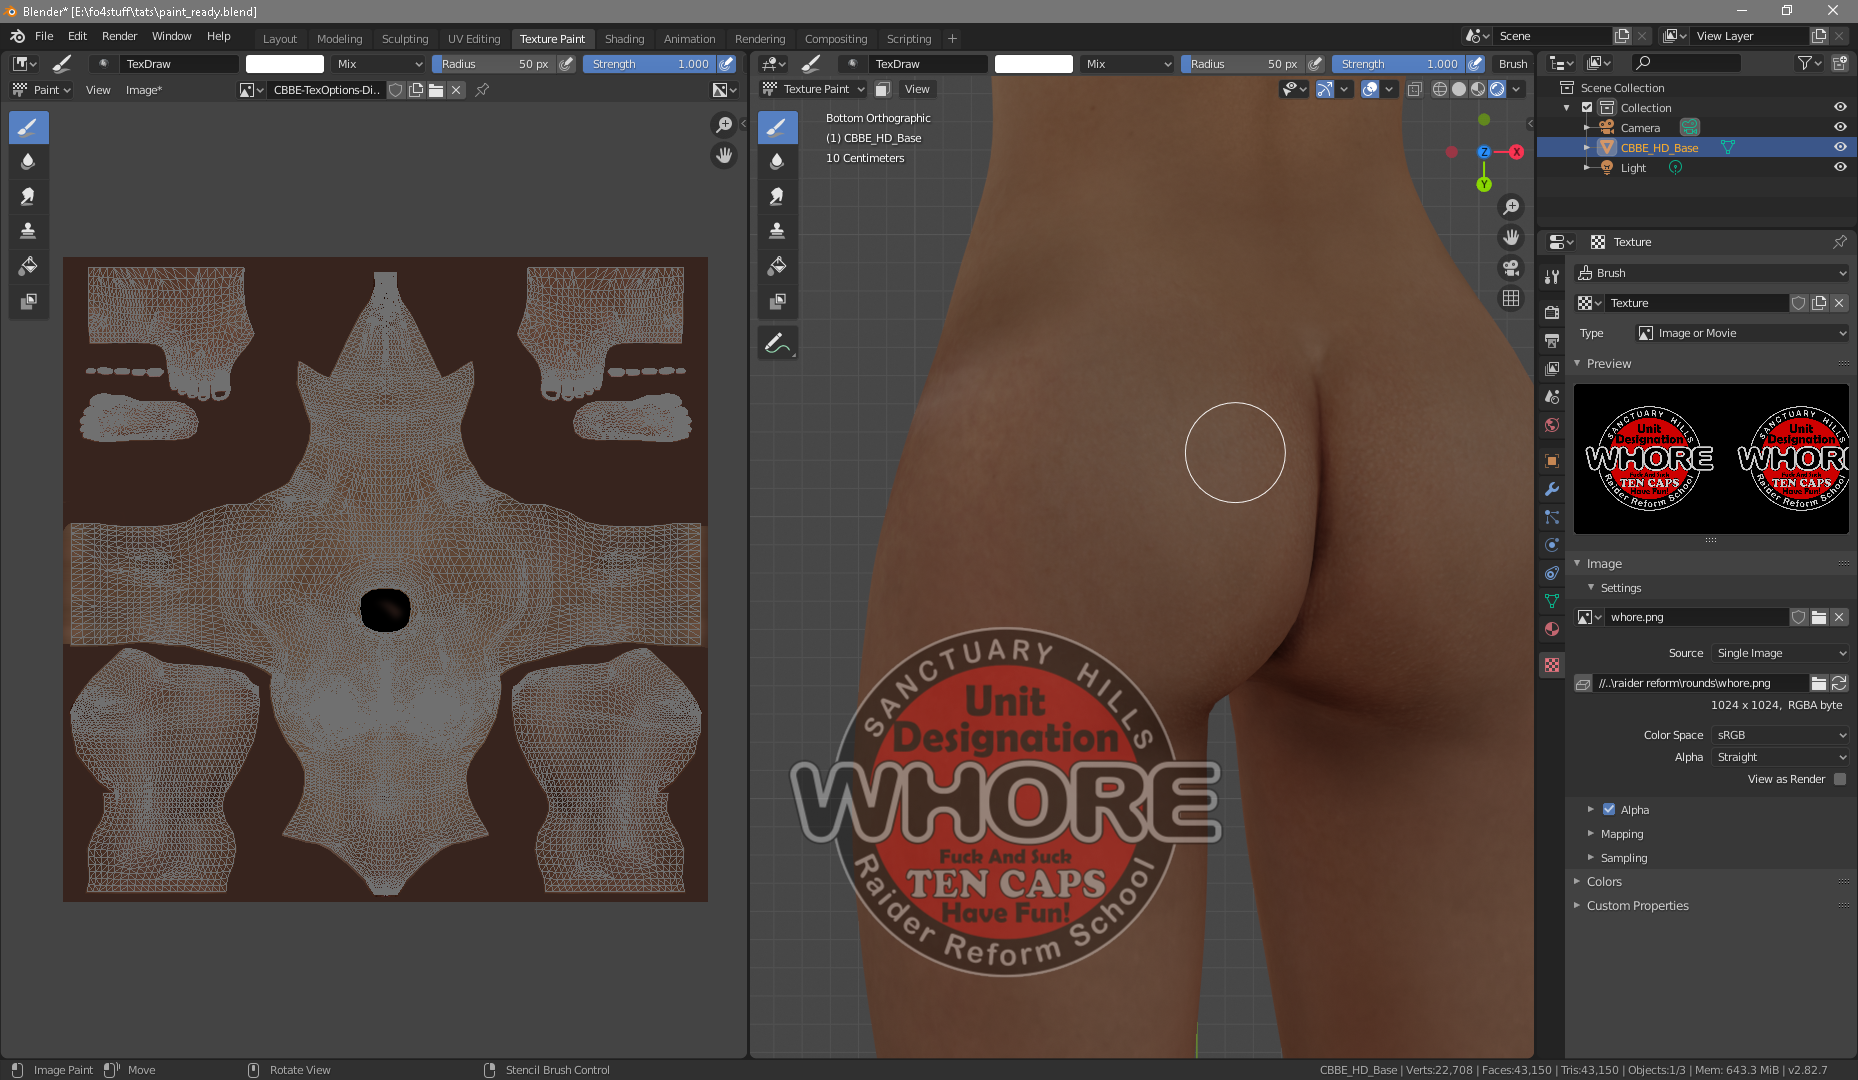
Applying The Stencil
The big red "Whore" tat isn't on the model yet; that's just the stencil showing where it would go if you applied it now. To move it, drag it with the right mouse button (RMB).
You can rotate it with Control+RMB
And scale it with Shift+RMB
Once you're happy with the size and position, hold down the left mouse button and drag it repeatedly across the stencil. The stencil will "unfade" as it gets applied to the the skin texture. You'll also see it appear on the UV map
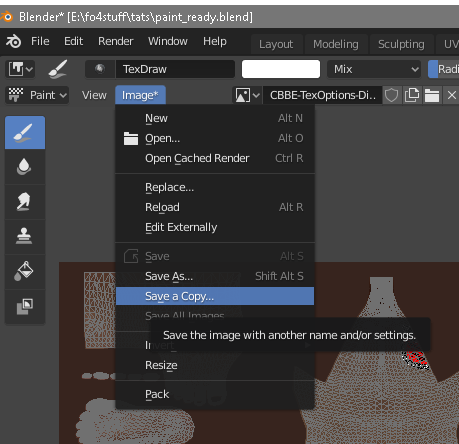
Almost done! Now go the the Image menu on the UV panel and choose "Save A Copy" so as not to scribble over the original texture.
Note that this is different from making textures for SlaveTats in Skyrim. There, you'd want to paint the tattoo onto a transparent texture. You can do that here, but the transparent textured body will be (perhaps unsurprisingly) invisible. So what I did was set up two materials, one with a skin texture and one with an alpha texture. Then you can use the skin text to position the stencil, then swap back to Shading, change the material to the alpha texture, then switch back and paint it. It's a bit of a pain, but it does work.
Anyway, save a copy and close Blender.
Converting to DDS.
One more task needs to be done. We need the image in DDS format. Fire up your DDS aware image editor of choice. I like the Gimp with the DDS expension, but paint.net works for me too. Load the texture you saved in the last step and then save or export as DDS. BC1/DXT1 seems to do the job for full body textures. You'll probably want BC3 for SlaveTats designs. Remember to generate mipmaps!
And with that your texture is ready for use in-game.
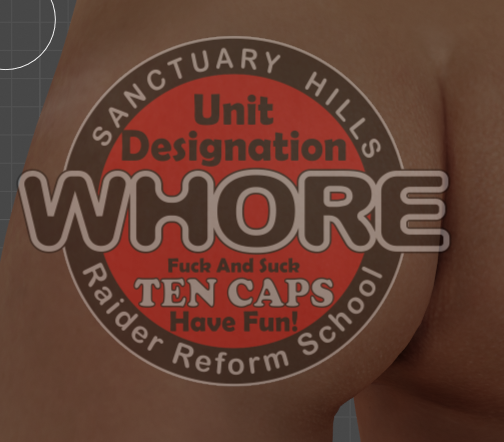
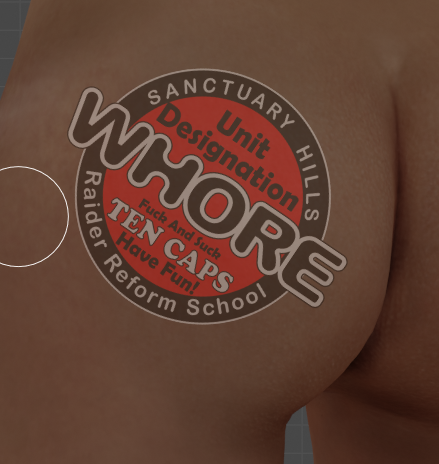
Here's a picture of how it turned out:
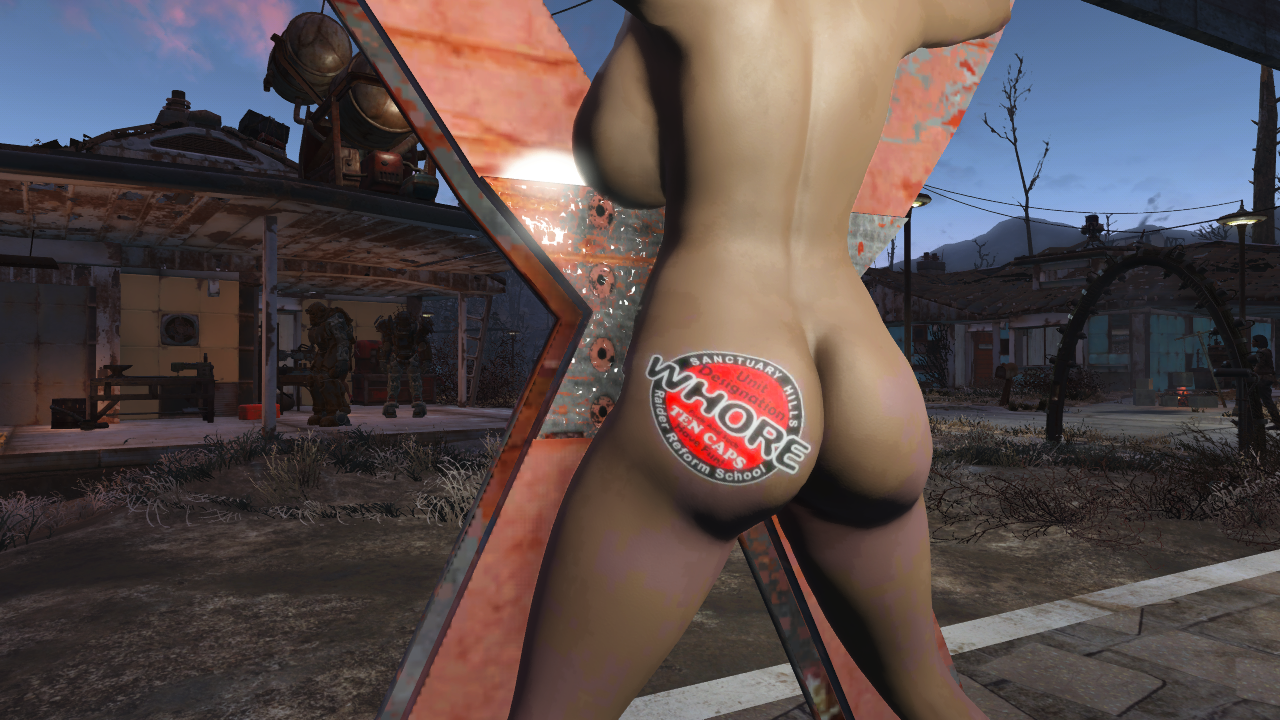
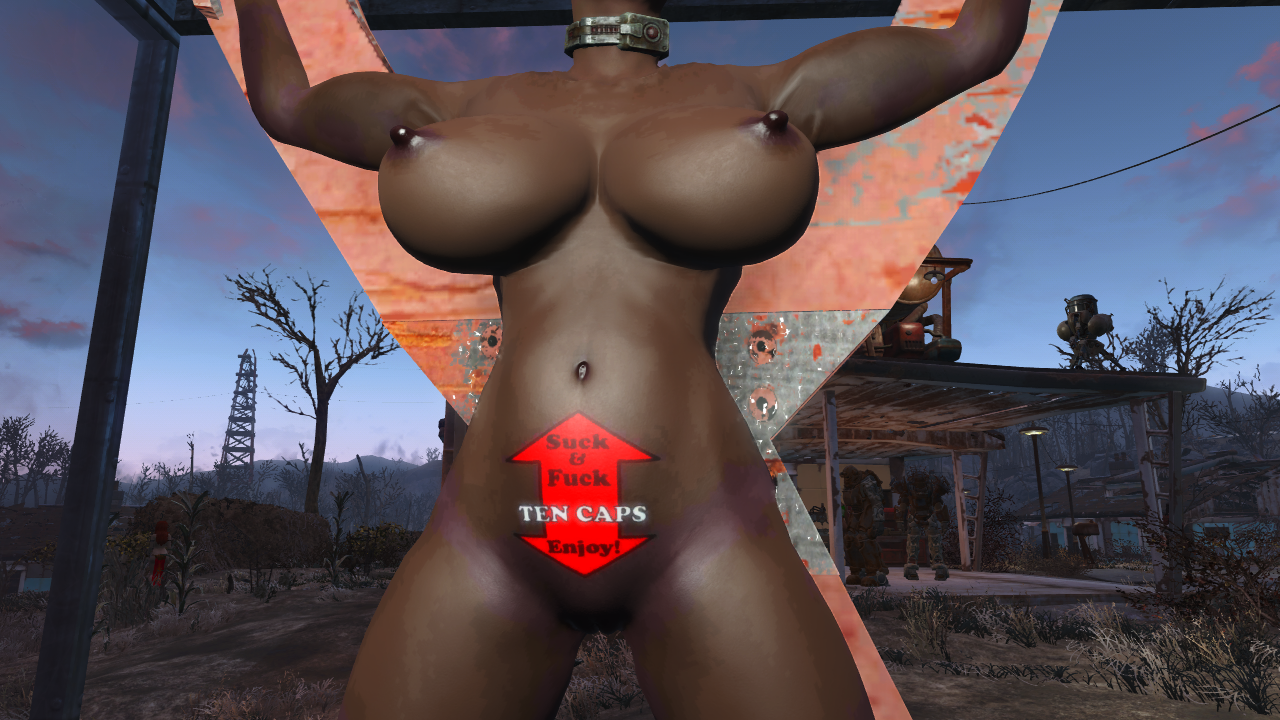
Little distortion there. but nothing I can't live with. I added a pubic mons image as well, just so there was something to see on the front:
I haven't talked about how I got the images in-game. That's a whole other tutorial. If anyone's interested, say so in the comments and I'll have a go at it.
0 Comments
Recommended Comments
There are no comments to display.